Bonsai Empire – Coniferous Bonsai Course

When Oscar over at Bonsai Empire offered me the chance to review the latest online course, ‘Developing Coniferous Bonsai’ I was intrigued to see how it would match up with the previous course on deciduous bonsai.

The same line up of artists are back, Mauro Stemberger, Walter Pall, Jan Culek and Harry Harrington.  A wide range of knowledge and all with their own unique ways of creating bonsai. There is a lot of knowledge shared and for beginners signing up to the course, you will benefit from their own past endeavours and lessons learned the hard way. Walter as usual was a great listen and his approach and honesty is always entertaining.

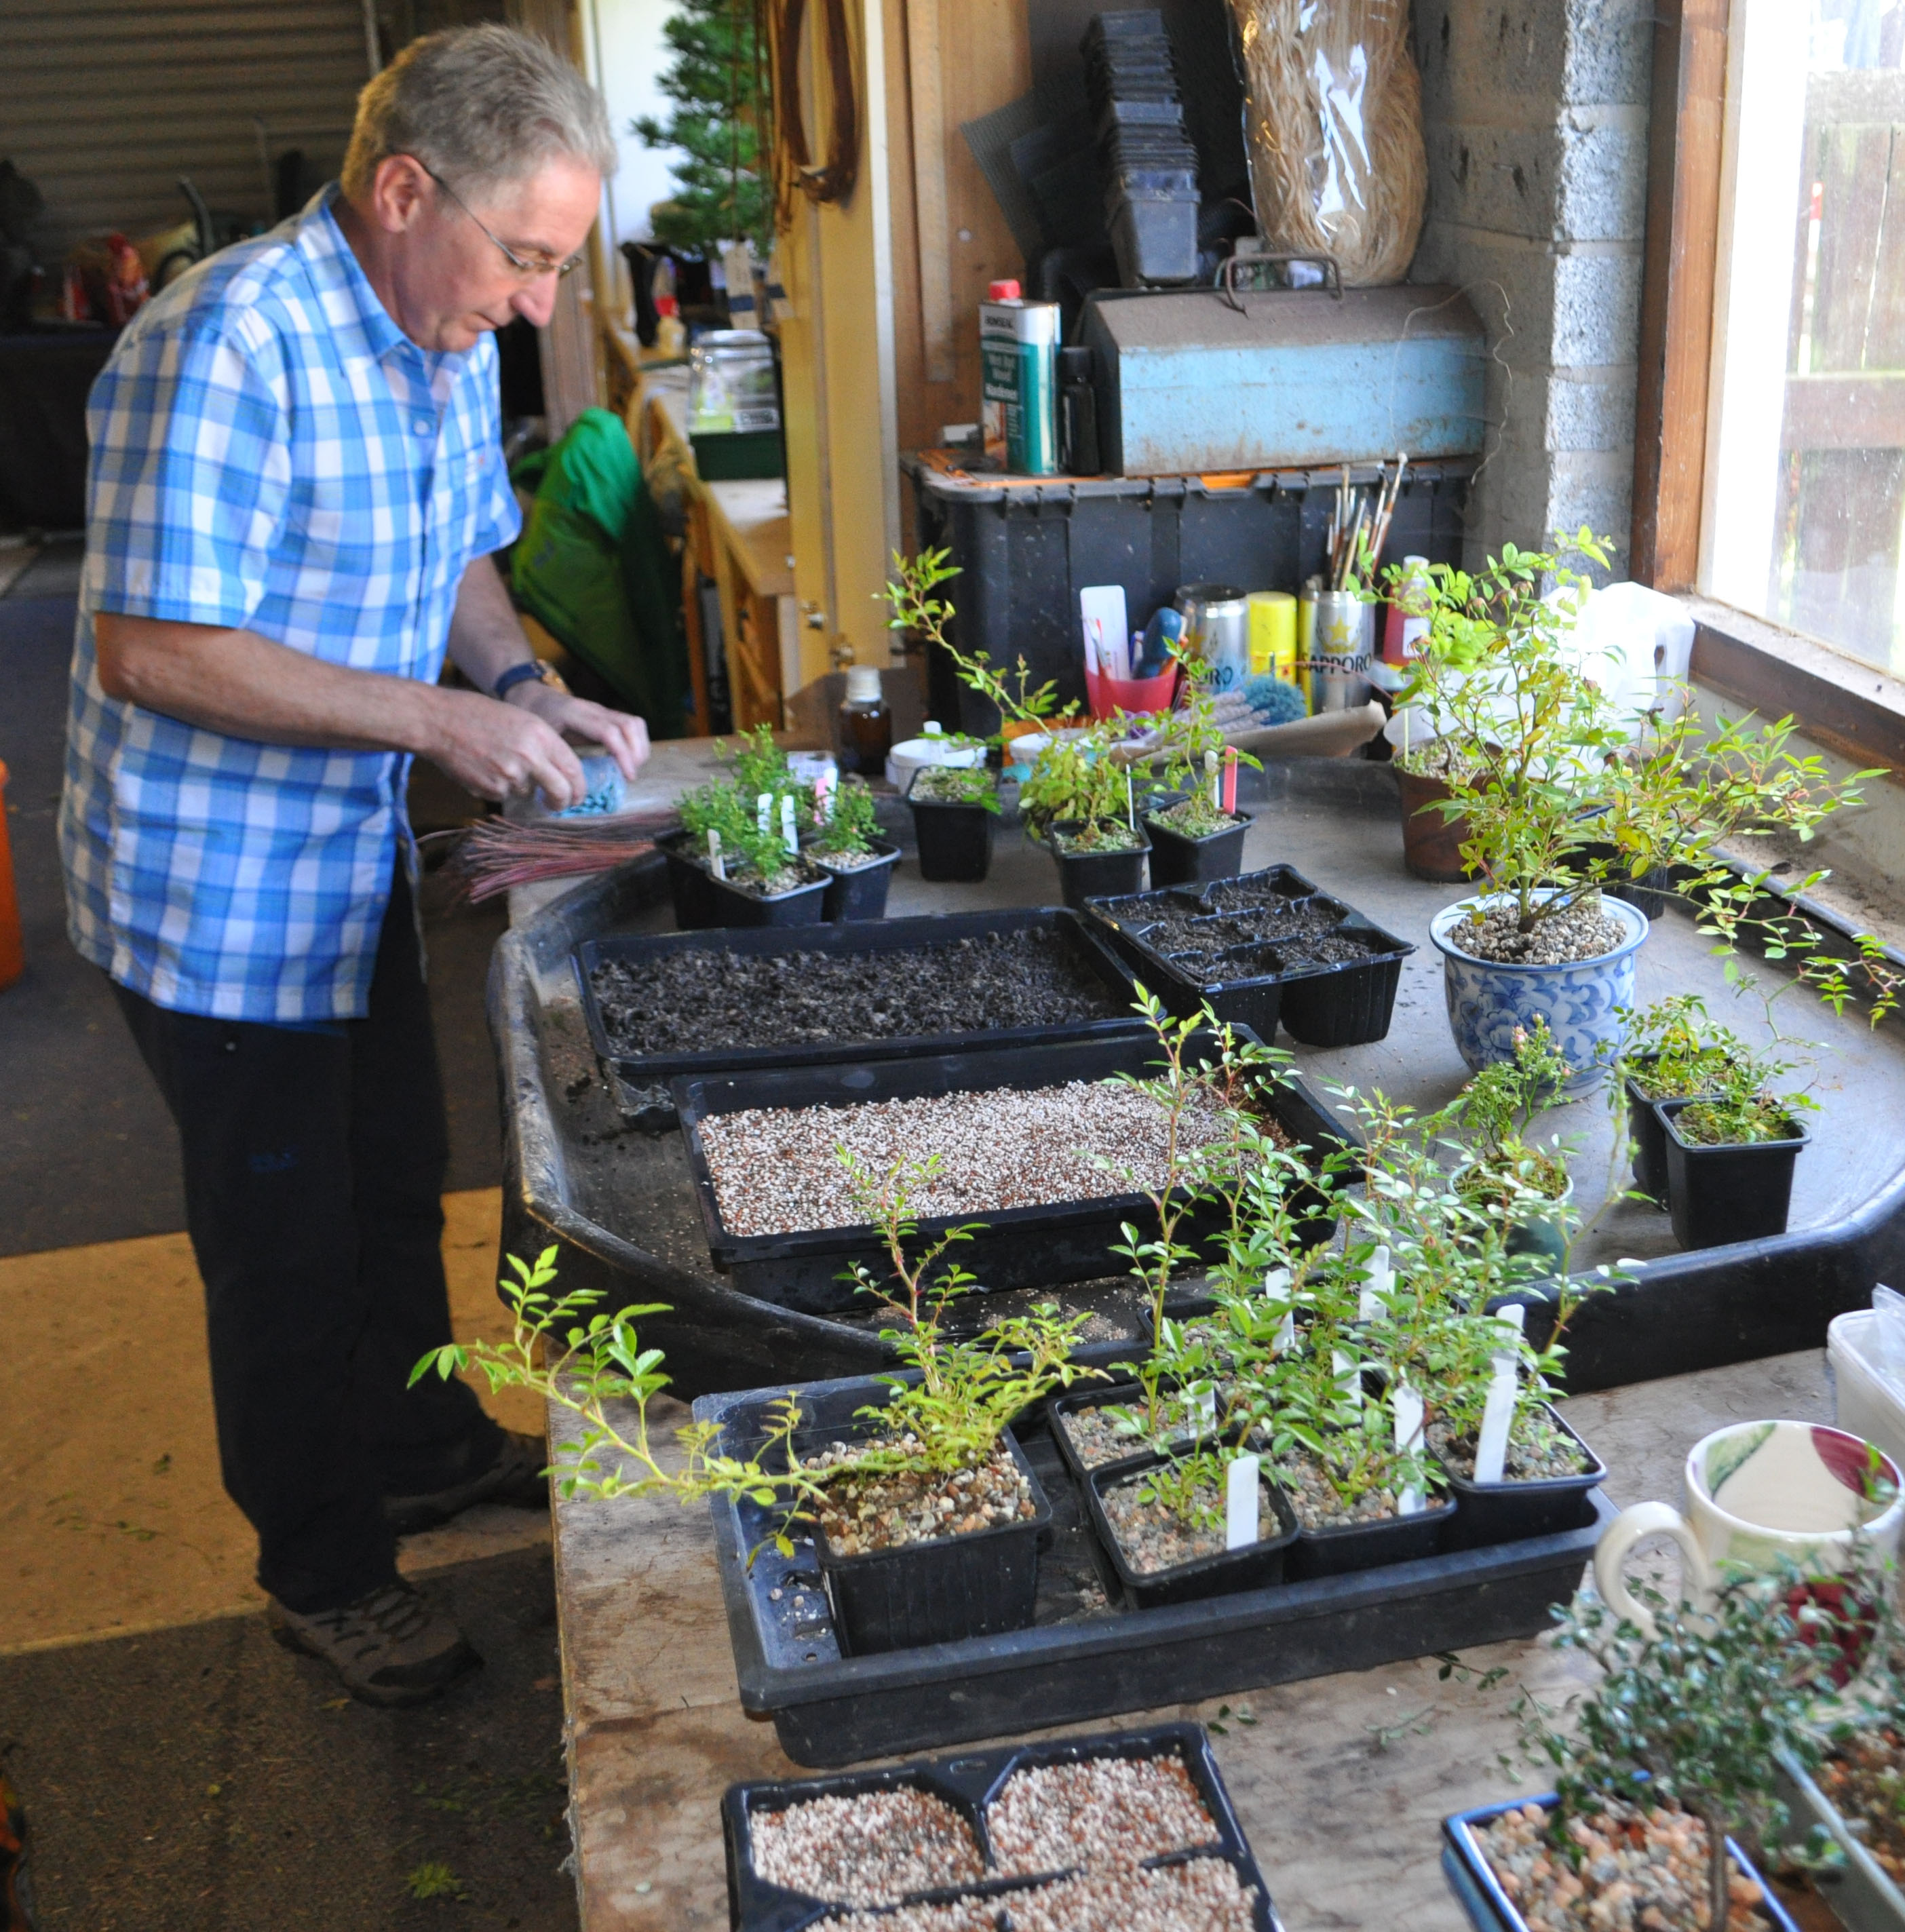
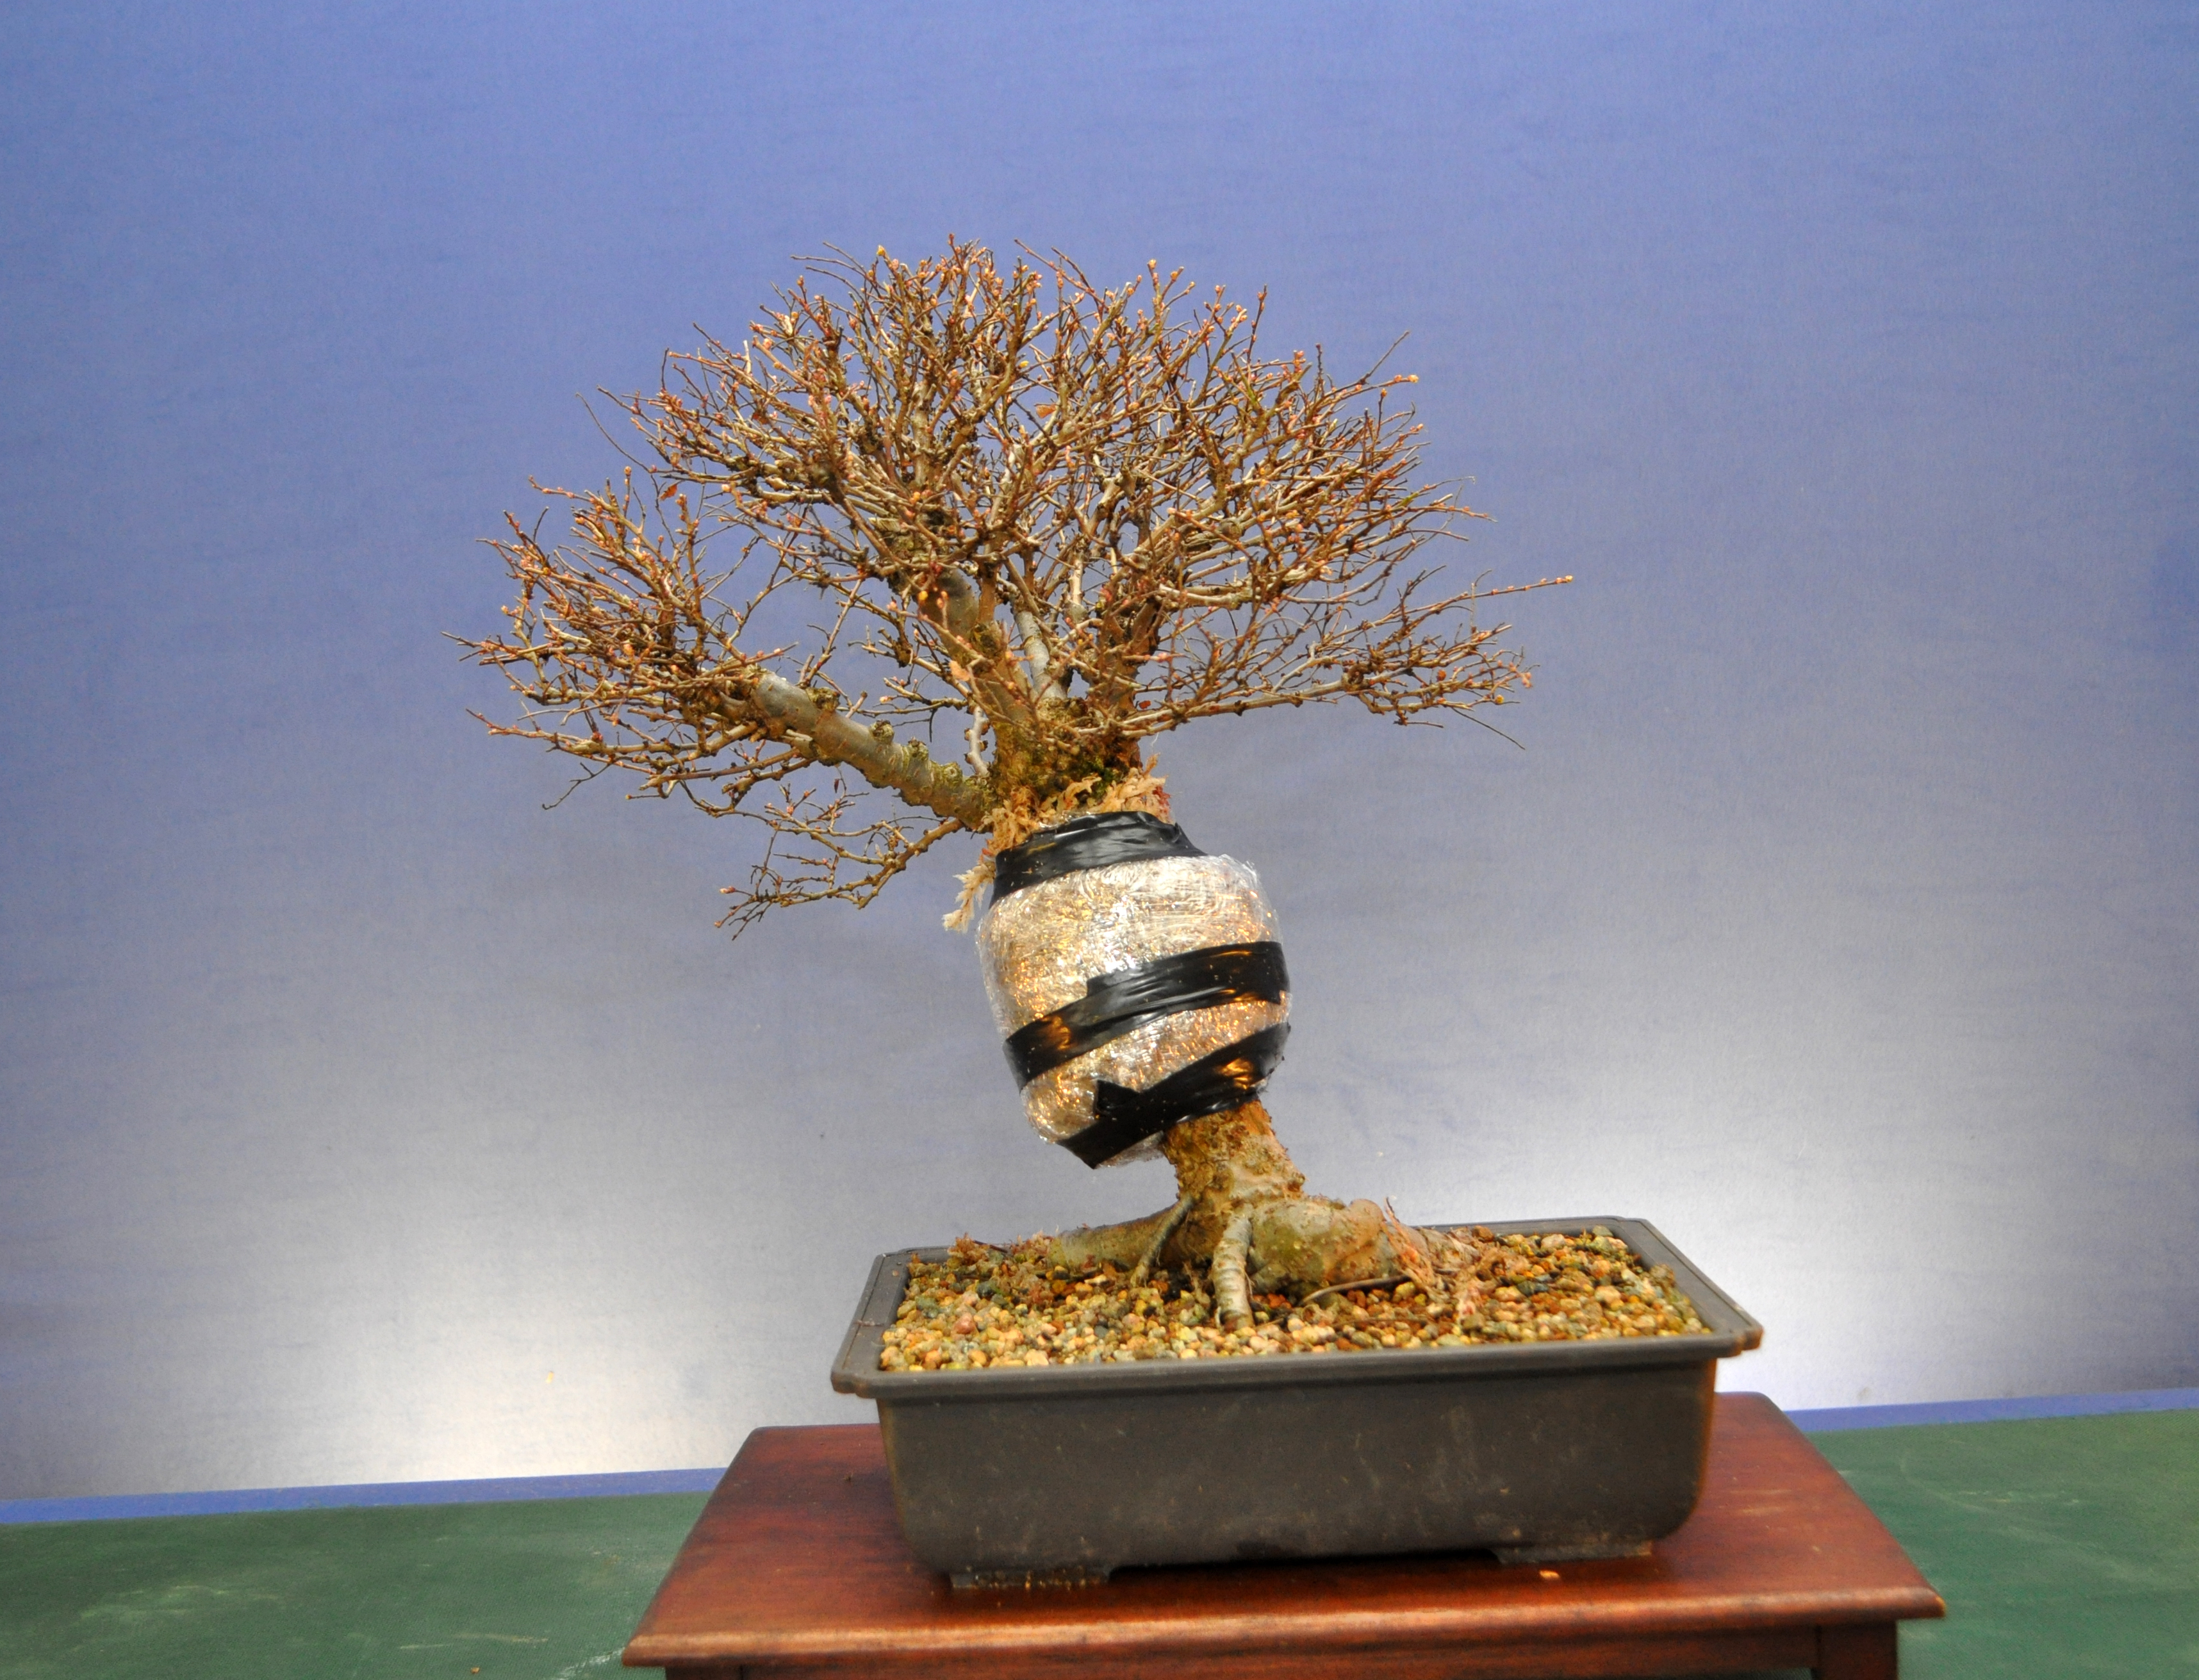
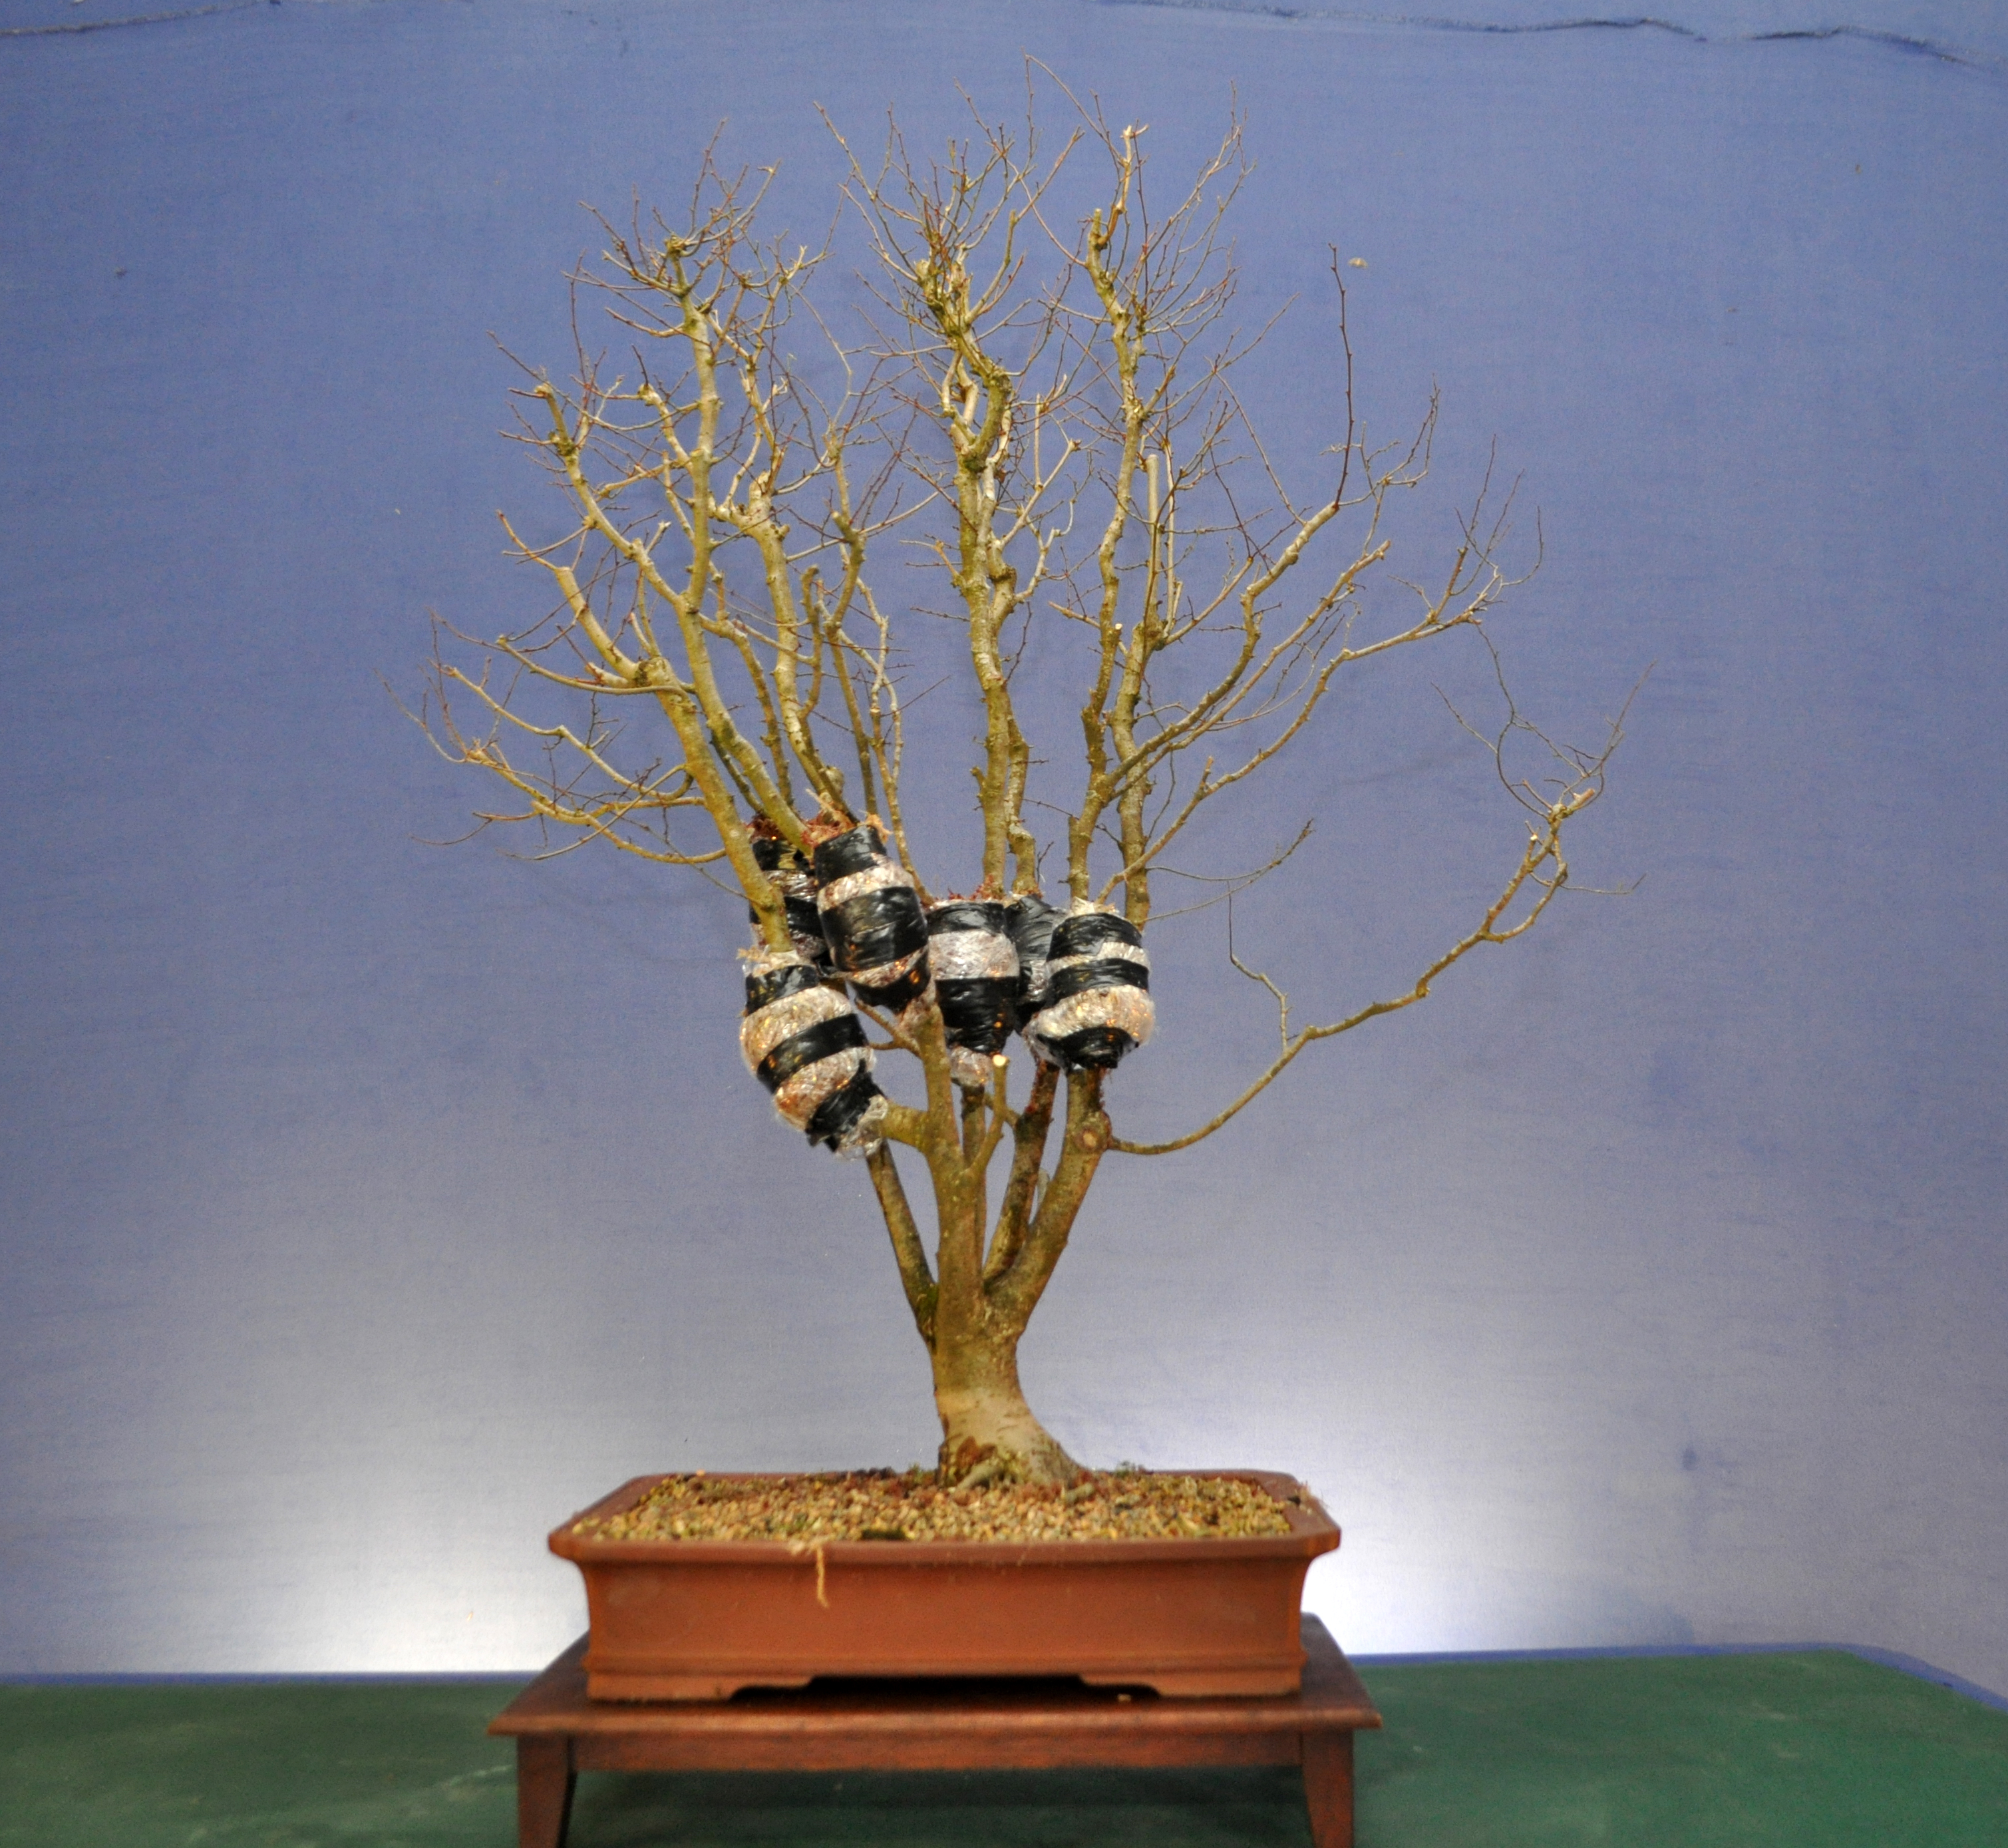
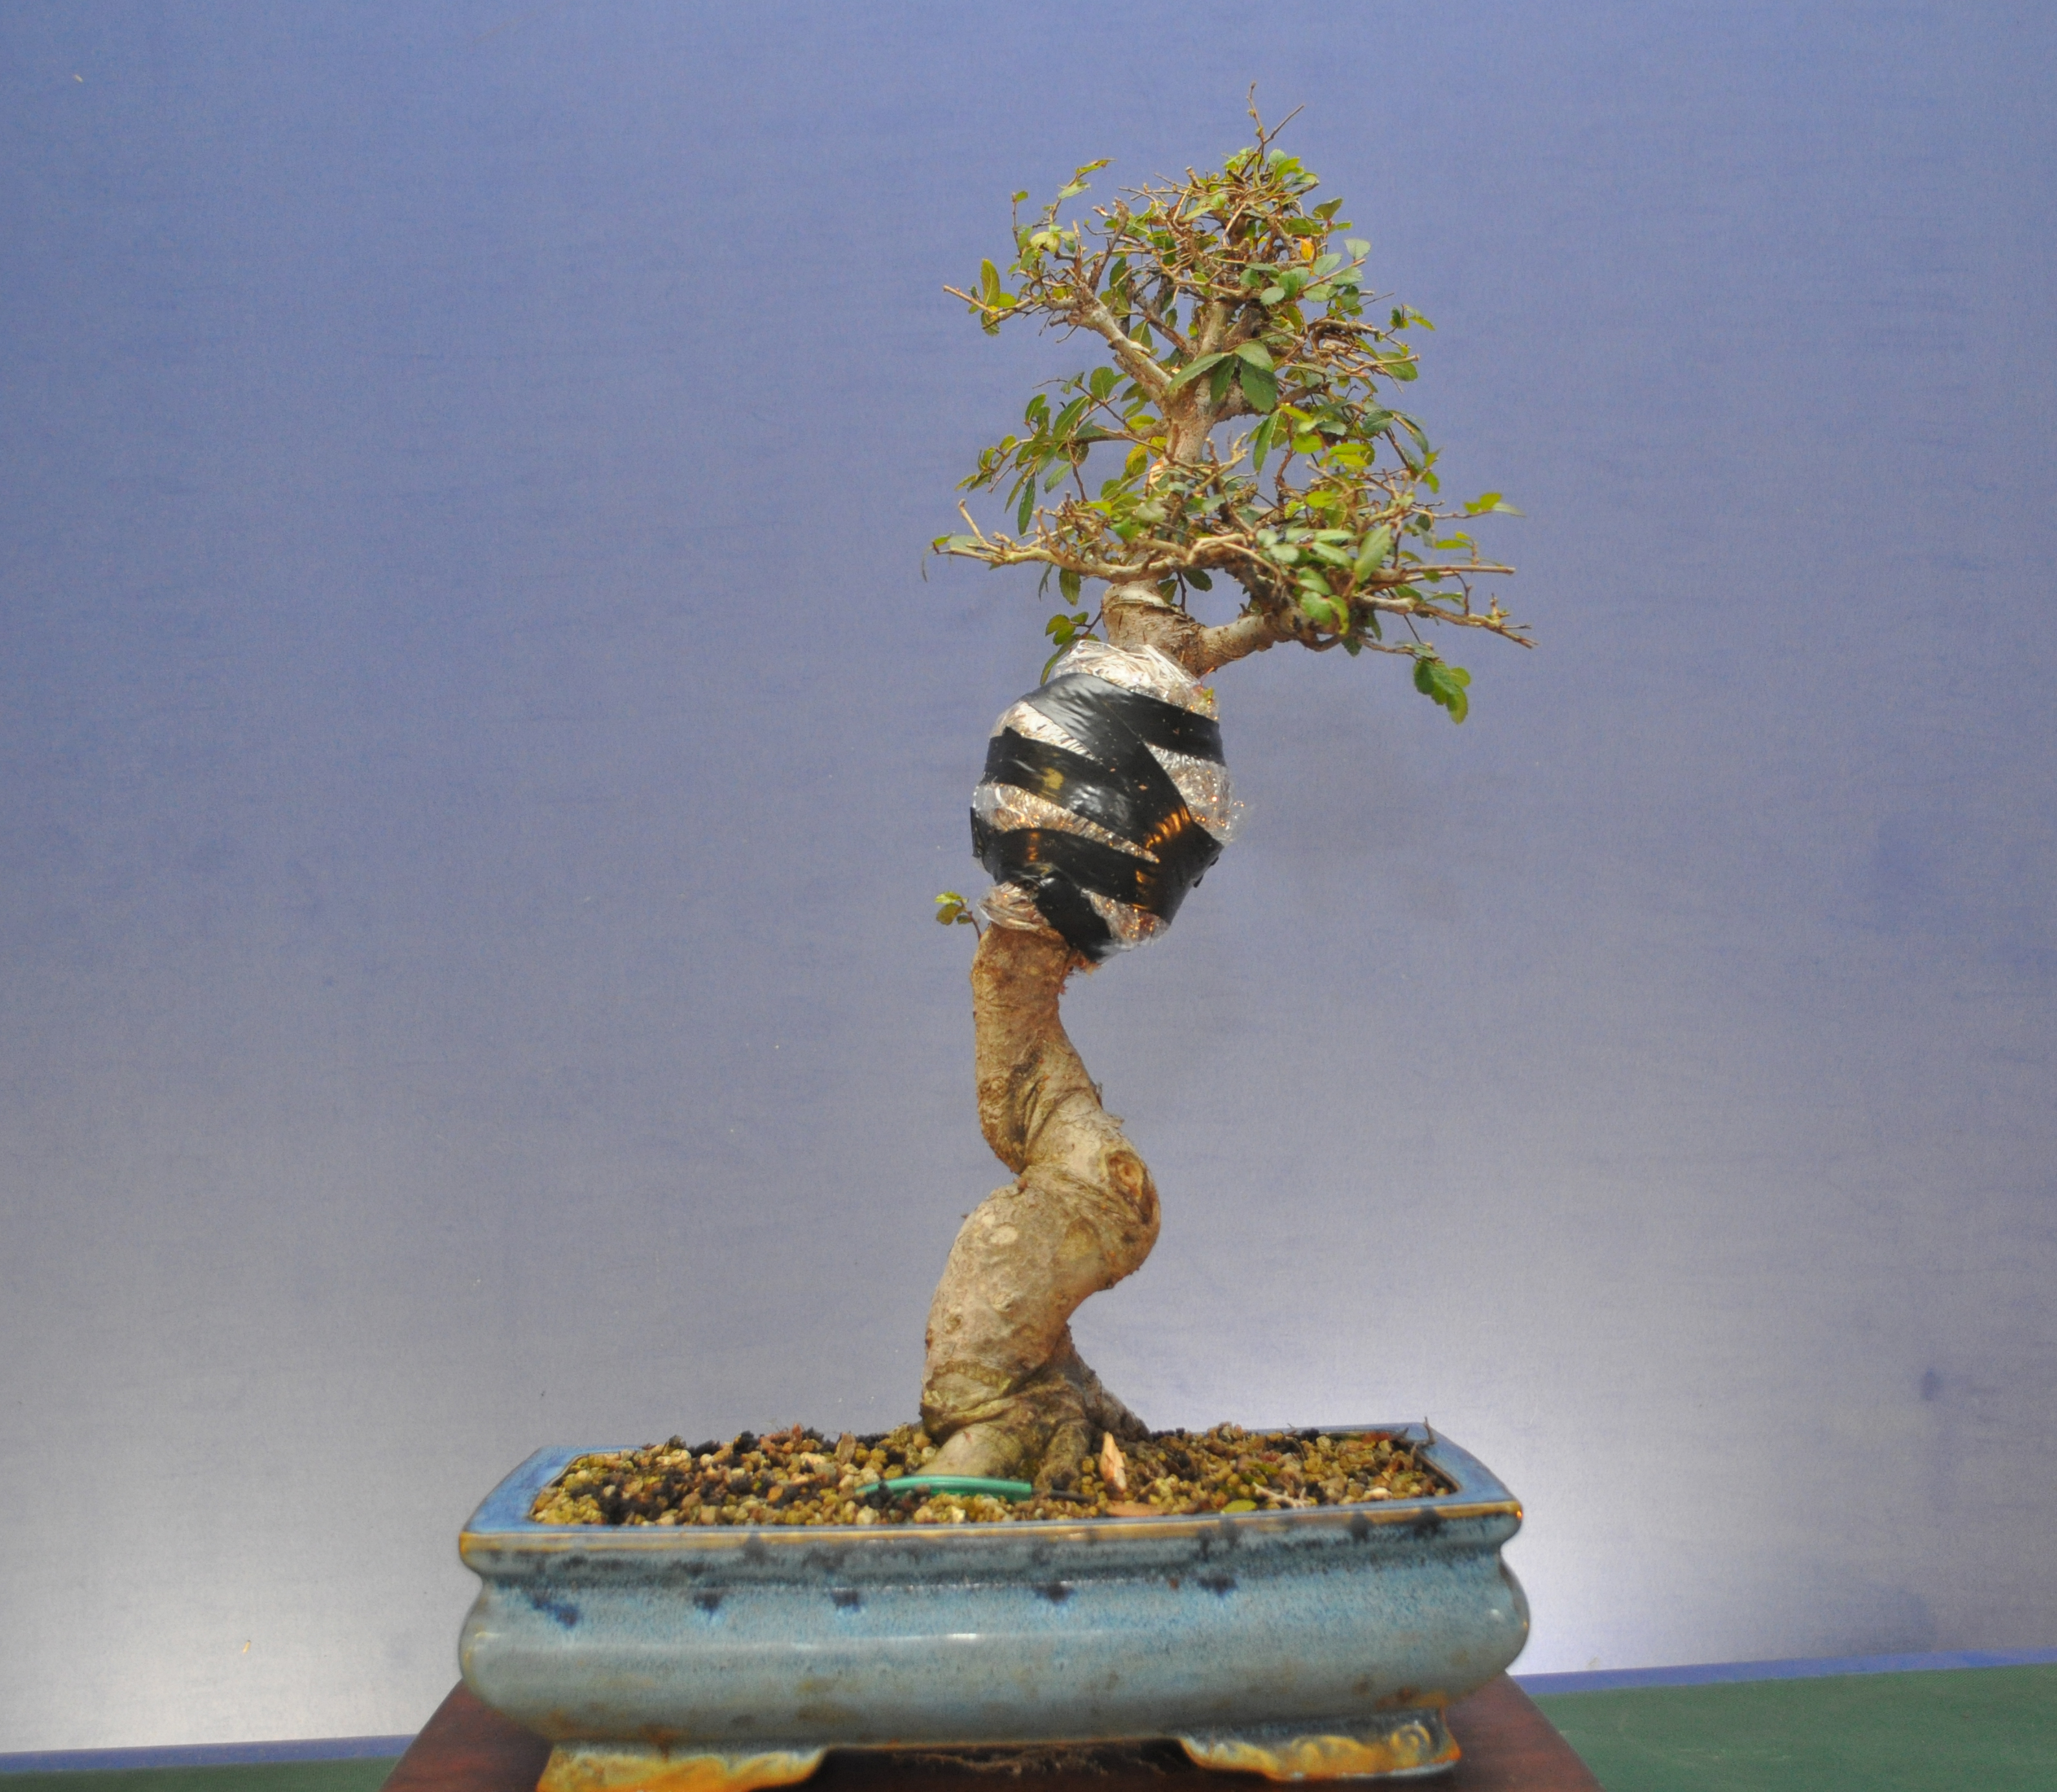
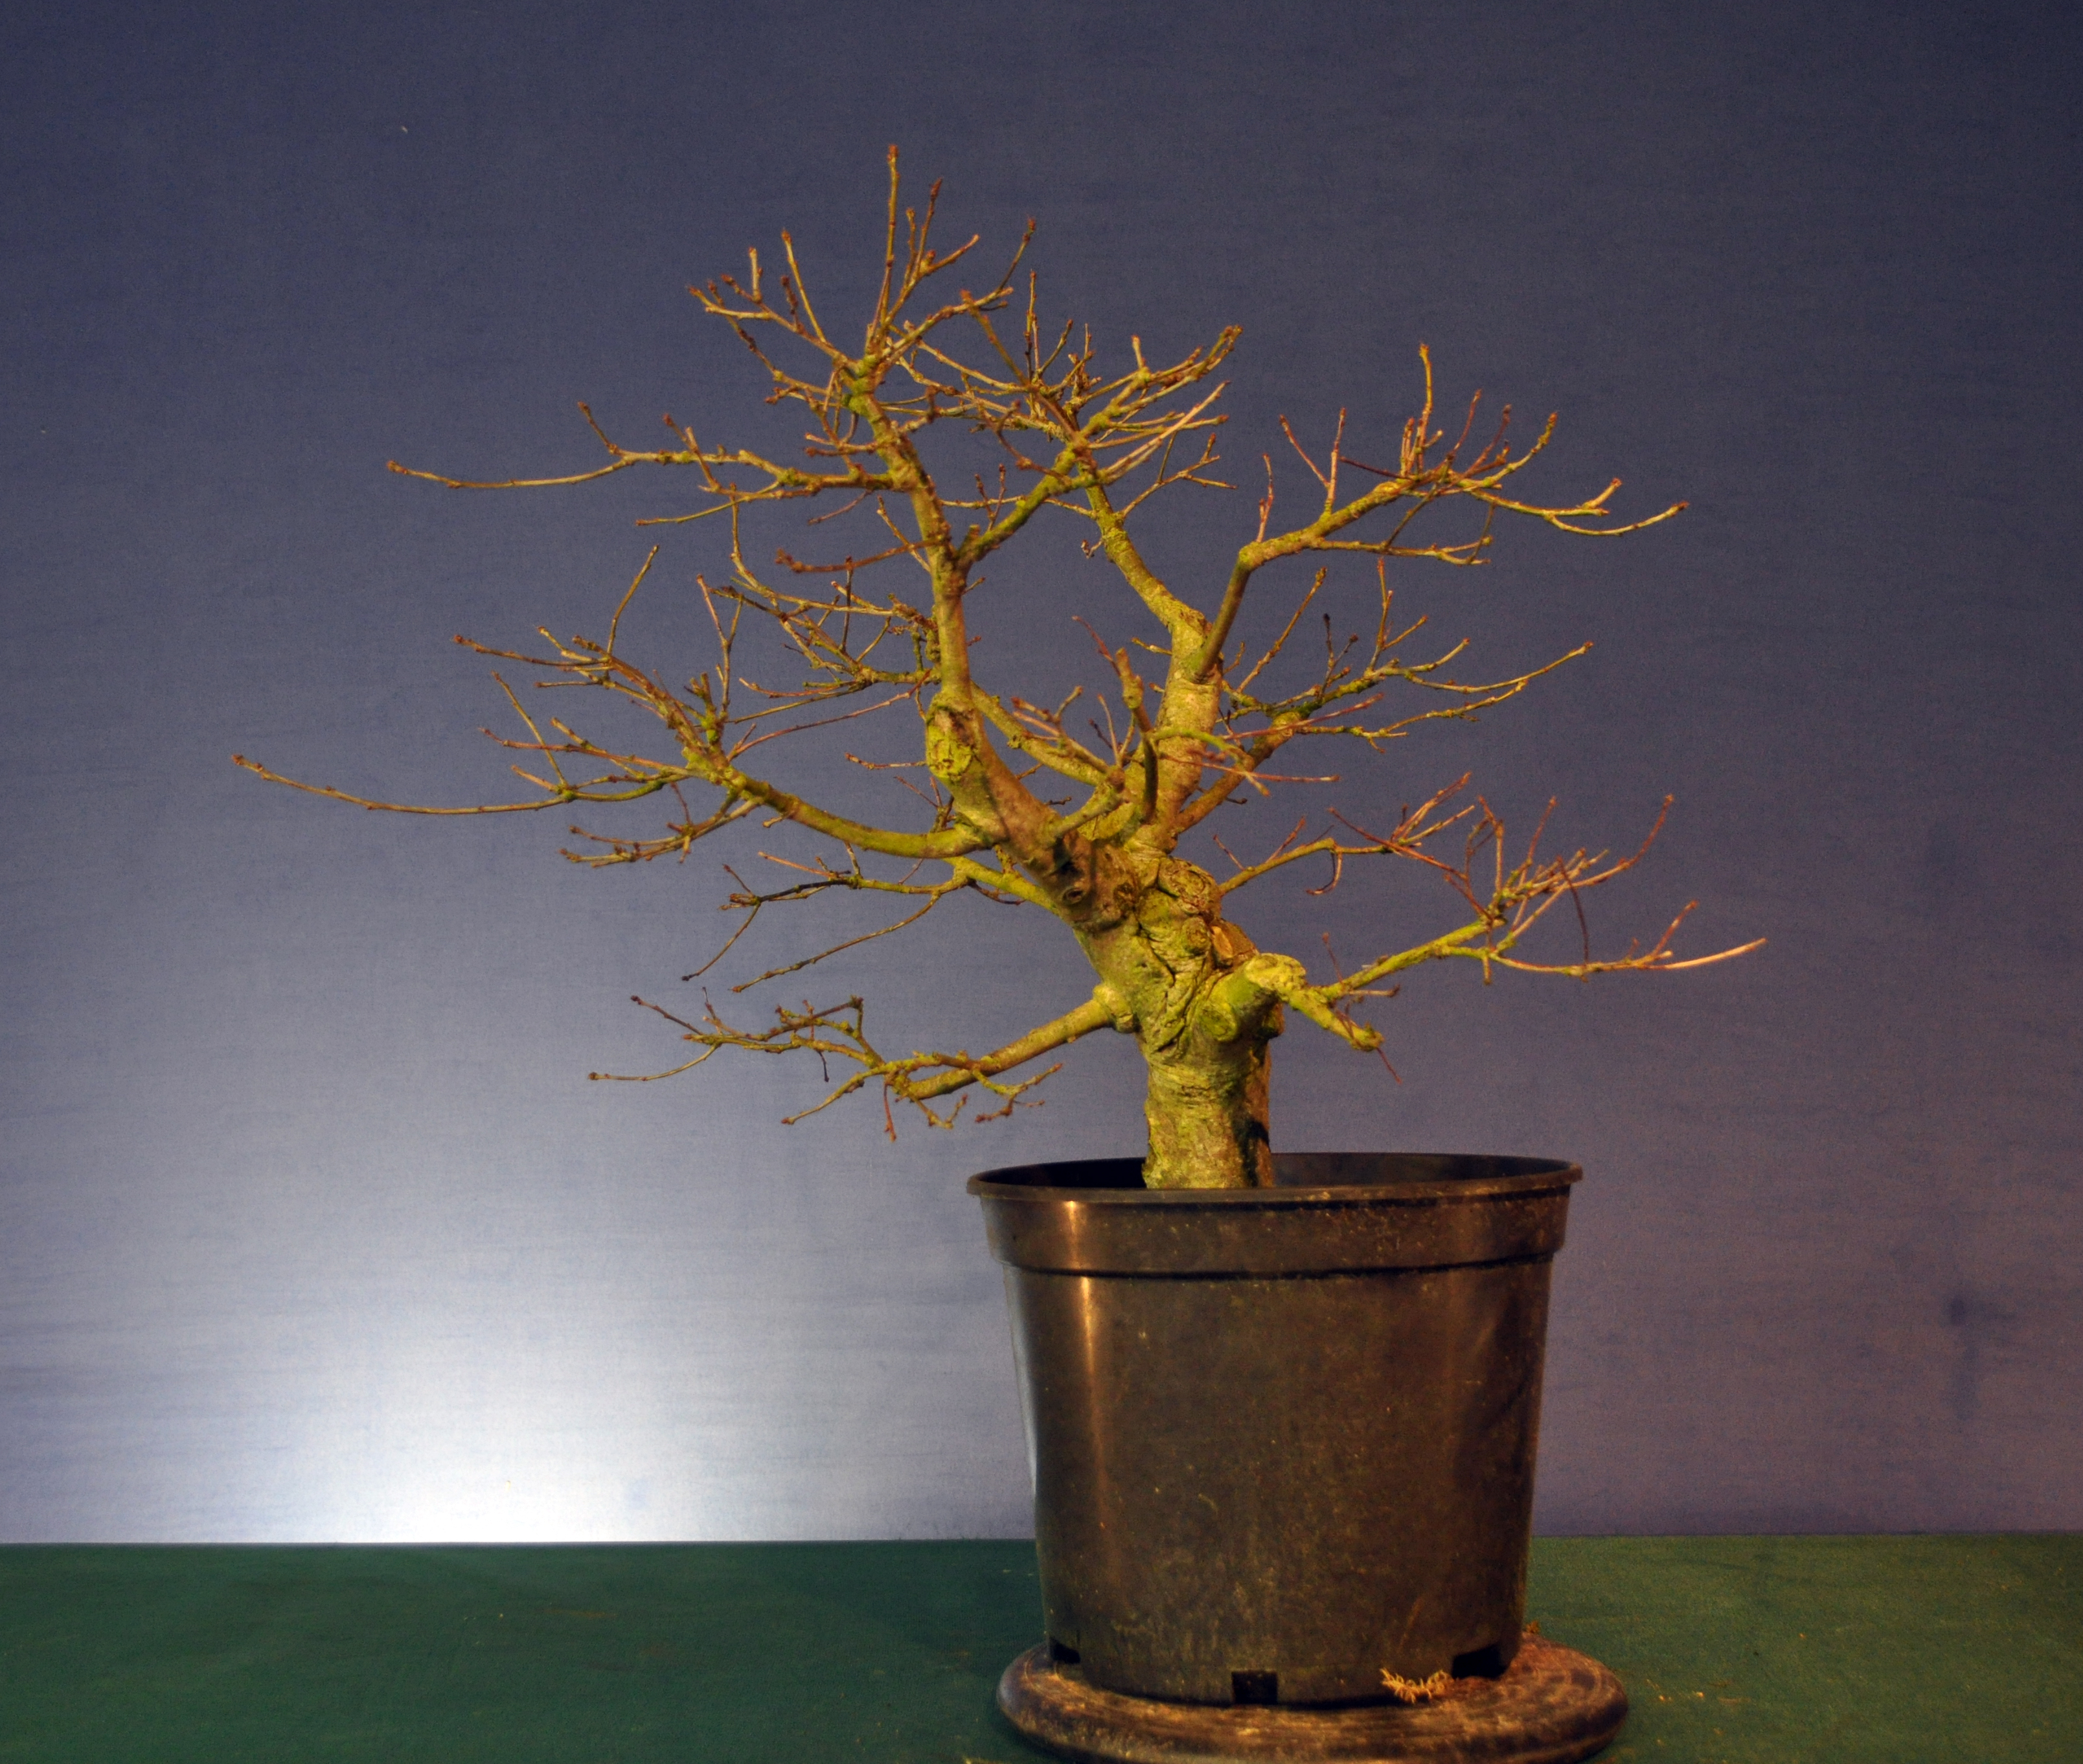
The course is set up to show a range of material being worked much of it very affordable and perfect for beginners. The species covered are Pinus, Juniper and Spruce, the most popular coniferous species used and the most readily available. Although the artists are all European based, Is Harry still European? 🙂 , the knowledge given works worldwide, indeed Walter even covers some American species in his sections.

I haven’t managed to watch all the content, there’s a lot! However I’ve sampled every lesson to get a feel of the course. After 27 years of playing with wee trees a lot of content wasn’t new to me but I still enjoyed watching and seeing each artists approach to teaching. Not easy to stand in front of a camera and talk especially when English isn’t your first language. Mauro’s wiring lessons were well thought out and I enjoyed the pot selection for the Sabina. I’d have used the John Pitt pot though 🙂

Jan’s Rock Planting lesson was excellent and his approach differs from my own experience and I look forward to trying a few of his ideas out in the future.

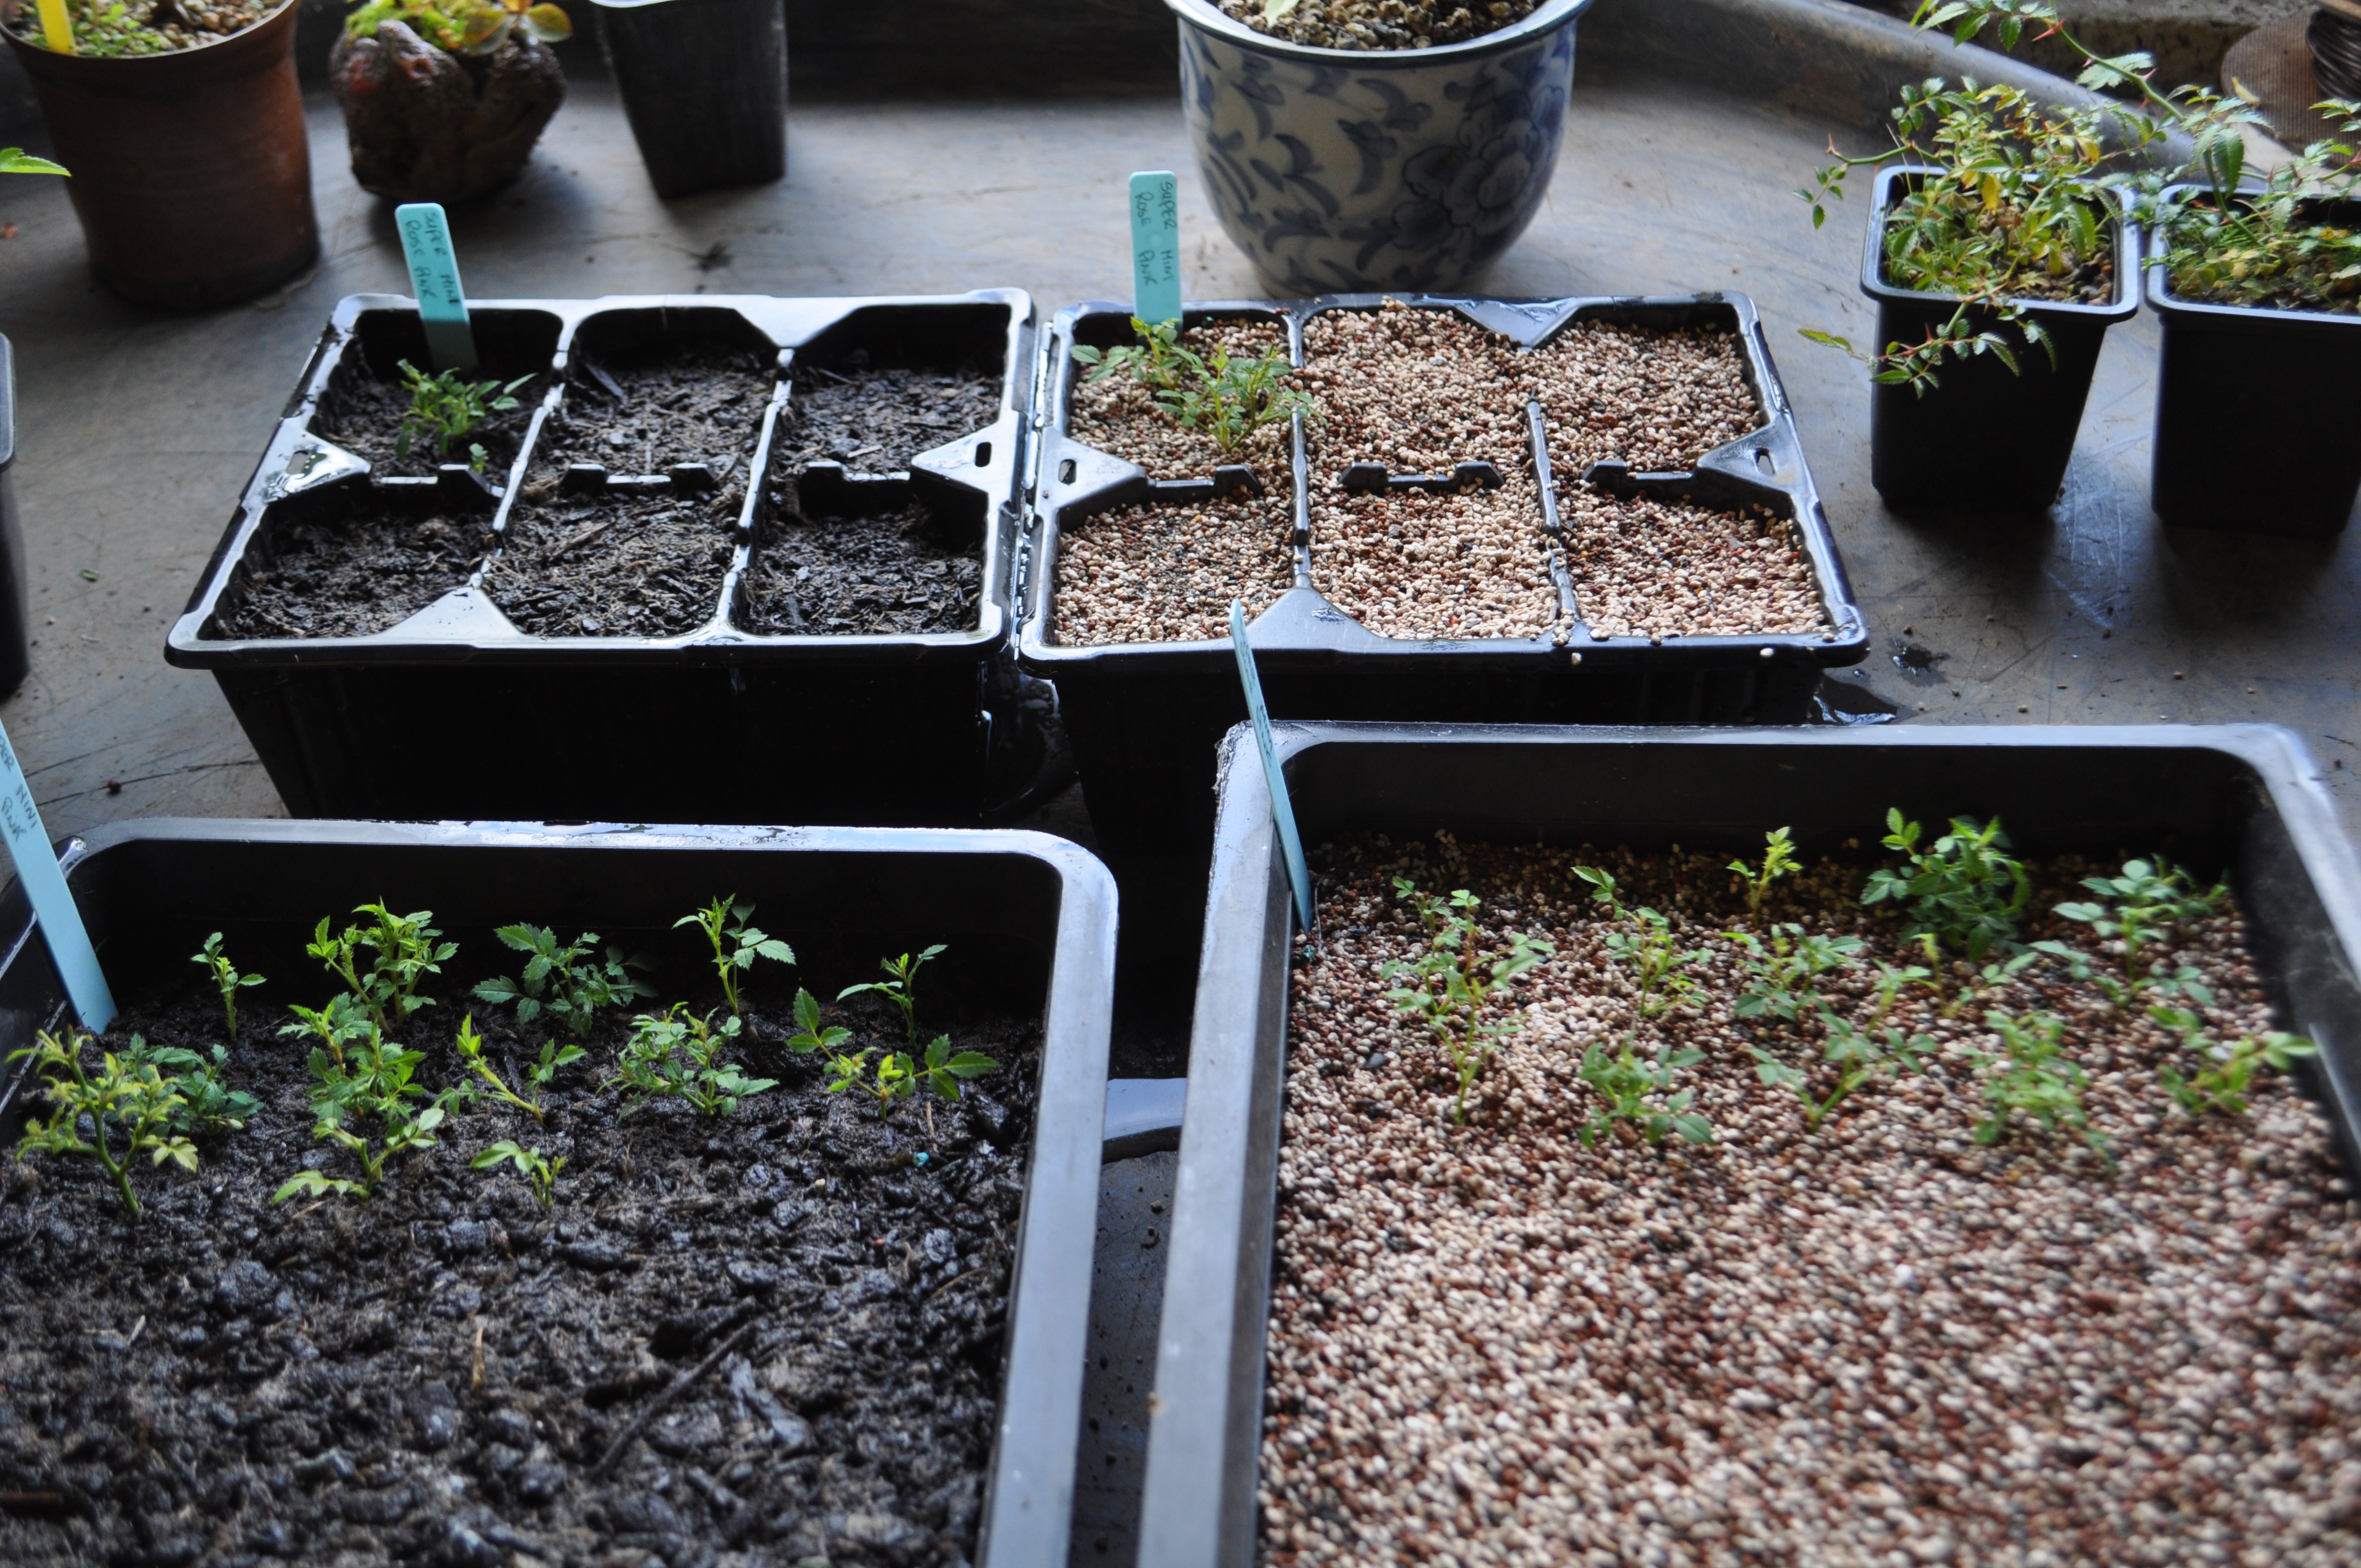
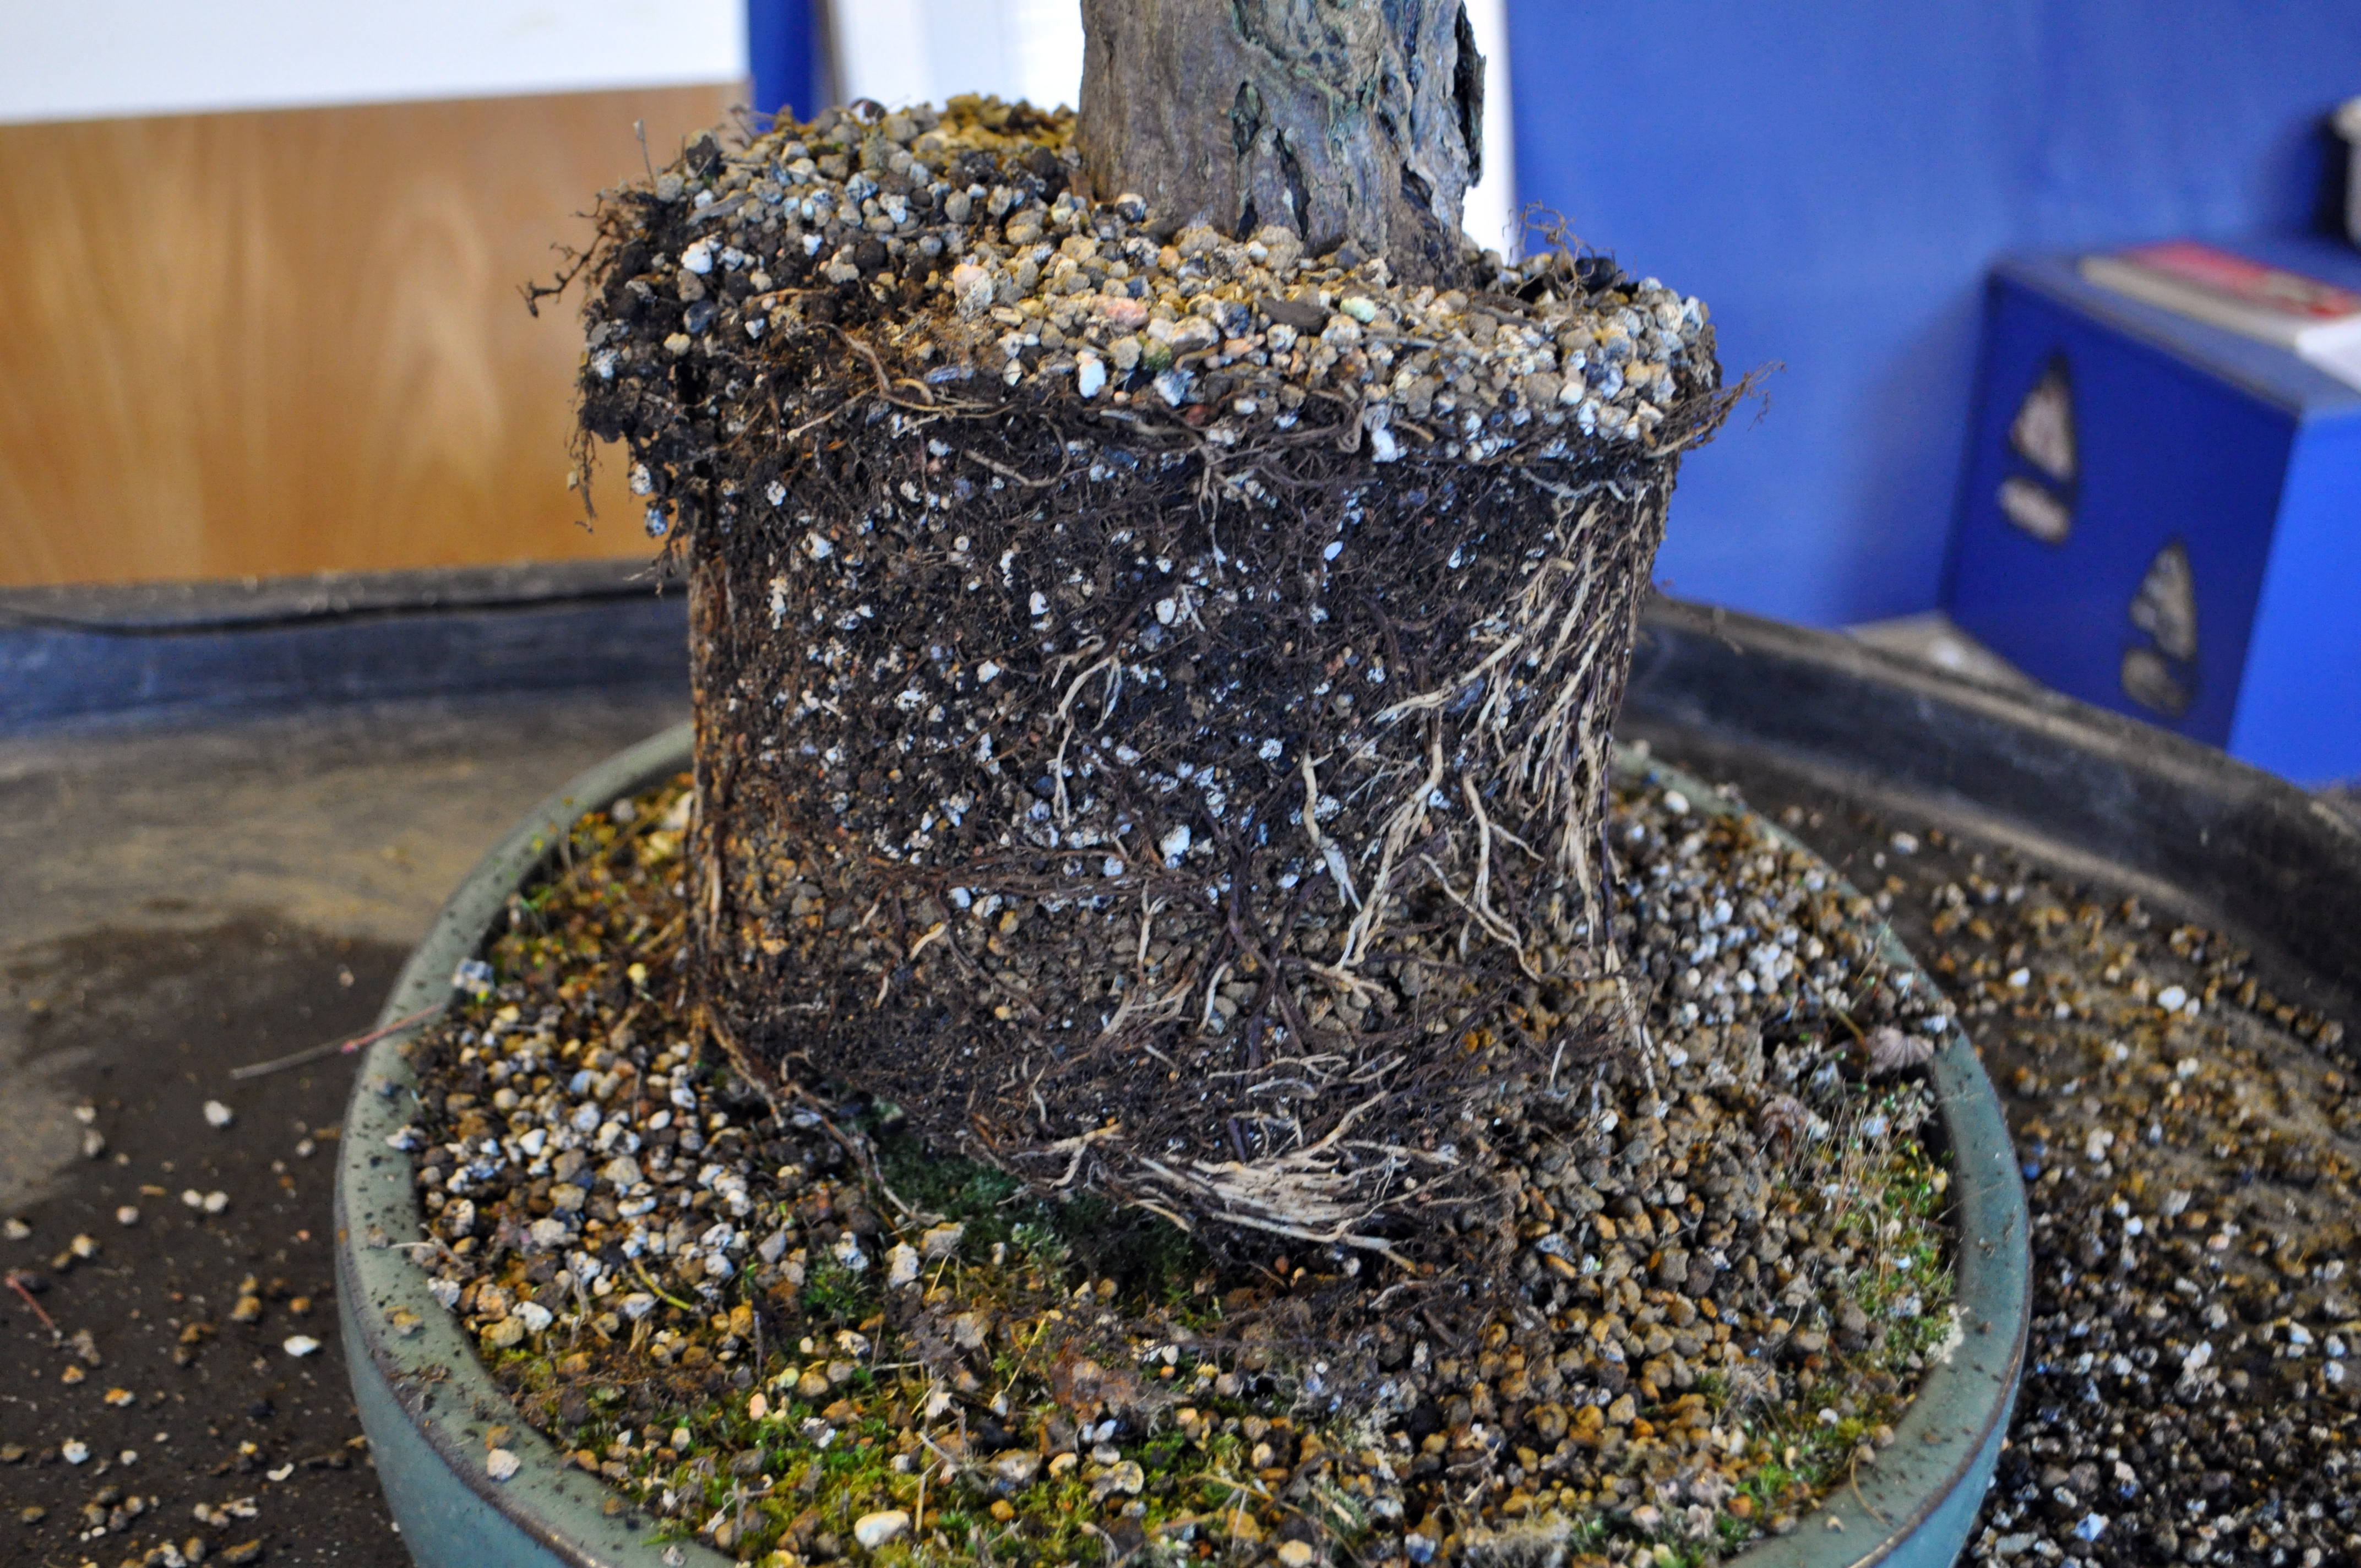
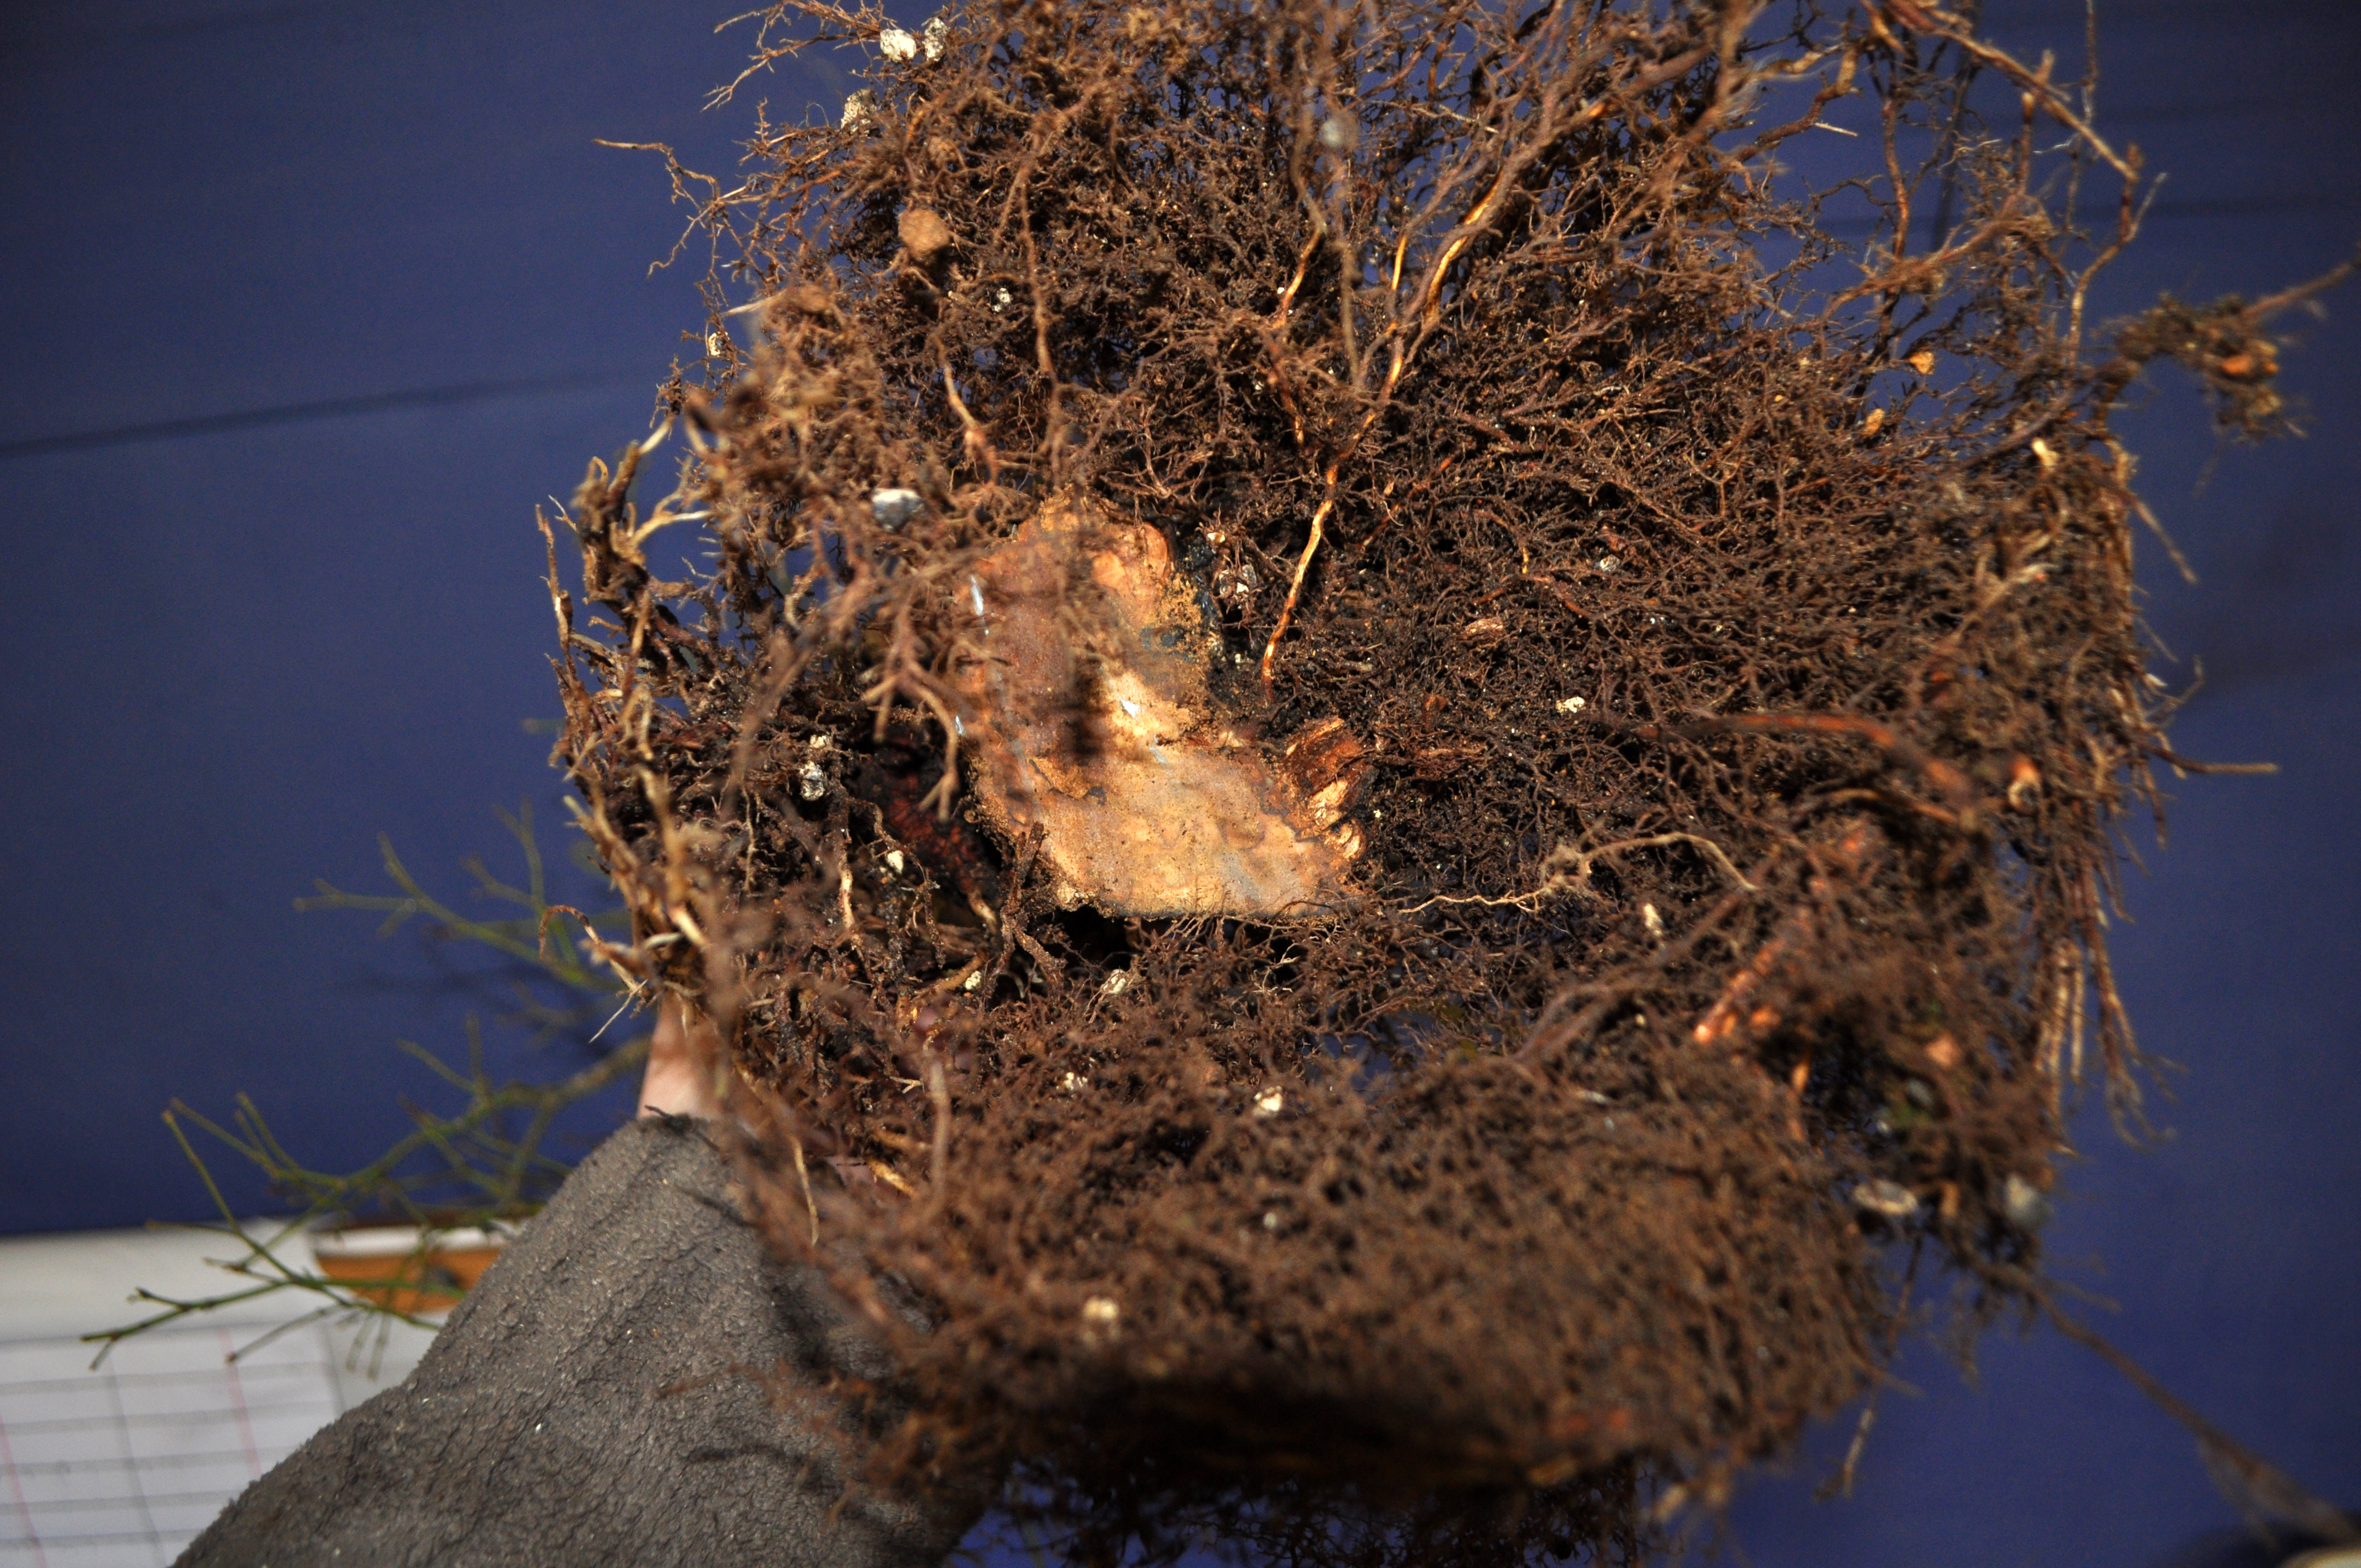
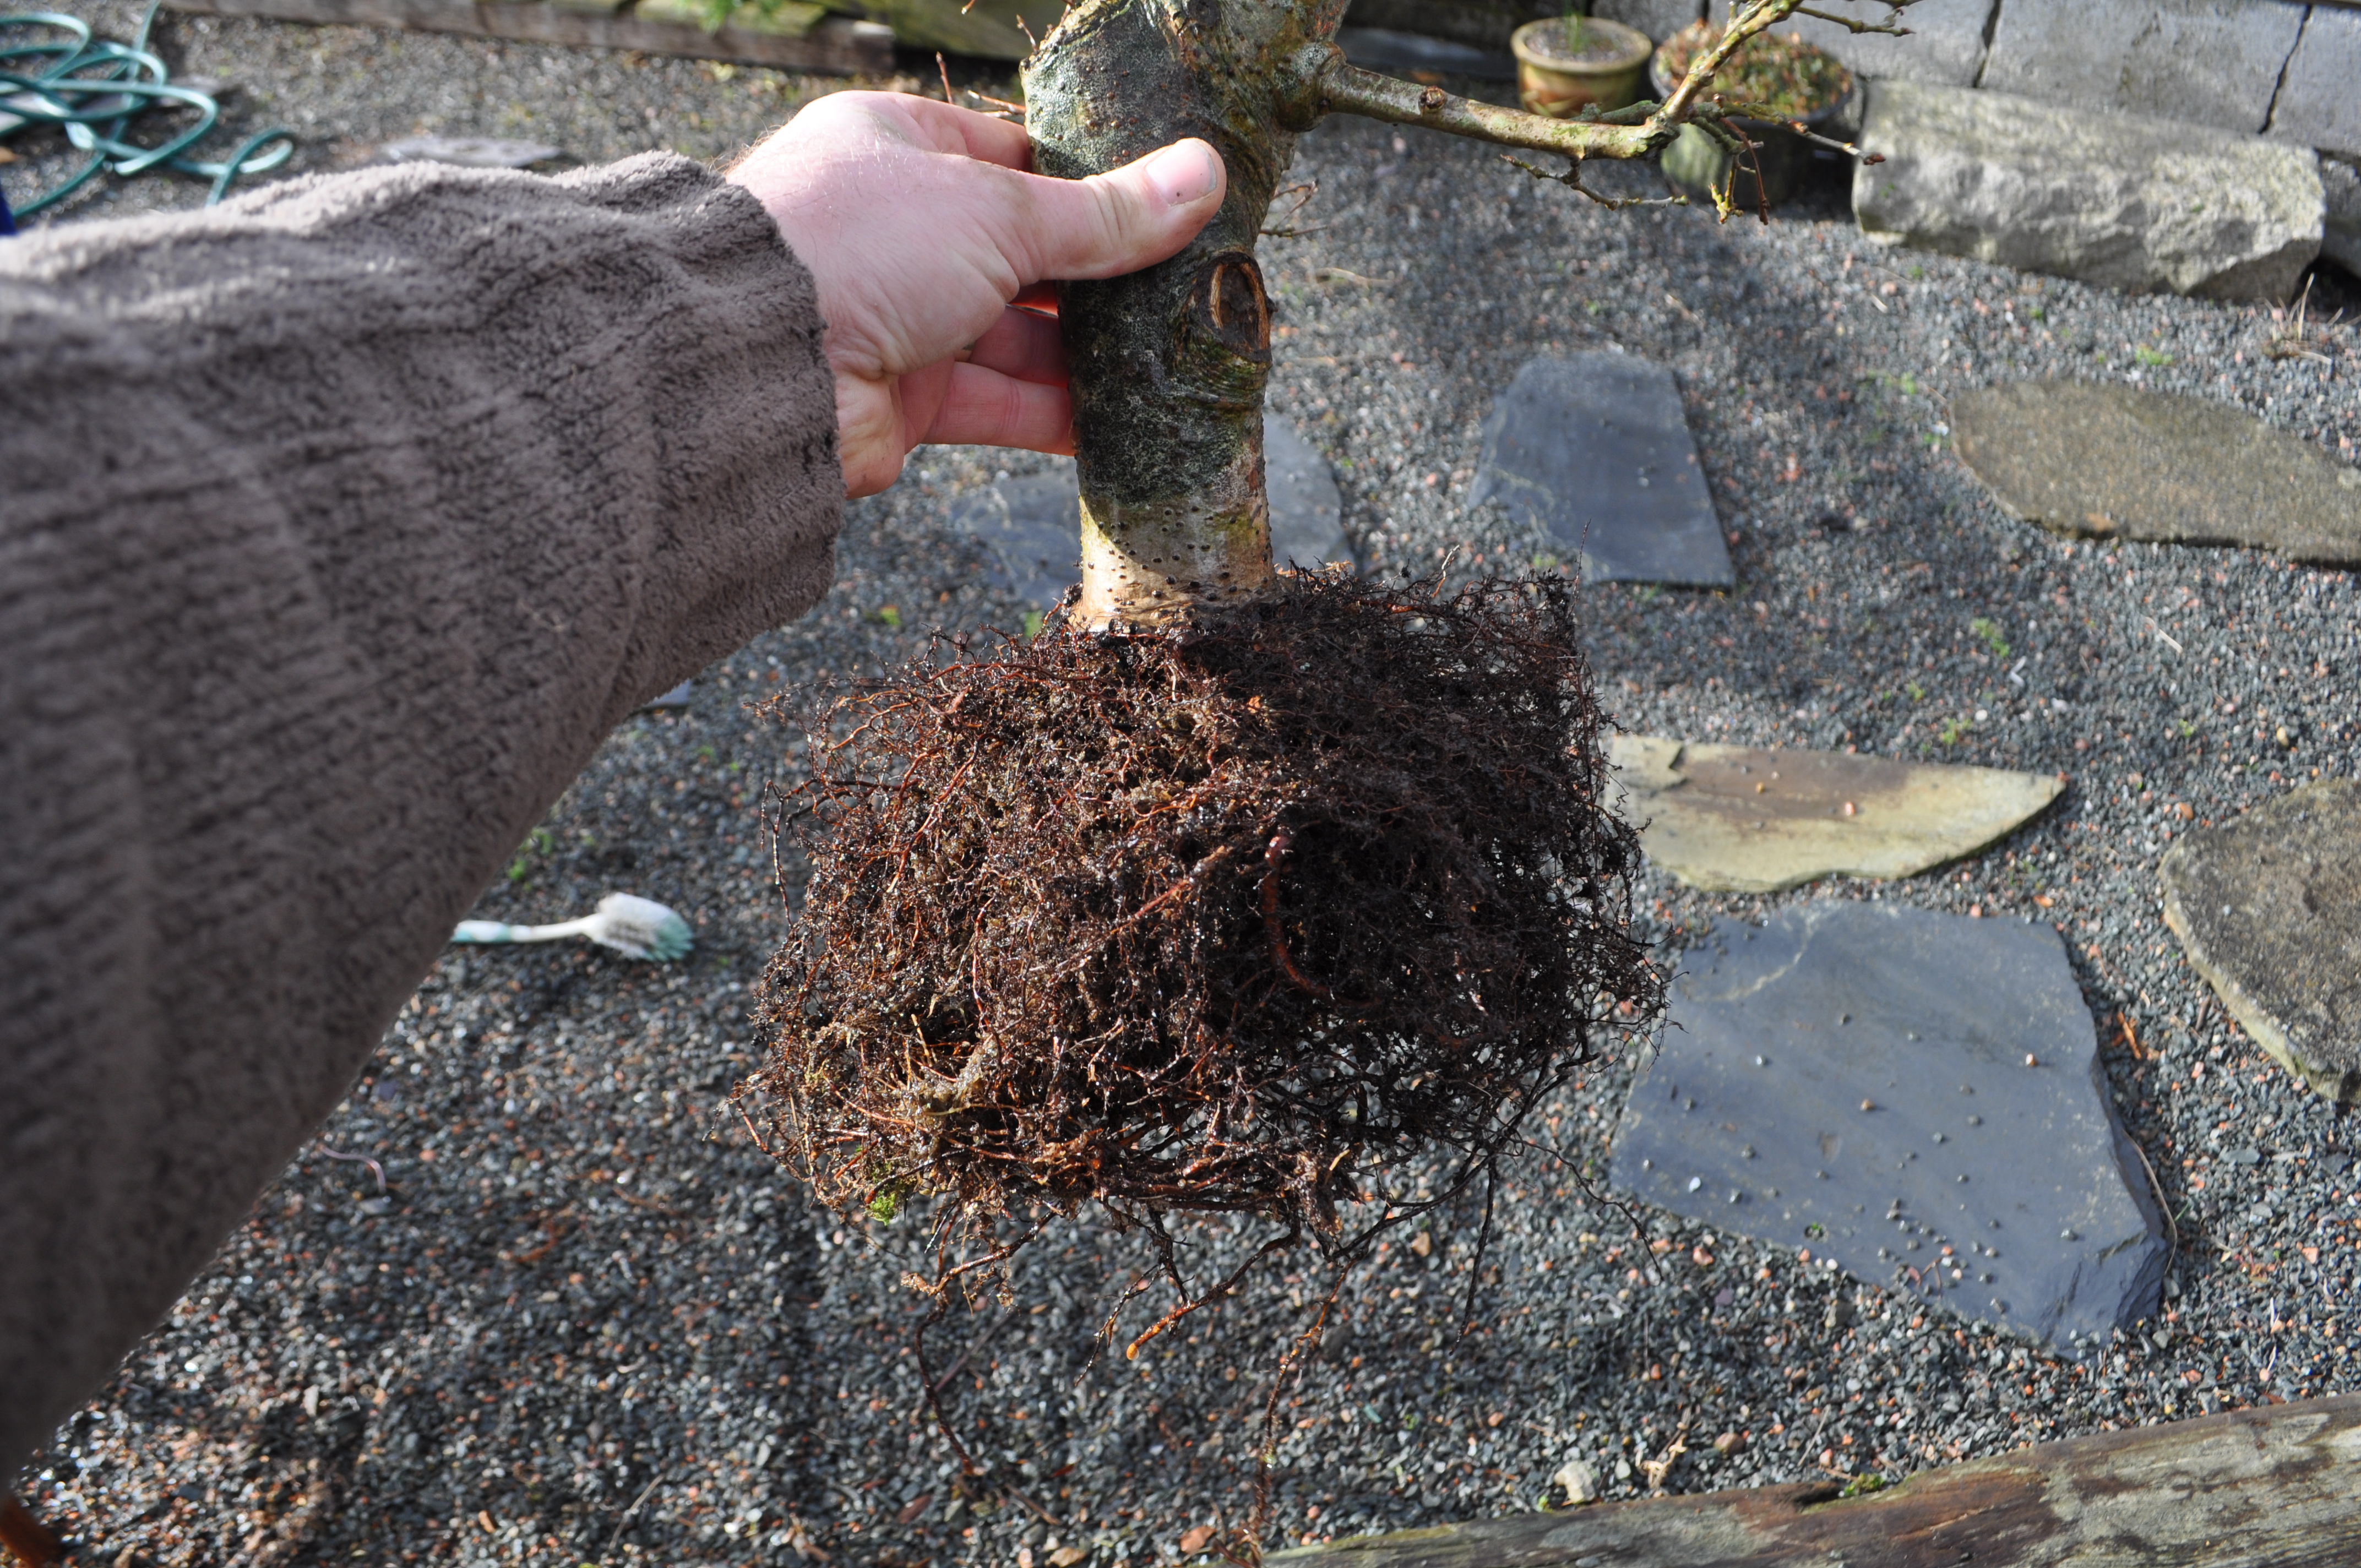
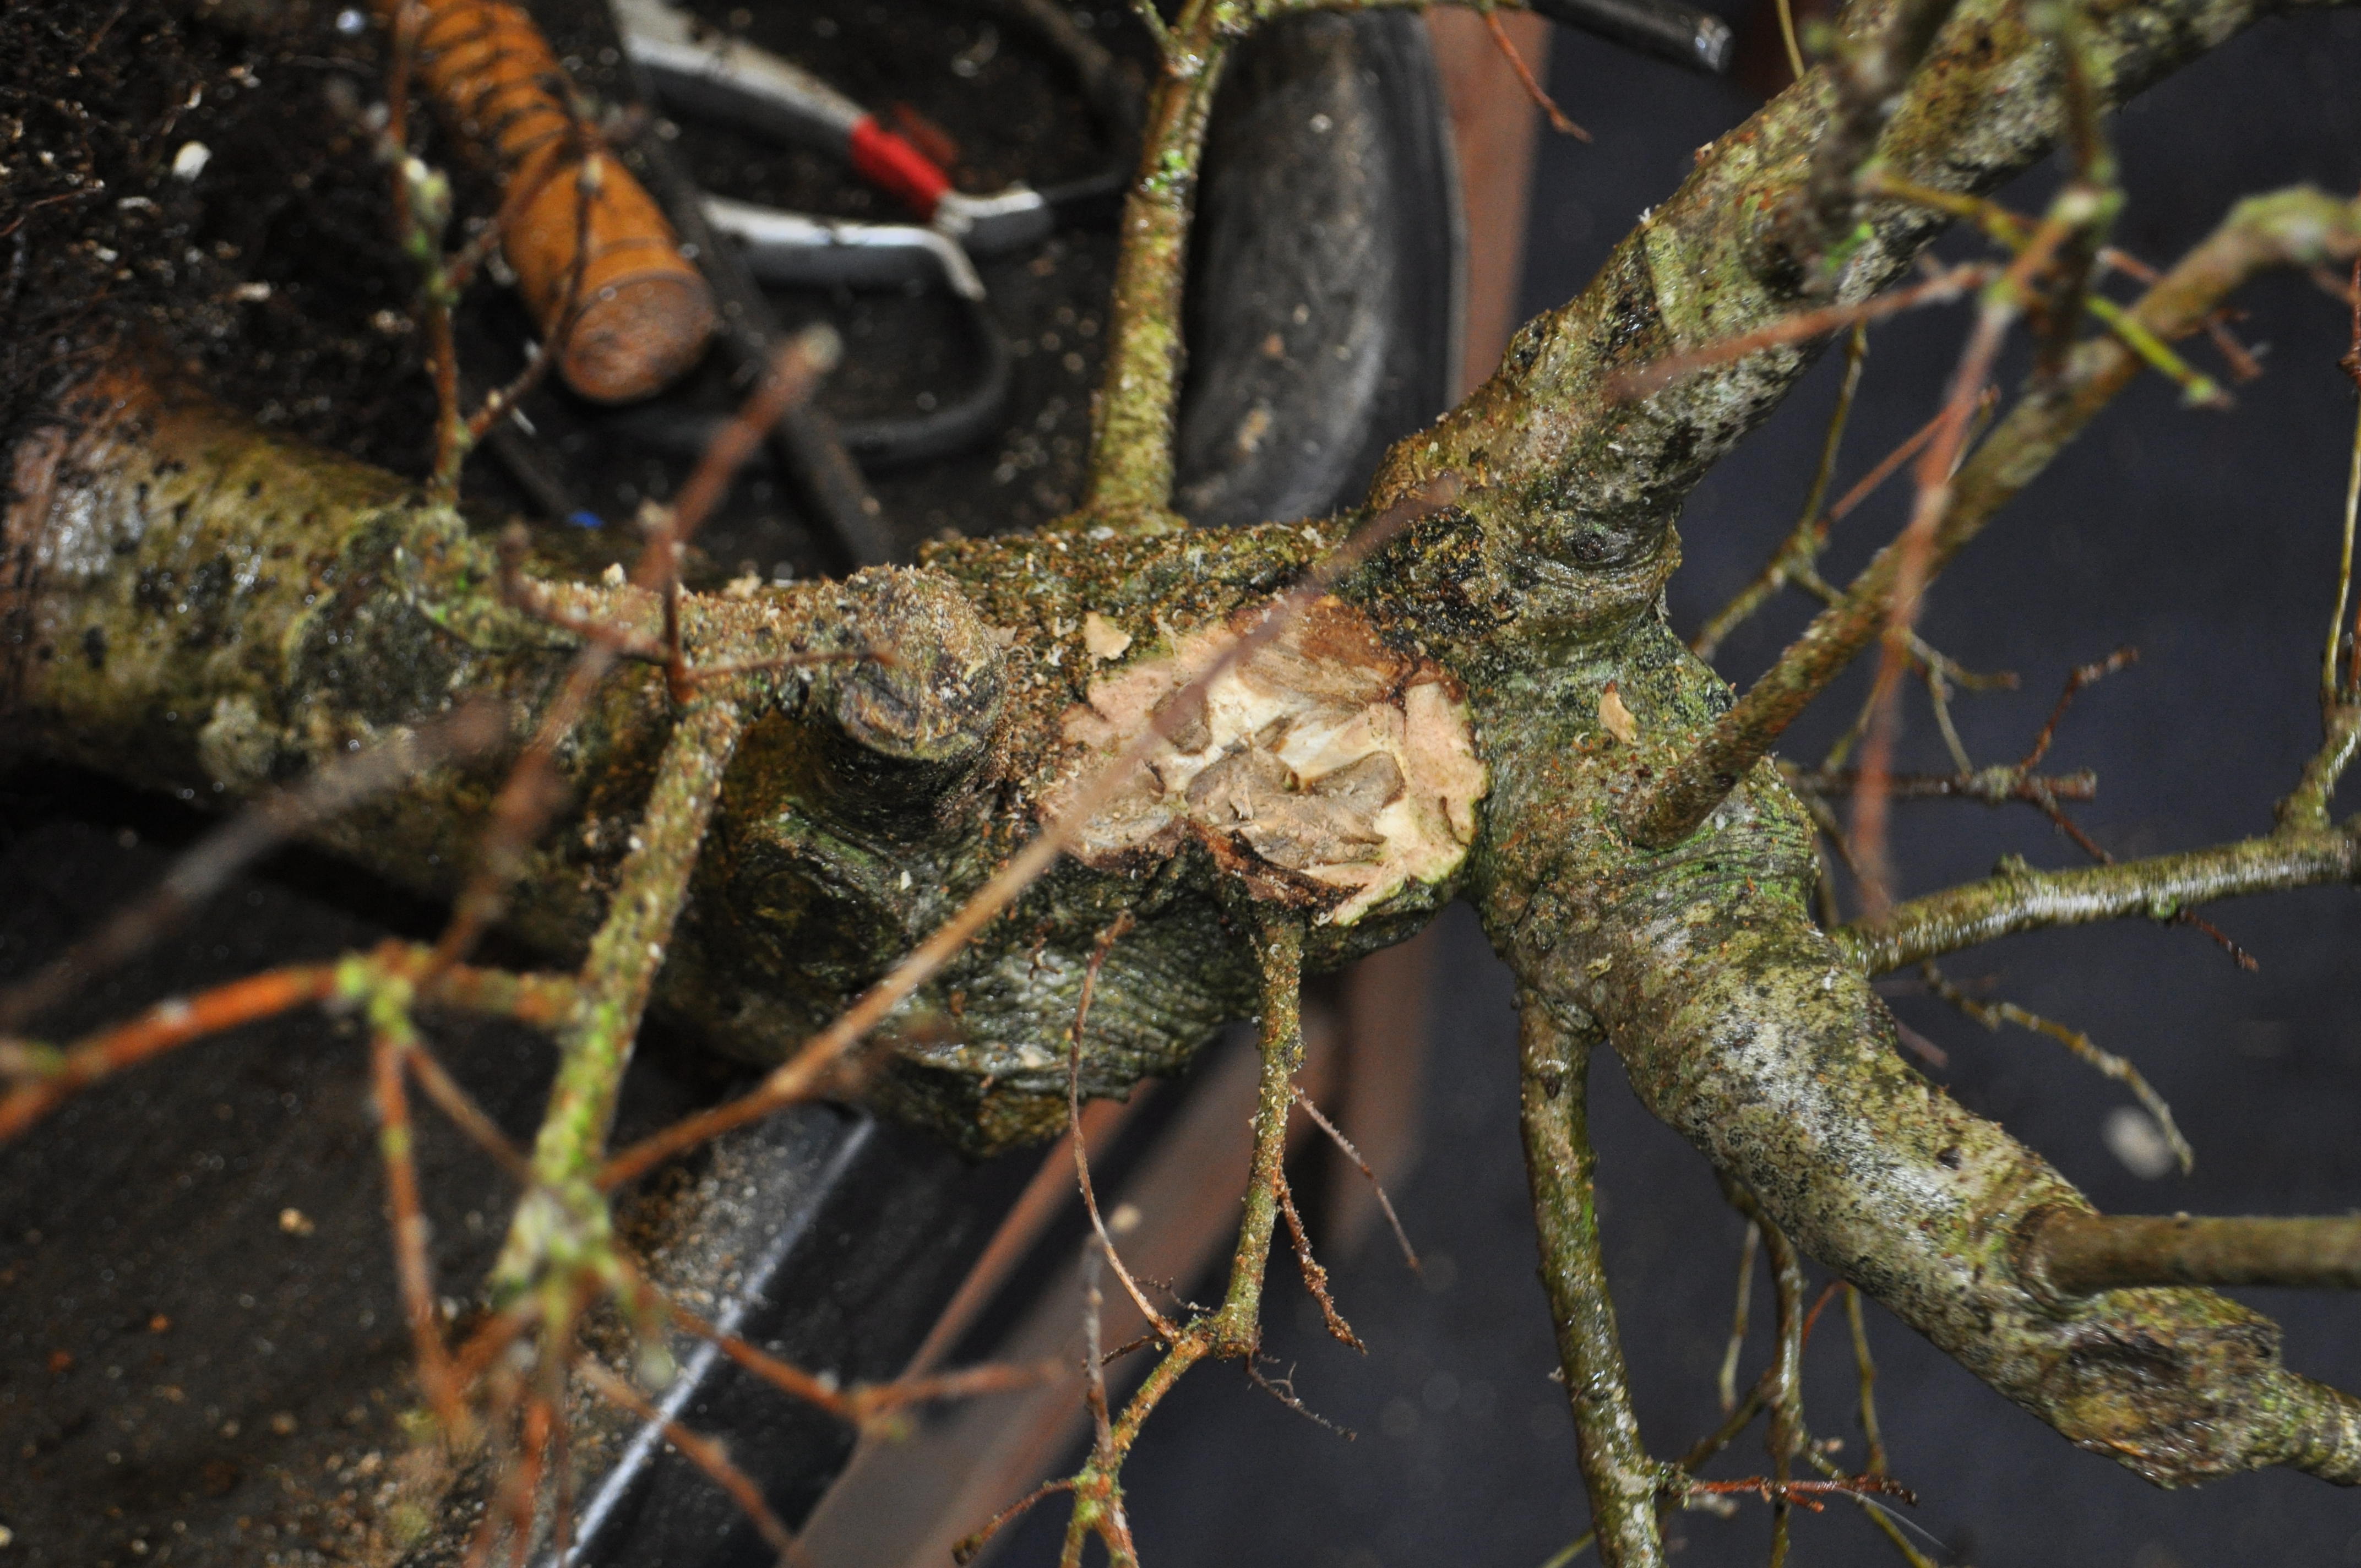
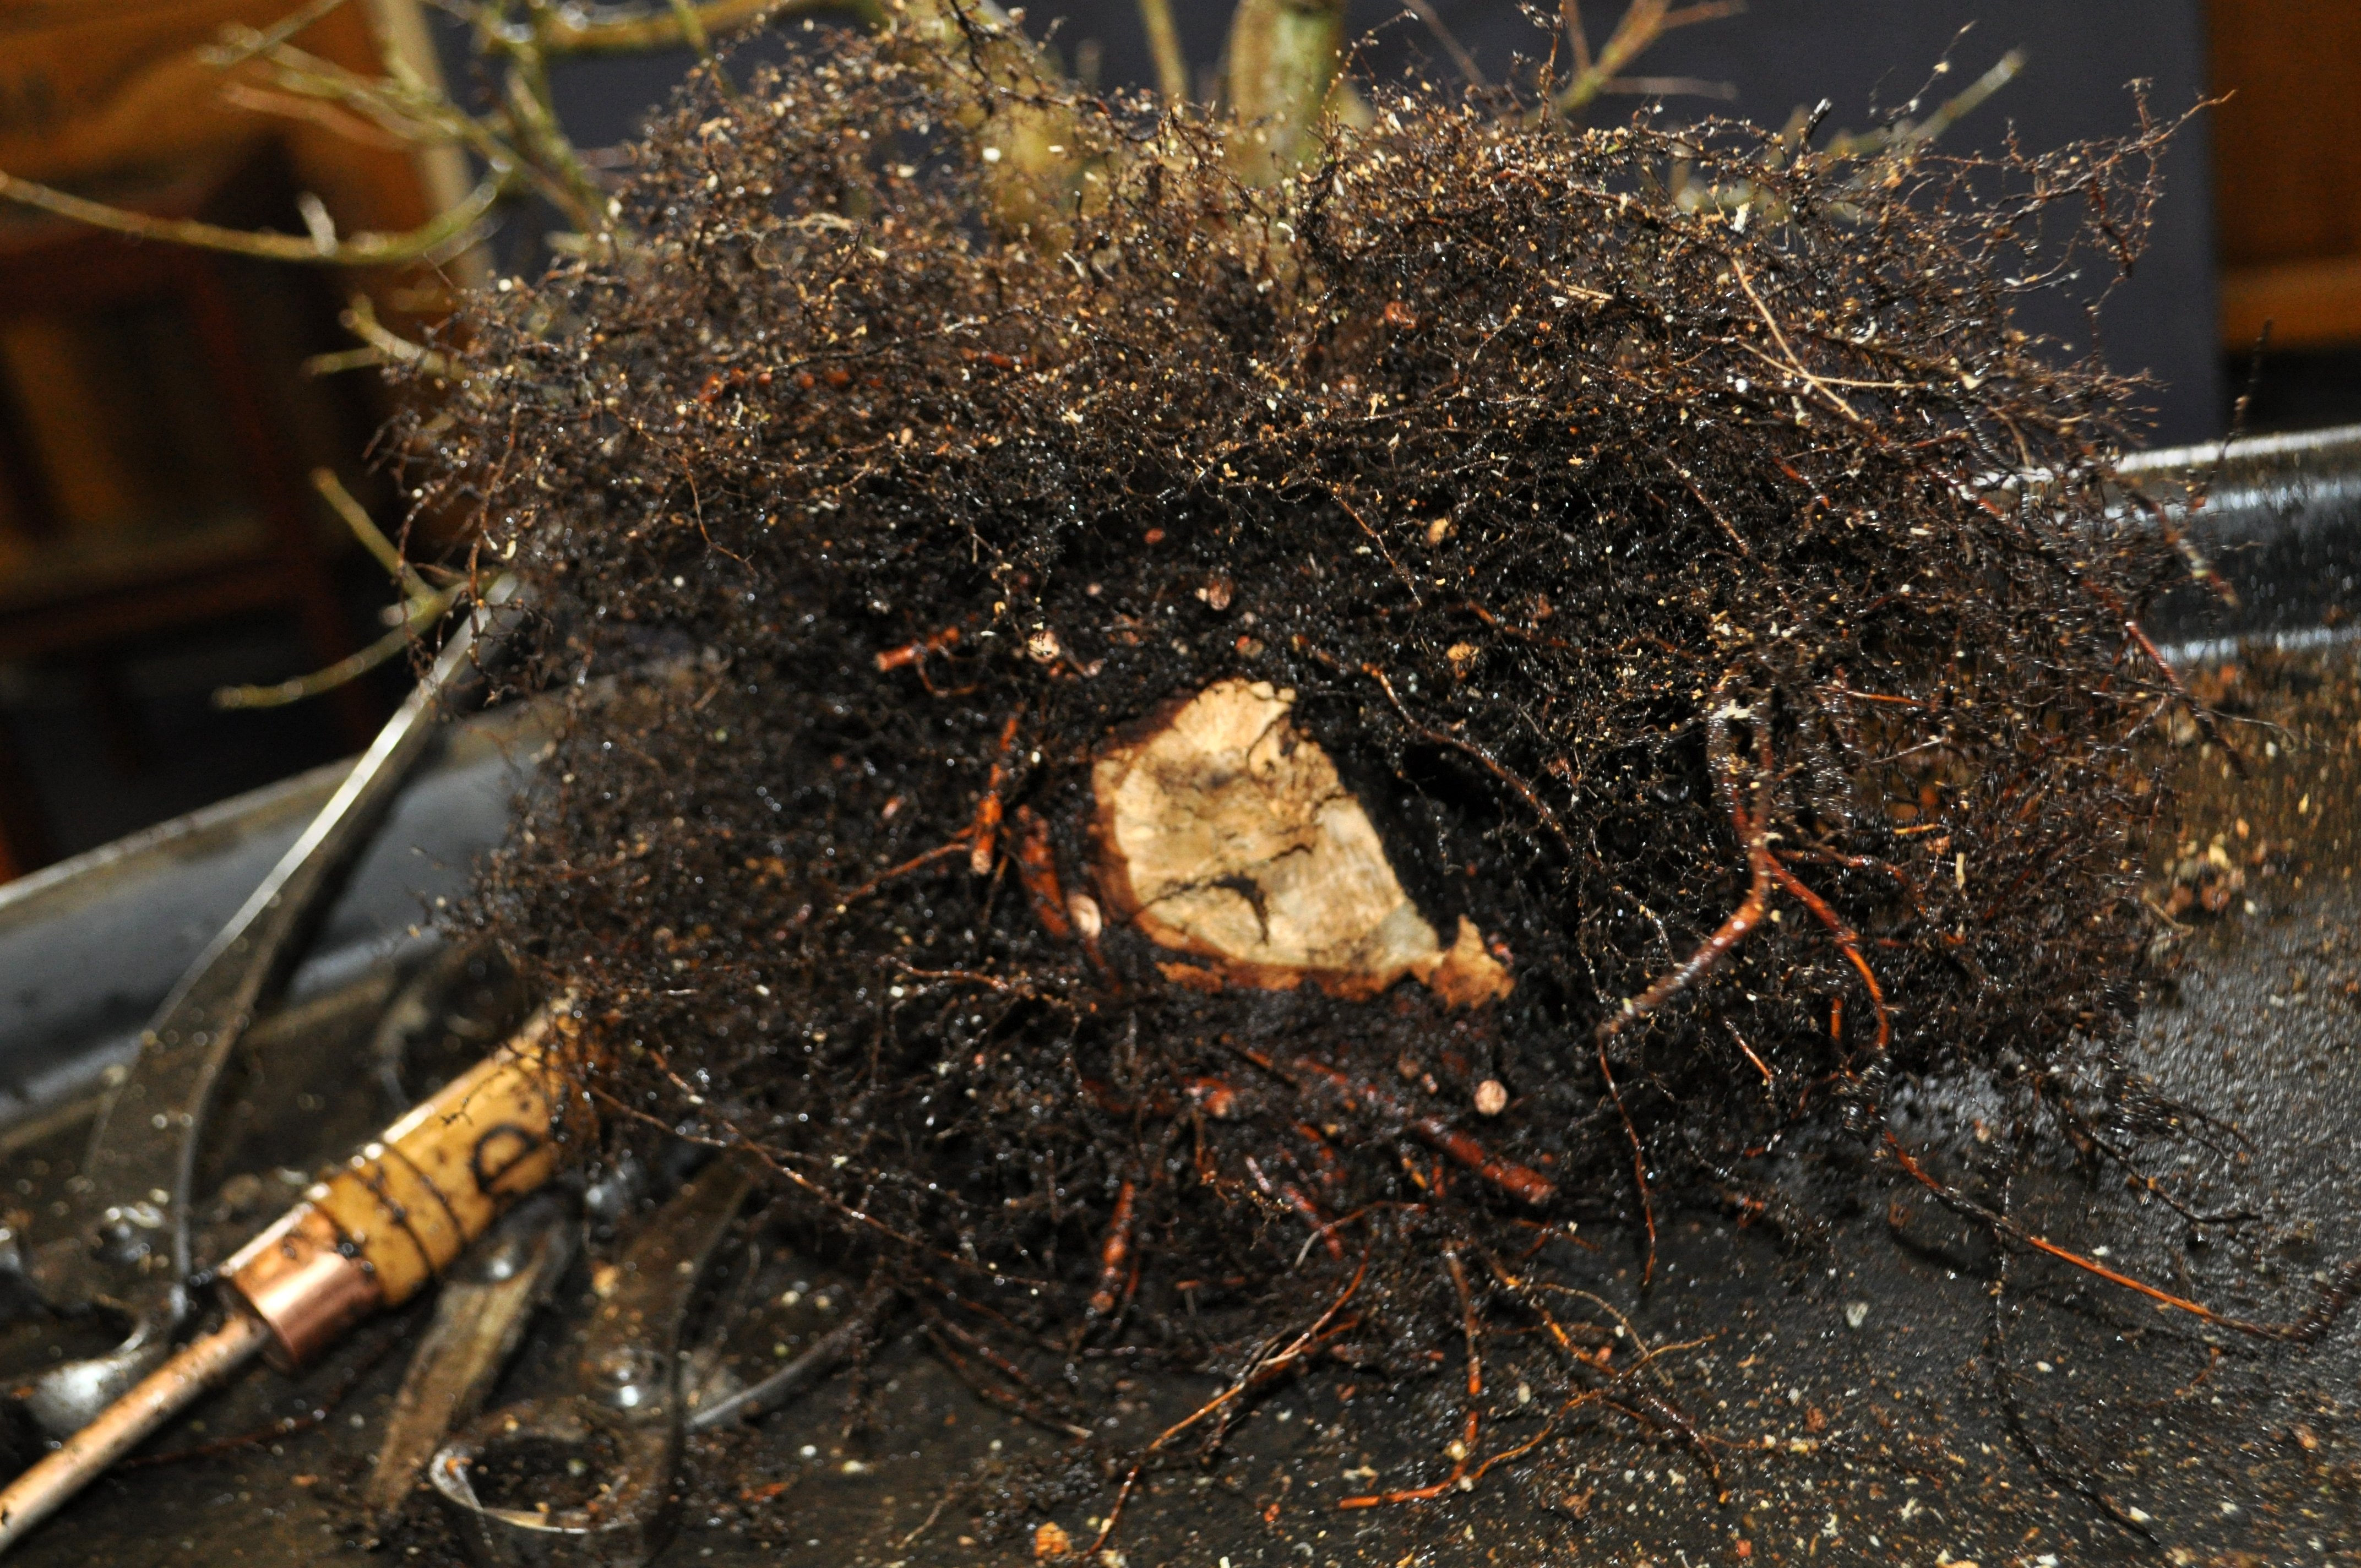
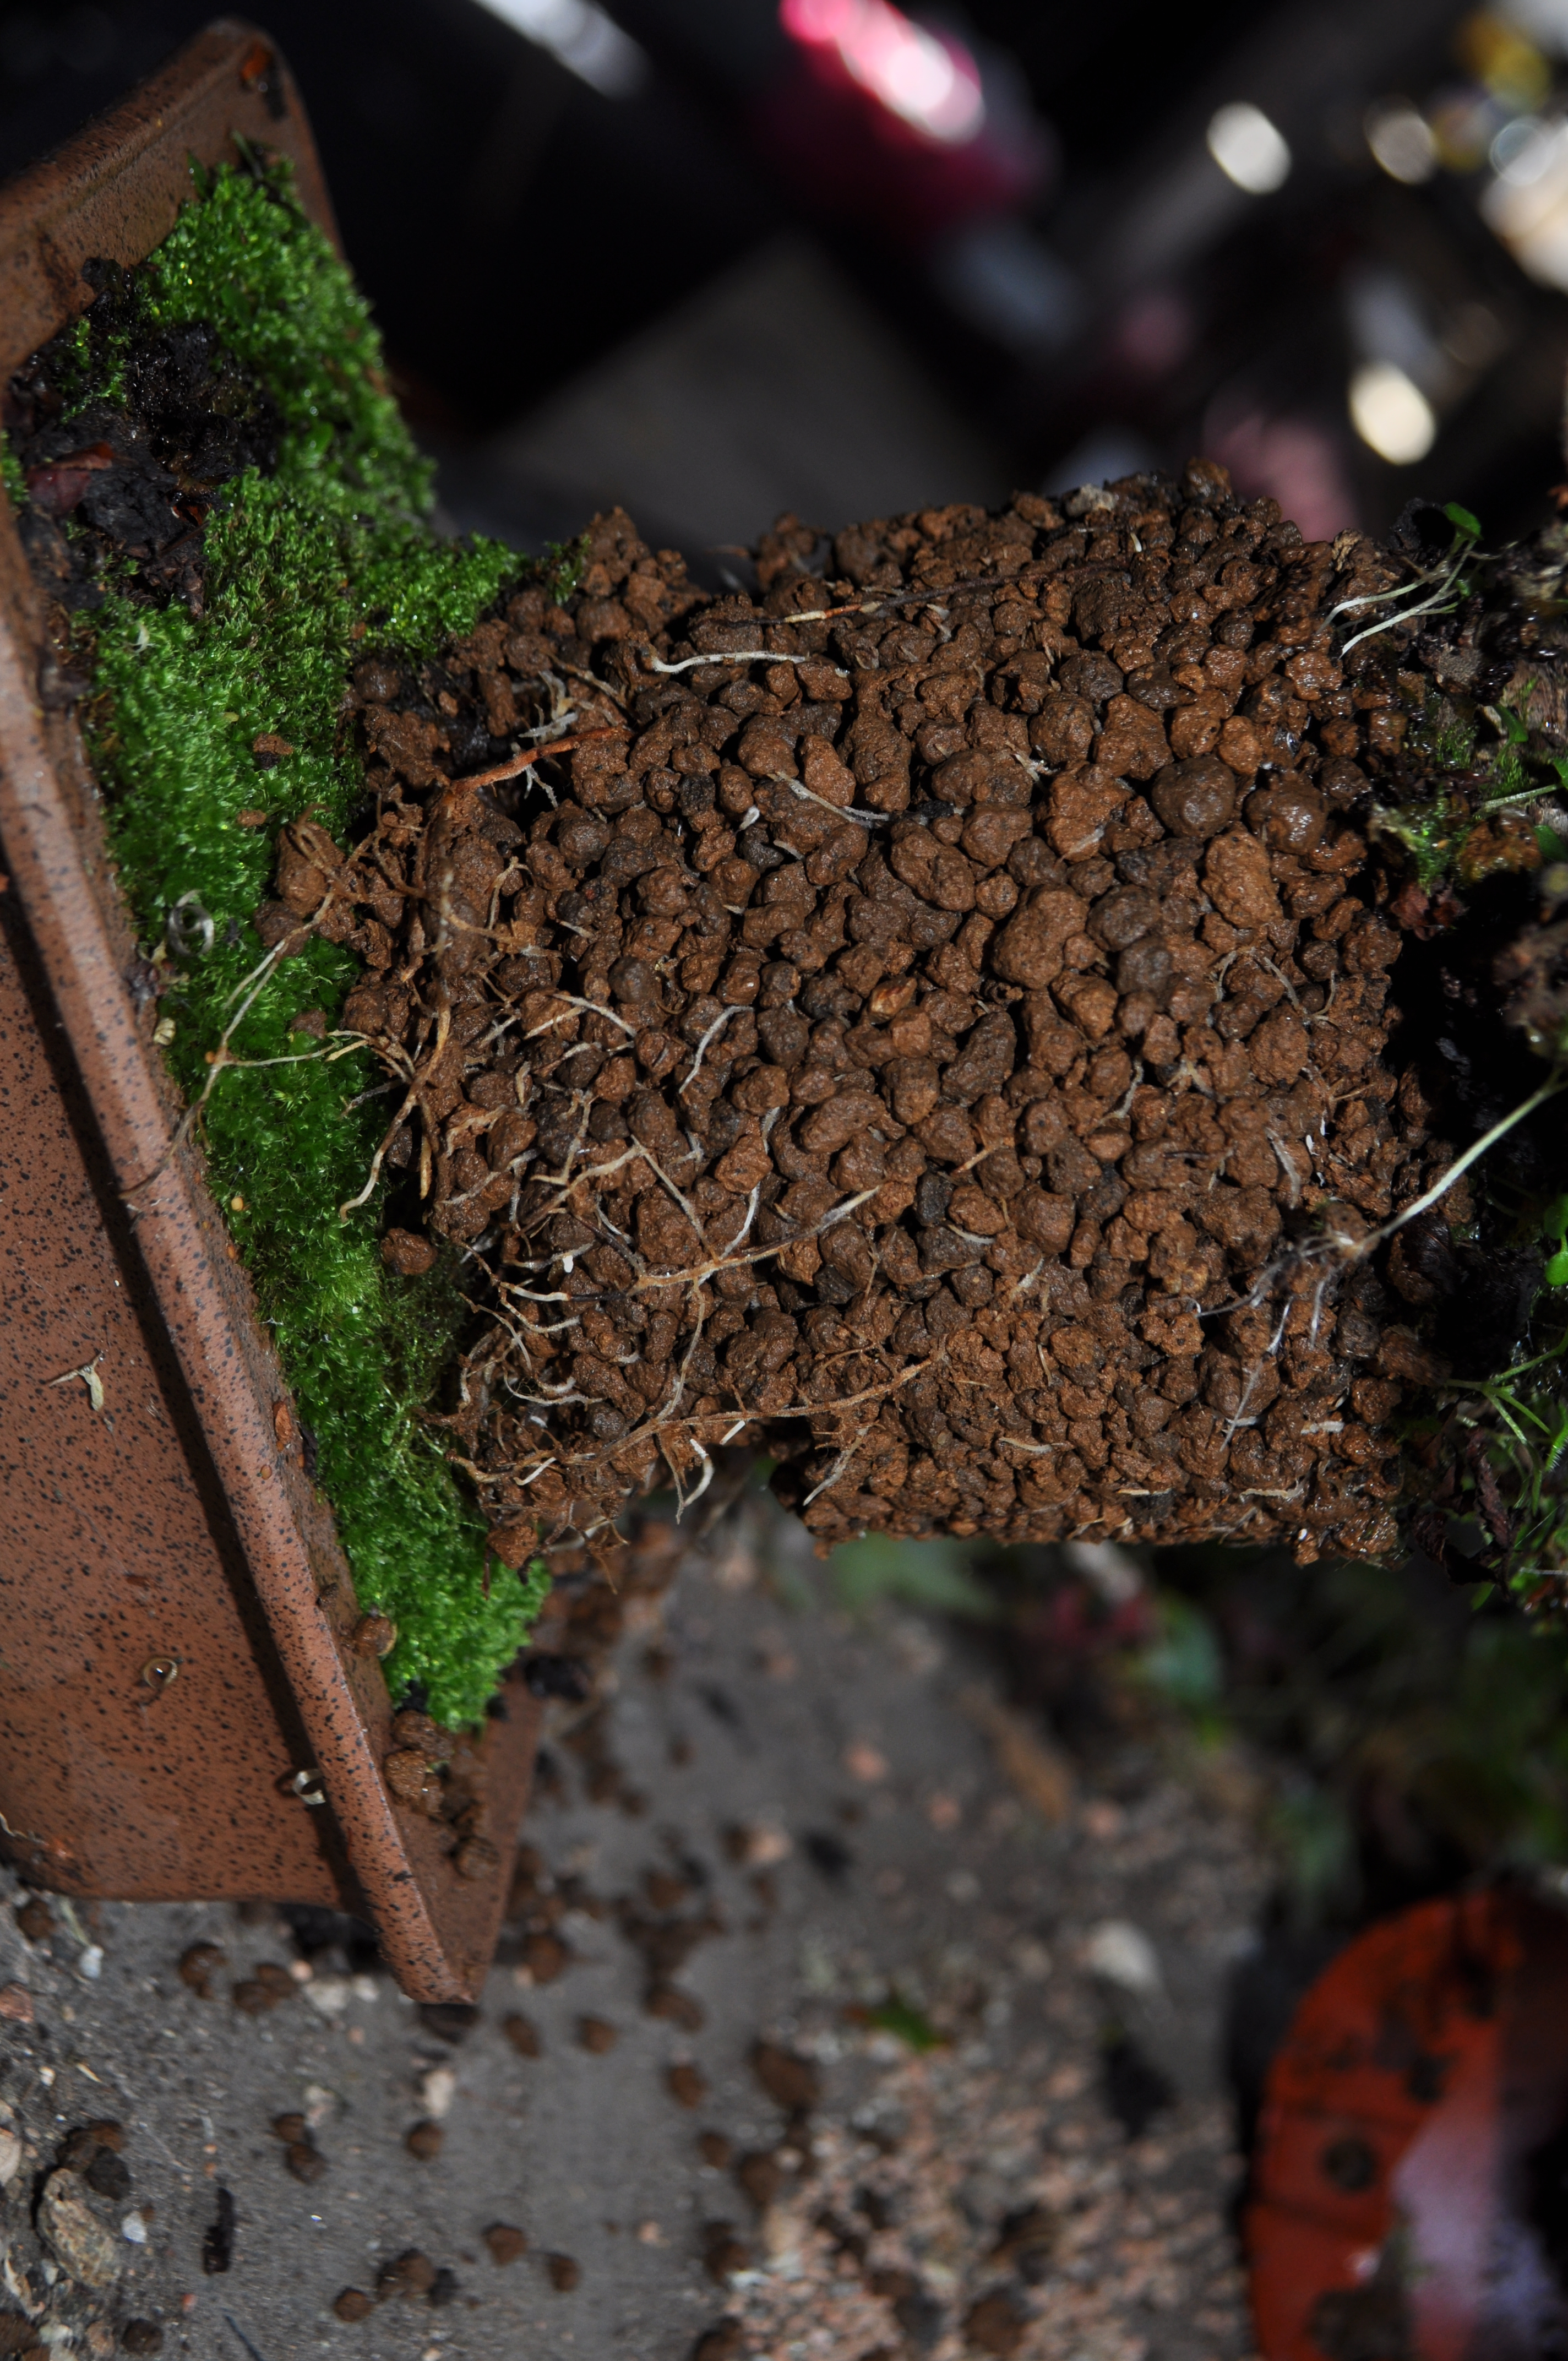
Both Mauro and Walter cover substrates and have a slight different approach but for beginners this is an import lesson to watch and learn from. So many enthusiasts just don’t get substrate right and it has a massive impact on the health of your trees.

Comparing this course to the previous Deciduous Bonsai Course is hard, apples and oranges springs to mind, but on the whole I feel this one is even better than the last. For enthusiasts studying bonsai in remote areas without clubs or nearby professionals, this course will save you a lot of heartache and mistakes. For a one time fee and lifetime access it should be an easy decision.

Sign up HERE if you are interested in 10 hours of content and learning.


Roses Grow on You

The other day Stephen and I did a little propagation of some mini roses in a cutting session. About 6 varieties in total I think with the very tasty super mini getting multiplied 😉

DSC_0549

DSC_0551

DSC_0552

DSC_0553

DSC_0554

DSC_0558

If all goes well I’ll have a nice stock of these next year.


Chinese Elm Airlayer

This Chinese Elm came into my care last year. It had been doing well for a few years and then it had a major bad episode and lost all the bottom branches. All that was left was a nice base, a long straight bit then a few branches at the top. I repotted it out of the original poor soil. After a few months it had leafed out again but was never going to make a convincing tree without lower branches. I spoke to the owner and suggested air layering the top off it and then creating a better tree from the base. Fair play to him, he agreed. I left the layering until March this year and a few weeks back I checked the progress.

DSC_0434

Signs of decent roots in the layer.

DSC_0438

DSC_0441

After removal

DSC_0445

Potted upDSC_0447 The base had produced some new branches low down due to the layering process, I gave these a very basic wiring to get them going in the right direction. Two trees from one.

DSC_0449

Airlayer it!

Finally got around to sorting a few air layers this week.

First up was this Korean Hornbeam. This is the front as it sits now.

DSC_0119

This will be the new front. However the top of the taller trunk is heavy and needs removed. It will make a nice little shohin clump if layered off.

DSC_0124

Layer point marked.

DSC_0125

Cambium layer removed.

DSC_0128

Layer in pace.

DSC_0132

And this Cork bark Elm with poor nebari.

DSC_0133

DSC_0135

DSC_0139

And this Zelkova which will make a nicer broom having removed all the tall leaders.

DSC_0141

DSC_0143

DSC_0144

A Chinese Elm that I’m layering for a customer. The tree came to me in poor health and had lost a lot of lower branches. Best option is to layer off the top and use the nice base as a new tree.

DSC_0148

DSC_0150

Dis a few more but was on a roll and forgot the camera 🙂

Rescue Maple Air Layer Removal… at Last!

The story so far…

September 2011

April 2013

October 2013

I could have removed this layer back in the Autumn but opted to wait until now as the buds begin to swell. I was fairly confident that it had done well last year after a shaky start as it had pushed out a lot of new growth.

DSC_0208

DSC_0210

On removal of the pot I was please to see some good roots.

DSC_0211

DSC_0213

With dead sections on the trunk ( see older post links above) I was delighted to see that each live section had produced roots.

DSC_0214

The saw cut which got some work before potting.

DSC_0216

This hollow up the trunk was really starting to roll over well and instead of leaving a hole to collect water I decided to treat and seal this with wound putty and then seal with cut paste. This will allow it to eventually heal over leaving no hole at all in about 5 years.

DSC_0219

DSC_0222

DSC_0223

DSC_0224

Potted up in a wash hand basin to allow it to gain some momentum this year. The original roots on inspection were very poor, I feel that if I hadn’t layered this tree it would already be dead. Which would be a shame with the stunning Autumn Colour it produces.

DSC_0229

Oak Air Layer Update

Thought I’d share this Oak Air layer update with you. I see many people on forums etc asking if it’s possible to layer an Oak with a lot of conflicting answers. This one was removed from the parent tree back in April 2012. At the weekend I decided to repot the tree properly for the first time.Here you can see that it’s done well in the interim.

DSC_0166

DSC_0170

After a combing out of the roots and removal of any of the moss used in the original layer.

DSC_0171

Some work carried out on some large cuts.

DSC_0173

The underside of the trunk gets some whittling as well.DSC_0174

And now potted up in it’s new pot. Some carving required to tidy it up but no rush.

DSC_0183

More Layers

I did this layer back in April and removed it a few weeks back. All looks good and I look forward to developing this little one next year.

DSC_0275

DSC_0276

DSC_0277

And this little trident was successful at the second attempt.

DSC_0271

DSC_0273

DSC_0274

And both potted up with a little moss top dressing to ensure surface roots remain moist.

DSC_0279And a word to the wise, when you saw through the trunk, ensure your other hand is well clear!! This is how I ended up. Flap of skin hanging off and exposing the knuckle bone 😦 10 days later and it got infected and I ended up at Minor Injuries Unit for treatment. Will I ever learn?

DSC_0278

Japanese Maple Airlayer…

… at the second attempt! I tried a layer on this tree in 2013 but it bridged the gap. I reopened it and made a bigger  indent, and also changed away from moss to an akadama mix. This time we have success, but I’ll be leaving the separation until the Spring.

DSC_0268

DSC_0269

DSC_0270

Scottie Initial Work

I styled this tree with Ben a few days ago to help explain the use of raffia in making bends. This is the material, not very exciting and needed a little drama added.

DSC_0442

Ben at work.

DSC_0445

DSC_0446

DSC_0448

Ready for bending

DSC_0450

After initial bending. A first step towards bonsai. A long way to go but a good start.

DSC_0455

Deflowering a Pine

Sounds slightly perverted but I was really just removing the flower buds from the Japanese White that was covered with them this year. Needs to be done carefully but

better for the tree than it wasting it’s energy and creating a long extension that is of no use.

DSC_0413


DSC_0416

DSC_0417