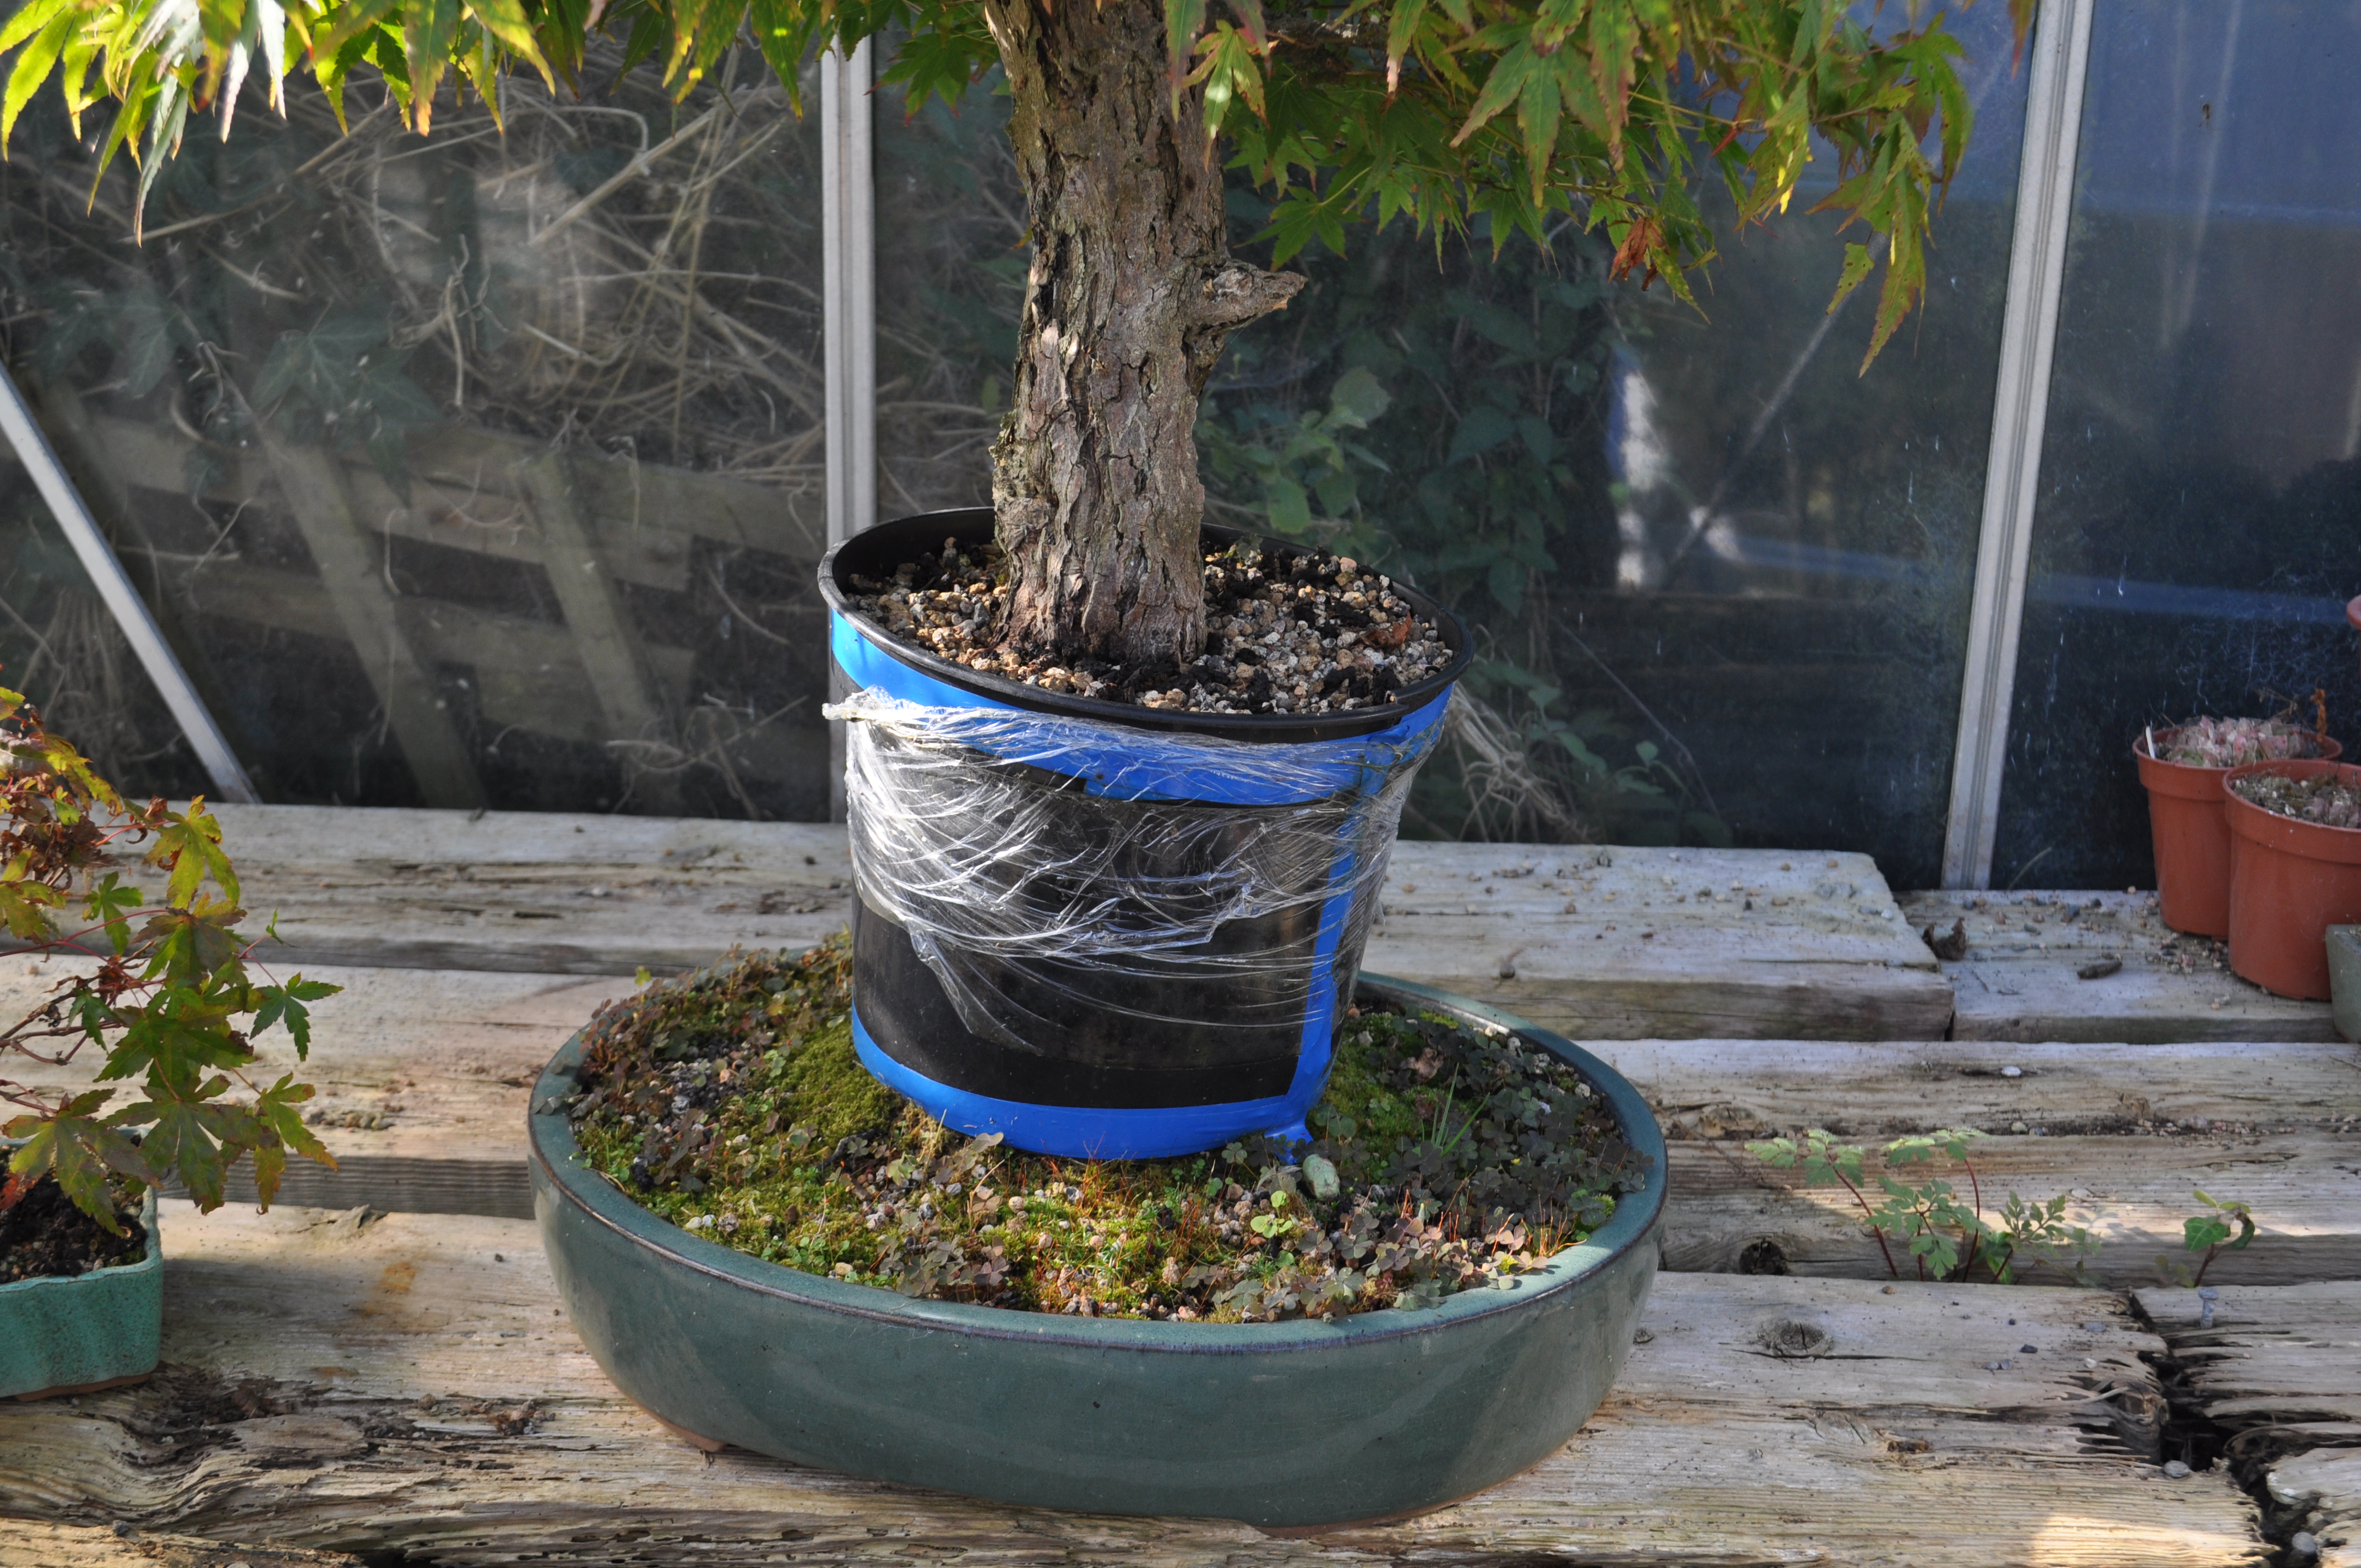
Hawthorn Adjustments

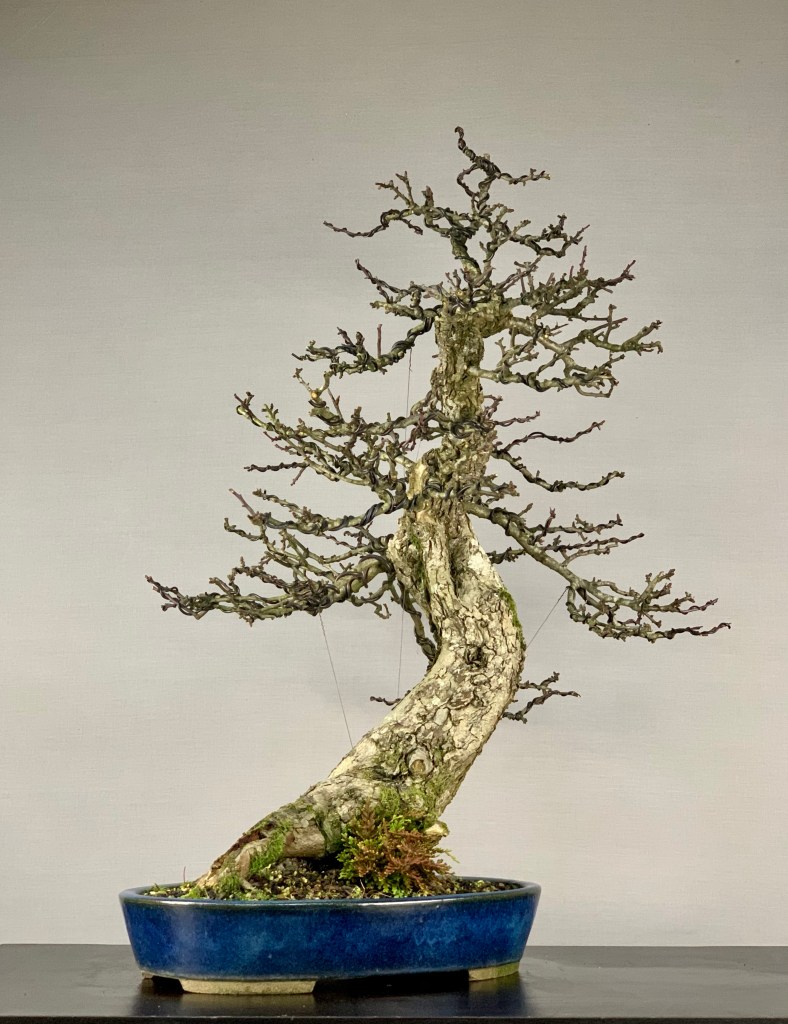
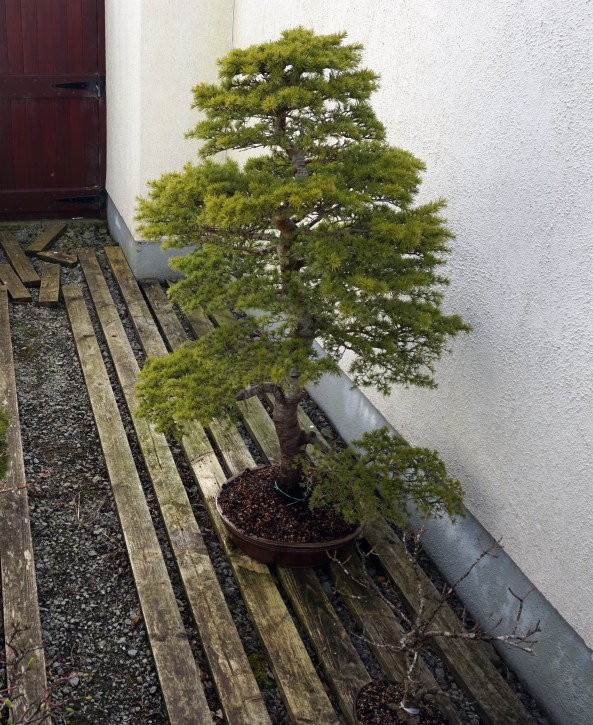
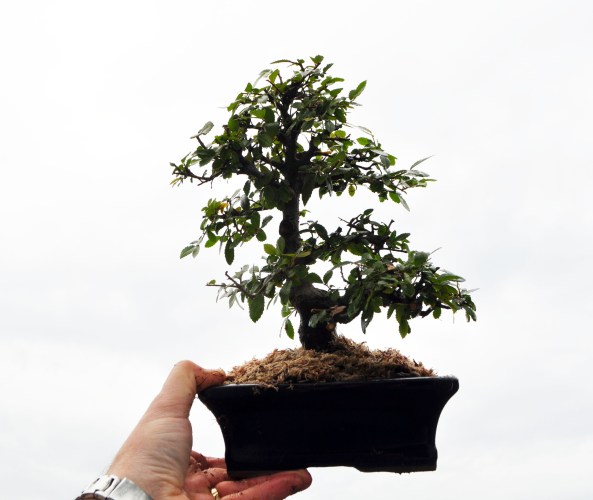
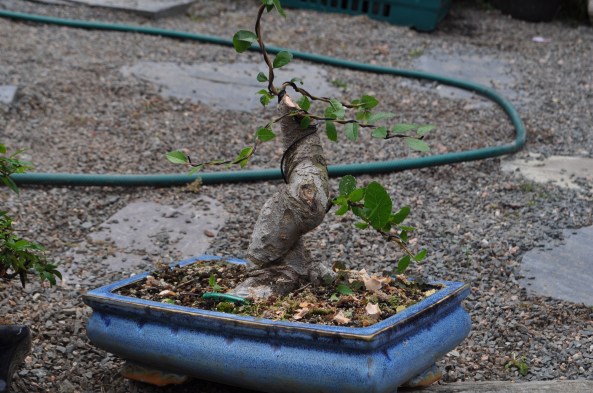
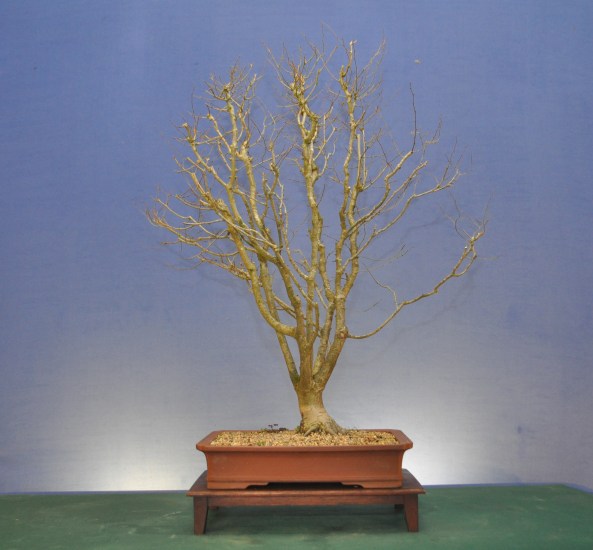
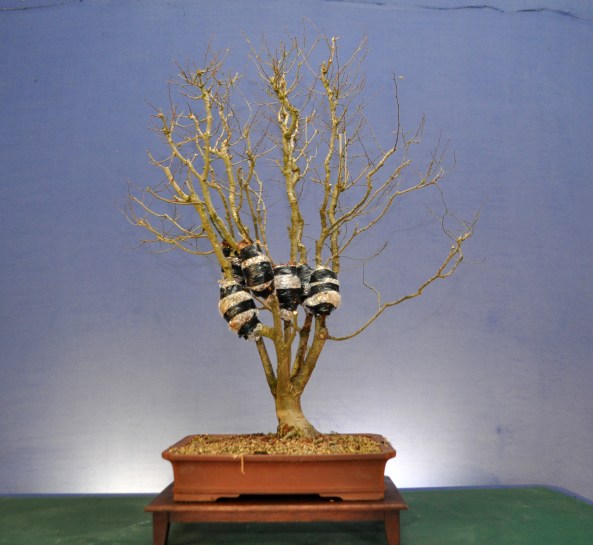
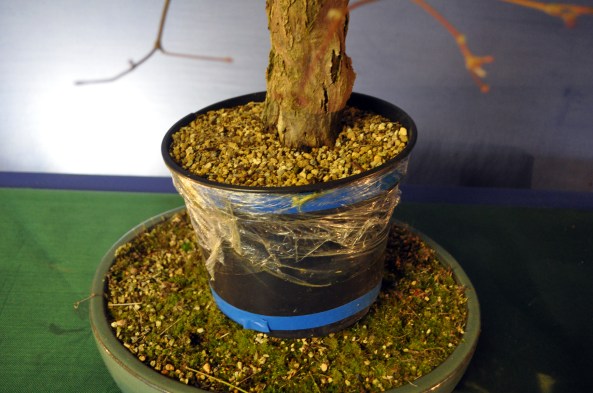
This hawthorn has been knocking around my garden for probably 15 years and can be seen here as part of a case study on air layering.

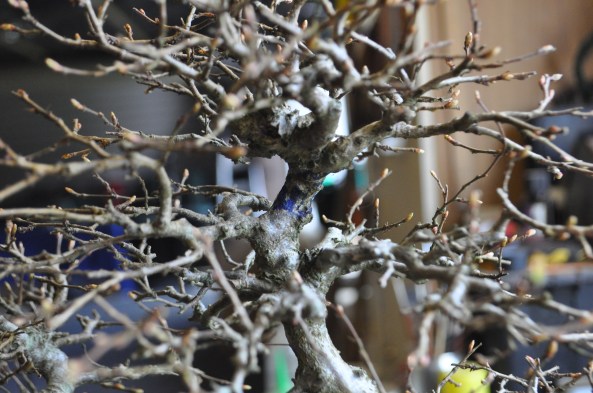
It had a major repot in 2019 and sulked in a big way all that year. 2020 has been a shitty year for most of us but this hawthorn made a come back. I decided that although I like my hawthorn to have a natural angular appearance and to not over wired, this tree needed adjustments. The branches had sprung a bit and a slight angle change at the repot meant things weren’t quite in place.

After adjustments
Brake detail
But of a spin
Slightly different angle which a like.
Moody Noir

Even after all this time the tree has plenty of ramification still to be added. And some branch fattening here and there. If I knew back then what I know now this tree would be further on and branches in better proportion. Bonsai is a journey that’s for sure.

Deshojo Maple Airlayer

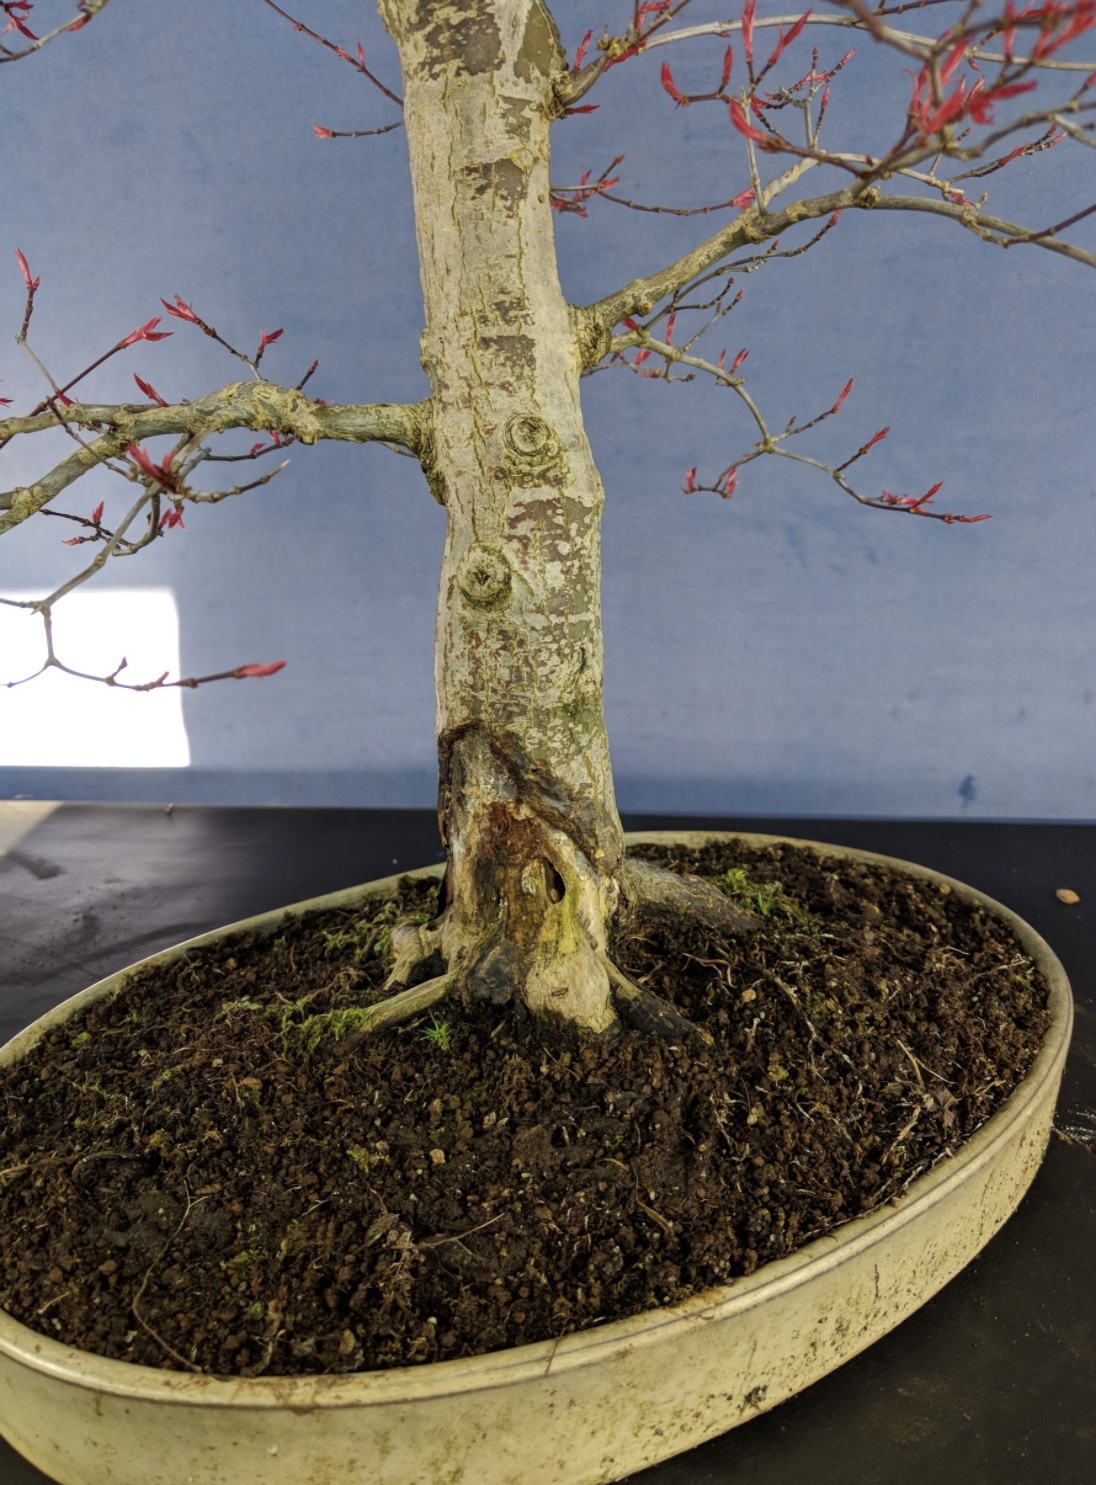
This maple was brought to me last April for work. It was weak and in examination of the base a full half of the trunk base was dead and rotting away.

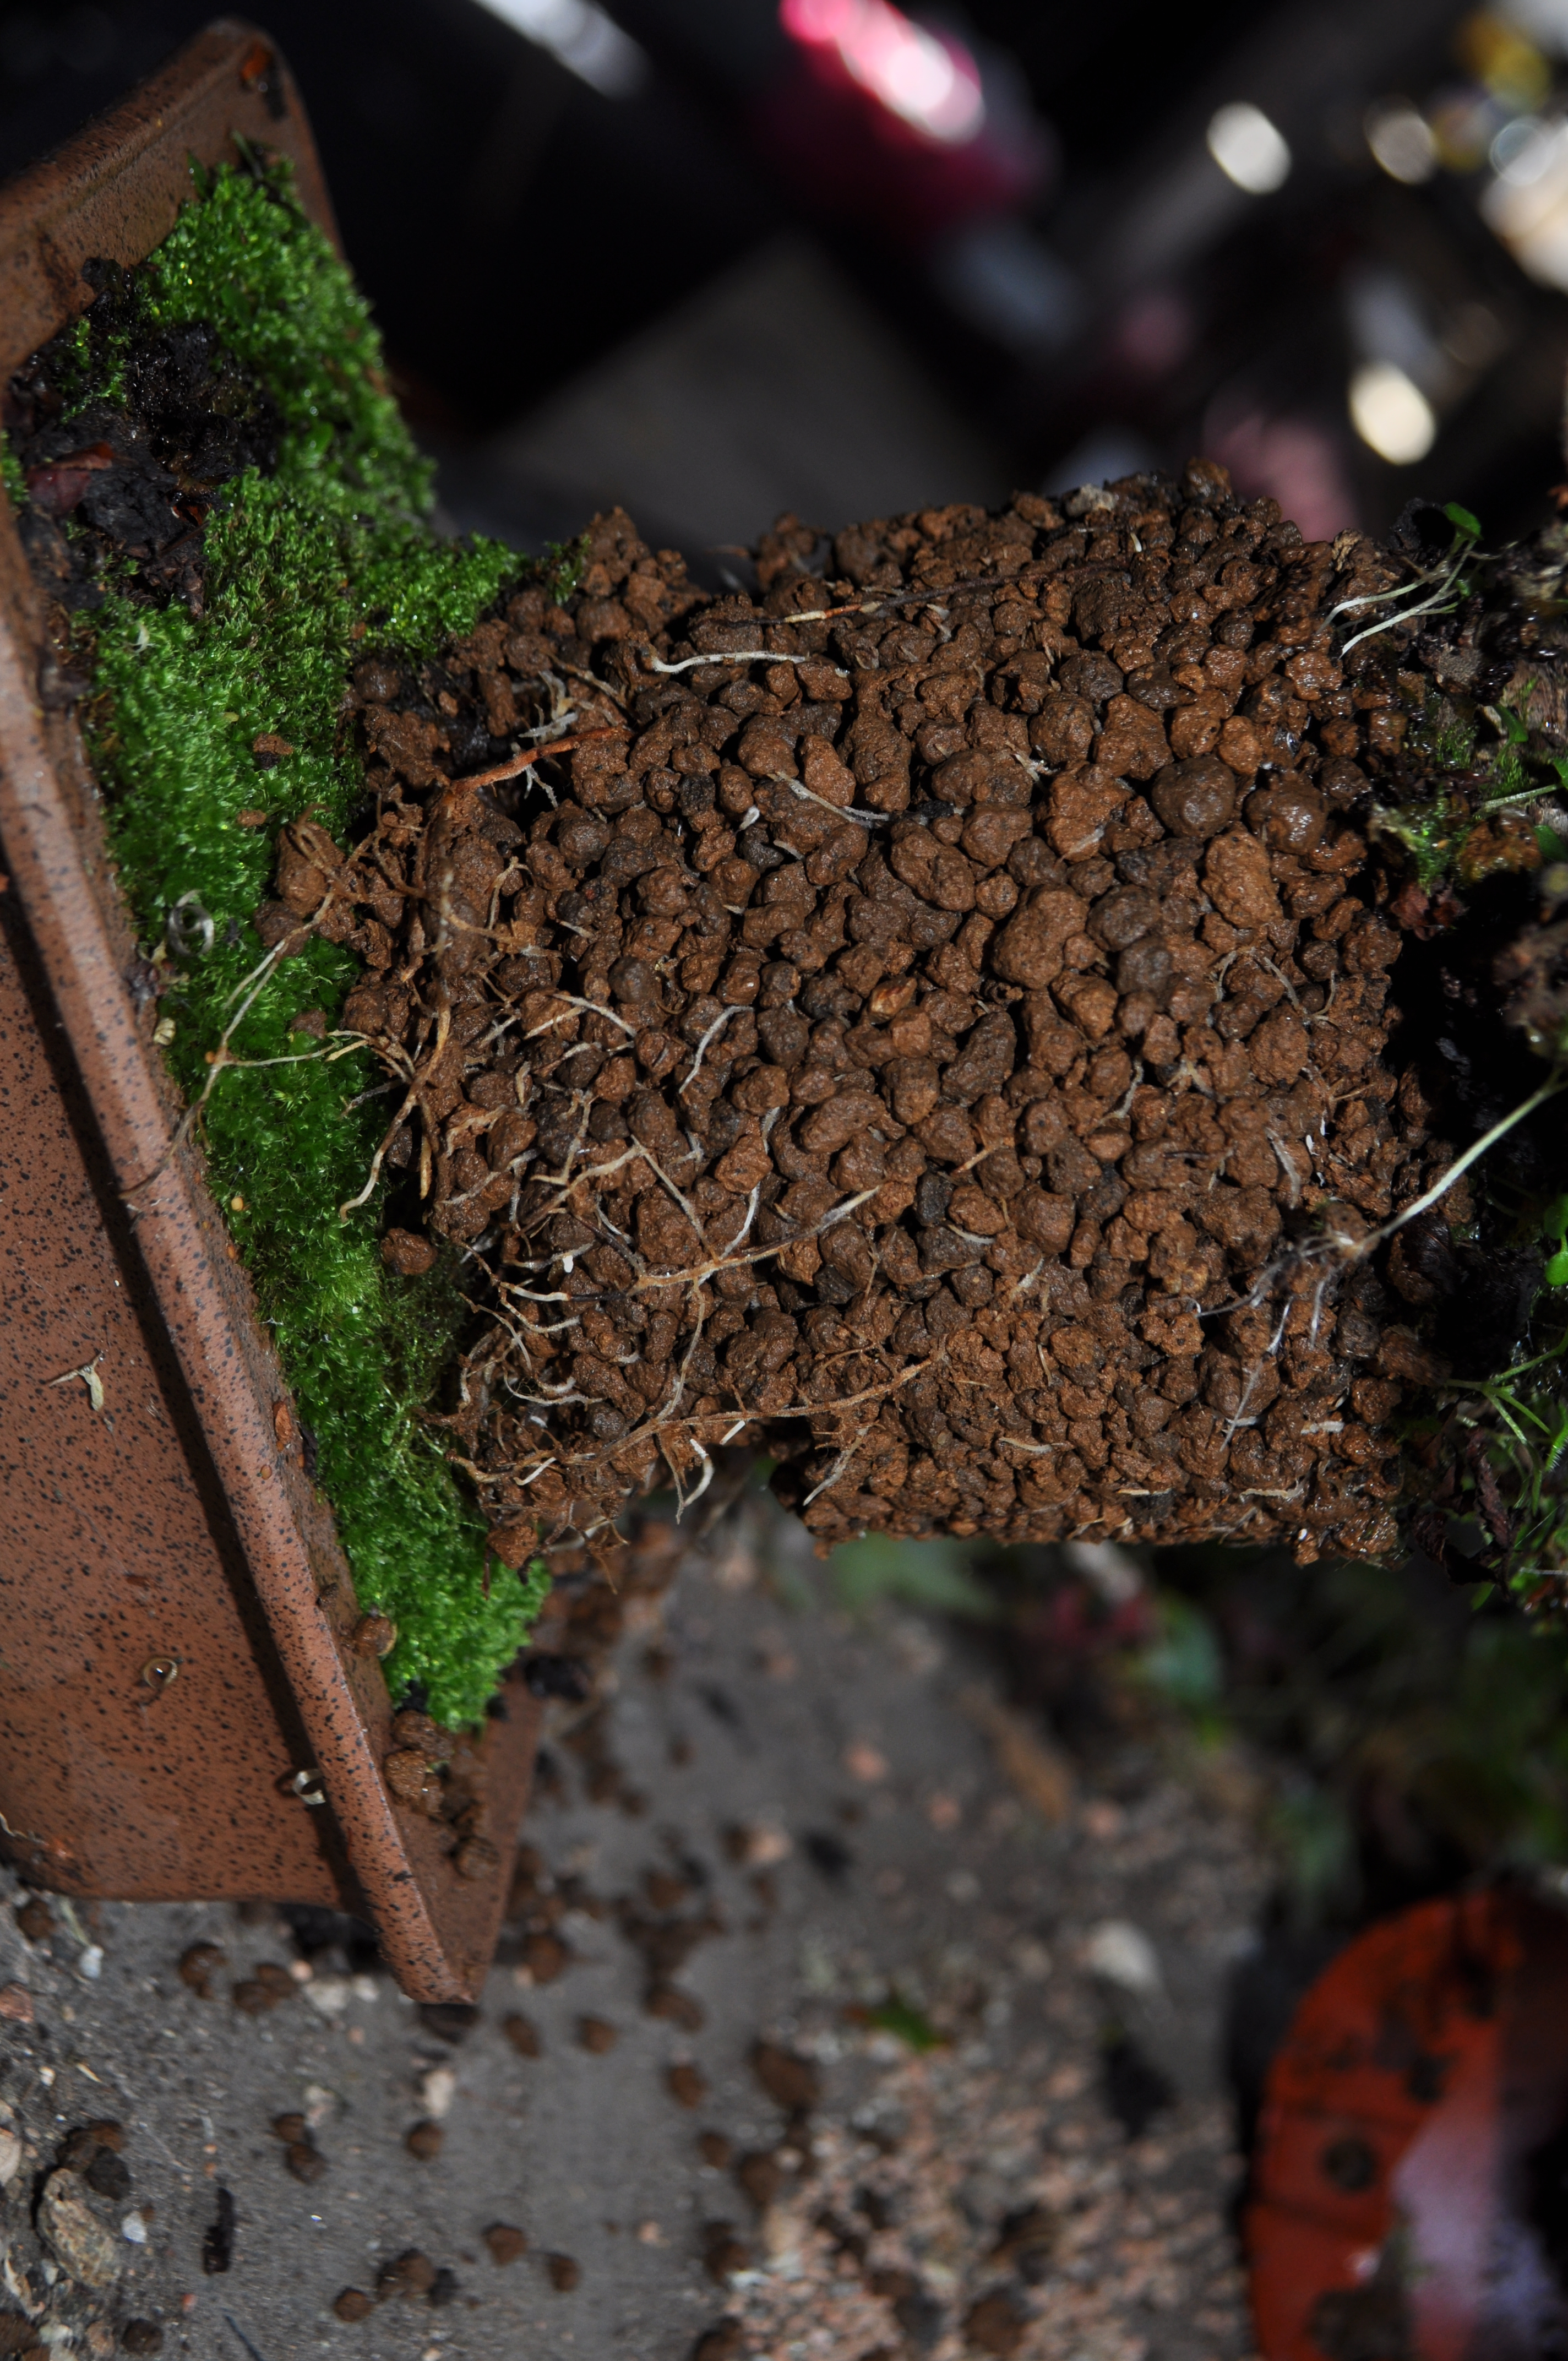
I explained to the owner that things would get worse fast with the rotted wood coming away and creating an ugly base. It was obviously also having an impact on the general health of the tree. We opted to layer the tree just above the rotted base at the first point were a full 360 of live tissue could be cut into. We potted it into fine akadama topped off with a thin layer of moss to aid water retention.

Last week the tree came back to me for work and removal of the layer if successful.

Above you can see extension on the tree, even on the lower branches. A good sign.

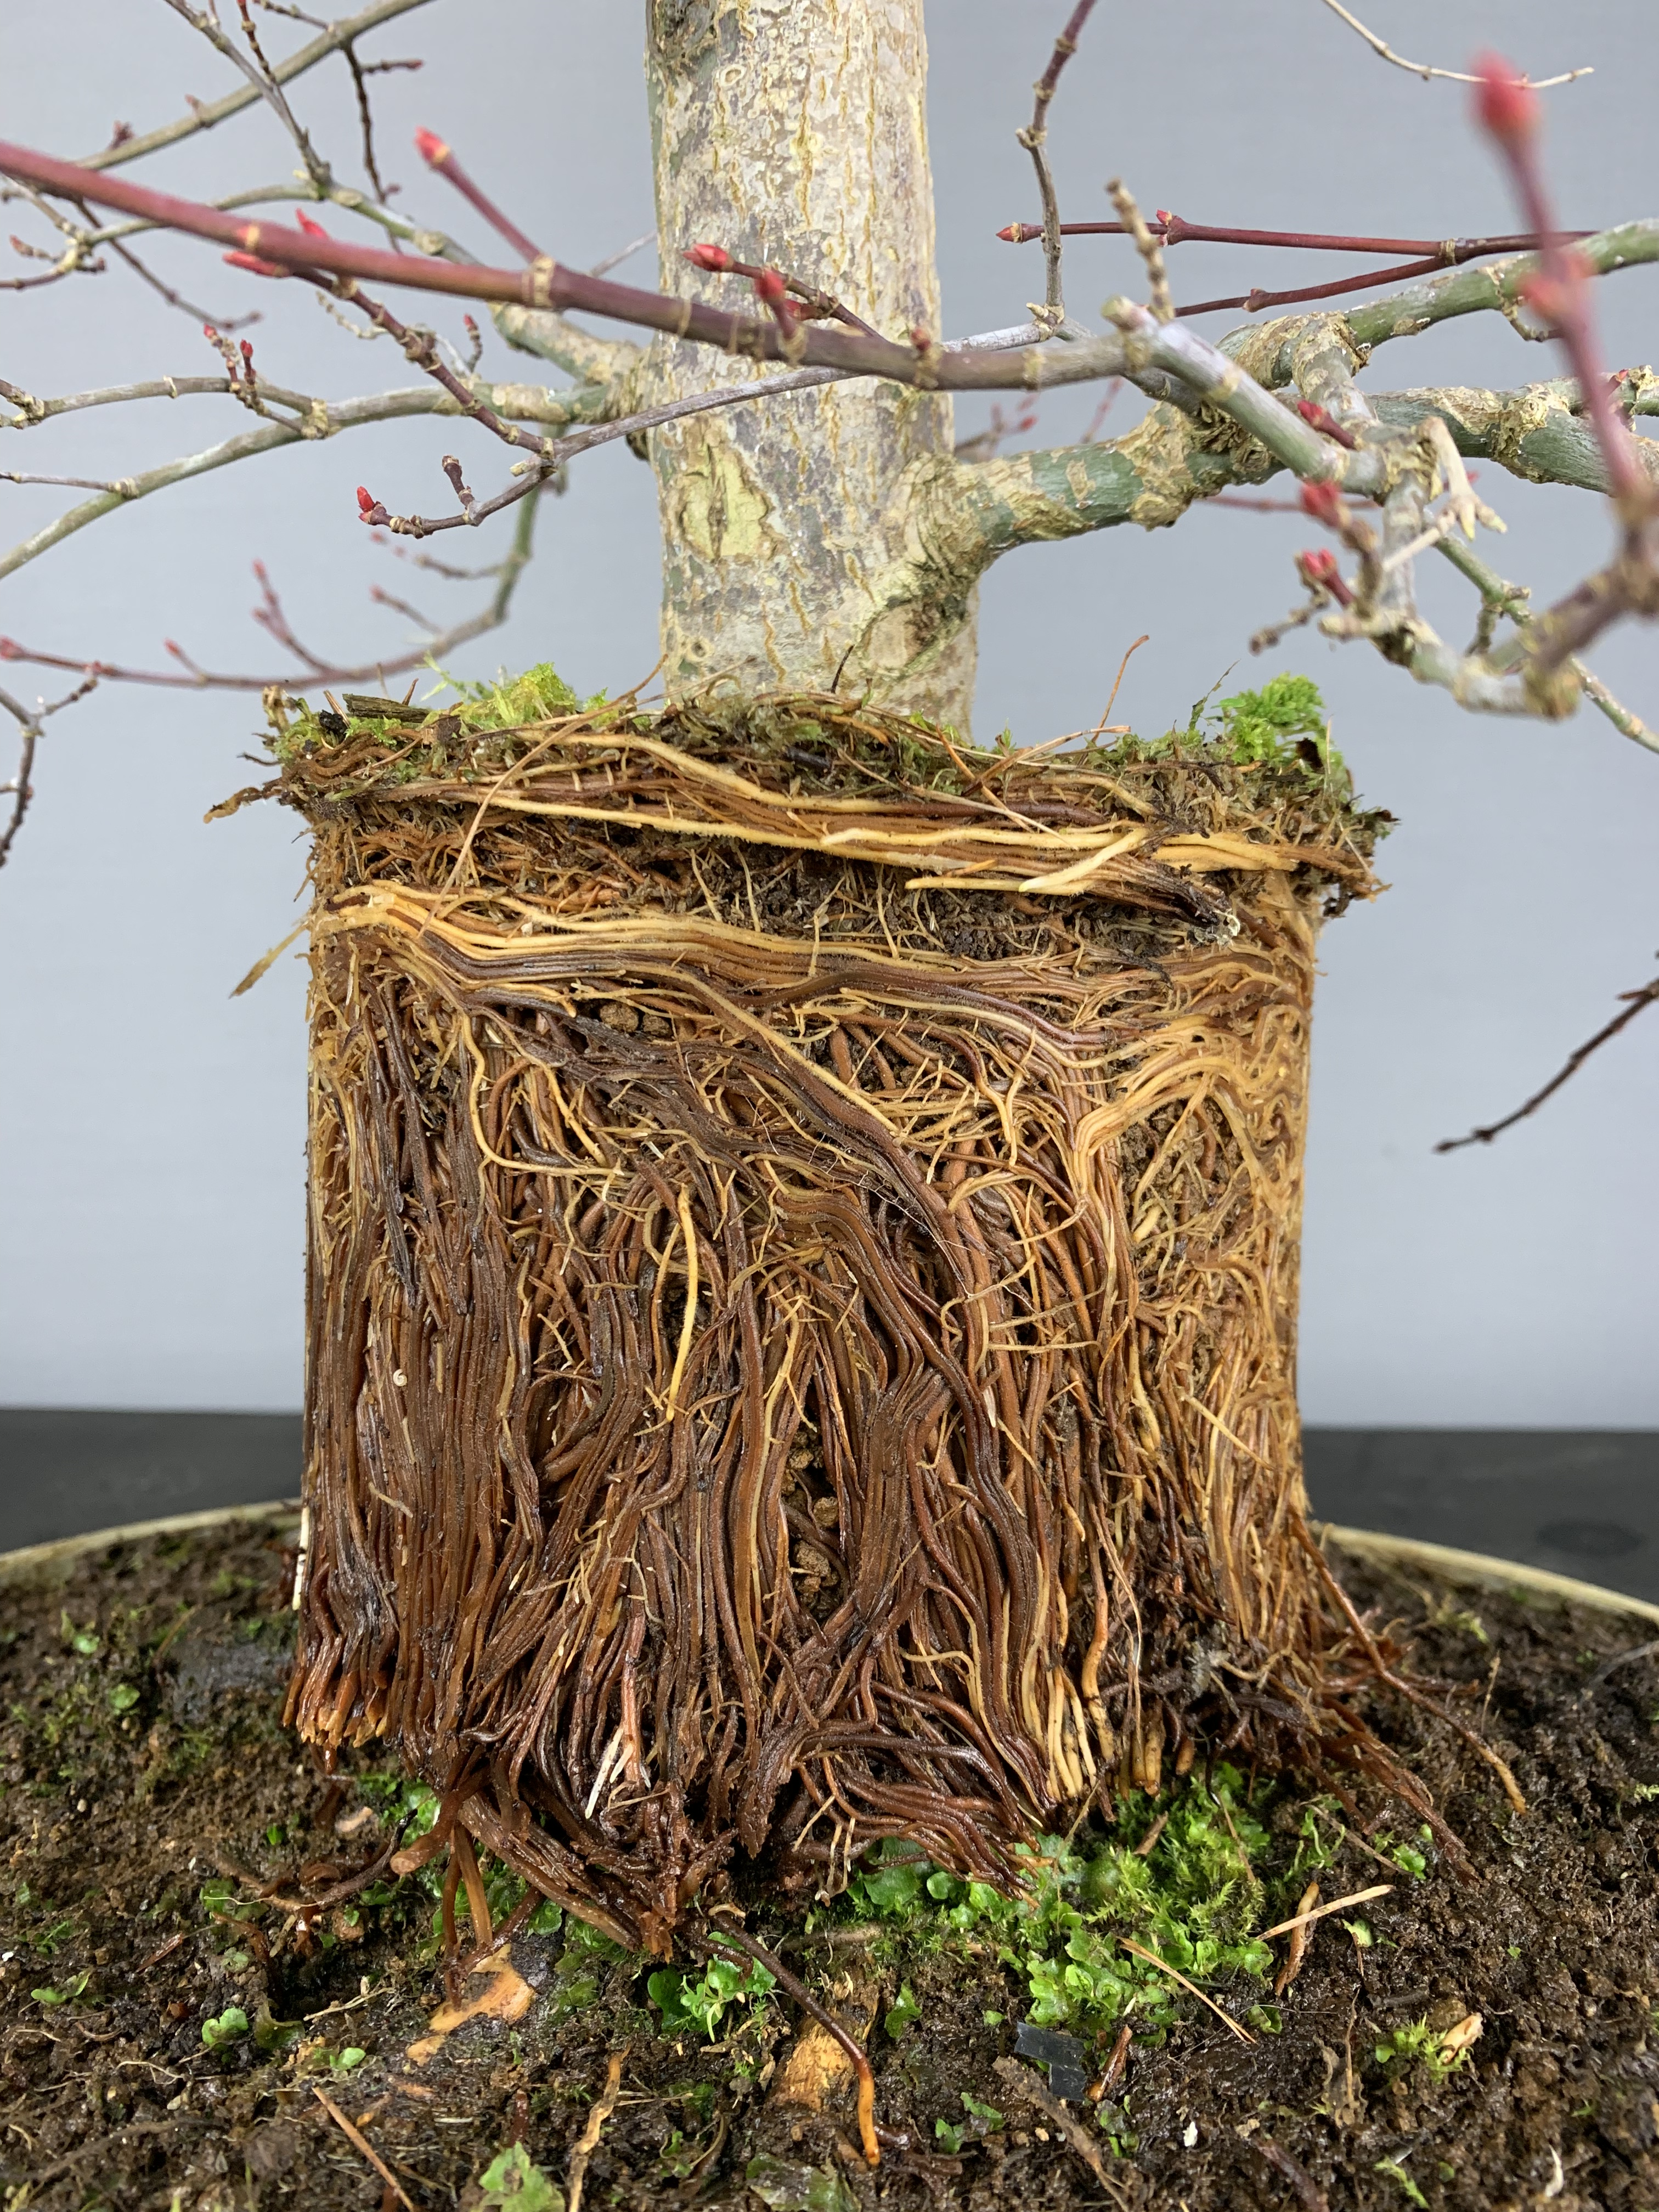
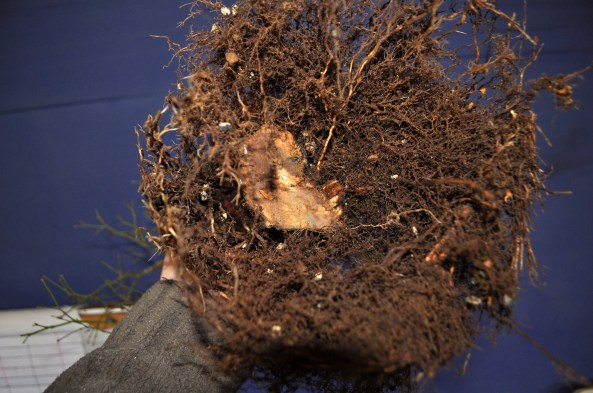
We removed the pot and found a full 360 of radial roots in great shape. It looked like a hula dancers grass skirt. It had even rooted well above the rotted area where sap full would have been weak.

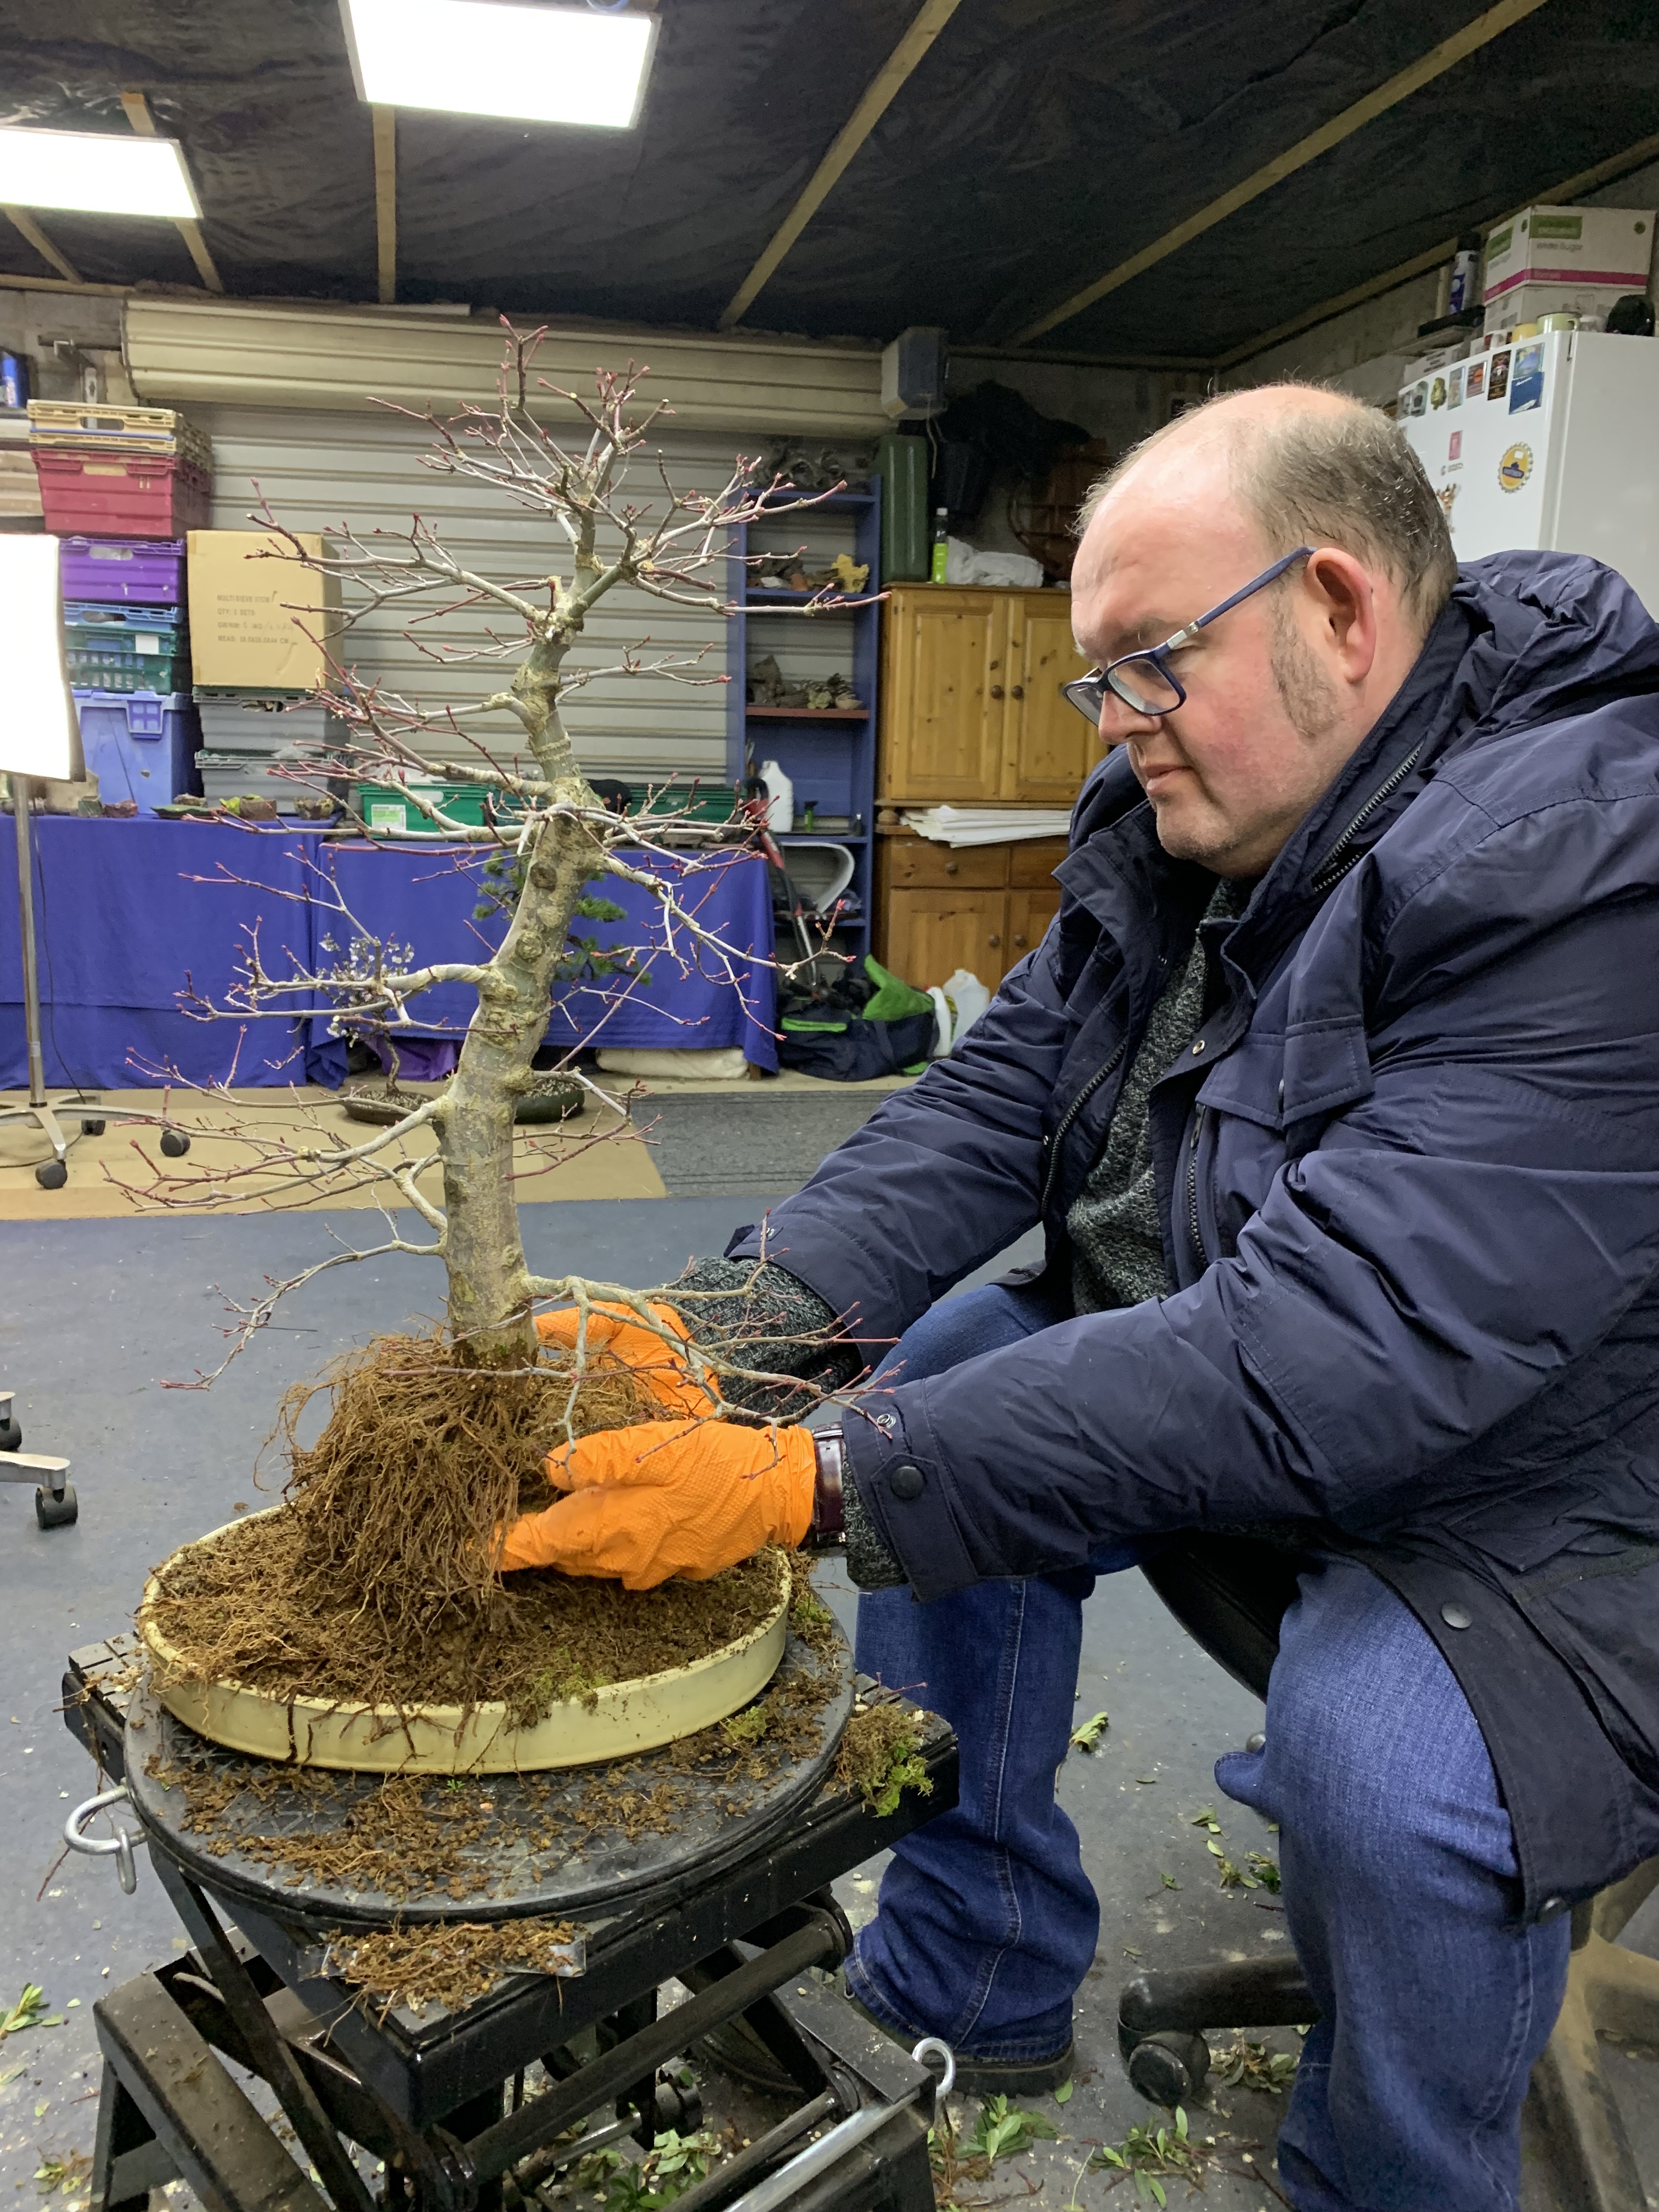
We worked the roots out to soften the edge and even removed some that had rooted above the callous line into the moss and that would have created an uneven nebari. The stump underneath was whittled away with knob cutters.

You can see on the stump of the old base that a full 180 degrees of the trunk was dead at the base.

We took some time to spread out the roots and potted the tree in a spare pot of mine that allowed more room front to back and a little more depth. I’m fairly confident that this tree will fill this pot in a single year.

The top got a light pruning. The low branches may annoy some but I actually like the image. Better this than a dead tree in a few years. We repotted the original stump out of interest to see the rootmass. The rotted portion just fell away and what roots were there were very poor indeed.

Last Session in Leinster….

…..For now.

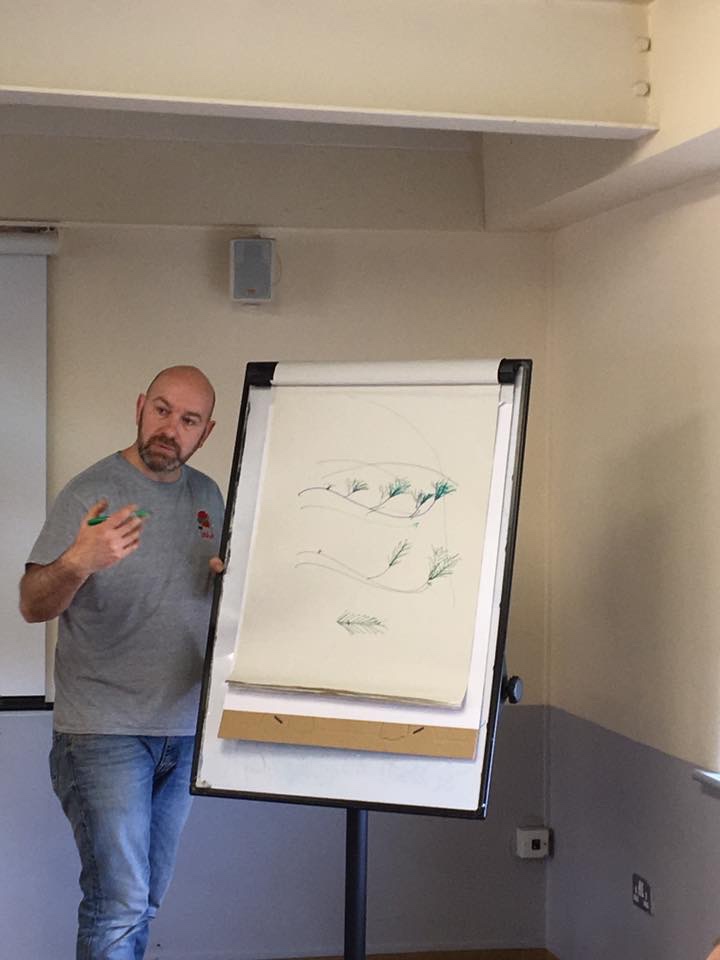
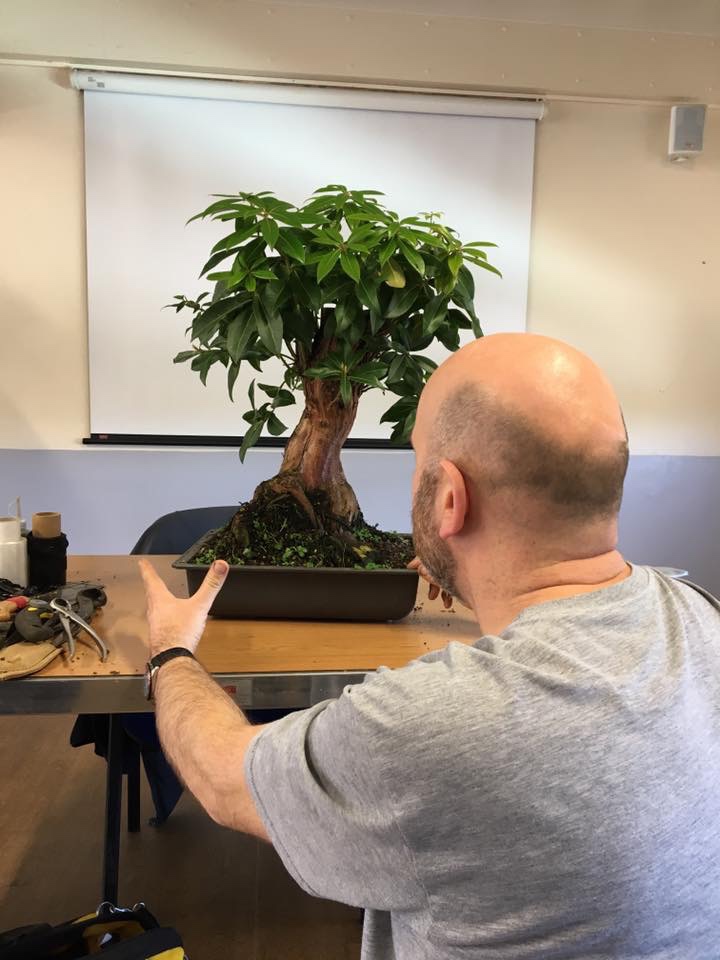
Sunday was my last of 6 booked sessions with the Leinster Bonsai Club in Dublin.

It’s been fun working with a group with a varied level of knowledge and ability and trying to pitch each session with just the right balance of theory vs Practical. In the last two years I’ve completed 12 sessions with them and enjoyed every one. I just hope they have too 😂

Plans seem to be afoot for continuing the relationship but spread out more evenly over the calendar year.

A massive thank you to Tom and Paul for all the organisational work and of course to those taking part during the last six months. Also thanks to Max who always grabs some photos during the sessions which I never remember. Here are the ones I stole from yesterday’s session. A tree critique that turned into a practical session 😀

Go West… And Repot

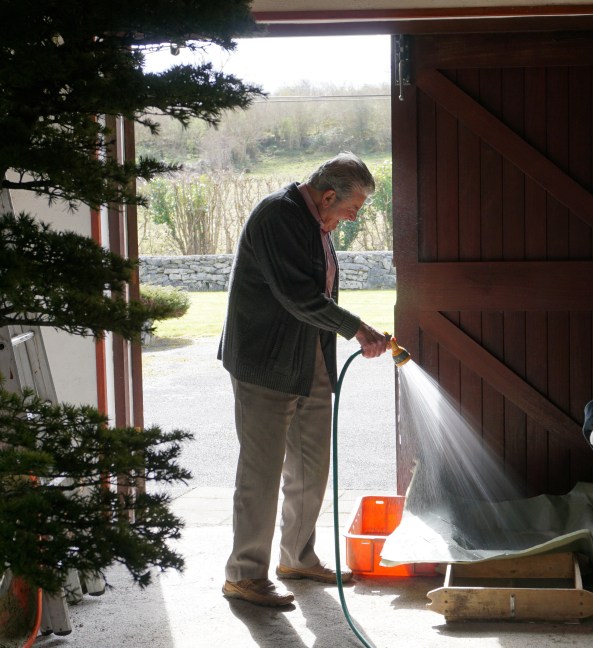
I posted last year about a great chap living over in the west of Ireland with a collection of bonsai 40 years + in the making. Peter Flint, a long time bonsai enthusiast, now in his 80’s had been working through his trees catching up on some long overdue repotting. However, he had a few that were just to big for him to manage. Derek and myself popped over to give him a hand. When I say popped over, it was a 9 hour round trip for me, but I’d hate to see the trees suffer from lack of hands.

Now, Peter has his own way of doing things regarding mixes etc and even though I didn’t agree with him, who am I to change what’s been working for him for 40 odd years. First up was a tall cedar.

Then a great Hinoki Cypress.

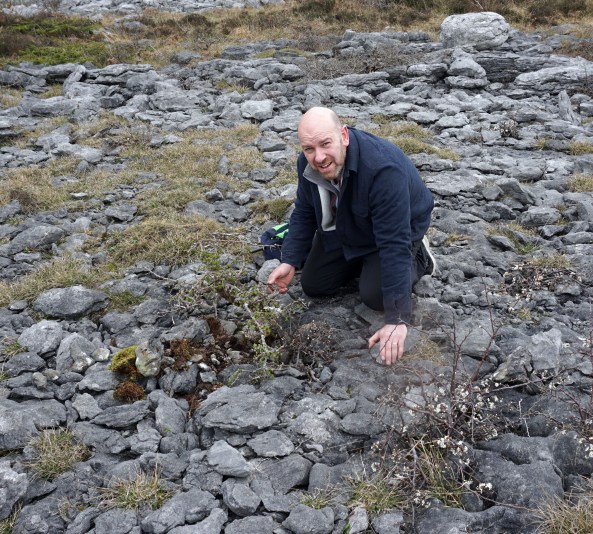
After a fun day with Peter, Derek and I went to check out some great local yamadori, mostly hawthorn and blackthorn. Most weren’t collectable but I did find time to experiment with a few air layers.

Thanks for a great day Peter, and the pizza 🙂 and to Derek for good company on the trip, it just flew in.

Korean Hornbeam – Changes

I’ve had this Korean Hornbeam for 5 years now. This was how it looked back in July 2010. It was weak and had suffered for a few years and lost a lot of branches. It took 2 seasons to get it on track and build up some ramification.
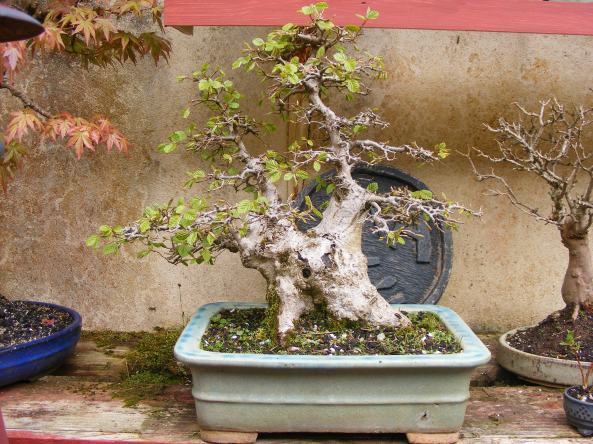
DSCF1409

This was it in 2013

And here in December 2014.

At this point I decided to make a few changes. Both trunks were parallel to each other in the pot creating a very flat image. The main trunk lacked taper along the last portion of the trunk line and about 2 inches from the top is a swelling that looked ugly and was only going to get worse with age. I opted to layer the top off the main trunk to create a little multi-trunk shohin tree for the future. I also decided that I’d change the front of the tree to offset the two trunk creating more depth.

Below is the tree in December 2015 after the layer was removed. I had give the tree free growth for the year to give me a few more options when thinning out the branches.
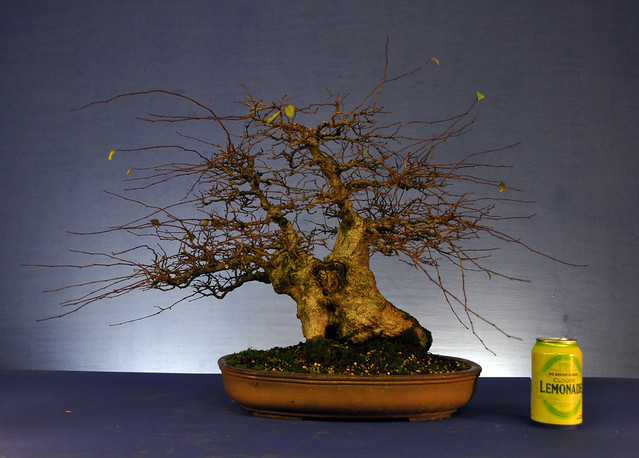
This was to be the new angle for the front. I’d lose a little of the width of the base but give the tree a little more character and depth, hard to see that in a photo of course!
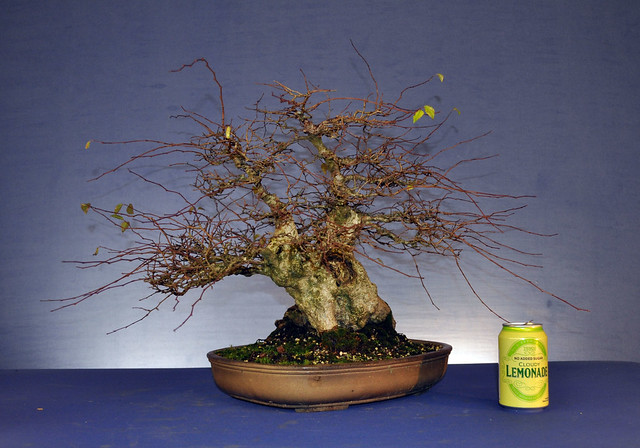
I trimmed back unwanted branches and pruned out a few area that had become too heavy.
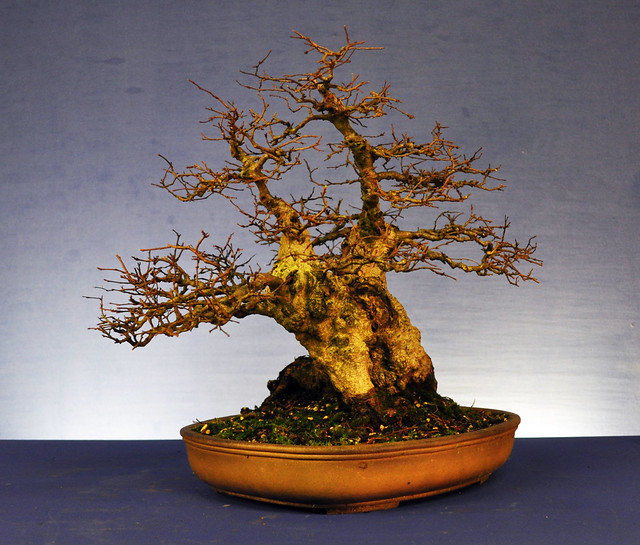
I then wired out the branch structure creating the basics of two new apexes and got rid of a lot of clutter and crossing branches.
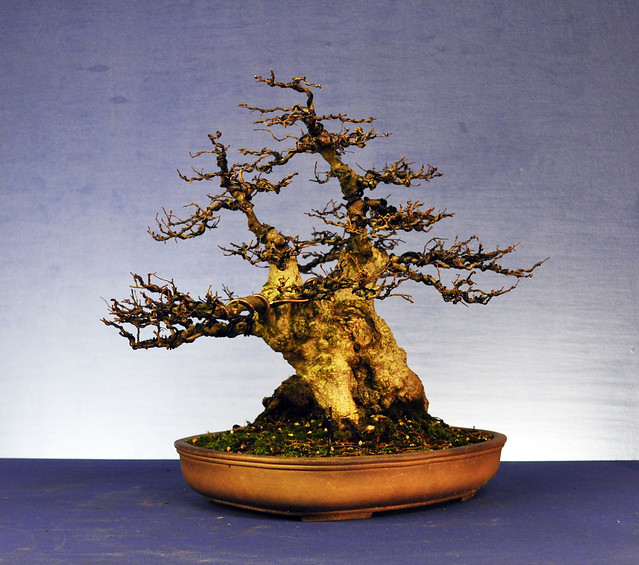
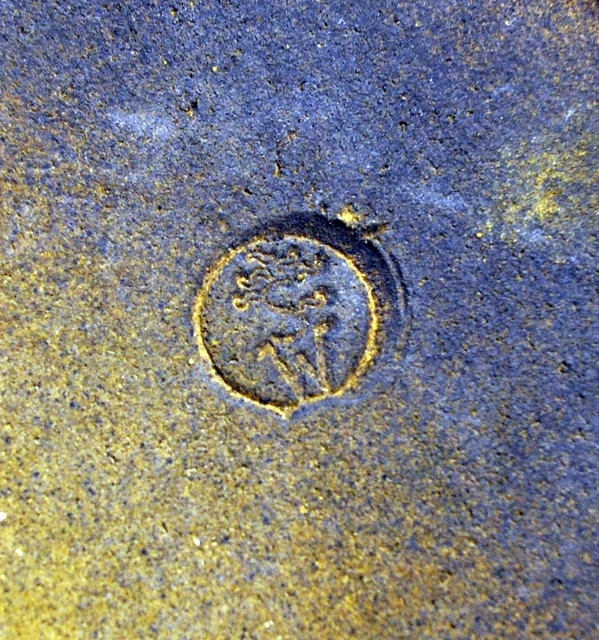
If we are making changes to the front, I might as well repot it. I had a Sylvia Webber pot on the shelf that I love and was itching to use again. I think that’s who the potter is anyway, perhaps someone can confirm from the chop mark below. Is she still making pots? I got this back in 2003.
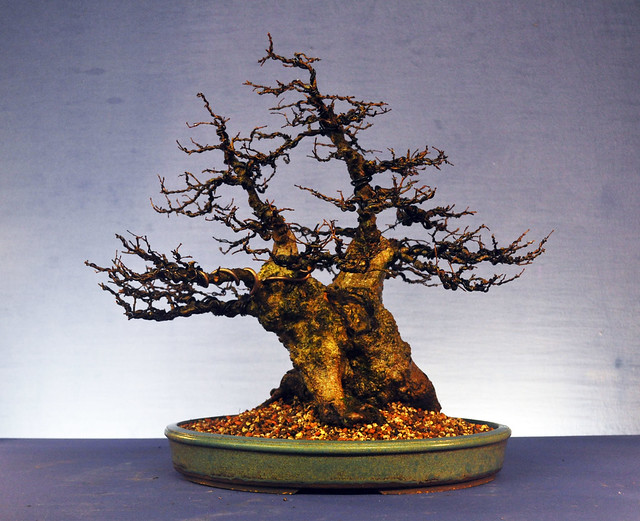
I transferred the tree over adjusting for the new angle. The pot is perhaps a little shallow looking for such a heavy trunk, but I like it. I was also able to remove an ugly root at the back as a bonus. It’s hard to tell just how much better the image is in a photo, especially as the old front looked good in a photo and this photo isn’t great but trust me, I’m a lot happier with where this tree is going in the years to come. Double the current ramification and I think we have a nice tree in the making. That’s what I love about working on Deciduous trees, there’s no quick image to be had like a conifer, the work has to be done year on year to create a descent bonsai.
Chinese Elm Airlayer

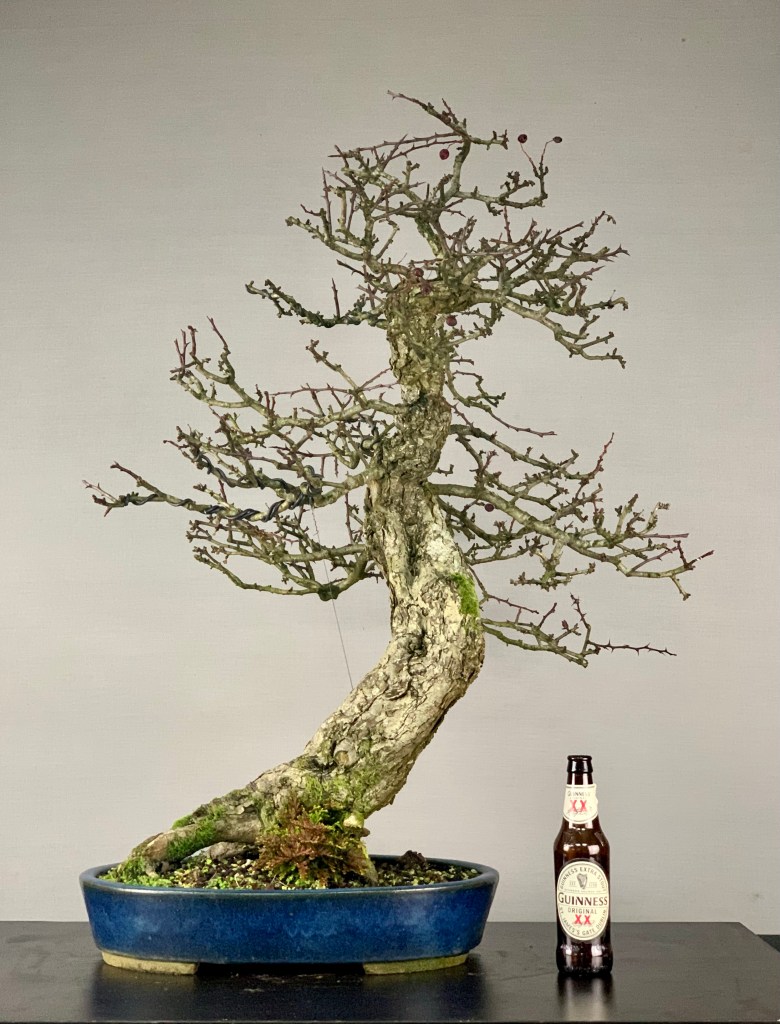
This Chinese Elm came into my care last year. It had been doing well for a few years and then it had a major bad episode and lost all the bottom branches. All that was left was a nice base, a long straight bit then a few branches at the top. I repotted it out of the original poor soil. After a few months it had leafed out again but was never going to make a convincing tree without lower branches. I spoke to the owner and suggested air layering the top off it and then creating a better tree from the base. Fair play to him, he agreed. I left the layering until March this year and a few weeks back I checked the progress.

DSC_0434

Signs of decent roots in the layer.

DSC_0438

DSC_0441

After removal

DSC_0445

Potted upDSC_0447 The base had produced some new branches low down due to the layering process, I gave these a very basic wiring to get them going in the right direction. Two trees from one.

DSC_0449

Airlayer it!

Finally got around to sorting a few air layers this week.

First up was this Korean Hornbeam. This is the front as it sits now.

DSC_0119

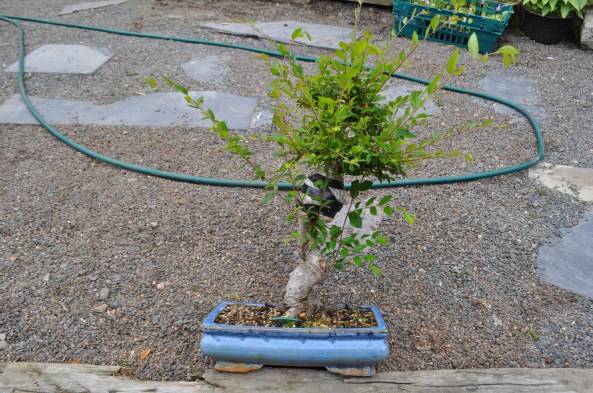
This will be the new front. However the top of the taller trunk is heavy and needs removed. It will make a nice little shohin clump if layered off.
DSC_0124

Layer point marked.

DSC_0125

Cambium layer removed.

DSC_0128

Layer in pace.

DSC_0132

And this Cork bark Elm with poor nebari.

DSC_0133

DSC_0135

DSC_0139

And this Zelkova which will make a nicer broom having removed all the tall leaders.

DSC_0141

DSC_0143

DSC_0144

A Chinese Elm that I’m layering for a customer. The tree came to me in poor health and had lost a lot of lower branches. Best option is to layer off the top and use the nice base as a new tree.

DSC_0148

DSC_0150

Dis a few more but was on a roll and forgot the camera 🙂

Rescue Maple Air Layer Removal… at Last!

The story so far…

September 2011

April 2013

October 2013

I could have removed this layer back in the Autumn but opted to wait until now as the buds begin to swell. I was fairly confident that it had done well last year after a shaky start as it had pushed out a lot of new growth.

DSC_0208

DSC_0210

On removal of the pot I was please to see some good roots.

DSC_0211

DSC_0213

With dead sections on the trunk ( see older post links above) I was delighted to see that each live section had produced roots.

DSC_0214

The saw cut which got some work before potting.

DSC_0216

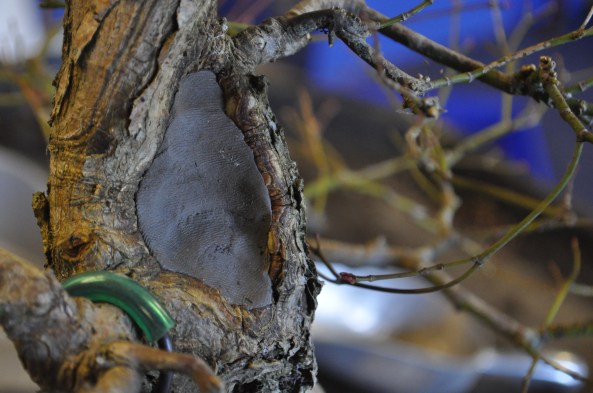
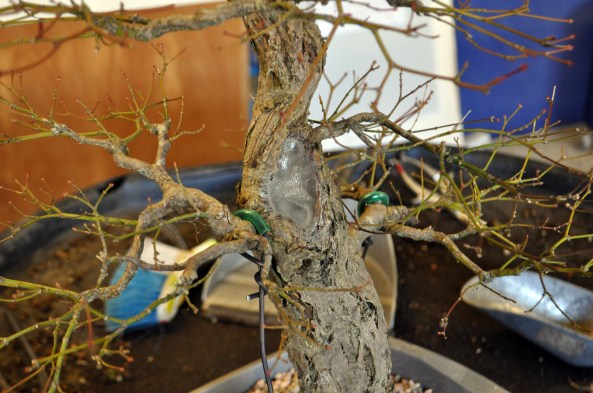
This hollow up the trunk was really starting to roll over well and instead of leaving a hole to collect water I decided to treat and seal this with wound putty and then seal with cut paste. This will allow it to eventually heal over leaving no hole at all in about 5 years.

DSC_0219

DSC_0222

DSC_0223

DSC_0224

Potted up in a wash hand basin to allow it to gain some momentum this year. The original roots on inspection were very poor, I feel that if I hadn’t layered this tree it would already be dead. Which would be a shame with the stunning Autumn Colour it produces.

DSC_0229

More Layers

I did this layer back in April and removed it a few weeks back. All looks good and I look forward to developing this little one next year.

DSC_0275

DSC_0276

DSC_0277

And this little trident was successful at the second attempt.

DSC_0271

DSC_0273

DSC_0274

And both potted up with a little moss top dressing to ensure surface roots remain moist.

DSC_0279And a word to the wise, when you saw through the trunk, ensure your other hand is well clear!! This is how I ended up. Flap of skin hanging off and exposing the knuckle bone 😦 10 days later and it got infected and I ended up at Minor Injuries Unit for treatment. Will I ever learn?

DSC_0278

Japanese Maple Airlayer…

… at the second attempt! I tried a layer on this tree in 2013 but it bridged the gap. I reopened it and made a bigger  indent, and also changed away from moss to an akadama mix. This time we have success, but I’ll be leaving the separation until the Spring.

DSC_0268

DSC_0269

DSC_0270