Cascade Japanese Black Pine

I finally got around to doing a little work on my new Shohin Japanese Black Pine. I picked this one up whilst on holiday in Tenerife back in October. A visit to Bonsai Centro Tenerife and a chat with Jose Acuna did the job.

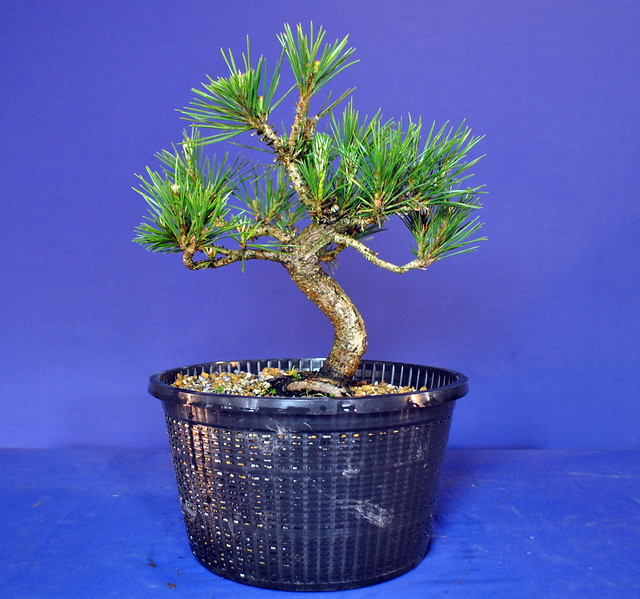
This is it as purchased.

dsc00181

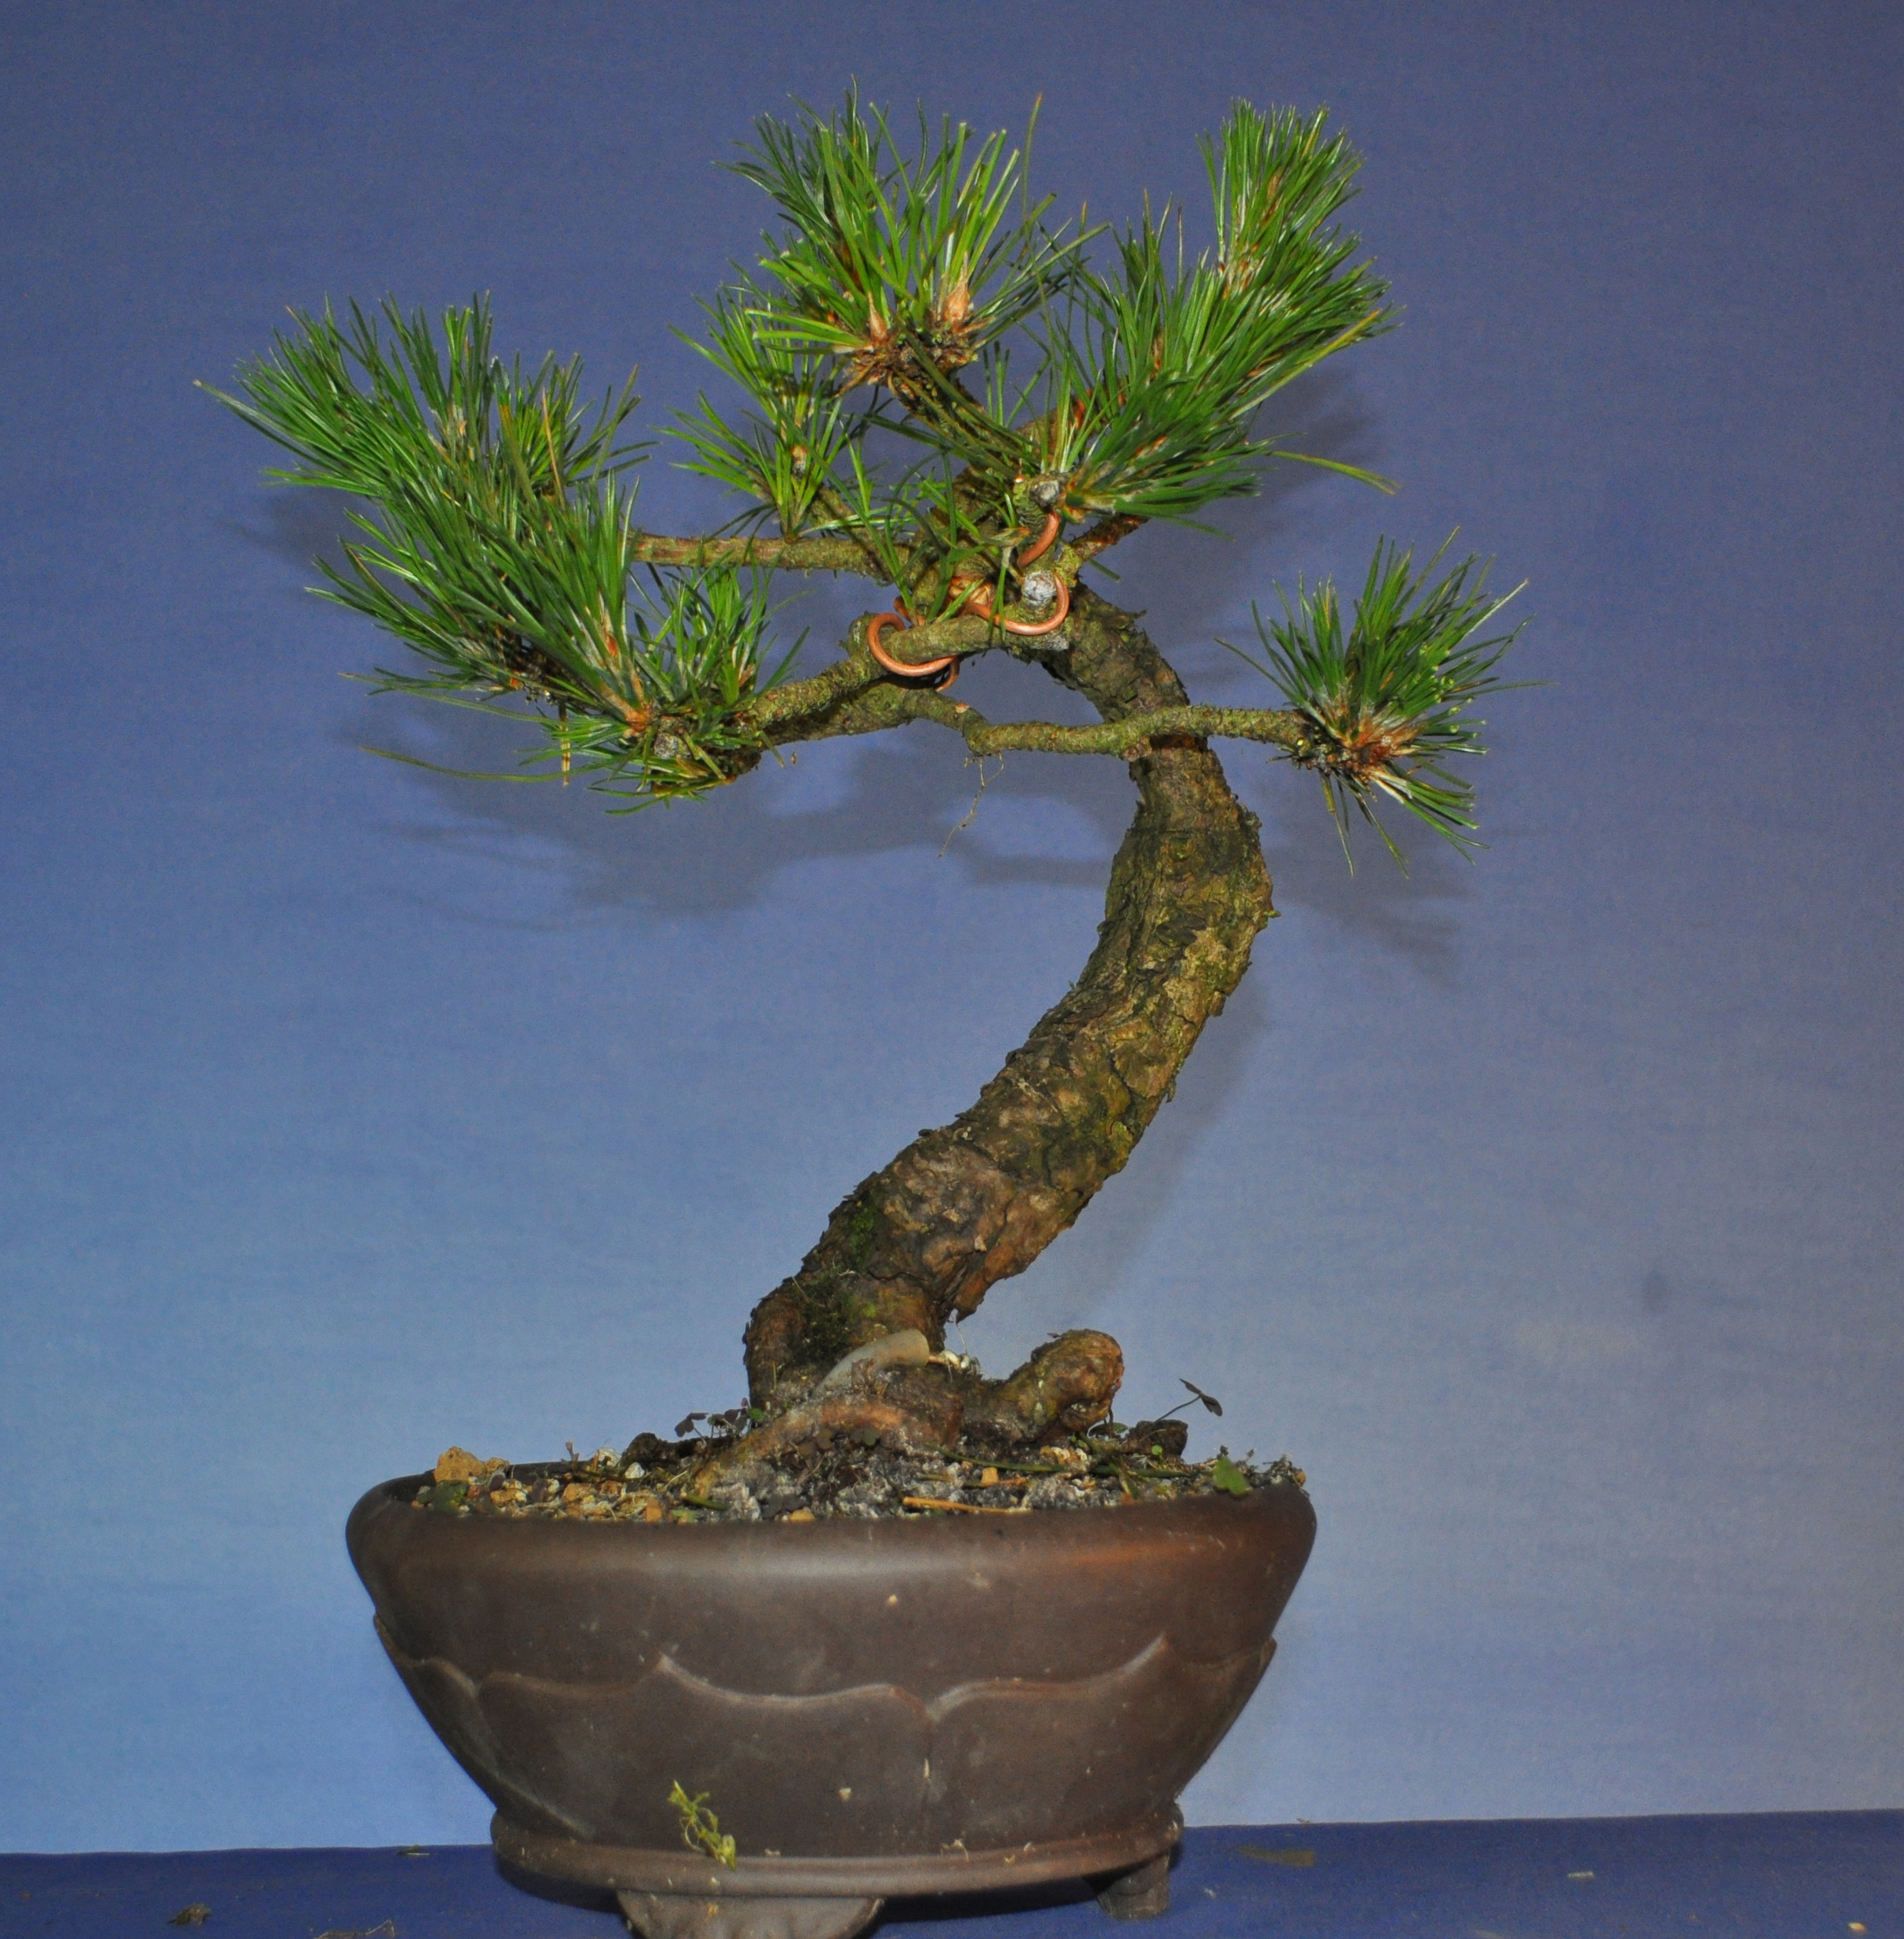
and after a little work.

dsc00185

A slightly different angle.

dsc00186

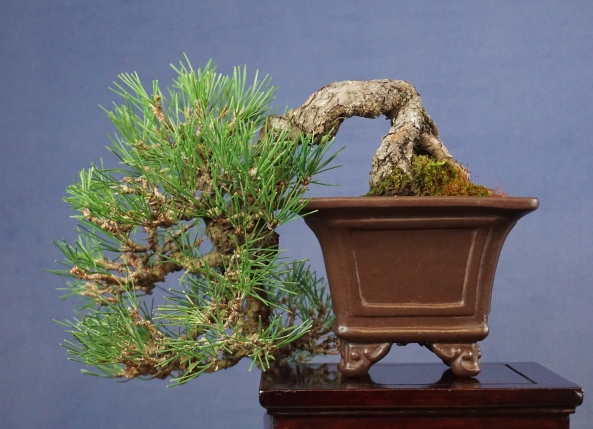
As a large shohin I like the fact that it has possibilities for reversing it in a box stand to fit different displays. Here’s the back.

dsc00188

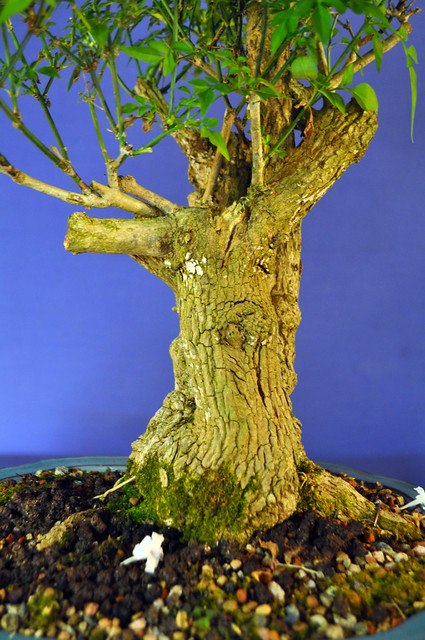
and the other sides just for giggles.

dsc00187

dsc00189

Jose gave me a few earlier photos of it which I’ll share here too to keeps my records all in one place.

45

14826184_10209473298341331_221932962_n

14875380_10209473298221328_1289292771_n


OLYMPUS DIGITAL CAMERA

OLYMPUS DIGITAL CAMERA


Japanese Black Pine

This Japanese Black Pine given to me by a friend has always been a bit of an experiment to see how far I can get it to back bud on leggy branches. This year I have decided to actually place a few branches to start building a structure. A long way to go, but fun to be had in the process.

This is it before and after wiring. A few branches removed.

DSC_0111

DSC_0115

Video

Ryan Neil Pine Lecture Part 1

You will have seen Ryan talking about Pines elsewhere on Youtube but I think this one is slightly more detailed and well worth a watch.

Watched it, then watched it again!

A great video I watched over on the Capital Bonsai Blog with Ryan Neil talking about pines. A very interesting approach and an easy explaination about why you do it this way or that. Well, not that easy, I had to watch it twice 🙂 It never does any harm to refresh the memory.

More Black Pine Virtuals

As my attempts at finding the right shape of pot for this Black Pine failed so badly yesterday, I have tried a few more.

These first two were pot suggestions are by Xavier. When he sent me the pot photos yesterday, I preferred the first one shown. But now that I have added the tree, I prefer the second one. The colour isn’t right but it’s hard to get this just right in a ‘cut and shut’ job like I’ve just done.

These are further ones I’m trying myself.

I like this one but I think I’ve made the pot a bit too small.

I tried this one, a little too ornate but nice all the same. Colour not right either.

This is my favourite one. A primitive pot that I feel suits the age shown in the bark of the tree.

None are quite right but it’s an interesting exercise that helps assess how a tree will look. I obviously need the practice 🙂

Shohin Black Pine

I’ve shown this one before but I asked Peter Warren for his view on it and we changed the angle a touch and removed two branches. Oh, and we made the back the front 🙂

This was it before wiring. The first one was my chosen front. The main reason for this choice was to hide the chop mark.

This was the back that I had discounted. You can see the chop that I was avoiding.

This was my styling.

Peter said that many people, obviously me included, can get hung up on one particular fault. The chop is hard to see and he didn’t see it as a big problem. He pointed out that the major bend in the trunk was easier on the eye from the chop side. With a slight change of angle and a few minor branches removed….

He had a few minor concerns over the slight yellow tinge. This years rainfall has seen many of the micro nutrients being leeched from the soil. He suggested a feed with seaweed extract and better control of the watering by placing it in the greenhouse for the Winter.

Japanese Black Pine Wiring

On Friday afternoon before the rest descended on my garage, I decided to test out my should with a little wiring. I opted for this shohin JBP. This is it before wiring.

Option 1

Option 2

I opted for option 1 to hide the chop wound to the back. This is the tree after wiring.

Garage Get Together

Friday night was one of my gather up’s of friends to play with trees. We had six on the night, a few no shows due to the sunny day it turned out to be. Who could blame them. The rest of us got on with it.

Stepehn brought this Jasmine. Still pretty much raw material that had struggled last year after a repot. This year was he first it had flowered after collection from a garden.

You can notice in the photo of it’s trunk below that there was some white fungus starting on the bark. This was a dead patch which was removed to create a shari. More on this in a later post, or maybe even on Stephen’s own blog, but I doubt it 😉

Stephen caught in one of those curious moments lol

Brian, new to bonsai, came along. He had a bad experience with a Chinese Elm and I was keen to get him playing with more suitable trees. I gave him this little yew to get him started.

Sharon was there along with a lovely little Black Pine that required some needle removal.

Phil got this Elm group out for a trim.

A great night, especially the last session were the die-hards did a bit of tree critiquing. Finish time 1am and I didn’t even have a single beer!

Japanese Black Pine

This is the latest addition to my collection. A shohin Japanese Black Pine with a built in Accent 🙂

Mario Update

Another Mario tree update. If  you haven’t got a clue why I’d be doing this, CLICK HERE

First up is his Satsuki Azalea. It’s a variety called Subaru, so I’m told. I always thought the flower colour was equal throughout this tree, as you can see, I was wrong. Nice shades of pink.

Next up is his Japanese White Pine that has budded strongly this year.

His Korean Hornbeam that got a major haircut to produce back budding on some leggy branches. It’s working.

This is his Japanese Black Pine. It had been in a small pot and I thought that while he was away for a while we could get faster development from this tree by putting it in a bigger pot. I opted for a pond basket to improve the roots.

There you go Mario, that’s your tree fix sent all the way to you out in the sands 🙂