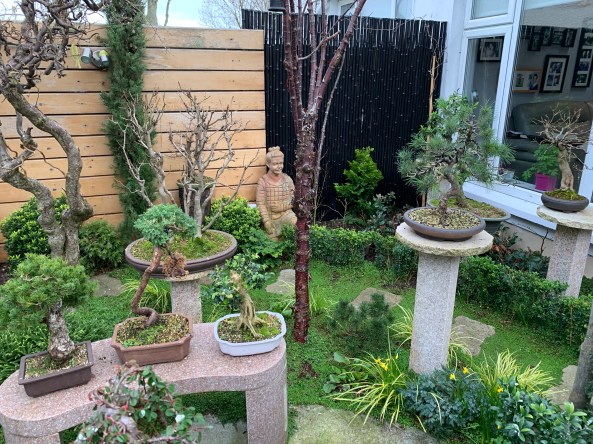
Alan, a relative club newbee, emailed me a few days ago asking if I could have a look at a Japanese White Pine for him. I am bored out of my head not being able to do much with my dodgy shoulder. I was delighted to have him down on Friday afternoon.
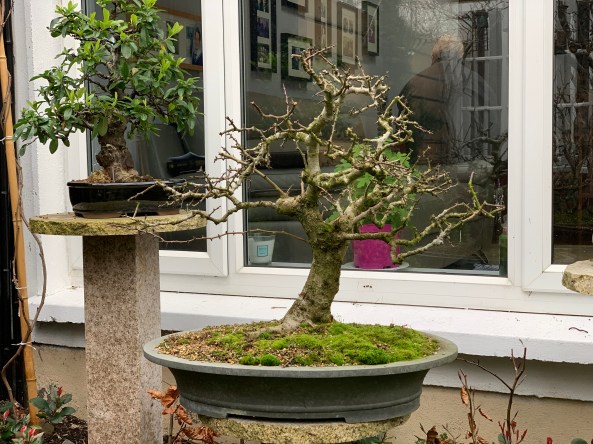
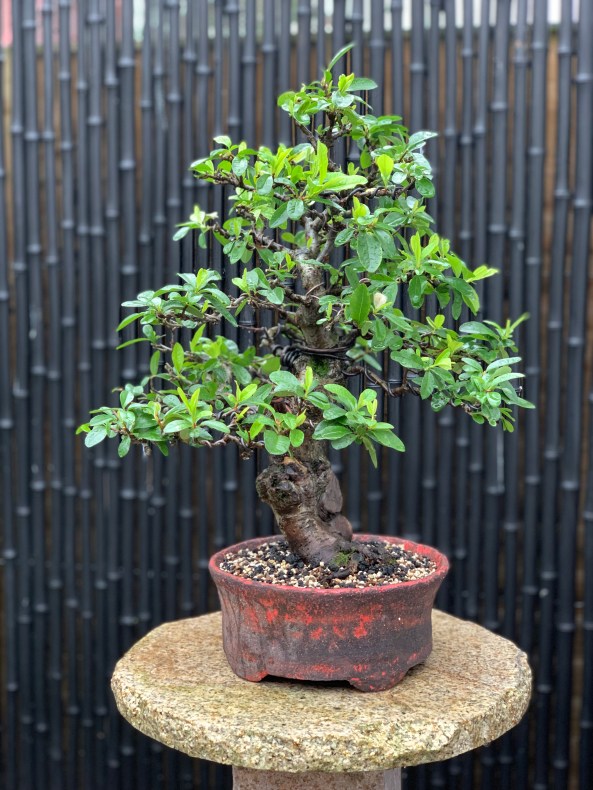
This is the Pine he brought, a typical JWP that you see on the market. Bought 2 years ago by Alan’s good lady wife as a present.

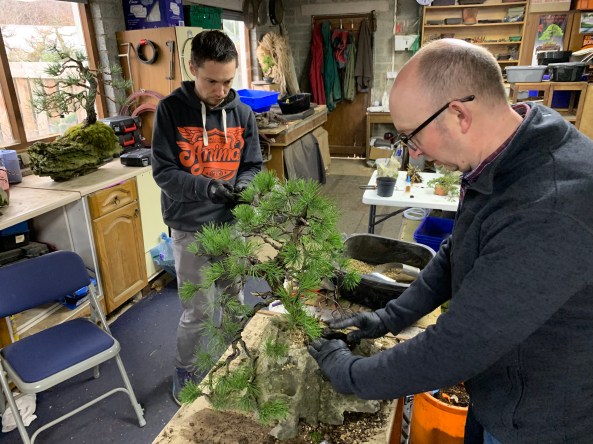
He has done a great job in keeping it healthy. Too much rain here in the UK to be ideal for JWP which I find like it on the dryer side. The growth was too strong at the apex and weaker on the lower half of the tree. A common fault when the owner doesn’t know the correct steps to take to balance the growth. I decided to make an afternoon of it and help Alan do two things. Learn about Pines and JWP in particular and learn how to set about evaluating a tree before styling.
We must have spent an hour talking through the needs of a pine and what we need to do at different points to achieve results, and also why it actually works!
I have a particular process that I try and teach beginners to follow when evaluating a tree. This was drilled into me years a go by Robert Porch, one of the most underrated bonsai artists in the UK. I have adapted it for my own needs and have probably missed some important steps in the process! I’ve never put this in writing but some might find this of interest. Aspects of it can also be applied to tree critiques and judging.
#1 When you look at a tree, even if it’s one of your own and you’ve had it for years, try and look at it with fresh eyes every time. Hard with your own trees I know, but how many times have you looked at trees at a show and just whizzed past not really taking in the image and missing learning opportunities.
#2 When you look at the tree decide what it is that first catches your eye. Is it a positive or a negative feature in your opinion. Where does your eye go from there? Is your overall opinion of the tree good or bad.
#3 look through the tree from it’s ‘front’ as displayed. Assess what good points the tree has. Always be positive when possible, especially when publicly critiquing a tree. Anyone can poke holes in a trees design, for some, that’s all they do!!
#4 Now do it again but looking for negatives. Make sure you assess the pot during this process. If you don’t like it, why? What pot would you put it in?
[Points 1-4 can also be done when looking at photos of bonsai in books or on screen, never just flick on to the next image without evaluating how it was done.]
#5 If you are offering advice on styling options, now is the time to look for other options in the tree. Spin the tree around on a turntable, and using the points above, select alternate fronts. This can be fun to do in a group. Make everyone mark their front with a piece of wire stuck in the pot. At the end each person has to explain why they picked that front. This can be entertaining 🙂 Always remember that the tree can be tilted etc, you are not stuck with it’s current position or style in any way.
#6 Having made several front selections, work through each one to assess which one is the best option. How many positives does each option have and how can you show these off? How many negatives is there and can these be removed hidden or even ignored?
#7 Most important, if it’s not your tree, then remember the owner is fully entitled to their opinion and to chose the option that suits them best.
#8 You should now have a clearer idea of where to go with the tree but if available, get another experienced eye to have a look for other options. Sometimes, what you have missed is the biggest part of the learning experience.
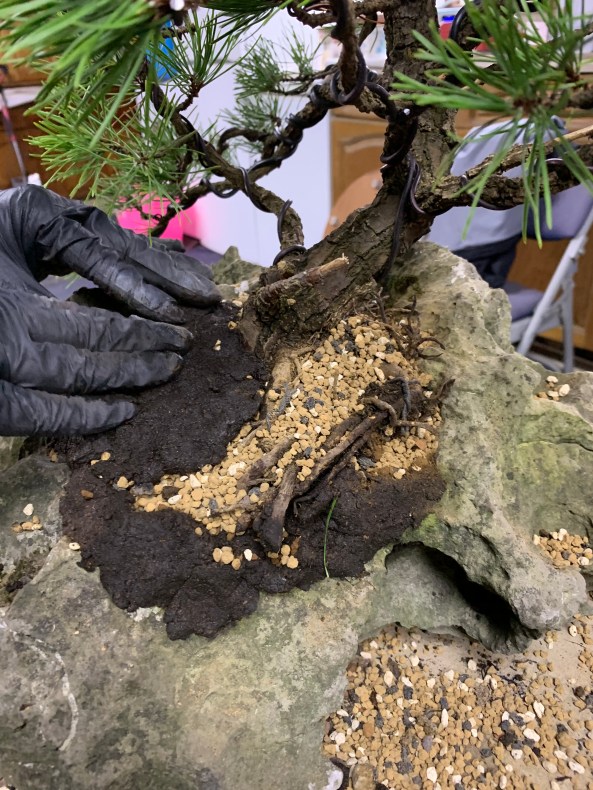
Back to Alan’s JWP. We went through this process and came up with 8 viable options for the tree. These were discussed and Alan decided what he wanted to do. Most options involved a front change and even a slight angle change. This is the front selected to best show off the root base, which can be improved when repotting, the trunk movement and make best use of a lower apex.

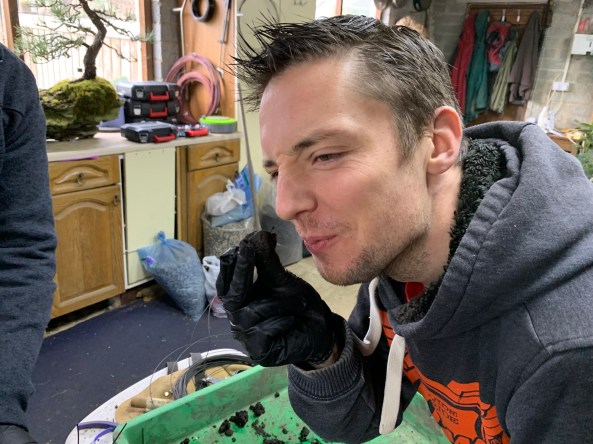
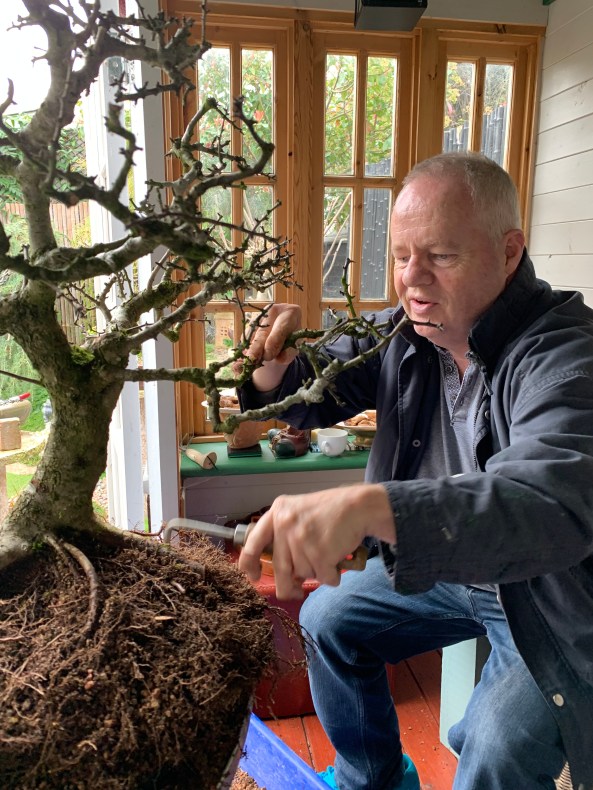
I put Alan to work removing old needles before he wired the tree.

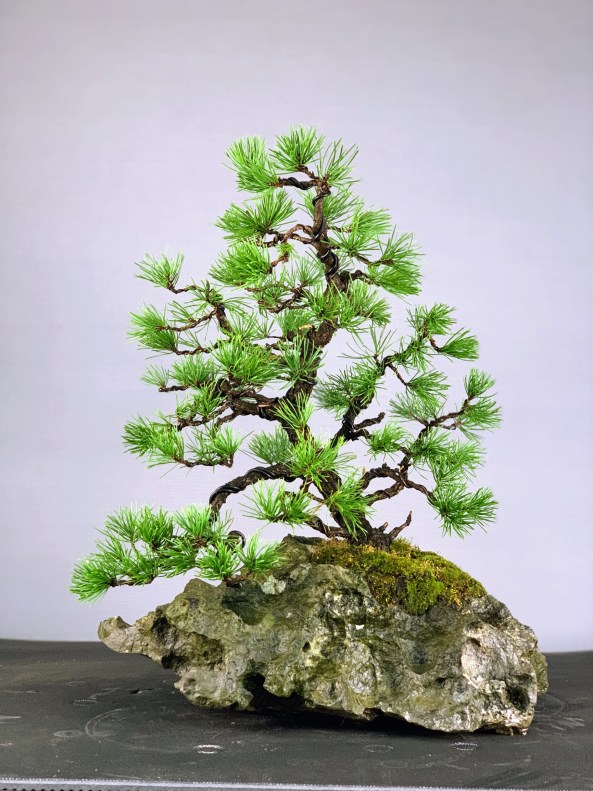
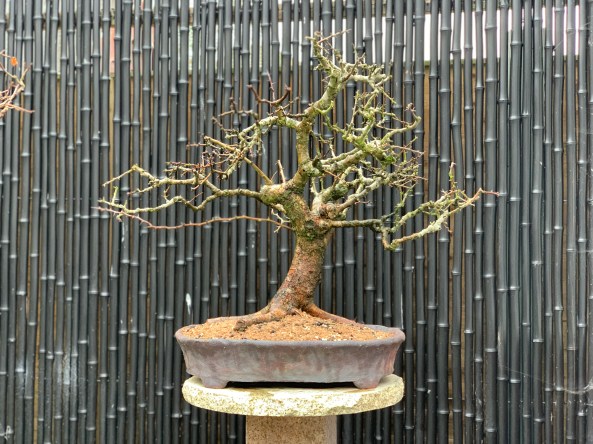
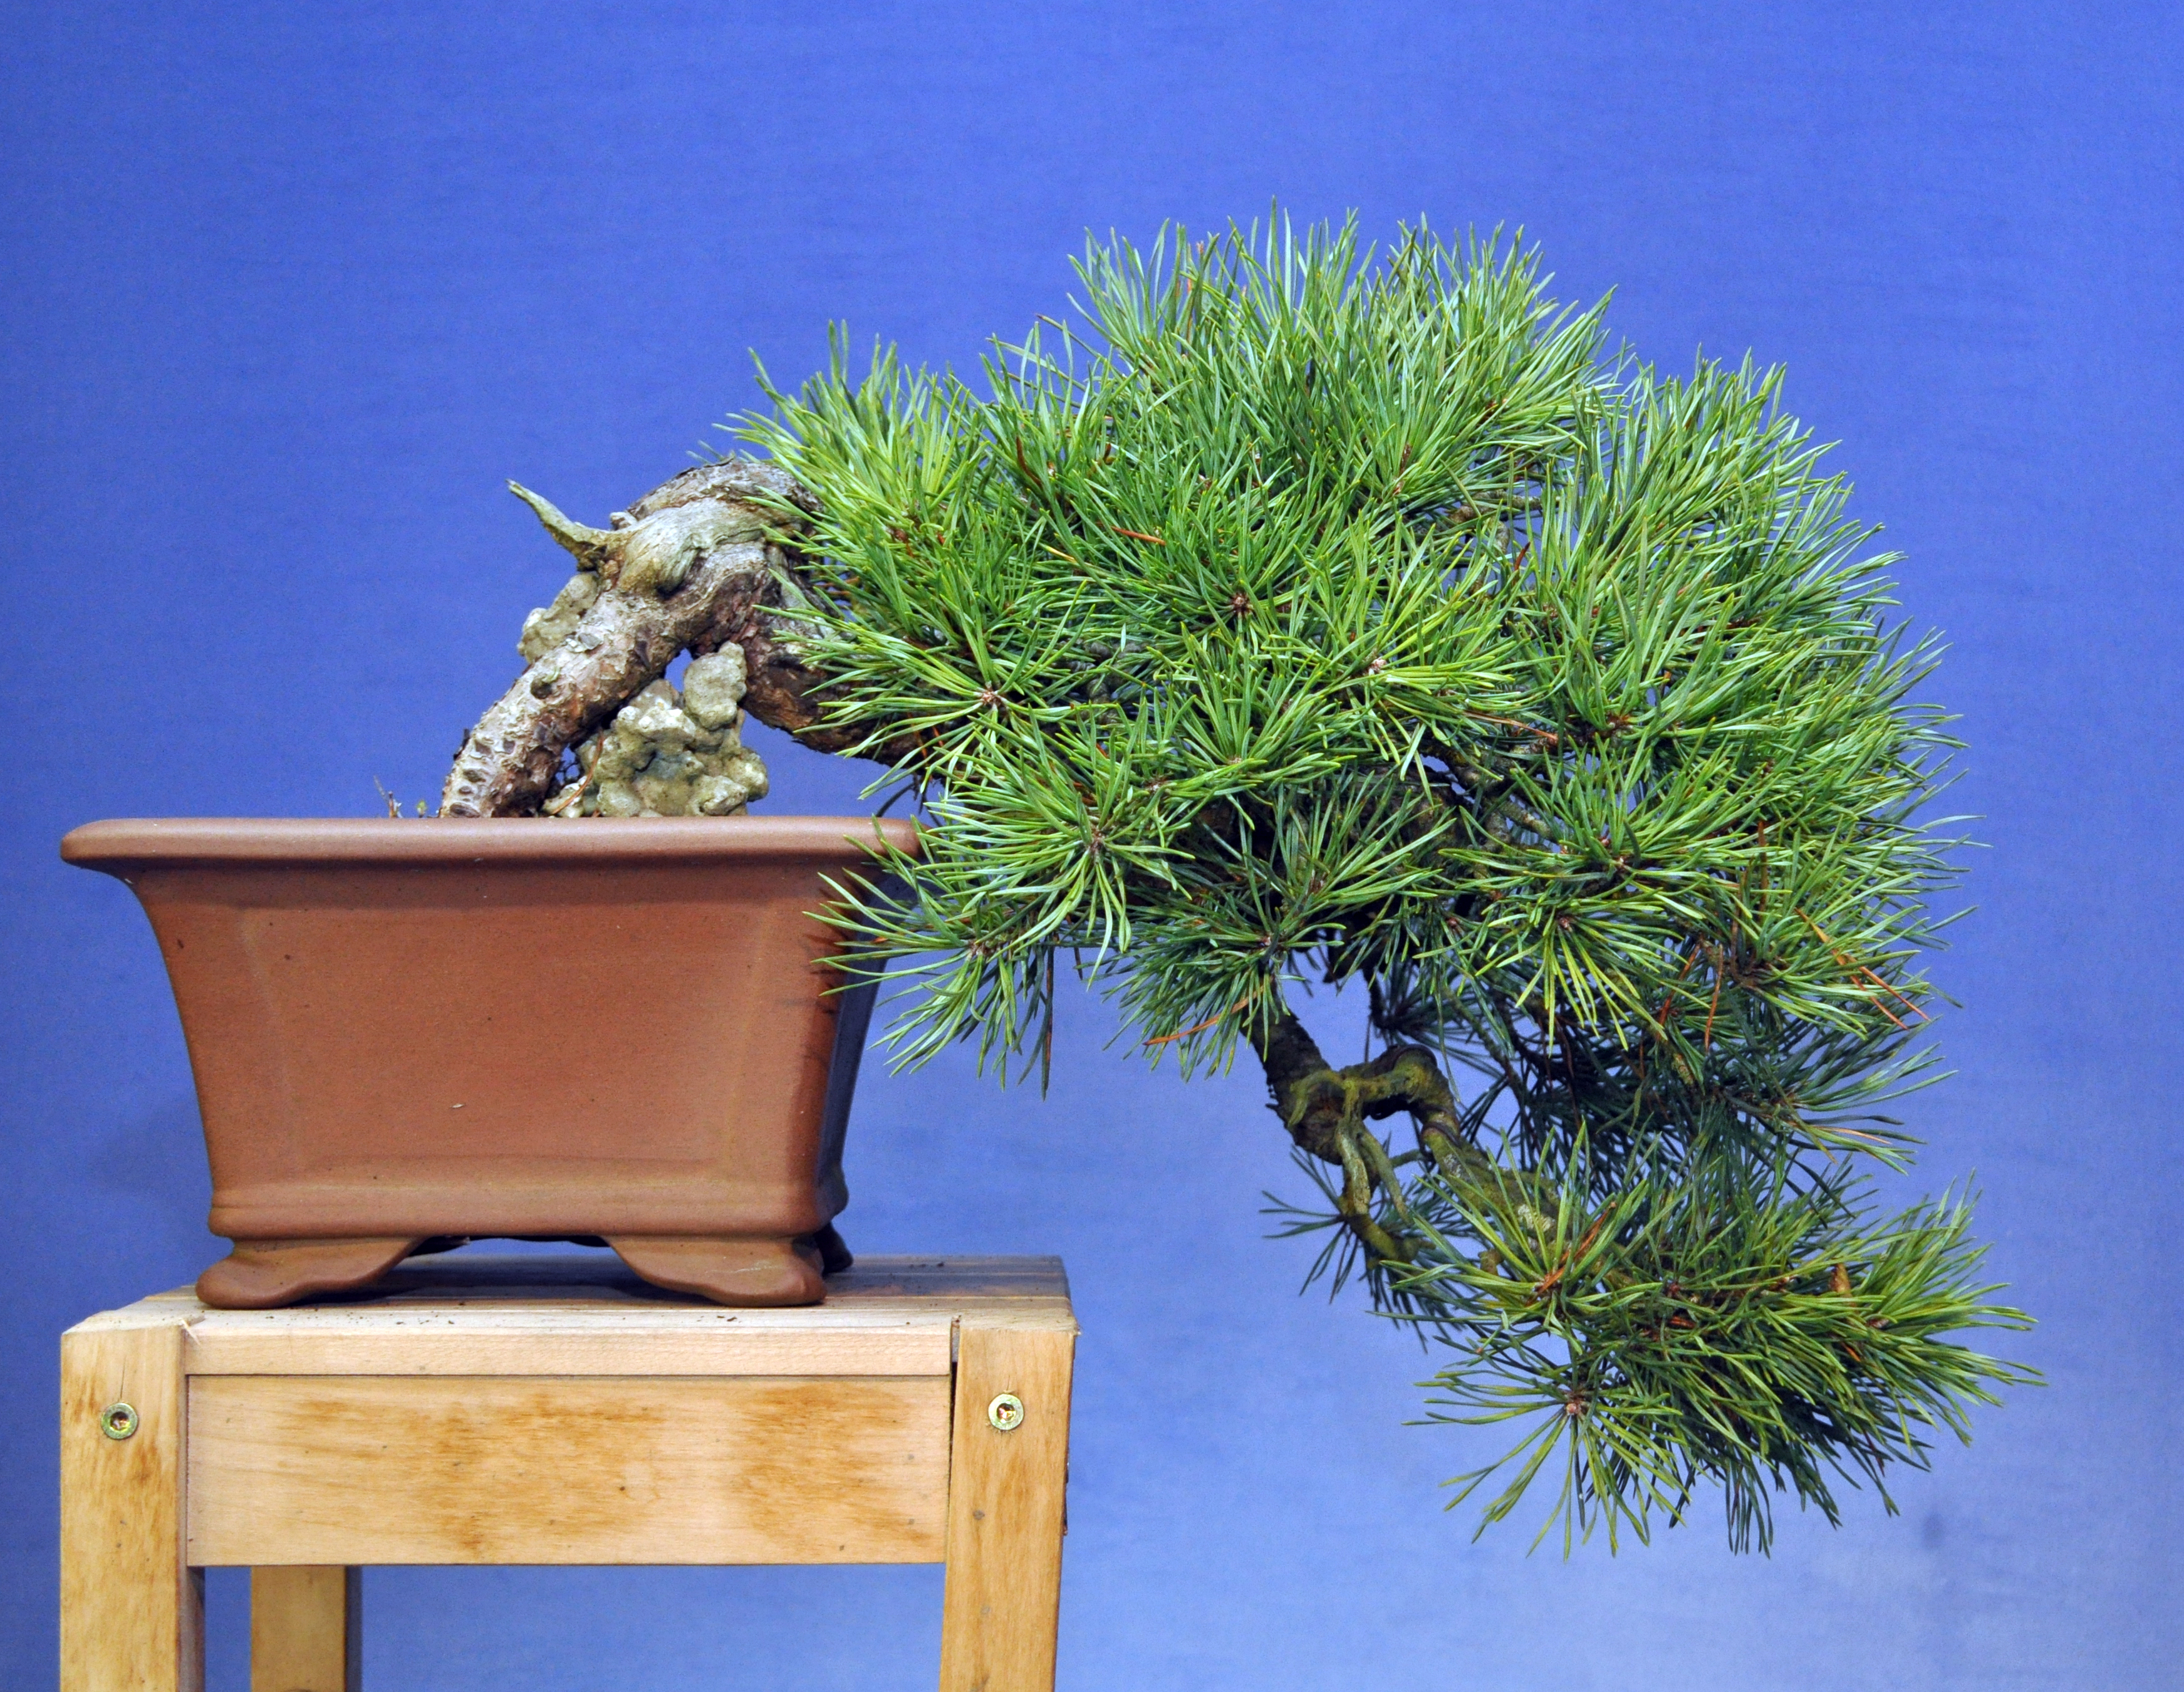
This is the final image.

A few points: This tree has a long way to go and will required proper care to produce ramification. Tthe overall height of the tree have been lowered, after a wiring the image is far more ordered and pleasing to look at. The nebari, once repotted and cleared will now be wider and show more interesting lower trunk movement. The graft mark has been hidden by the lower branch. The apex, although light now, is leaning towards the front and will fill quickly.
The trunk line is still somewhat straight in the middle but less noticeable than before. Apex needs time to fill again and several branches will need to be extended to add interest to the overall image. A few branches at the lower level should have been removed but have been left to allow for a future option of a shohin tree. This was my personal preference on the day but this isn’t the best time of year to be removing 4/5 of the foliage on a JWP and watching it bleed to death. This is the lower area where the shohin option is still available down the road.

I think Alan’s major worry about the shohin option was the reaction of his wife when he took the tree home 🙂
I had a very enjoyable afternoon and Alan is one of the keenest members I have had the pleasure of spending time with. This was typical beginner material but was a great tool to be used to help Alan gain knowledge in Pine care and styling decisions. As usual, I always learn a little myself in the process. I even sent him home with homework 🙂


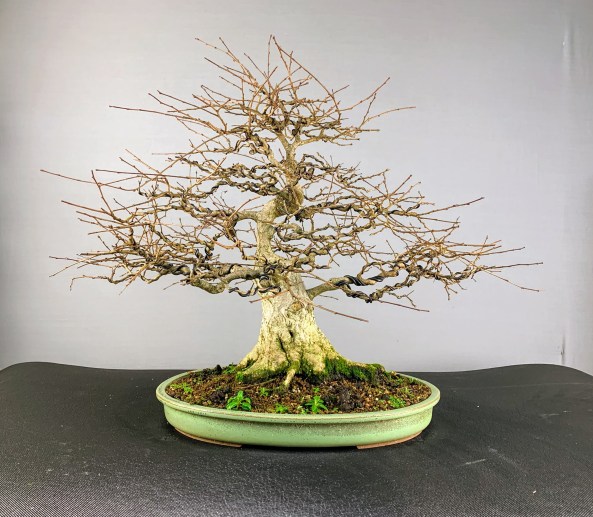


 After 40 minutes wiring, weeding and plucking.
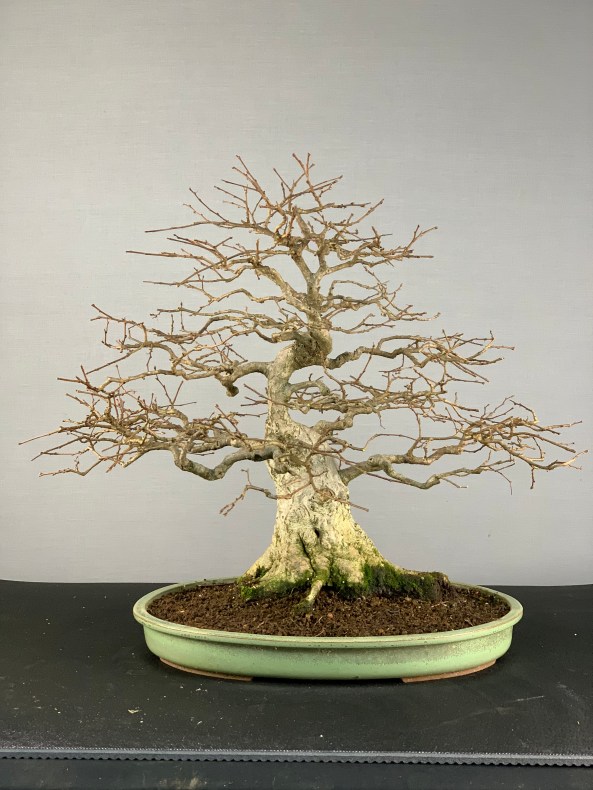
 a slightly different angle.
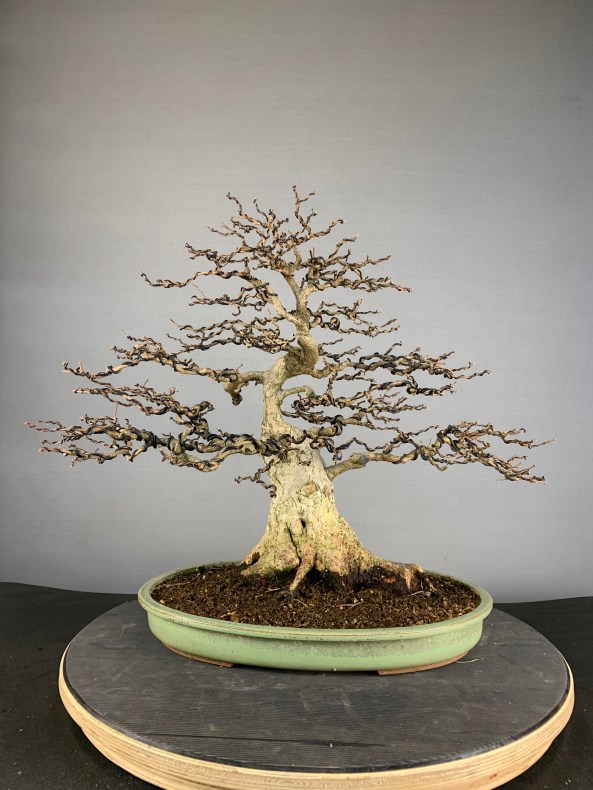
 It has a nice little wide root base but some cleaning will be required.
 The deadwood will need to be refined to get rid of the current bulky look. Shari will be added down the line joining together some of the deadwood areas.
