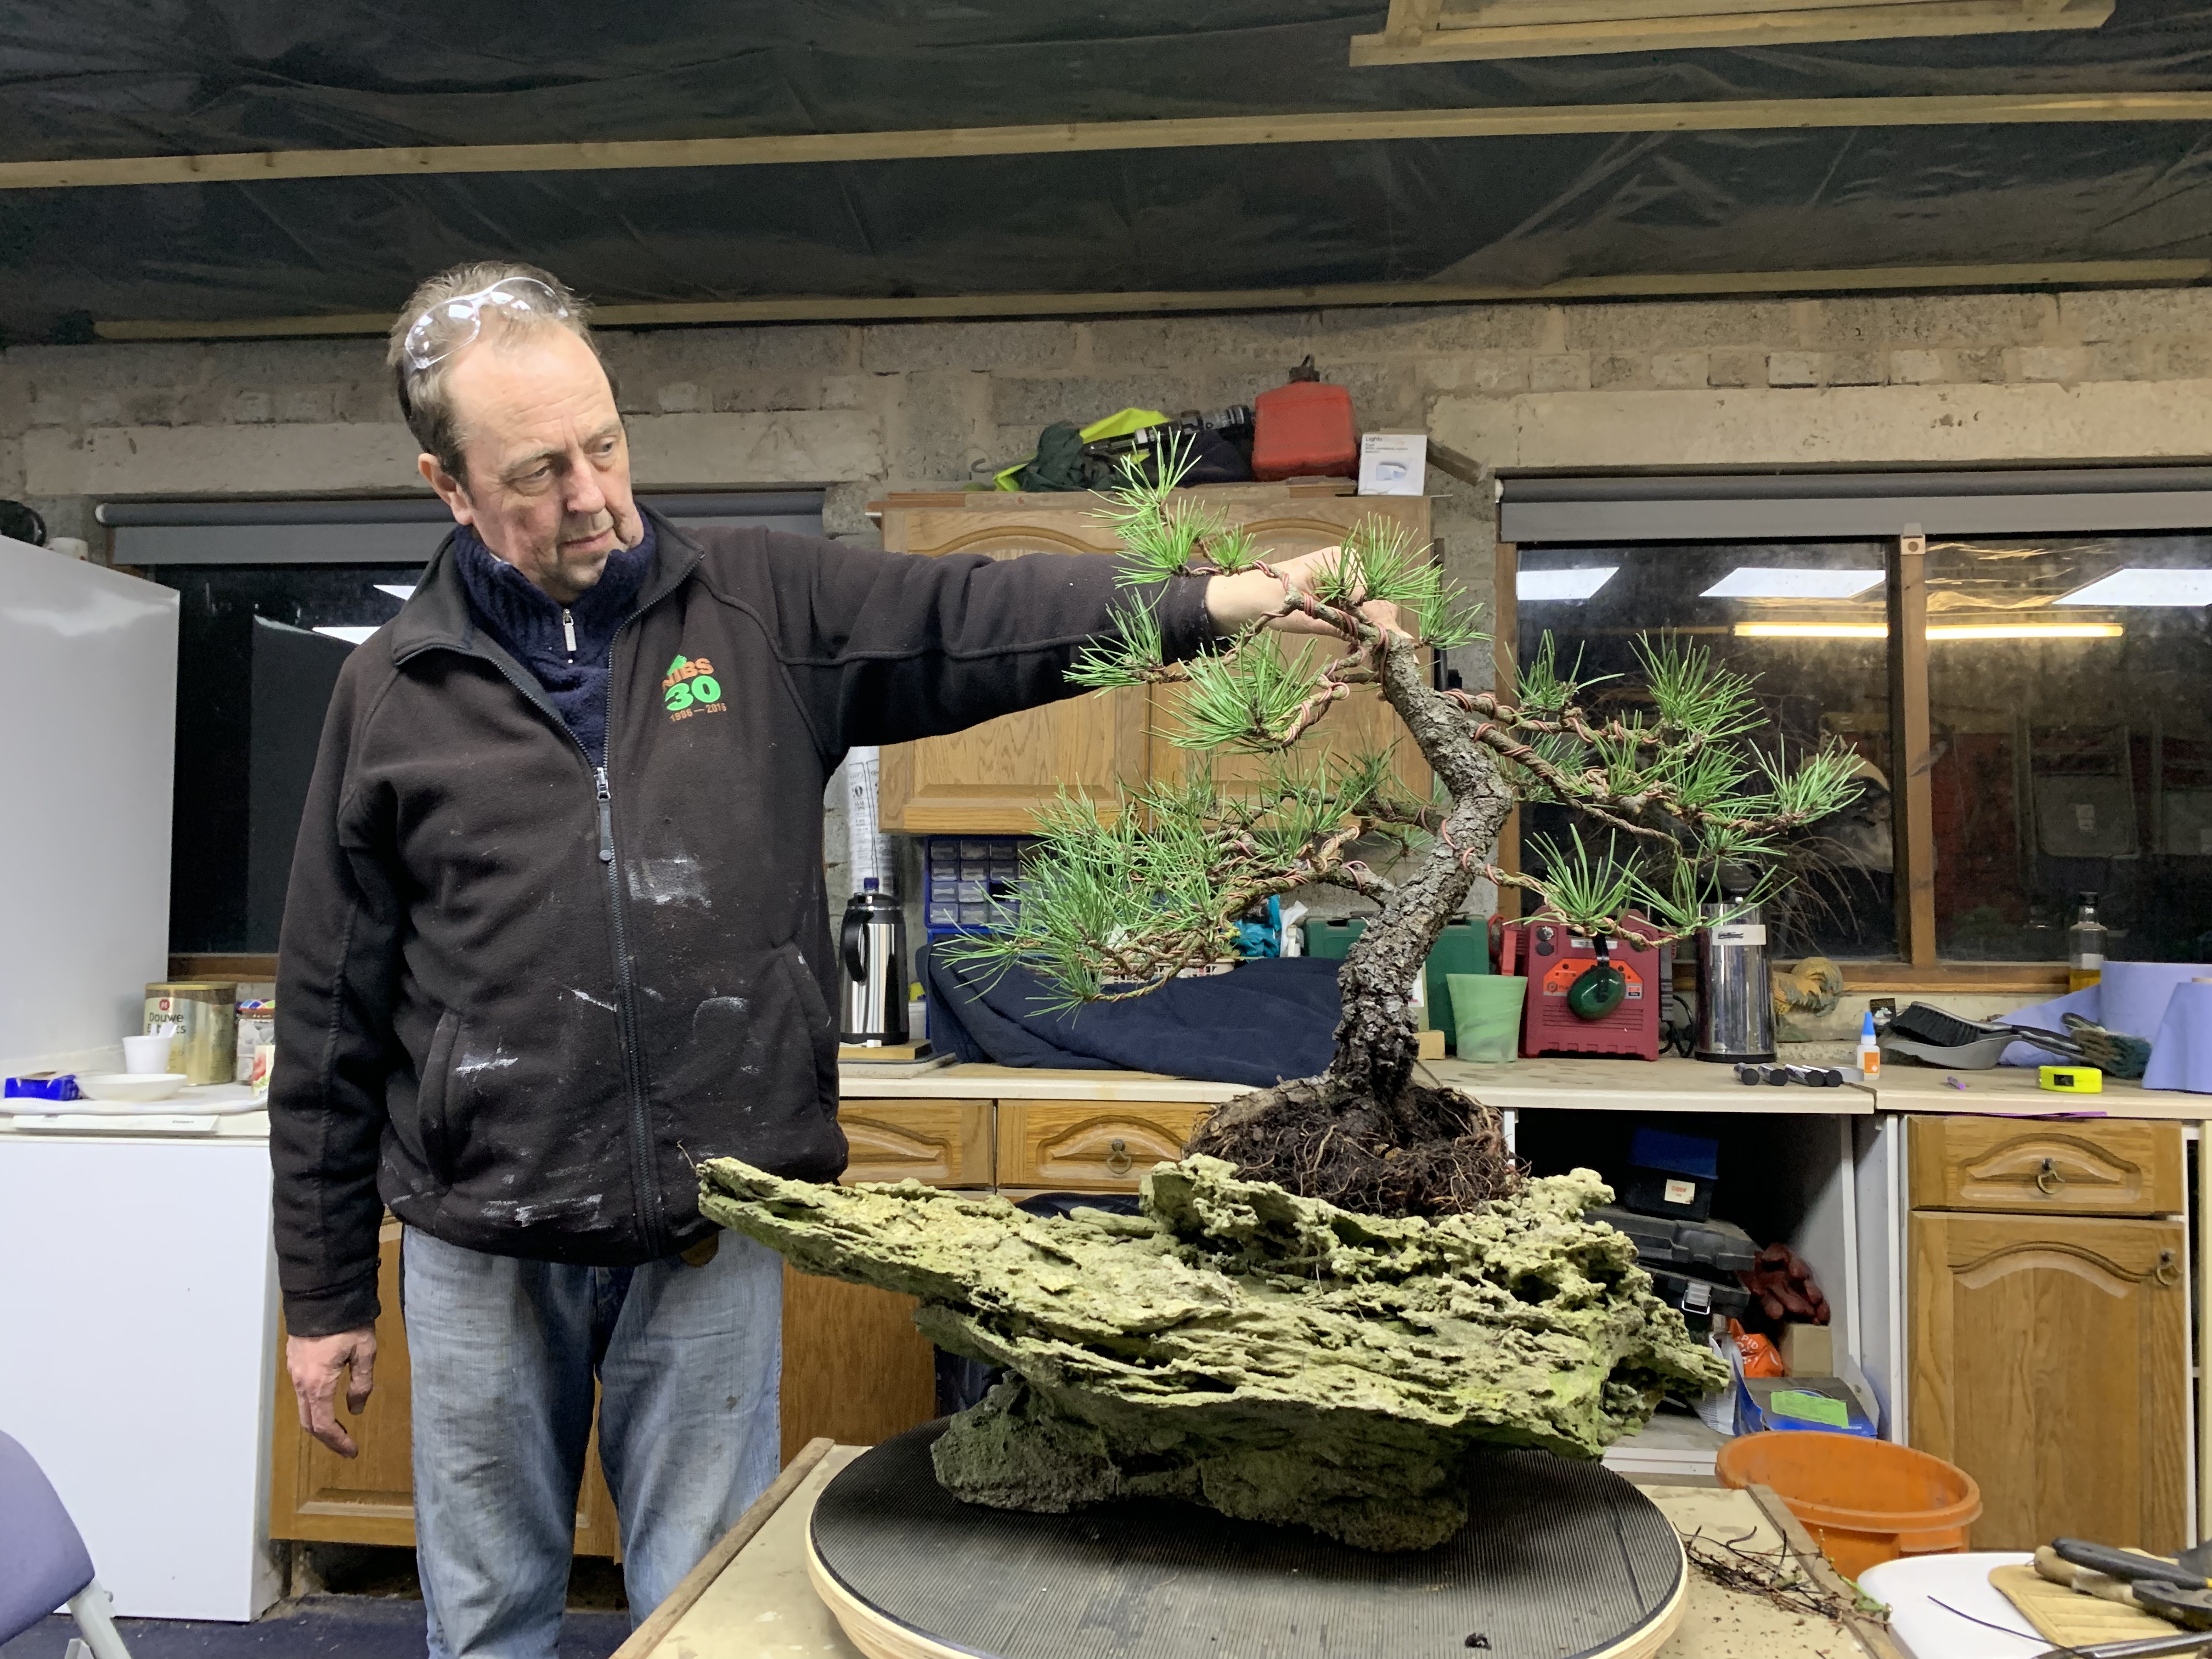
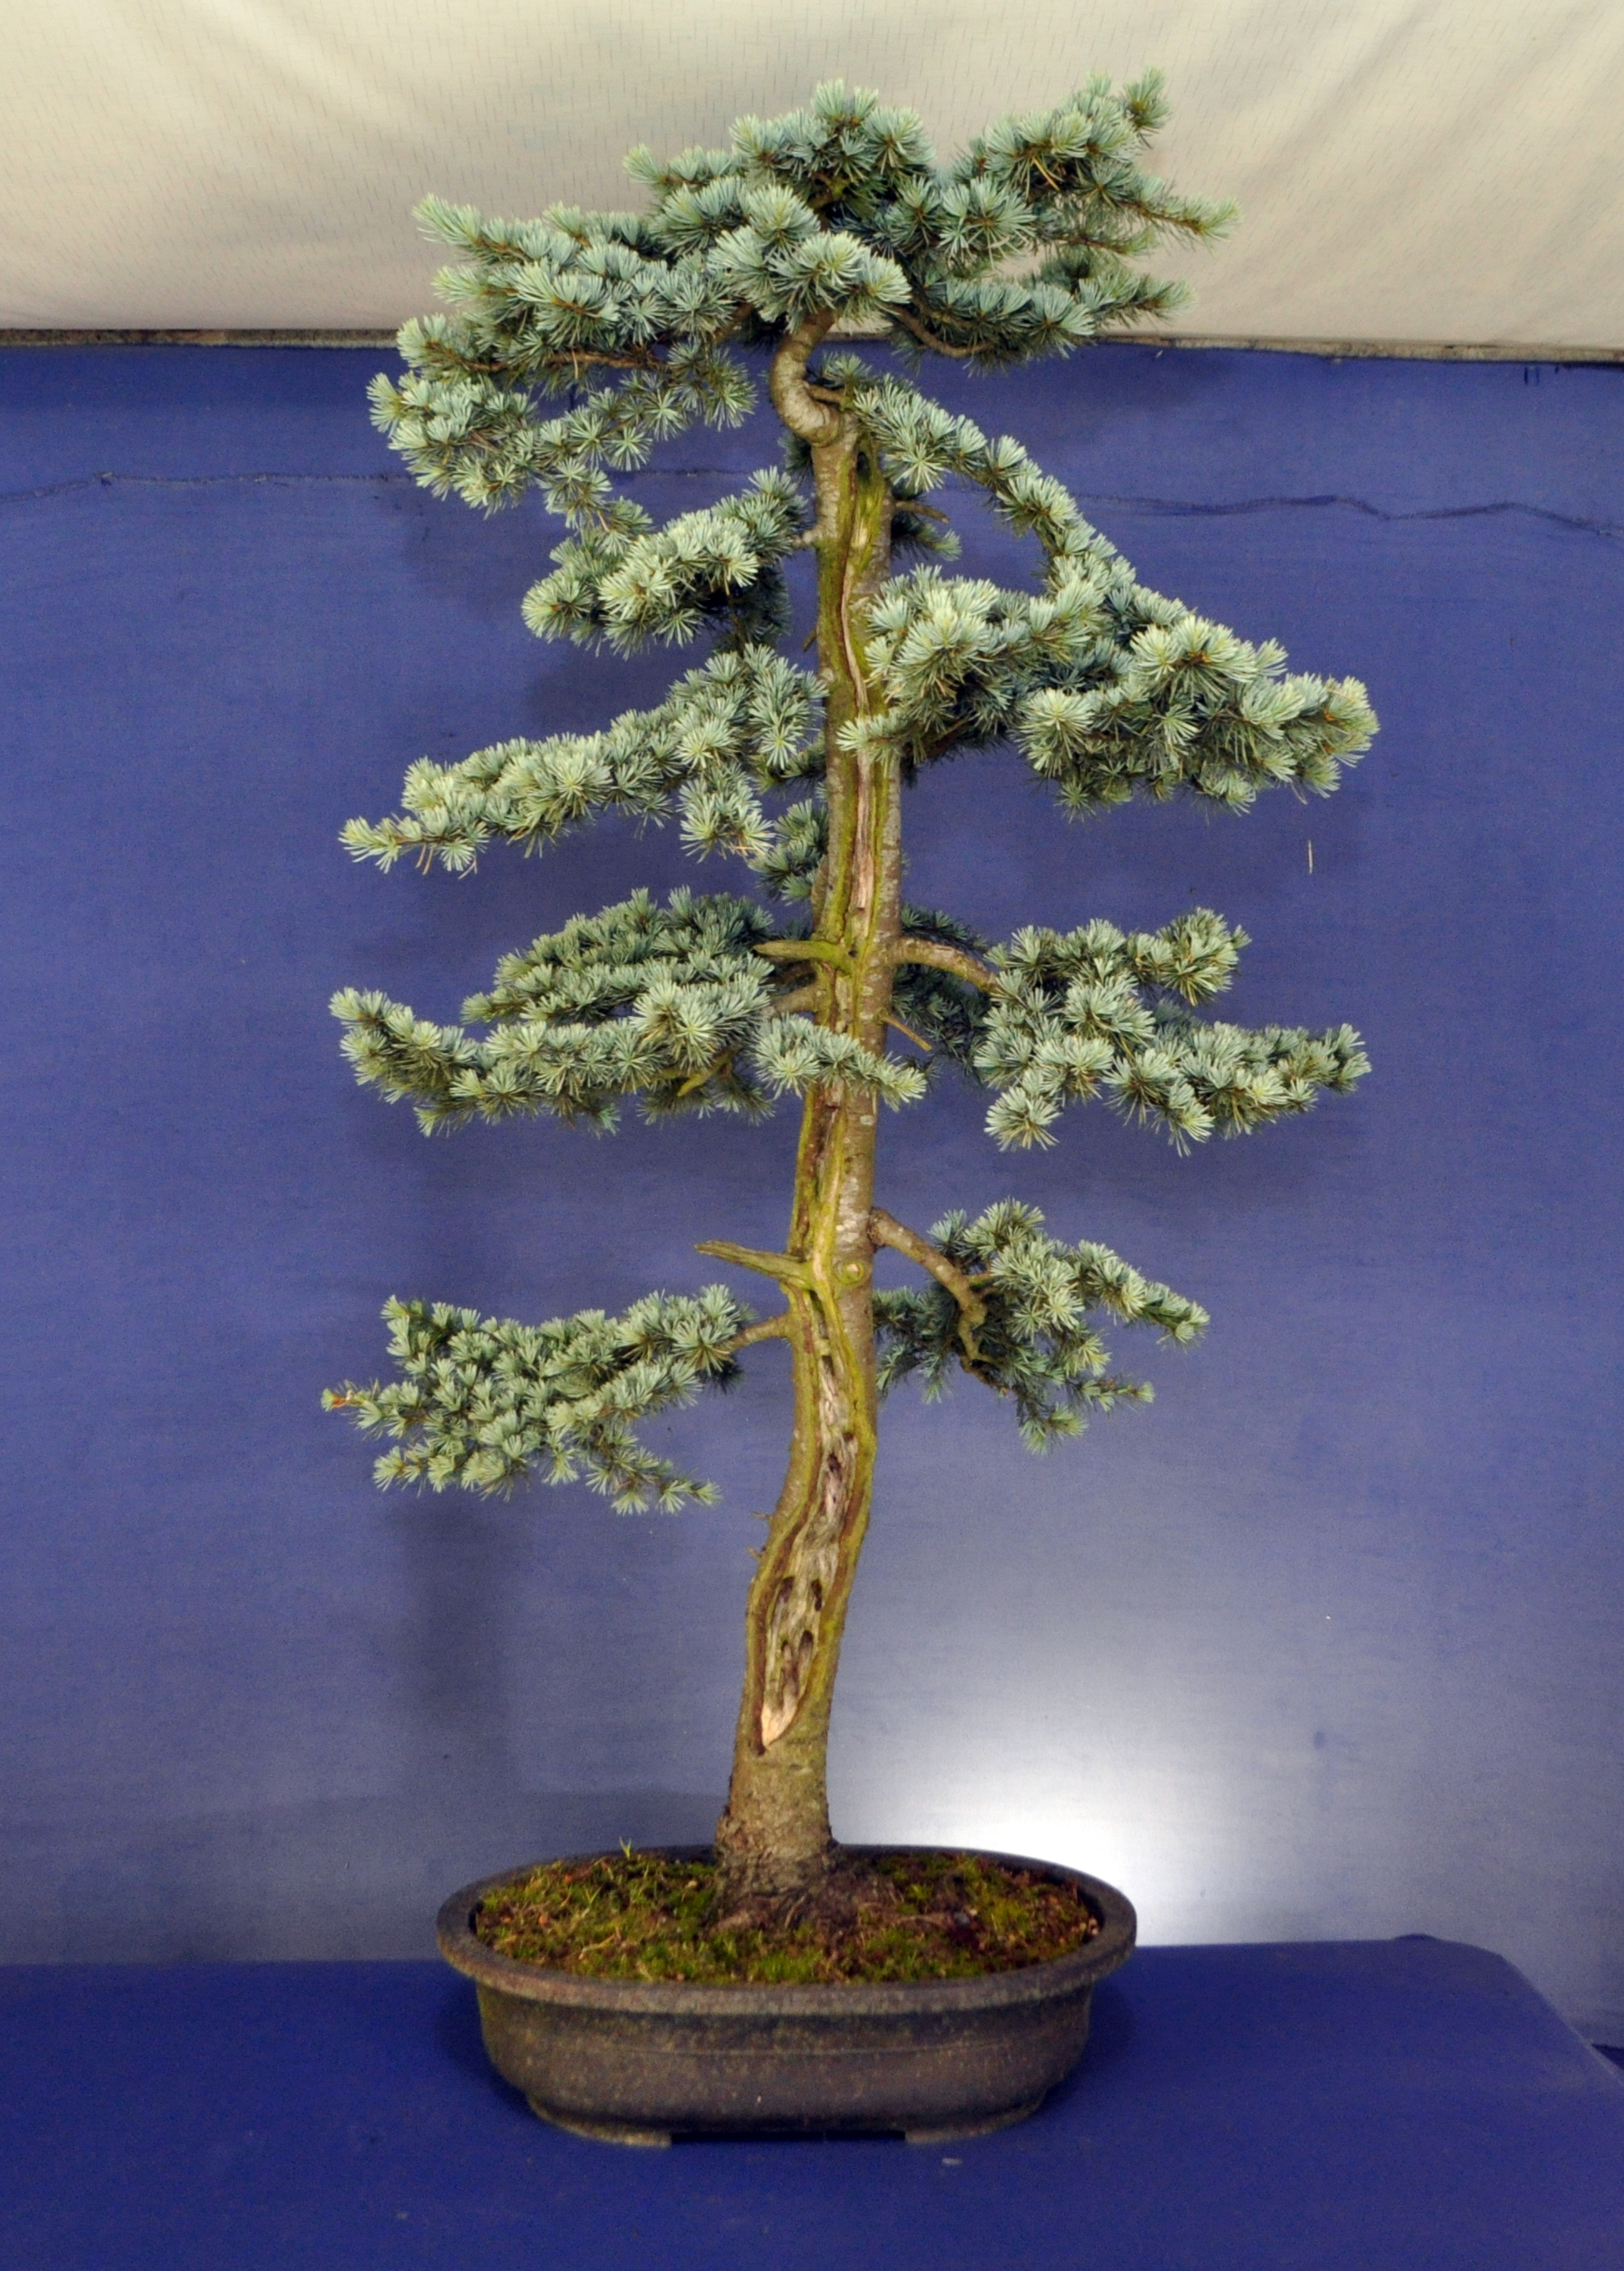
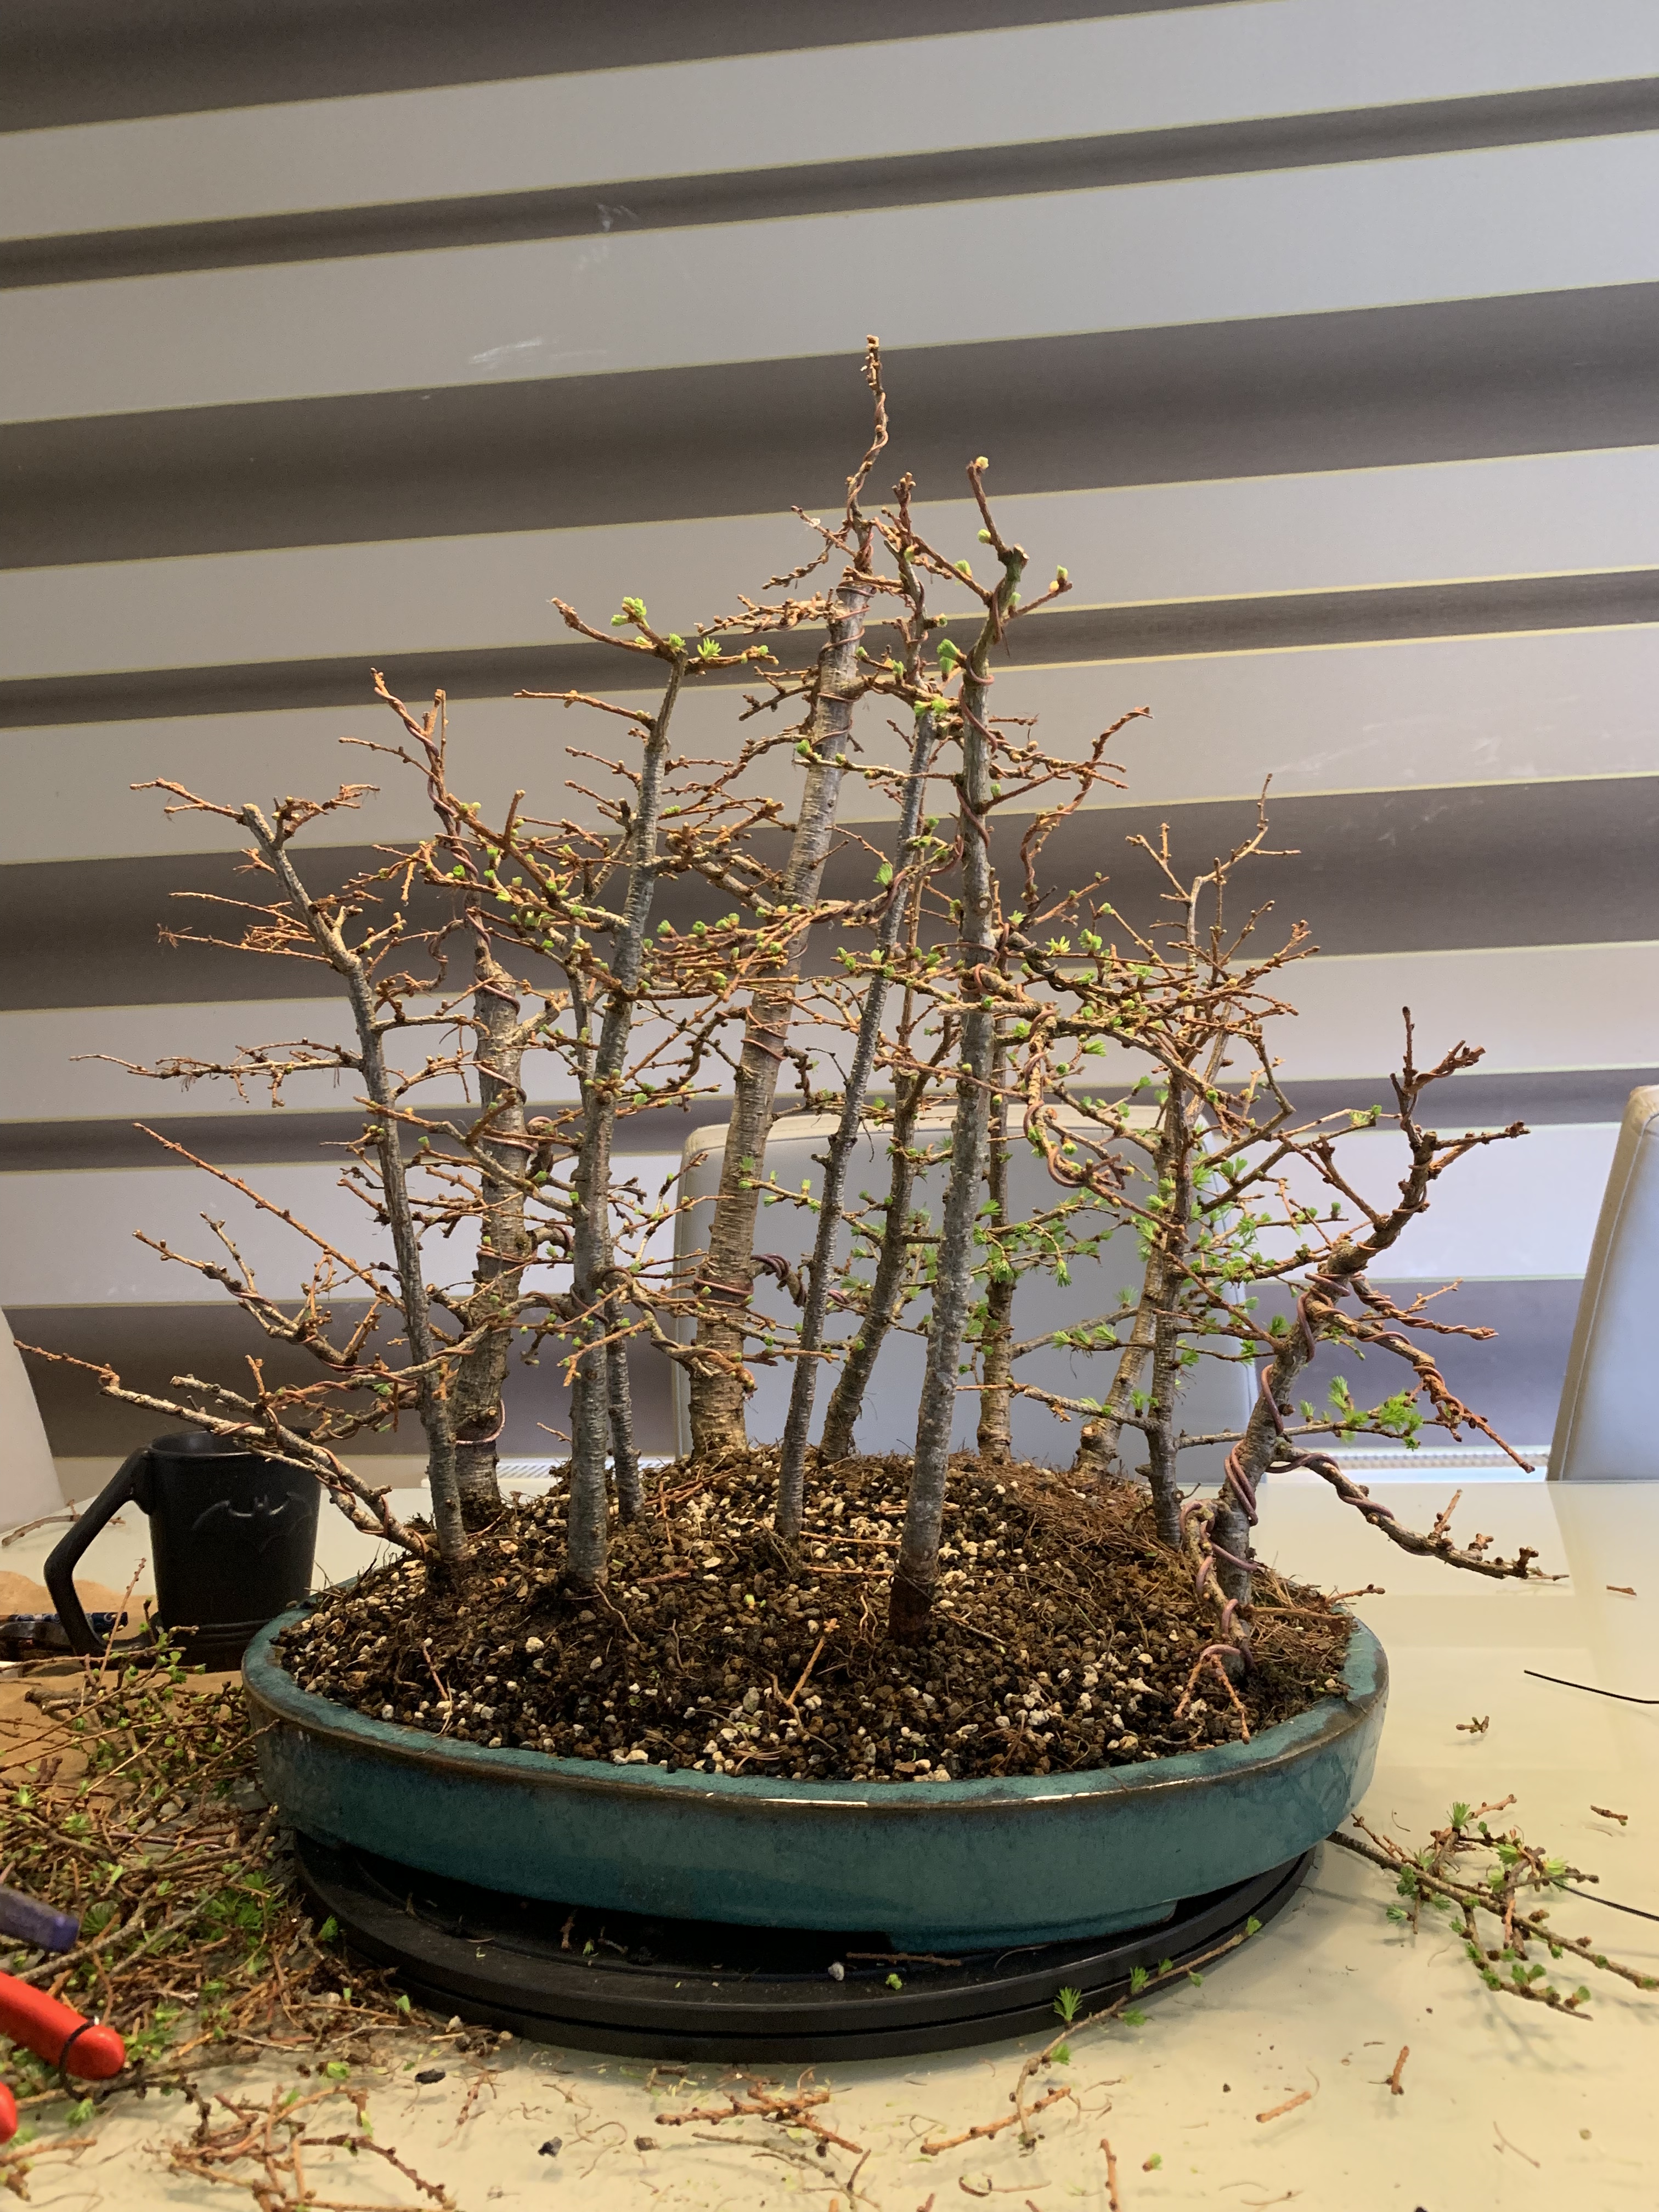
I collected this Larch about 3 years ago. I was drawn to the natural shari created by wild goats, Sadly some of the branches didn’t open that Spring after collection, the goats really know how to strip bark! I let it sit and establish for a few years and in 2015 put it on my sales bench with a view to moving it on as raw material suitable for a workshop. It obviously didn’t inspire anyone and so I decided to give it a basic shaping a few weeks ago.
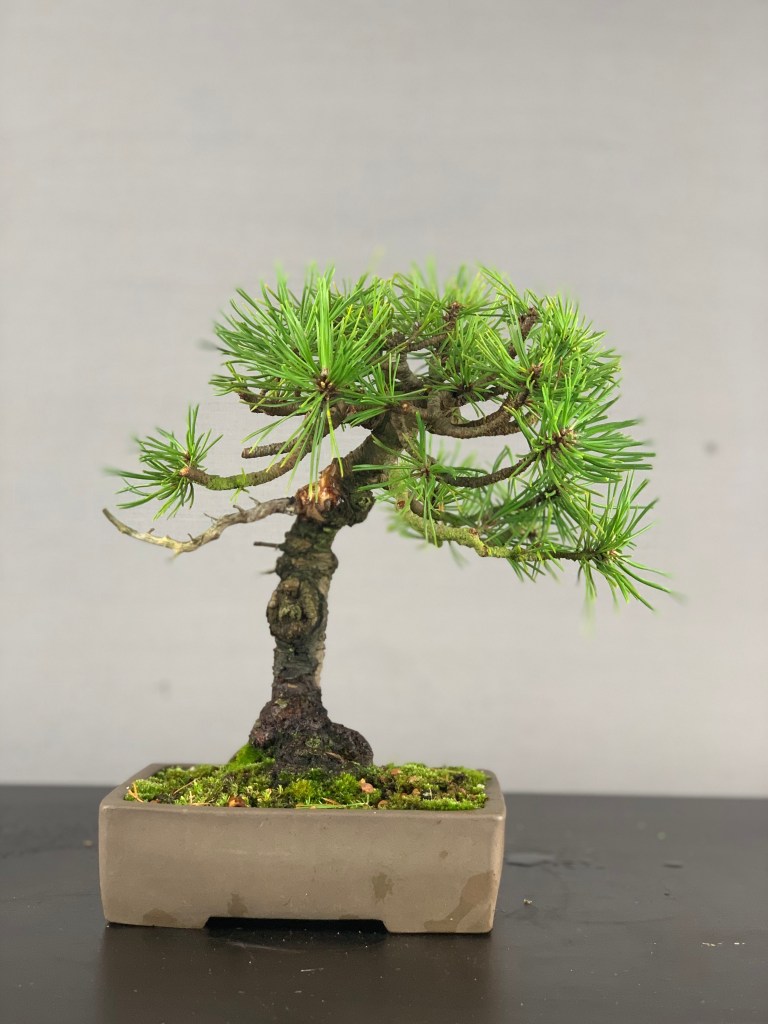
This is the before shot.
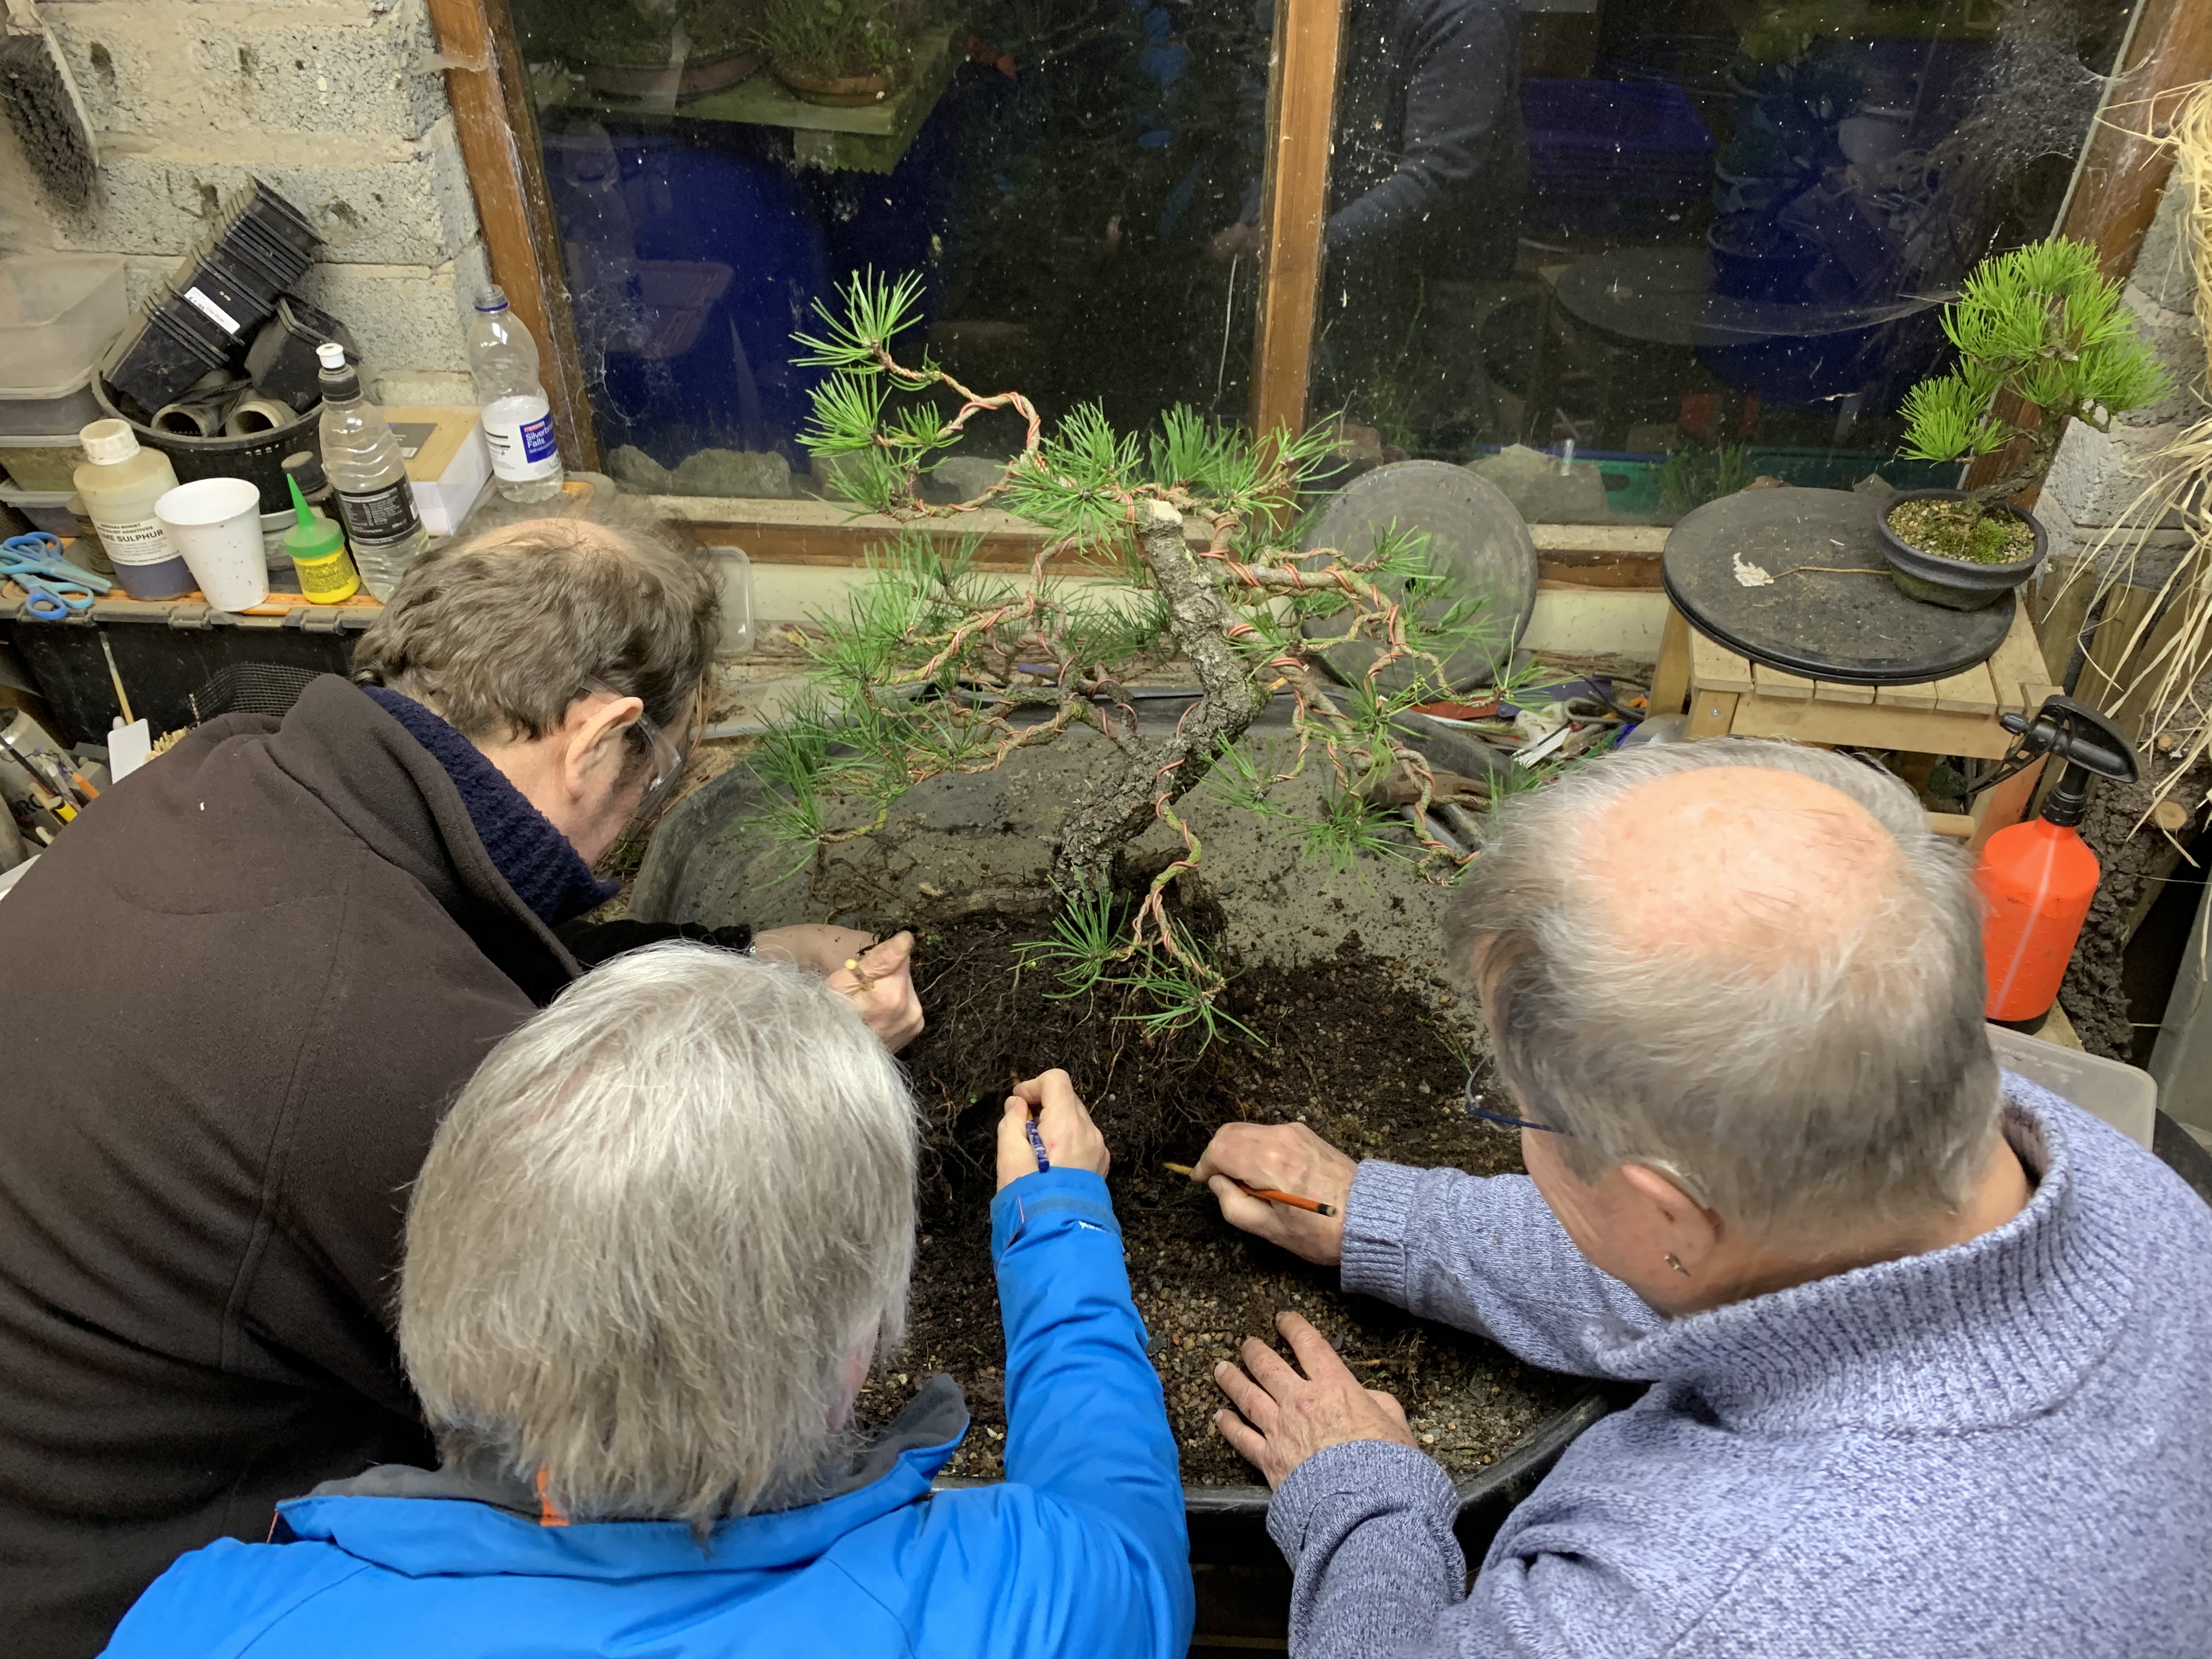
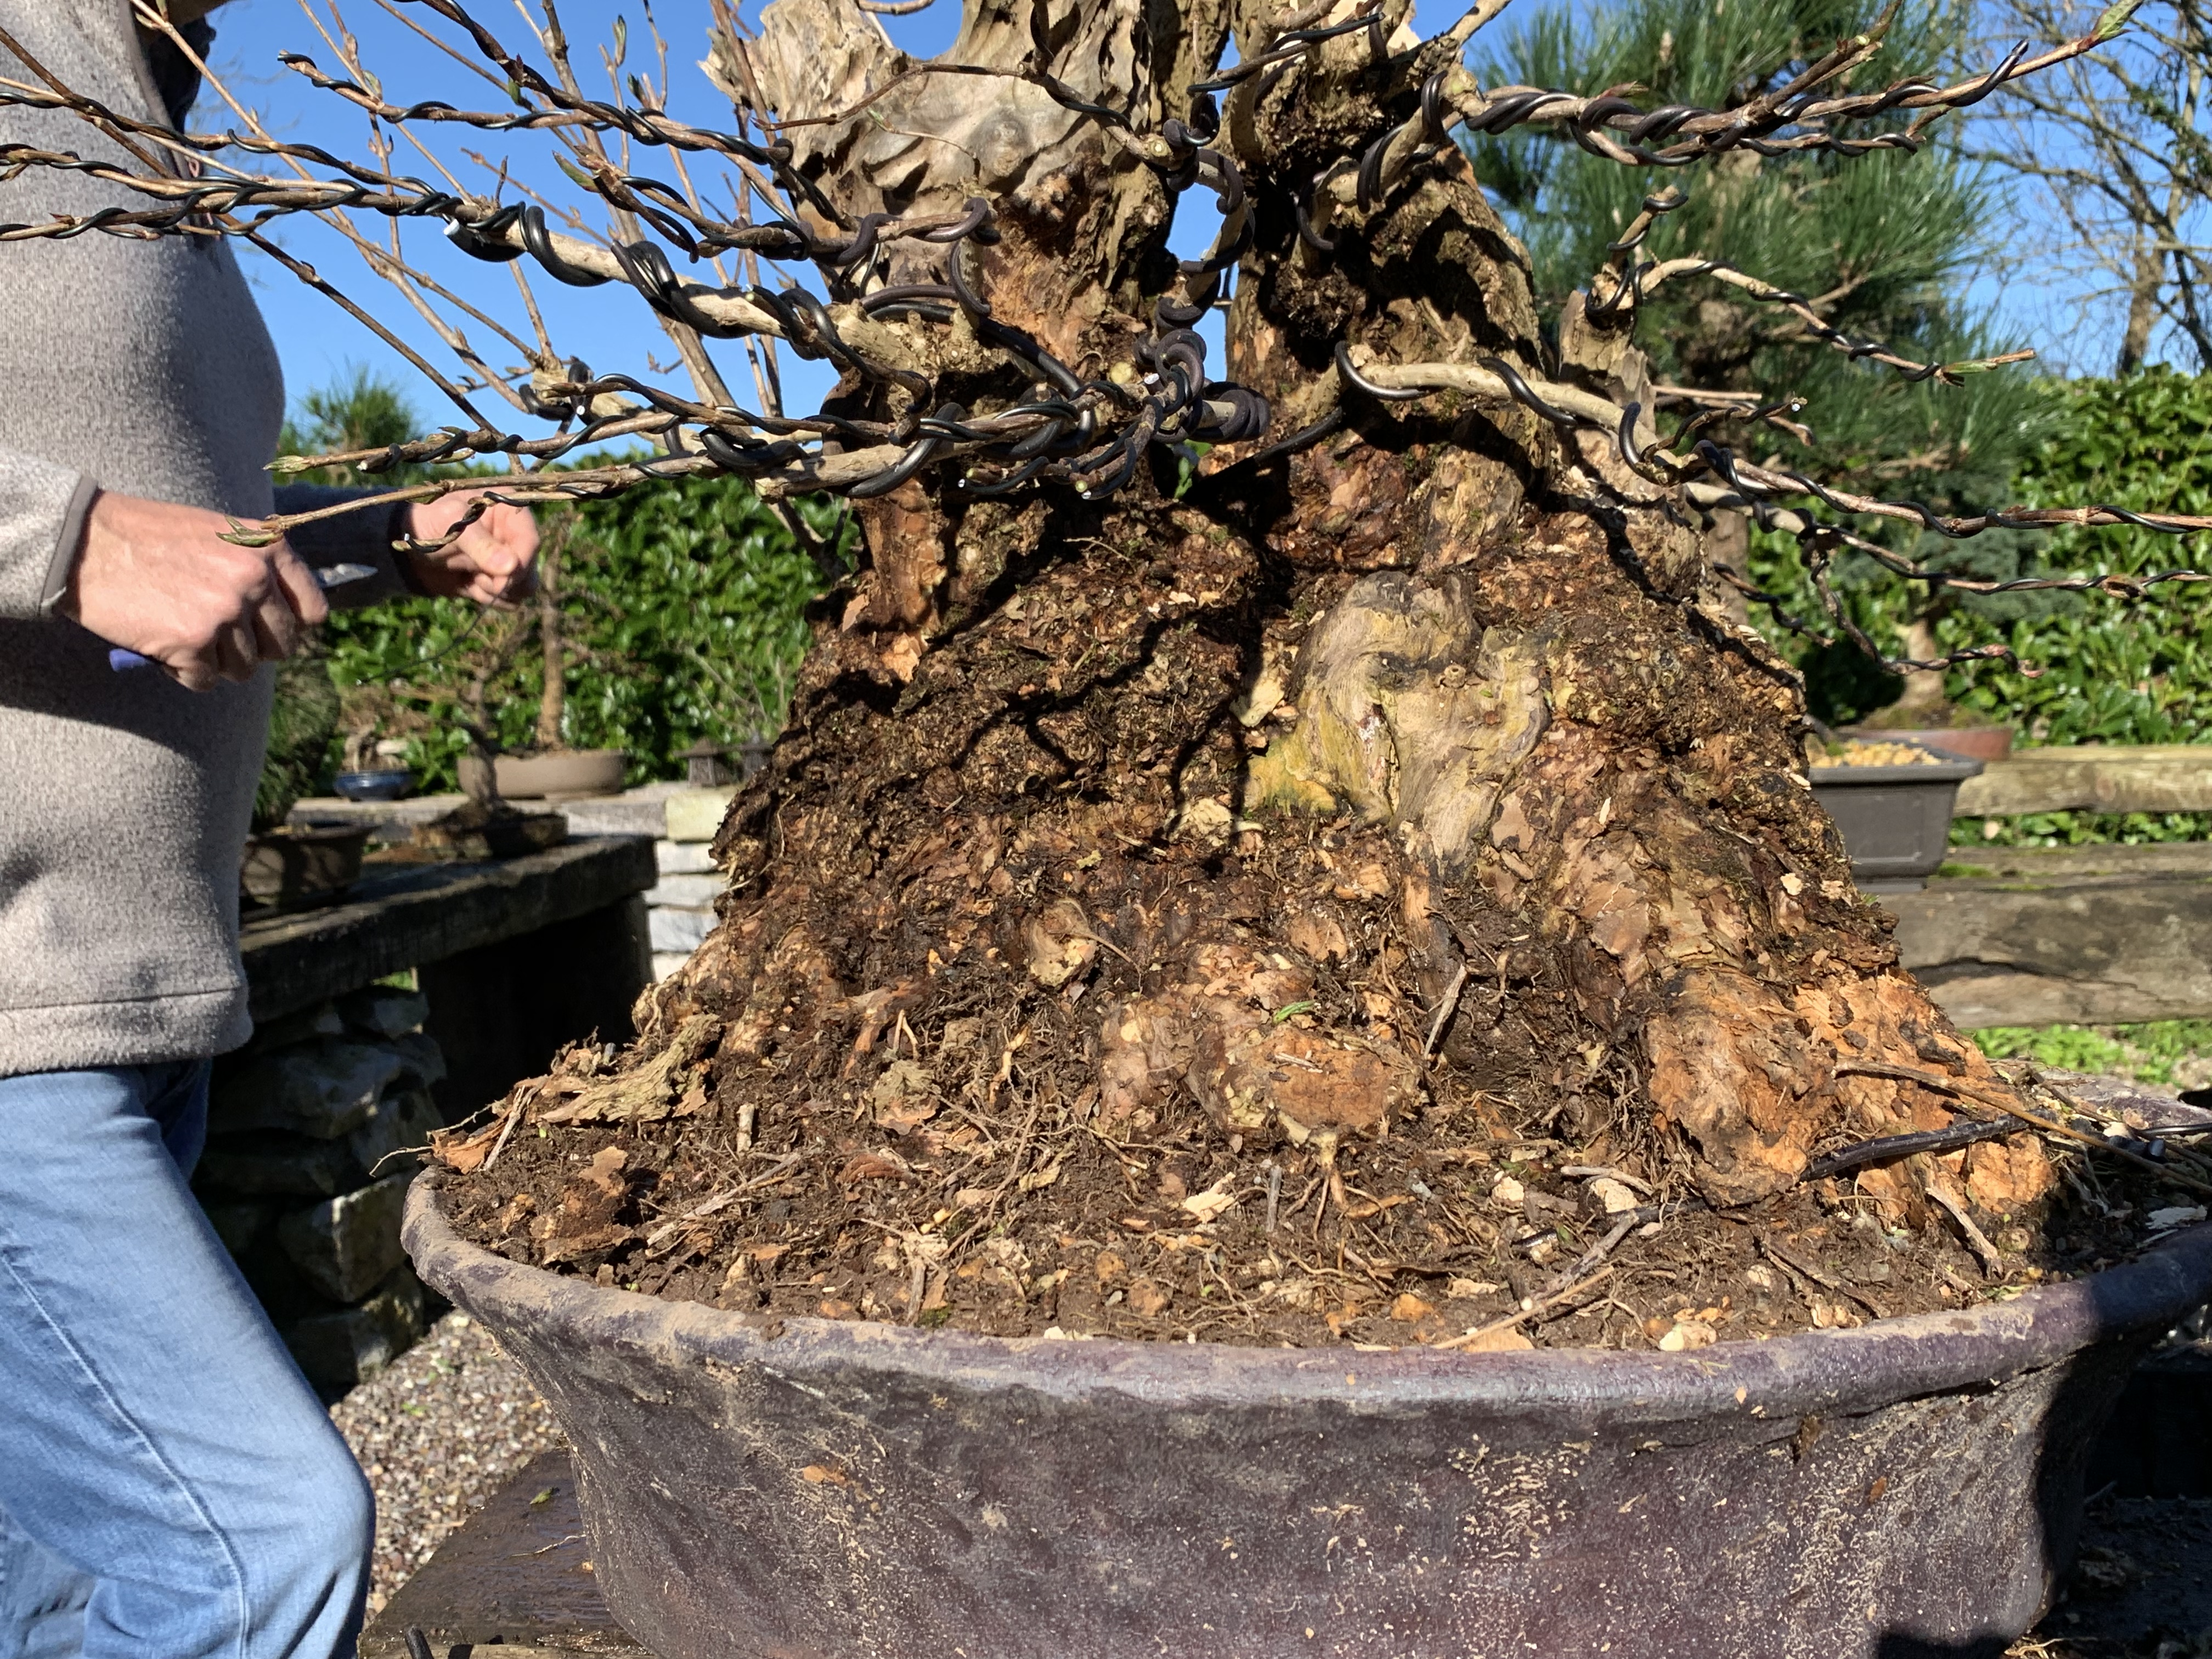
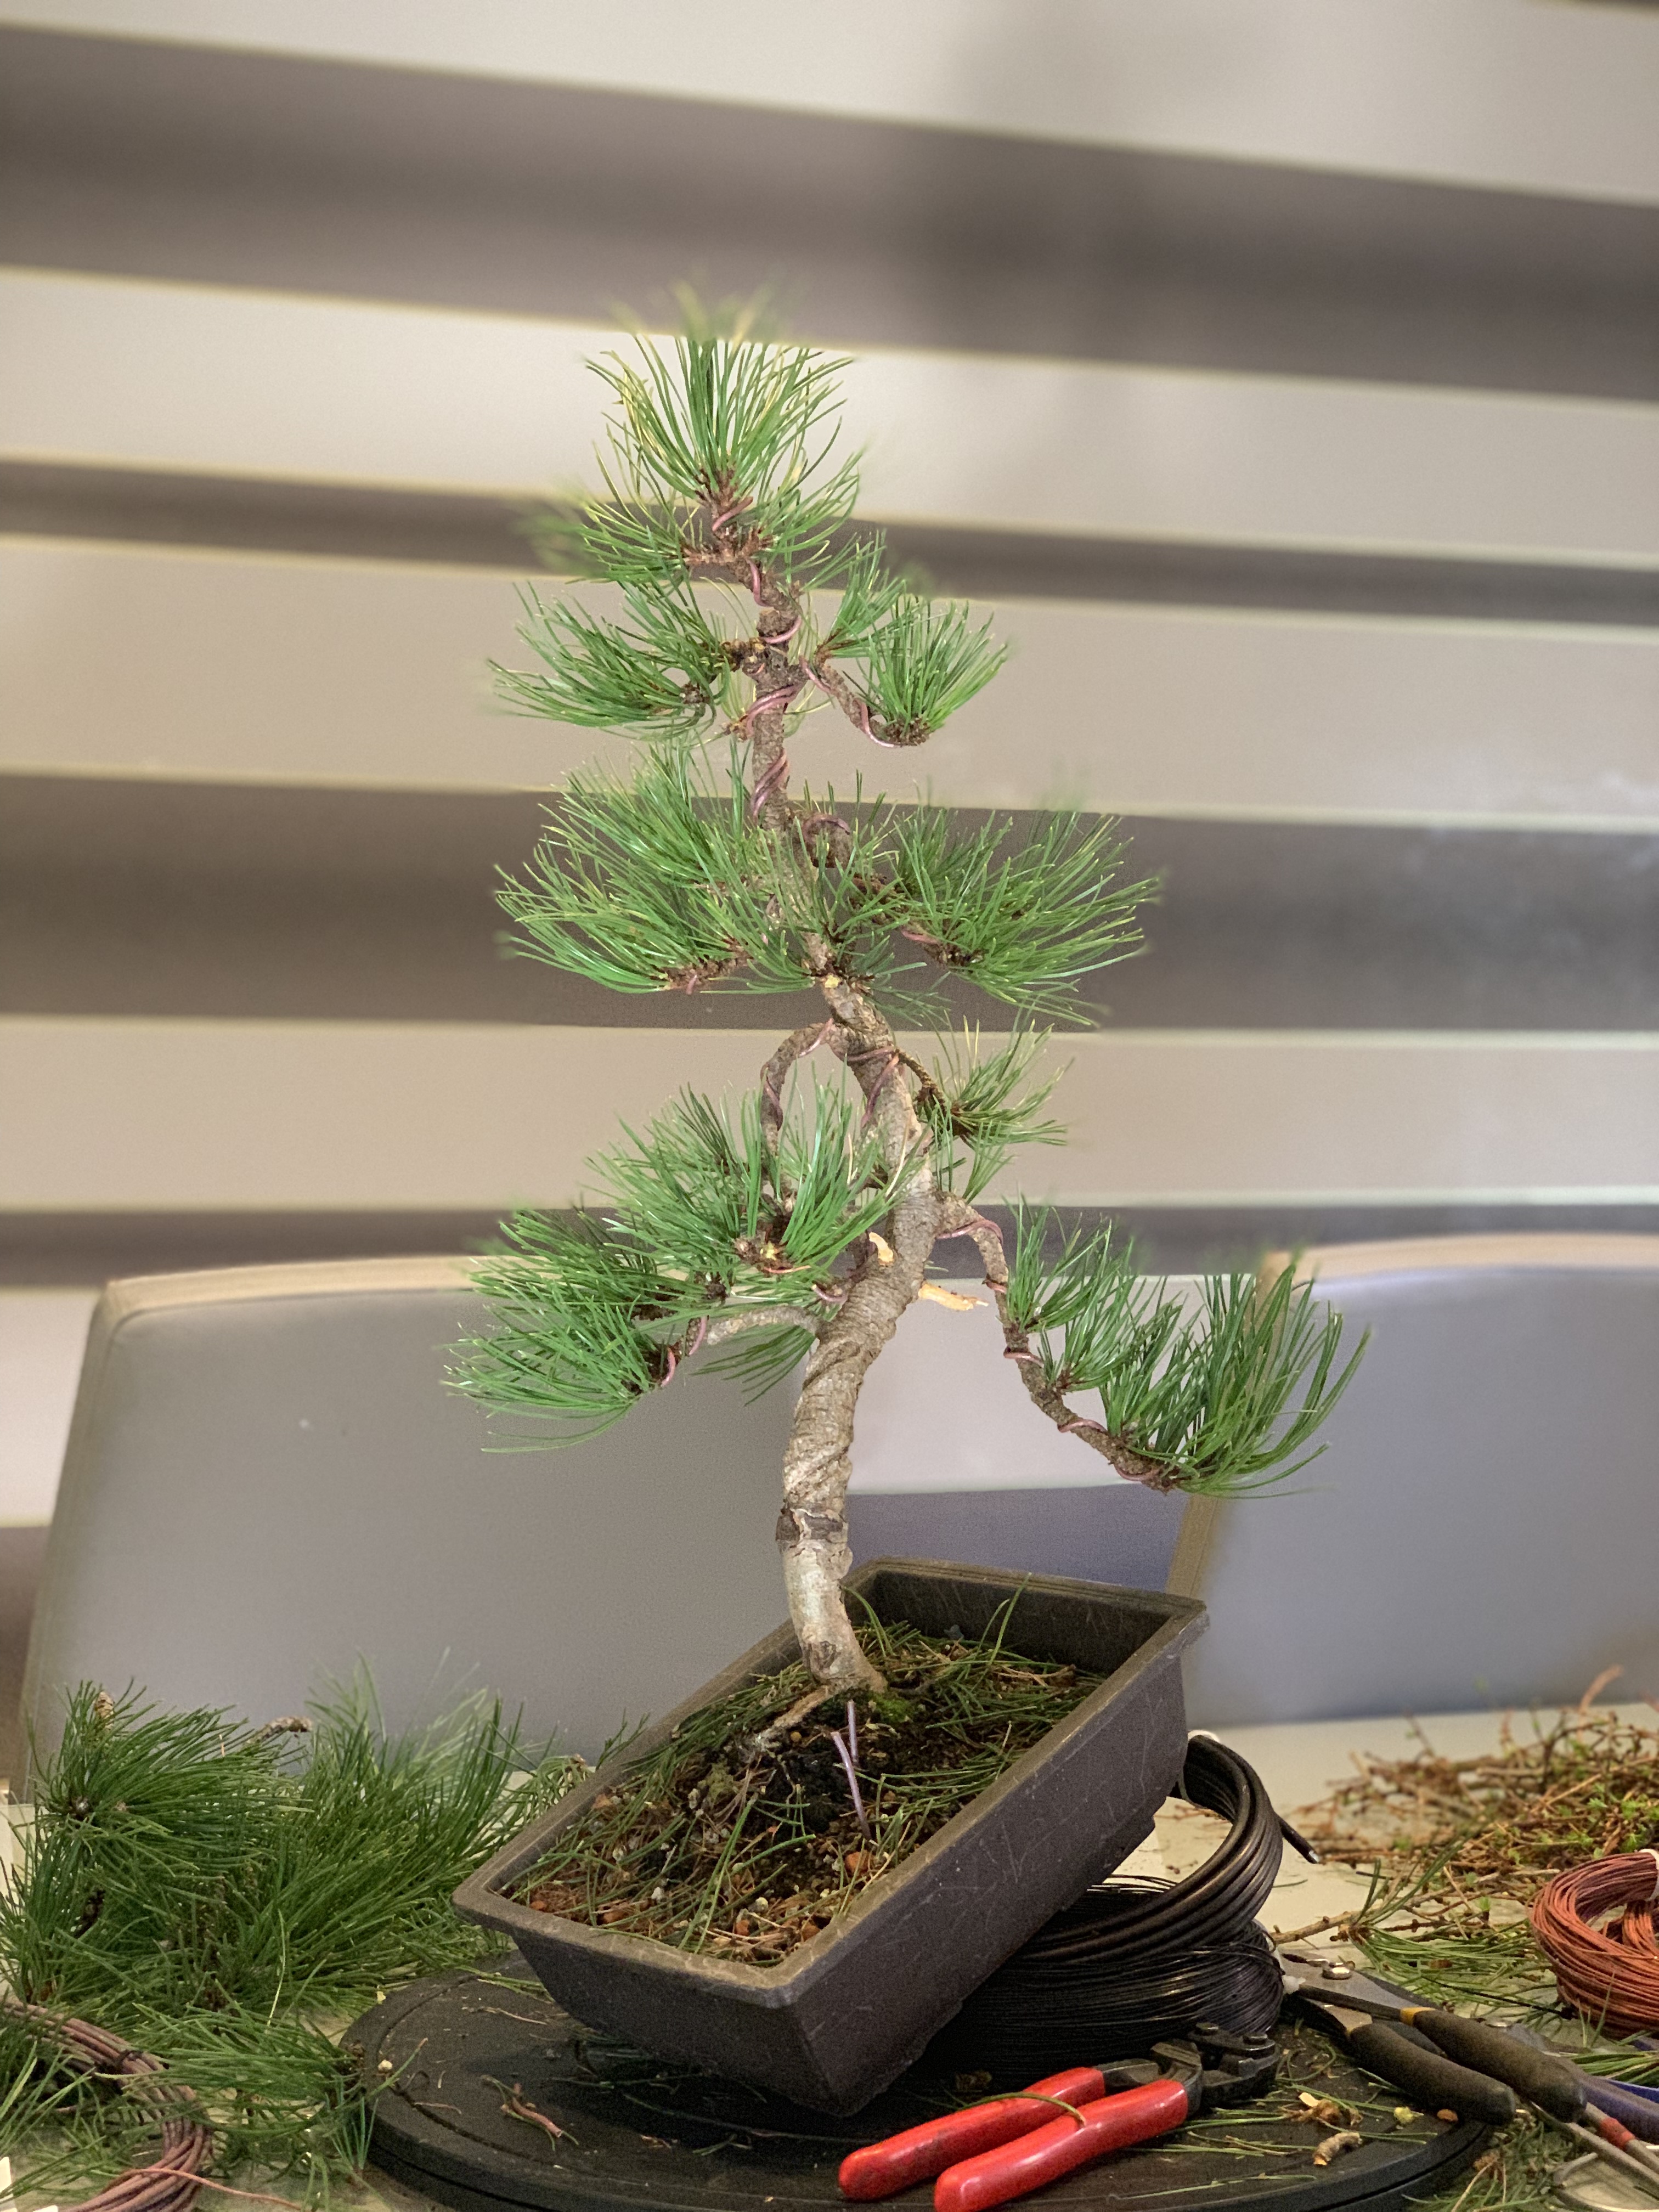
After a quick look I opted to remove the one live branch at the apex. This had been a twig 3 years ago and had grown strongly but was to far removed from the interesting bits elsewhere on the tree. With the help of my mate Jeff we did some basic stripping of the deadwood and got some wire onto the heavy lower branch. We played with keeping the other branch to the back, but it just didn’t fit with the image.
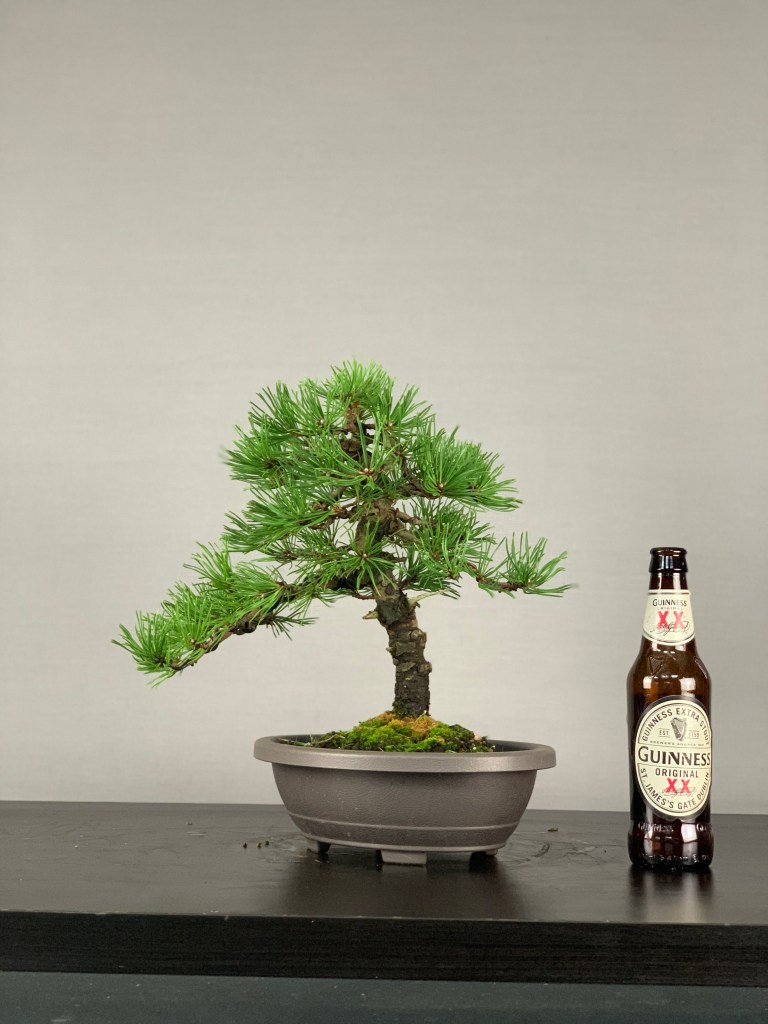
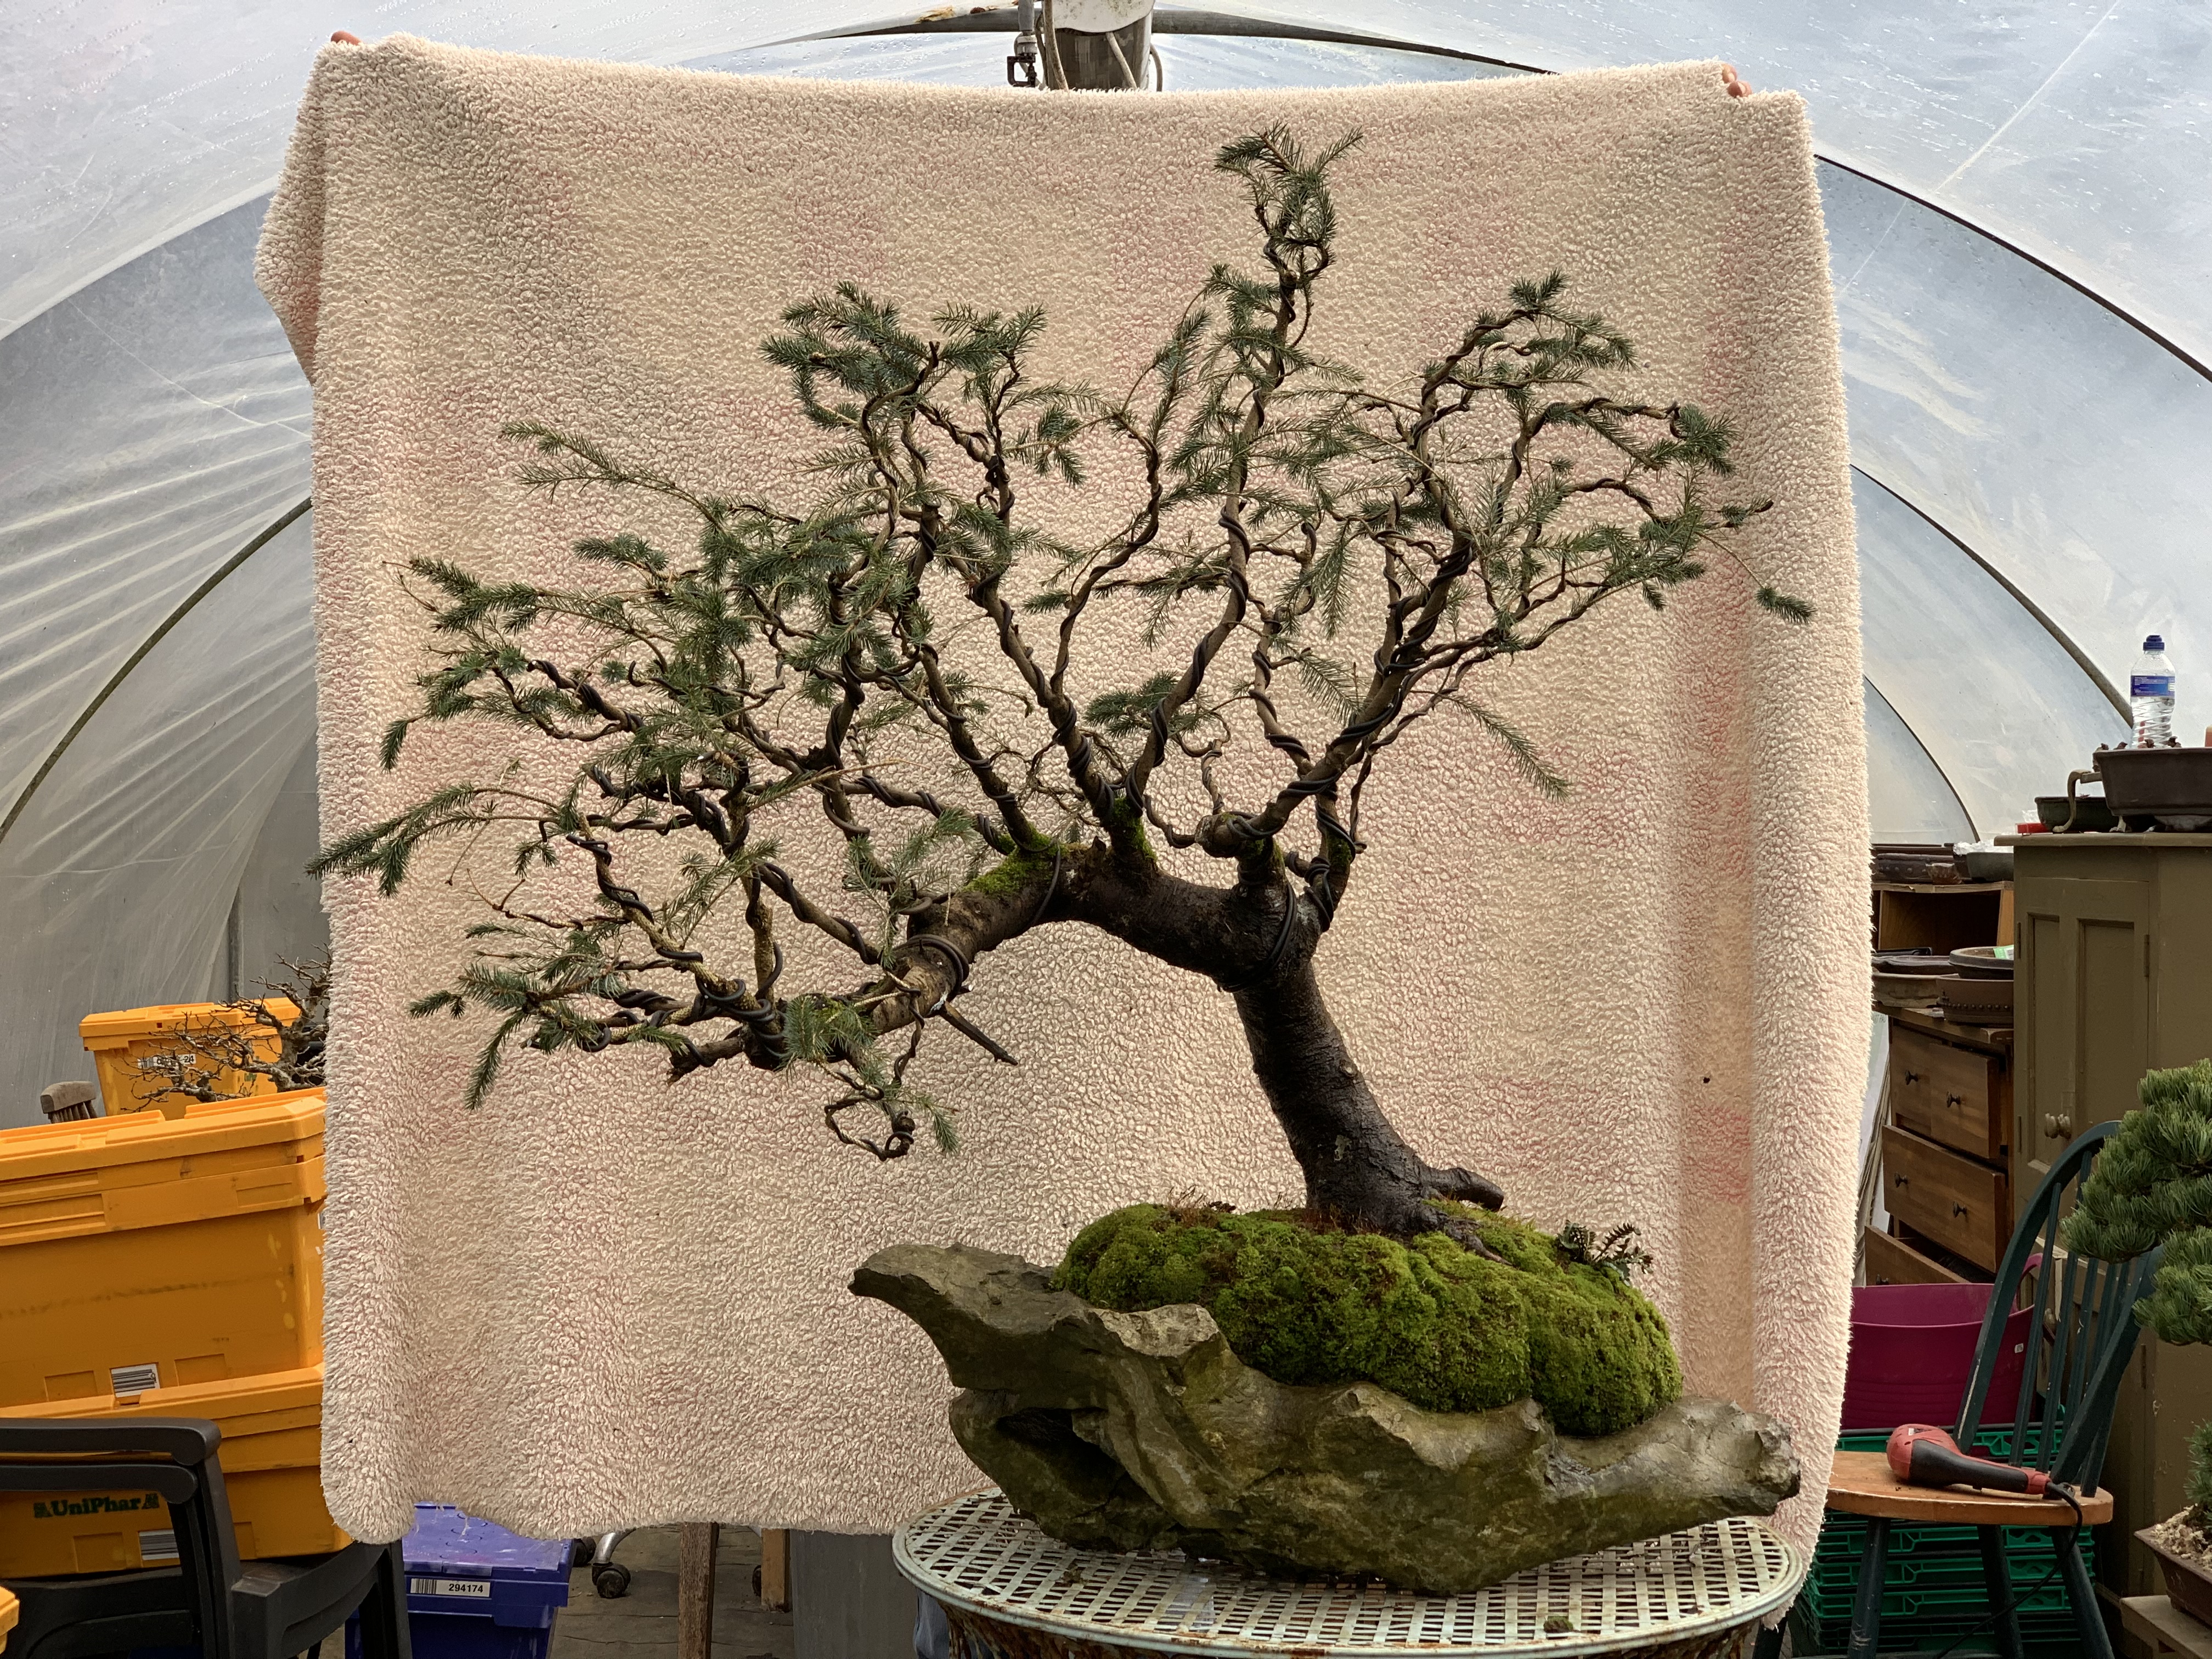
This is it afterwards. Still cleaning up to be done at this point and a few adjustments but the basic shape is there with some extra branches left as options.

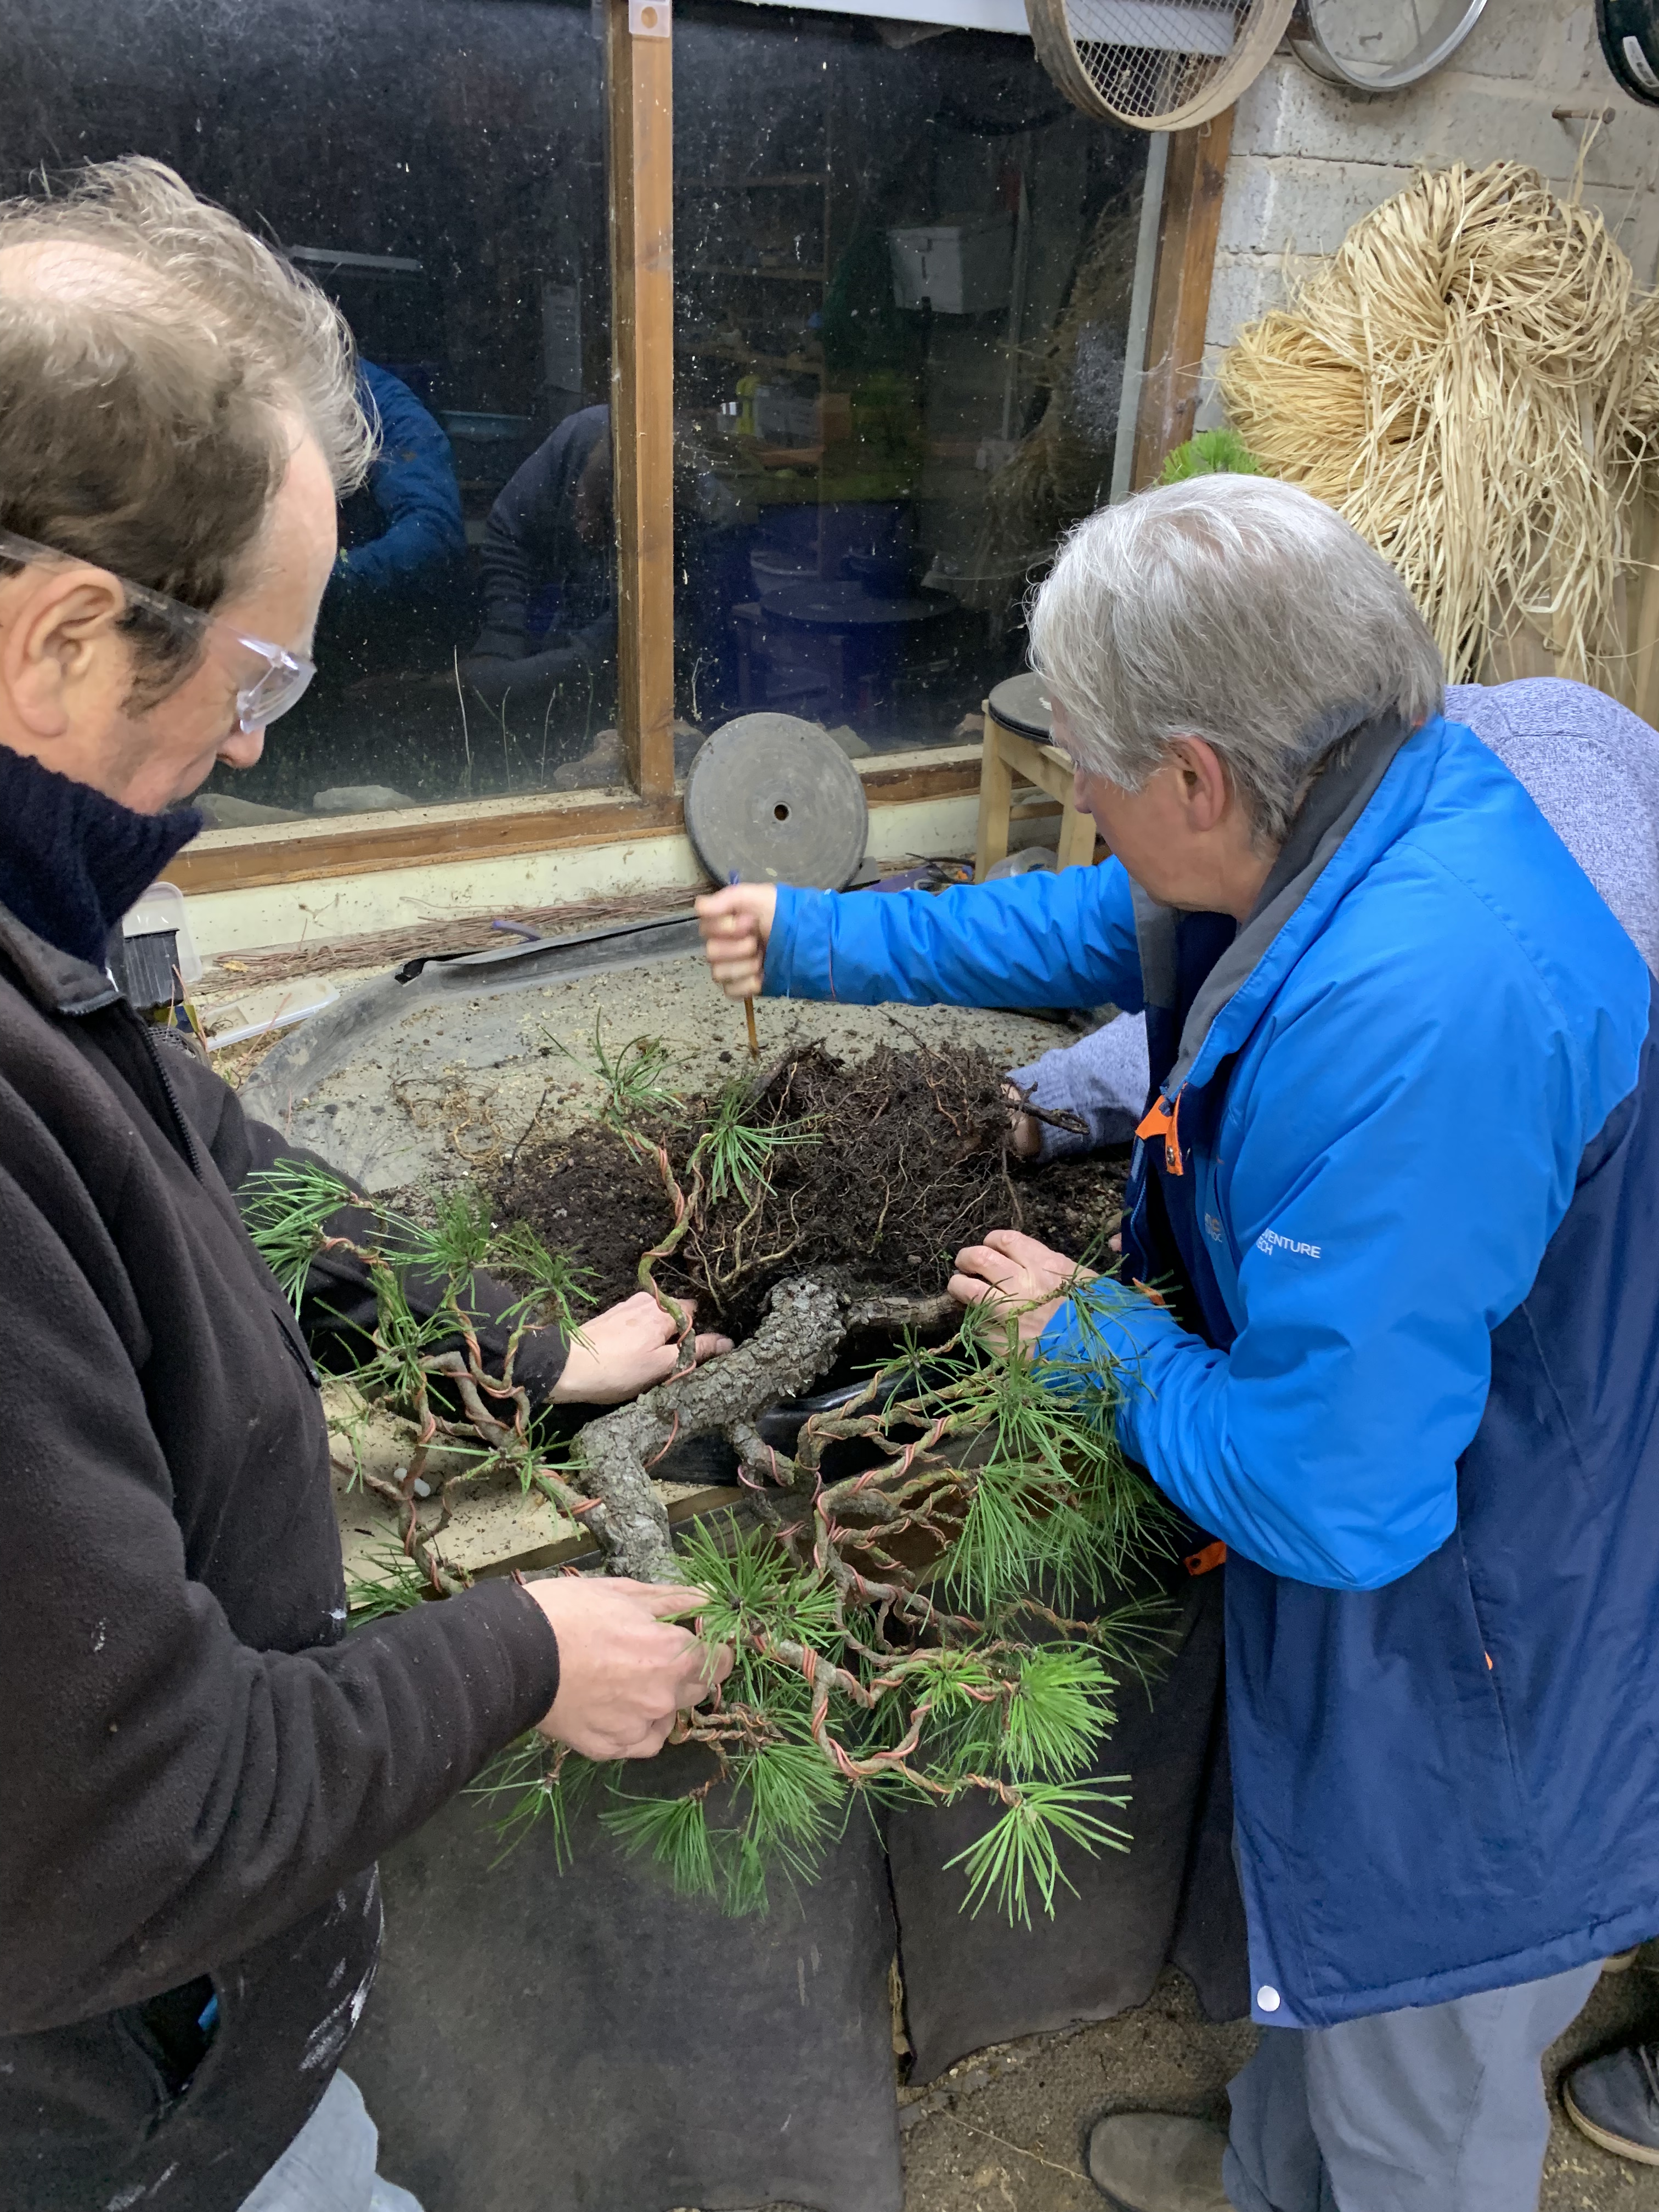
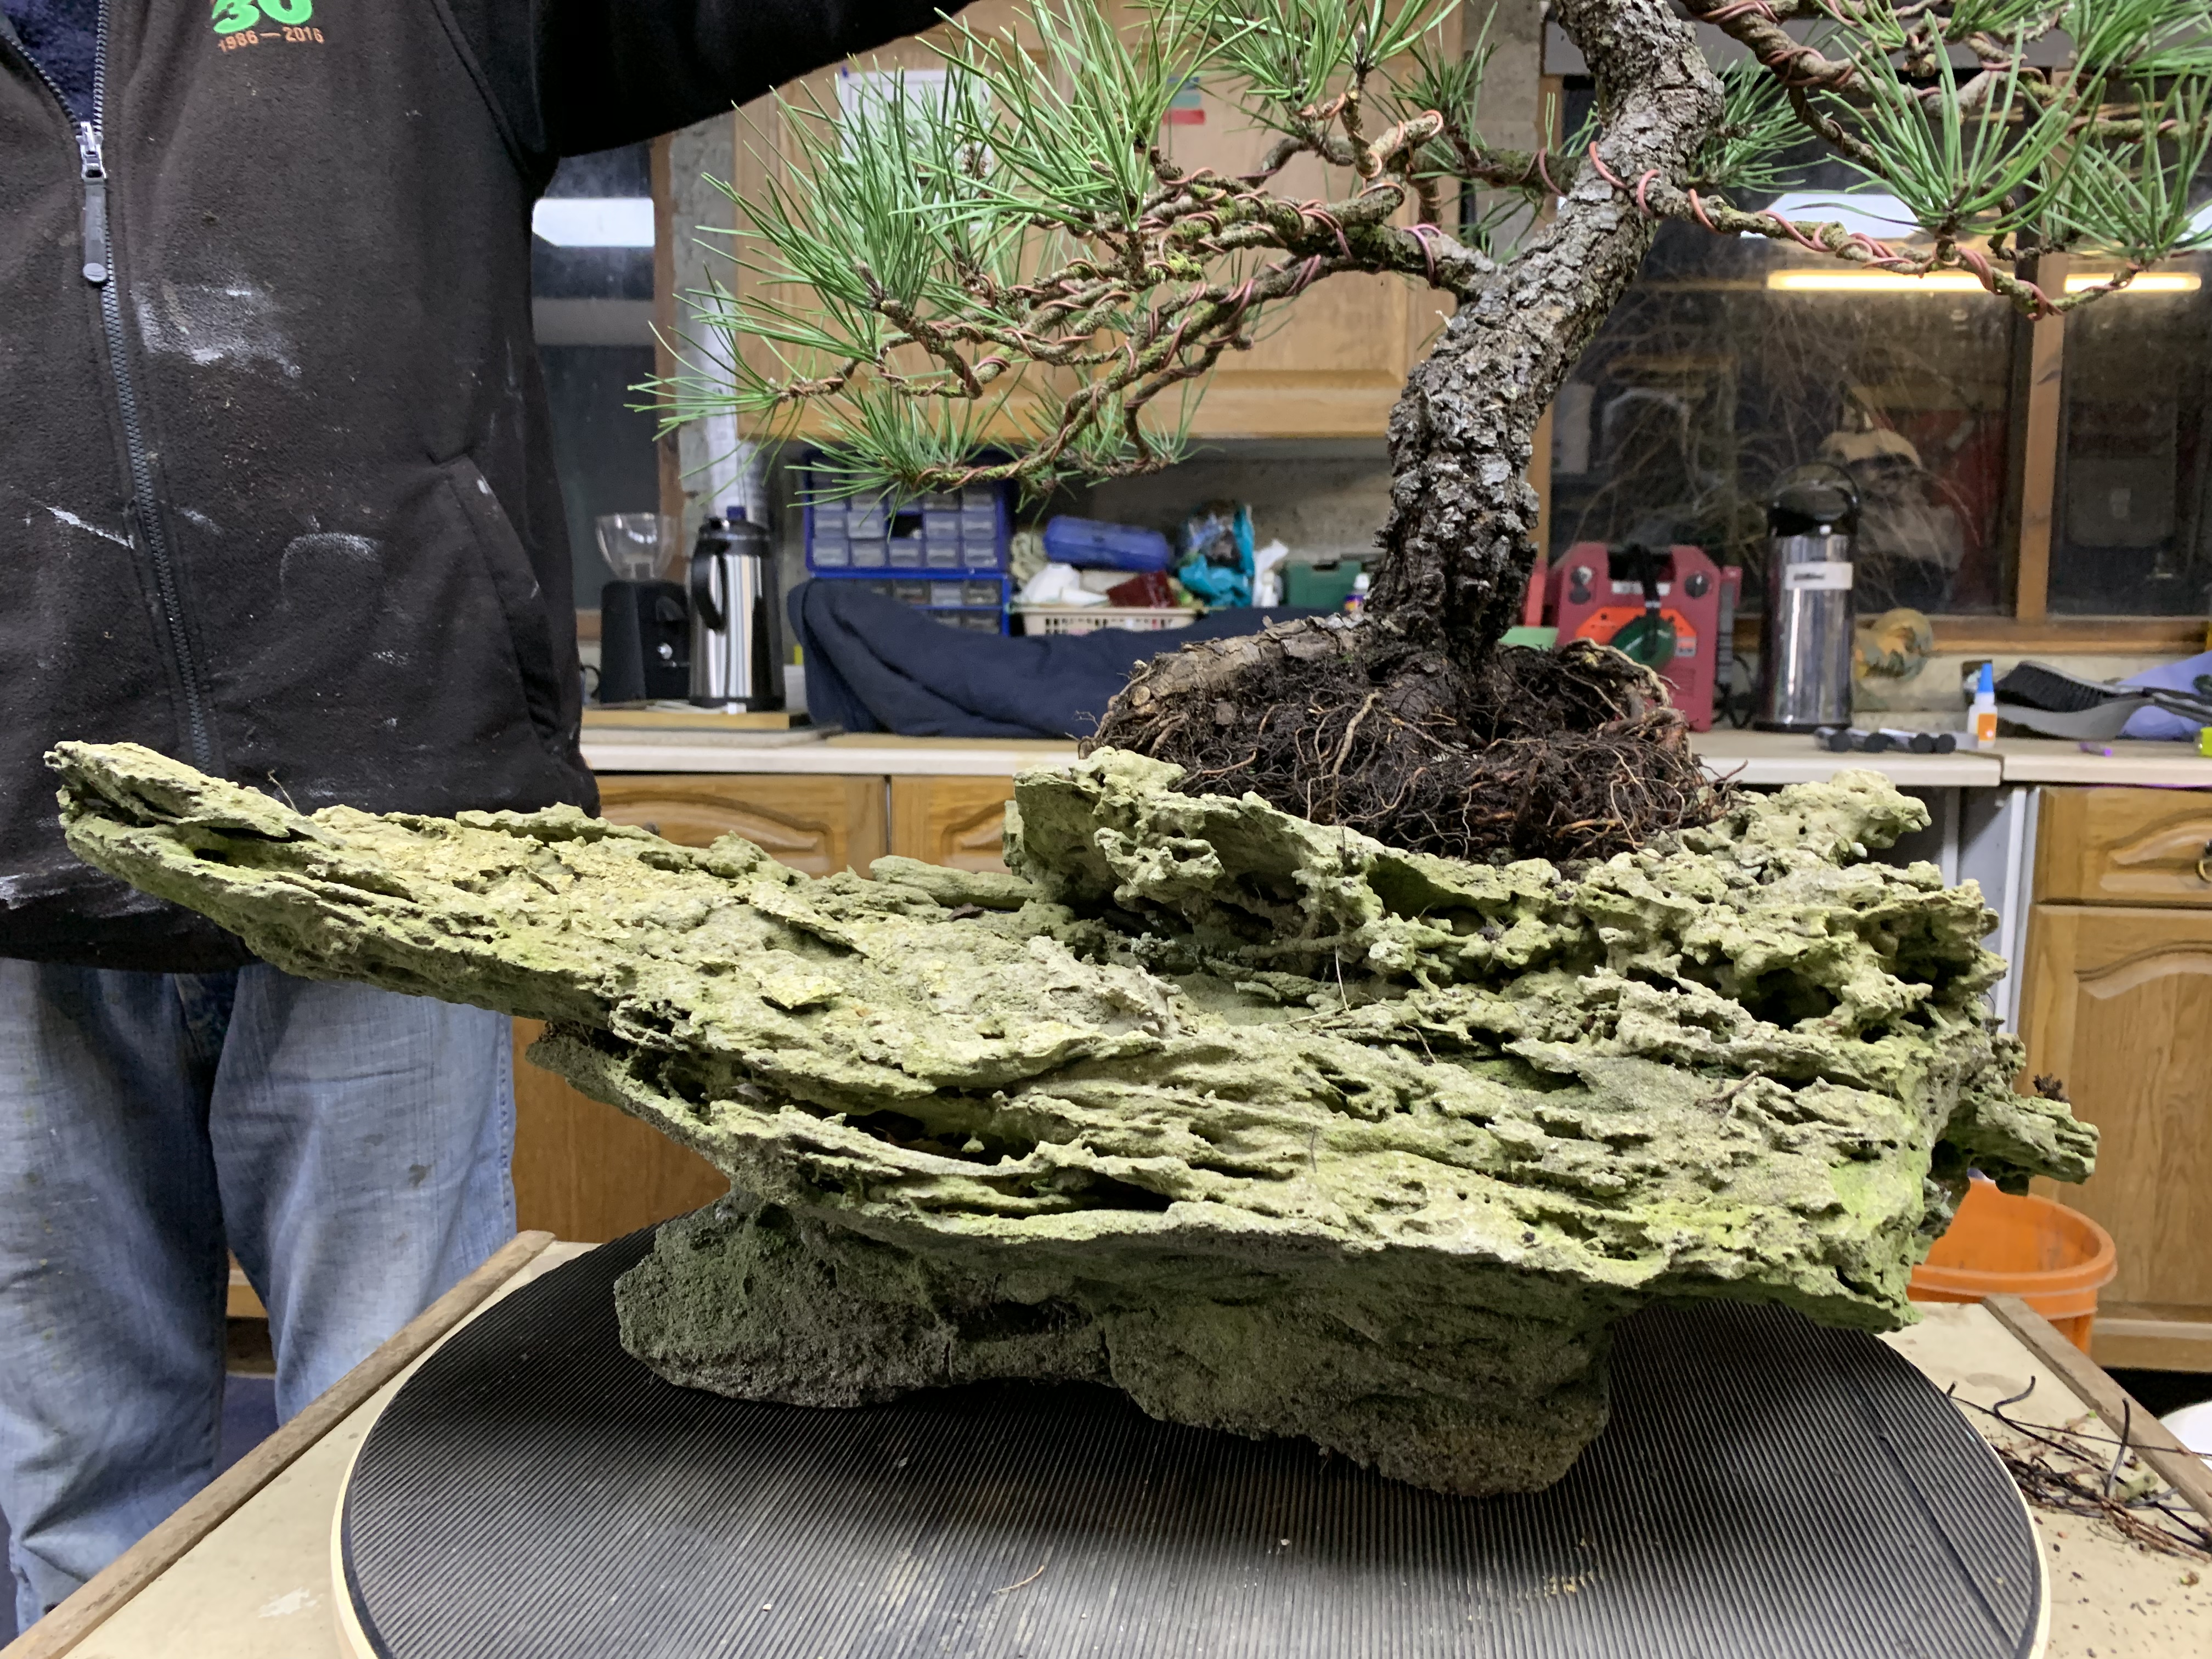
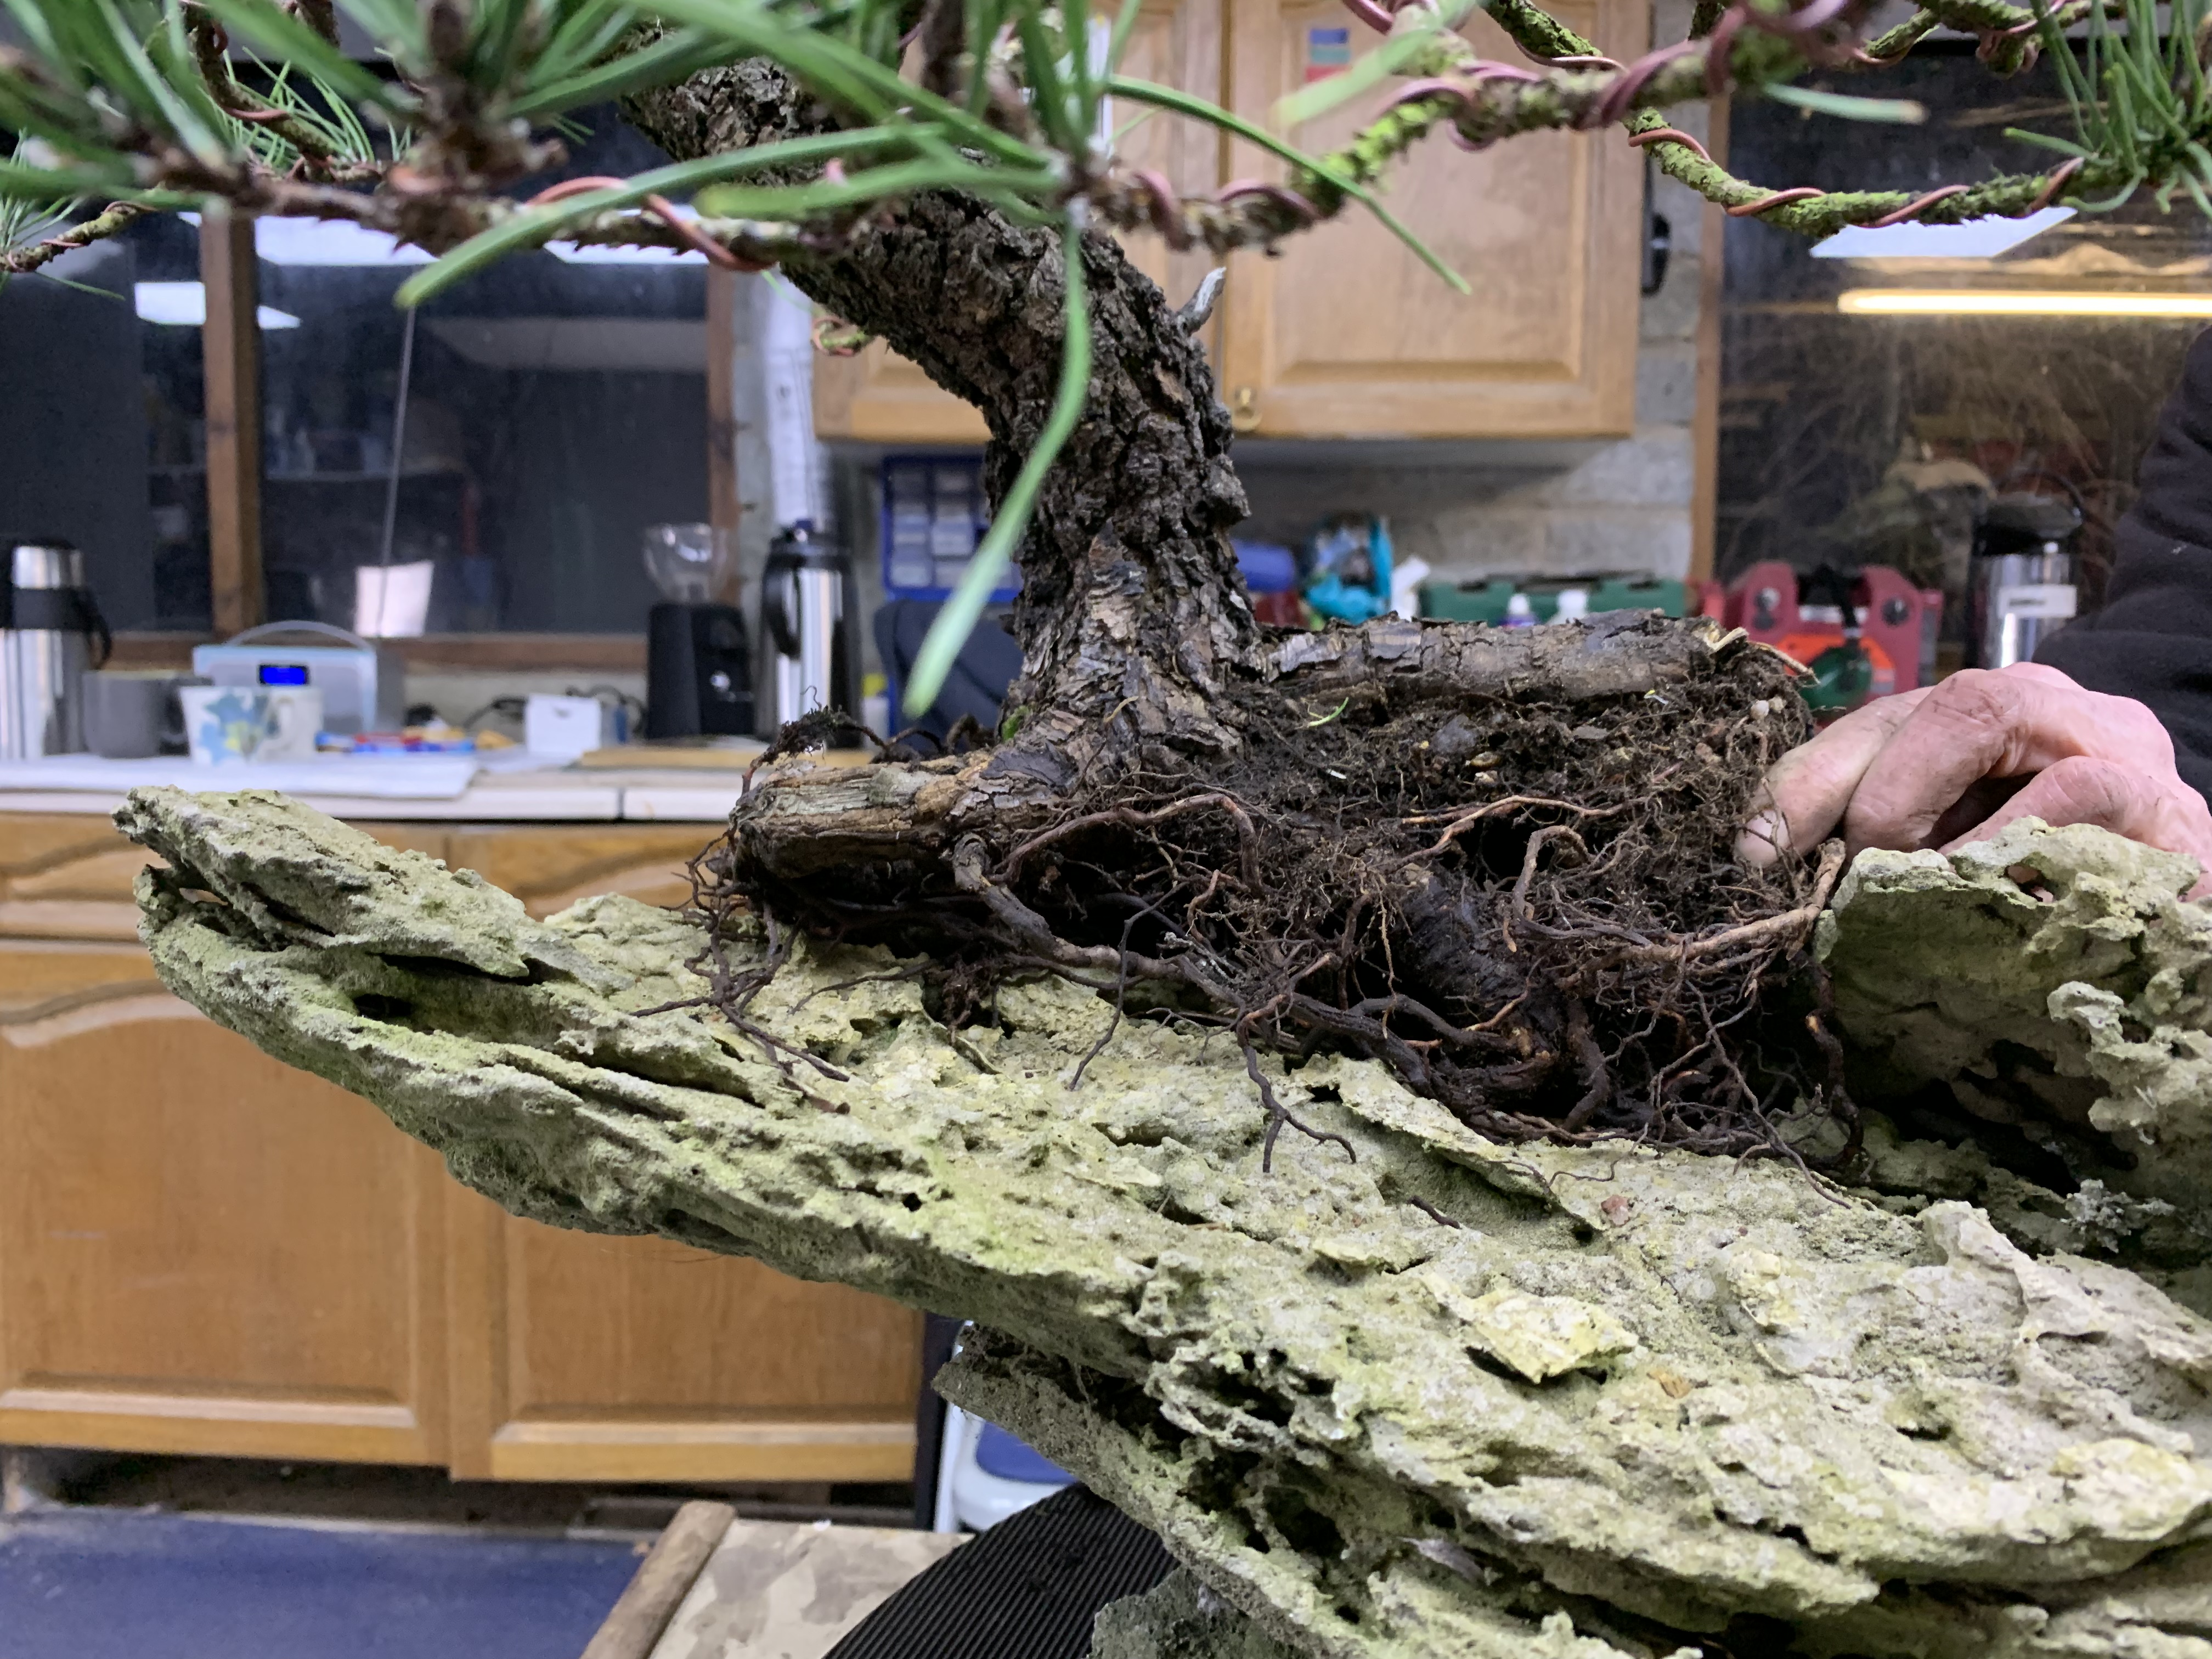
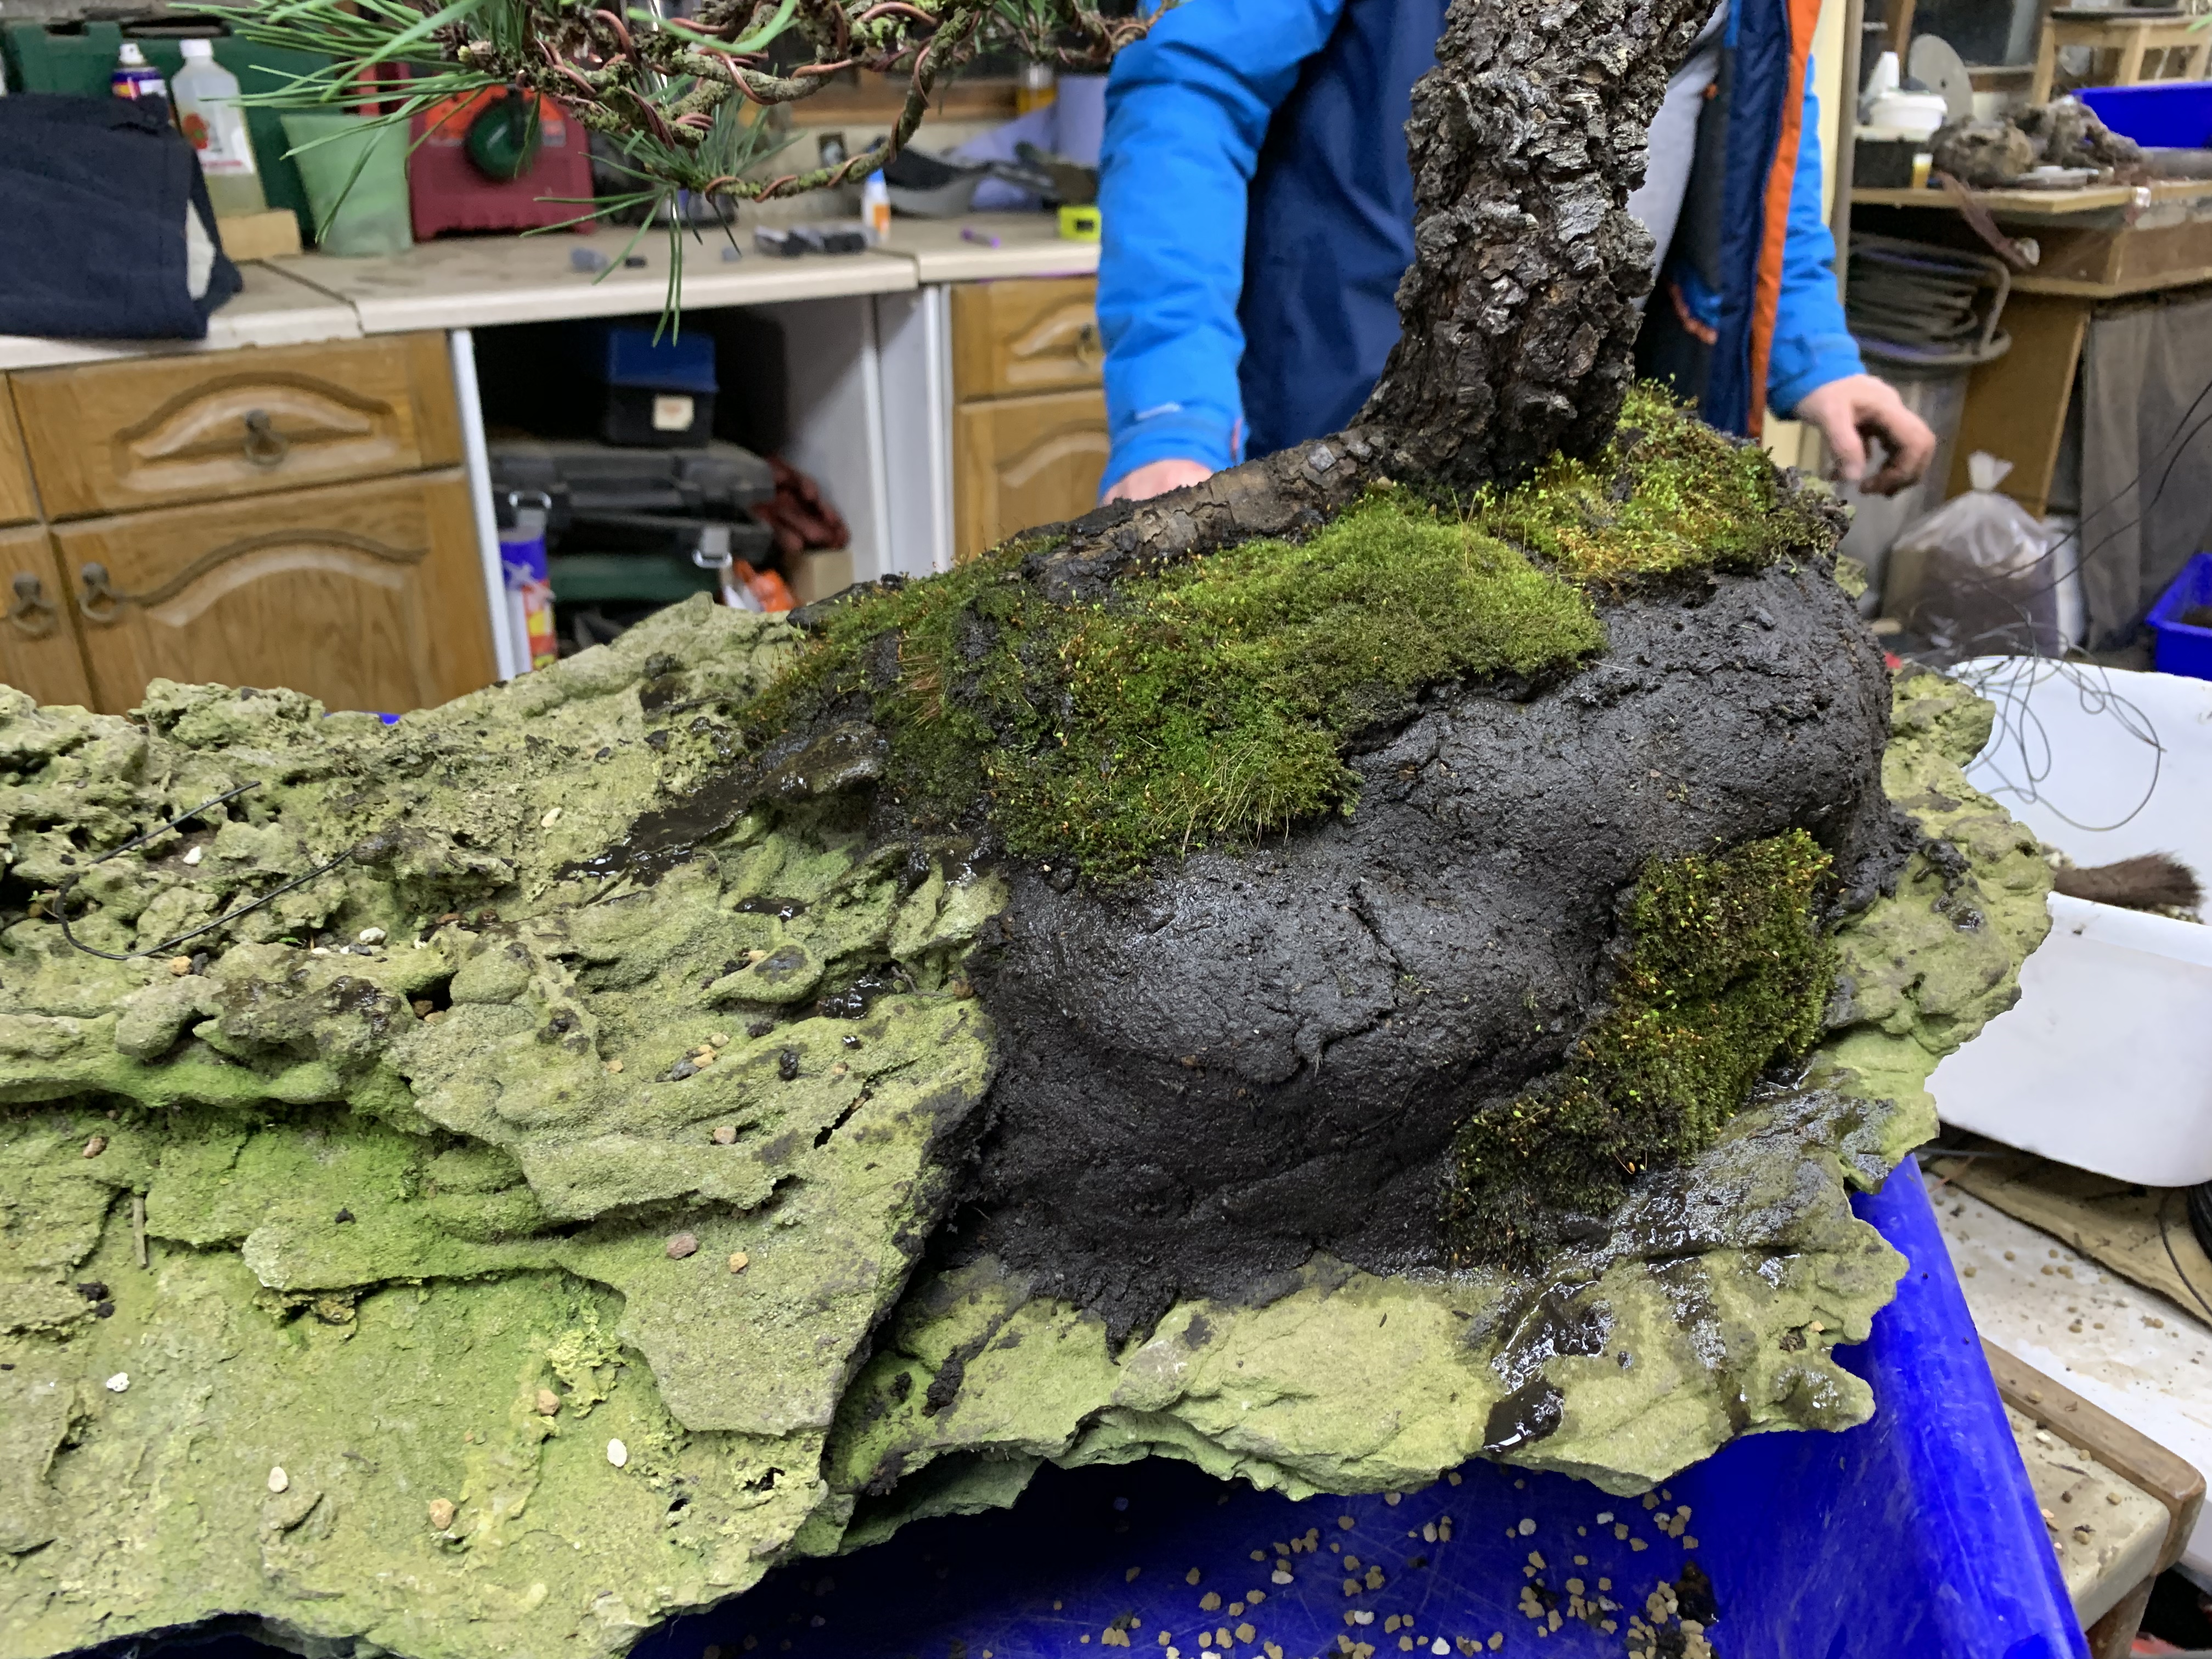
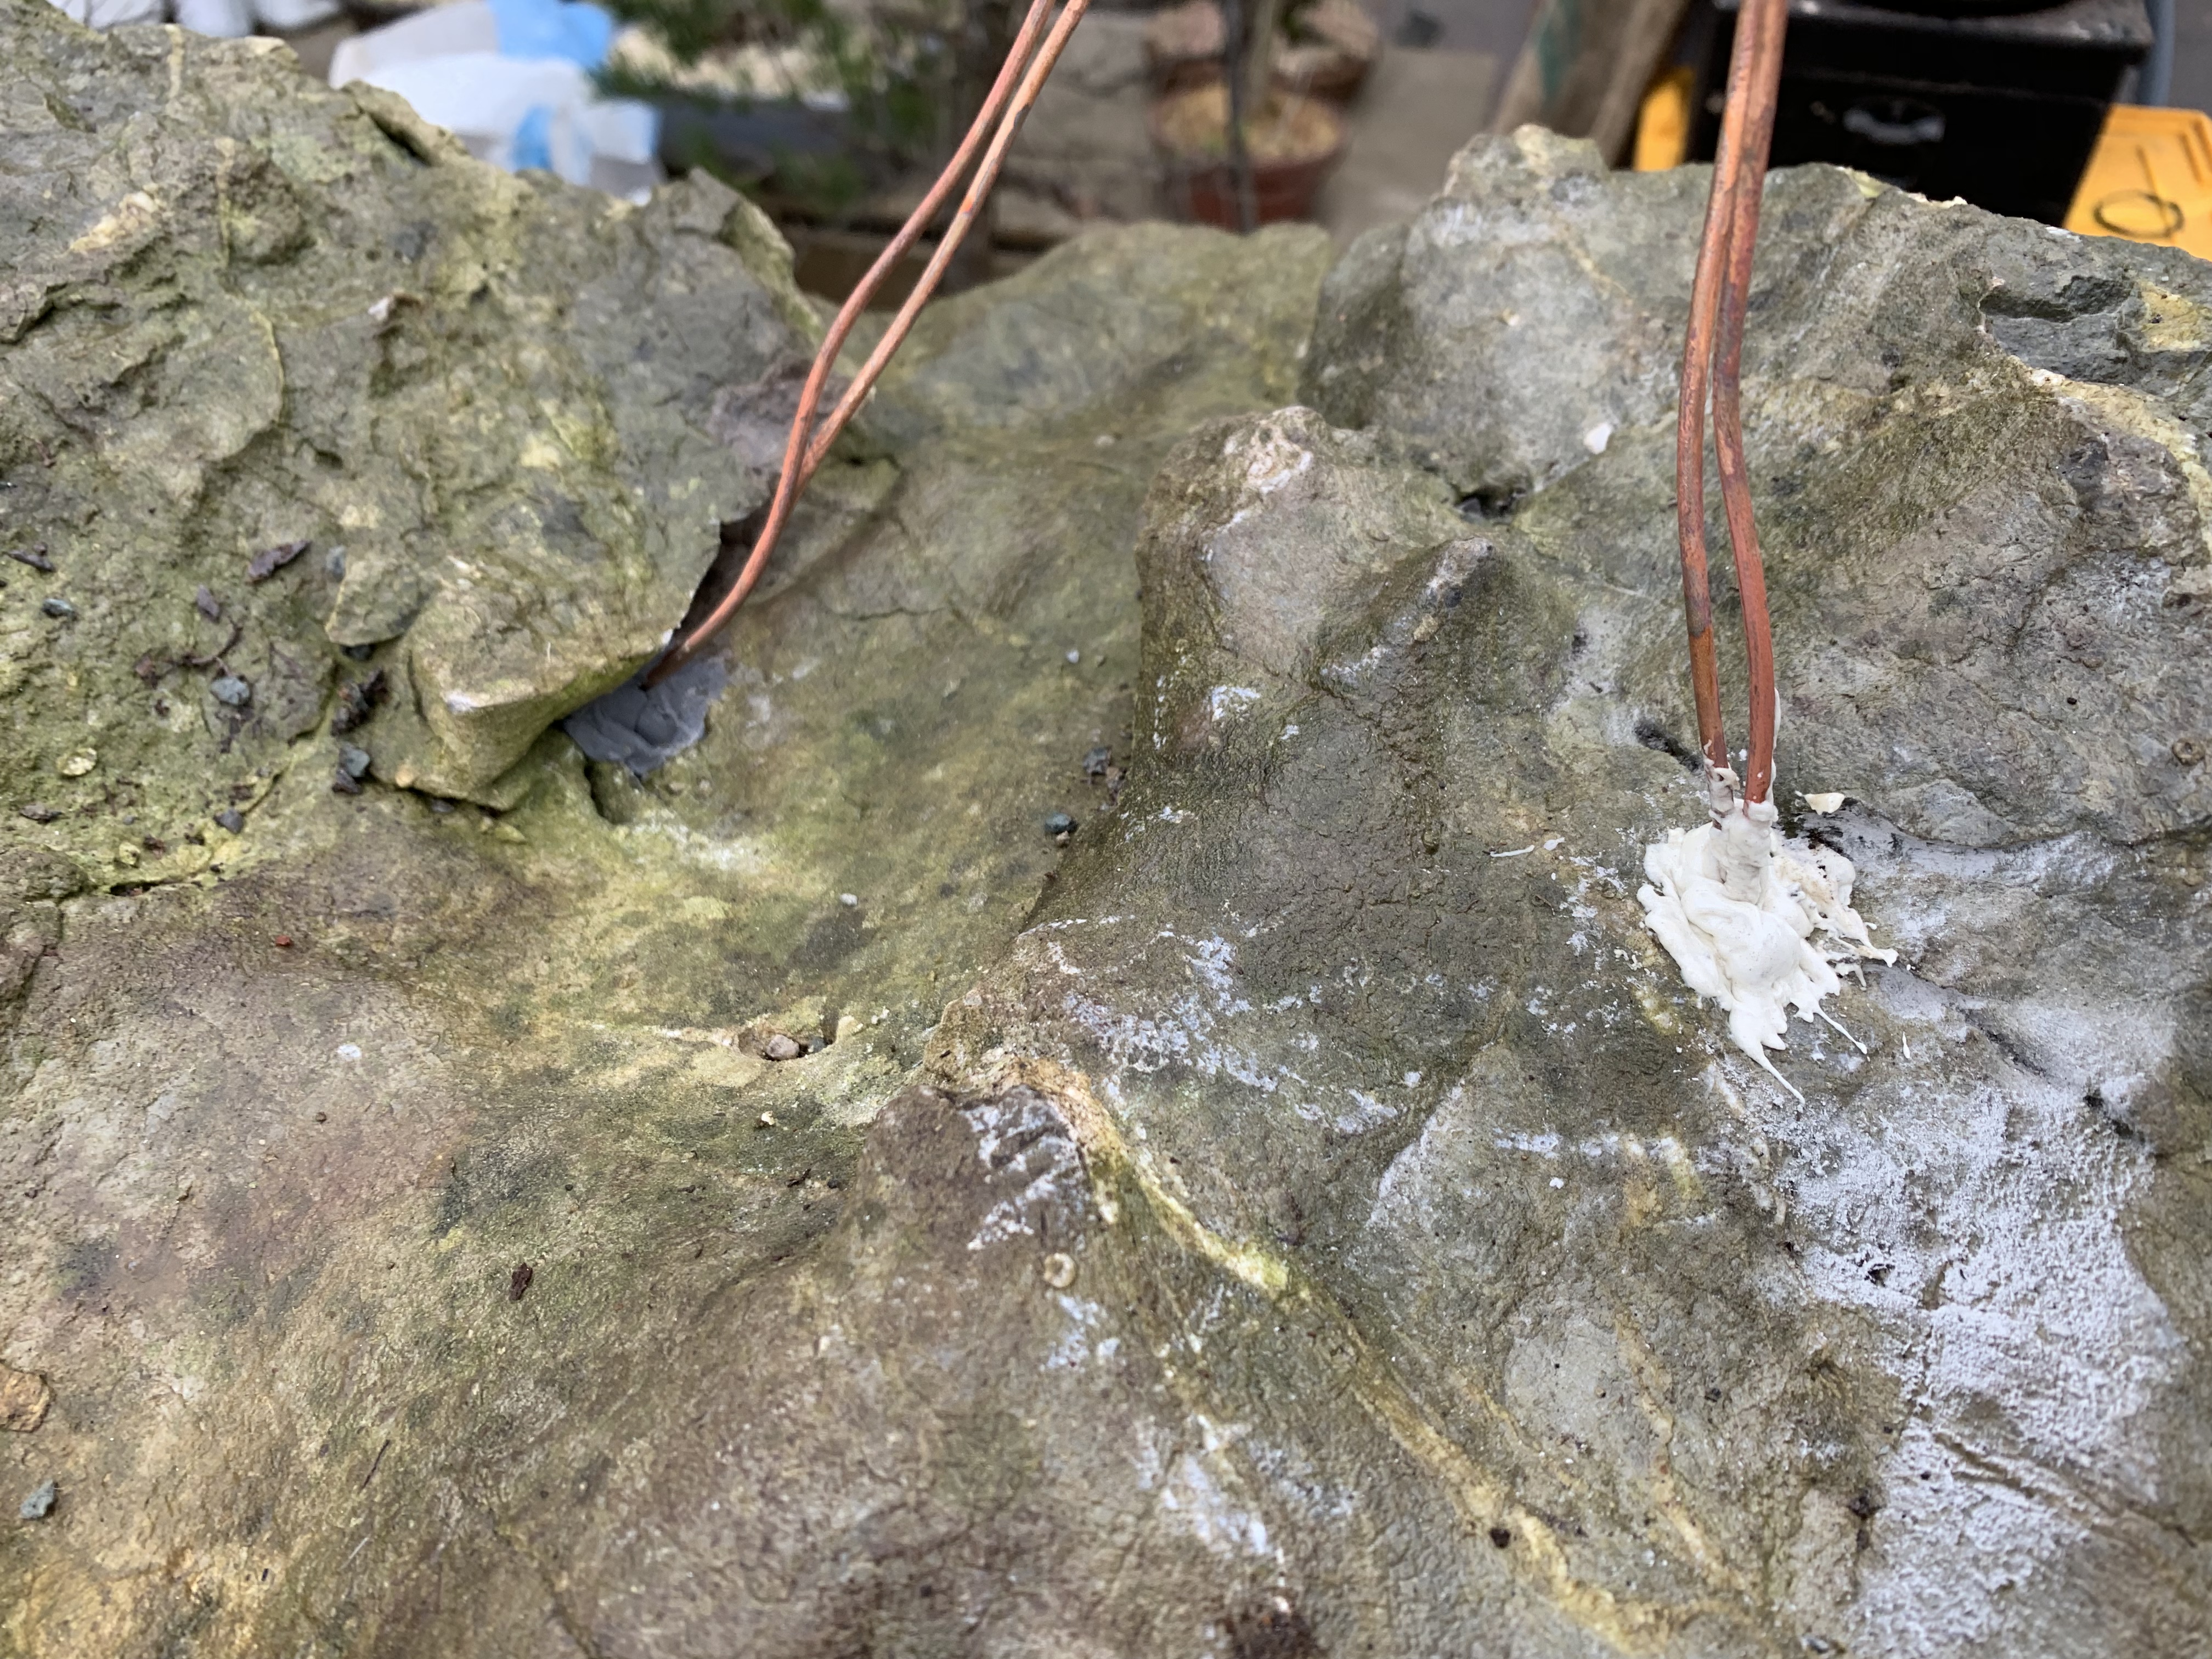
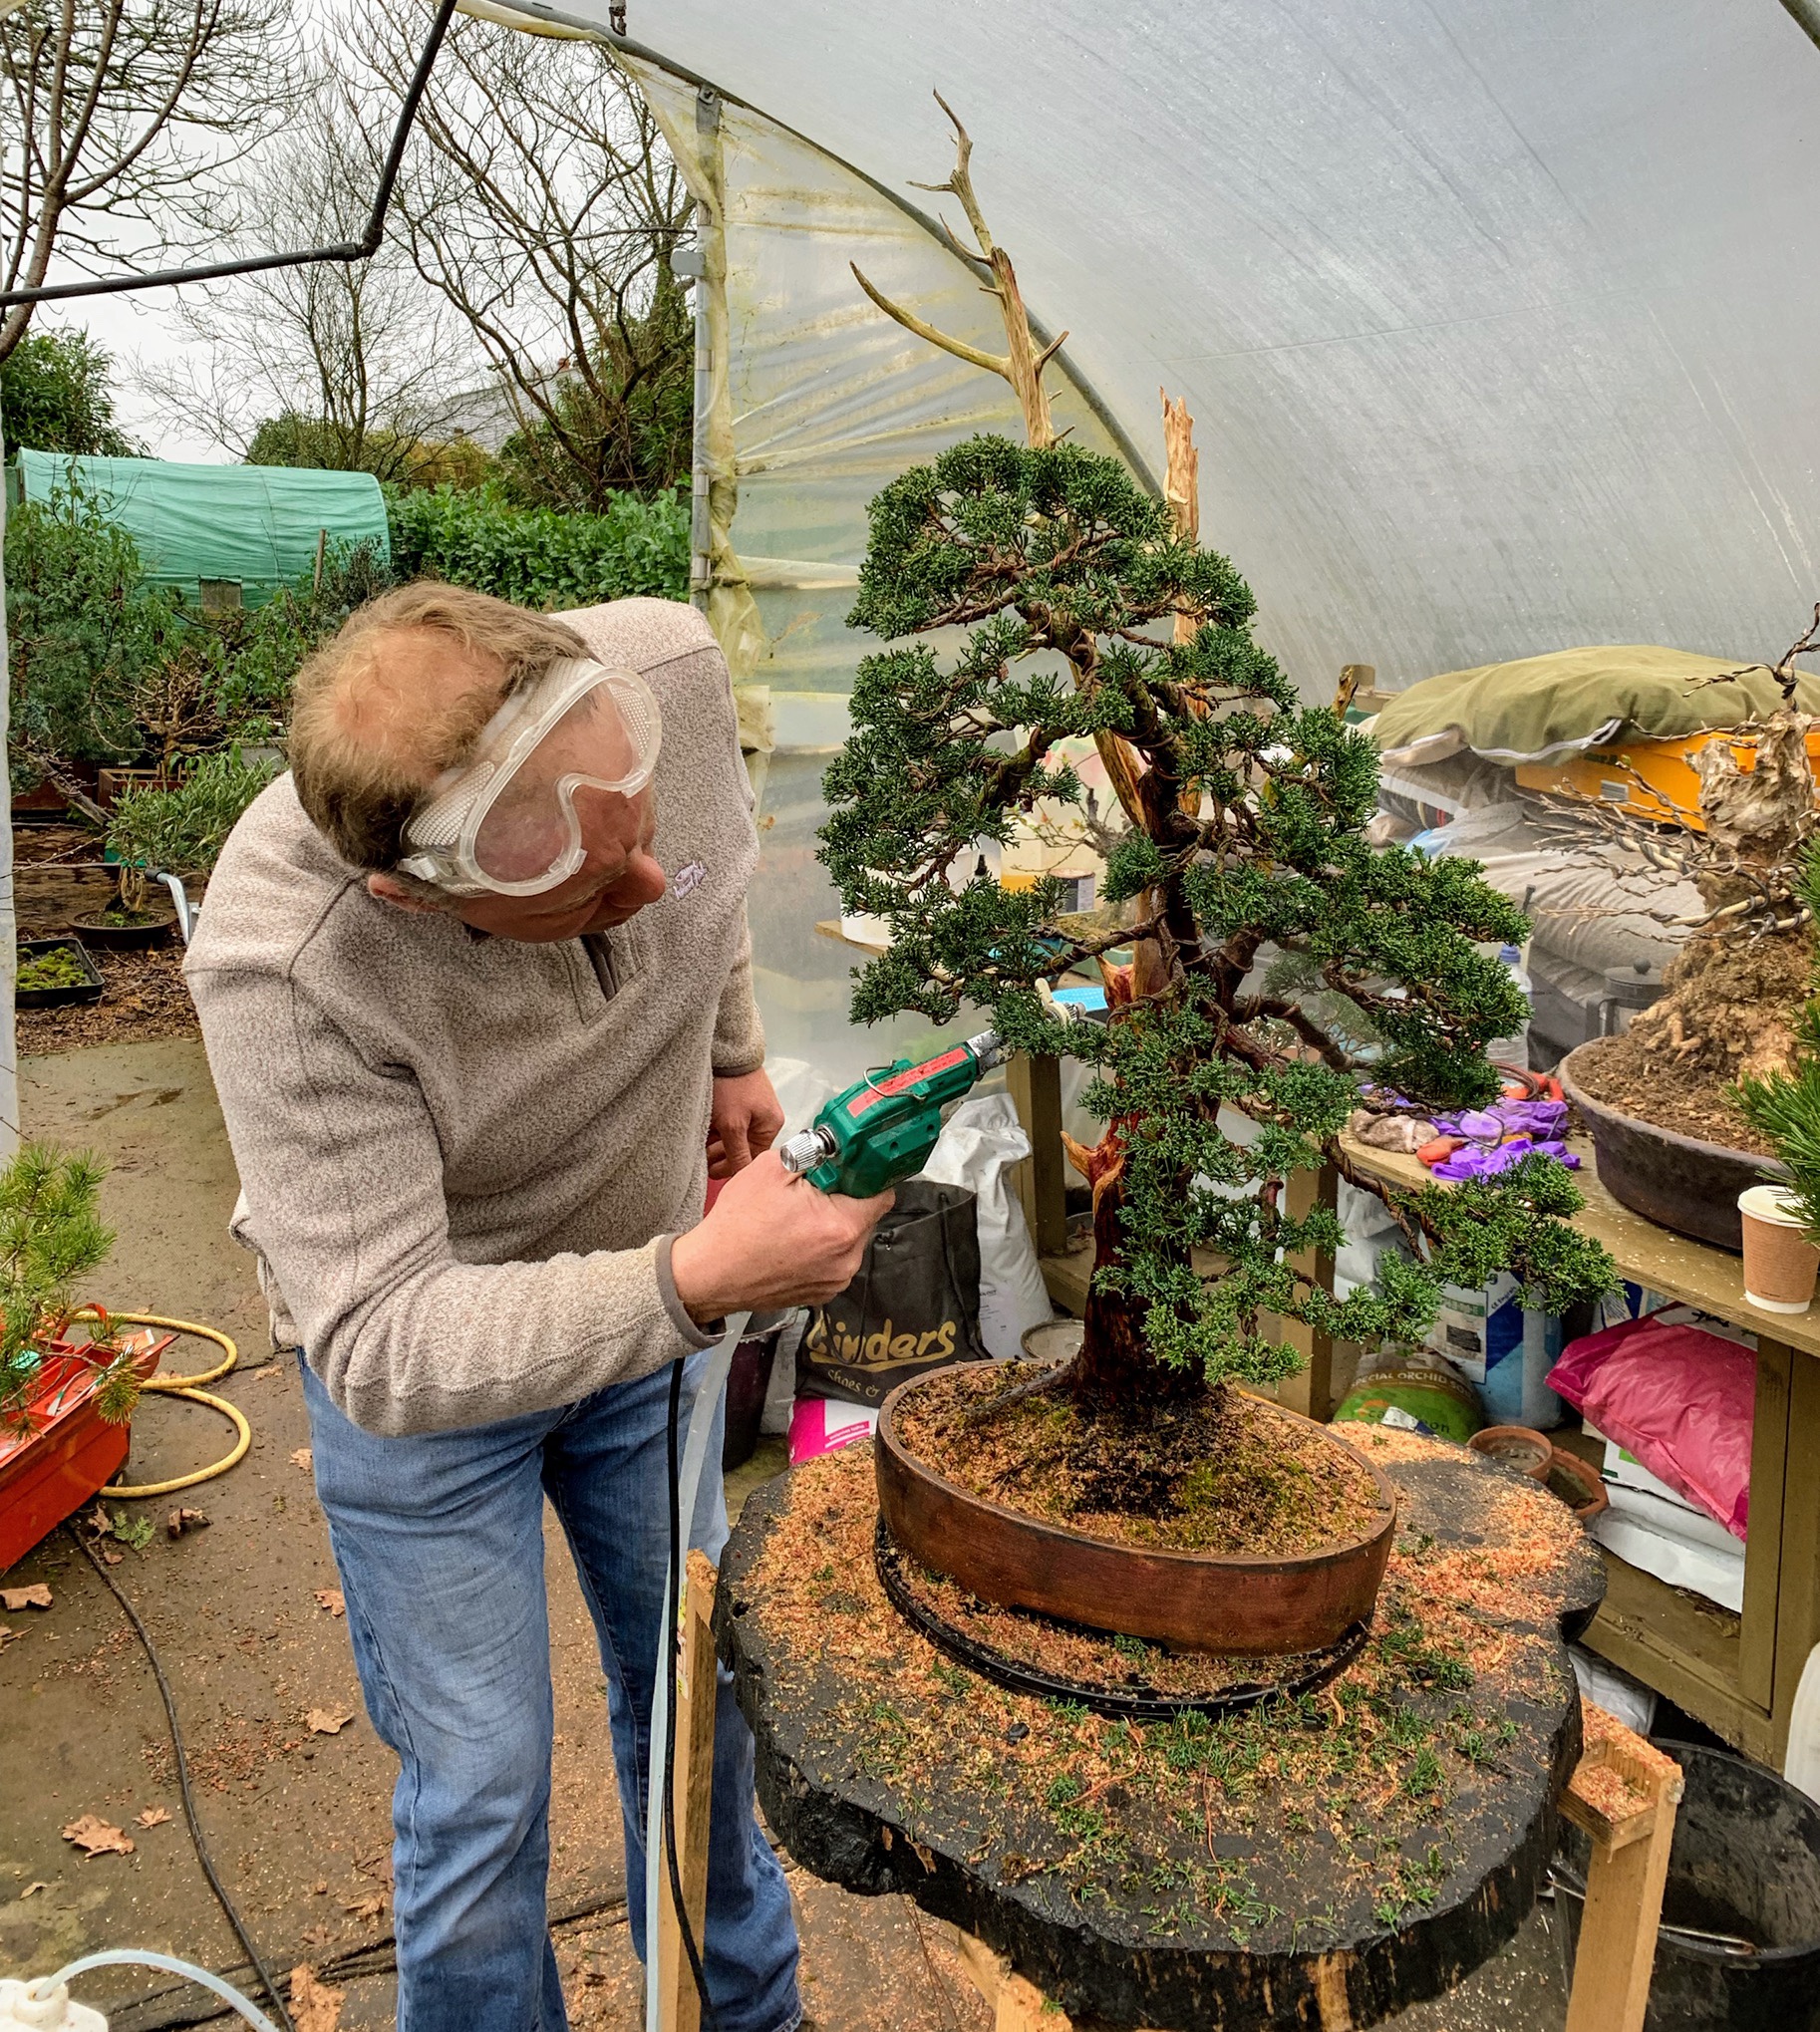
After checking the roots out I decided to go ahead and repot. In the 3 years since collection the tree and filled the box with roots. I put all collected Larch into pure Sphagnum moss and they love it. The problem comes when the moss breaks down and holds too much water, usually after 2-3 years. At this point I repot into a more traditional mix. I was able to jin a heavy surface root as part of the process making a nice new feature and also with the added benefit of raising the deadwood up above the soil surface which will help stop the wood rotting away to quickly.
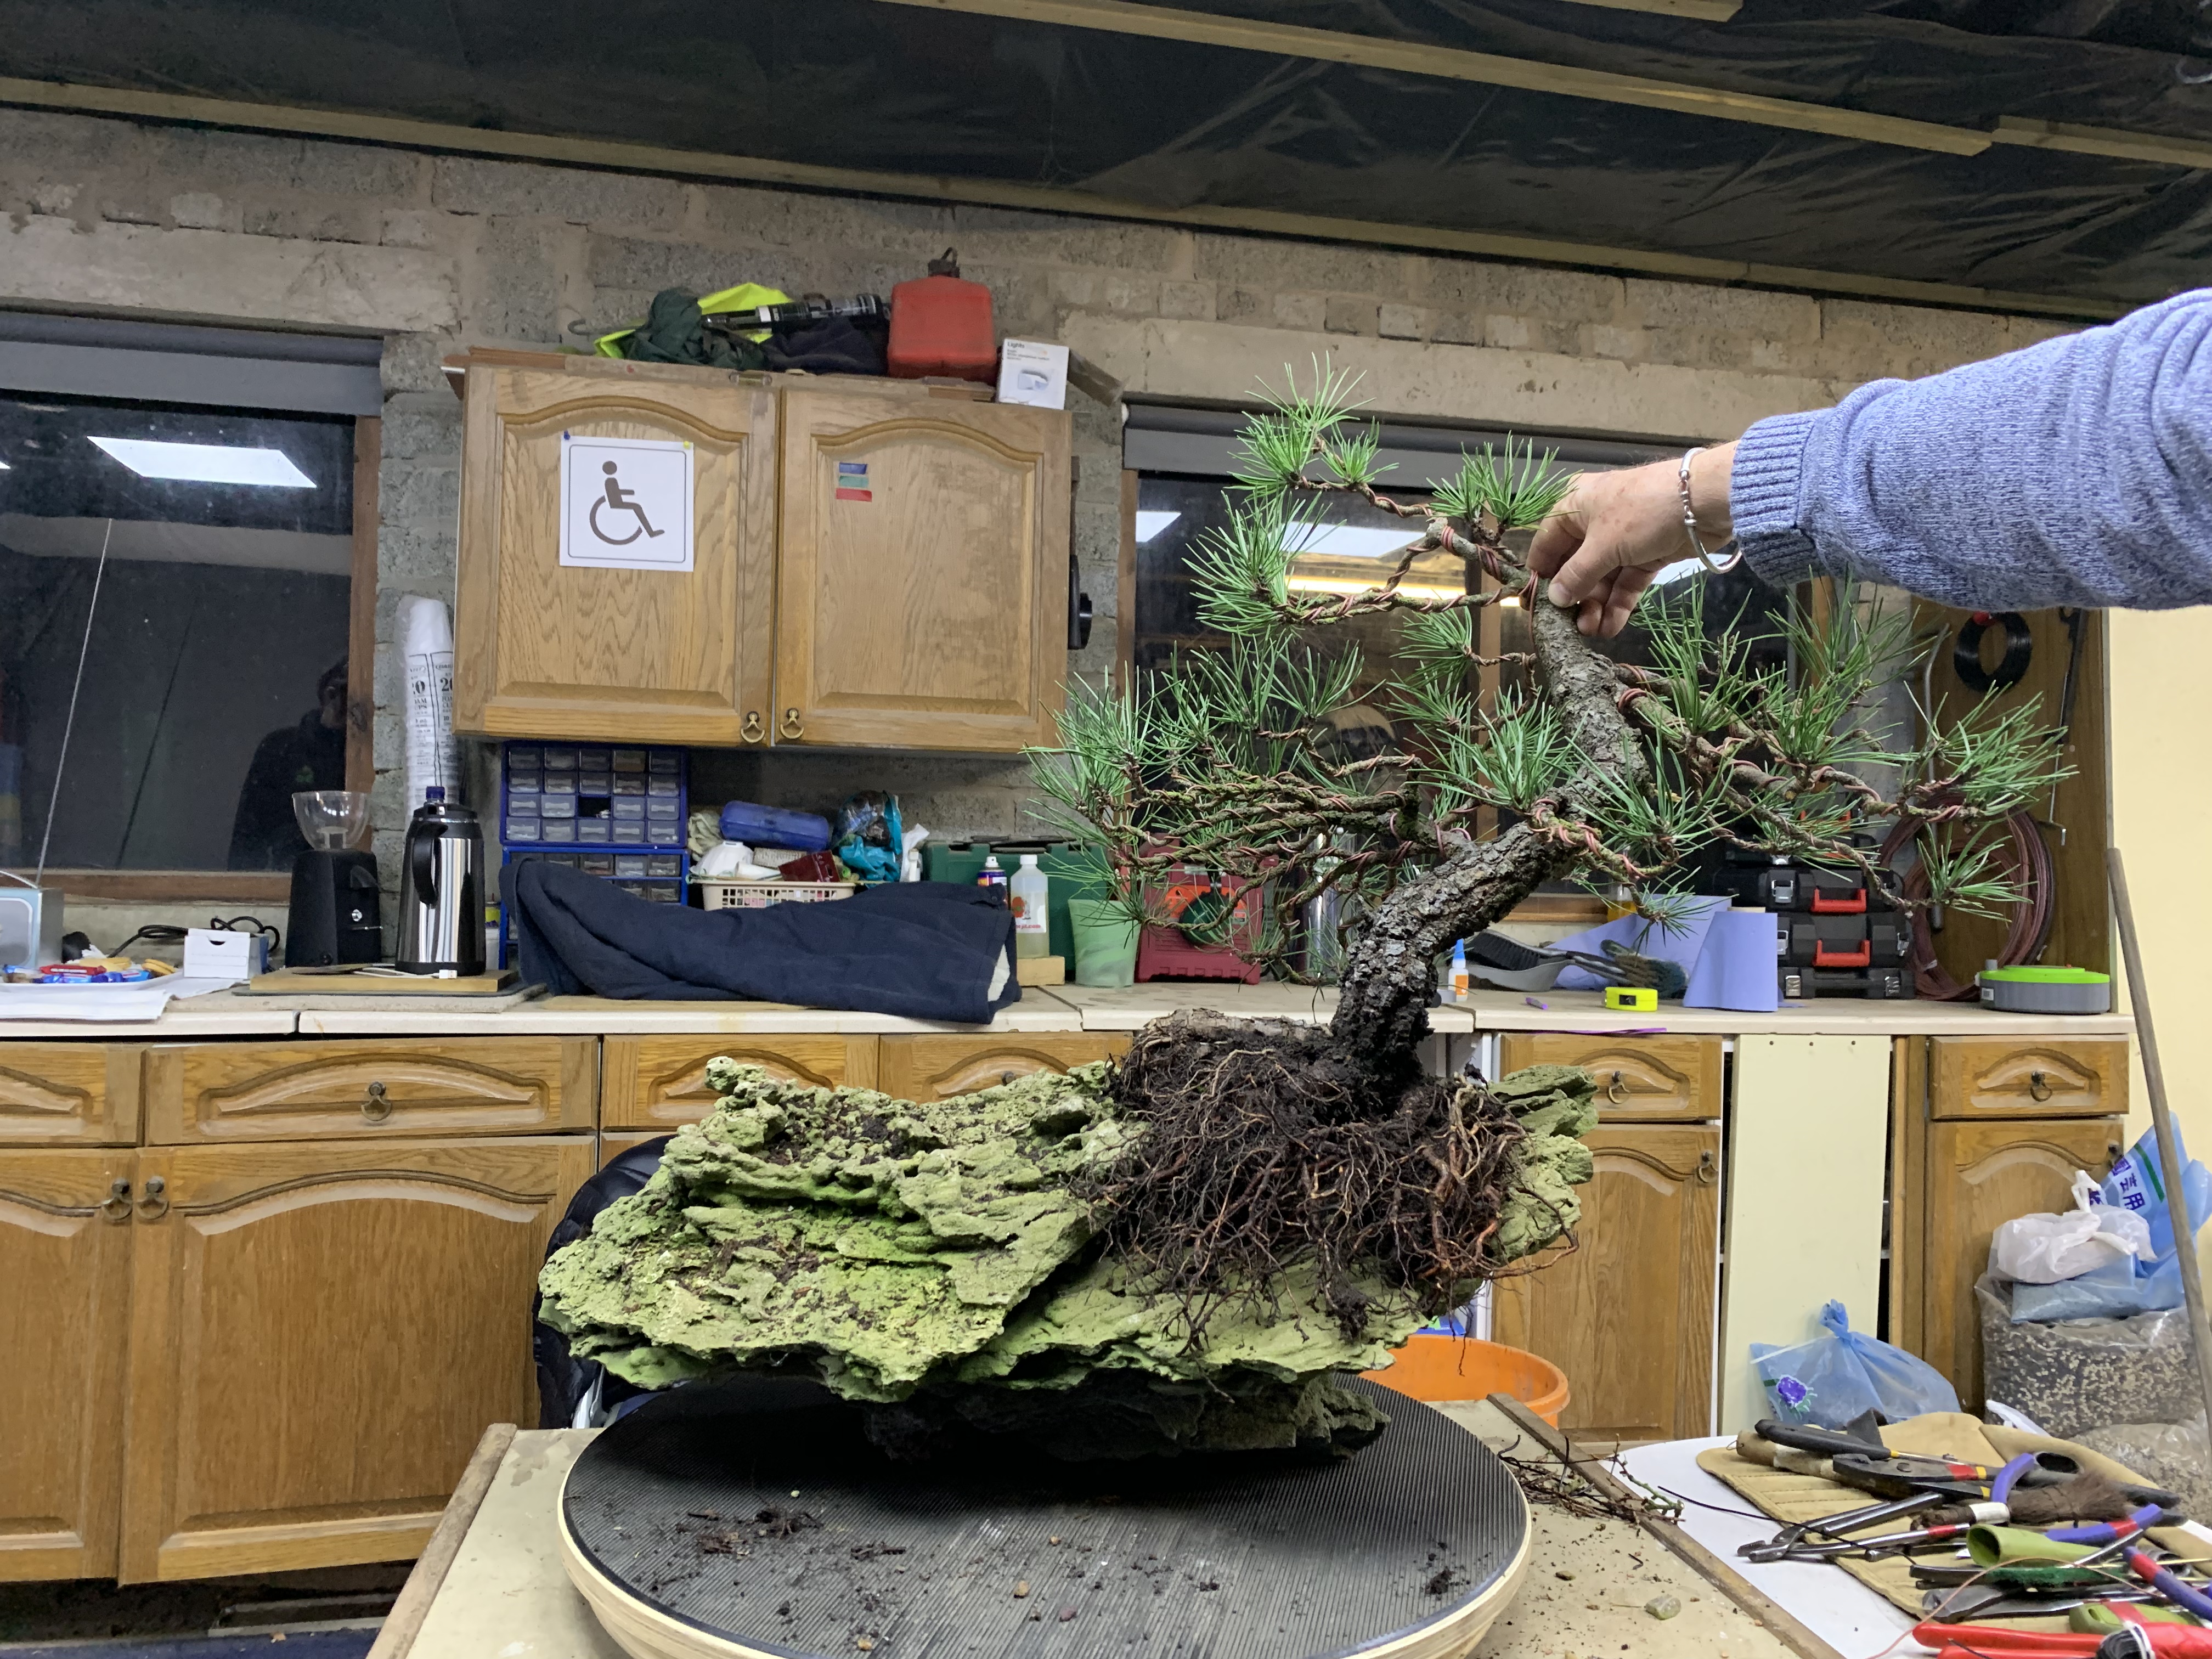
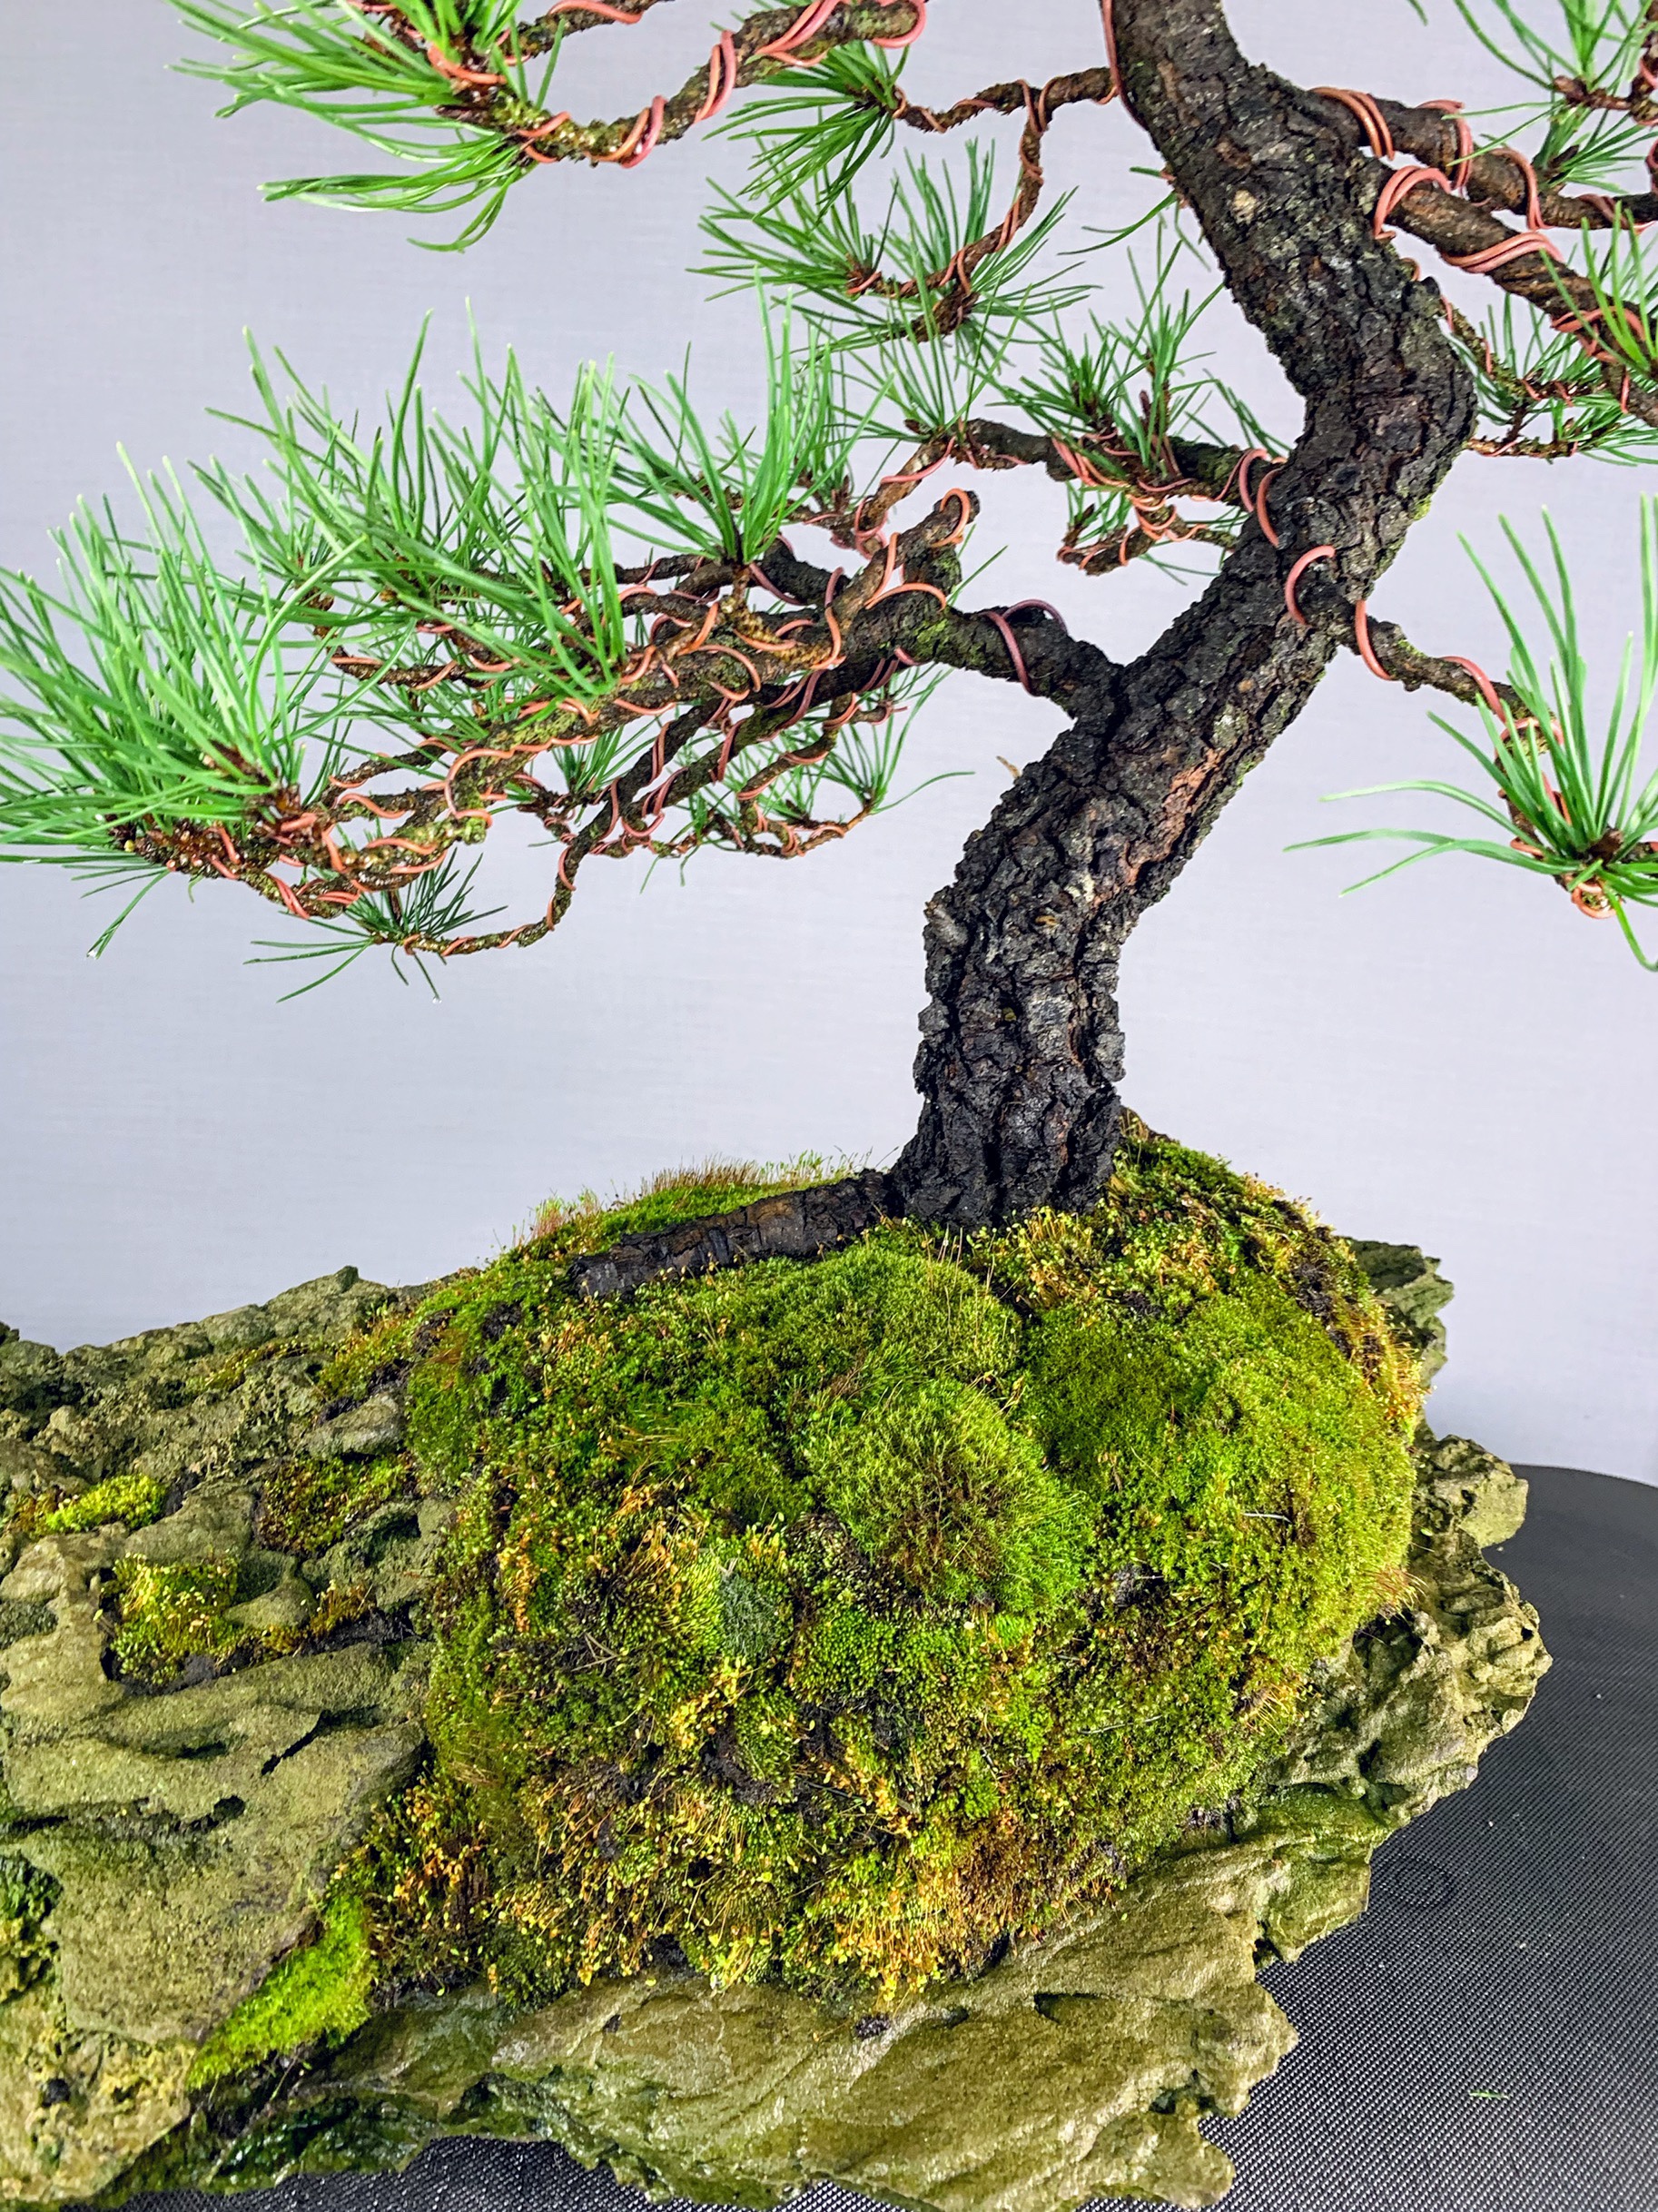
This is the tree now, cleaned up and lime sulphured, with some more refinement of the deadwood and a year or two’s ramification I think it will make a nice albeit unusual image. A fun piece of material to play about with and for now, it goes back on the sales bench once it opens in the Spring.


 snow on the way home as usual in Dublin. Thank you to all who supported the road trip. Back again images weeks for another round.

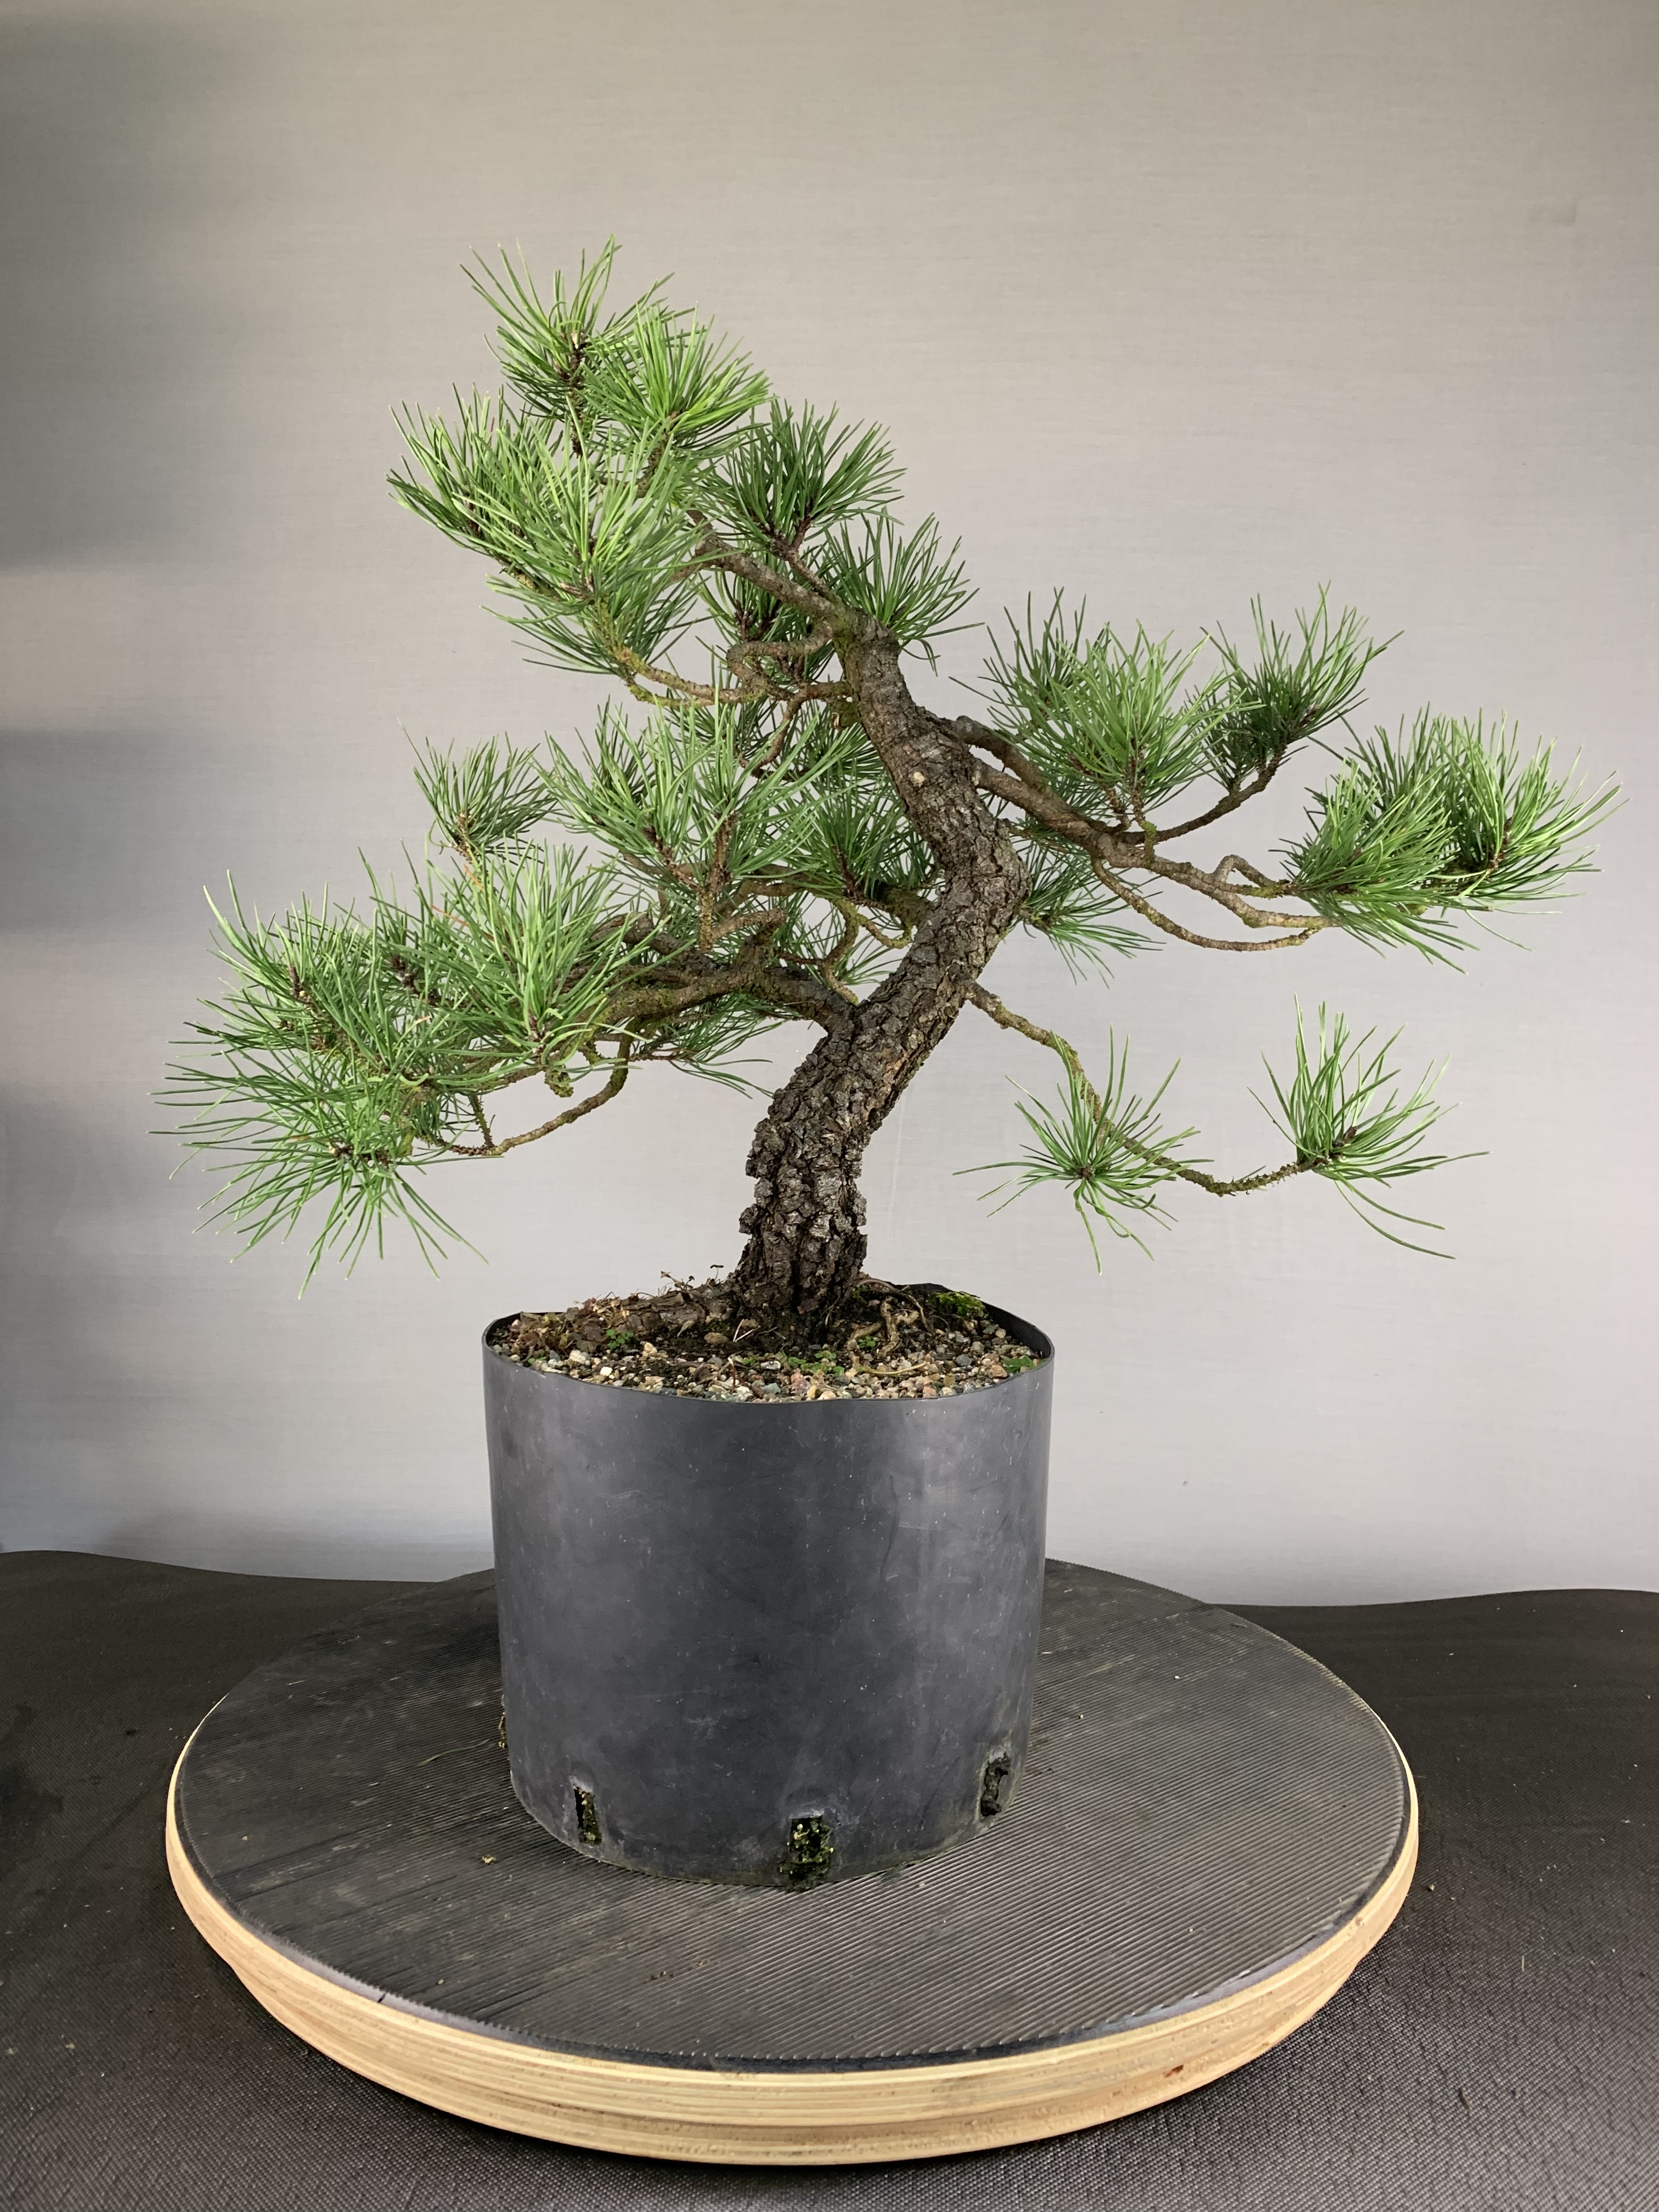
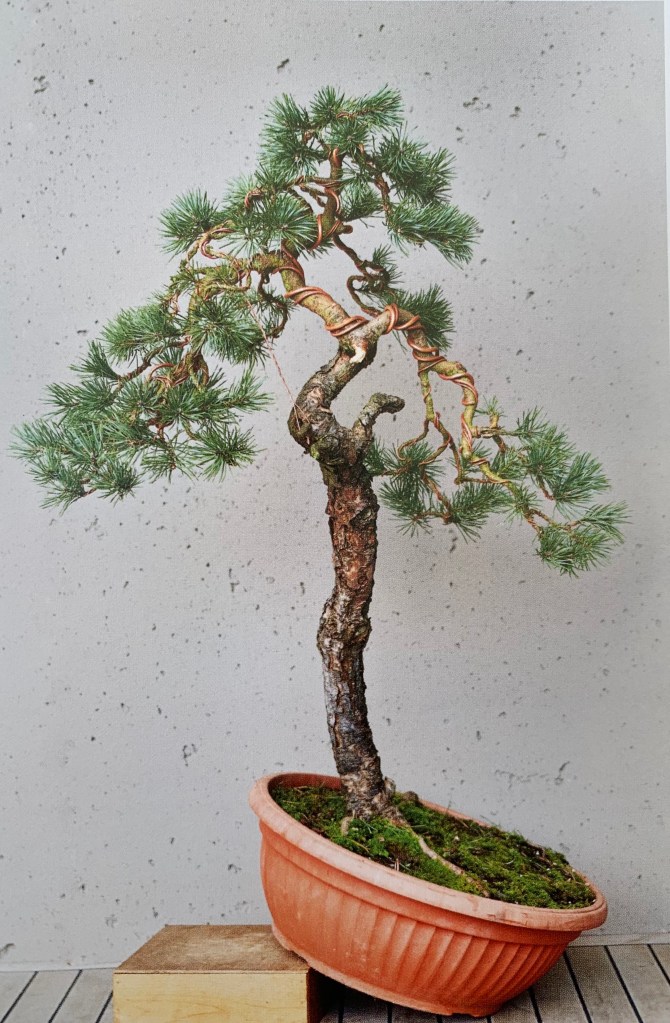
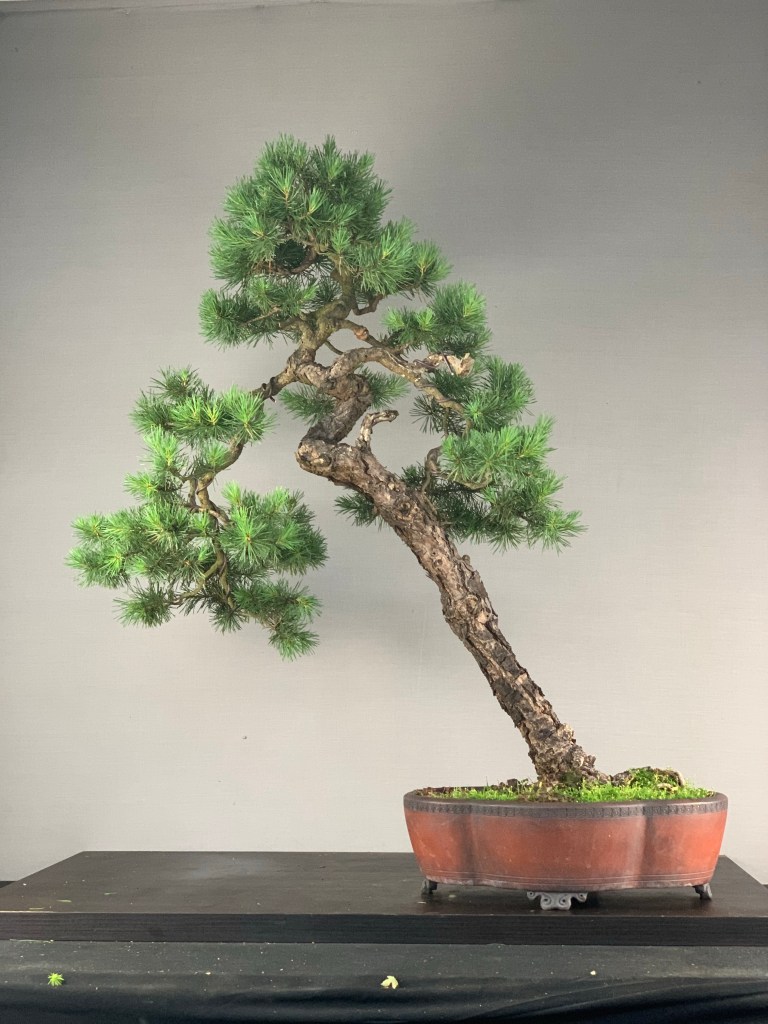
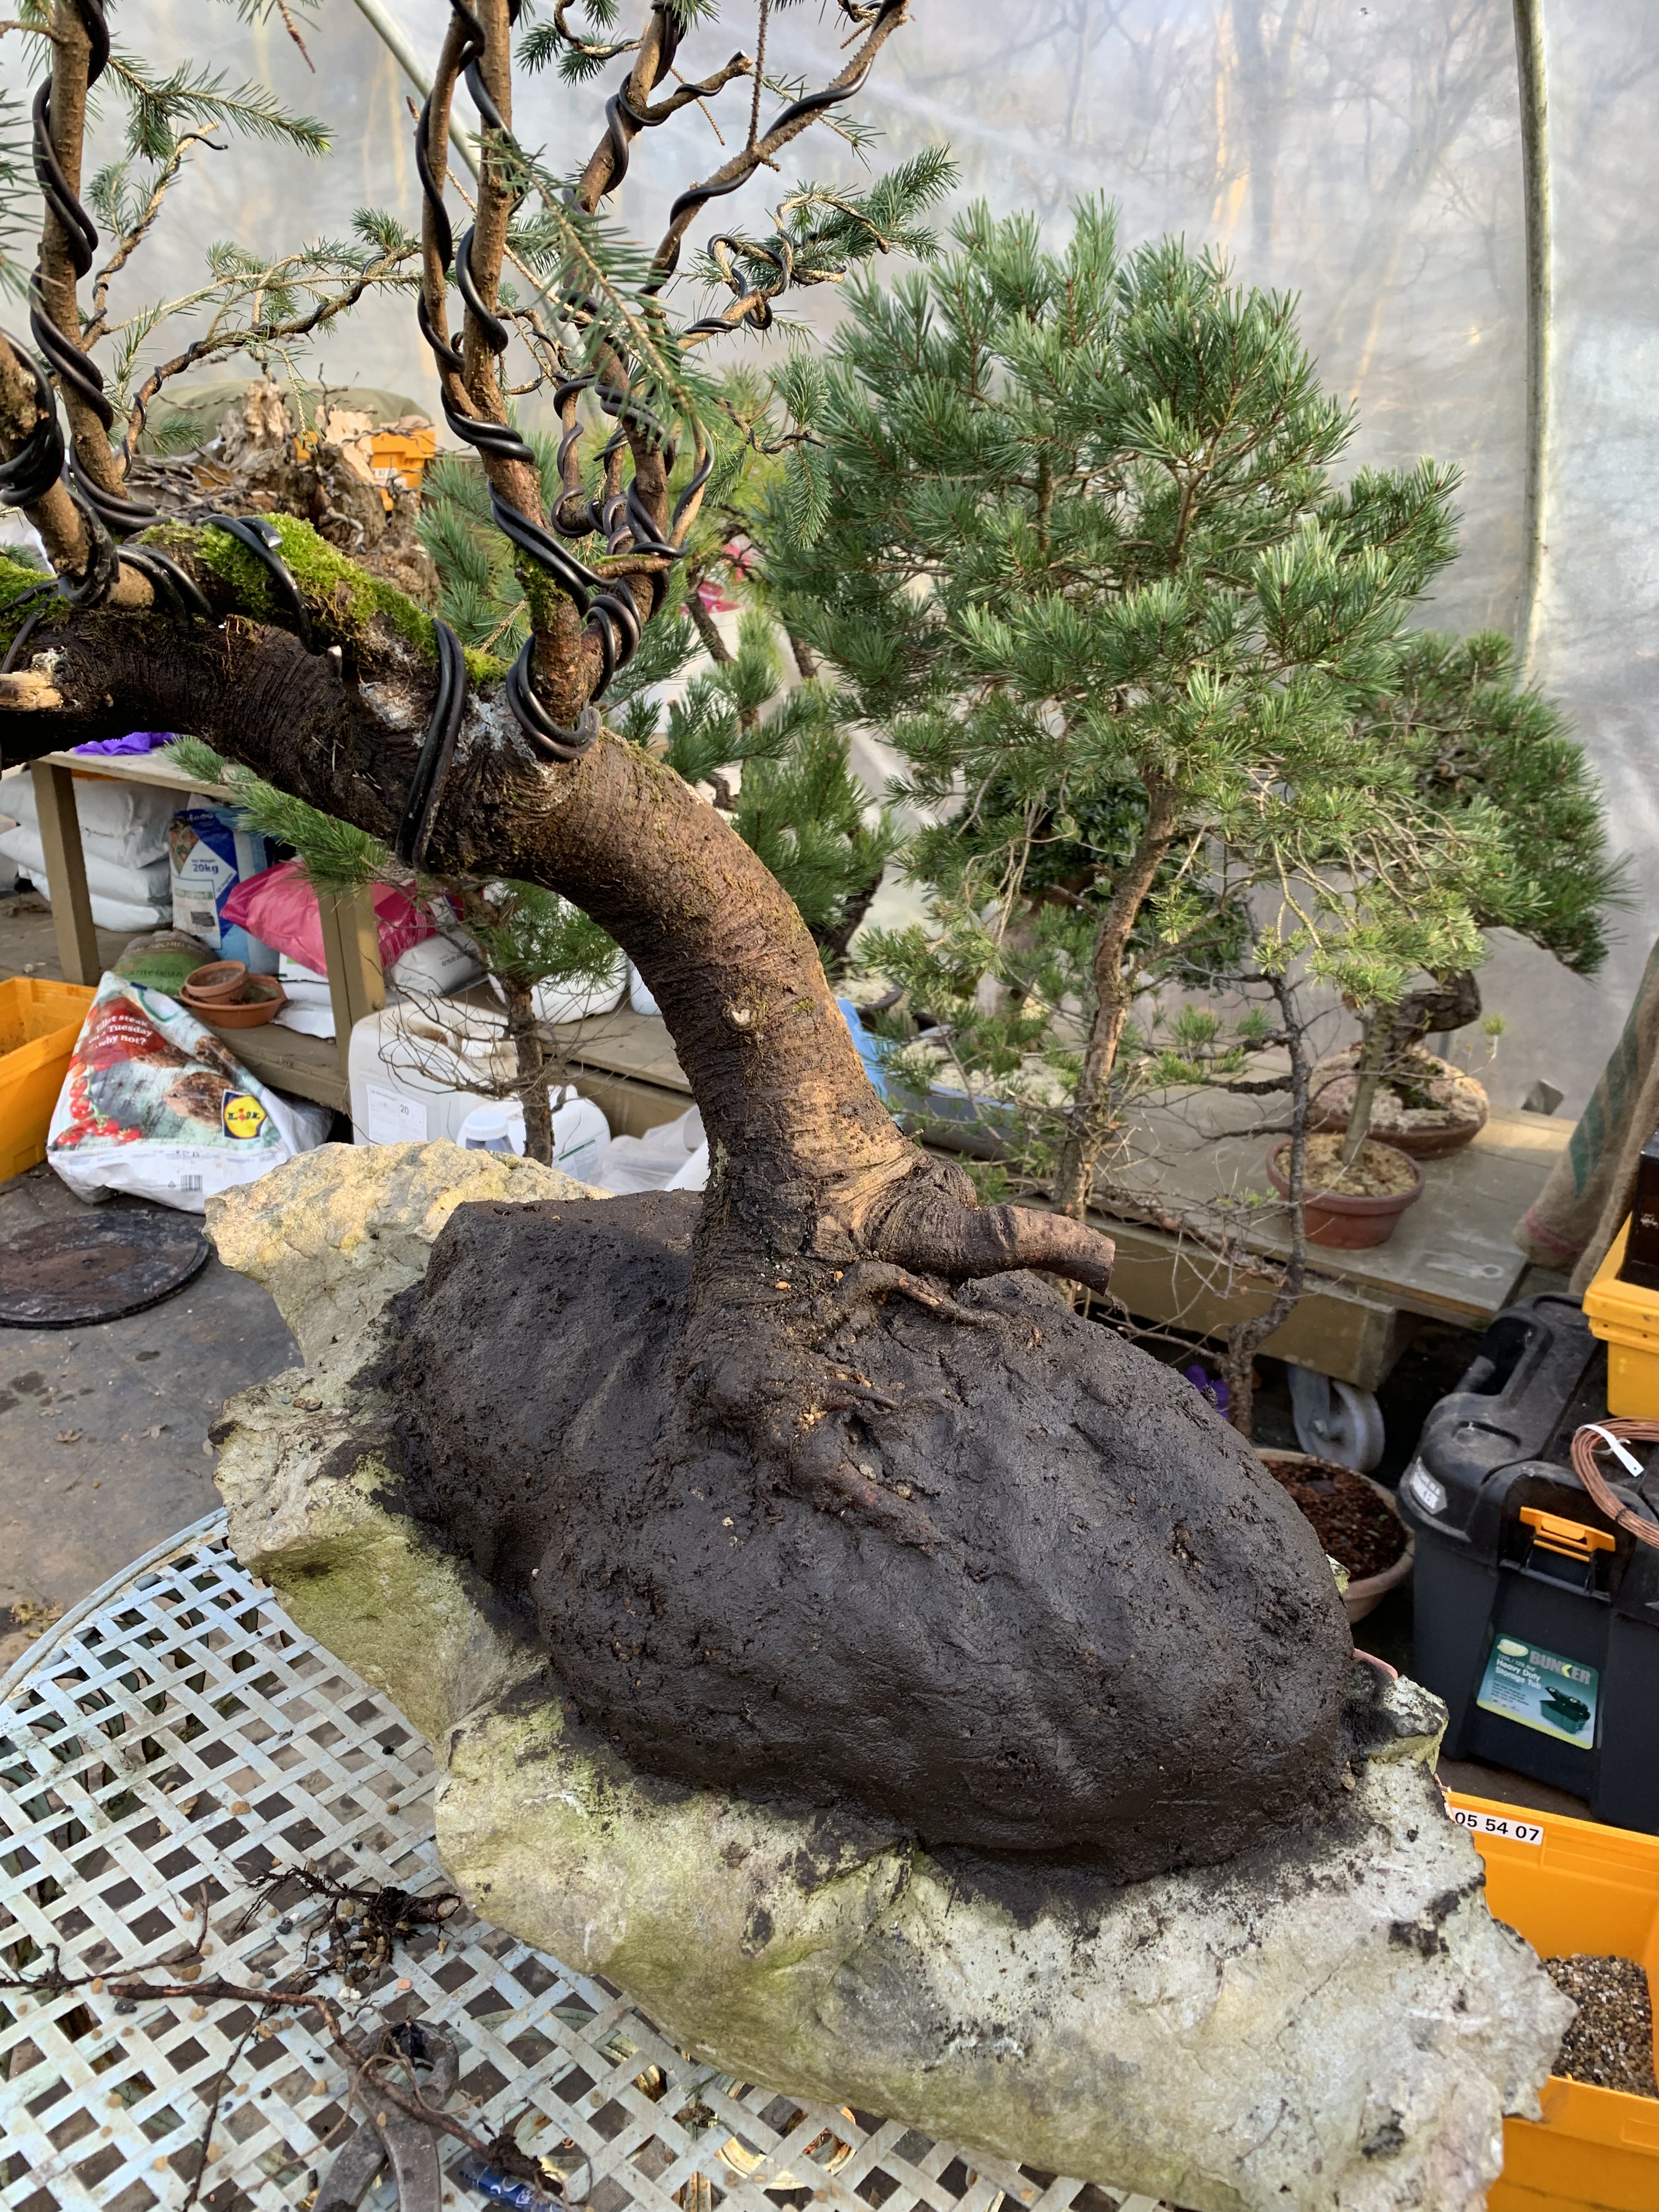
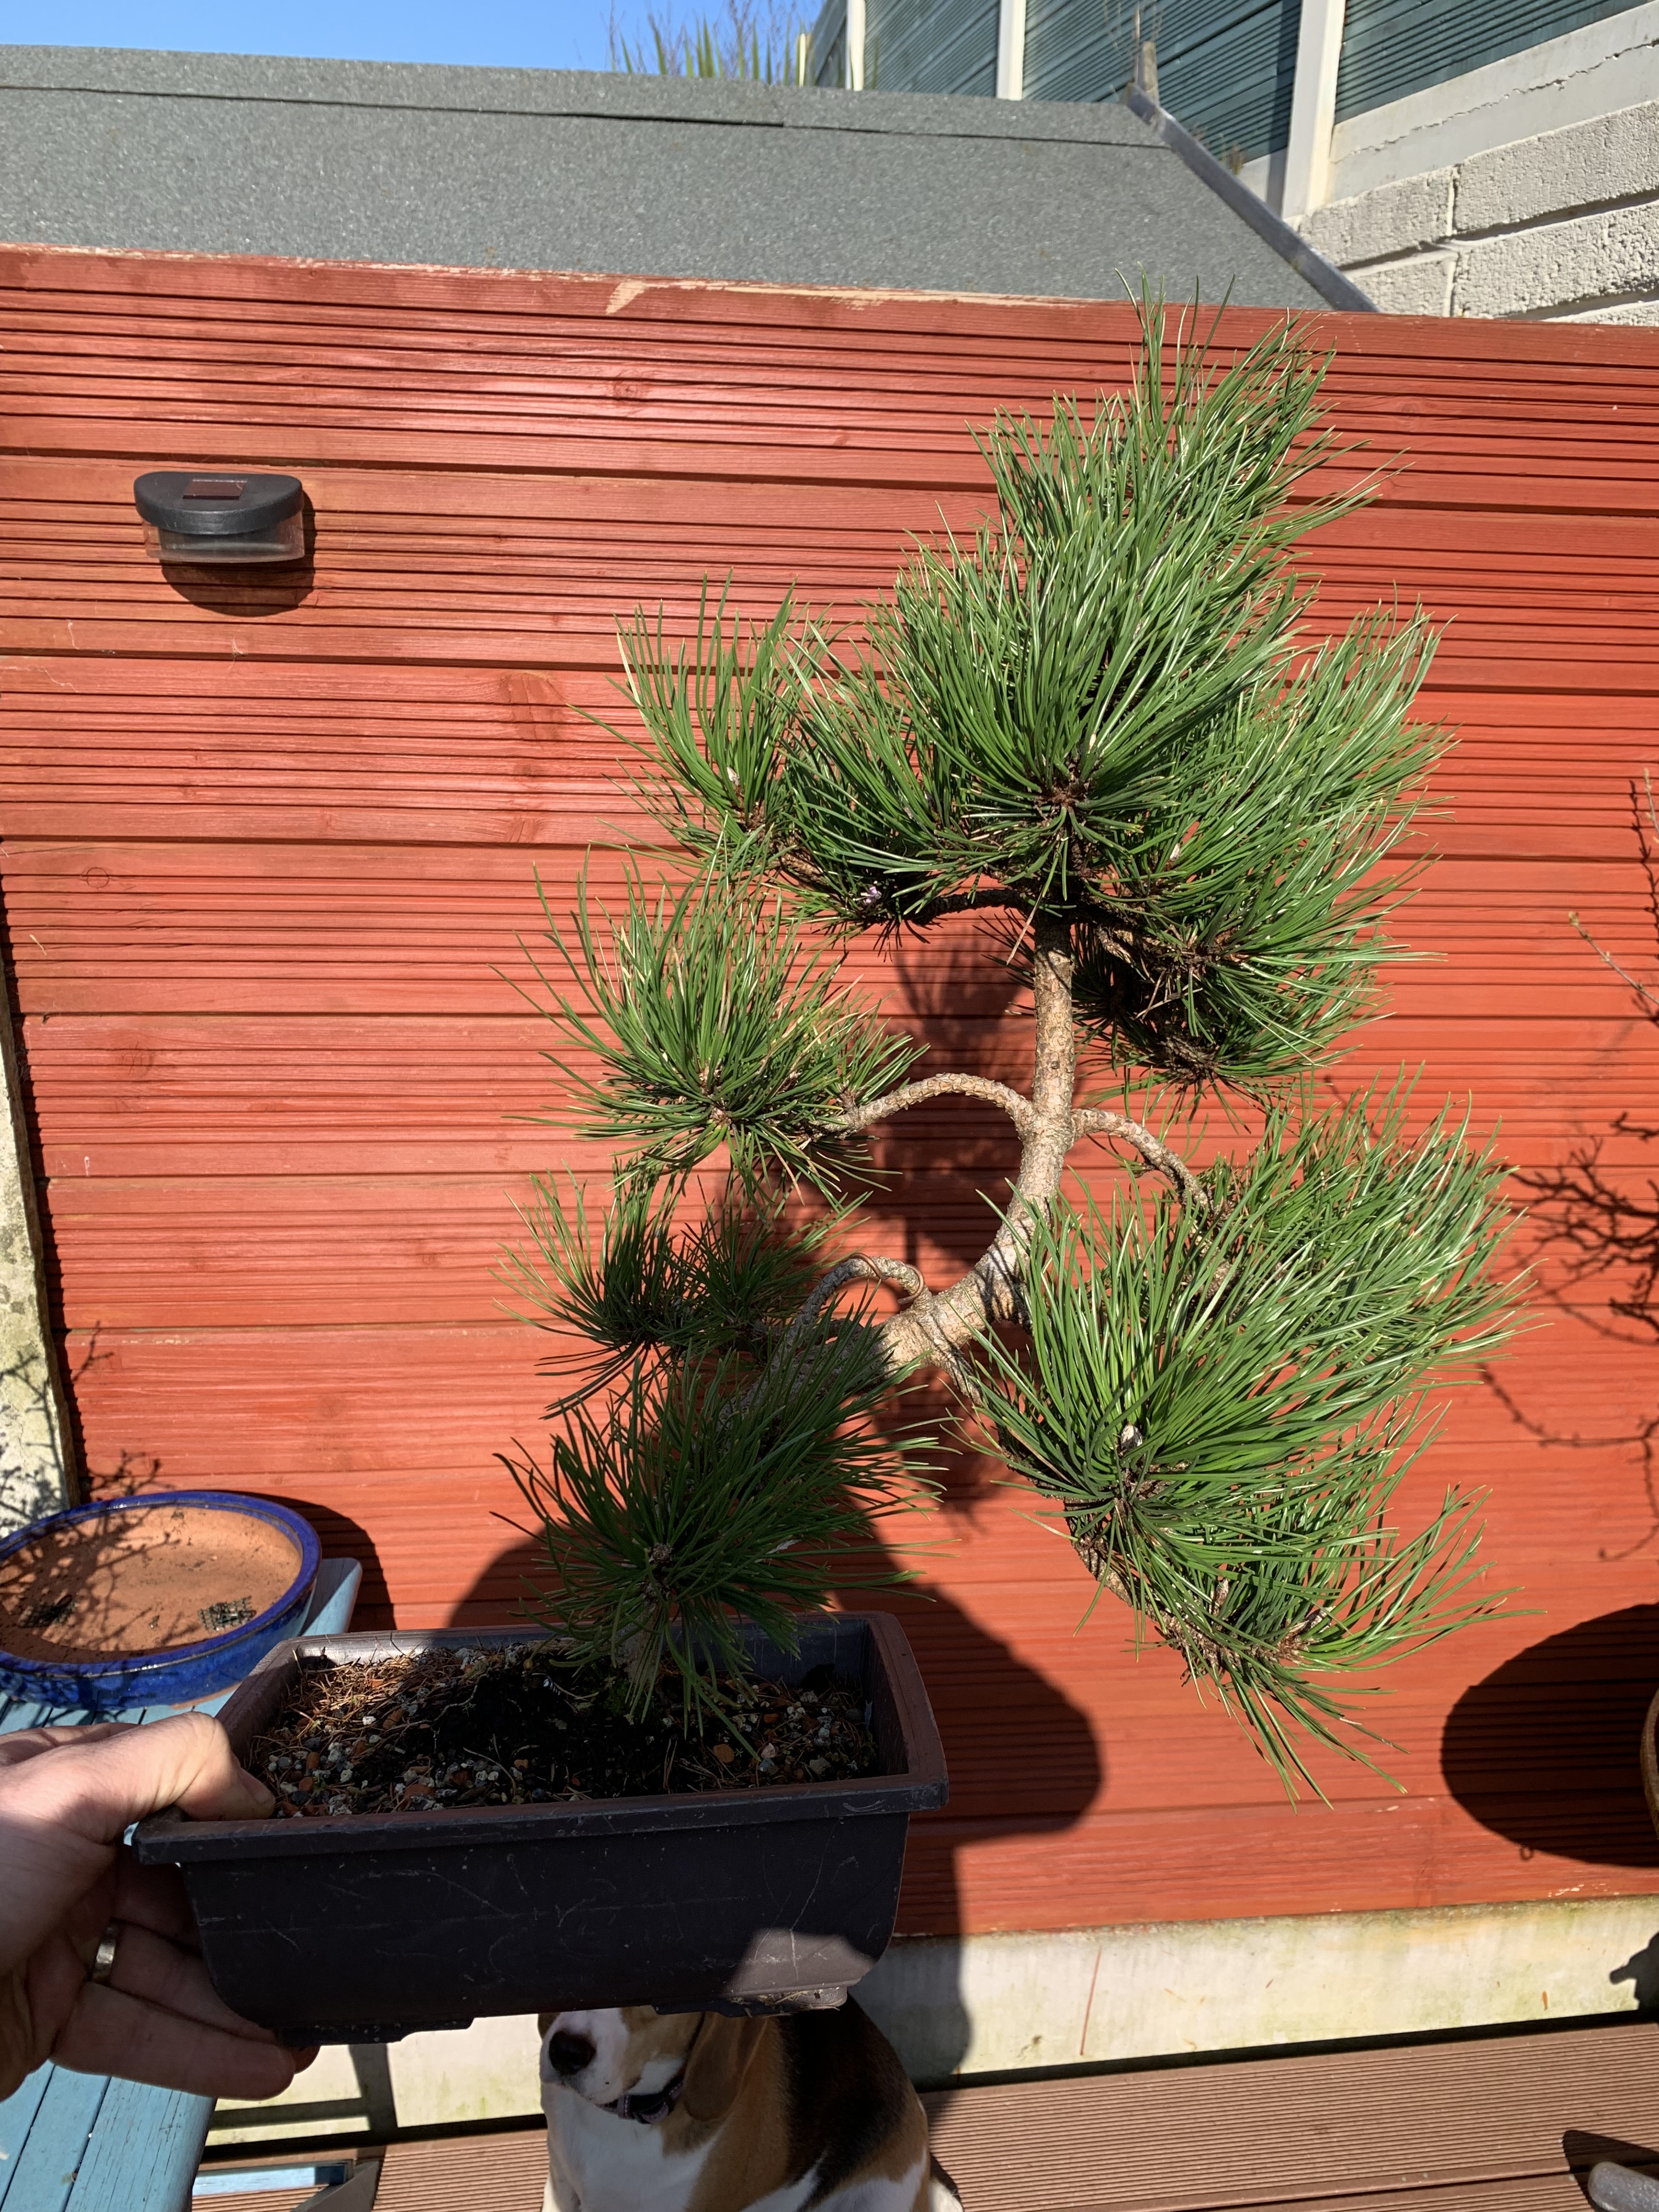
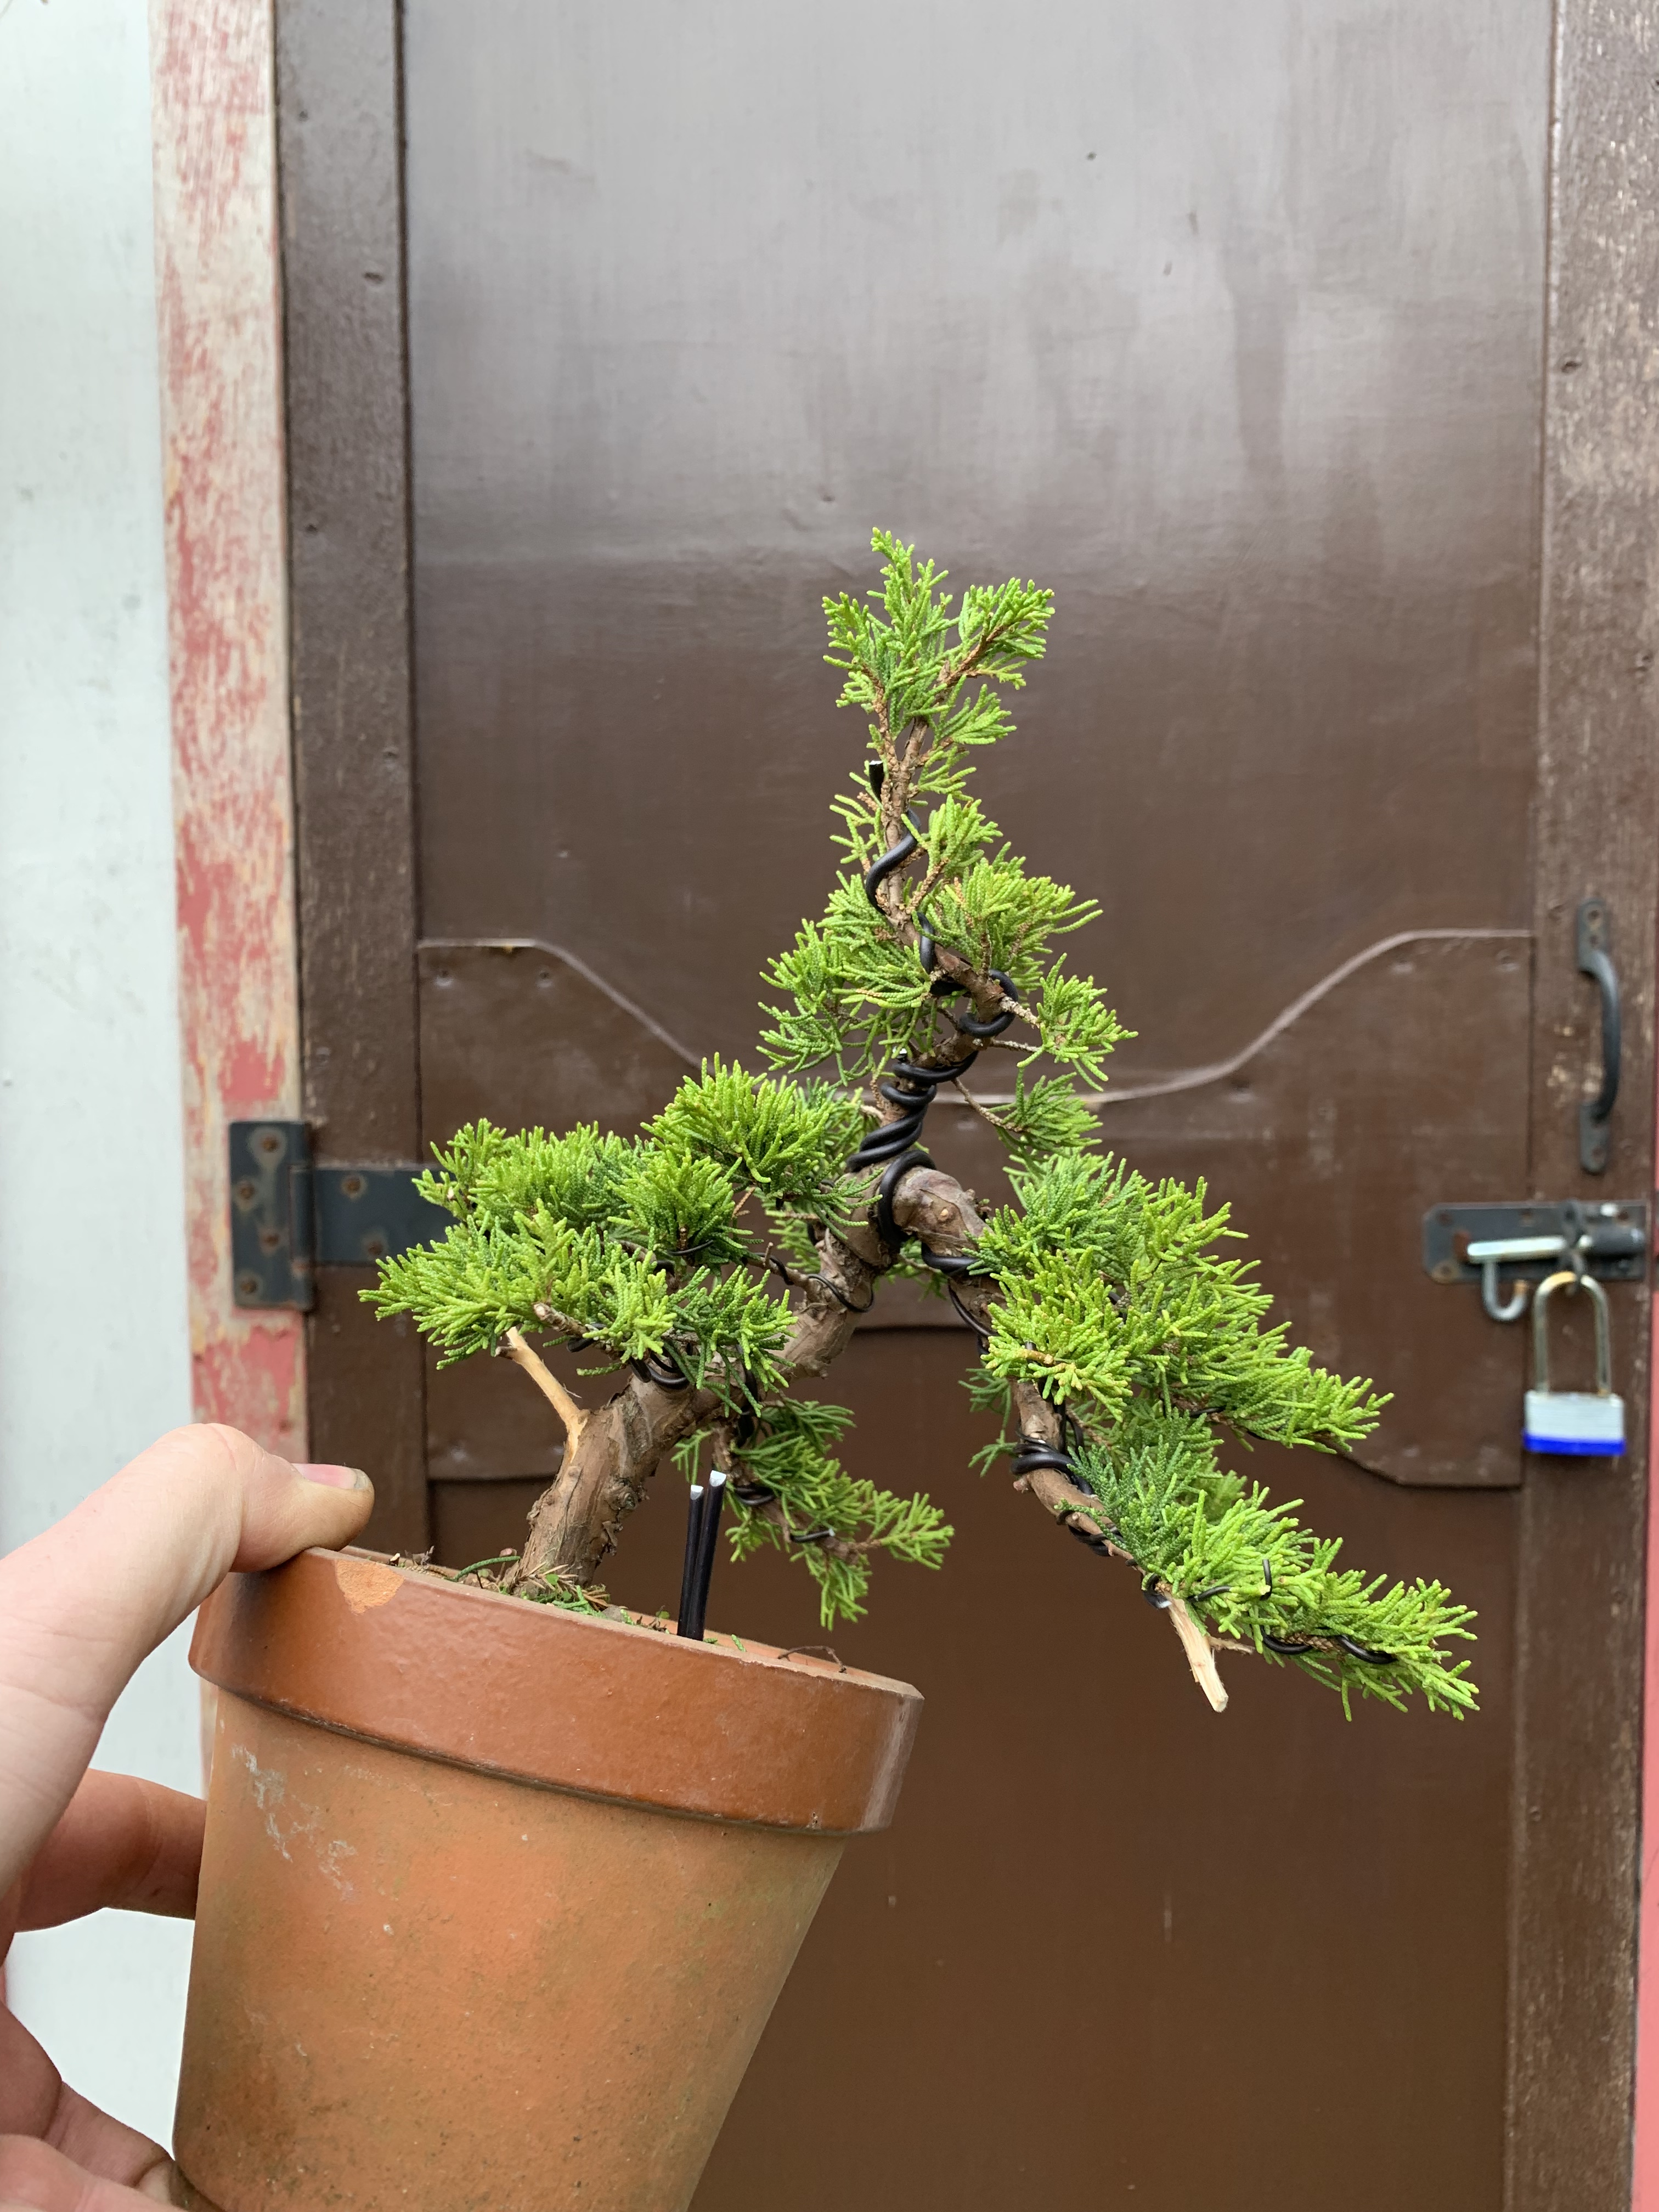
 The tree in September 2017 as raw material.
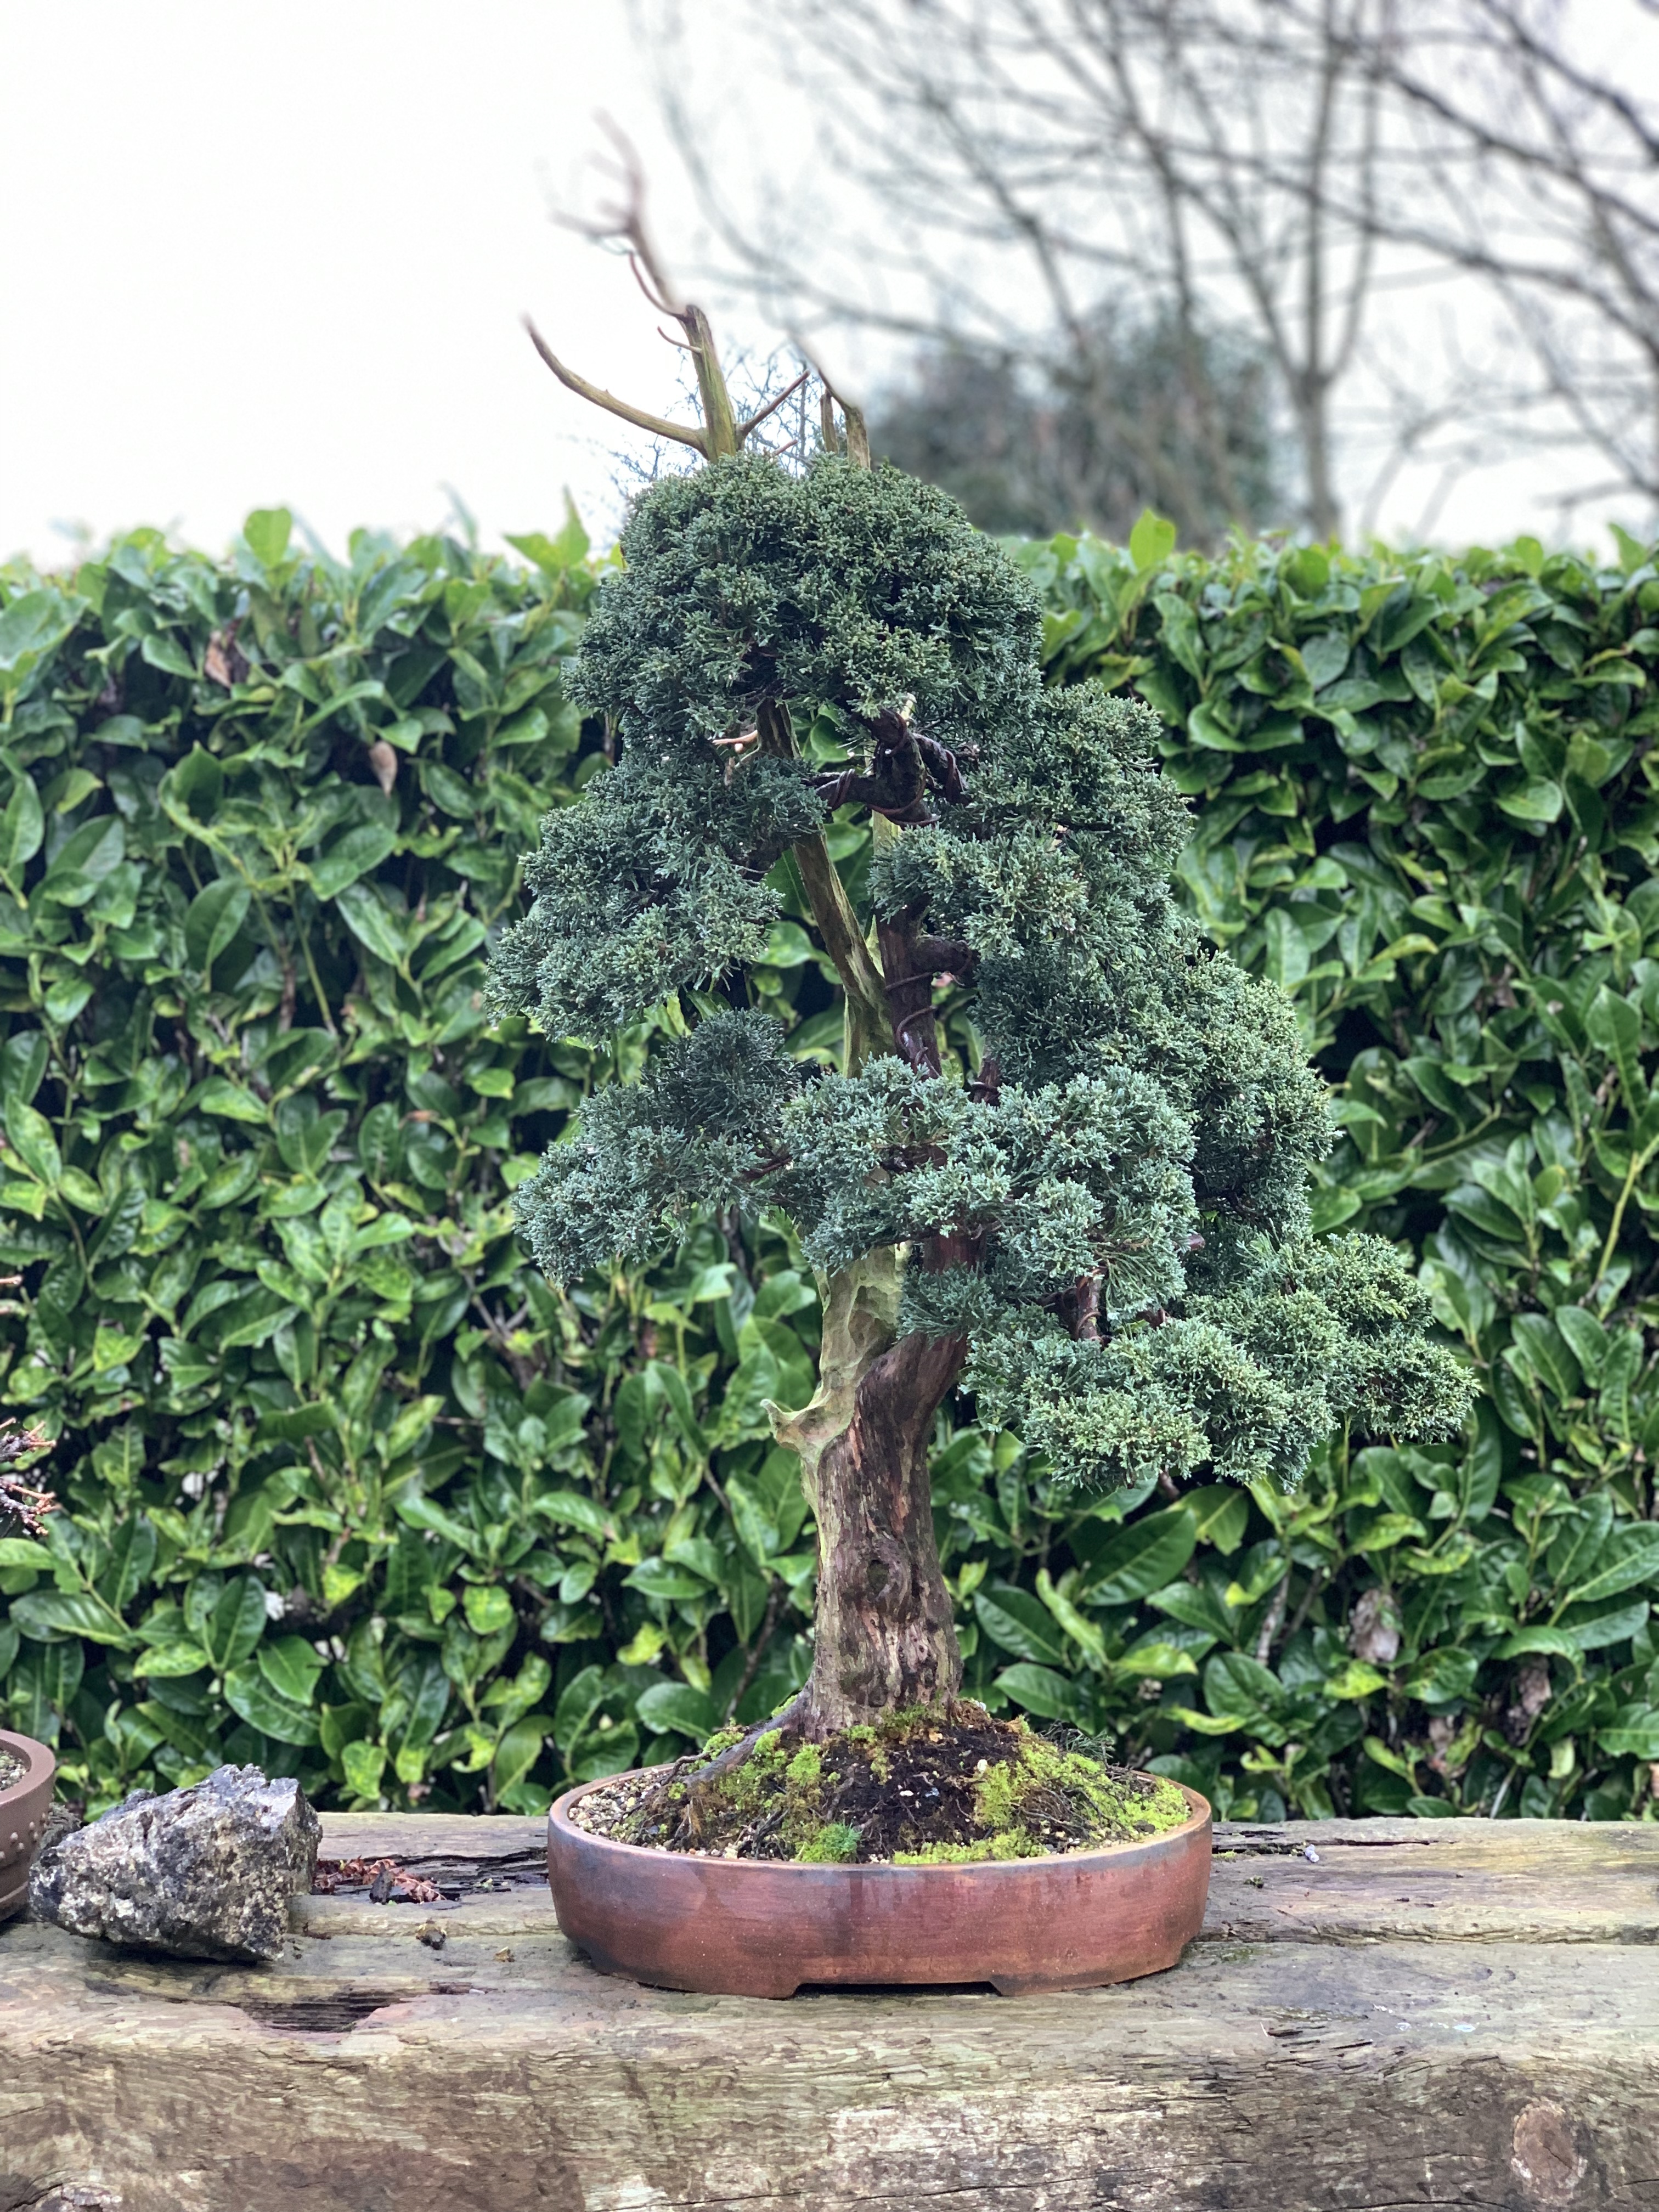
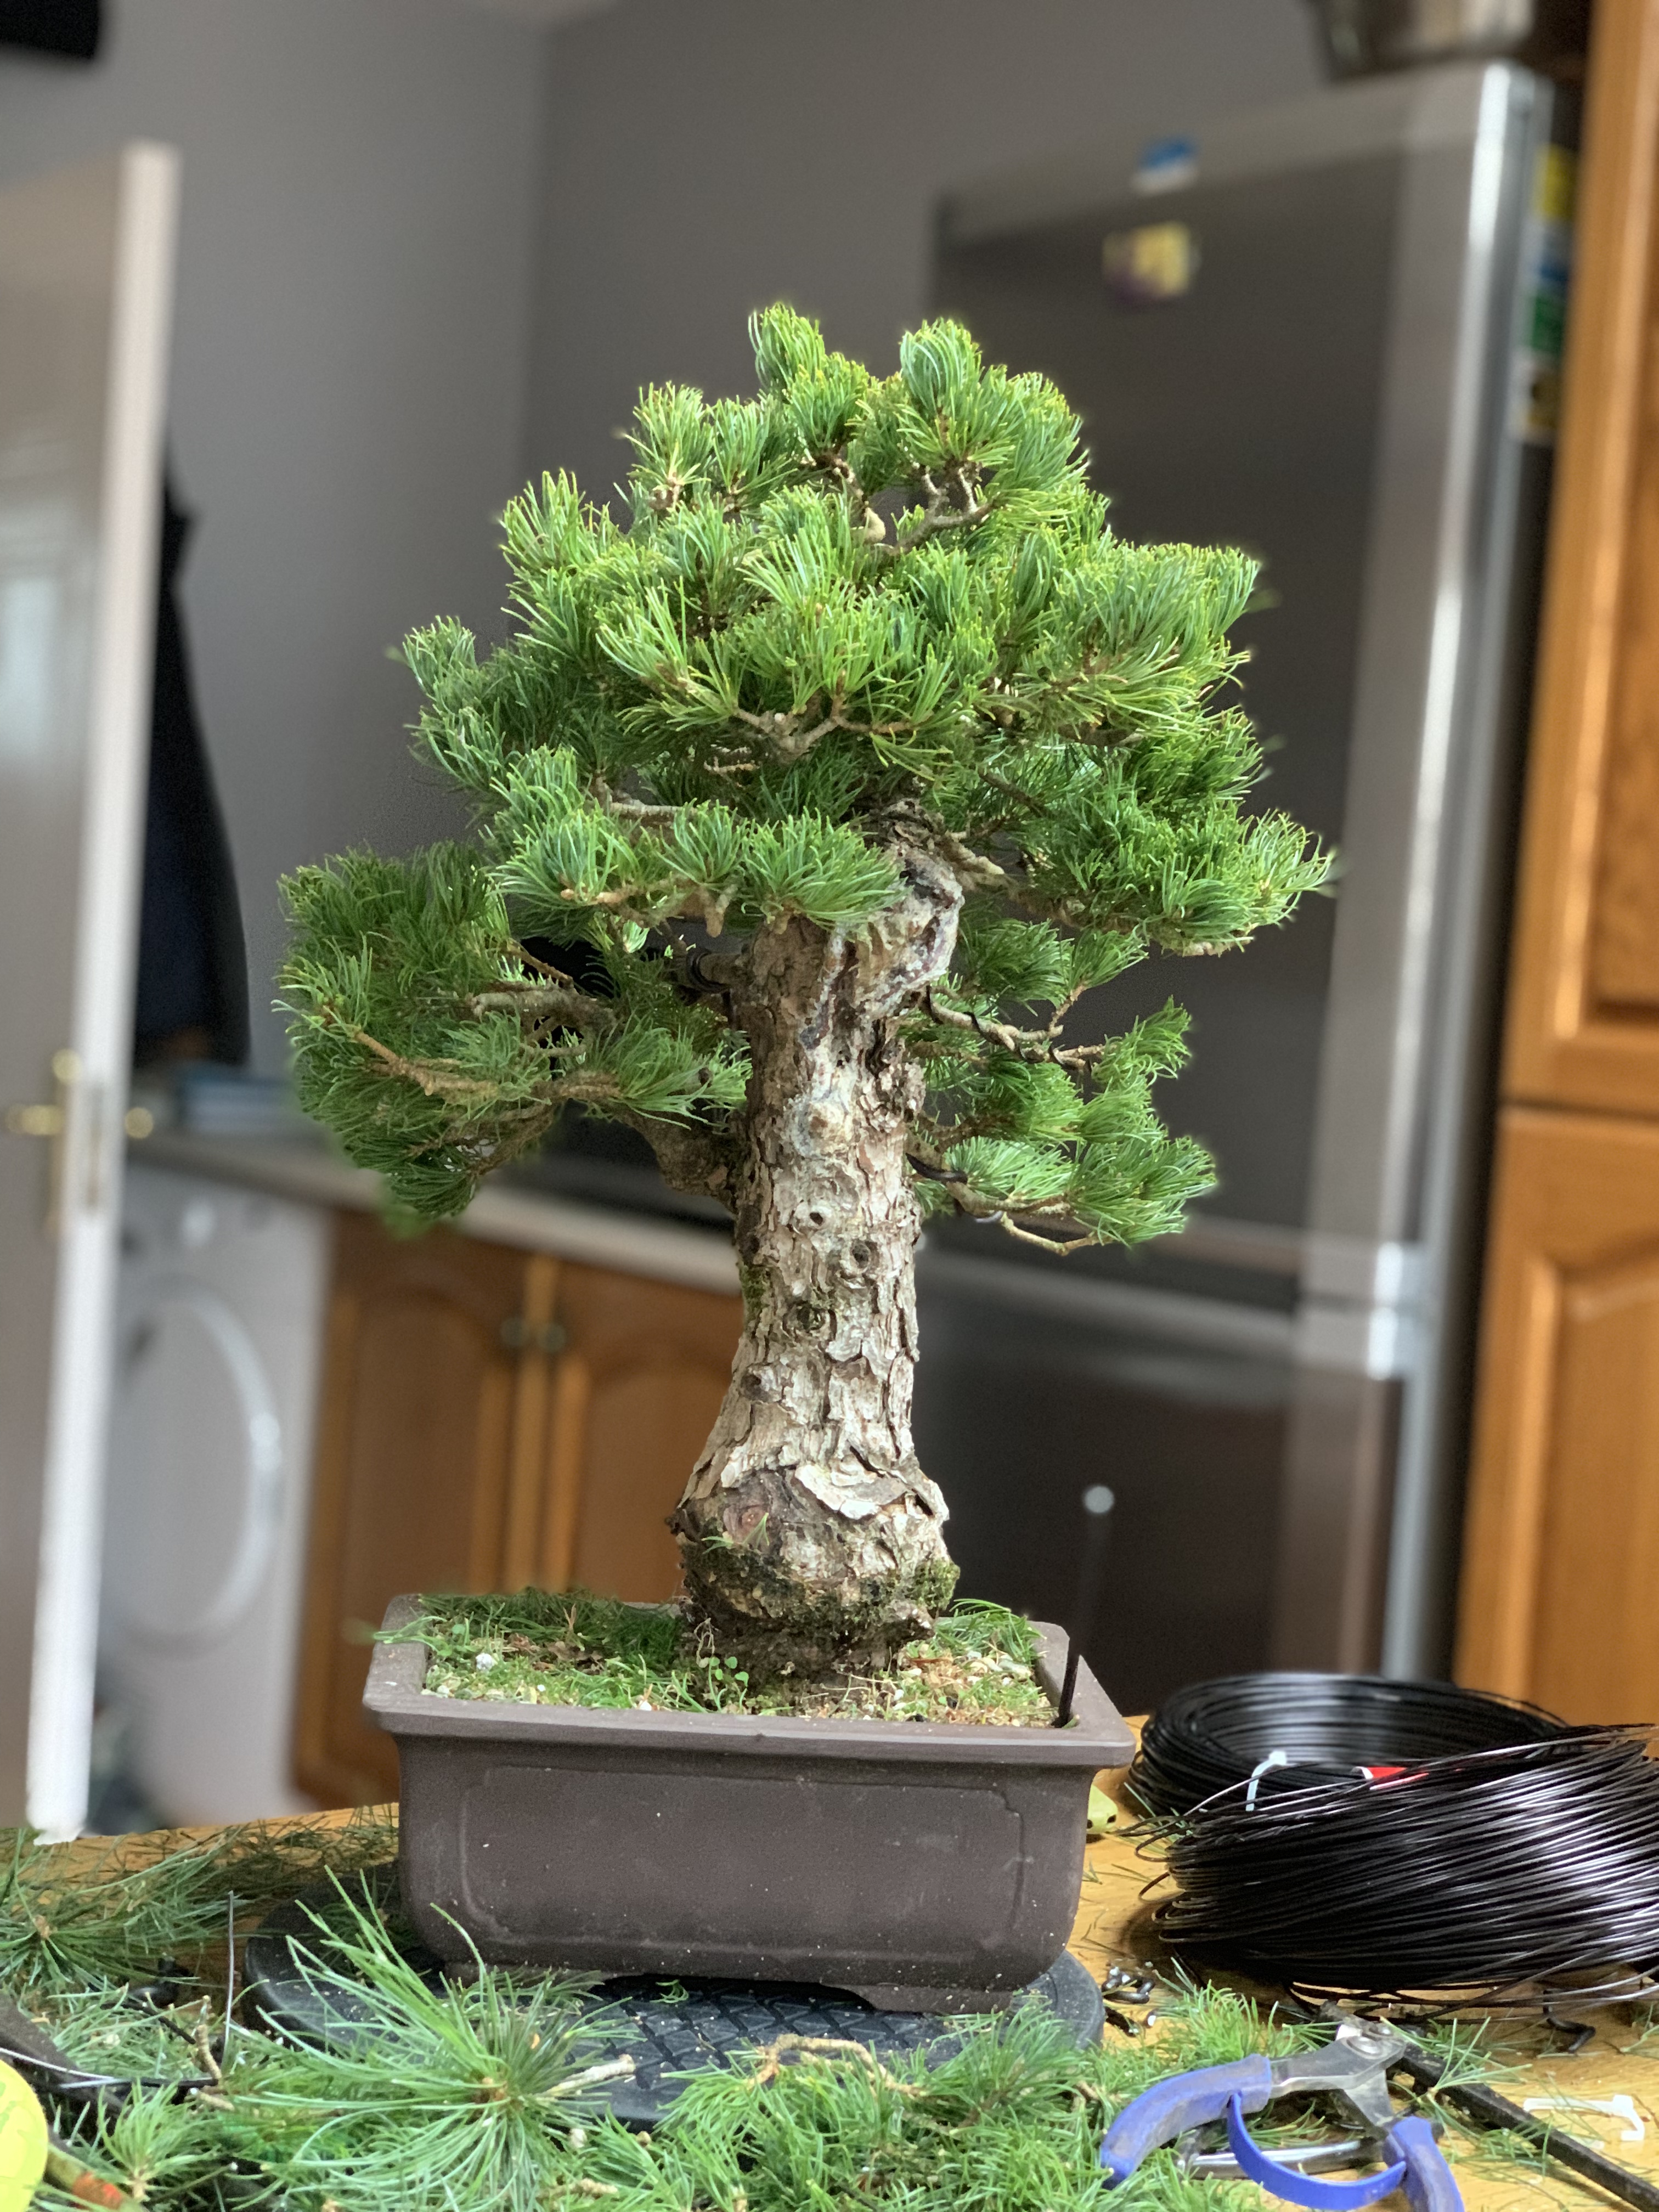
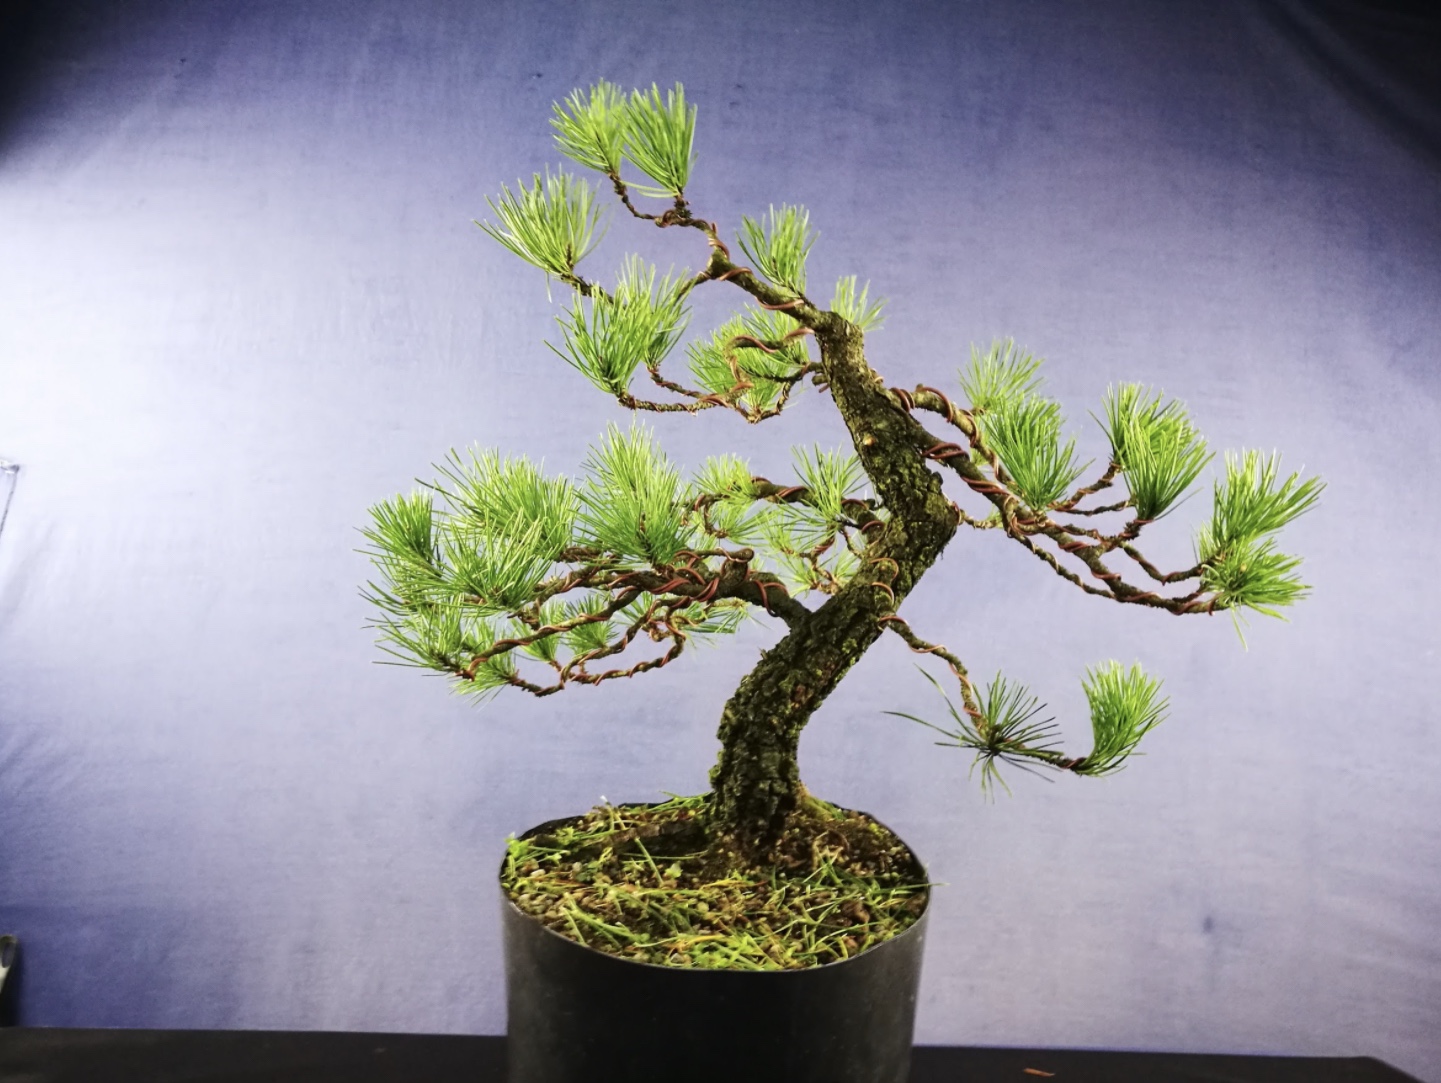 Afterwards.
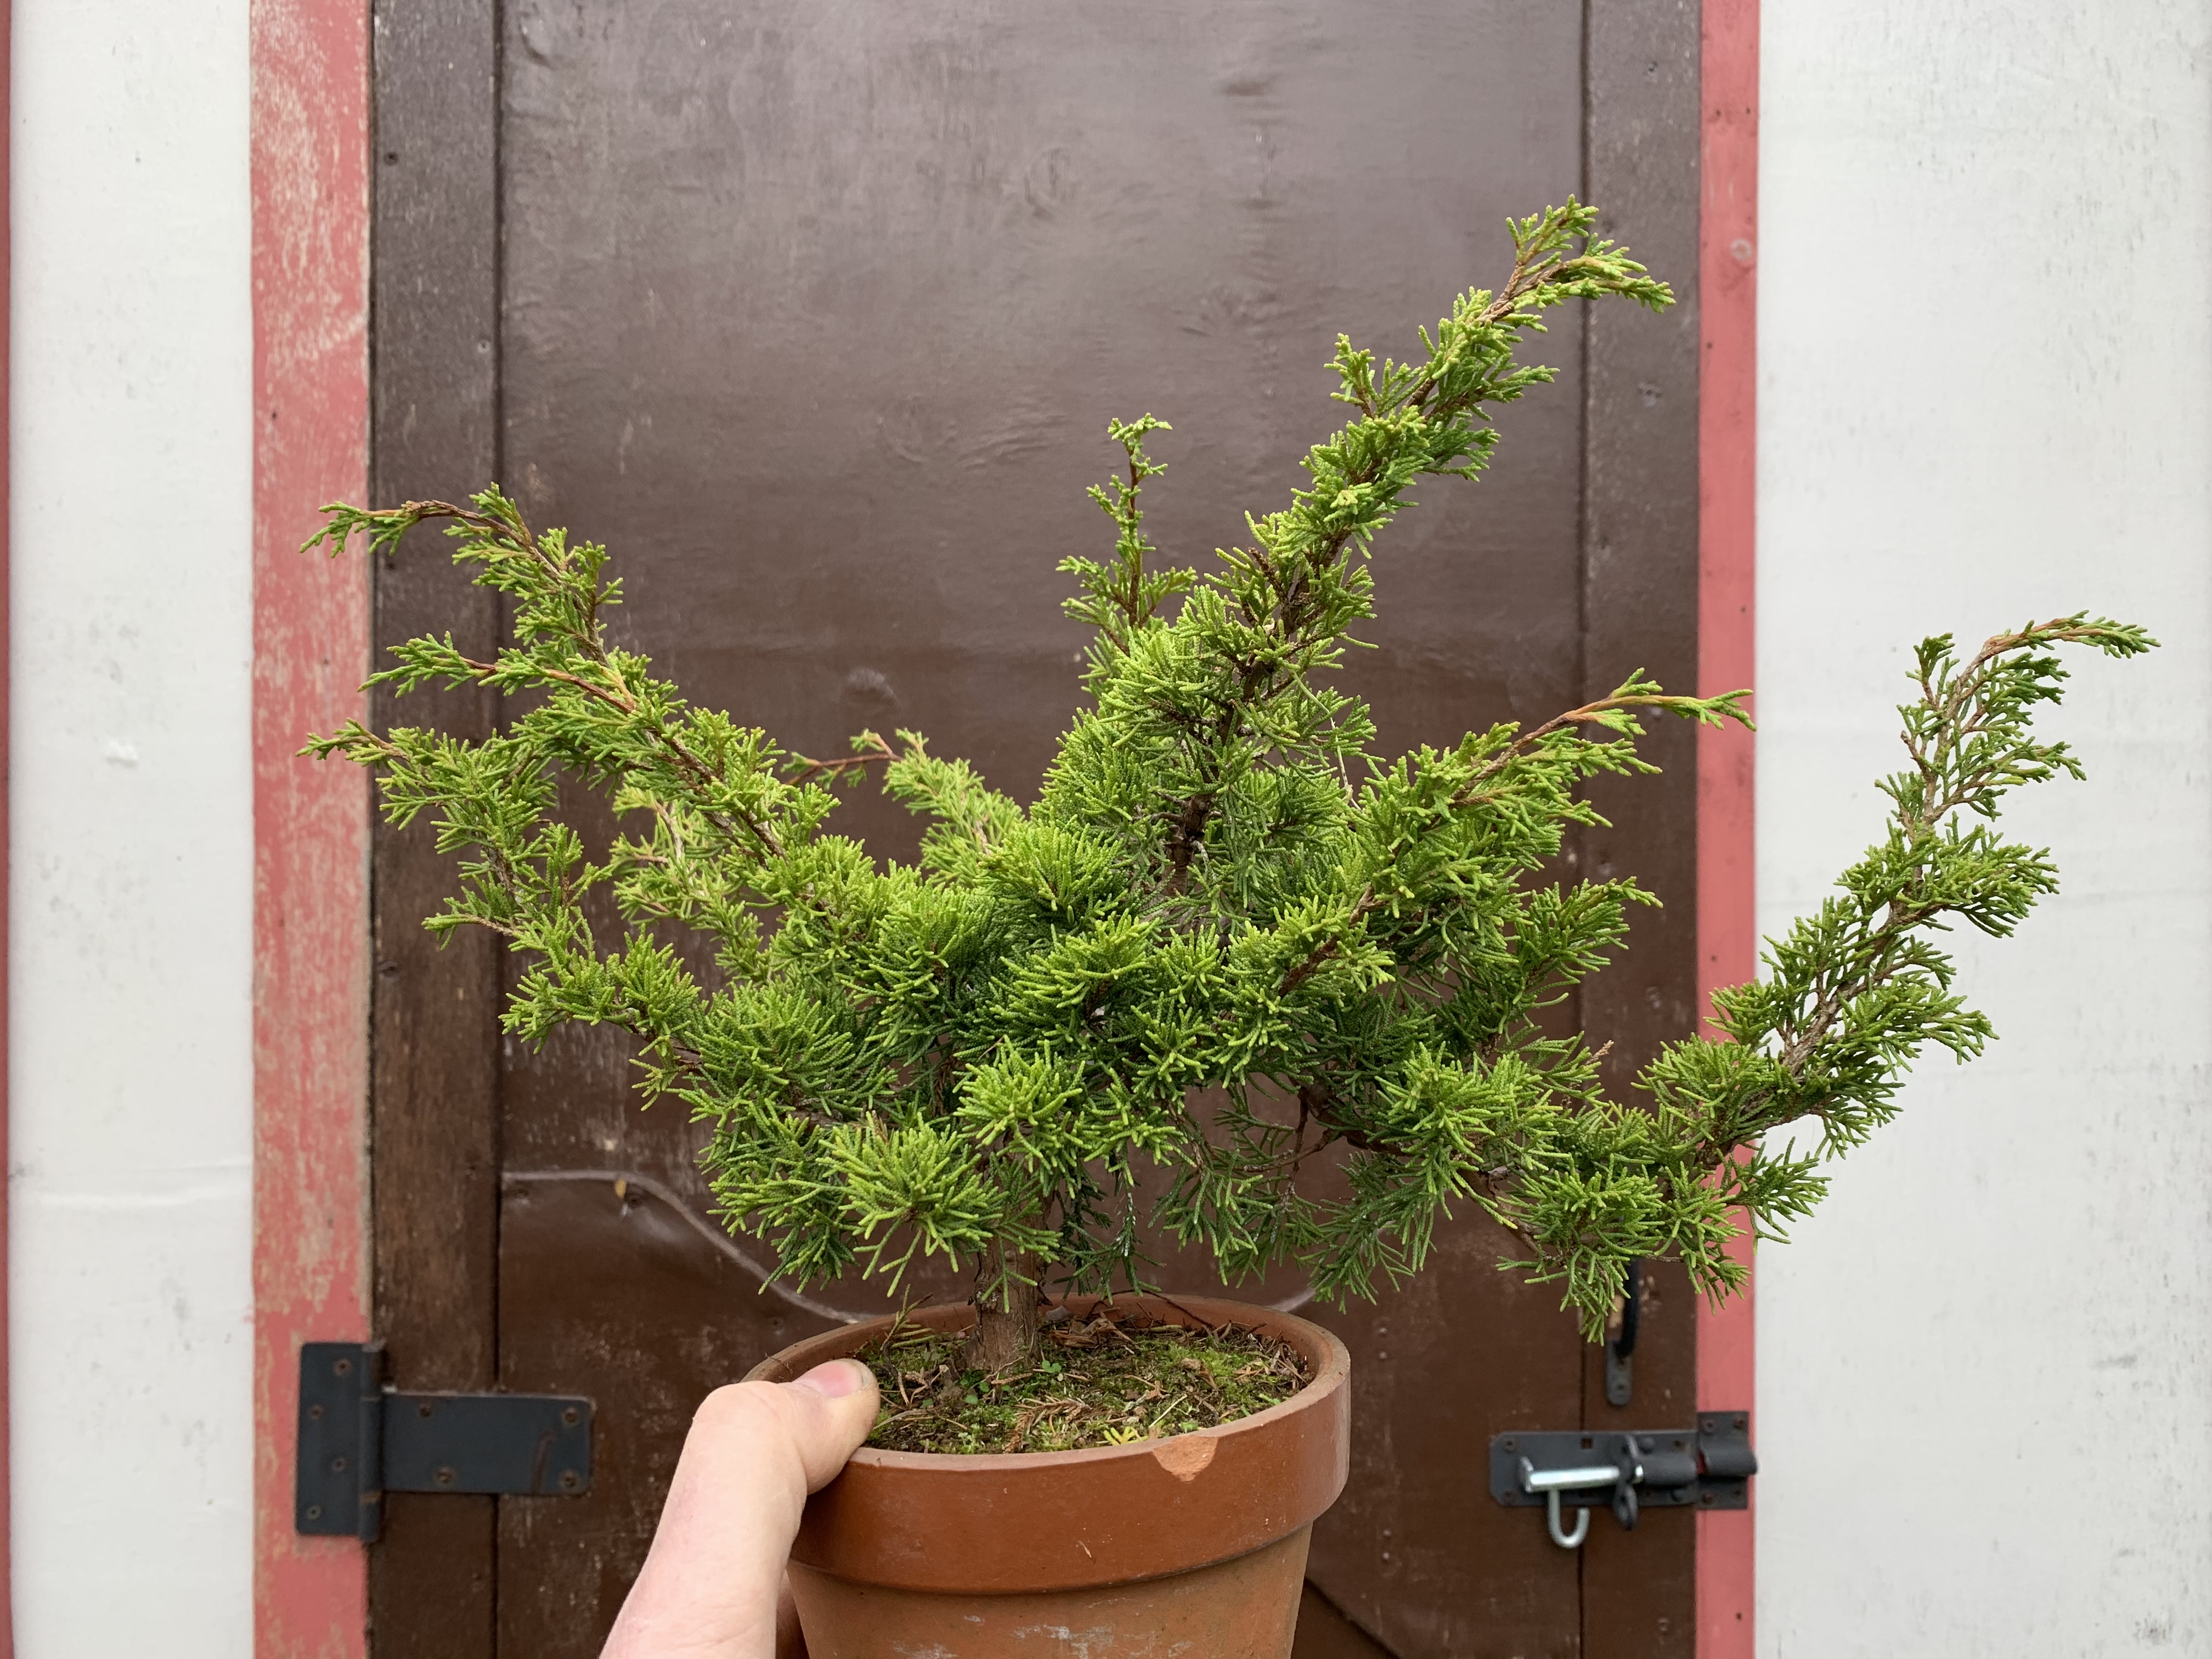