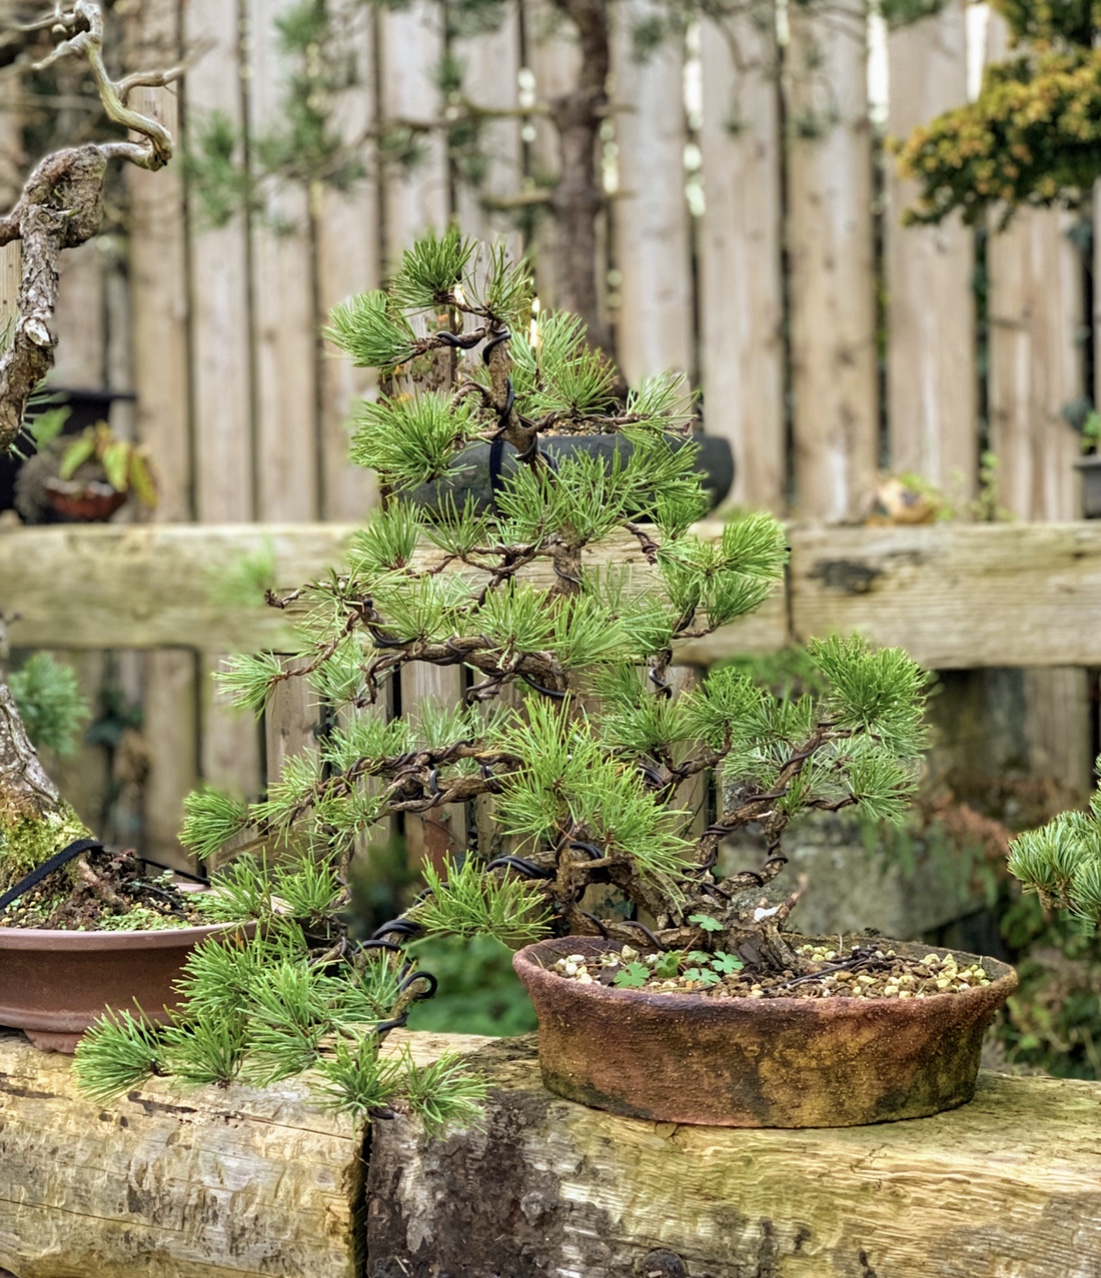
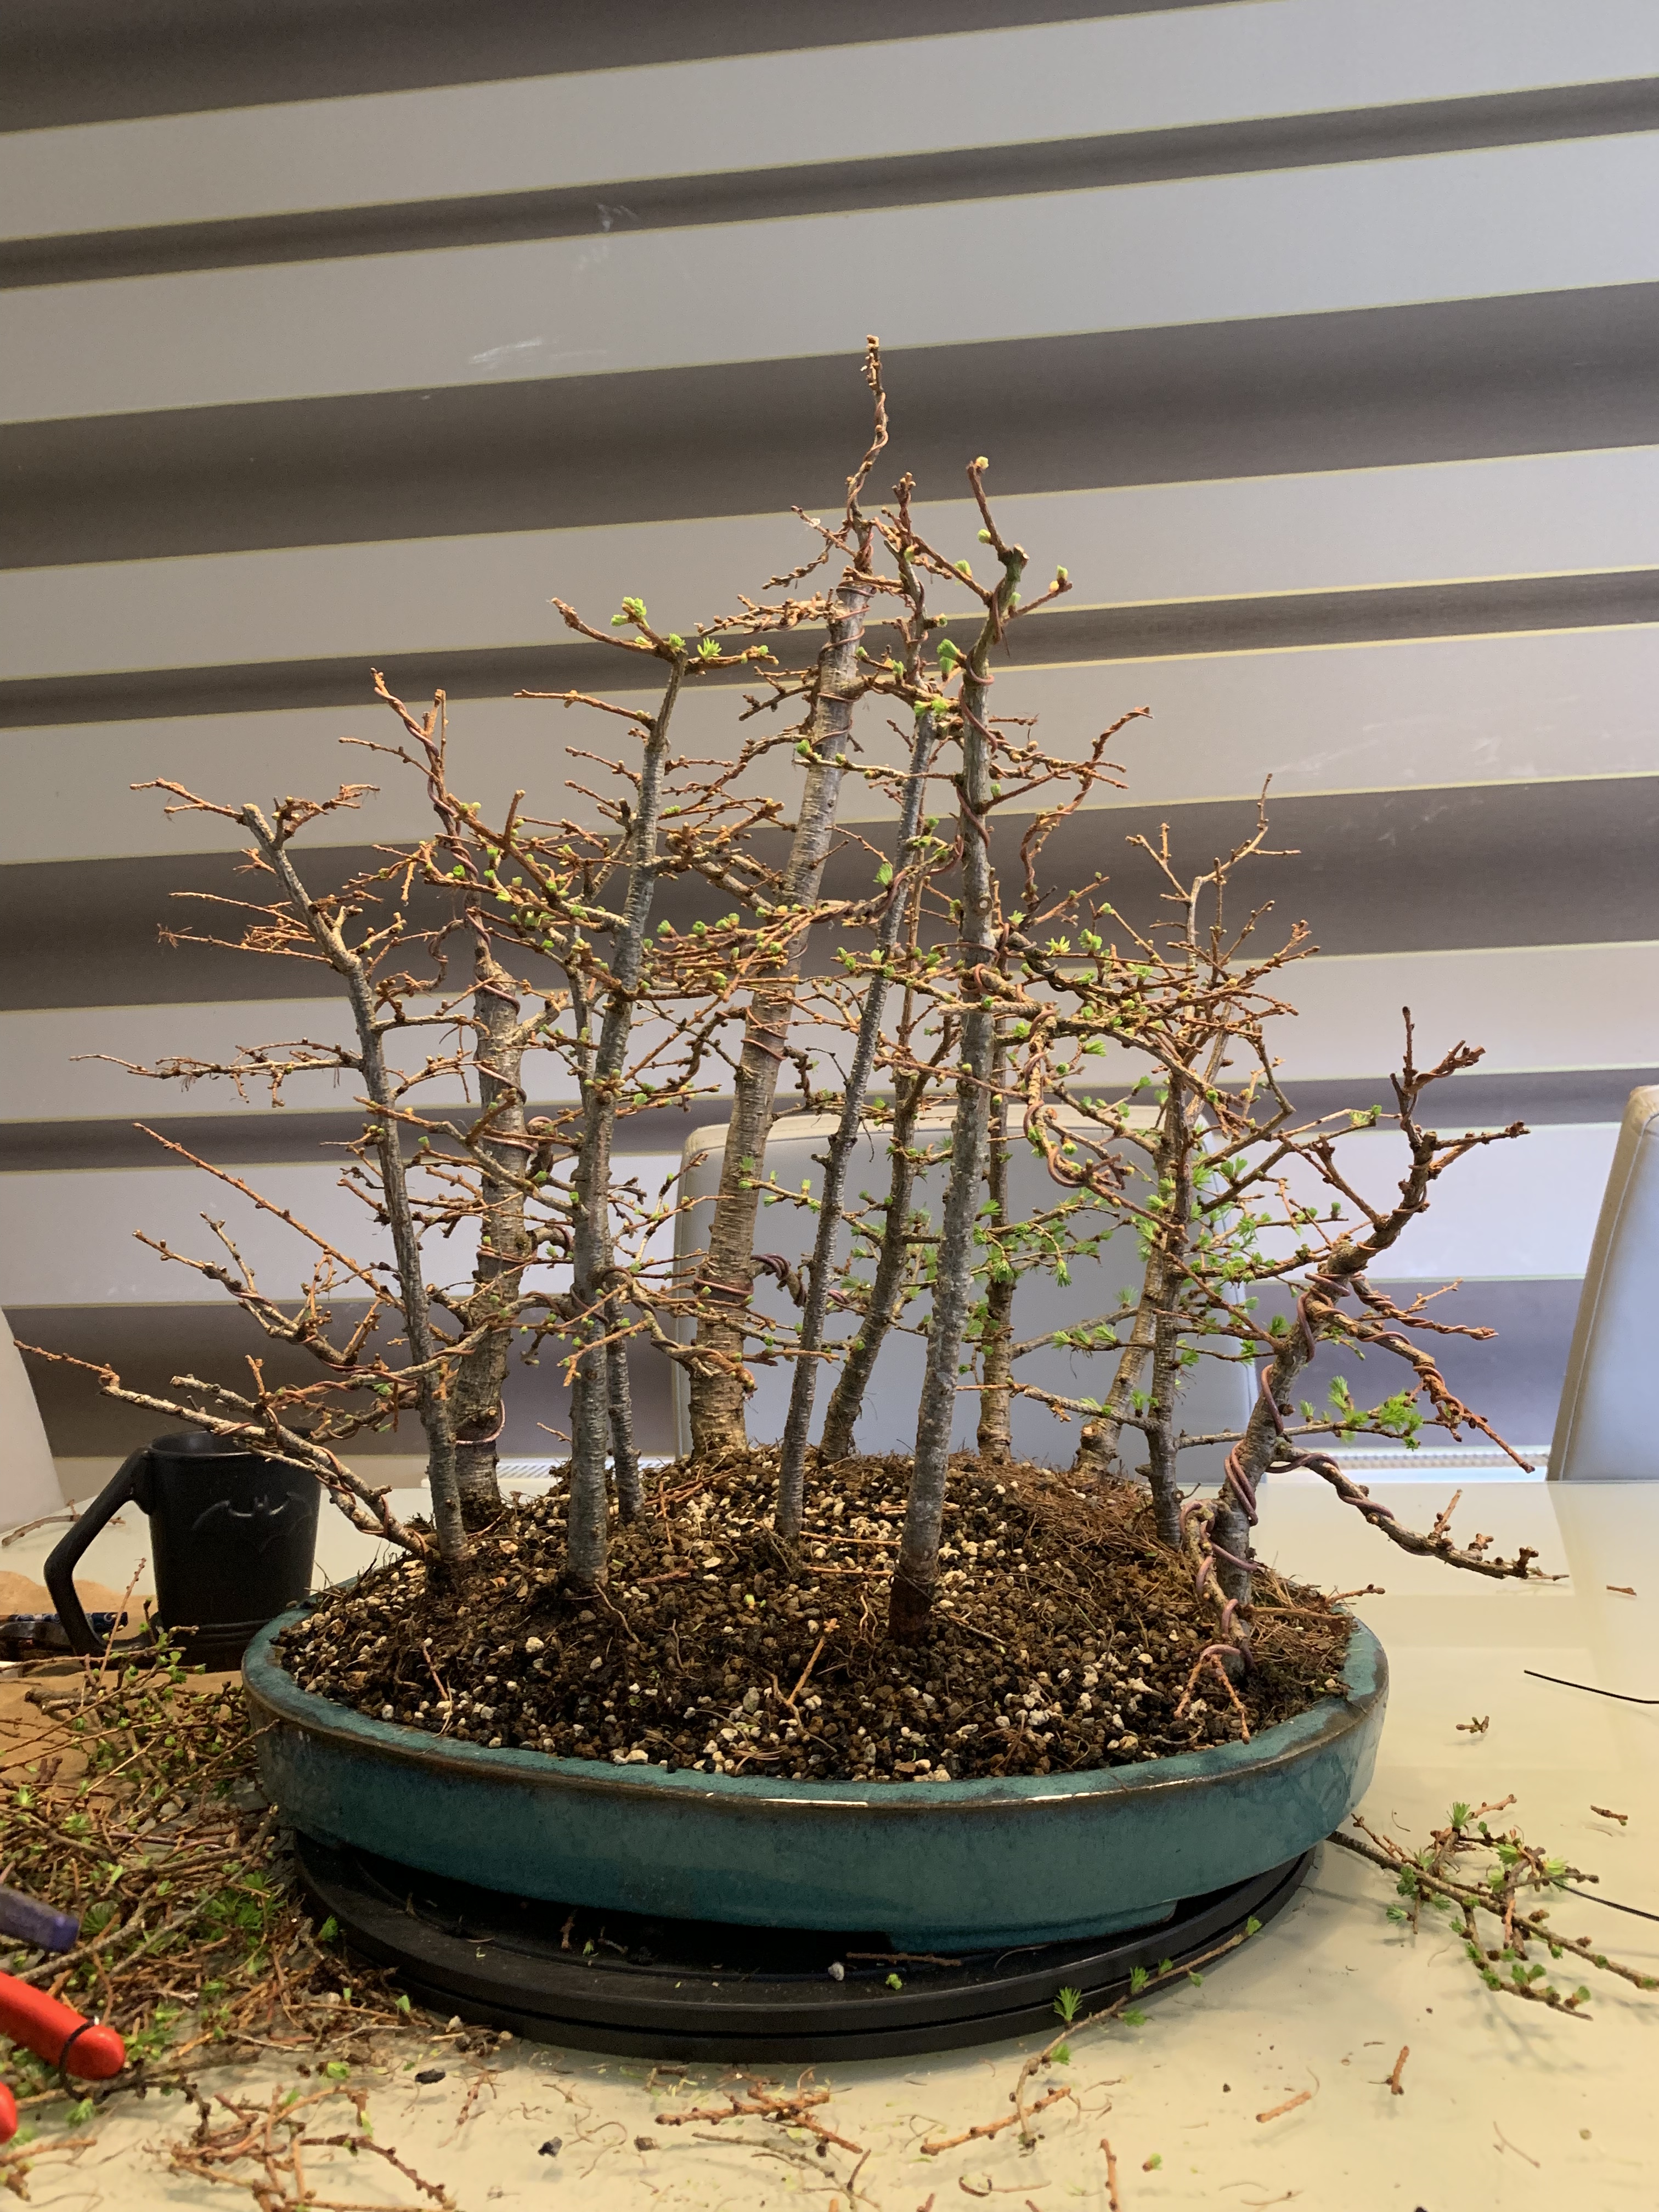
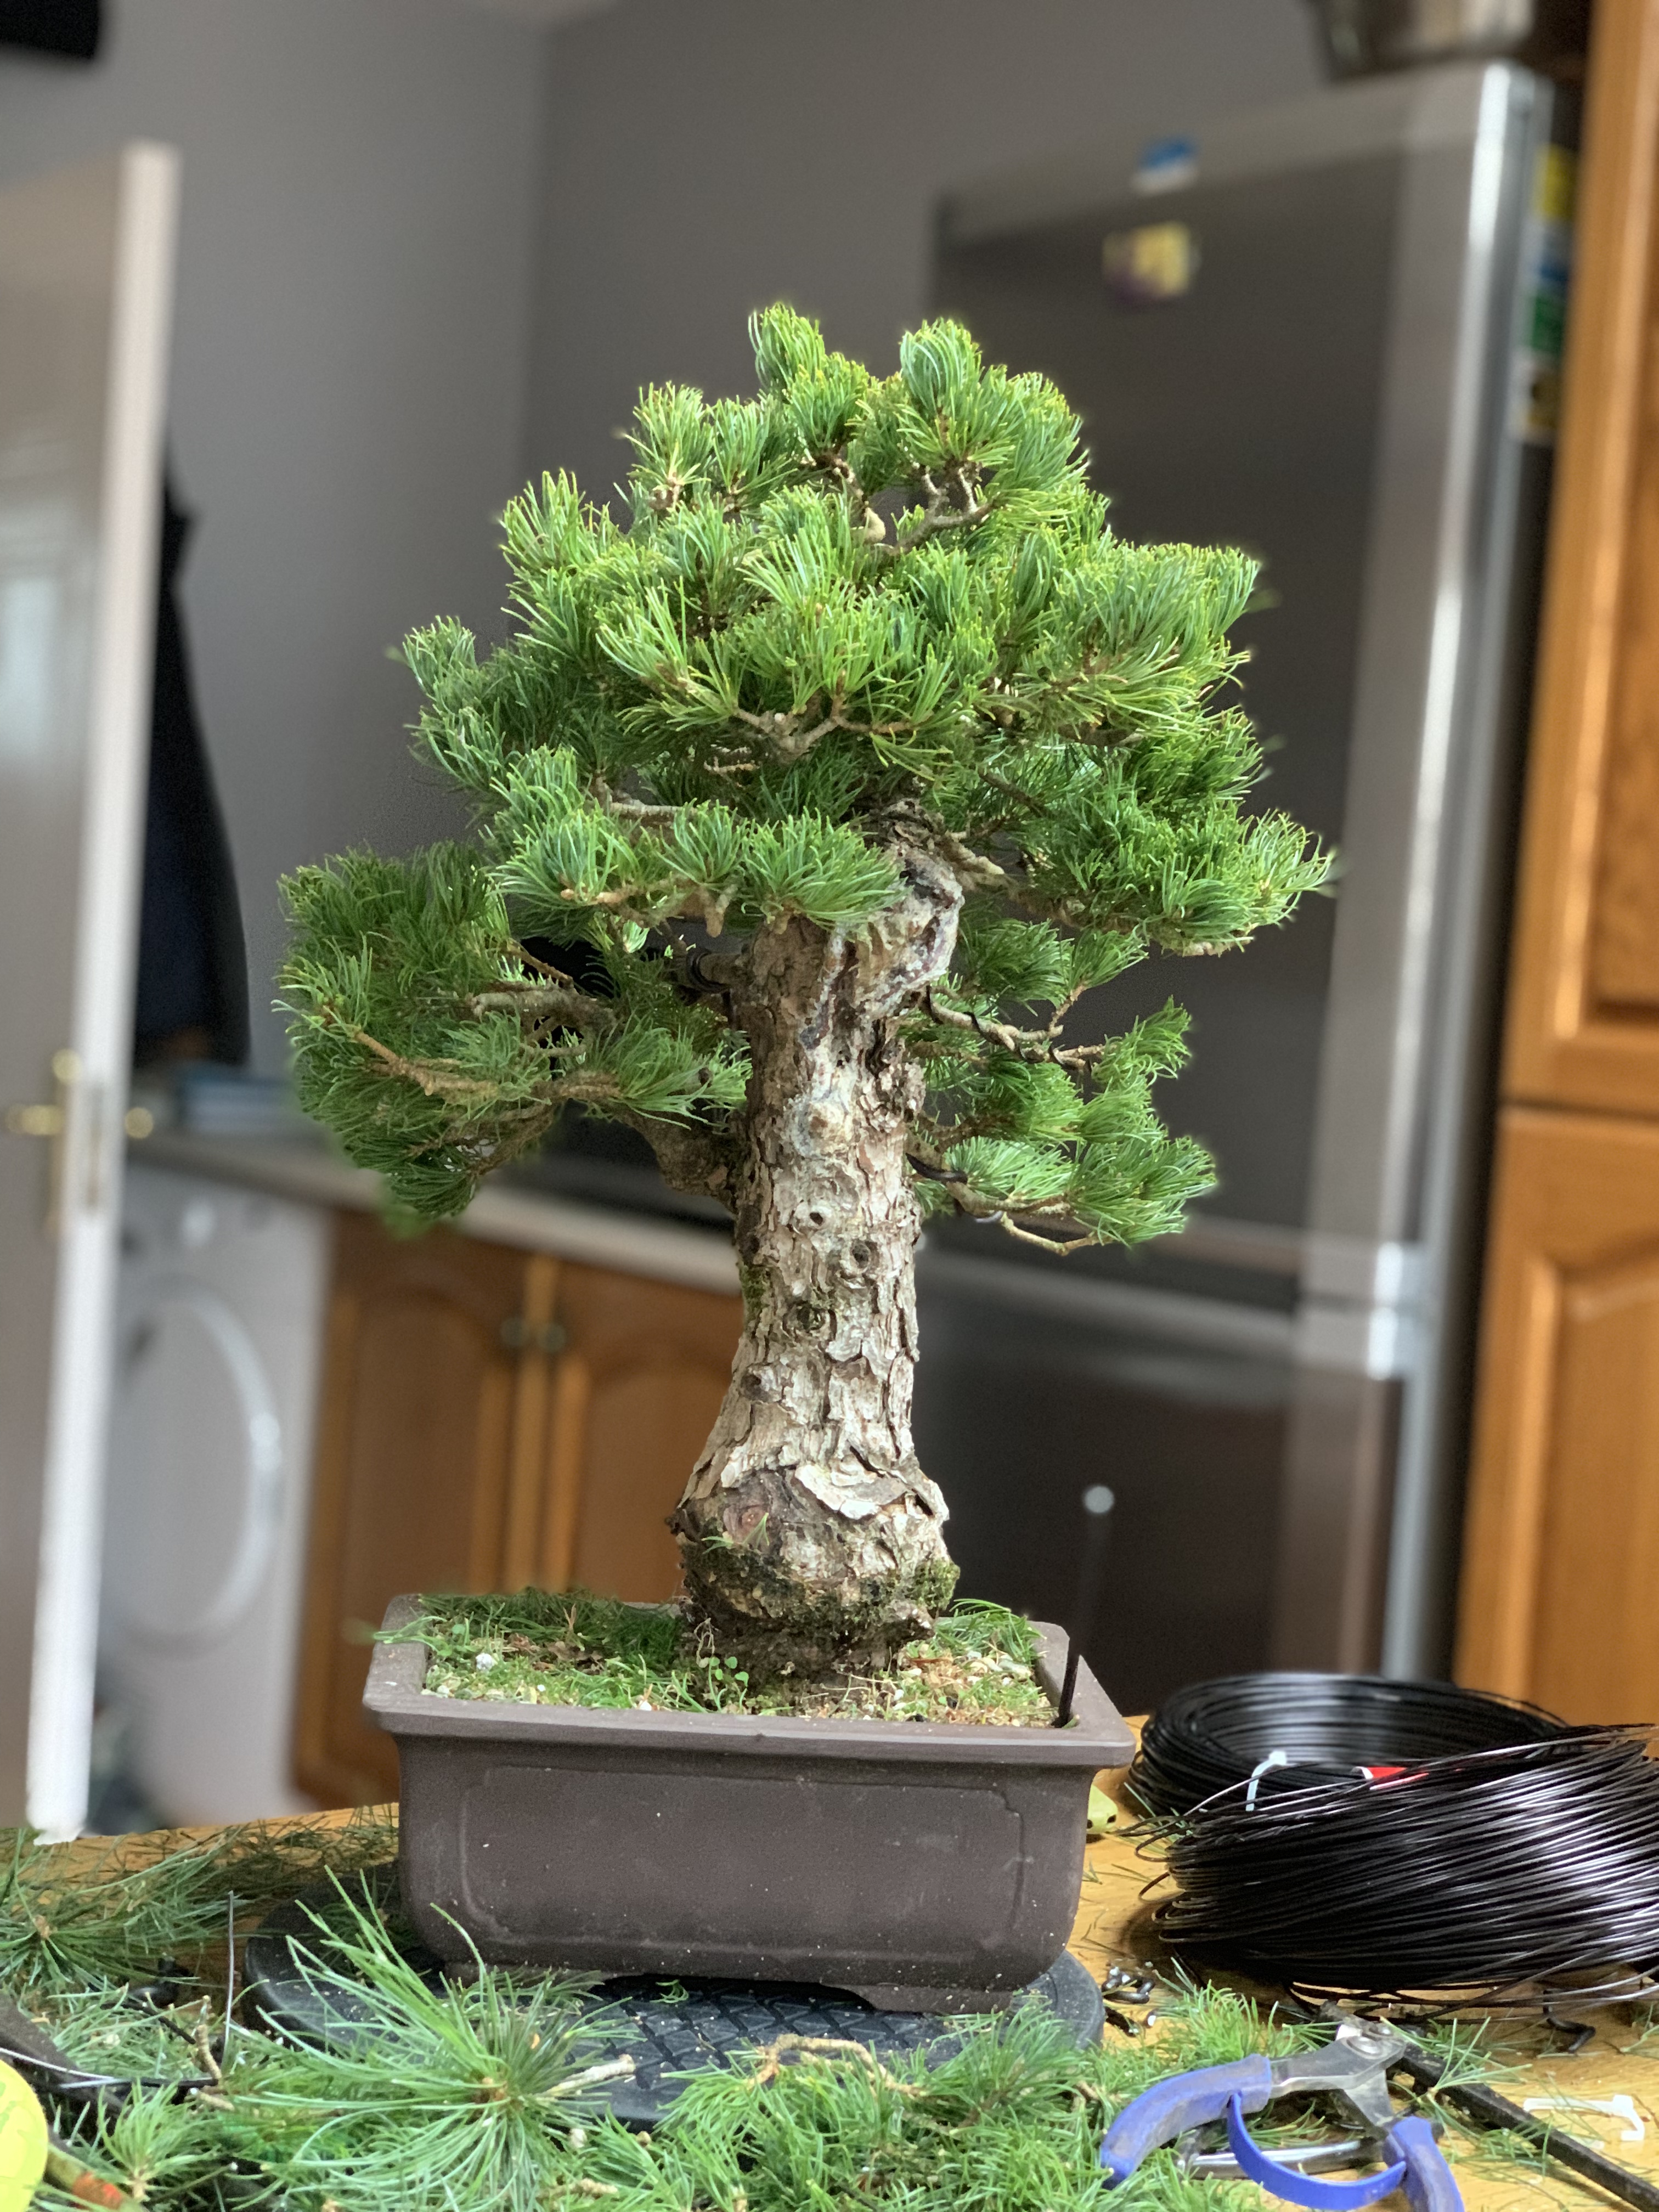
A friend has some Scots Pine that he started from seed over 30 years ago and have never been out of a pot of some sort in that time. They’ve have good years and bad during that period and this month I’ve been sorting them out and doing a little wiring for him.
Before tidy upAfterSecond Pine beforeAfter3rd Pine beforeAnd after
I love the fact that these trees have been grown from seed by the owner and have stayed with him all these years. I have two more to complete work on which I’m looking forward to.
Here is a Mugo Pine that he also collected from his own garden last year getting a first styling.
Before wiring sadly no pic before branch selection. After styling
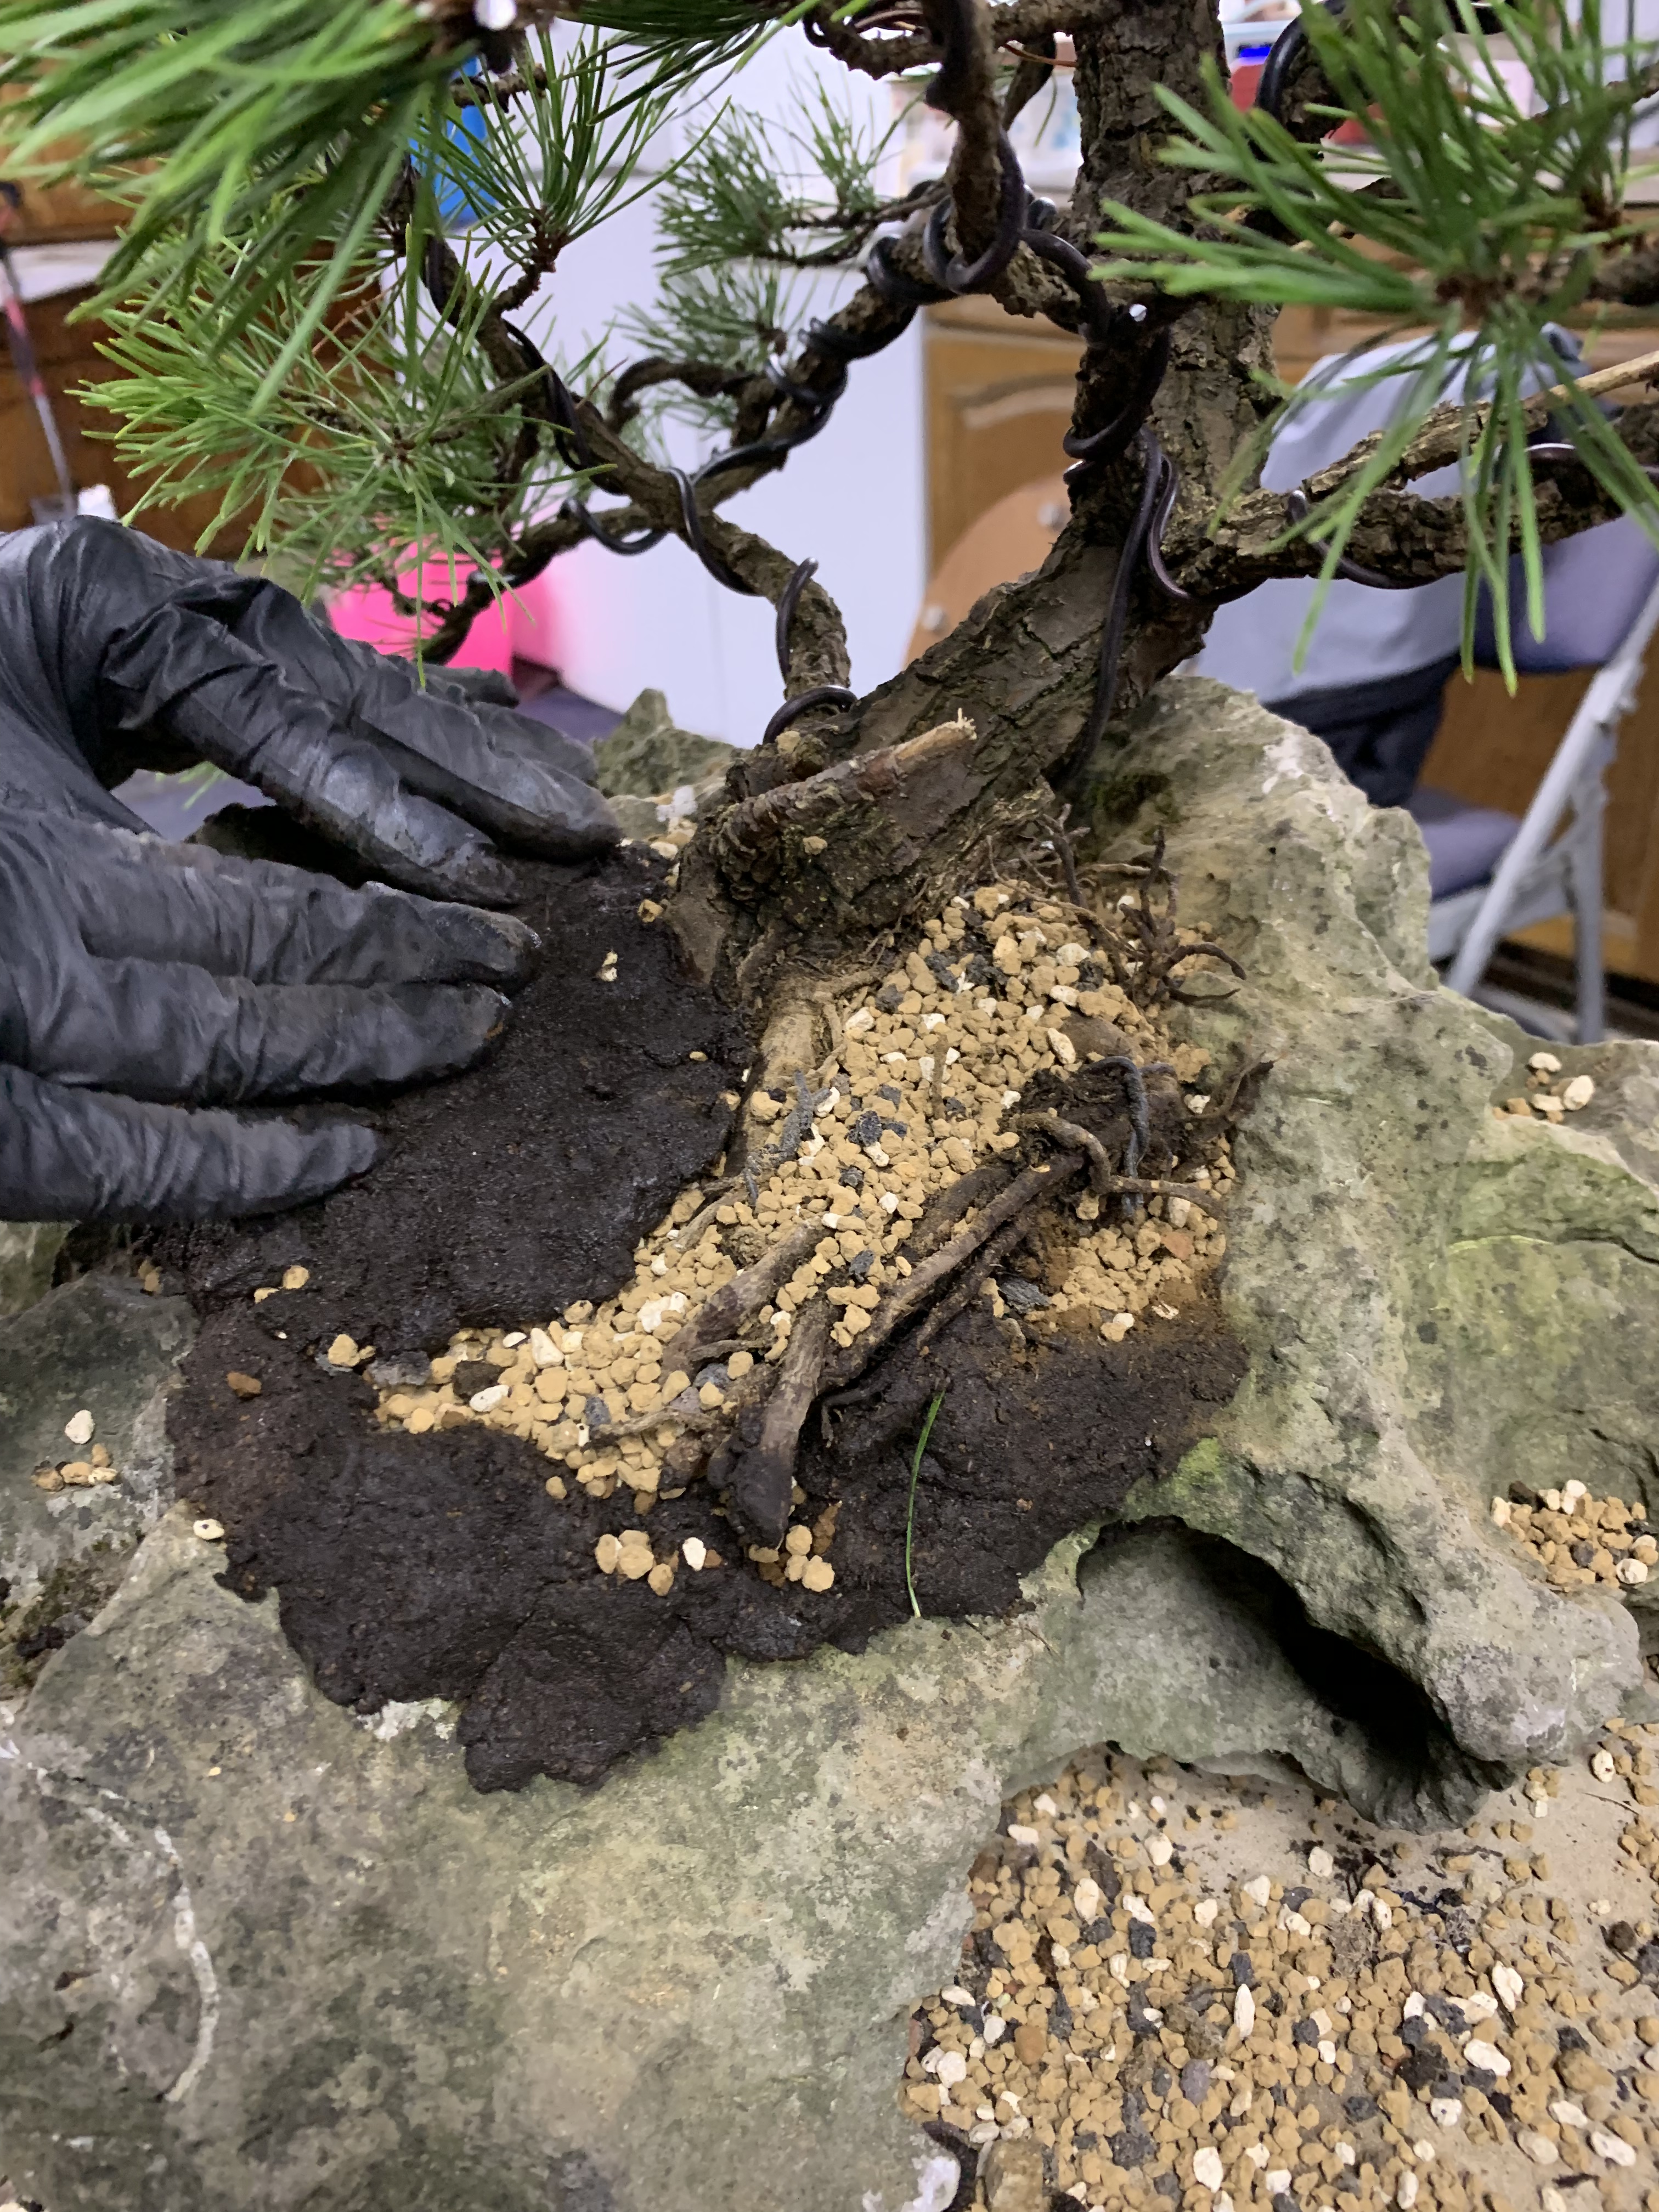
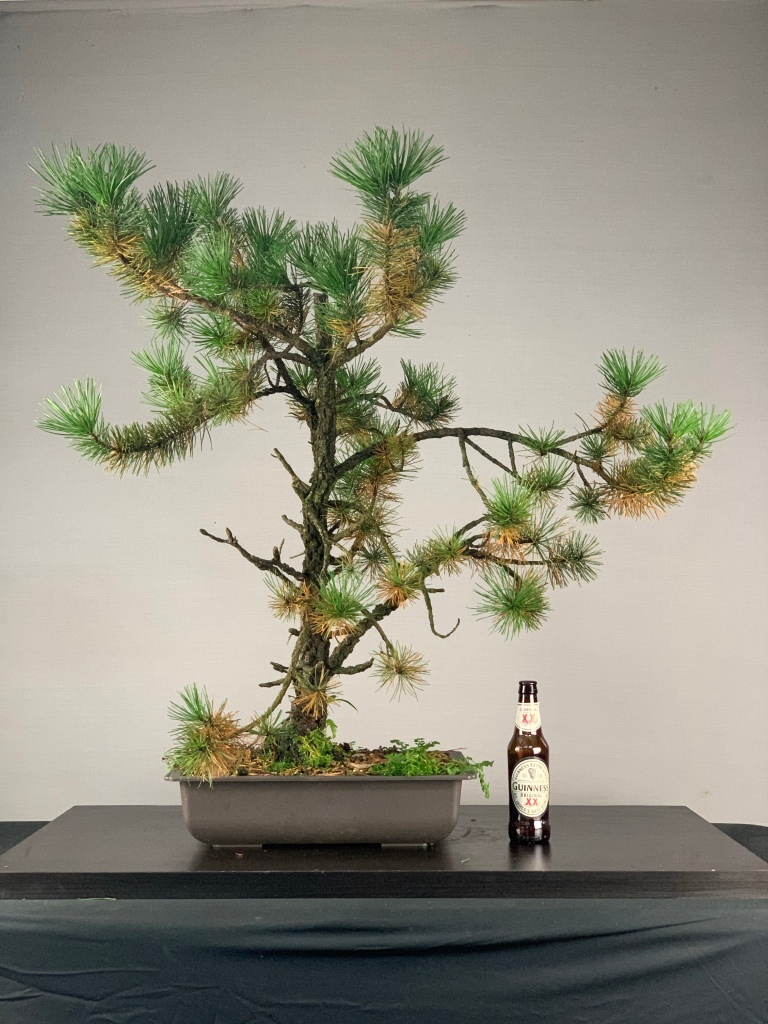
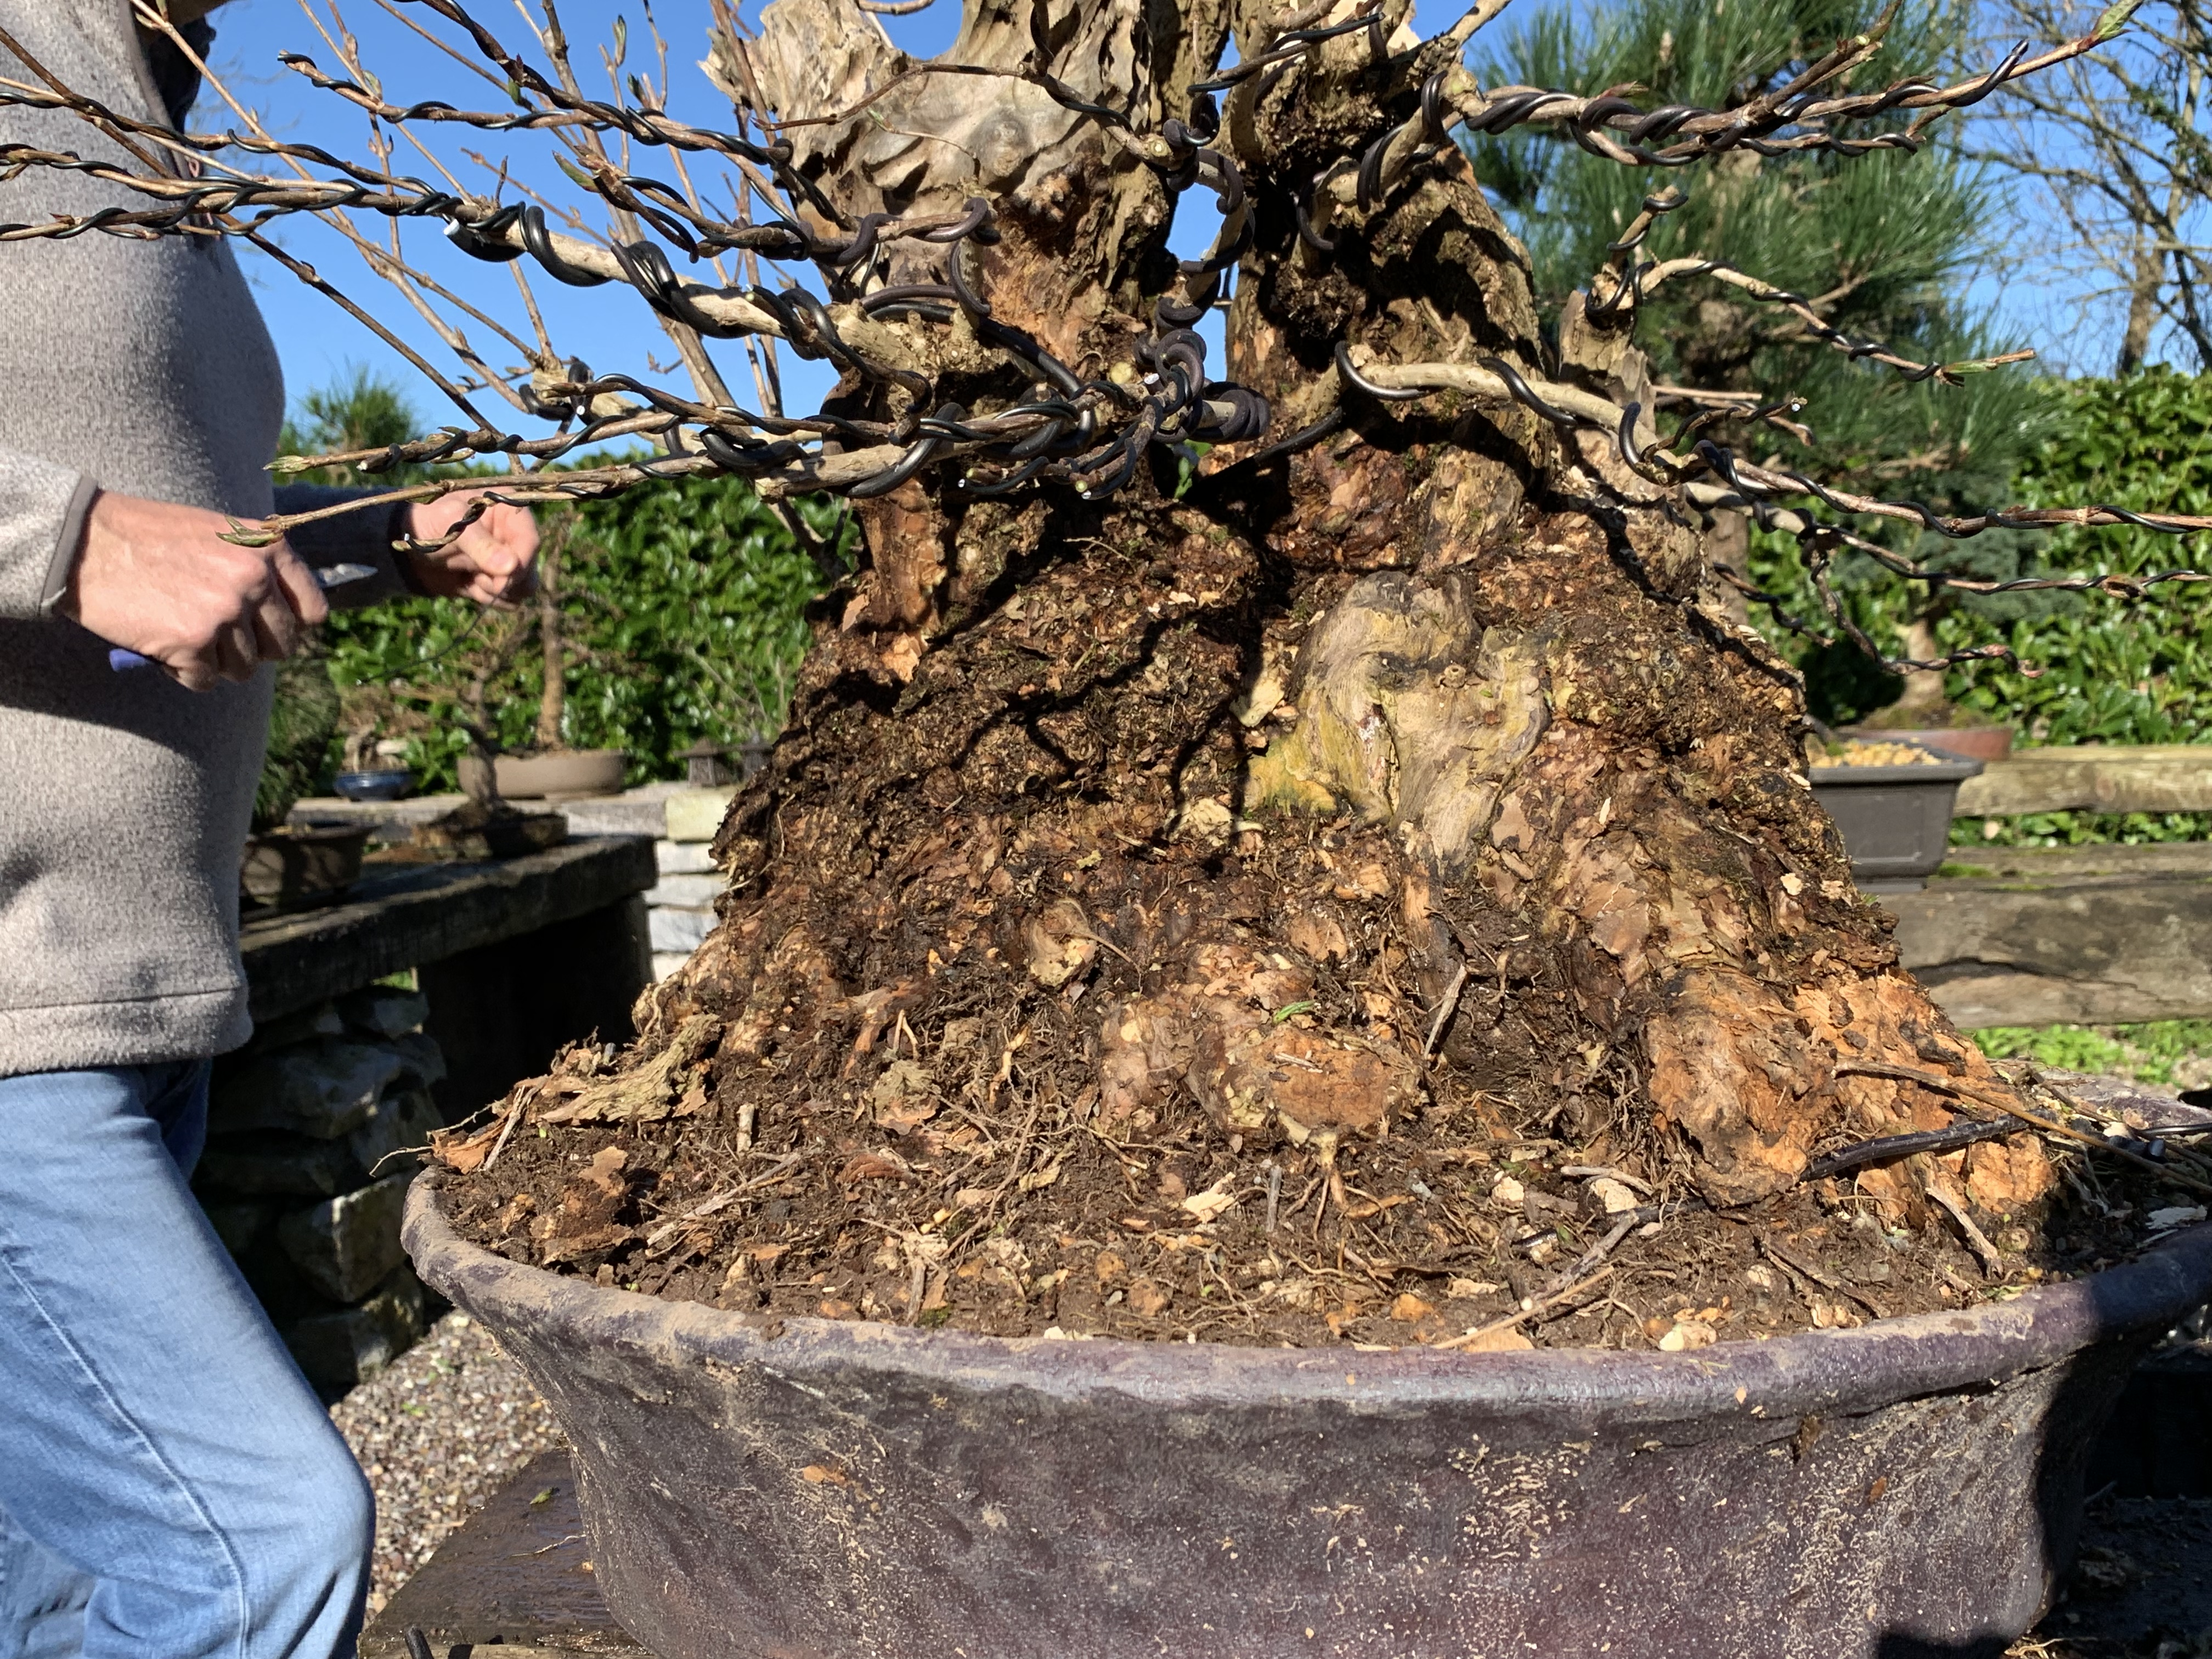
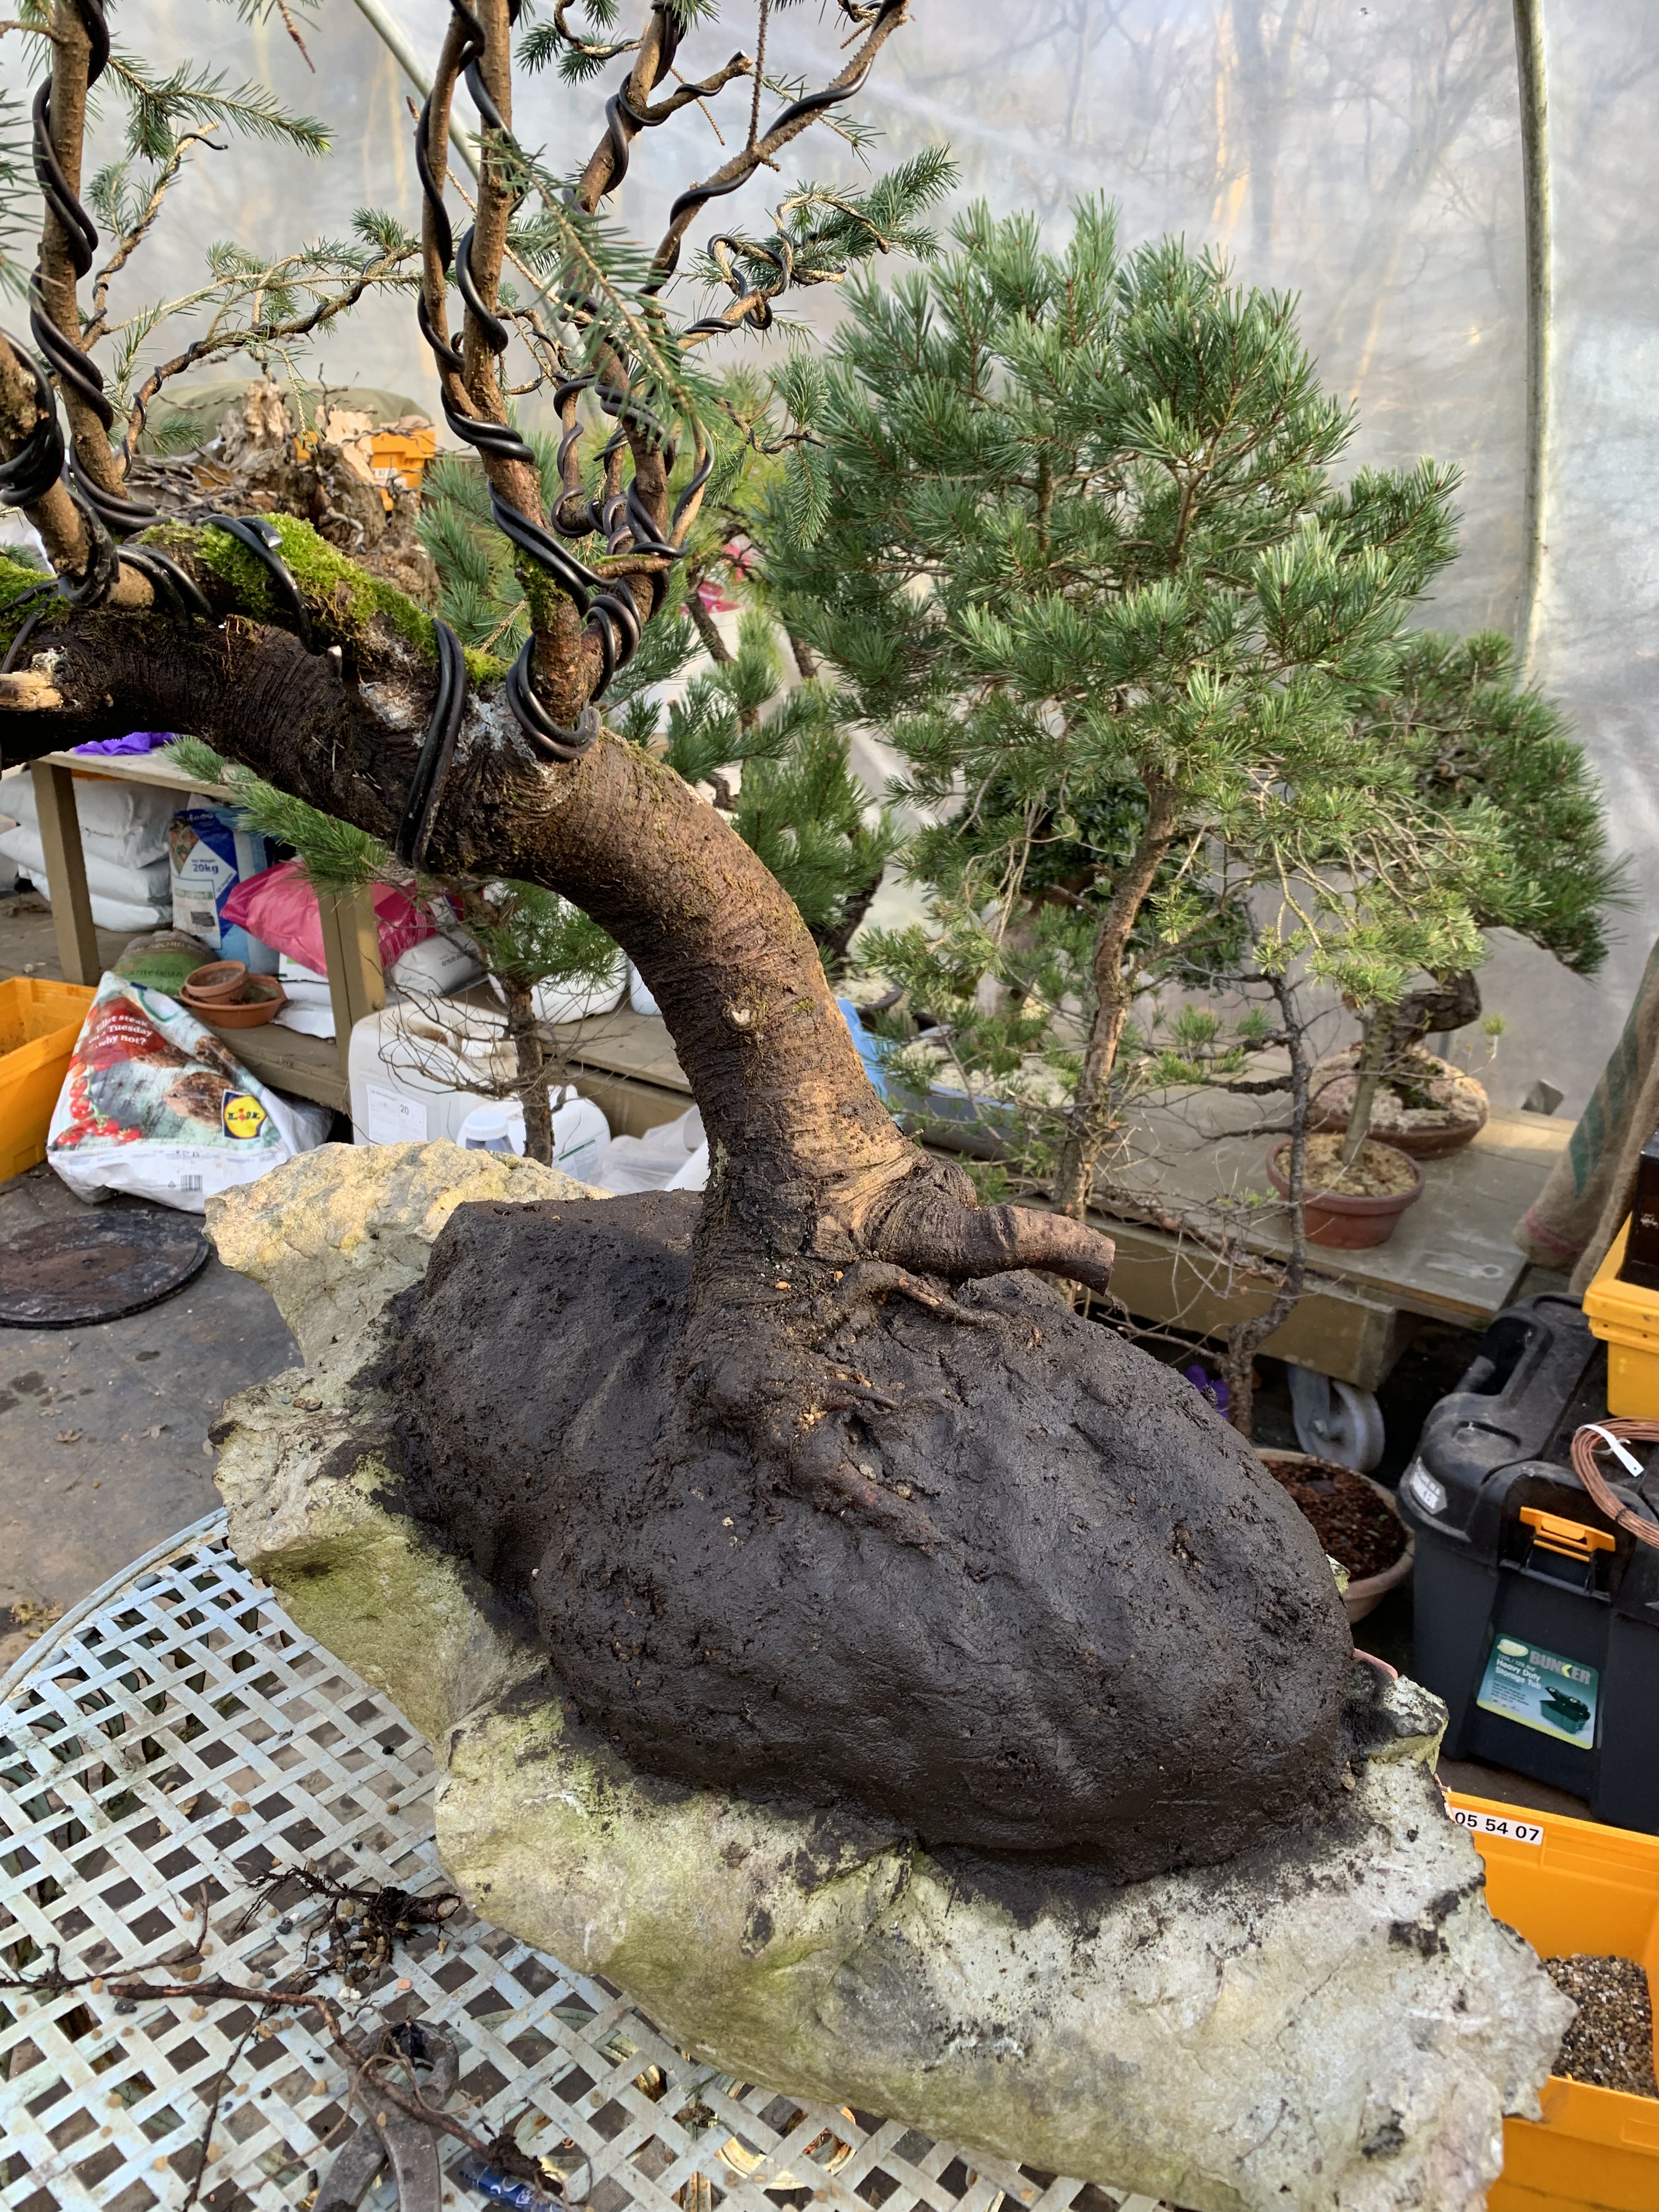
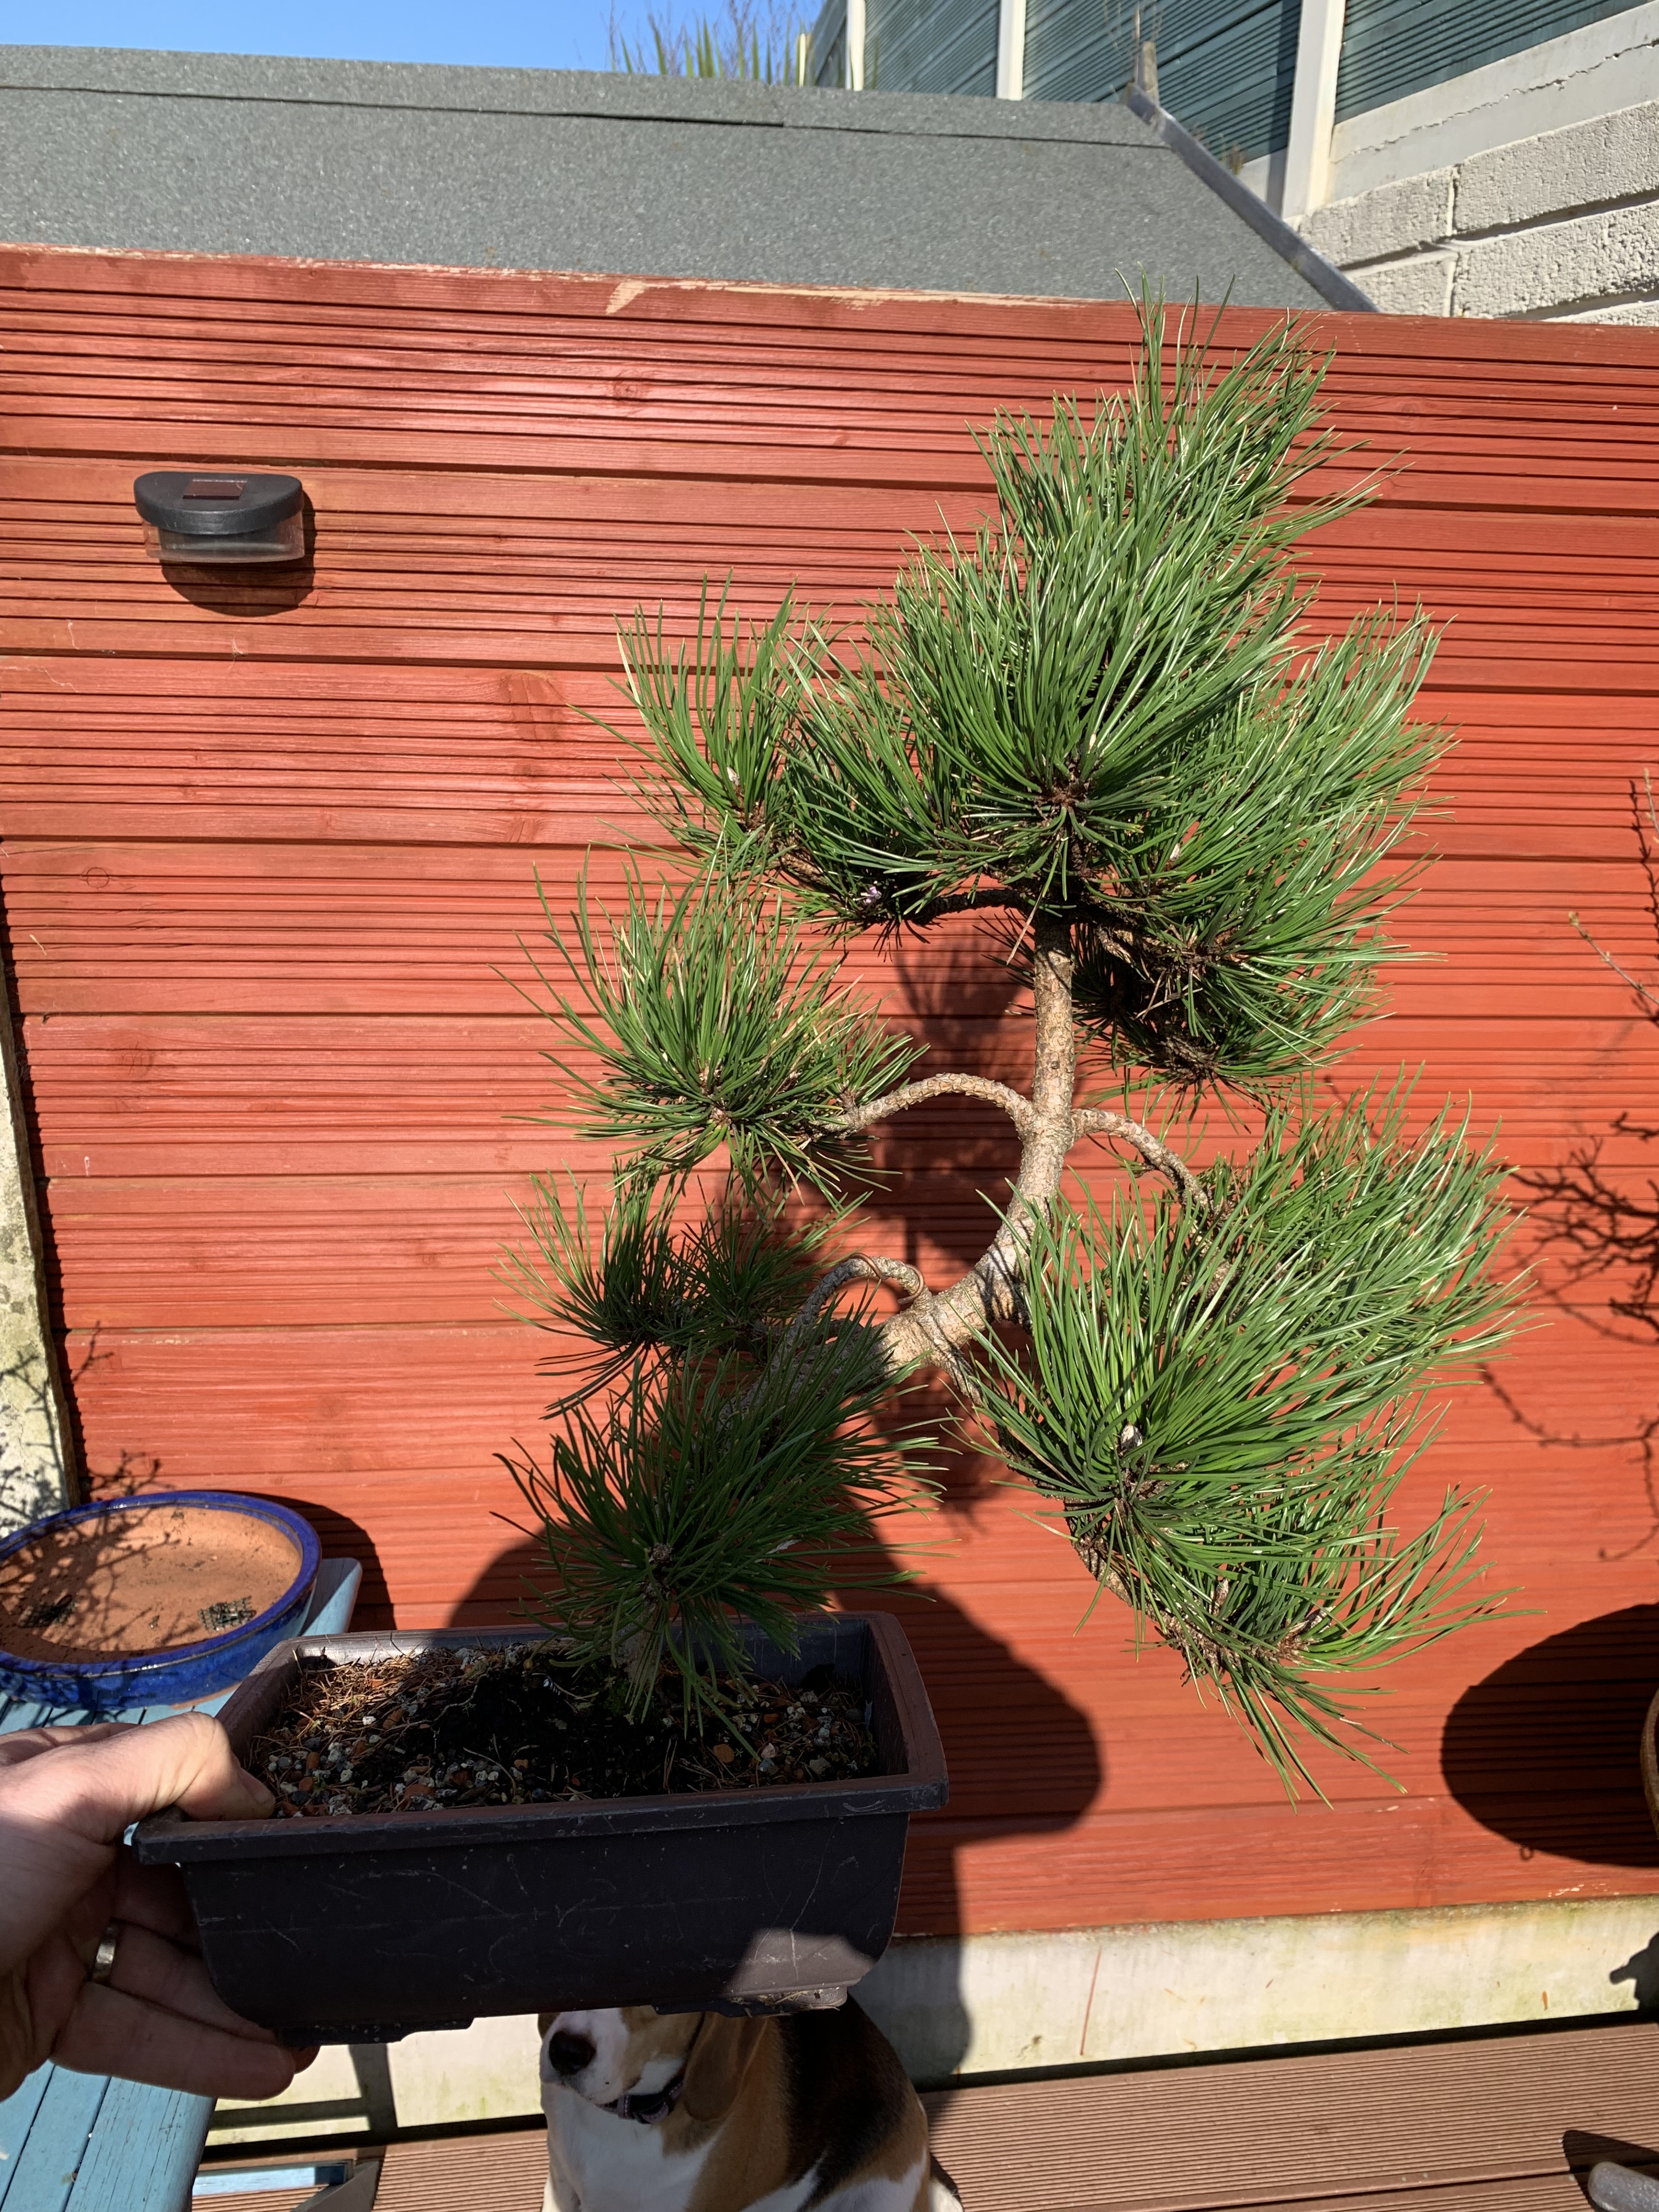
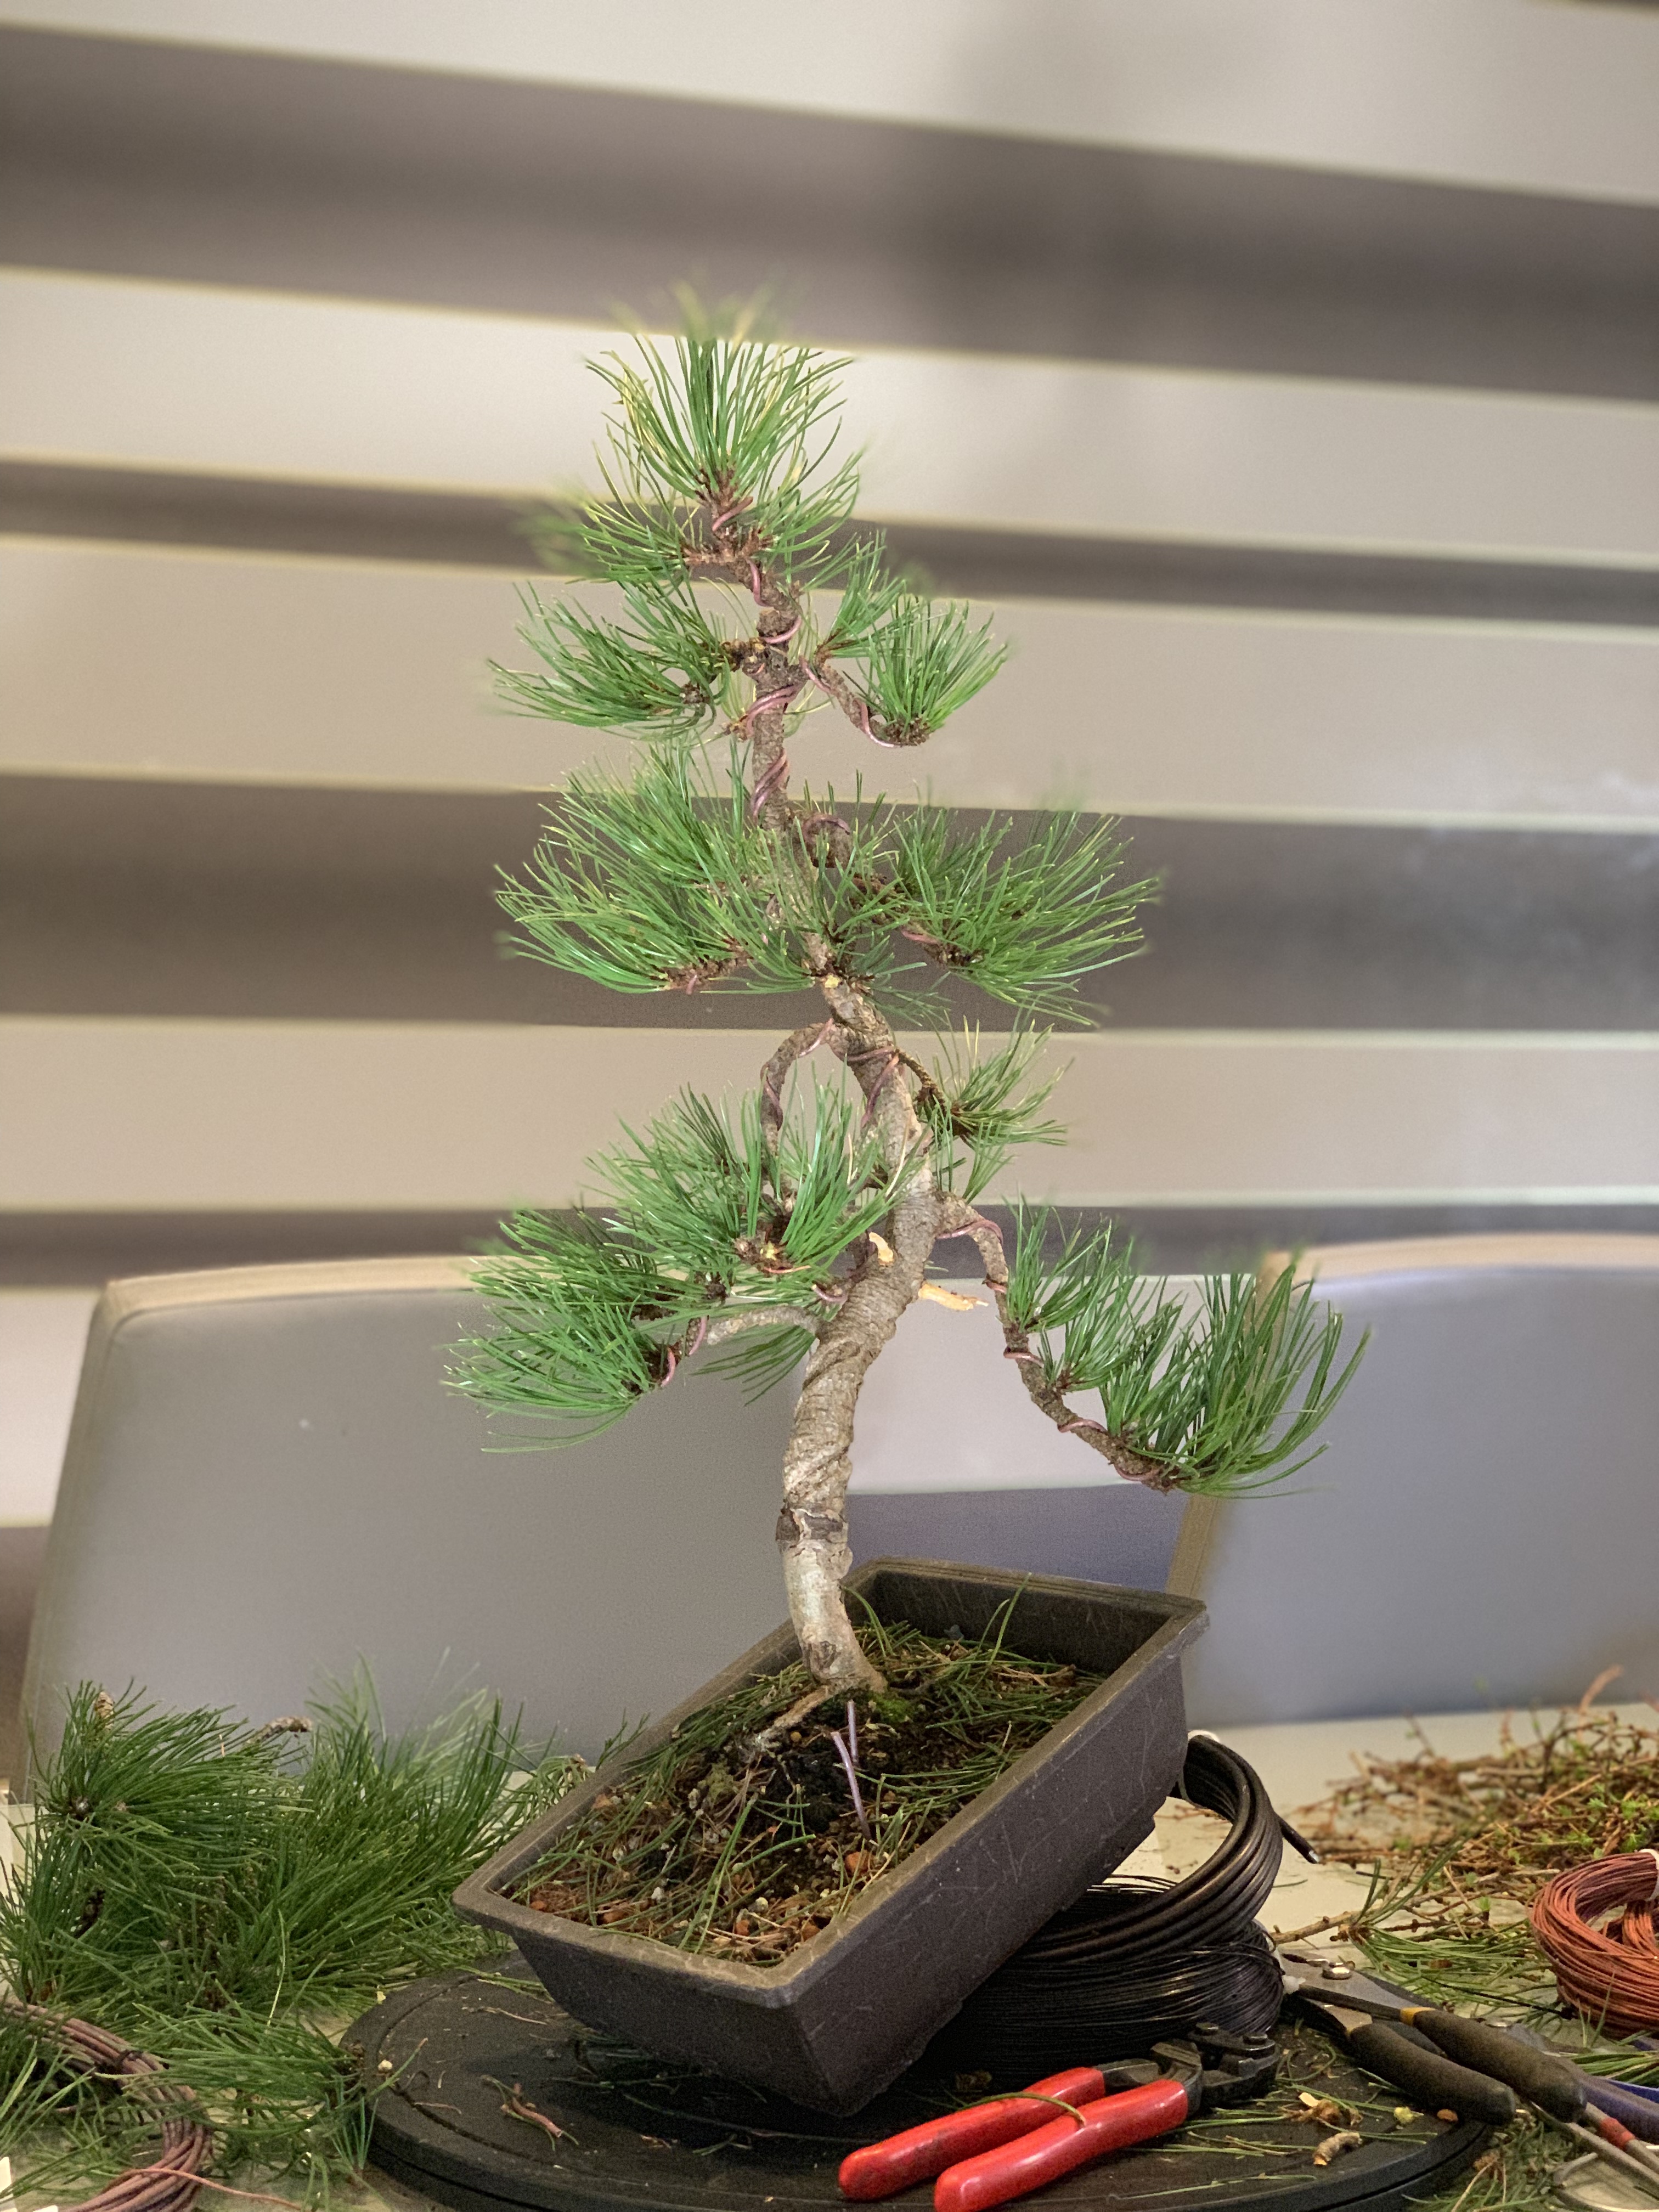
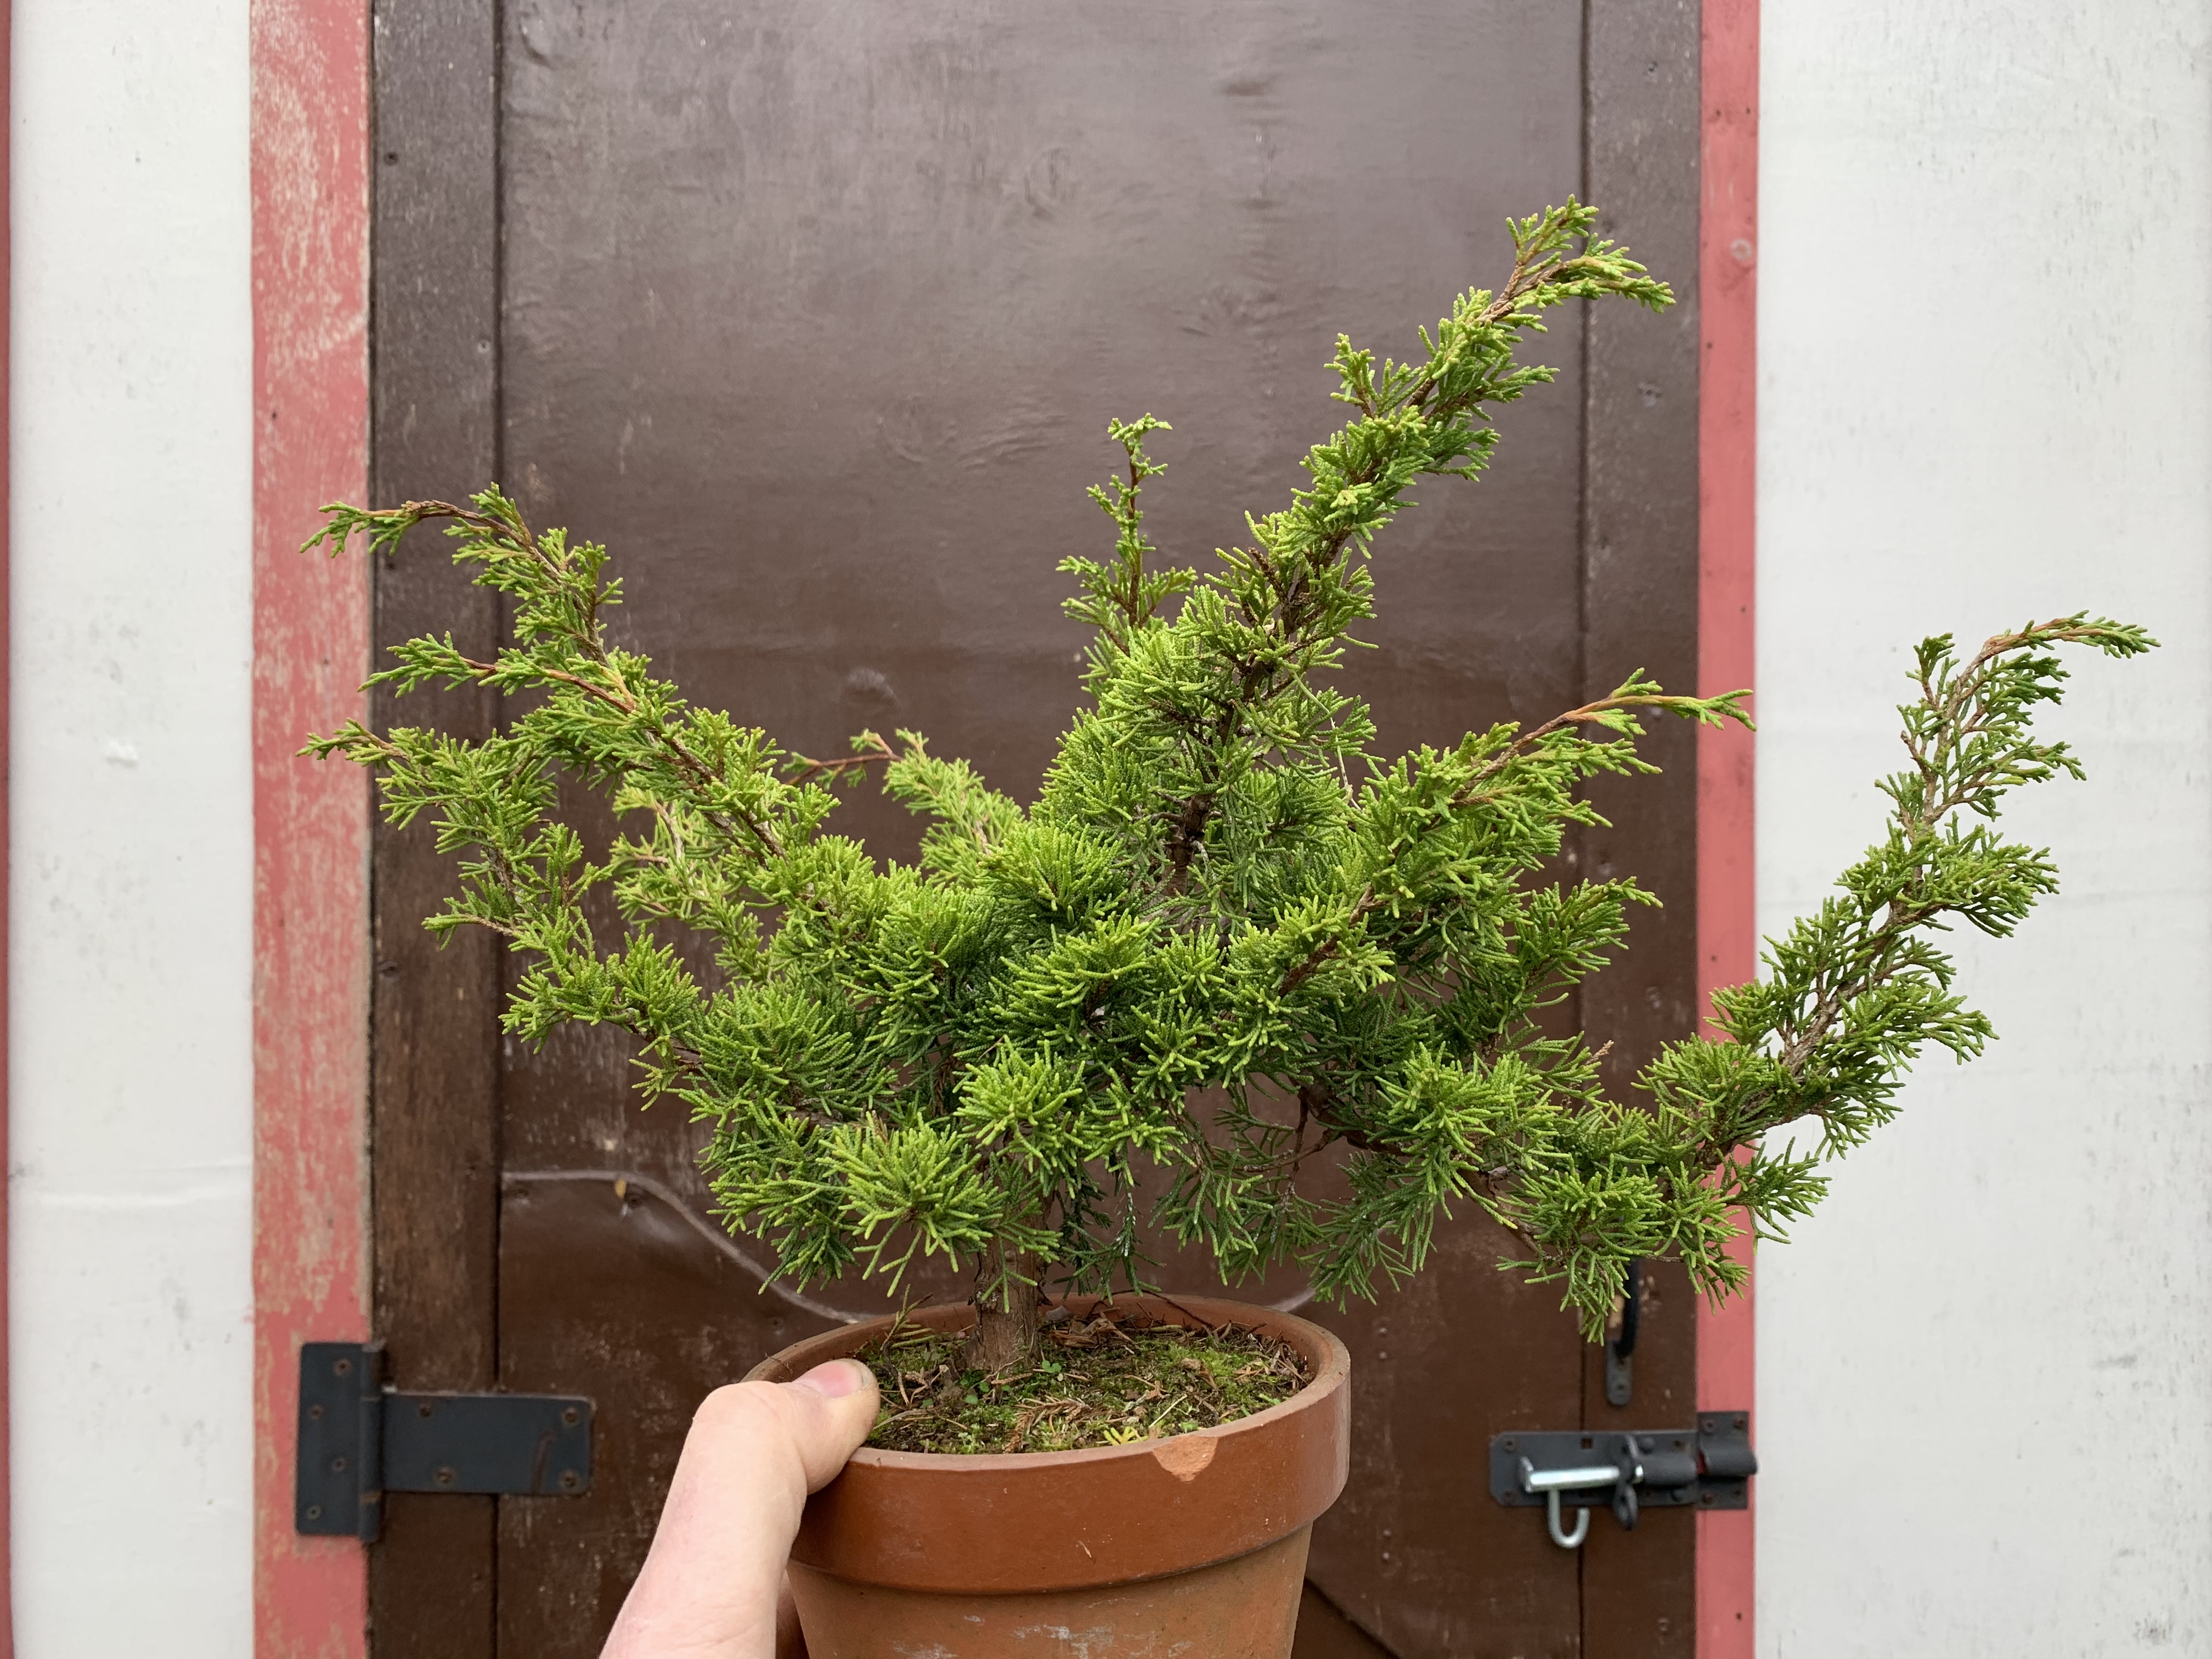
Another piece of collected material into the workshop for a basic first design. With Shore Pine I find you have to hedge your bets. It can take 4-5 years from collection and a first post collection repot before you can be certain what branches are going to be retained by the tree. Good health doesn’t mean the tree won’t drop branches, in fact with vigour they can shed lower branches as a result. If you over fertilise or over pot they can also fatten too fast and shed the old bark that has taken many years in hard growing conditions to create. Keeping on top of stronger upper areas in the first few years is critical in maintaining as many lower branches as possible. All that said they are a fantastic tree with bark and character to die for.
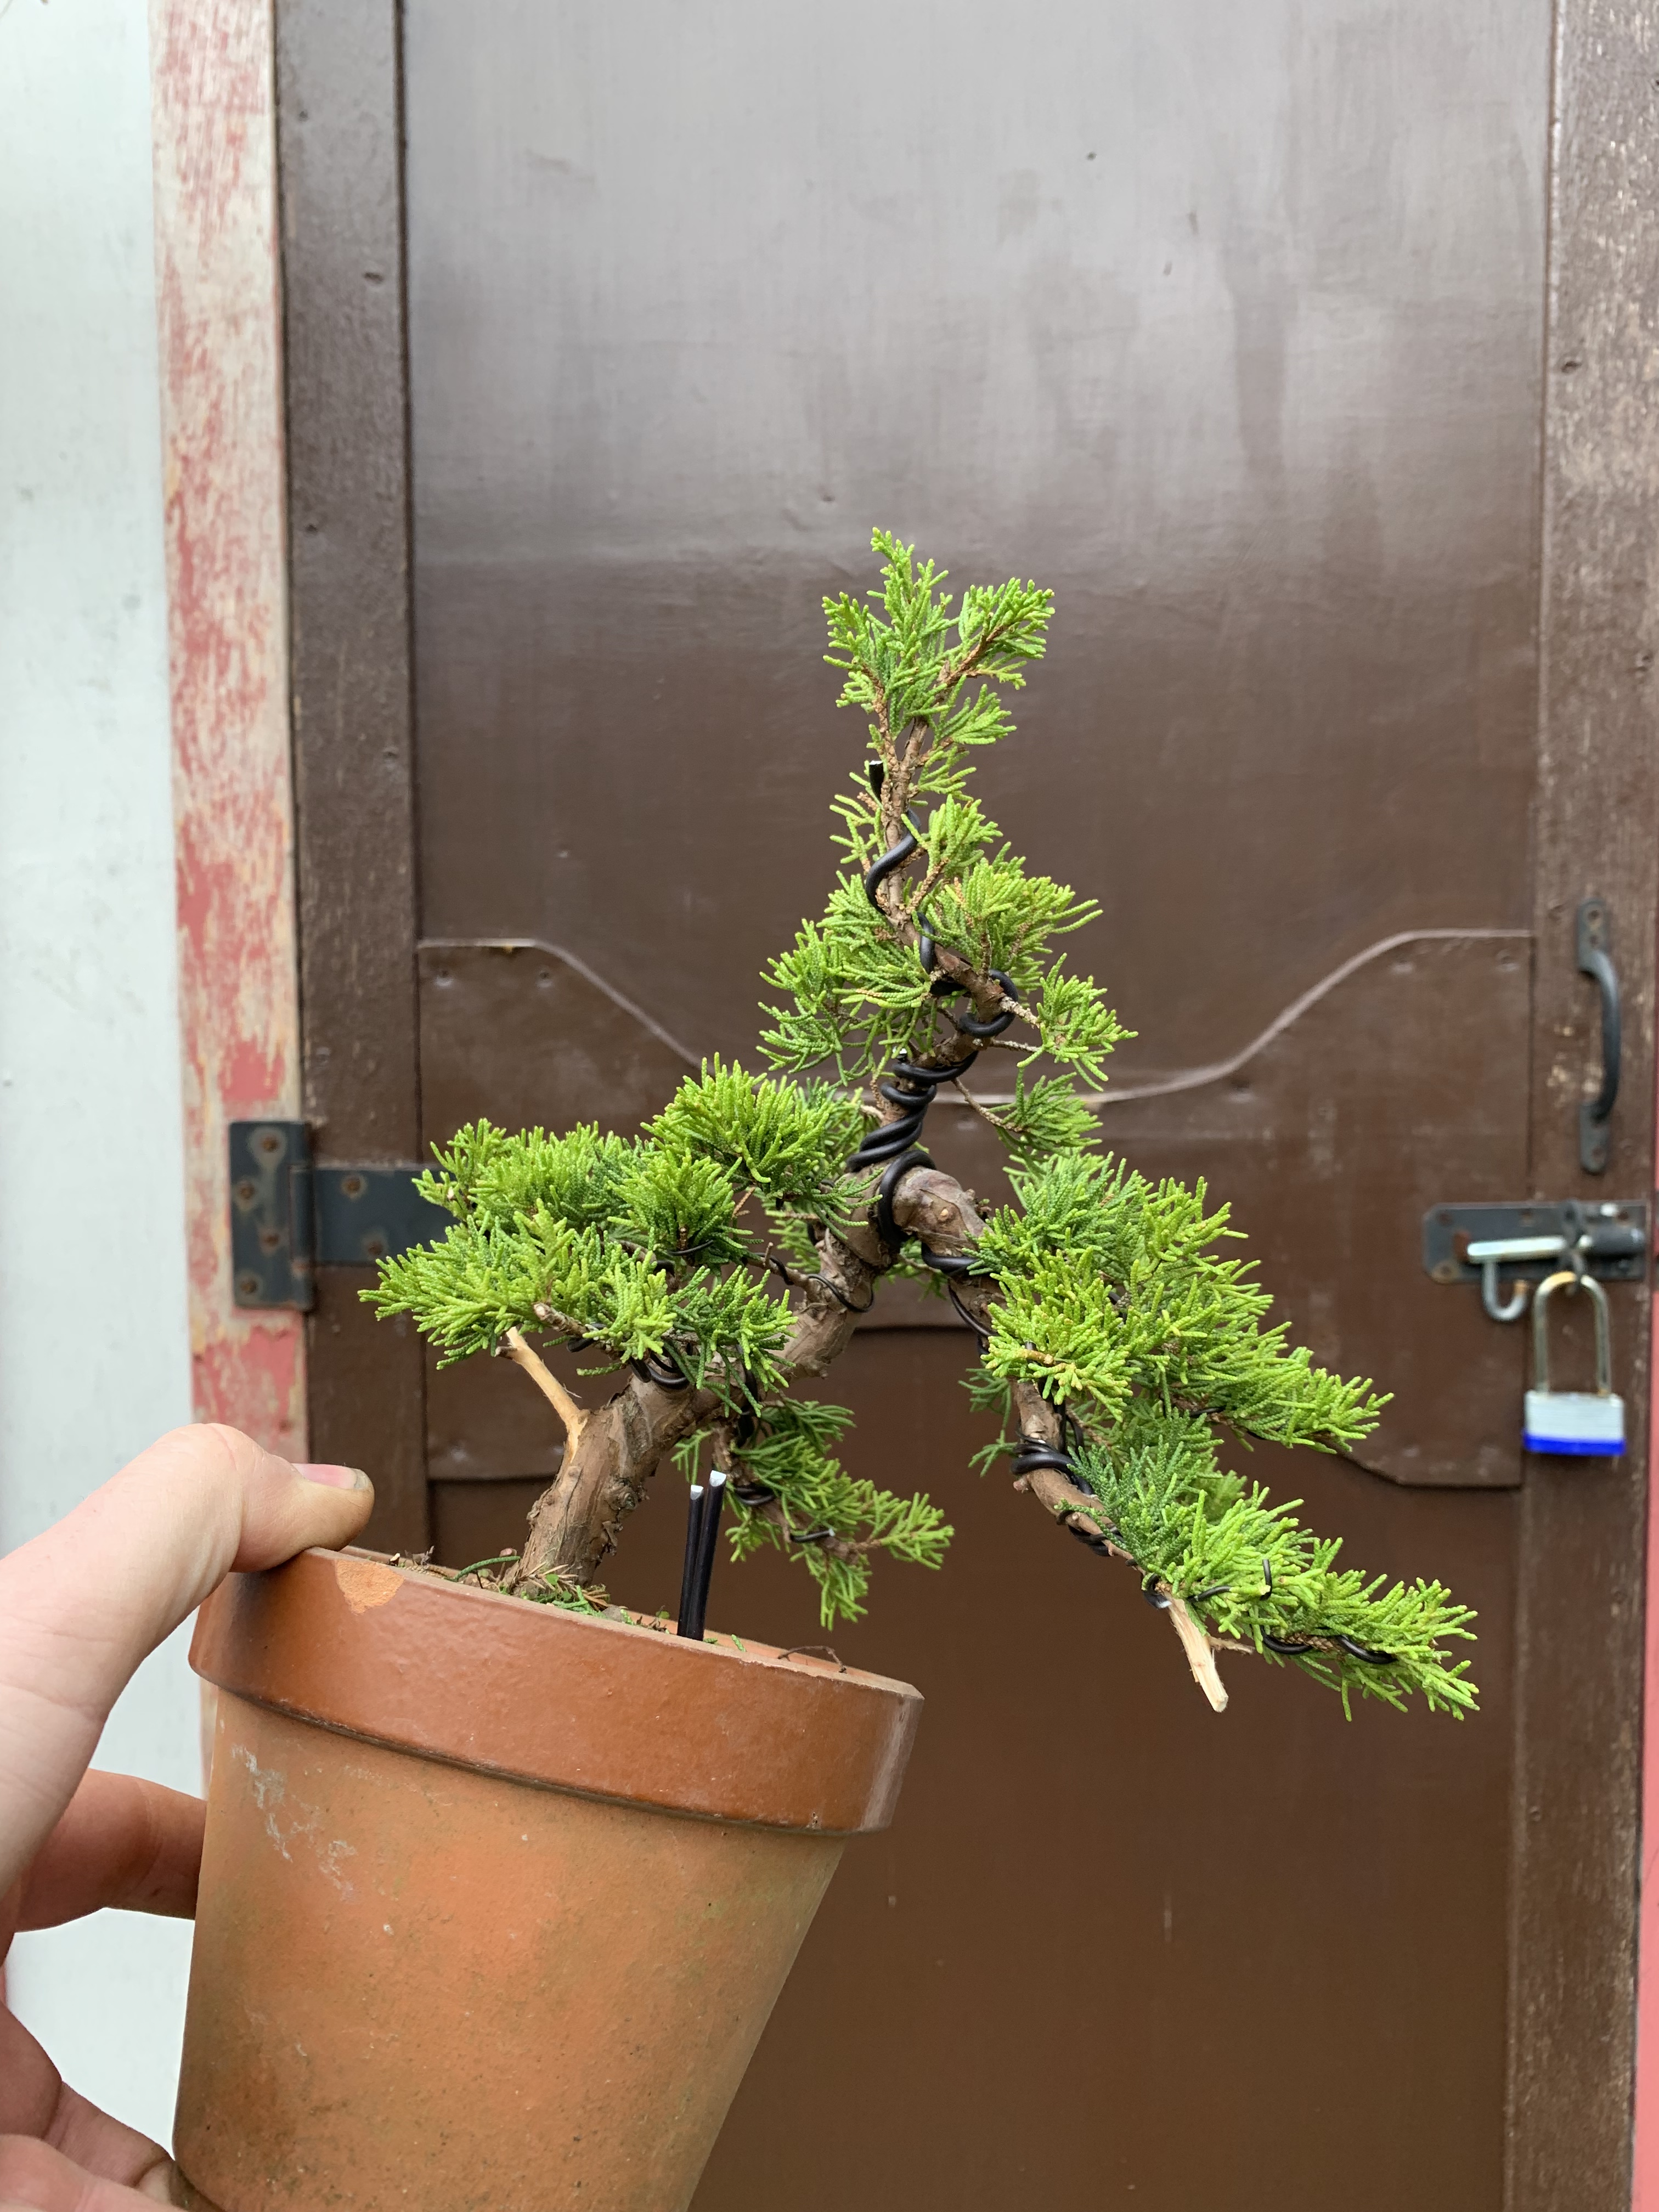
Tree before workAfter
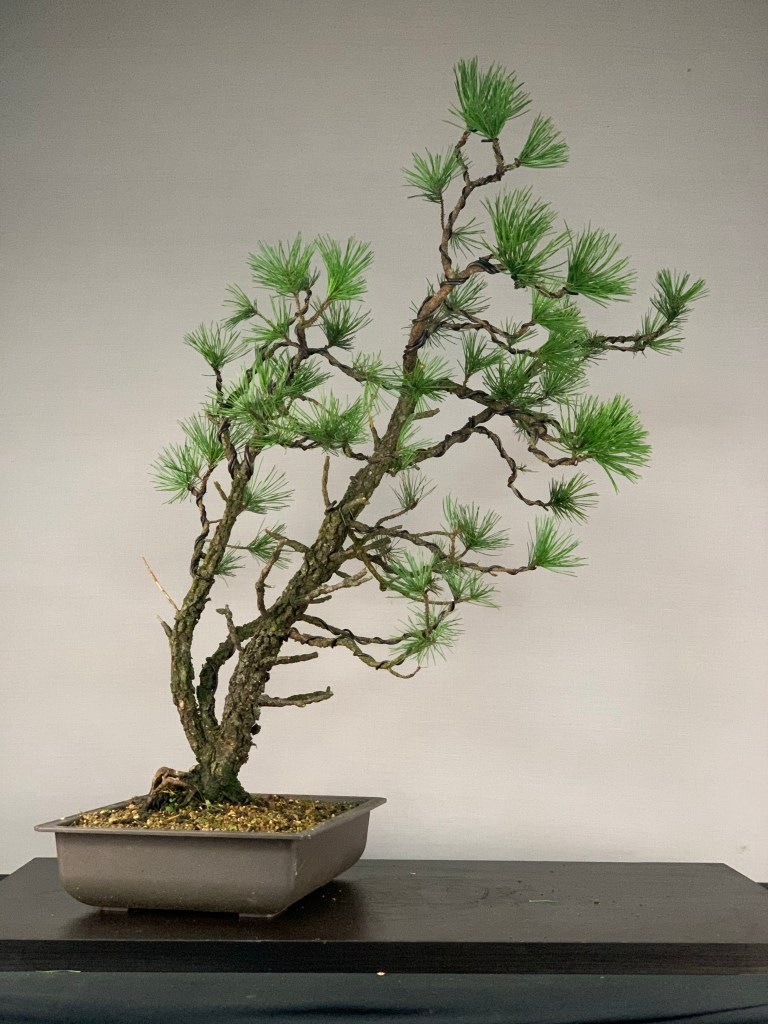
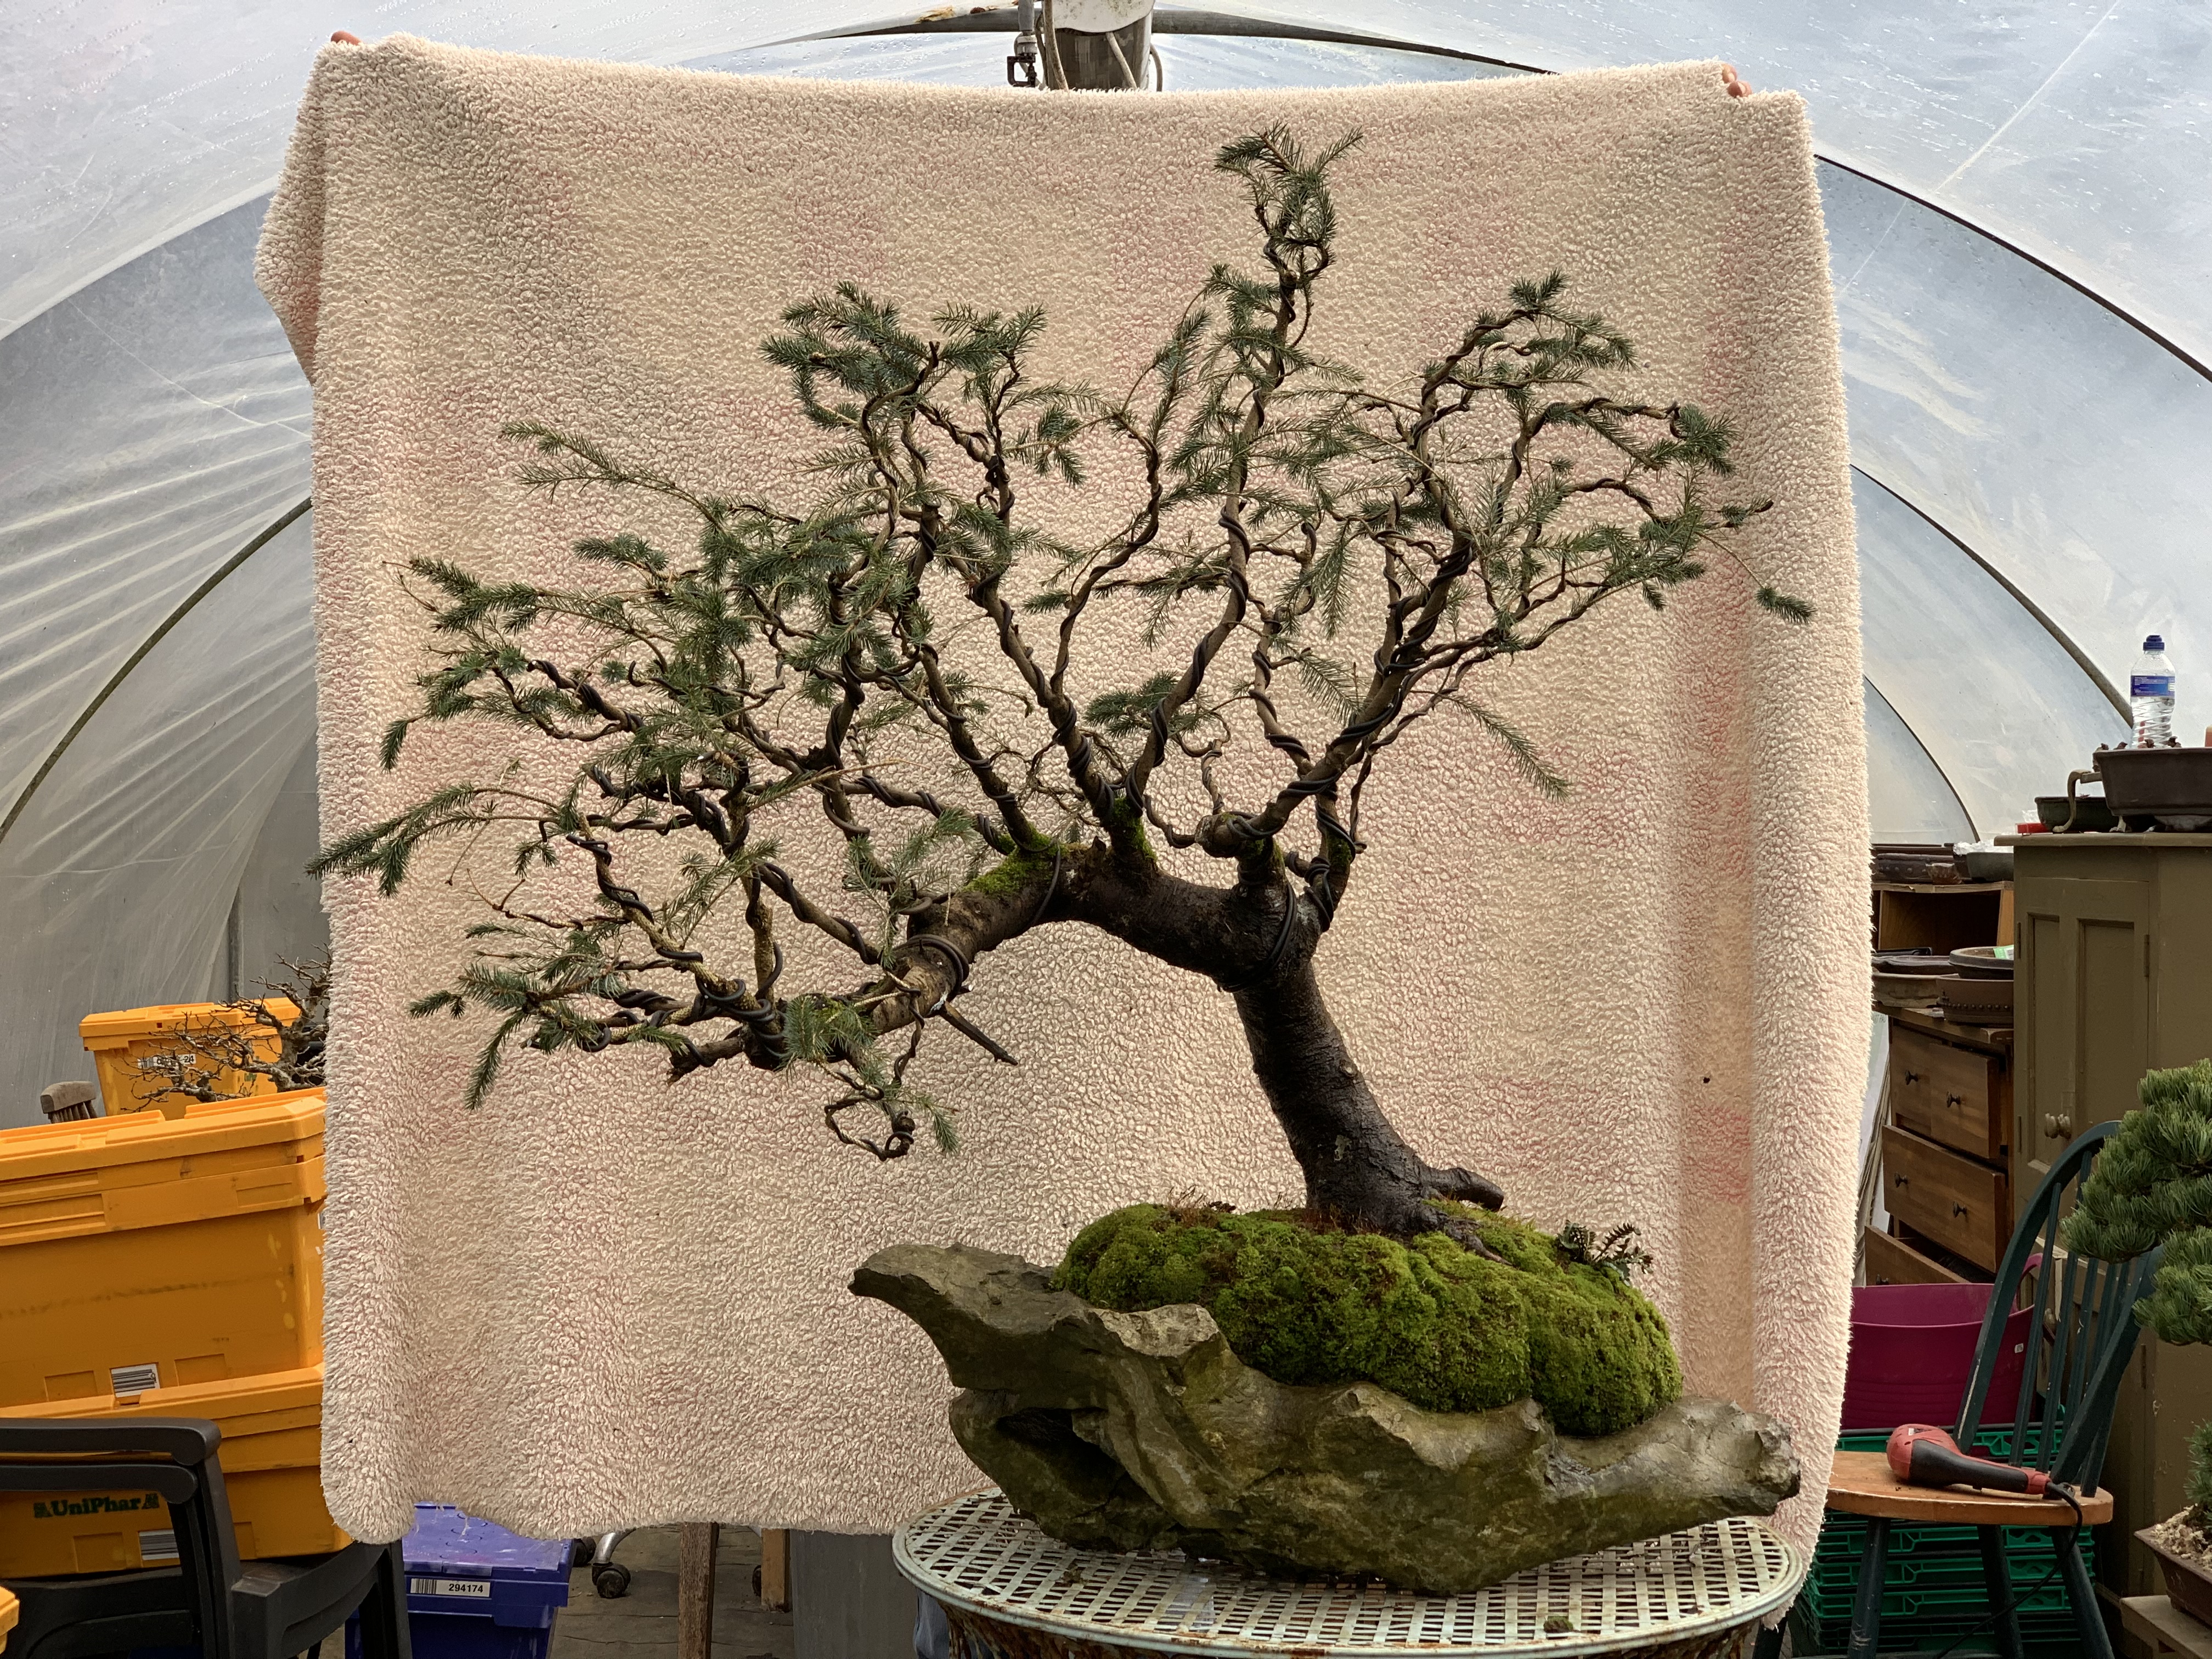
Thinned out that strong upper growth, thinning needle mass, opening out structure by wiring primary lines, retaining and wiring up tips of all lower branches, all steps taken for health and to aid budding next year. The design has made the three trunk lines work together and shows off the wonderful bark. However at this stage with too many branches and a need for ramification, it’s far from the finished article. A long term project for someone to take forward and in the meantime I’ll help it on it’s path as best I can.
I’m trying to work my way through some raw stock here that since collecting has established a good rootball and now needs work or they will fast become green blobs.
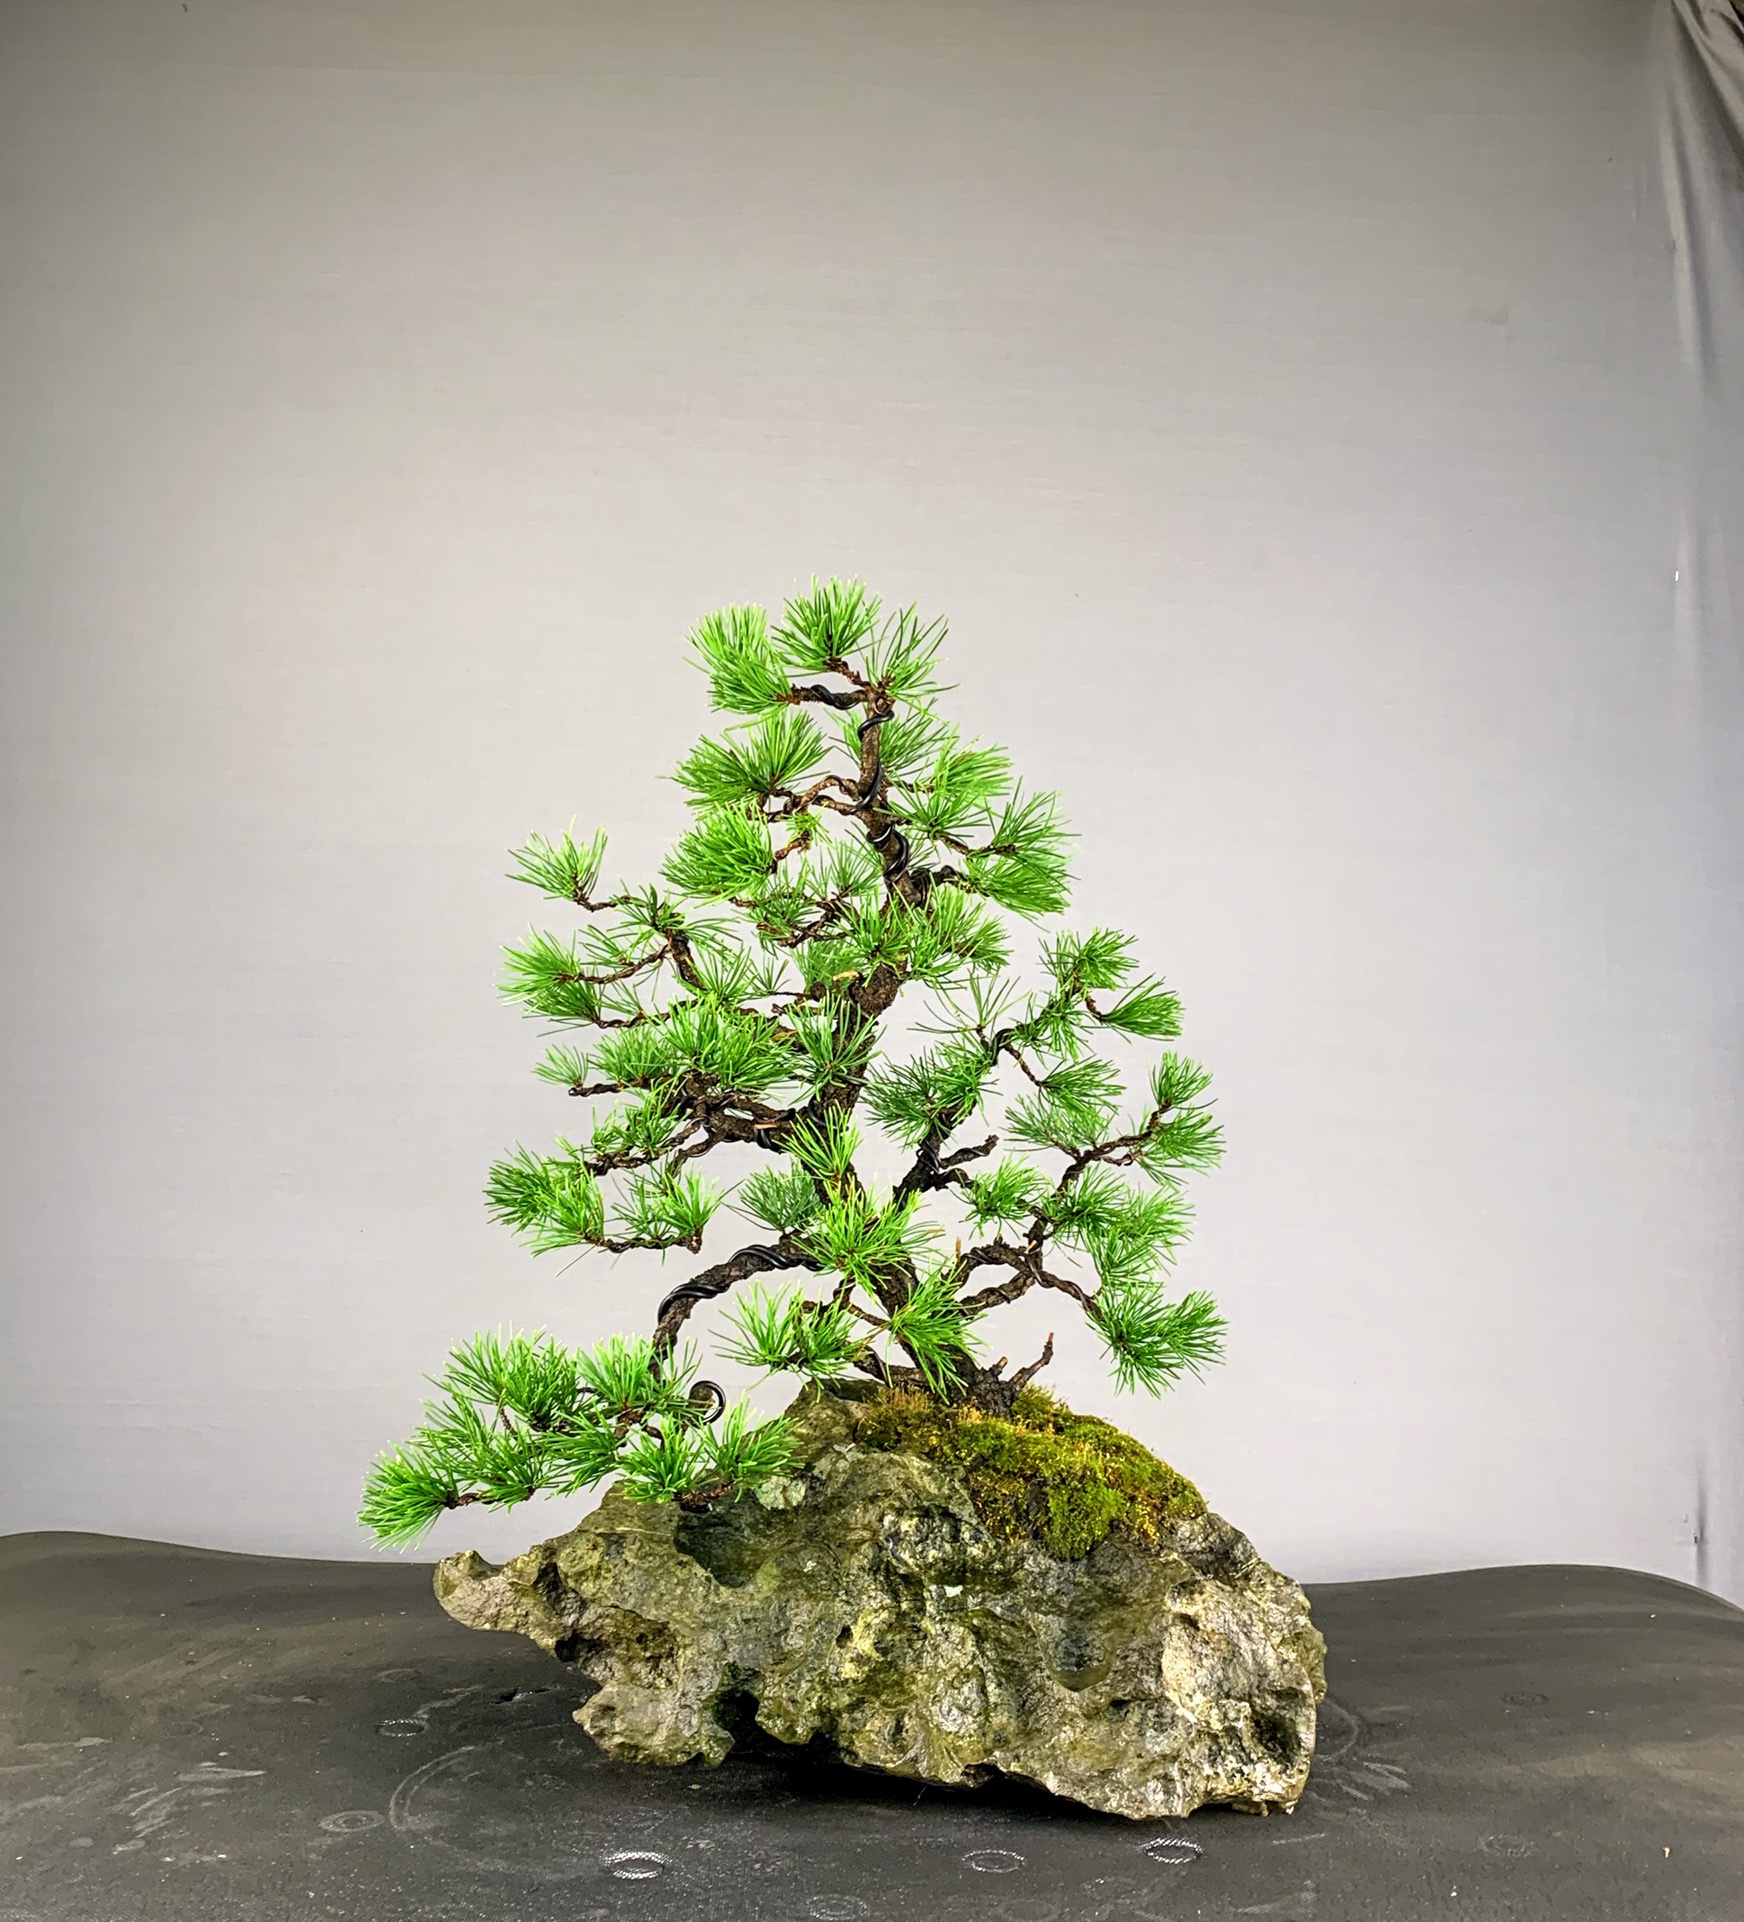
This lodgepole Pine was collected beside Lough Corrib a few years back. a tall slender tree with subtle movement perhaps not as noticeable in the photo. It has gotten very strong and I wanted to put the tree to work back budding and create a first basic structure. Many would shorten the tree or perhaps bend it into a more dramatic if unnatural shape but I wanted to embrace the tall elegant pine image. Perhaps not making it an old image but that of a tree reaching maturity and starting to show the pressures of maintaining all those branches.
First job was a good clean out removing yellow needles and then balancing the foliage to the same level throughout the tree. I also removed any triple bud tips back down to two.
After needle thinning
And then to work. I’m sharing this time lapse more to show how I work. I have issues with my neck and shoulders so be comfortable when I work is important. This scissor lift table allows me to position the tree just right distance and height wise for me.
And the tree after work. The lower hanging branch was actually split slightly from the trunk to get a better angle. there’s a few branches too many at this point but I like to leave options on first styling to allow for future changes. The hanging branch for that matter may be removed or jinned in a future styling. Leaving options for the next owner is always a wise move. Perhaps not everyone’s cup of tea. Some will say it’s too tall or not dramatic enough. Not to worry there’s plenty of those twisted tree makers out there. I like to go with what the tree offers and what made me collect it in the first place. It’s only the first step on the road to becoming a bonsai.
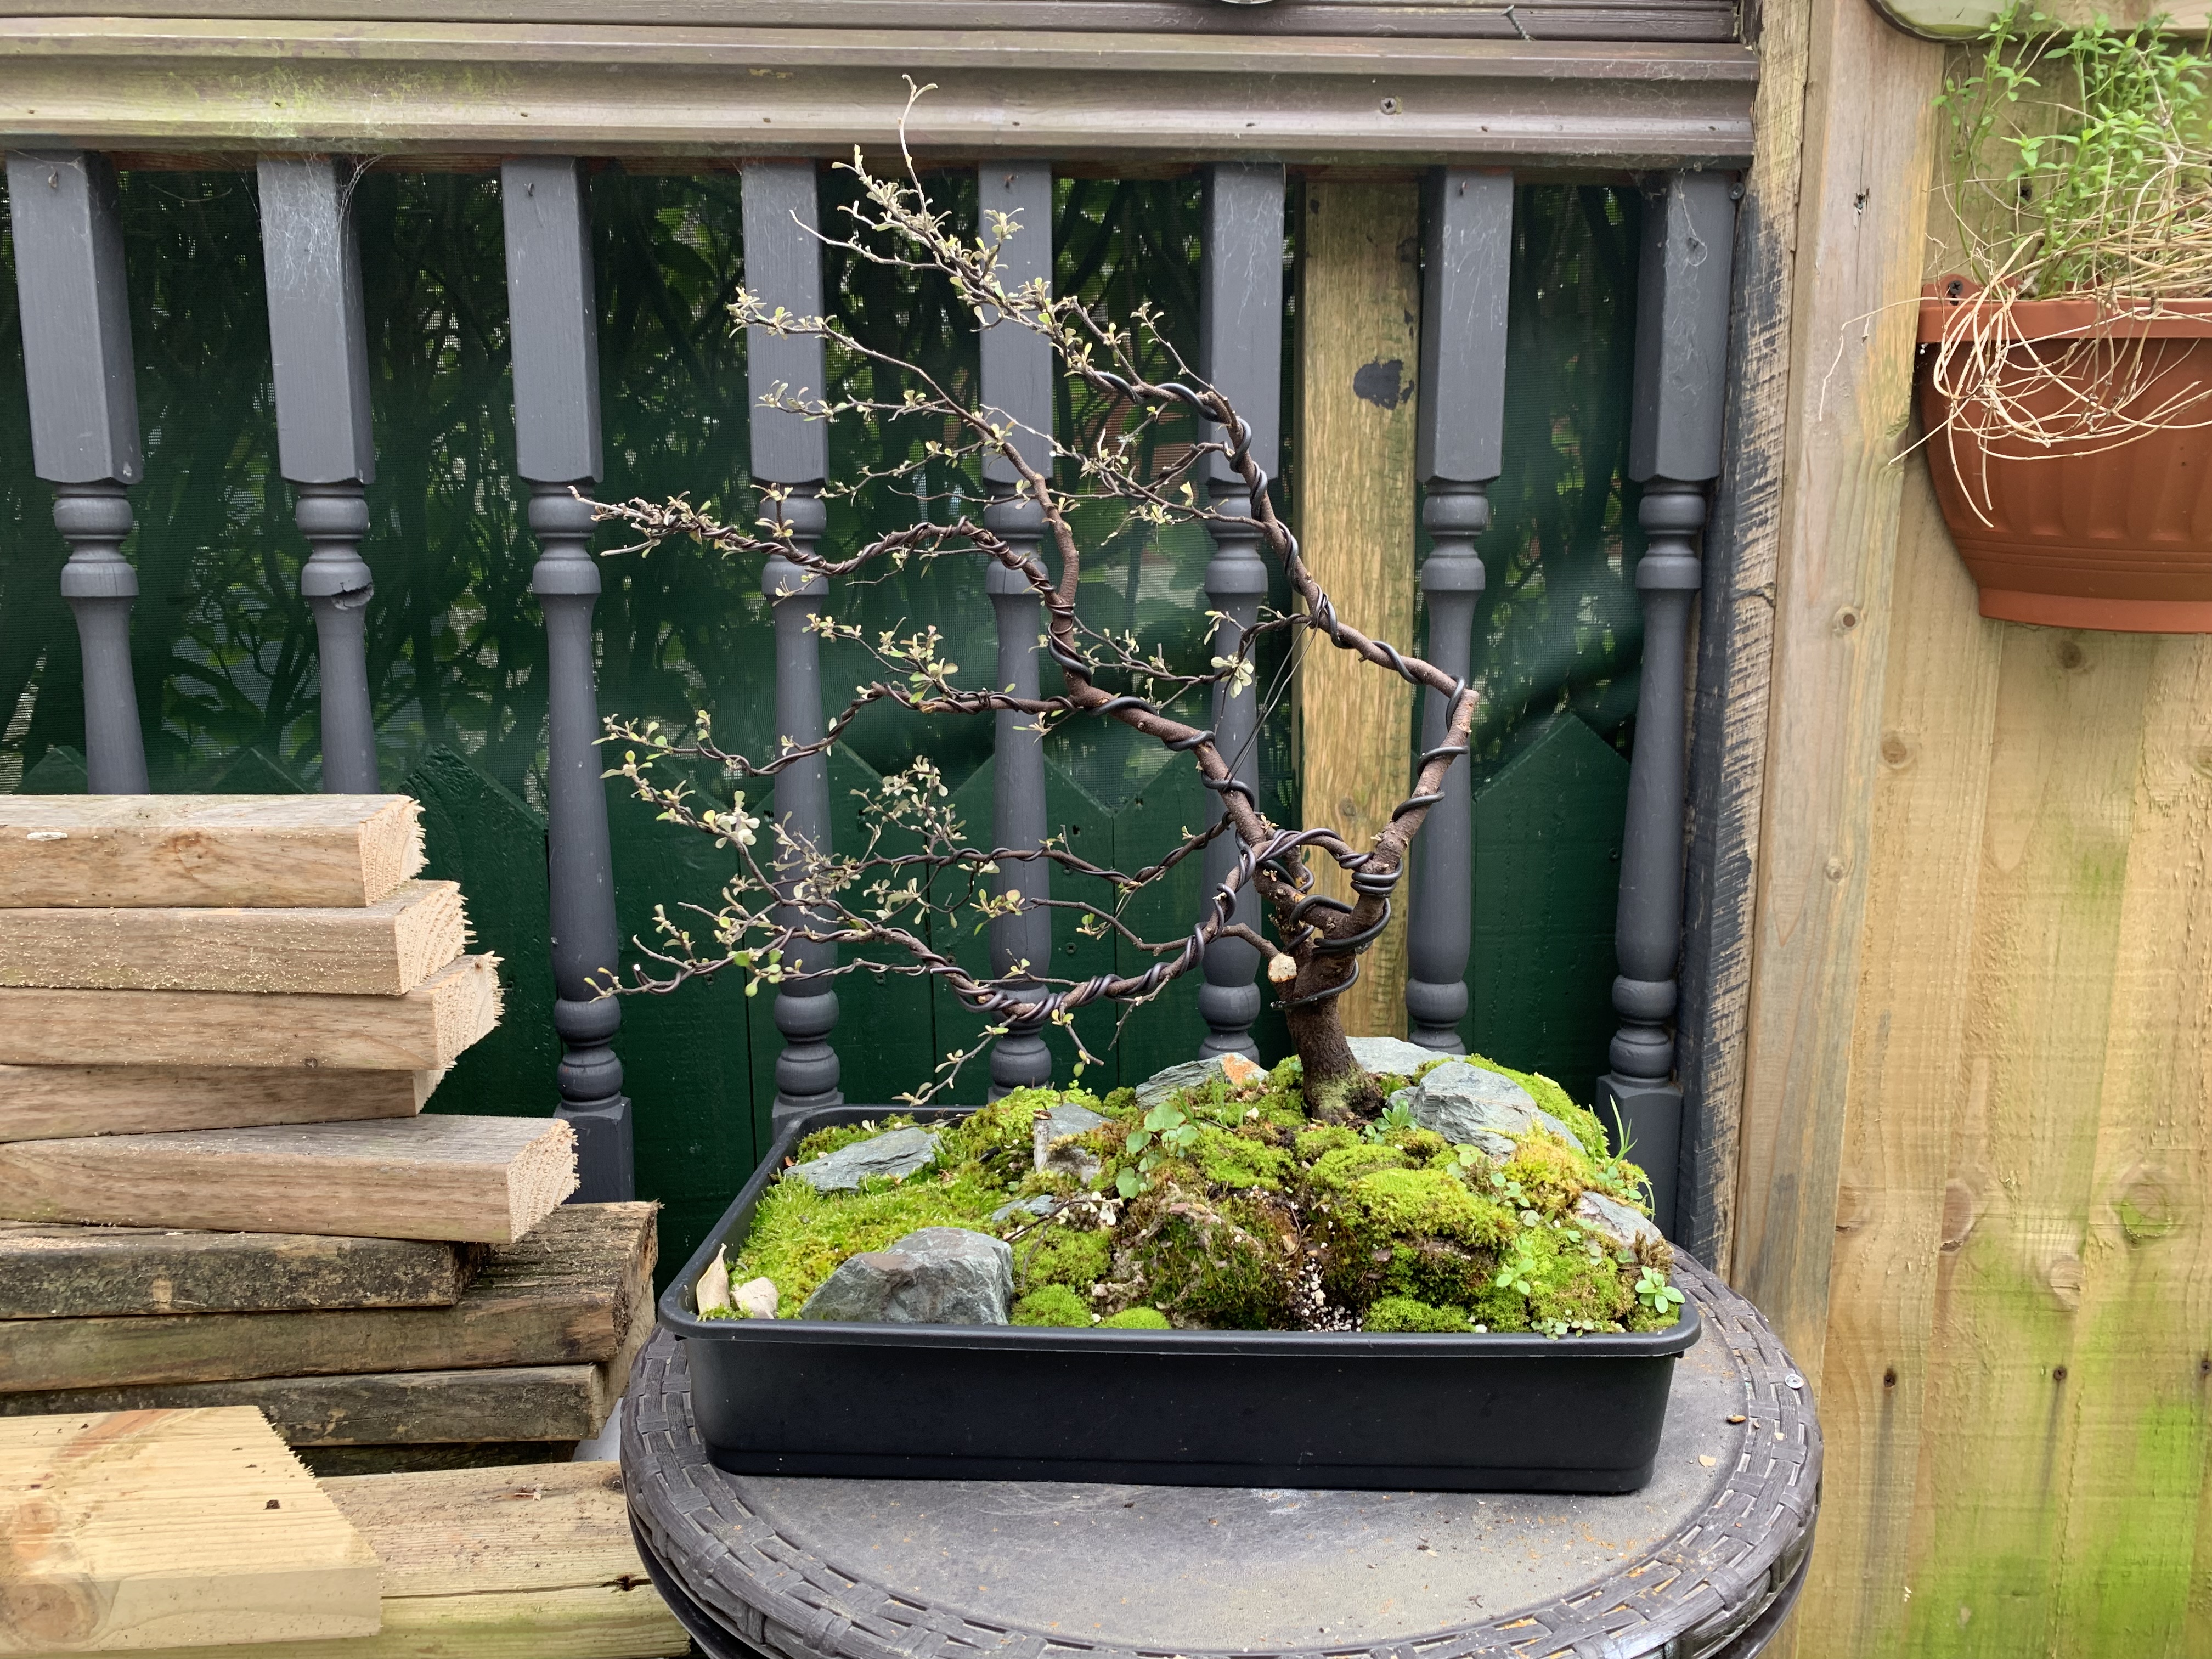
Had this Hawthorn for quite a few years now but 2020 saw it repotted at a more acute angle giving it more of a windswept feel.
A few reasons for doing it. 1. I love windswept Hawthorn in nature. I think they are one of the most “Irish” representative tree images and are a common sight along our coastline. 2. After several repots and root workings I’m just not able to deal with the heavy root running along the front of the tree right to left. Normally they chase back and allow for a more compact root system. This one is connected to one of the main feeder paths running up the tree and has yet to product any significant backrooting after 15 plus years. On this tree the more acute lean right to left has allowed me to drop that root deeper in the pot and hide its ugliness.
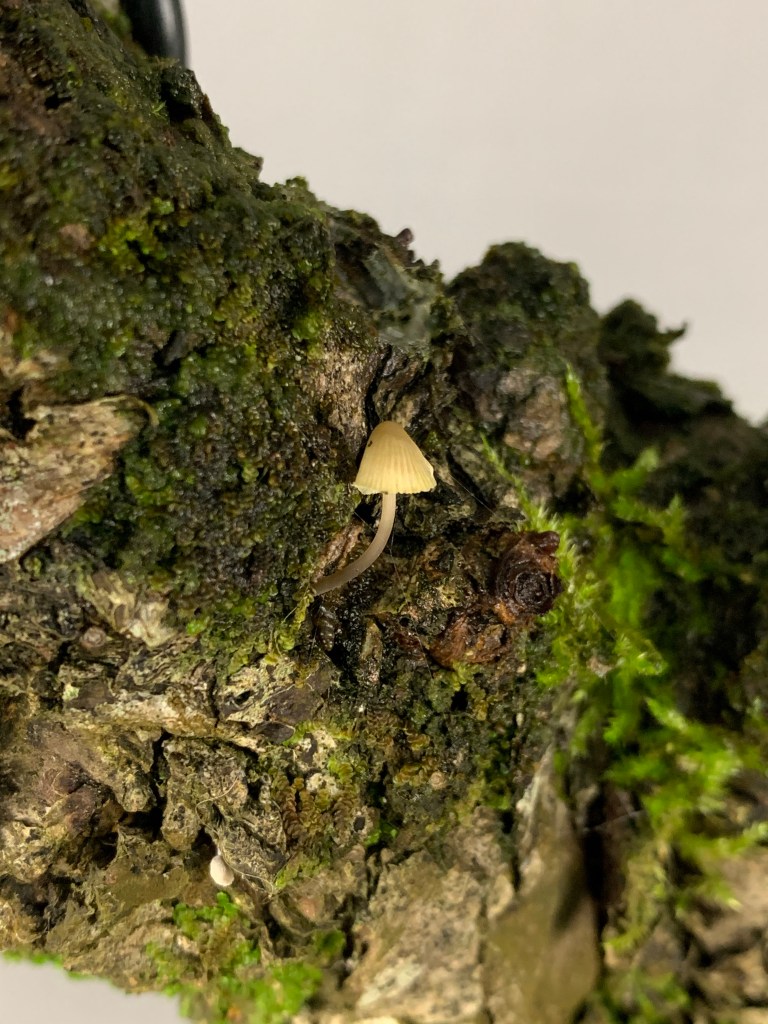
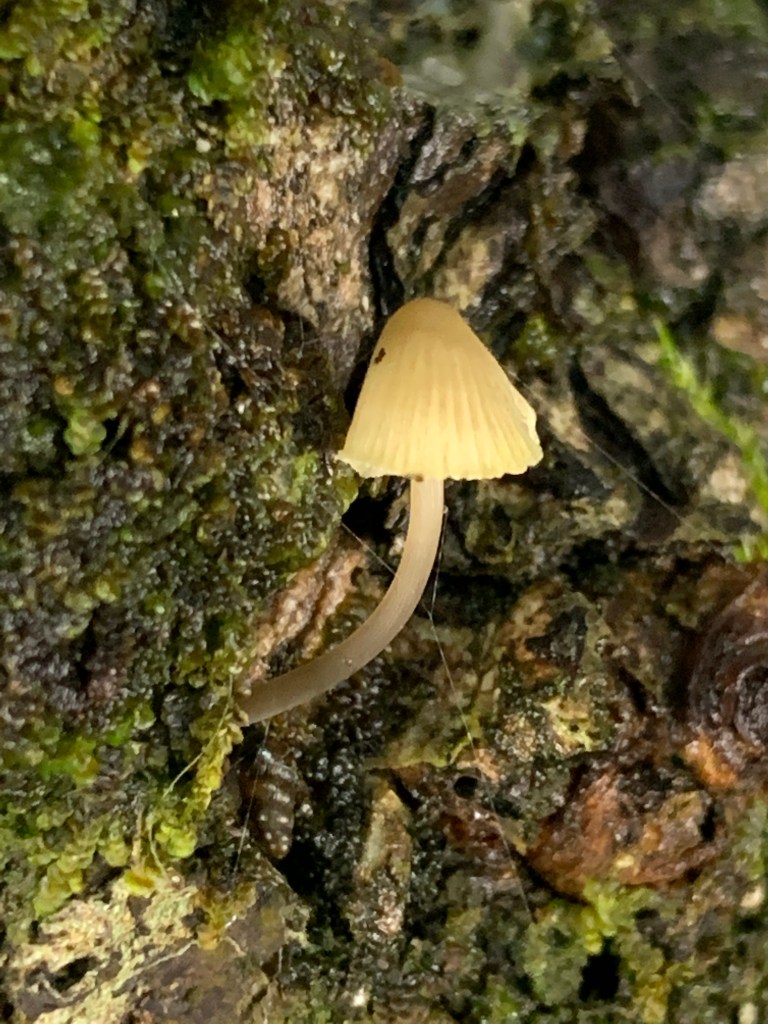
I still need to deal with the ever creeping moss running up the trunk, but while working the tree I noticed tiny little mushrooms popping out of the little ecosystem along the upper trunk line. I think laying it over has helped create it’s own little world on top.
Running along the top centre of the trunkline is the beginnings of a natural Shari. The tree is pretty much split into two main live veins with the dead patch in the middle. Instead of going in there and clearing it out, I’m just going to let it decay at it’s own rate for now and enjoy watching it change year to year.
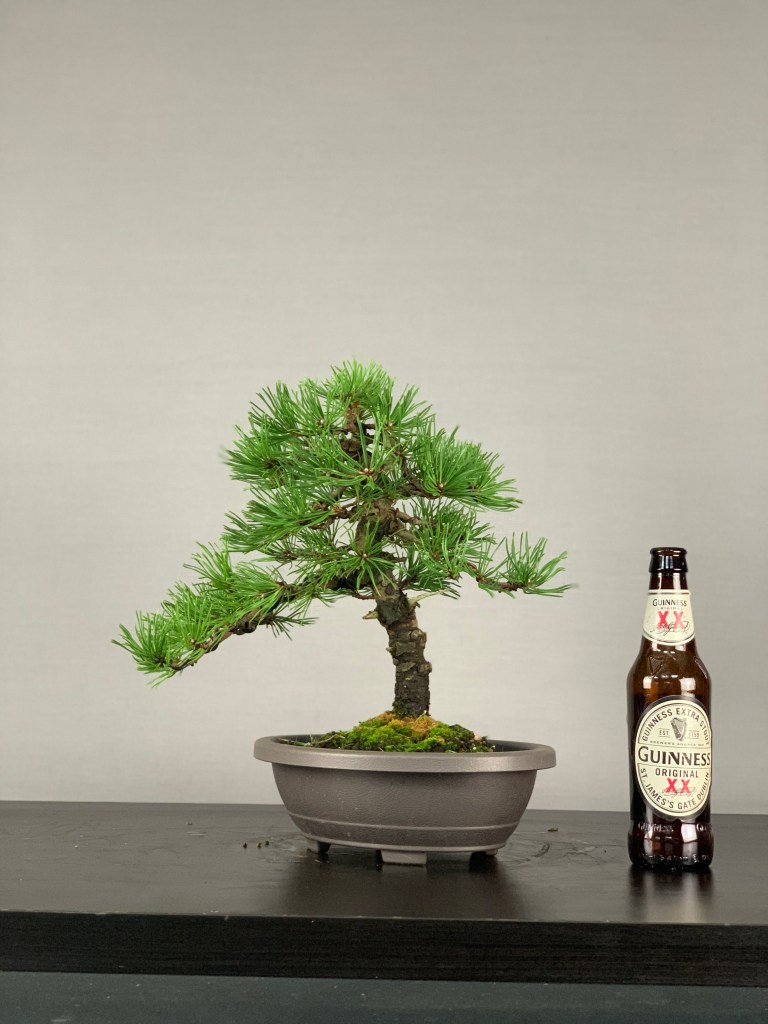
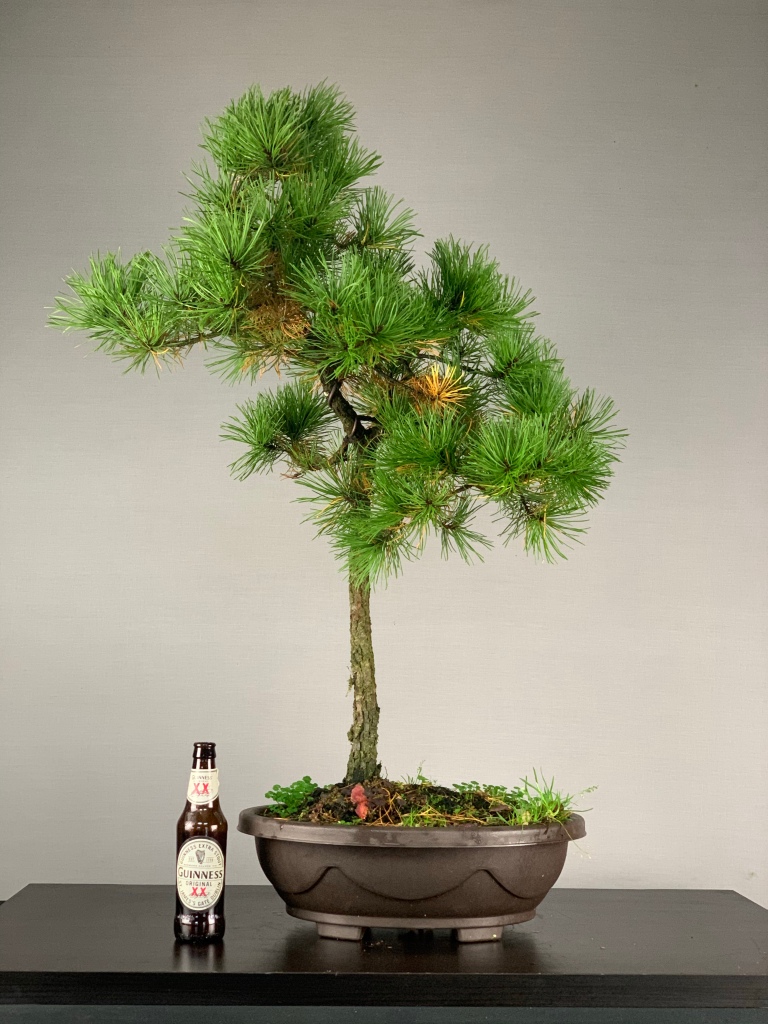
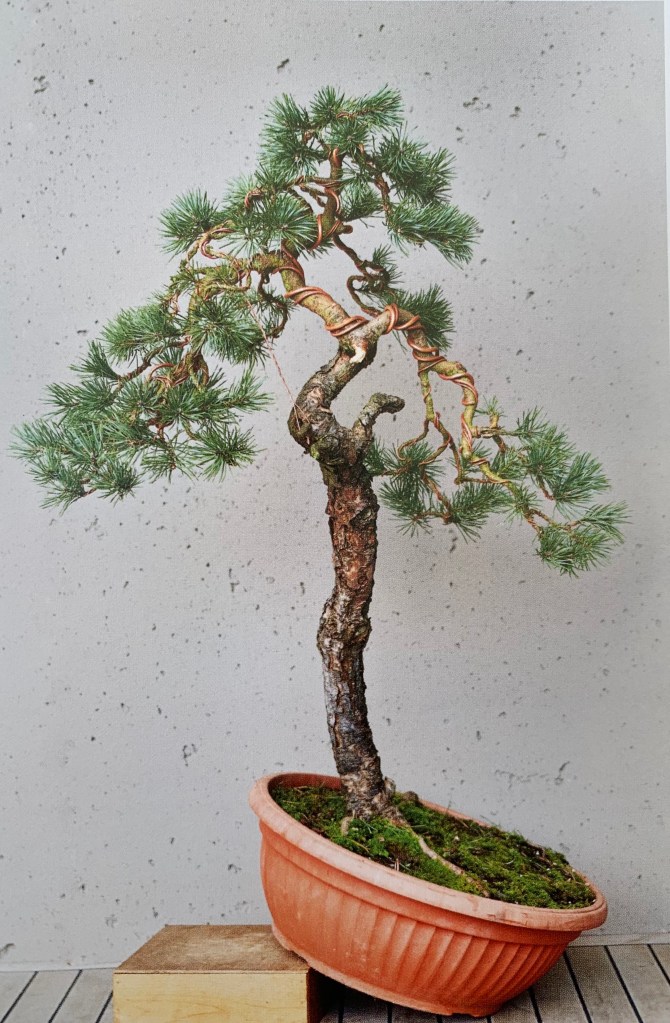
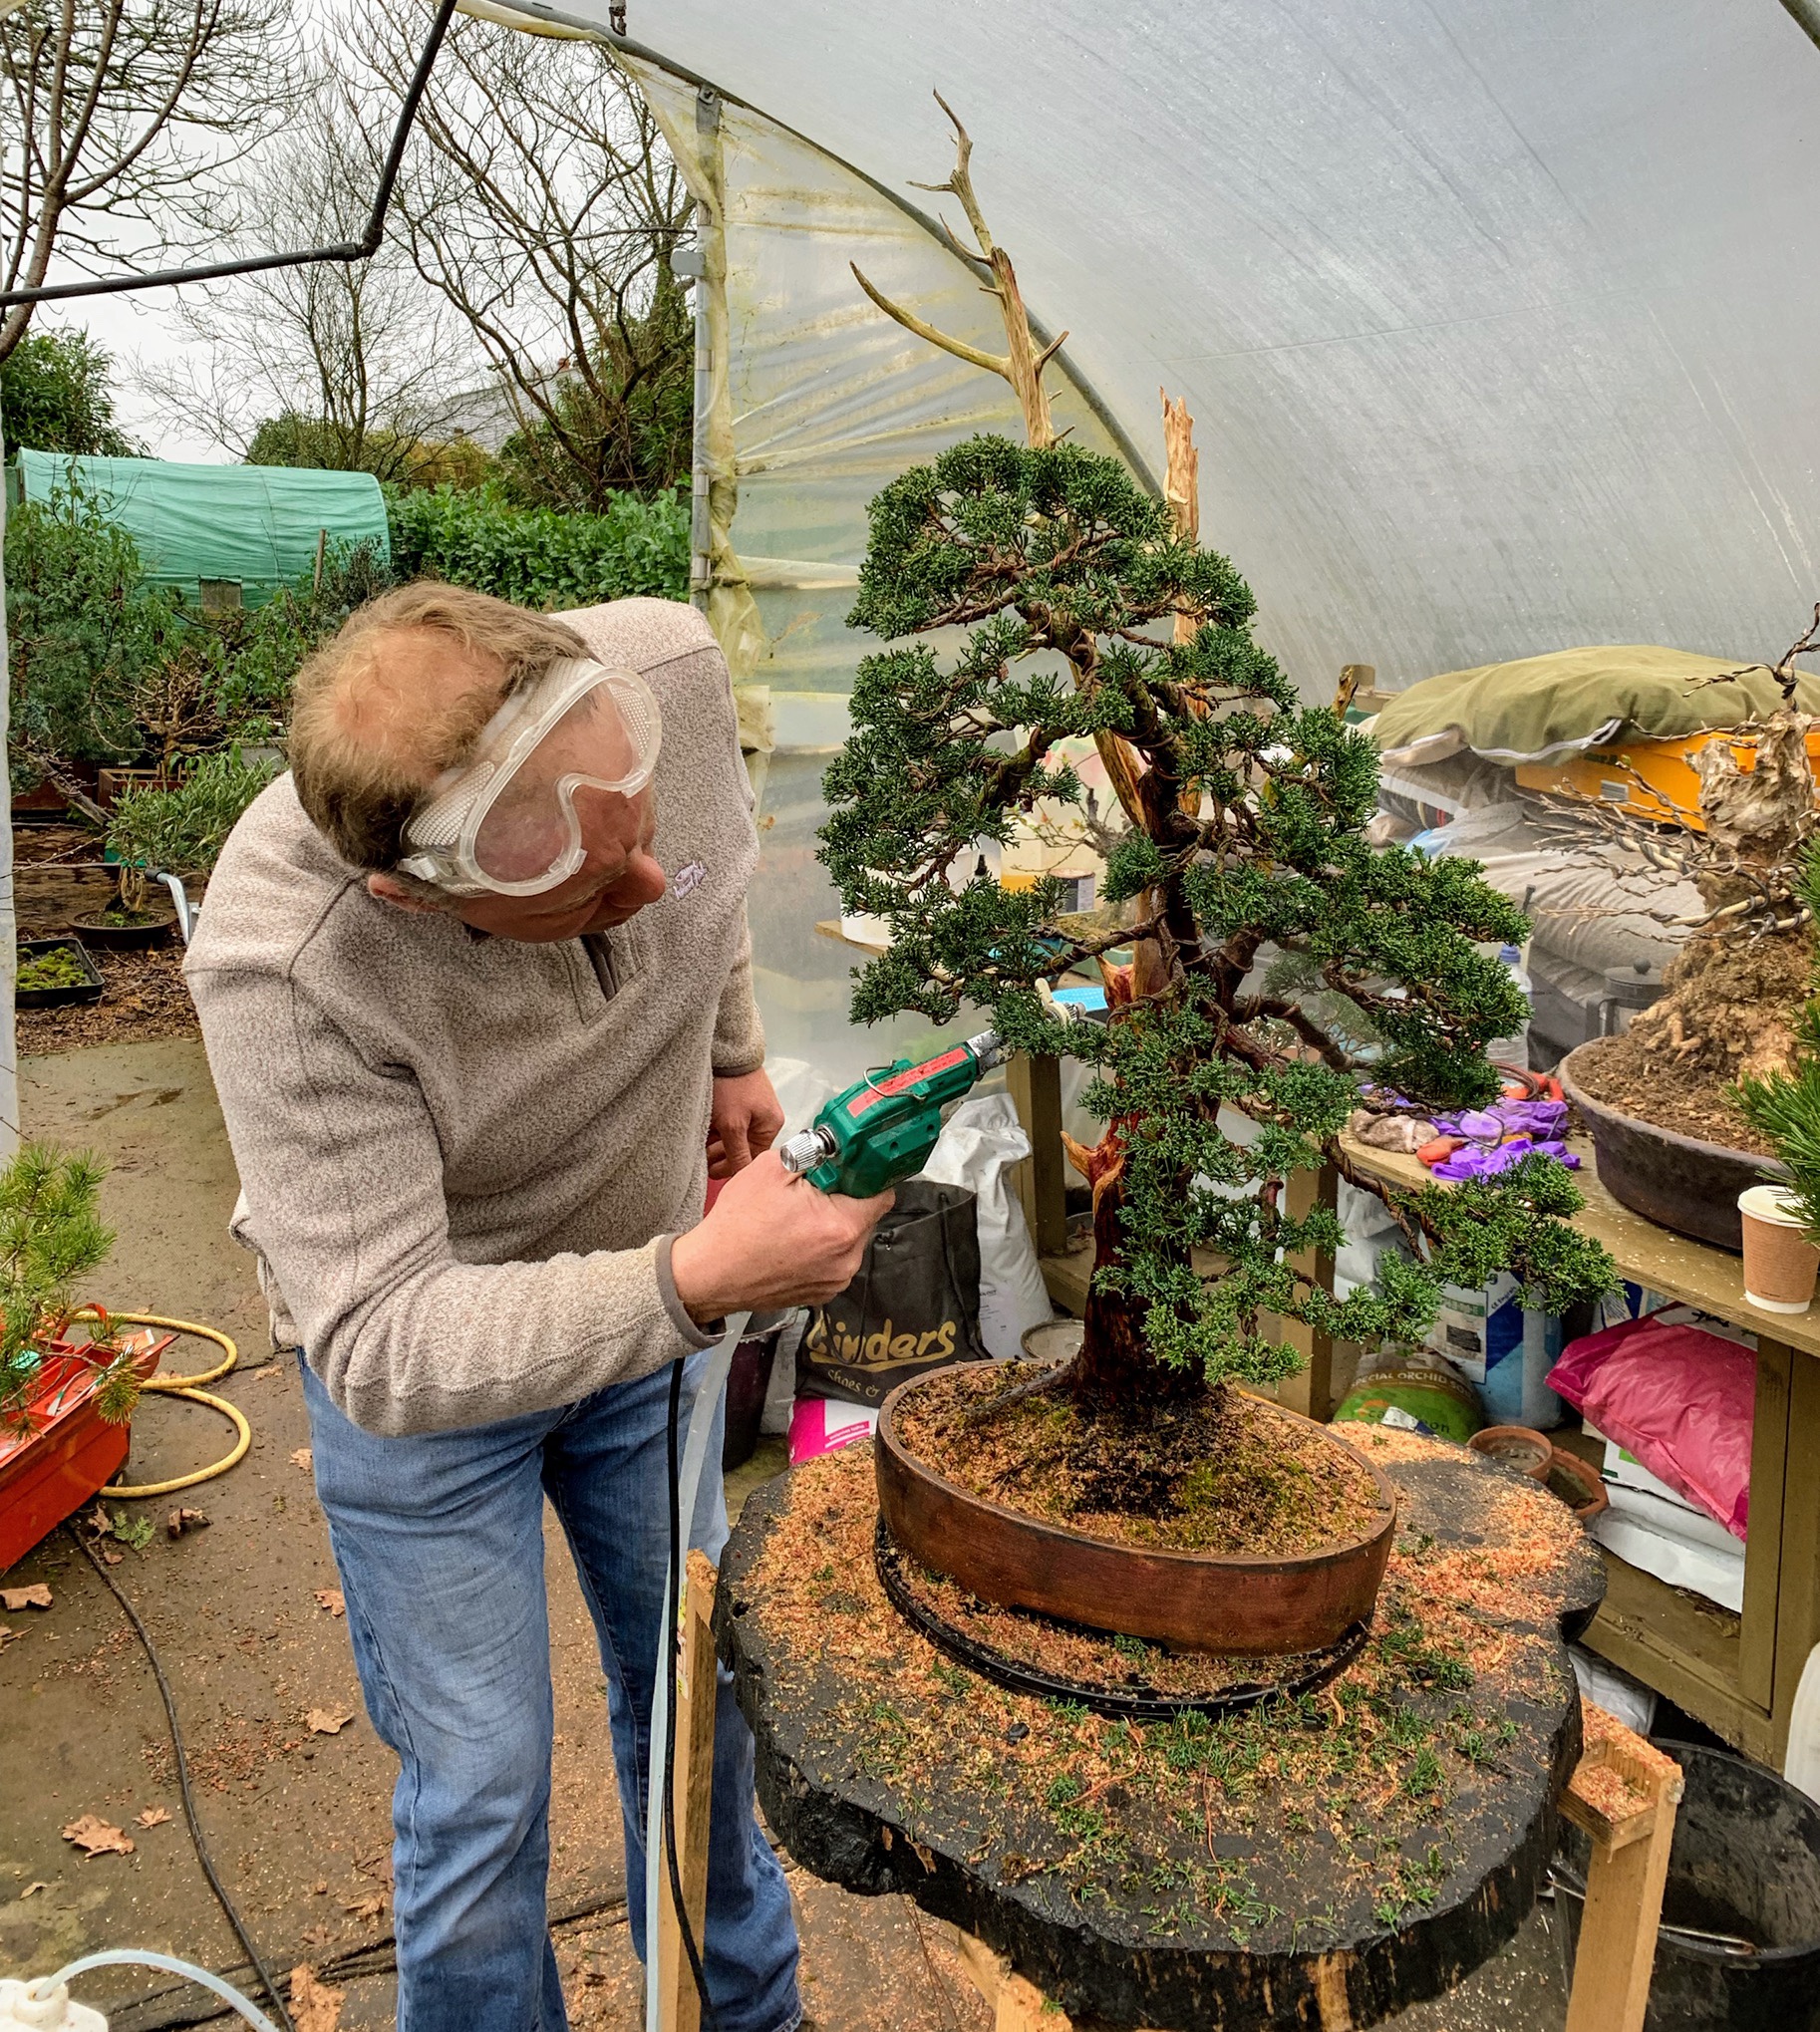
This Scots Pine, recently arrived into Northern Ireland, hade been featured in Peter Warren’s book, ‘Bonsai’ published by DK. This showed its first styling by Peter.
When it arrived here it was obvious that in the interim it had undergone further changes and refinement.
The tree was ready for the next step and the new owner asked if I would do a little work on it. I was going to wait a little longer to allow the new foliage time to harden but it was surprisingly resistant to a tug on new needles. So with a soft touch I set about following the framework already set in place before. I discussed the tree with Adam the new owner and we agreed on a front but knew the tree had been set up for either side to look the part. My reason for the left lean being the front was the added depth the foliage created and the better base to the tree.
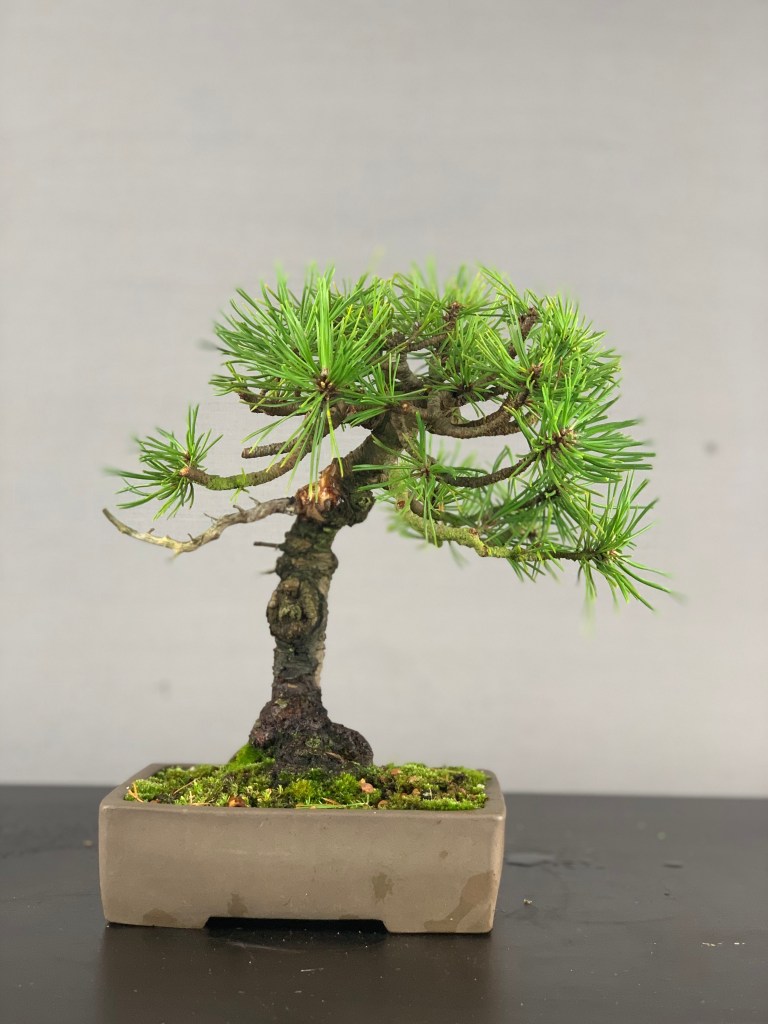
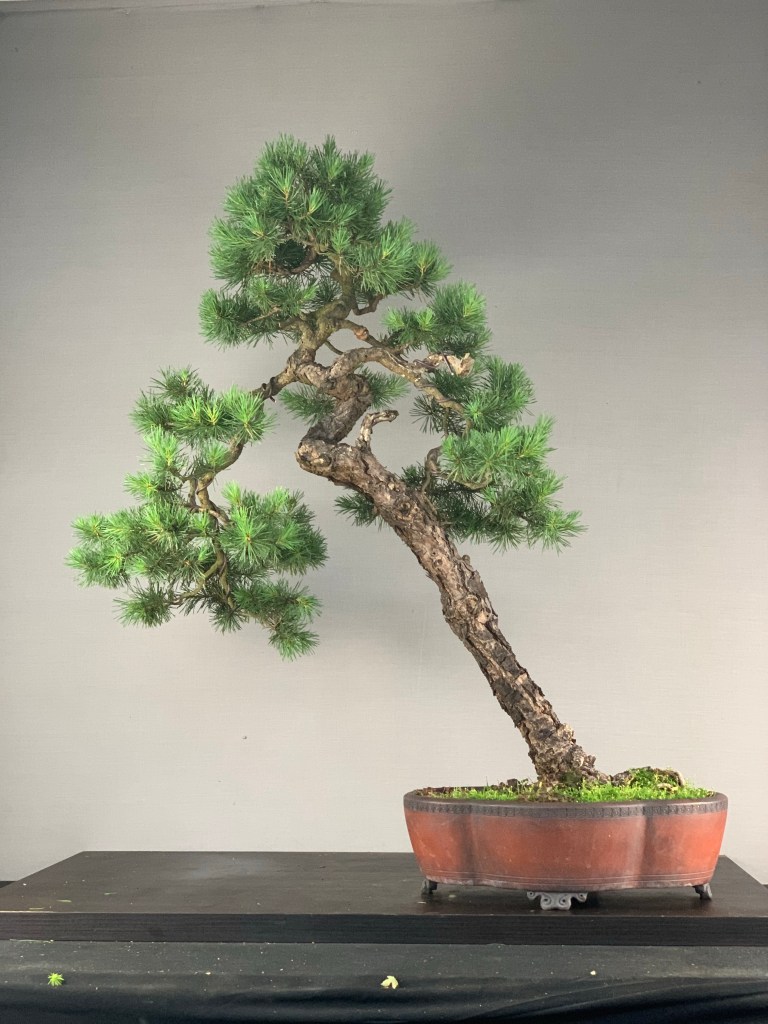
This is the back but styled to give the tree a great look all around.
There’s a few little bits of deadwood that might be distracting but I’m leaving them to see how the tree matures, they can be removed later by the owner if he feels the need.
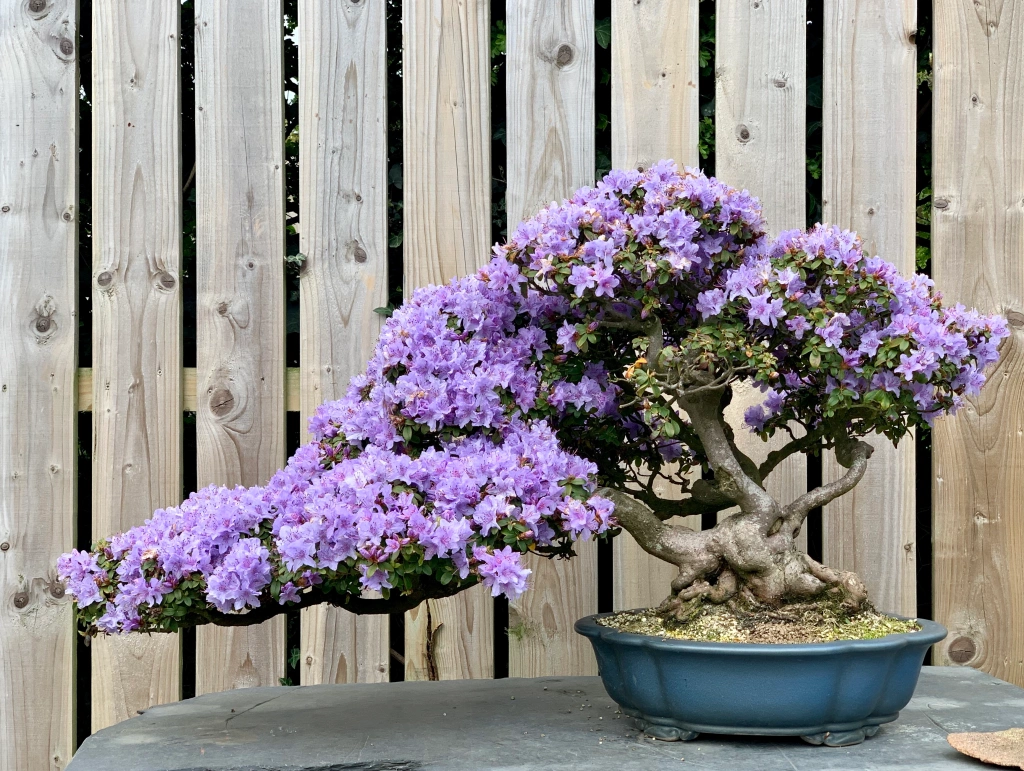
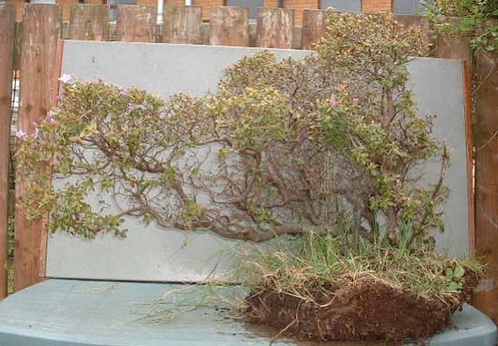
In an attempt to get into a routine of posting on the blog again I thought I’d share this Rhododendron Blue Diamond here.
This years peak bloom.
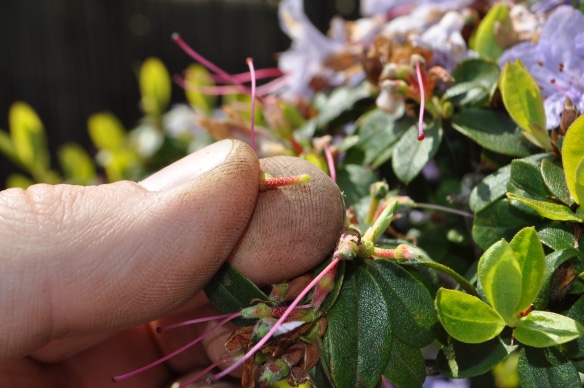
You’ll notice the one branch at the front without flowers. It’s a weak branch which gets weaker every year. There is a very thin live vein on it and I had removed the flowers from it for the last few years to try and strengthen it with no joy. Enough was enough. It had its chance so time to remove and redesign.
And then past peak with dead flowers showing.
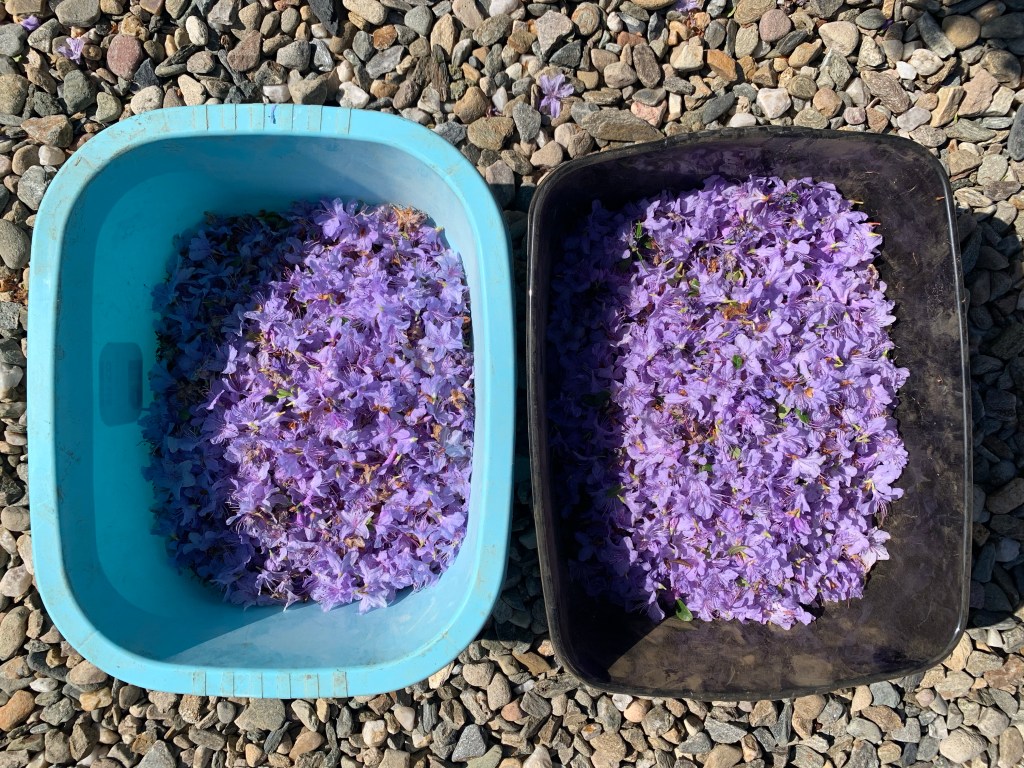
The ideal time to remove the flowers and more importantly the little seed pods at their centre.
I’m sure we missed some late openers. After deflowering before pruning. Structural pruningAfter pruning and set for the post flowering flush. You’d hardly notice the front branch at the main apex gone. A few bits wired to fill the gap.
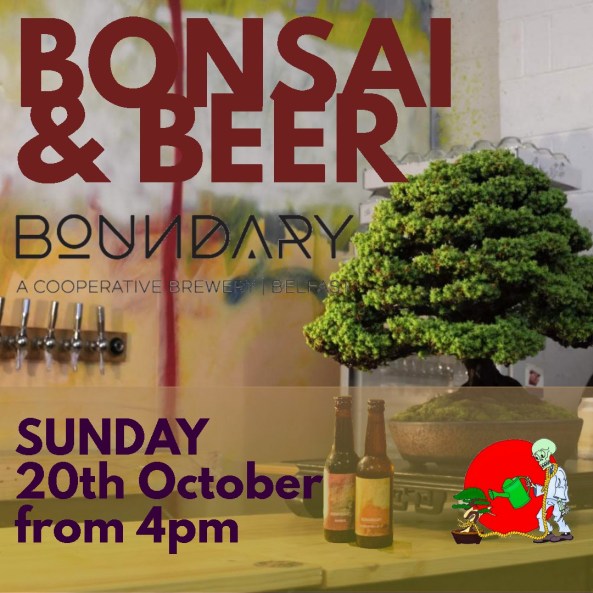
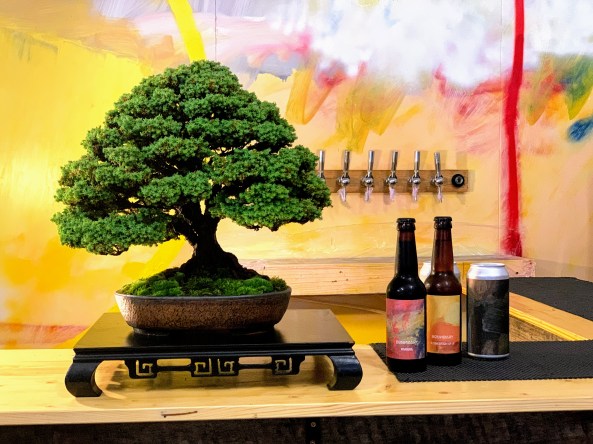
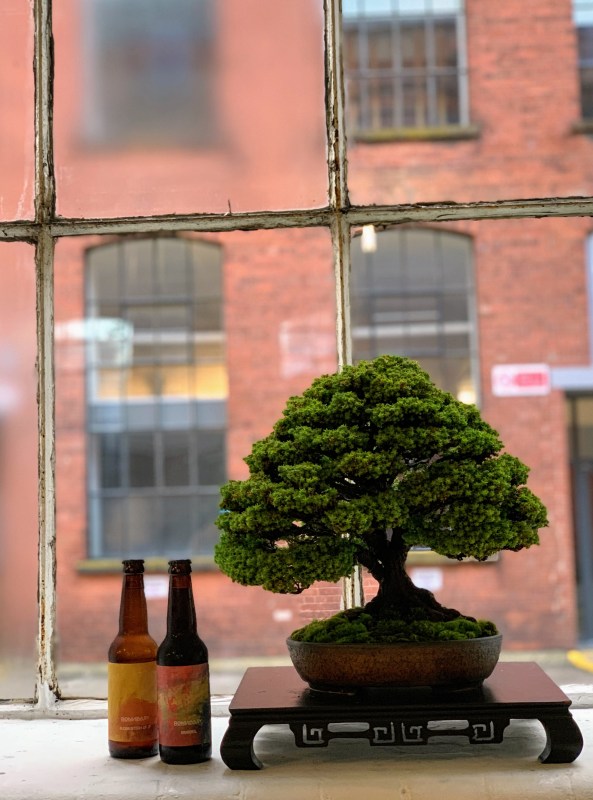
I’m delighted to announce an event bringing two of my favourite things together 🙂
On Sunday 20th October ( date change, we are now a week earlier)Bonsai Eejit and Boundary Brewing team up for a one off event showcasing the Art of Bonsai and the art of making quality craft beer.
Come along to the taproom at Boundary Brewing and enjoy These two art forms in one place.
This is a very informal display of quality bonsai with a bonsai demo and a chance to see how quality beer is made and enjoyed in my birth City of Belfast. Come along and join us for some craic
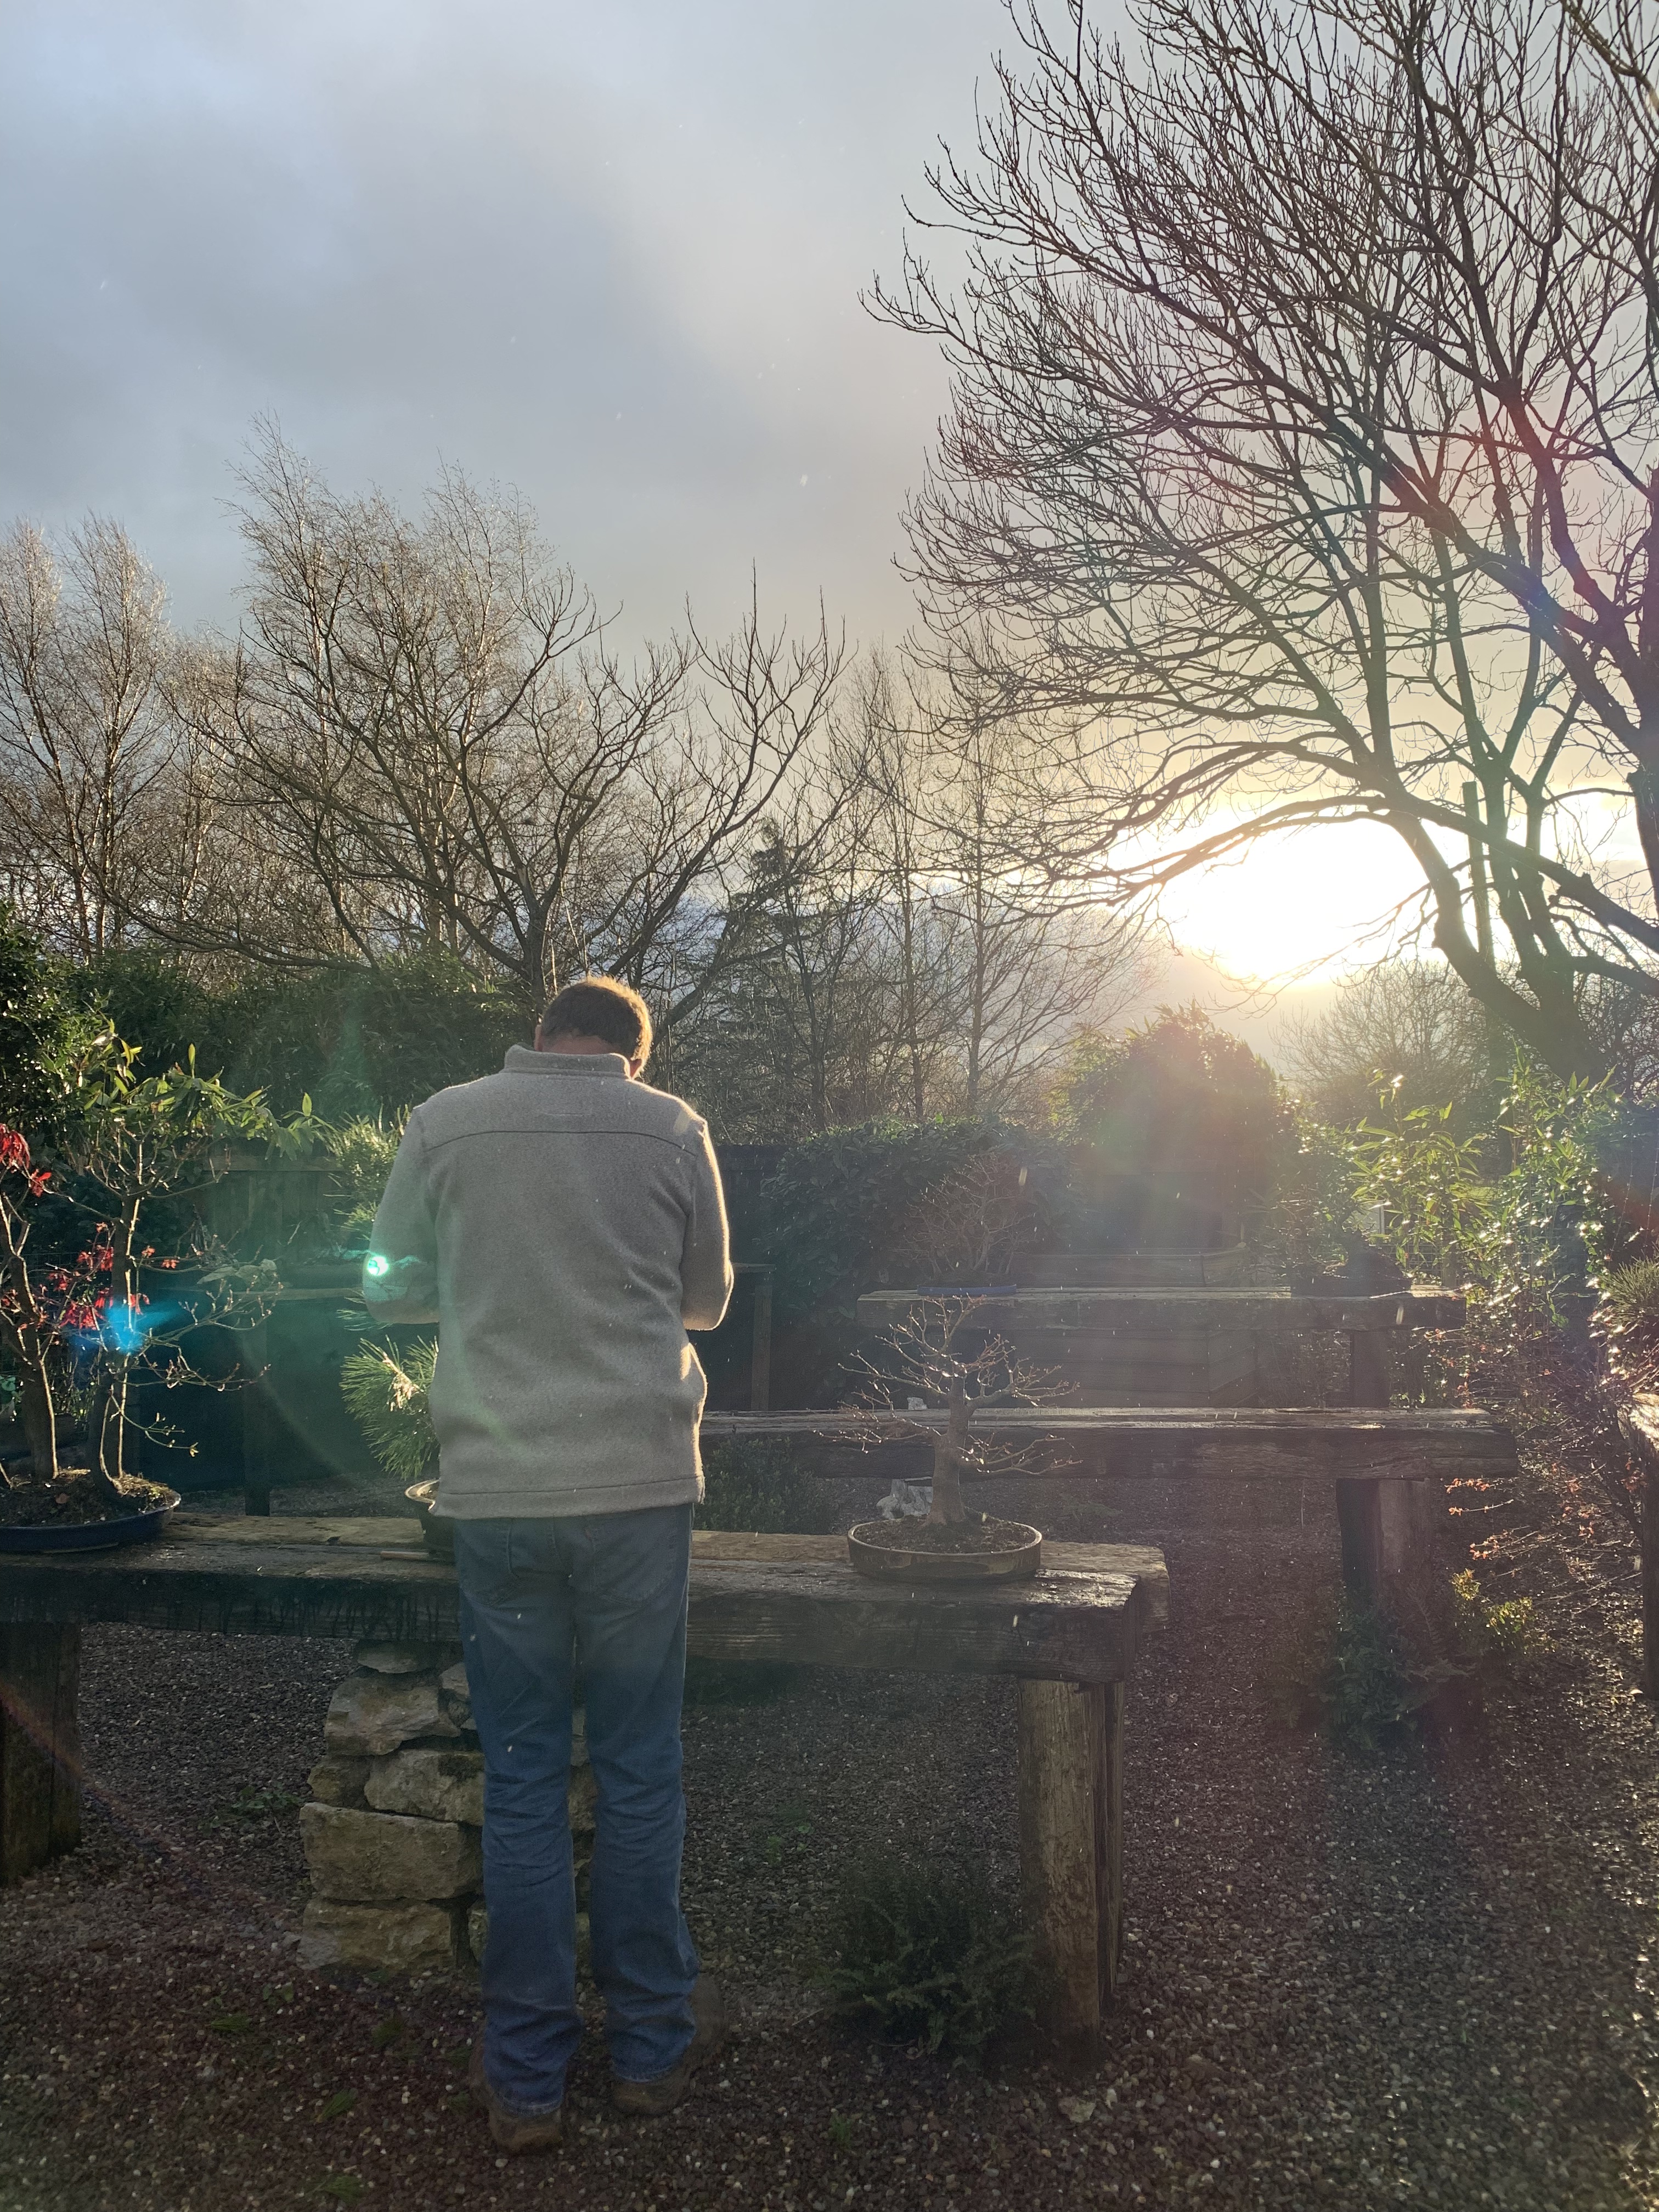
It’s been a busy week down in the South of Ireland doing some one to one sessions with friends from Cobh, Cork, to Limerick then Dublin. Some good times had and great trees played with. A little styling and refinement and, as you’d expect, some repotting.
Here’s some photos from the trip.
Error
This video doesn’t exist
Error
This video doesn’t exist
Error
This video doesn’t exist
snow on the way home as usual in Dublin. Thank you to all who supported the road trip. Back again images weeks for another round.


 snow on the way home as usual in Dublin. Thank you to all who supported the road trip. Back again images weeks for another round.