A visit to Shunka-en

brendenstudio's avatarbrendenstudio

The second stop on our garden tour was to Kunio Kobayashi’s bonsai garden, Shunka-en. Located just outside Tokyo (and a fair drive from Kimura’s garden) it was begun by his father some seventy years ago. The garden was the largest I’d seen that day and very impressive. We were greeted by trees before we ever set foot in the garden–they were even on the roof!

Roof garden

Once inside the gate, we were ushered past familiar, famous old junipers and pines to the indoor Tokonoma display area by our guide, whose name I forgot, but has been an apprentice there for two years now and speaks excellent English.

Our guide

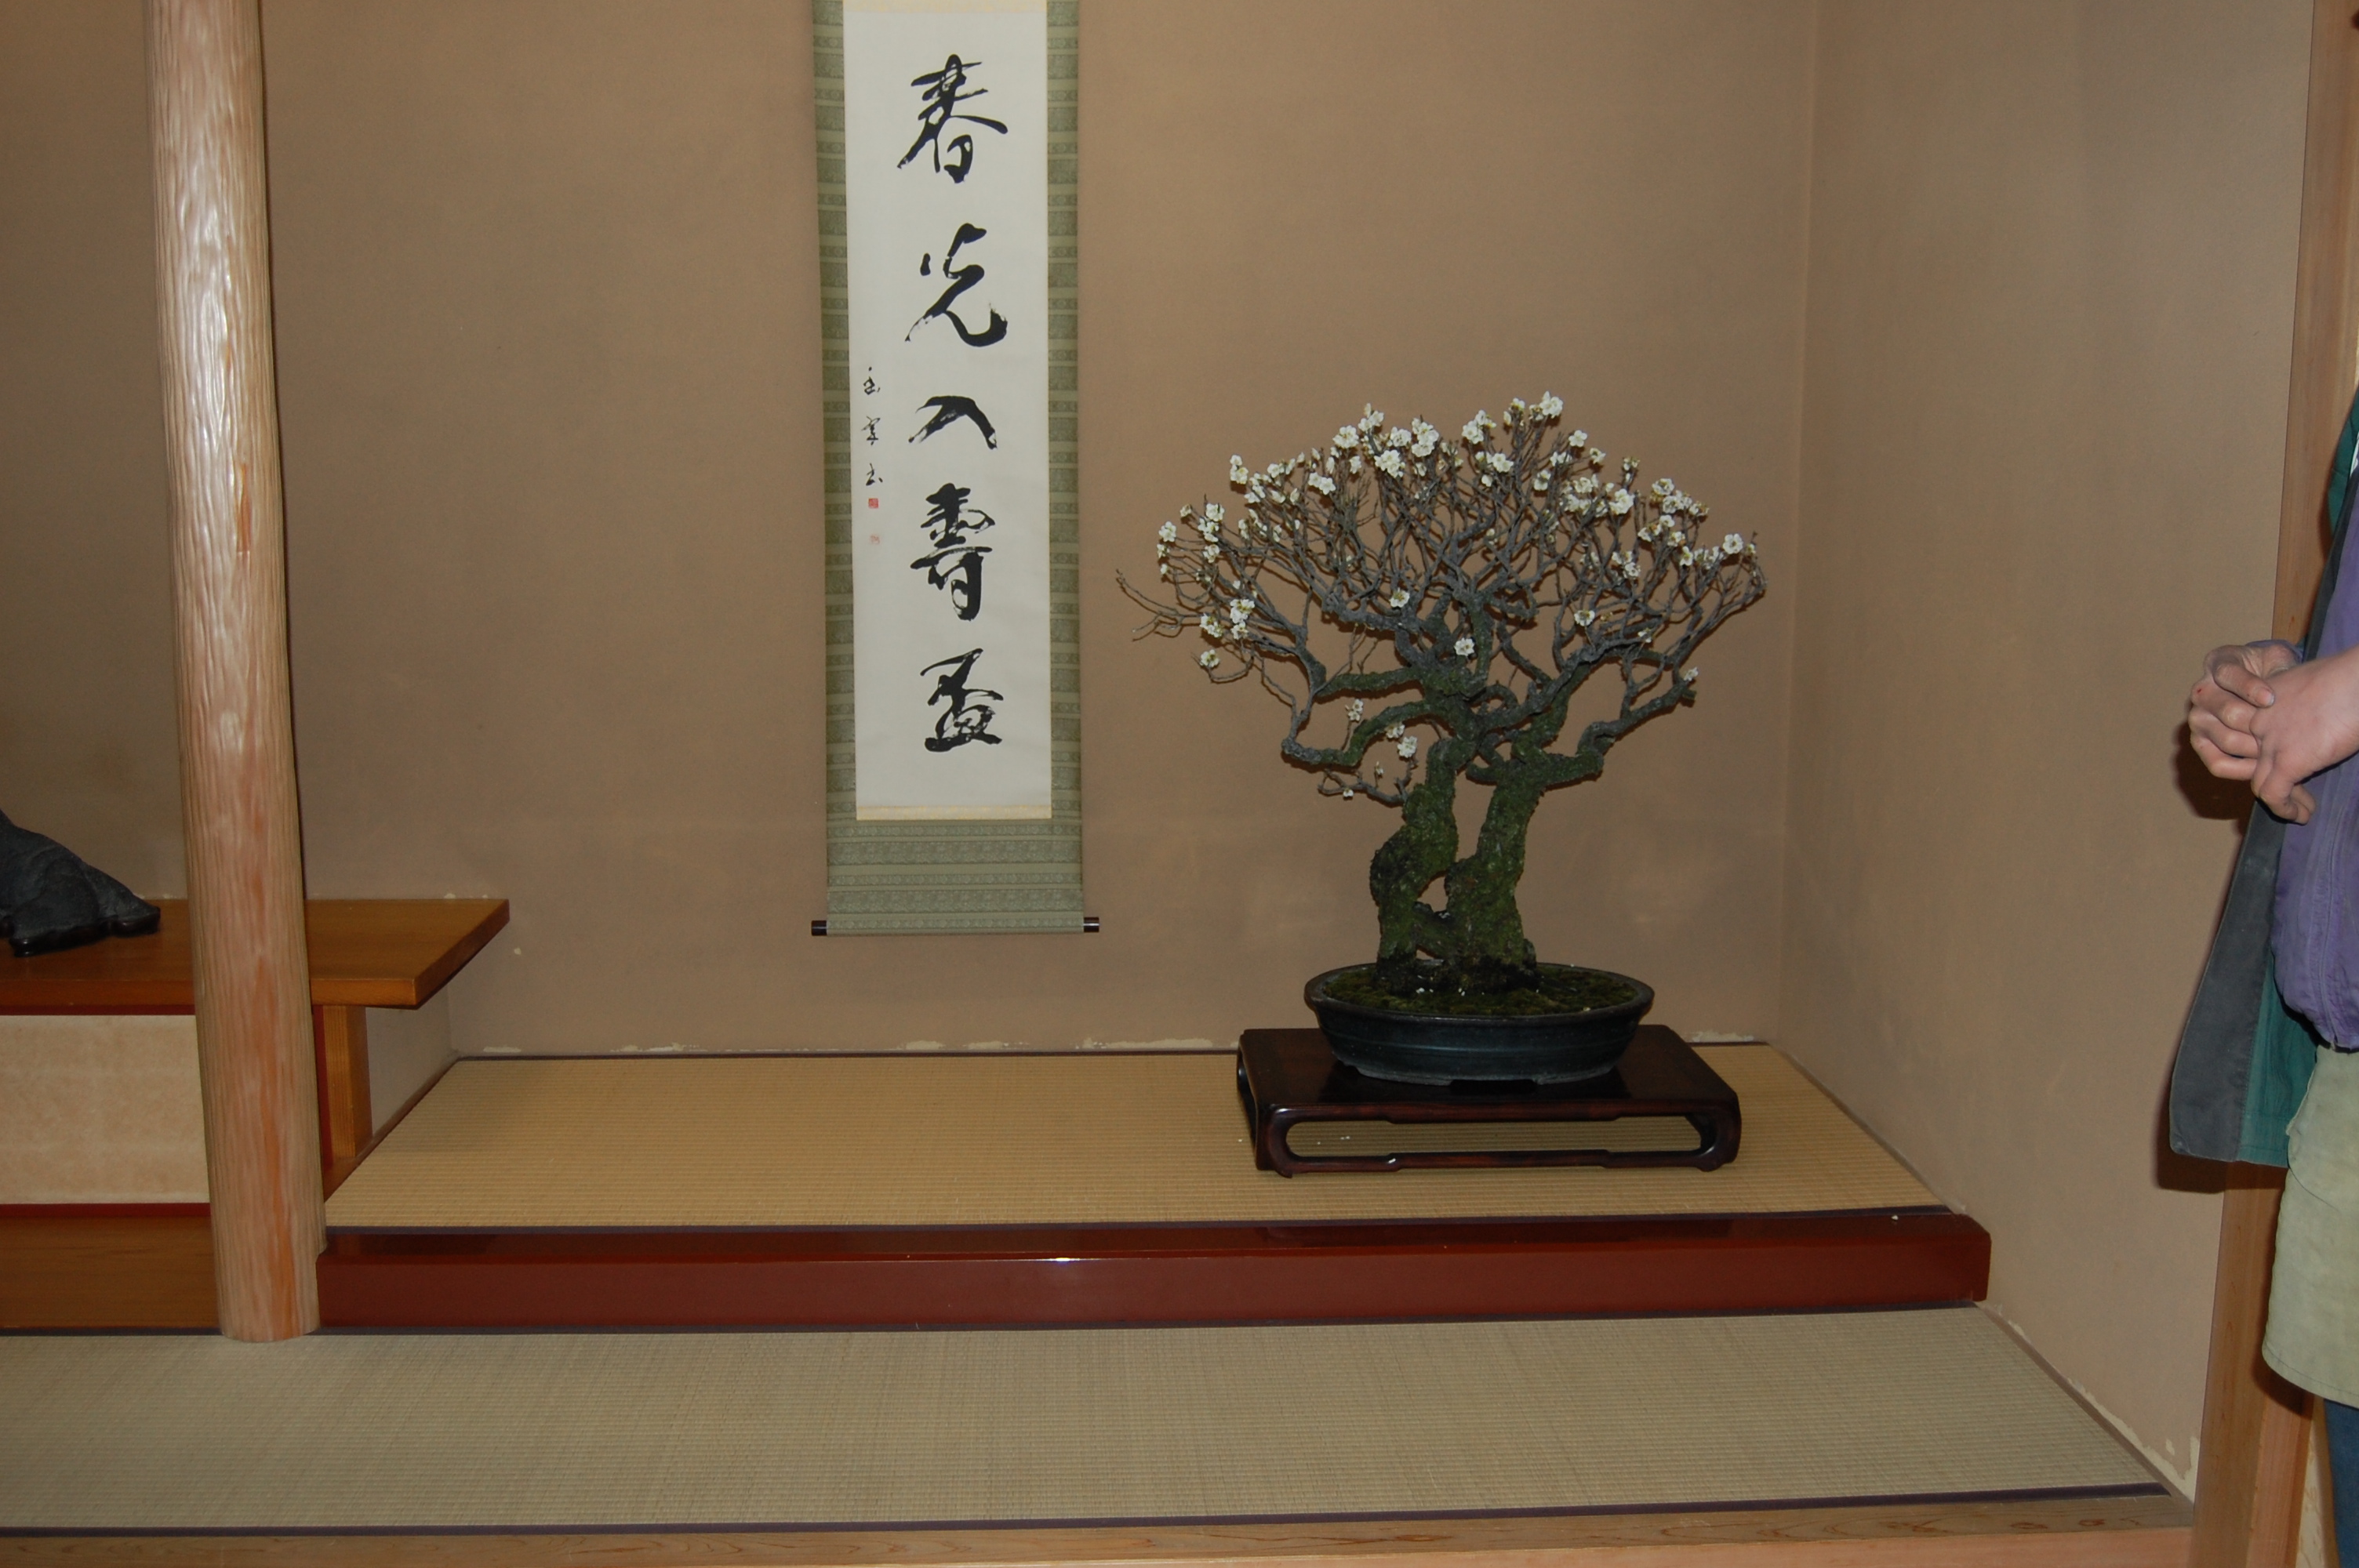
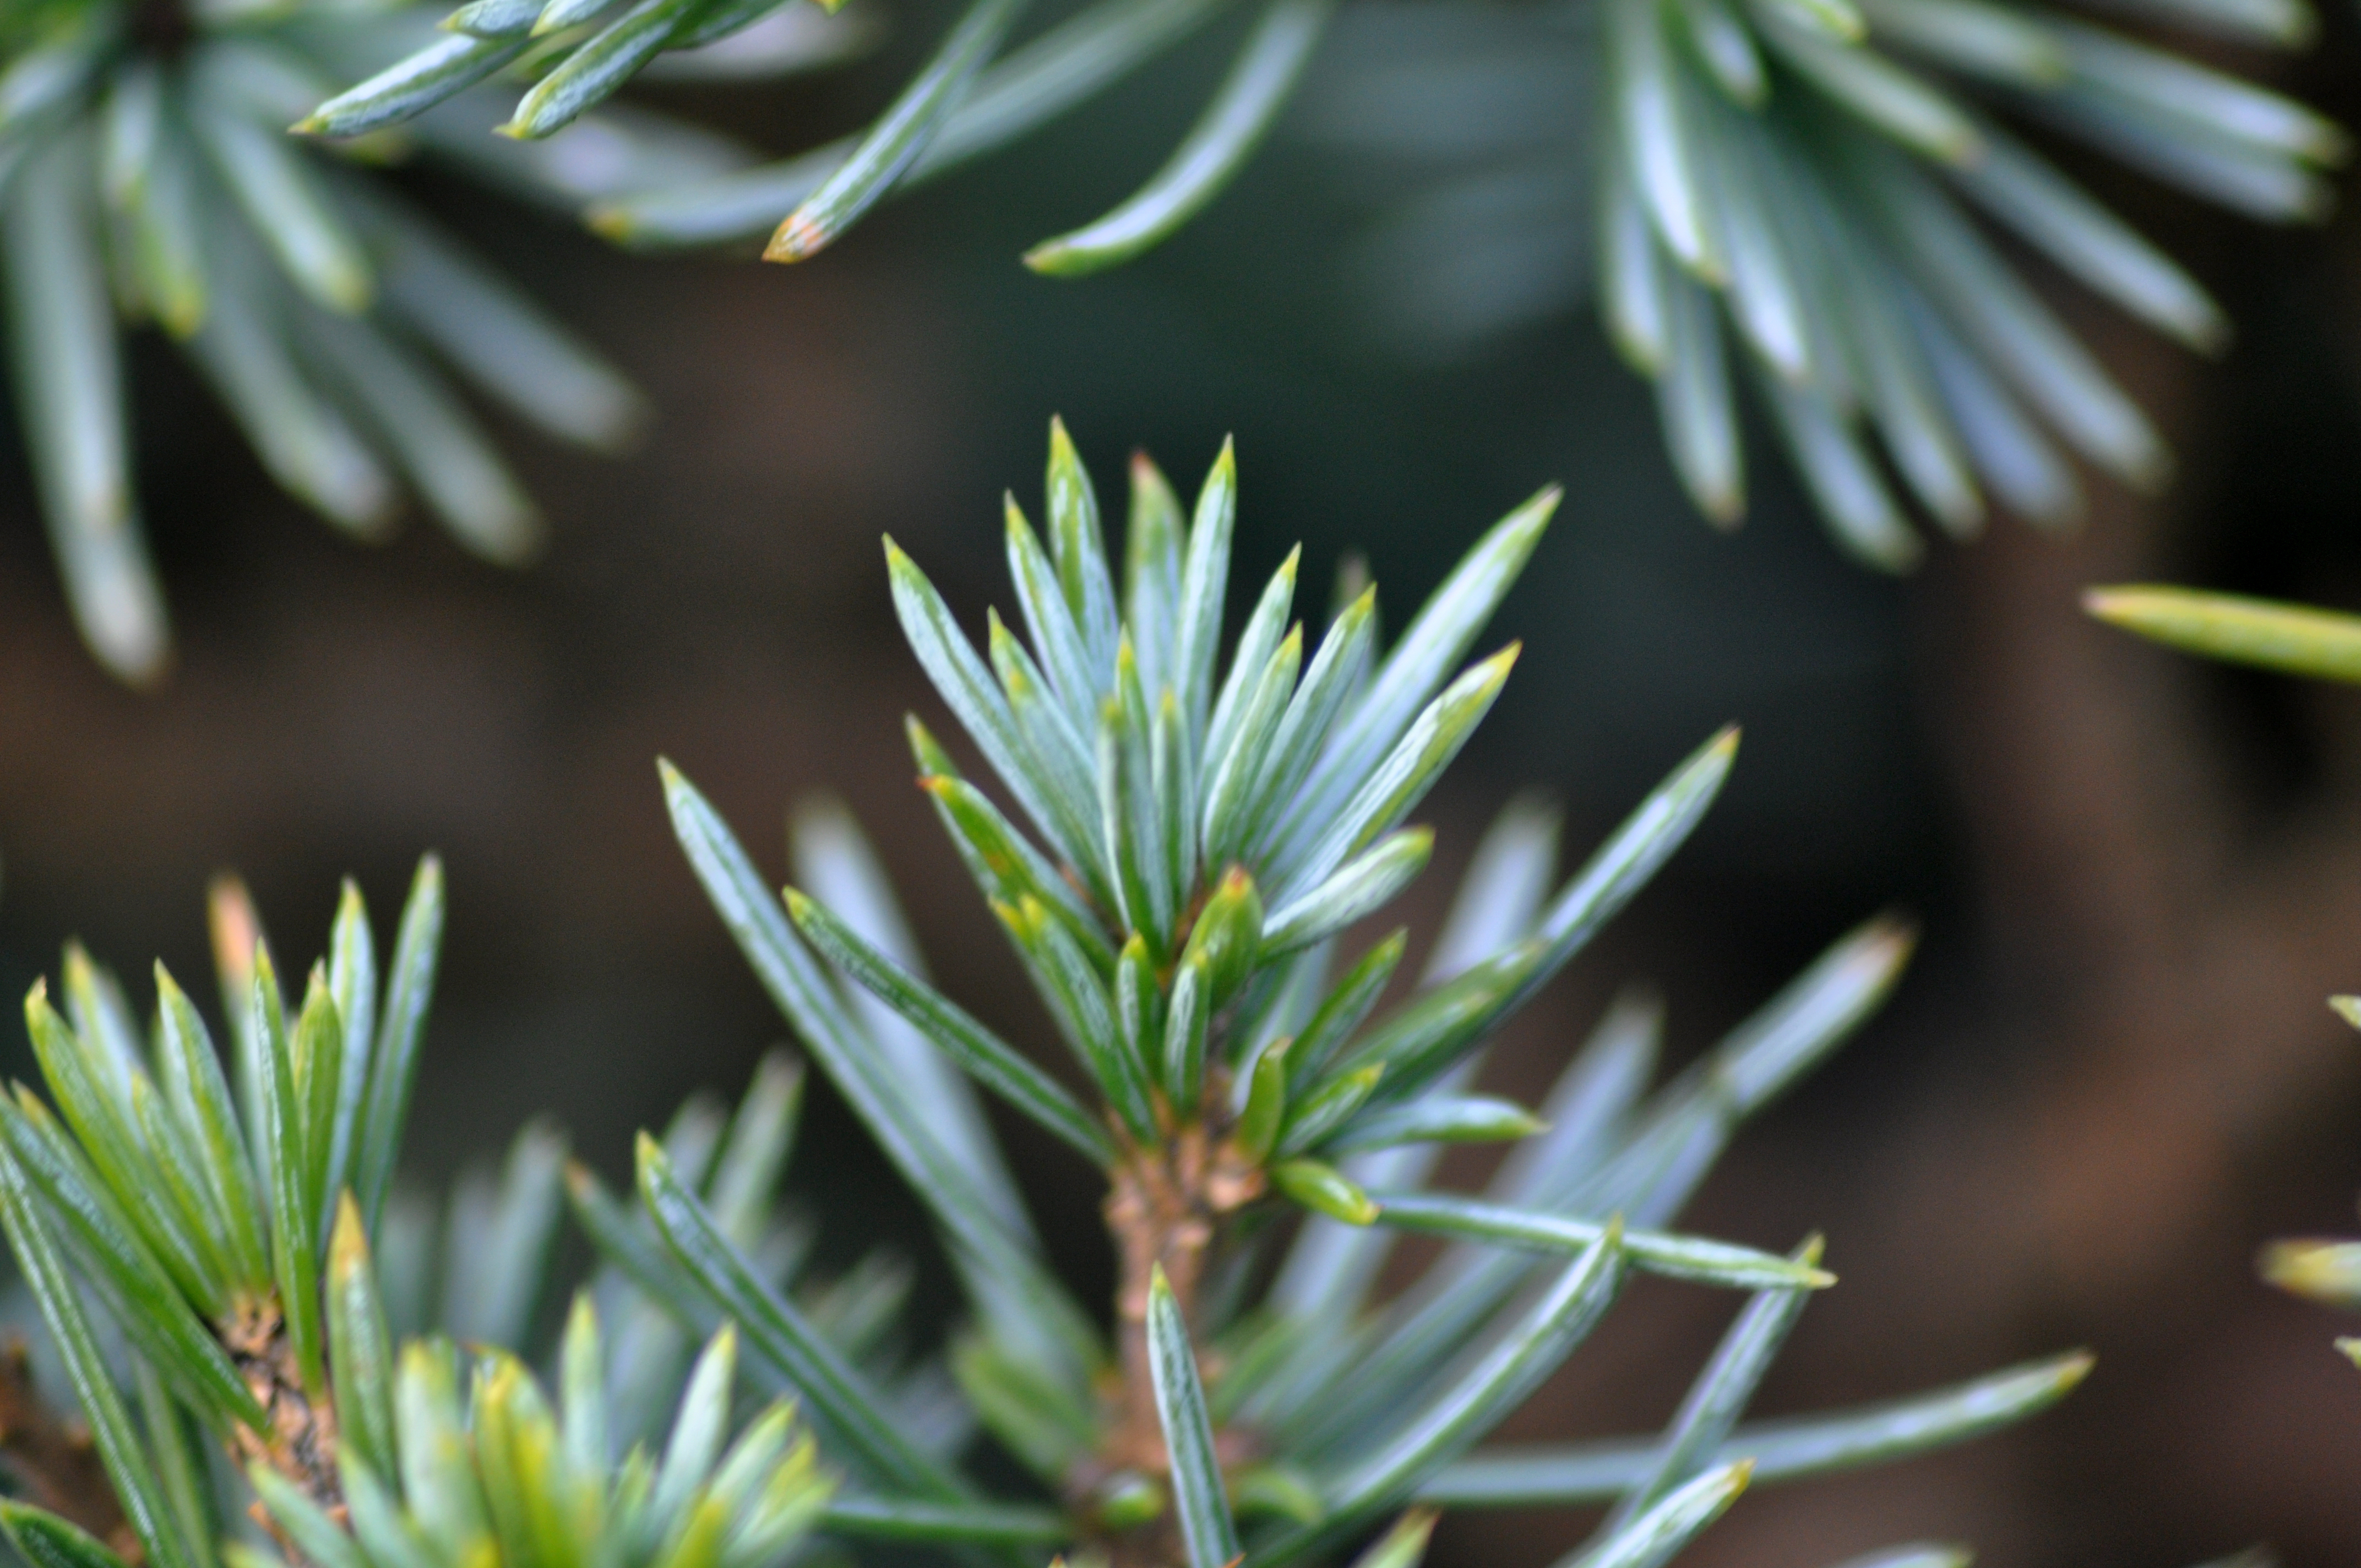
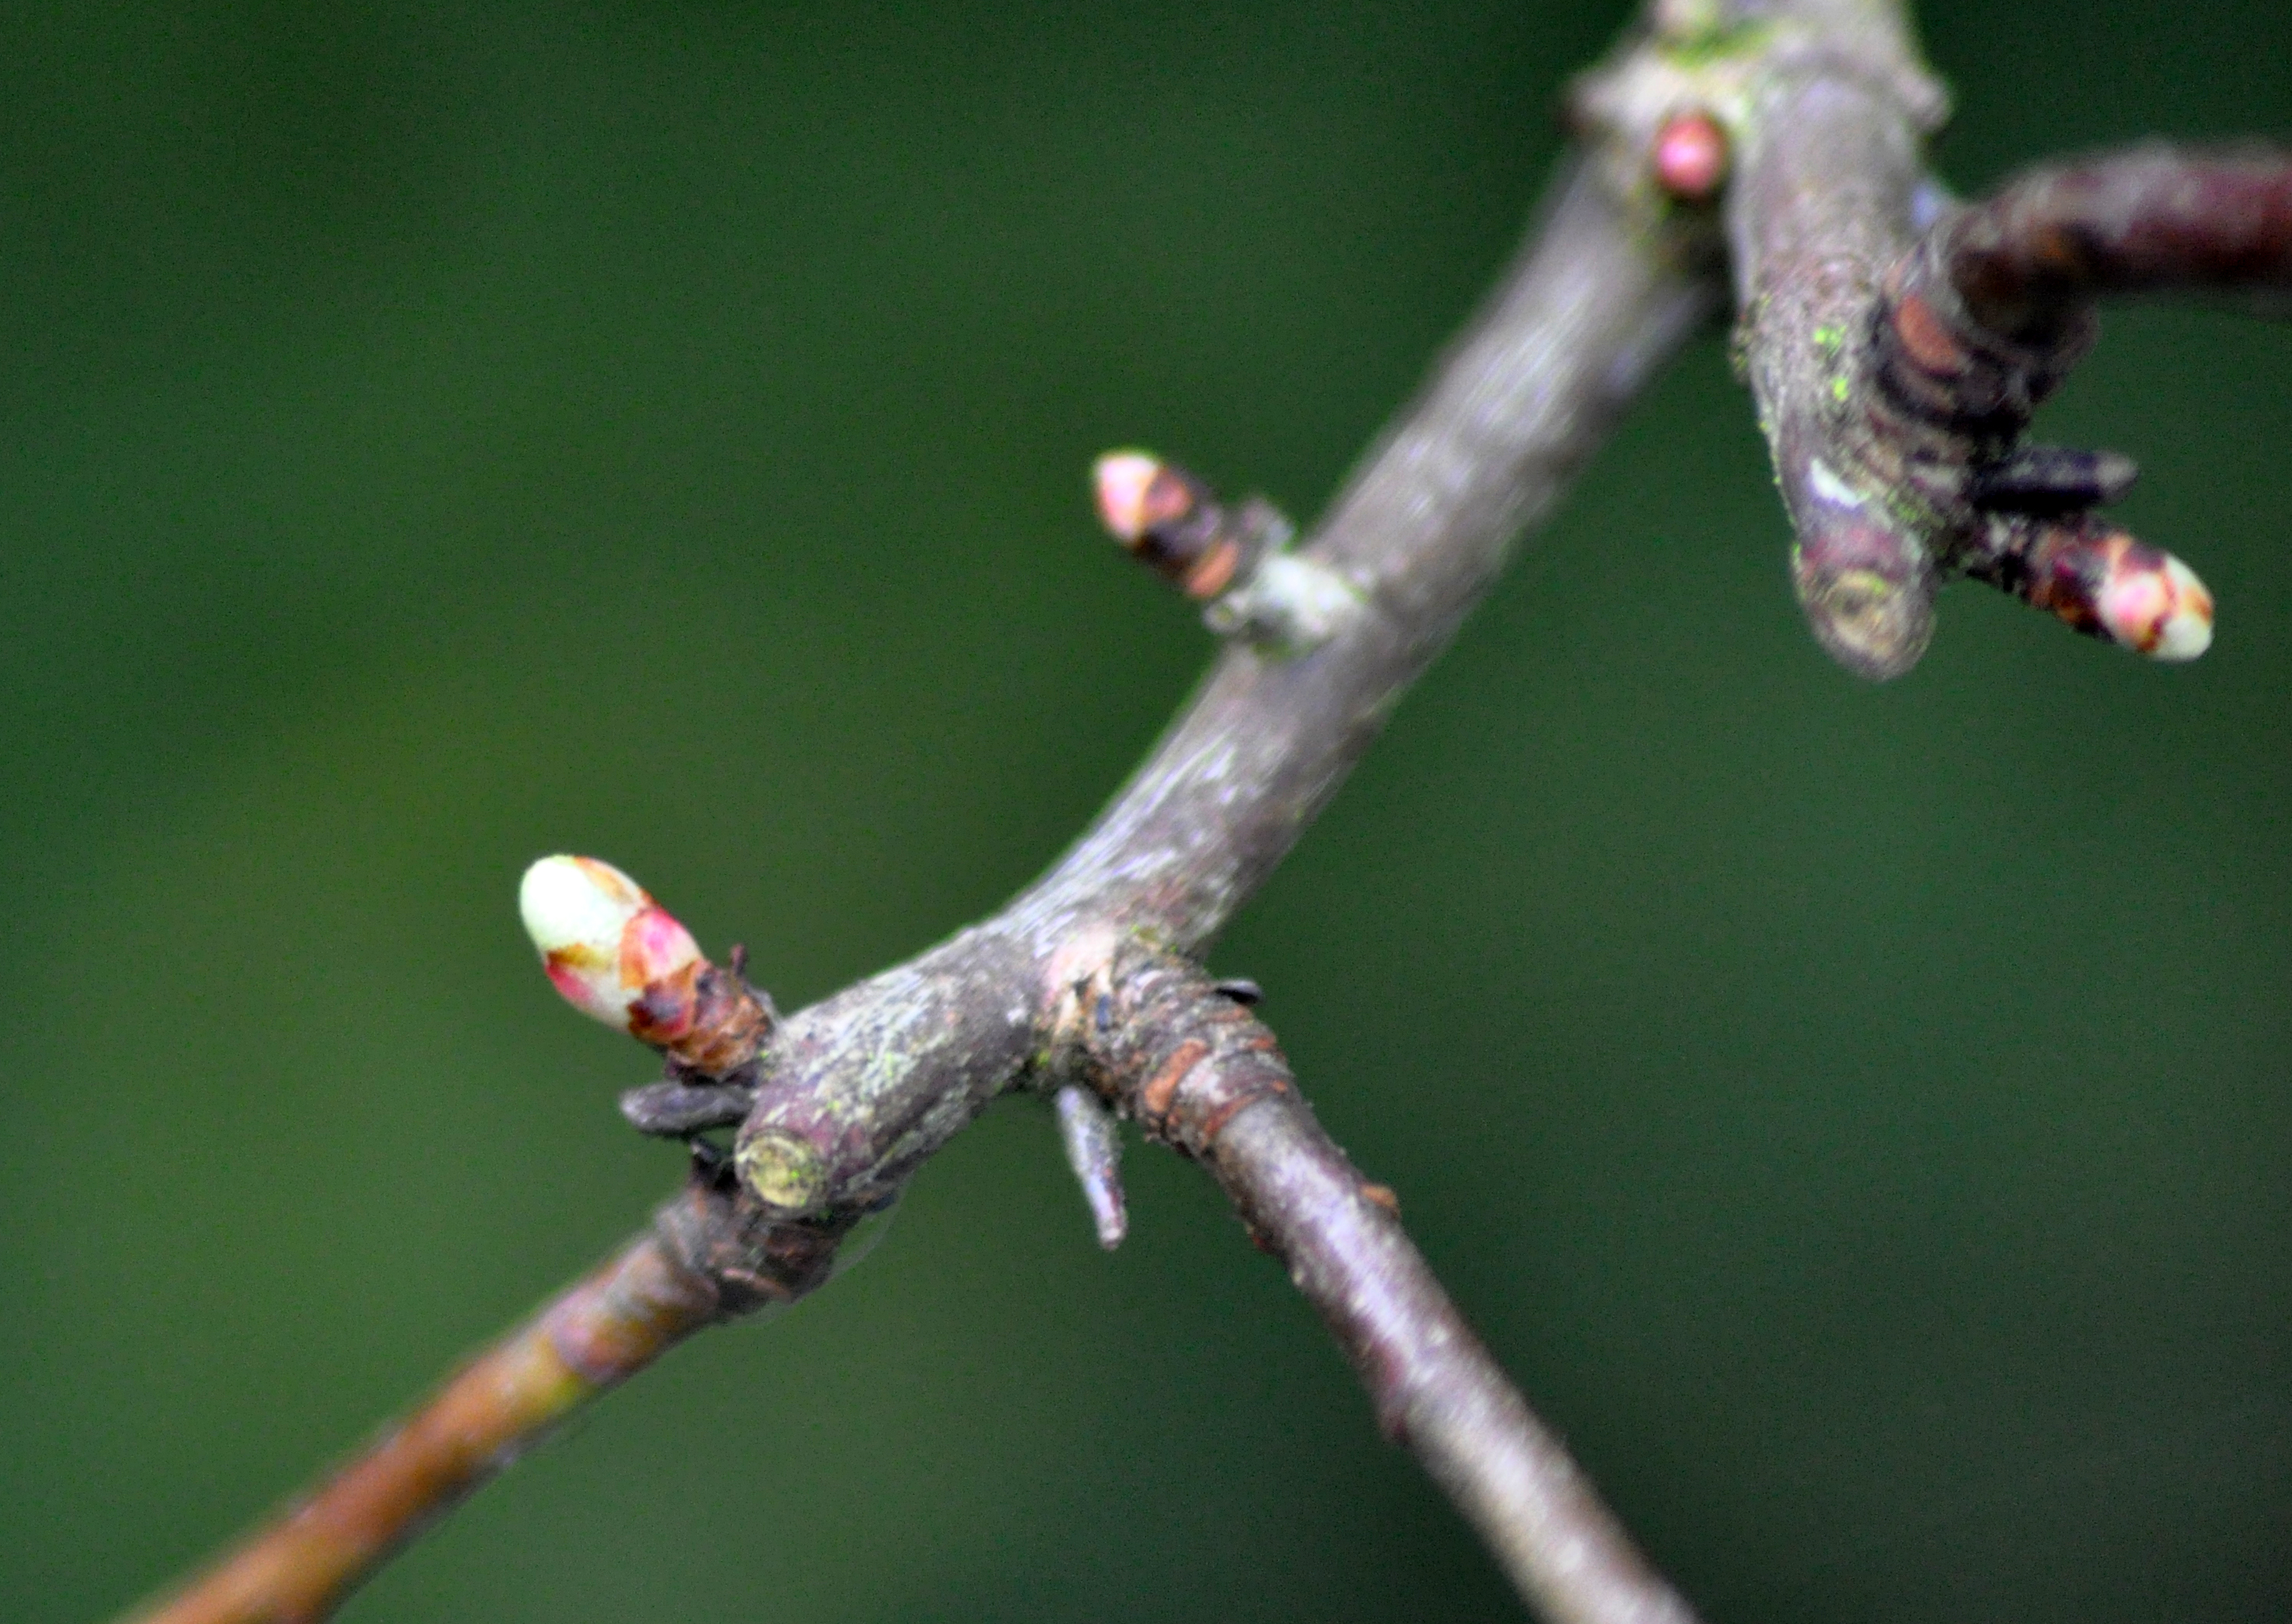
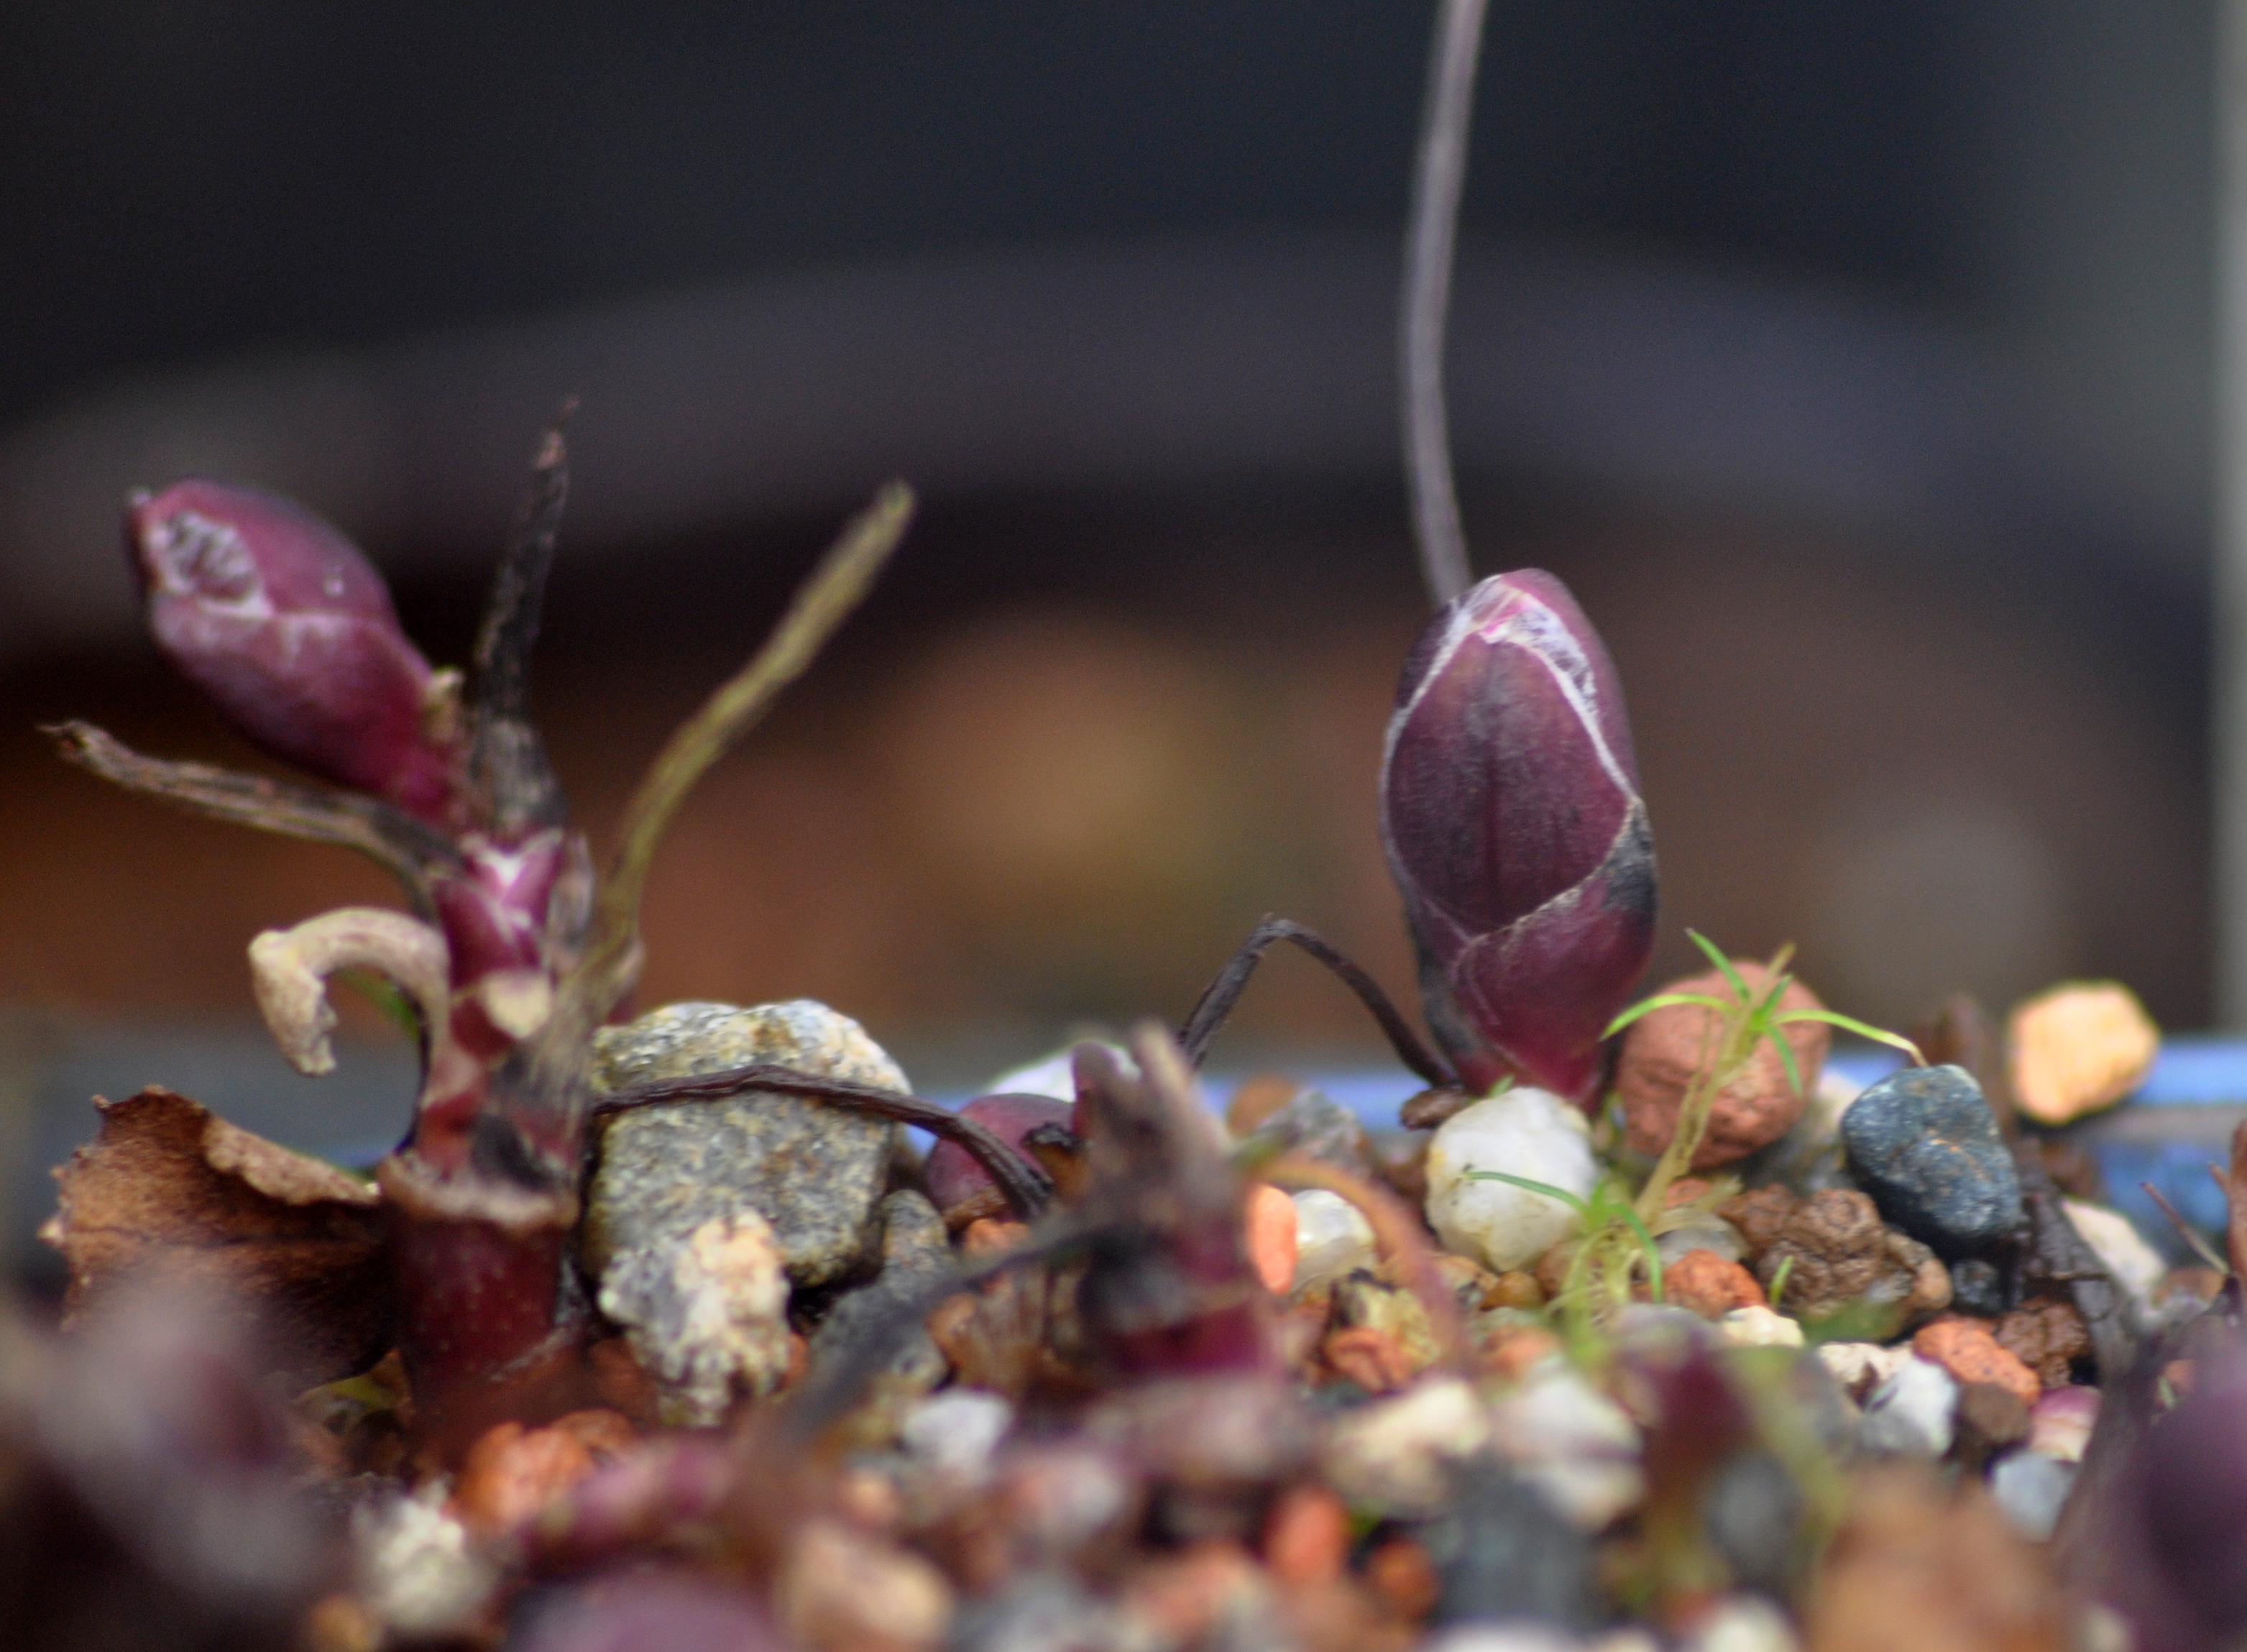
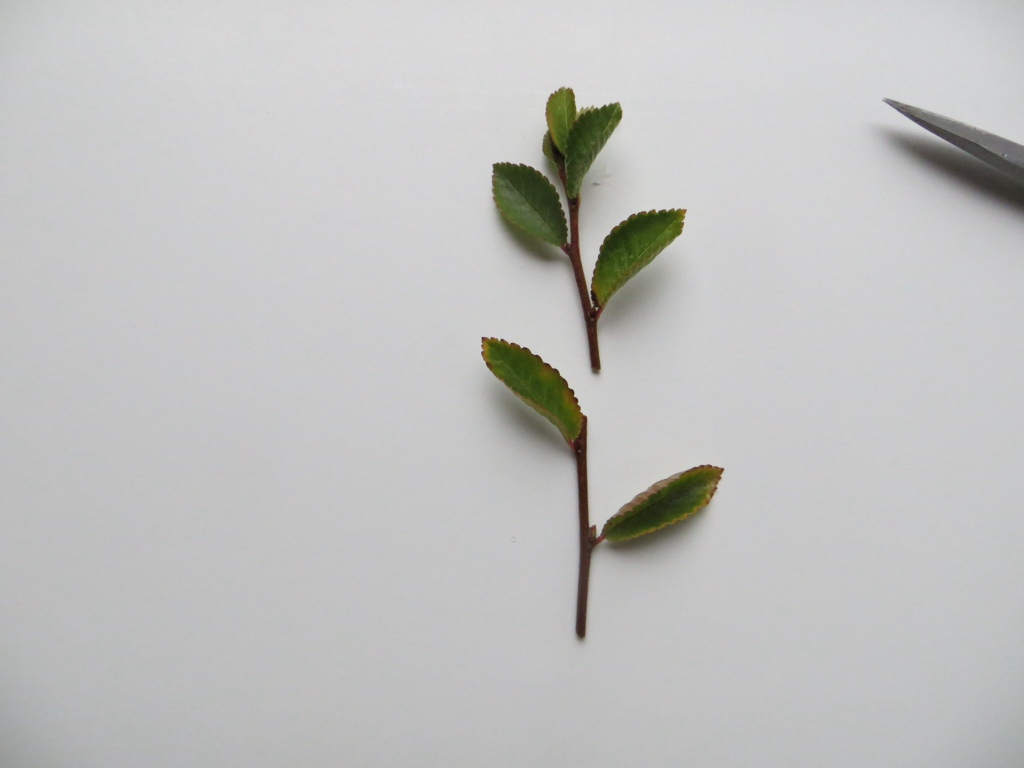
The first display featured an Ume, or Japanese flowering plum, one of the first trees to flower in early spring:

Ume

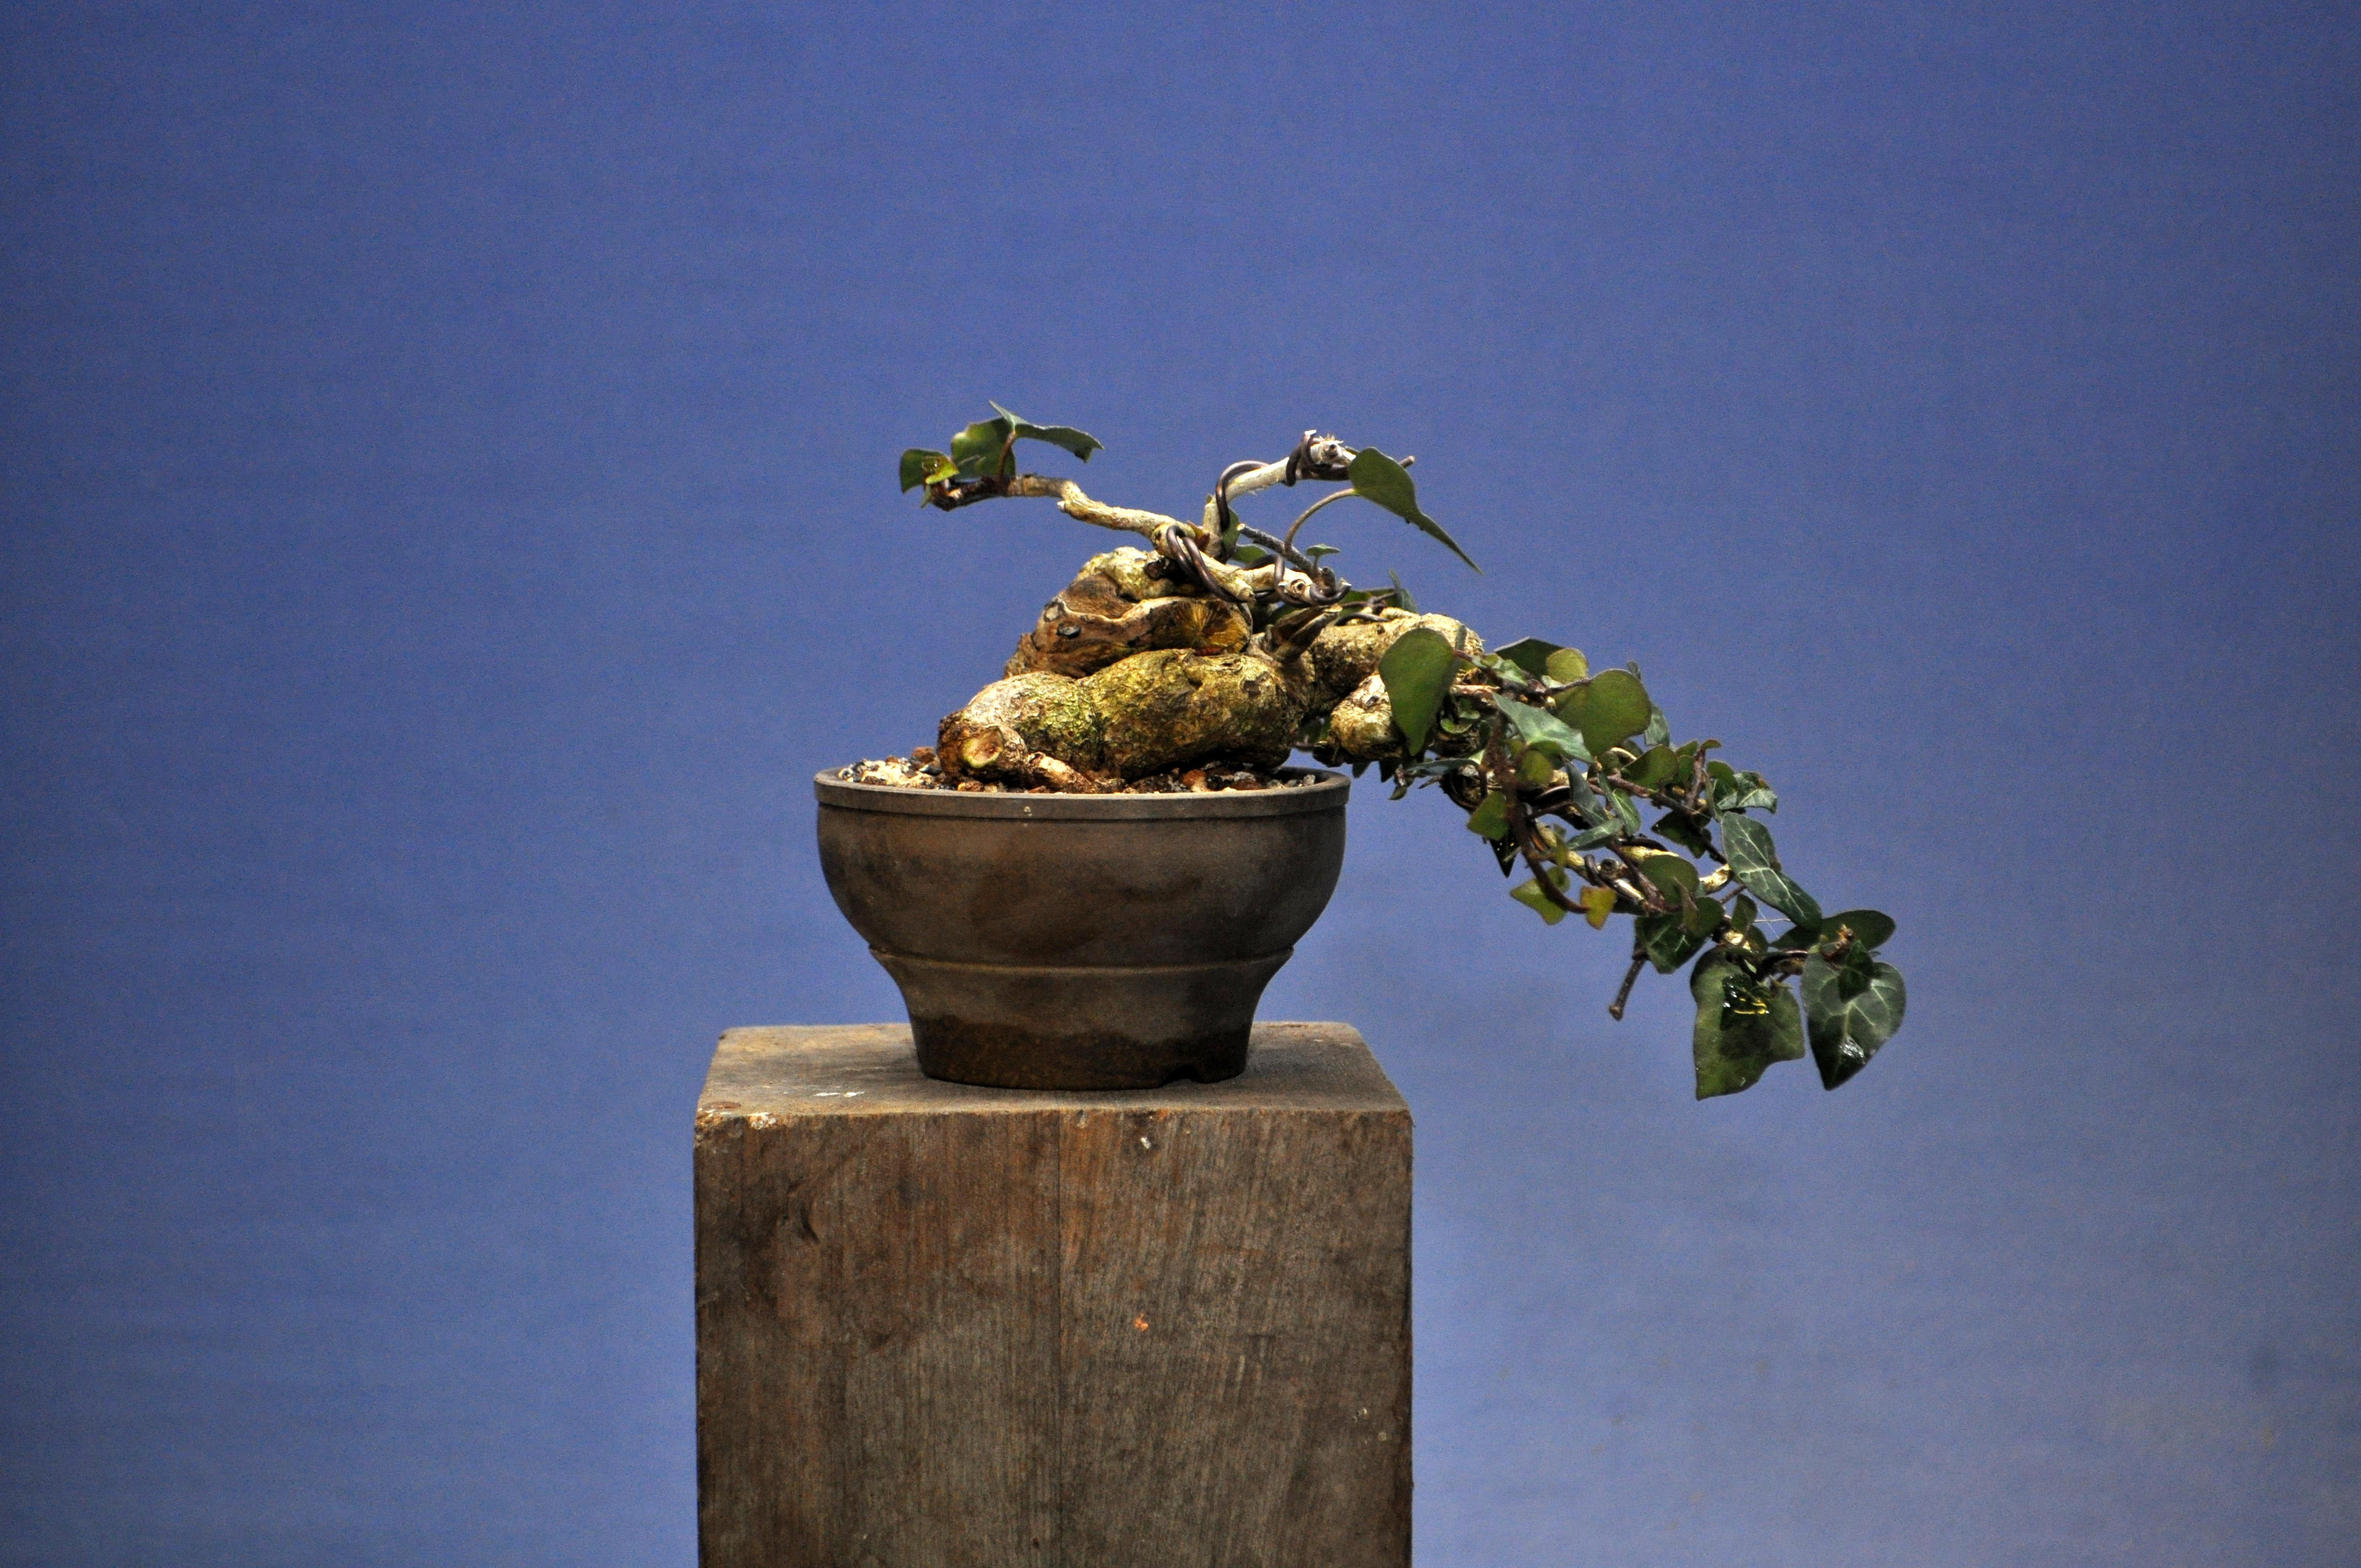
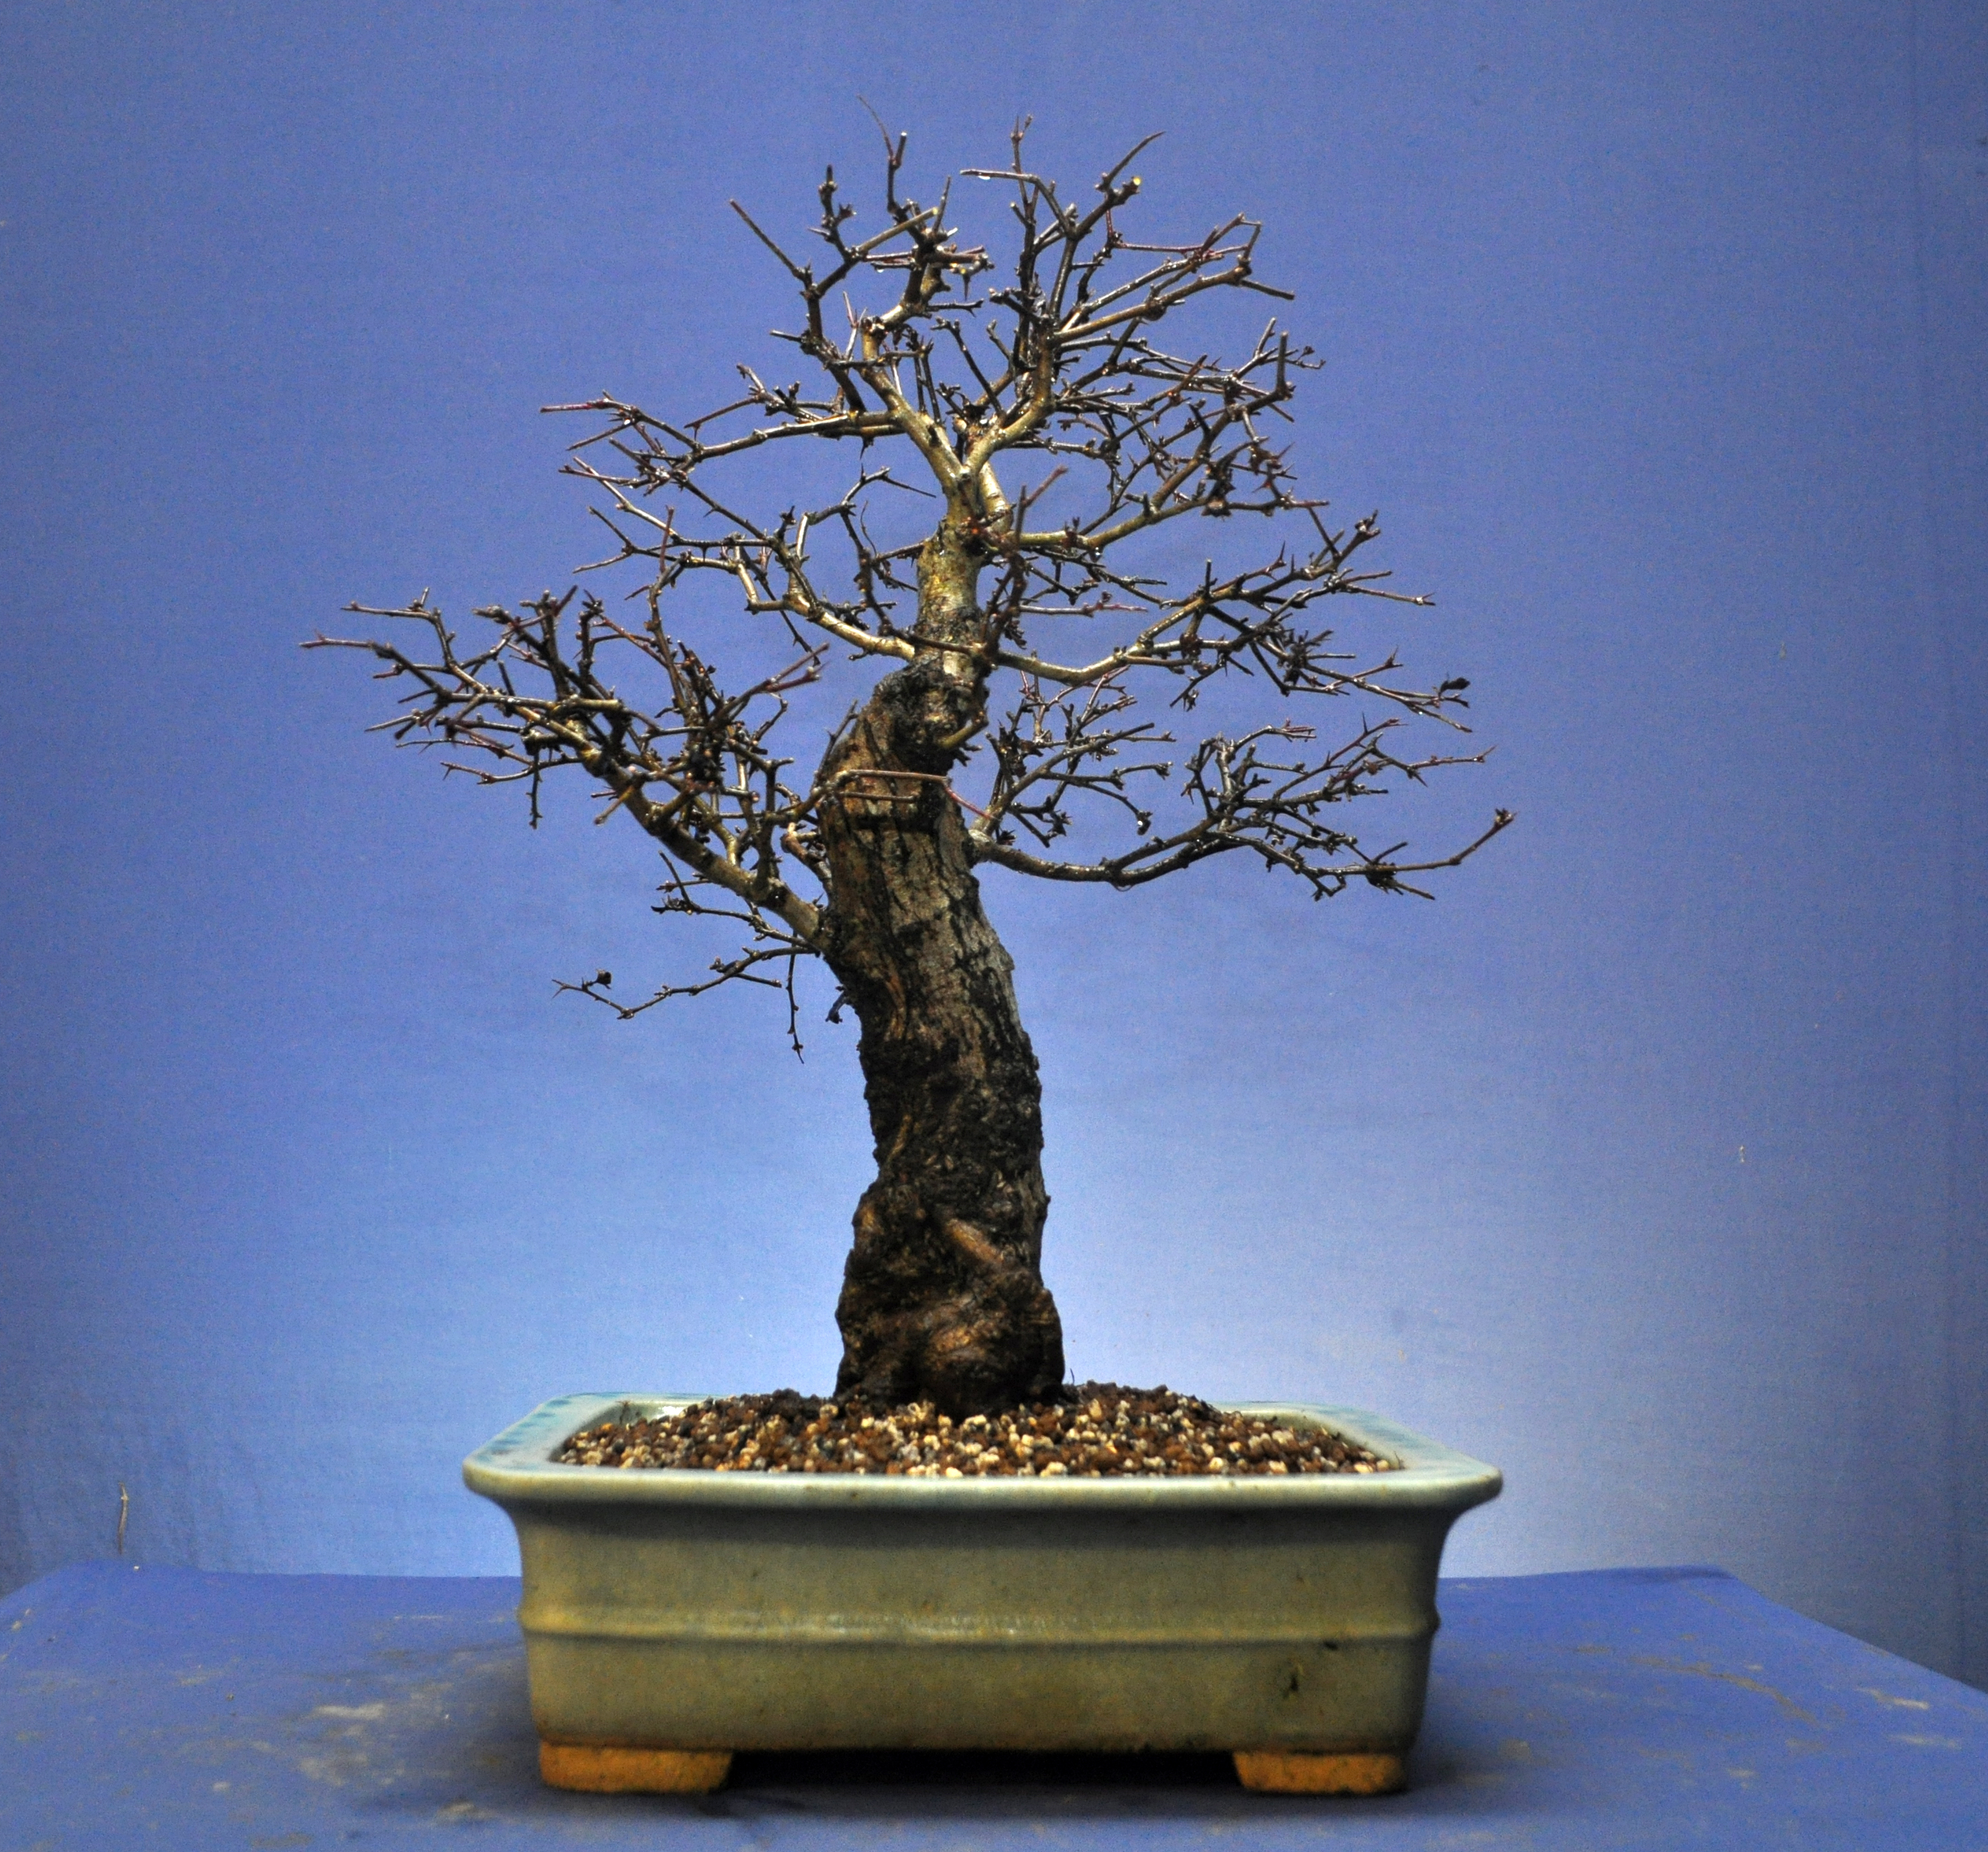
The next display featured a Japanese black pine with a cascading branch and the elements of display suggesting water as the black pine grows…

View original post 743 more words

Image

Coal Tit Visitor

This little Coal Tit has become a regular visitor to my Living Room window where he is keen to find insects on the window frame. He announces himself with a tap tap with his beak 🙂 He perches on trees outside before launching himself toward the glass.

DSC_0457

DSC_0461

DSC_0464

DSC_0468

DSC_0470
DSC_0472

Swindon 2014

BonsaiBry's avatarBONSAI WALES

Here we have it… Swindon 2014.

Up early with the lark, well, the kids!! Snack Bag packed ready for my 3hr drive down to the Swindon Winter Image Show.20140224-084541.jpgfinally arriving around 10.45am I parked right next to Mike Joneswhom I bought a pot from via EBF. So that went straight into the boot. It actually took me 20min to get in to see any trees! With so many bonsai friends greeting me at the door 😉 it’s surprising how many people recognise an avatar photograph 😉20140224-085044.jpg20140224-085054.jpgThe quality of the display is very very high!! Traders all doing excellent business throughout the day!
I have to commend the council in their upgrade to the building. It felt very welcoming and the new light was a joy to work with in takin photographs. Folks are posting directly and not having to spend hours in Photoshop tweaking each pic.

View original post 51 more words

Spring Macro

Some Spring Macro shots, sad that I’m getting excited 🙂

Cedar

DSC_0474

Dwarf Iris

DSC_0476

Hawthorn

DSC_0481

Larch

DSC_0483

Fuji Cherry

DSC_0484

Crassula from Jose 🙂

DSC_0485

Rosemary

DSC_0486

Moss on Tufa Rock

DSC_0489

Colts Foot

DSC_0493

Saxafragia

DSC_0494

The longest journey begins with but a single step !

Shohin Ivy Repot

Another recent repot, this time an Ivy that I collected on a shingle Beach  back in April 2011 and air layered off the apex  in May 2012 removing the layer in August 2012. Loads of movement and character. Sadly the photos don’t capture the half of it.

This is the old training pot and it’s new one, it’s Chinese and the stamp says ‘evergreen’.

DSC_0289

DSC_0292

DSC_0294


This photo from last year shows the movement better.

Swindon Winter Image Show Tomorrow

Good Luck with the Show Guys, Looking forward to seeing the photos.

Click on image for more details


Building ramification

Brian VF's avatarNebari Bonsai

Trees grow from the tips, gaining mass behind them. In bonsai the goal is to control how the tips grow (shape and balance) and manage how they gain the mass along the way. We use that growth in many ways; building mass to make branches bigger, to make entire parts of the tree bigger, or to put the finishing touches in the form of ramification.

The “clip and grow” term is used to describe letting a branch grow until it has 5 or more leaves, then trimming it back to one or two. This is performed during the growing season. Each node has a dormant bud where the leaf stem attaches to the branch, which can be signaled to grow when the branch is trimmed back. A dormant bud is circled in red below:

20140102-074305.jpg
Grow the branch to 5 or more nodes (leaves):

20140102-074355.jpg
Trim it back to 2:

20140102-074426.jpg
Dormant buds…

View original post 45 more words

Hawthorn Pot Change

Yesterday’s post saw me changing the pot on my Fuji Cherry, and this Hawthorn was the recipient of the old pot. I know nothing about this pot other that it looks old, with nice patina. I bought a tree in it and I have a feeling that I got a bargain. There’s no stamps anywhere, I’d love to know a little more about it. The last pot for the hawthorn was matt brown, ok as a training pot, but not doing to much for a fast developing Hawthorn. Loads of roots from the last repot and I was able to make a few adjustments to improve the base this time around.

DSC_0303


This was the old pot back in November.

Fuji Cherry

I repotted this fuji Cherry last week. I wasn’t happy with the lack of growth last year and wanted a look at what was going on with the roots. I also wanted to us the current pot for another tree. It is showing signs of flowering and I wanted to act now as it leafs out before the flowers finish.

DSC_0204

DSC_0207

DSC_0210


Root growth had been poor in the 3 years that it’s been in this pot. I changed the mix and transferred it into a different pot.

DSC_0299

A bit of TLC this year and nurture this one along I think. This was it a few years ago in Flower.

And a link to other seasonal photos of this tree.