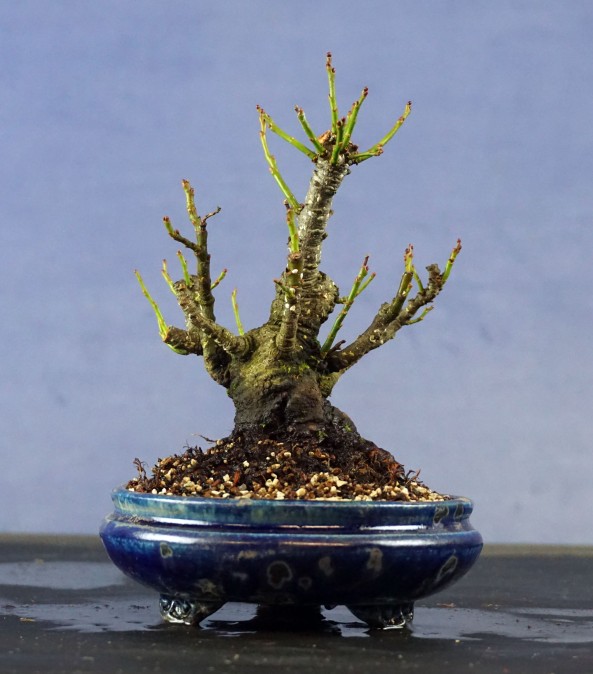
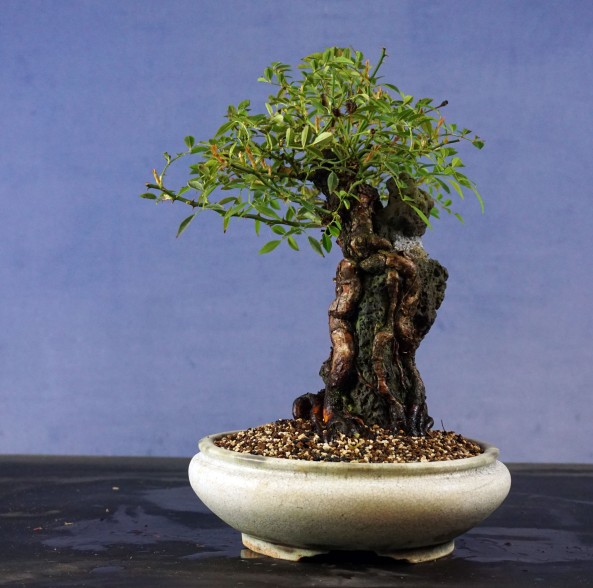
Another tree repot, this time it’s a shohin viburnum being moved to it’s new home, a nice little Japanese Pot.

This was it last year when I picked it up. Looking forward to seeing it fill out this year.


Another tree repot, this time it’s a shohin viburnum being moved to it’s new home, a nice little Japanese Pot.
This was it last year when I picked it up. Looking forward to seeing it fill out this year.

I was lucky to have access to a great collection of Ian Baillie pots at a club event this weekend past and I got my hands on some great pots. Sunday saw me repotting a few trees. Here are the results…
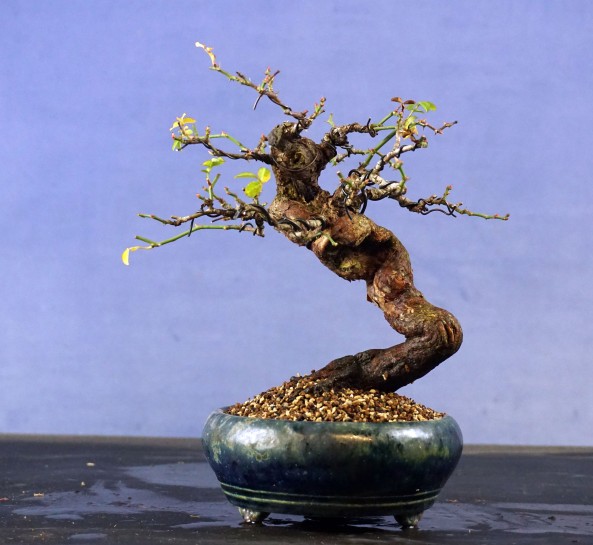
A dwarf Willow with a nice heavy base. This is it’s first time in a small pot and is in the first steps of styling this year. Tree is roughly 10cm tall.
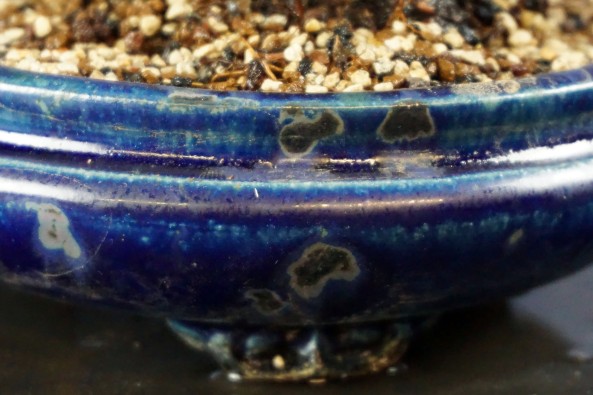
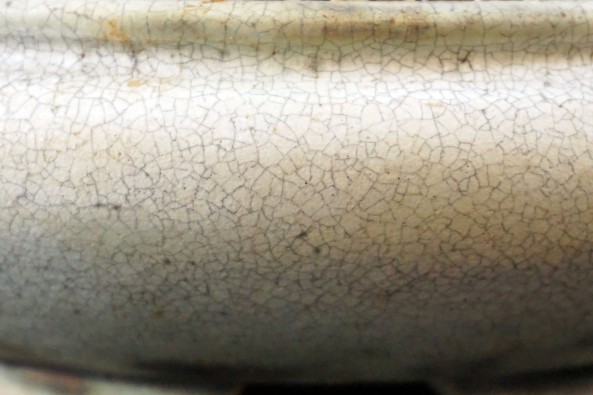
A great pot with stunning detail.
This was the old pot and tree as acquired back in June last year.
A shohin Rose
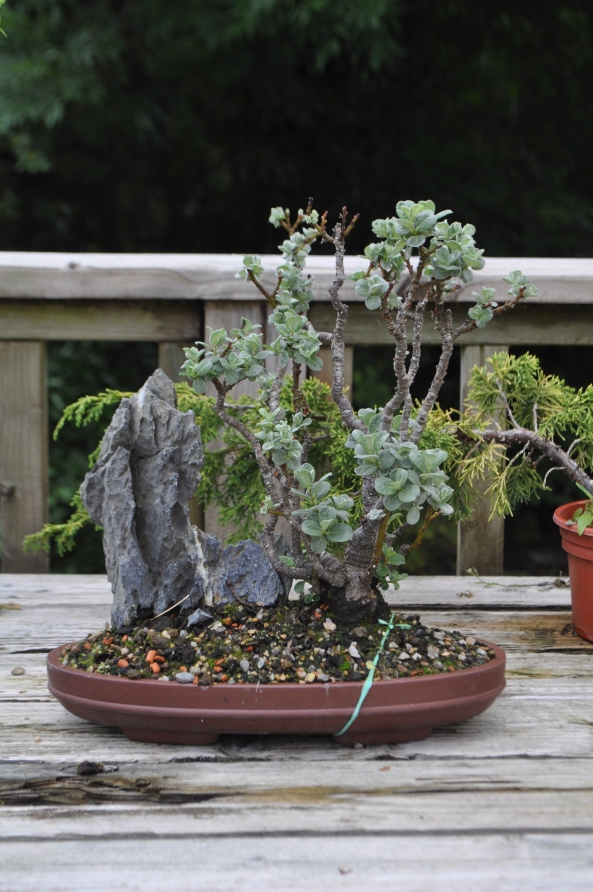
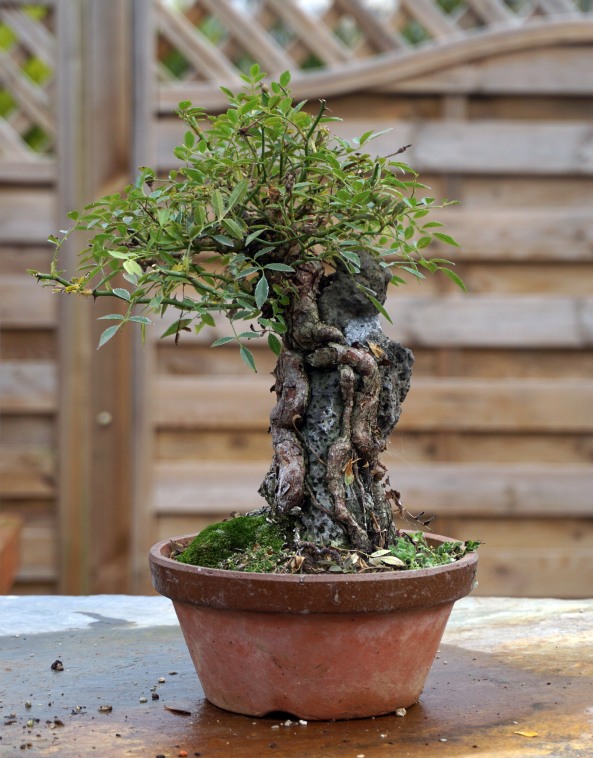
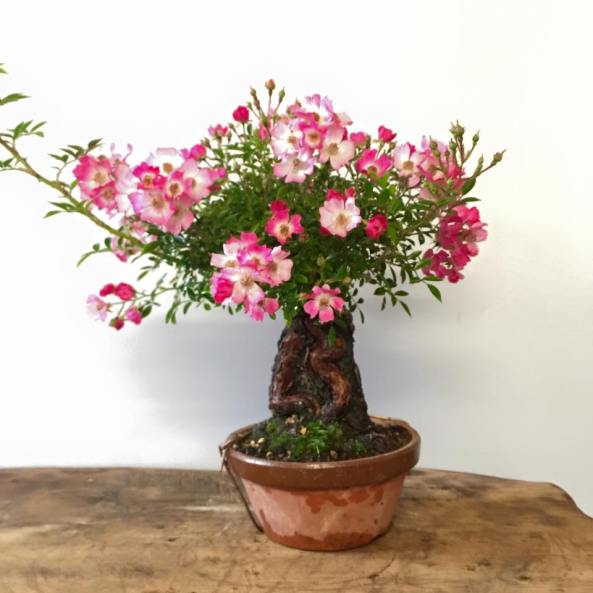
A root over rock Rose. We had fun selecting a pot for this one. It’s a touch large as it sits but should make a stunning image when it produces pink flowers this year.
This was it before and in flower last year.
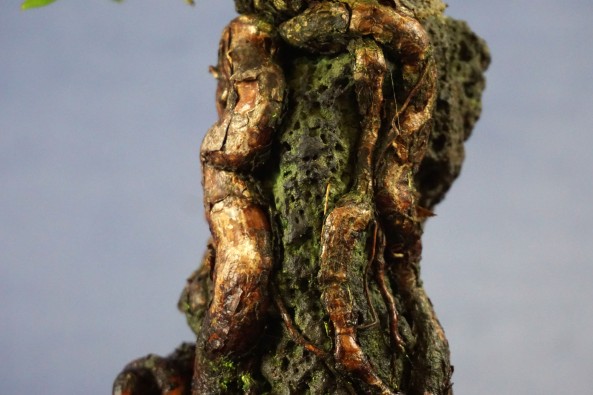
And a root over rock Cotoneaster in a new shallow pot adding to the drama .
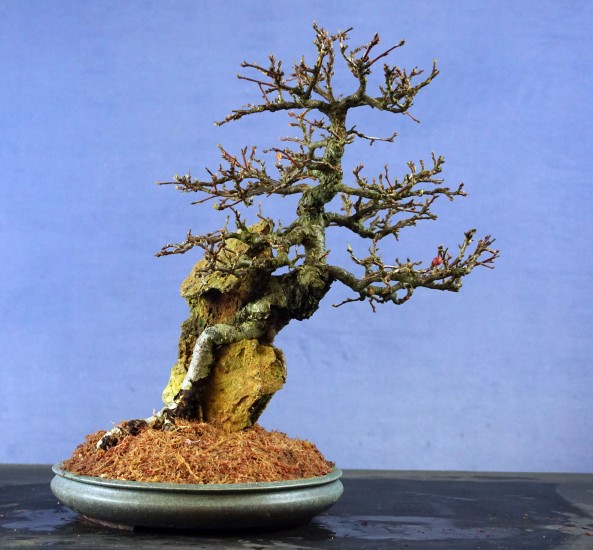
and here in the old pot last September.

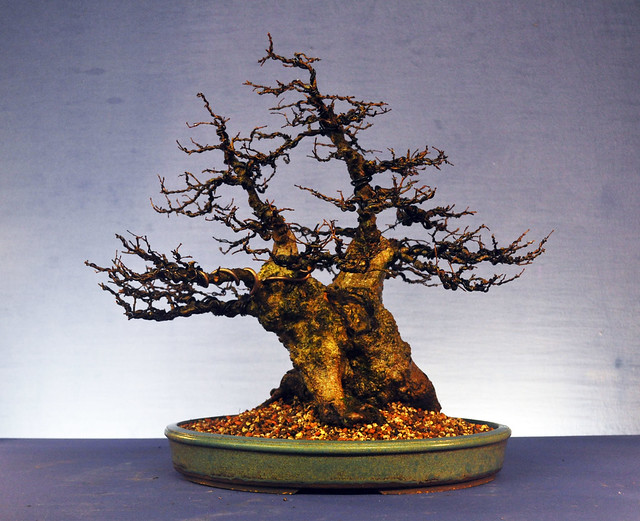
No not sold, just a change of pot for it to live in. I have enjoyed immensely the journey in taking this tree from from my garden to Bonsai Europa last year. However I was never happy with the pot for any Winter image display. The pot is too large and lacks colour to lift a Winter image display. I have been looking around for a new pot for the tree for a while and this Spring I found what I was looking for from David Benavente.
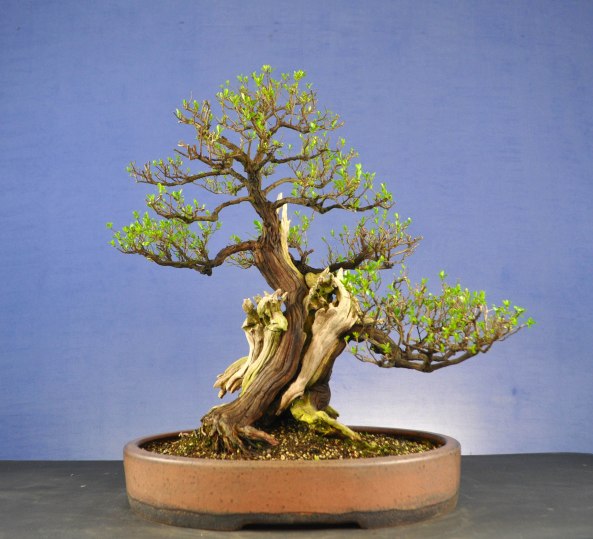
This was the tree in Bonsai Europa last October.

The tree had been allowed to keep a larger amount of finer branching for the show to show more ramification and also try and get a better balance with the pot size. This resulted in a slightly unkempt image but one I liked. Very hard to prep an Escallonia for exhibition at this time of year.
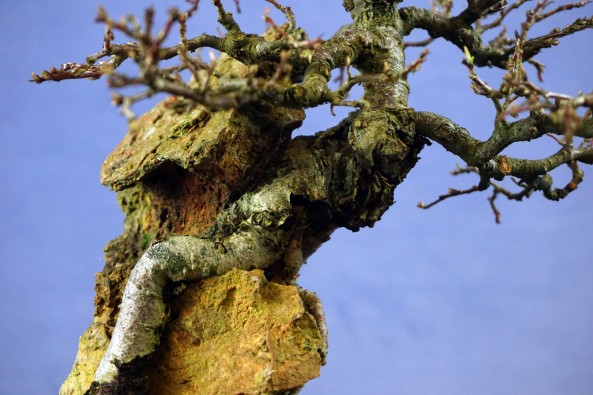
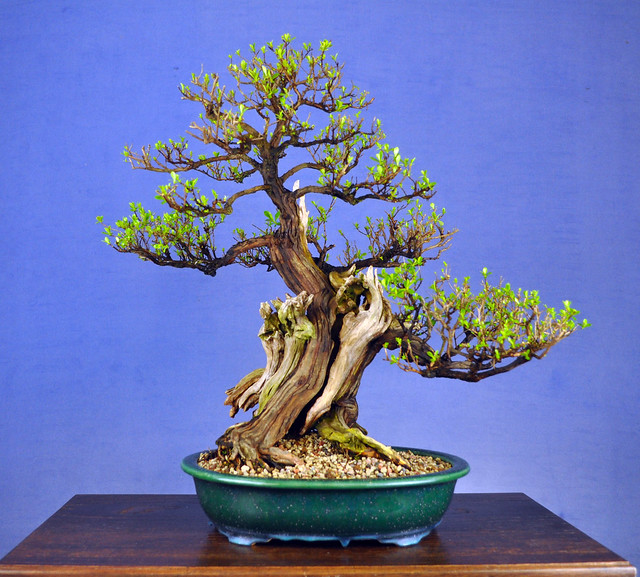
Back to the present and I wanted to reduce the foliage mass to suit a smaller pot and help reset branches on this species. This needs to be done every few years to prevent inner branch die back anyway. It would also make for a more powerful image with a heavier trunk to branch balance. This is the tree after reduction. You can see how big the original Walsall pot looks now.
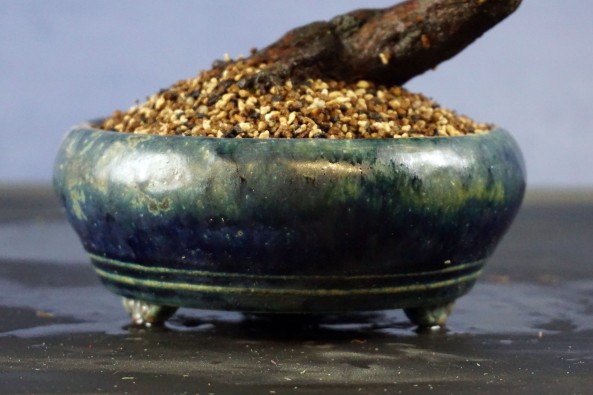
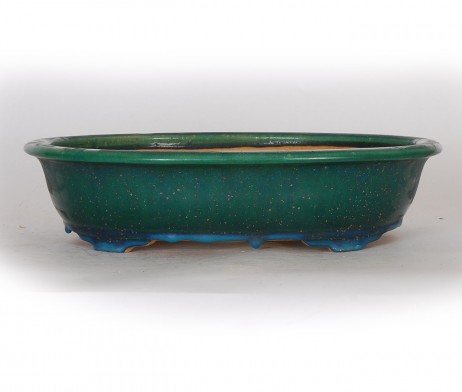
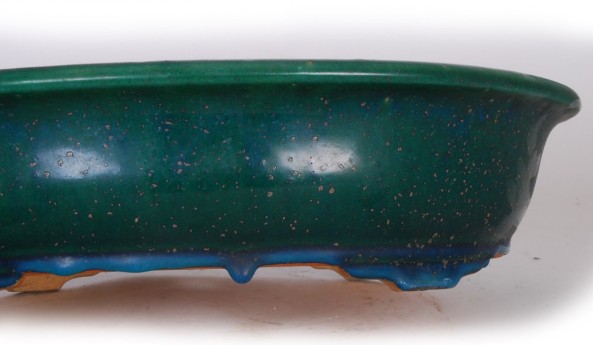
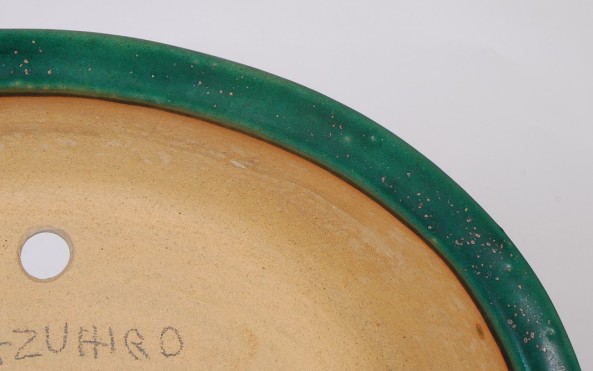
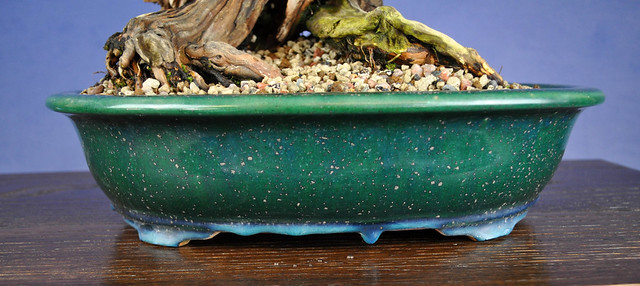
And this is the new pot, a pot from Tokaname made by Watanabe Kazuhiro (Ikkou). I feel in love with this one on sight. The glaze with green with an underlying blue, turning blue at the base in drips was just stunning.
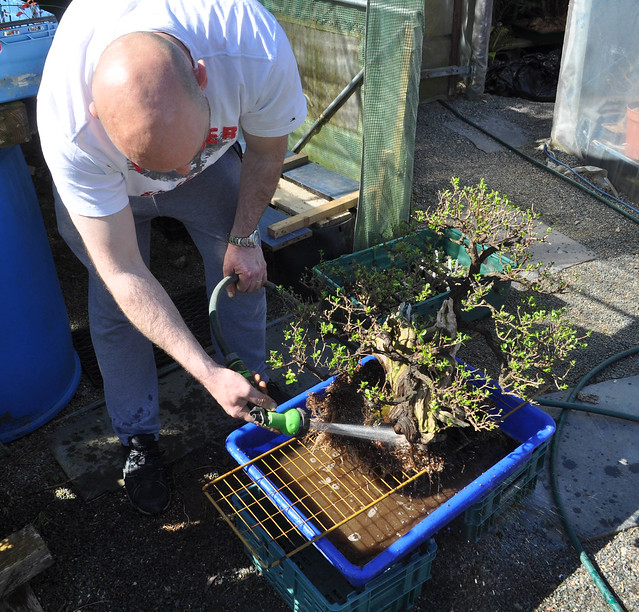
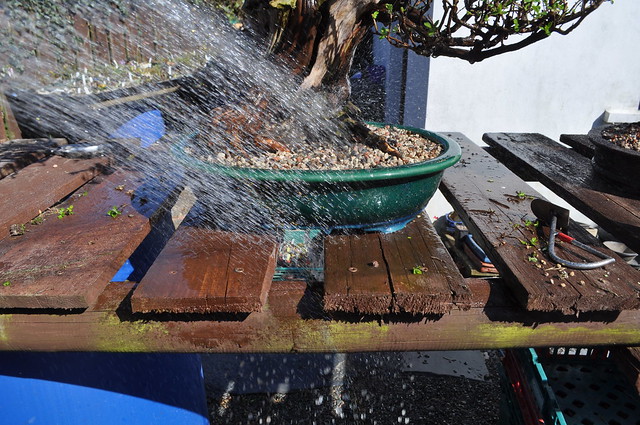
Getting the tree ready, time for a proper repot. This tree has always been robust and after a chop back I was confident that a full repot could be carried out.
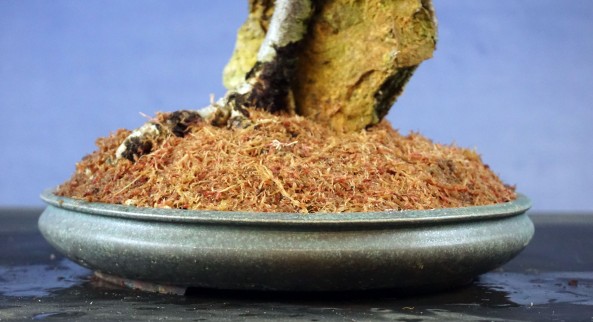
A watering in.
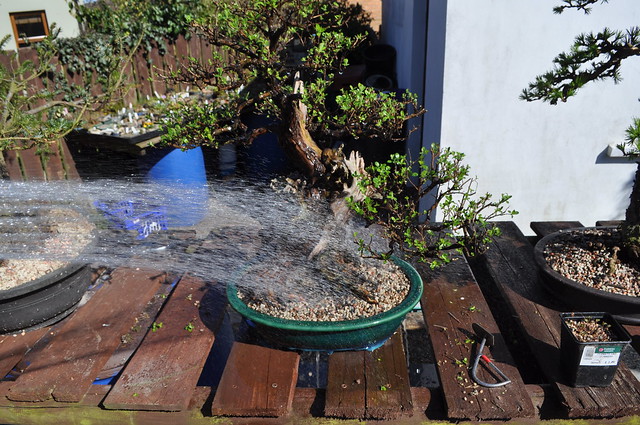
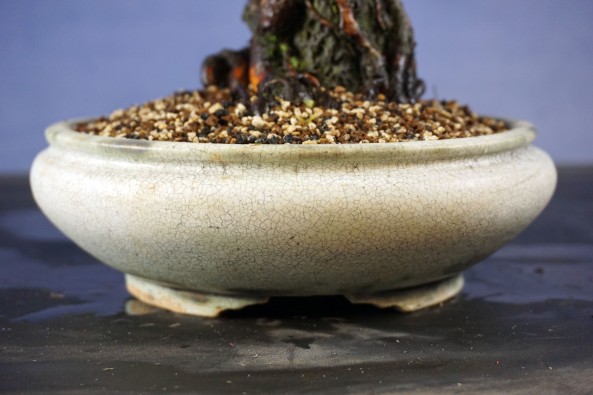
And potted up in it’s new home.
Top dressed with a moss mix. It will take a few months to fill in again but it will make all the difference to the final image.
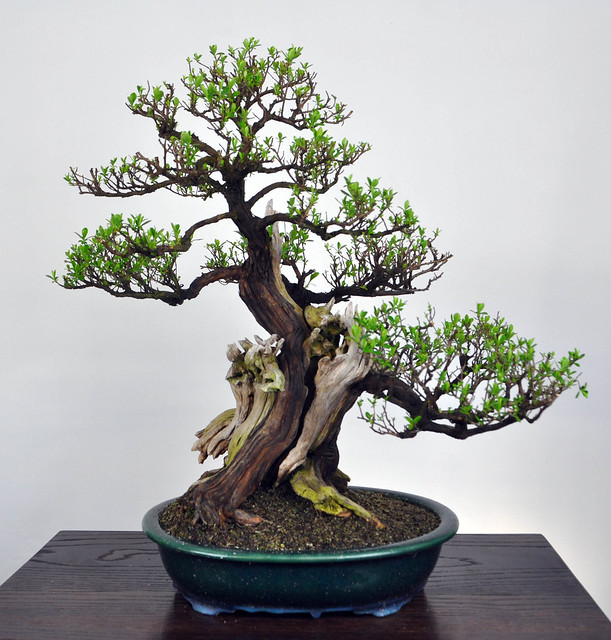
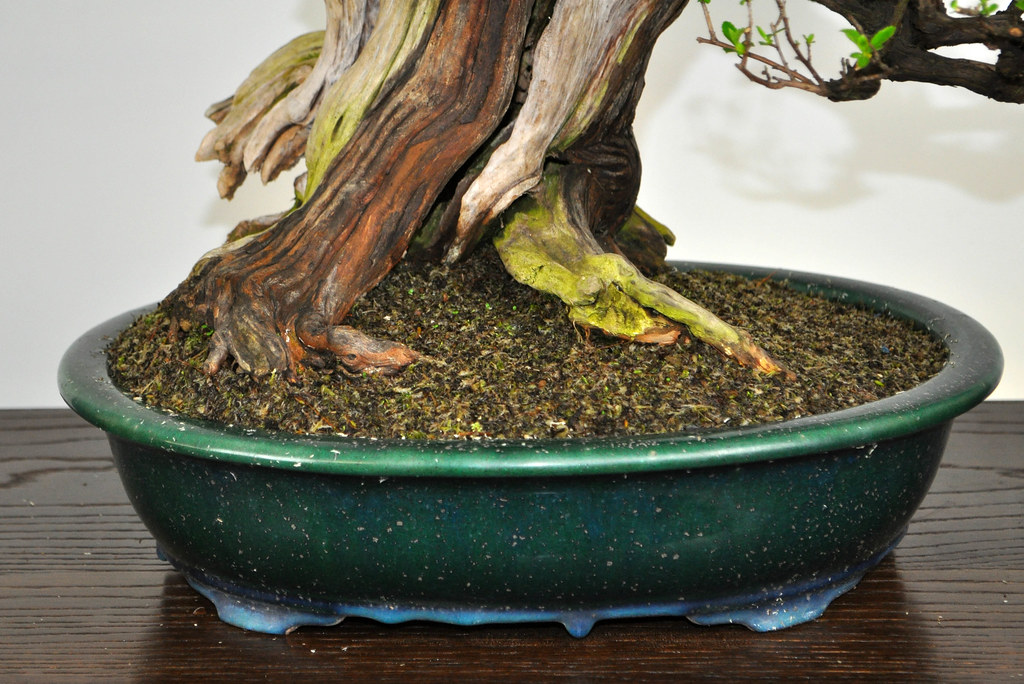
Photos don’t do this pot justice. The colours and age of the pot are just perfect. The tree was repotted about 4 weeks ago and the tree is budding up nicely with plenty of adventurous back budding to boot. It next outing, all being well with be our clubs Bonsai 30 event this September.
I bought this Trident back in 2011. This is the pot it was in at the time. I didn’t like the rectangle and I didn’t like that the rock over hung the left side of the pot.

I opted to change the pot to this Walsall Ceramics pot in February 2012.

And there it stayed until last week. I had another pot come into my hands that I wanted to try out and then of course I found another one as a second option. I tried the tree out in each pot.
This was the blue option

and this was the cream/white option.

After some deliberation I opted for the cream pot. It was my favourite of the two anyway but I was also able to twist the tree slightly more in the pot with the extra front to back space allowing for a slightly new front that shows a little of the rock to the right side of the far right root which I think adds to the image.

Better?


This tree is with me until the end of either it or me 🙂 Perhaps not the best material in the world but I have a sentimental attachment to this tree due to it’s provenance. You can catch up with that here along with other links.
As I’m keeping it, I decided it was time for a better pot. I have recently acquired this Walsall Ceramic pot which I think adds to the negative space required to emphasise the height of the tree. It’s a glazed pot but subtle which I like for this tree. I under planted a few small Japanese Ferns to help hide a few issues and also emphasise the height of the tree.

Have you ever had a tree and you just want a change? I have had this Beech since 1999 and for most of that time it’s been in this pot. I like the pot, I like the tree, especially in Winter image. However I just fancied a change.

I was changing another tree over into a new pot on the same day and decided to use the pot from that tree for the Beech. It’s an old Lancashire Pot I’ve had knocking around for years, a nice pot.

and here’s the Beech in it’s new home, for a few years anyway, until I get bored. When I was listening to Boon on one of the Bonsai Empire videos recently, he mentioned about experimenting with pots, making changes to see how things look and gaining experience in what pot suits what tree. I guess it stuck with me.

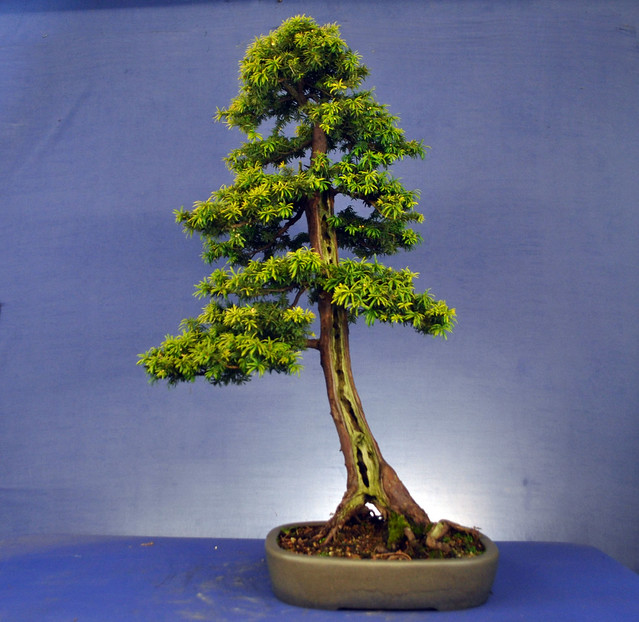
I’ve had this little Yew since 2002 when I bought it as raw material. That said, it was in this pot even then. I love the pot, Ian Baillie only makes good ones but after all this time I felt either the tree had outgrown the pot or I just needed a change.
This is it in the old pot.

And this is it’s new home for the next few years. A nice Japanese pot I picked up with a bit of age about it.. It’s perhaps a little big but the tree could do with a few years of freer root growth as I will now spend a little more time on improving the overall image of the tree.

This was it back in 2003 as raw yamadori material. It’s come a long way but probably has as far to go again!

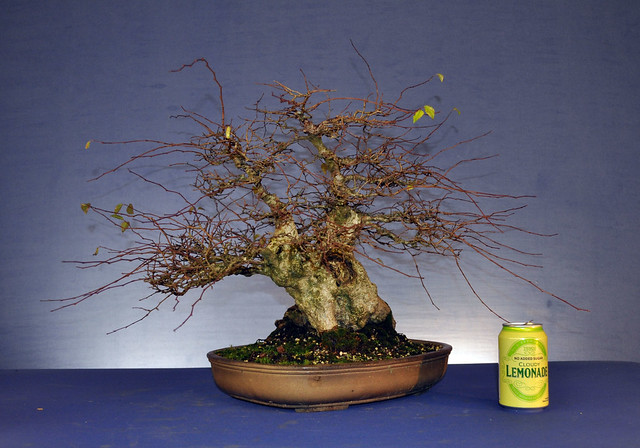
I’ve had this Korean Hornbeam for 5 years now. This was how it looked back in July 2010. It was weak and had suffered for a few years and lost a lot of branches. It took 2 seasons to get it on track and build up some ramification.
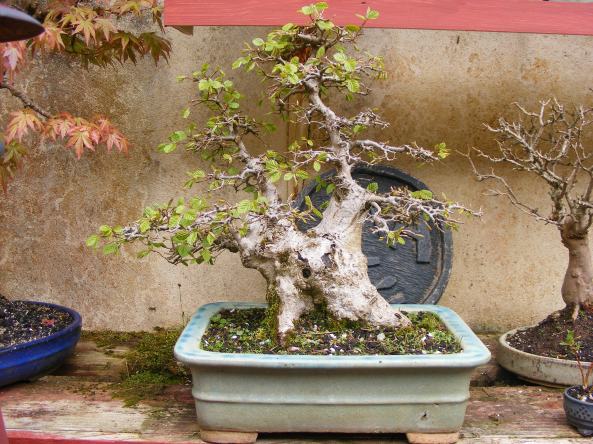
This was it in 2013

And here in December 2014.

At this point I decided to make a few changes. Both trunks were parallel to each other in the pot creating a very flat image. The main trunk lacked taper along the last portion of the trunk line and about 2 inches from the top is a swelling that looked ugly and was only going to get worse with age. I opted to layer the top off the main trunk to create a little multi-trunk shohin tree for the future. I also decided that I’d change the front of the tree to offset the two trunk creating more depth.
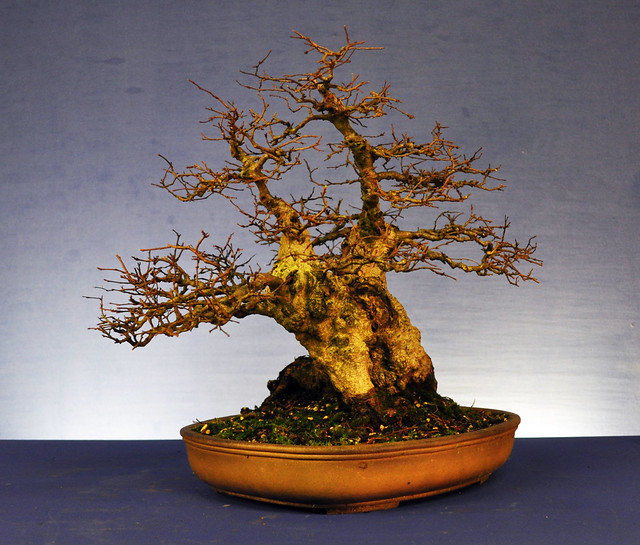
Below is the tree in December 2015 after the layer was removed. I had give the tree free growth for the year to give me a few more options when thinning out the branches.
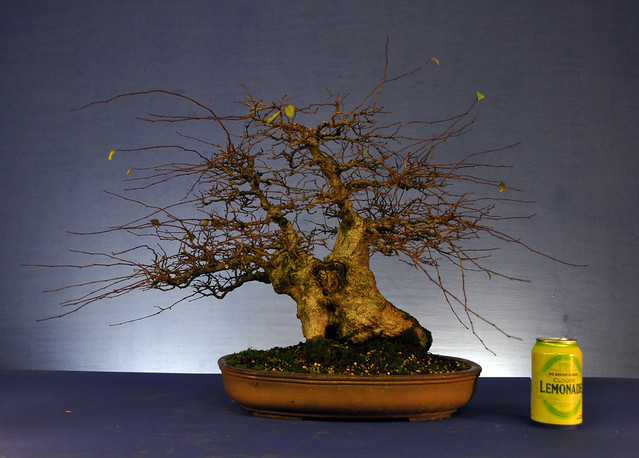
This was to be the new angle for the front. I’d lose a little of the width of the base but give the tree a little more character and depth, hard to see that in a photo of course!
I trimmed back unwanted branches and pruned out a few area that had become too heavy.
I then wired out the branch structure creating the basics of two new apexes and got rid of a lot of clutter and crossing branches.
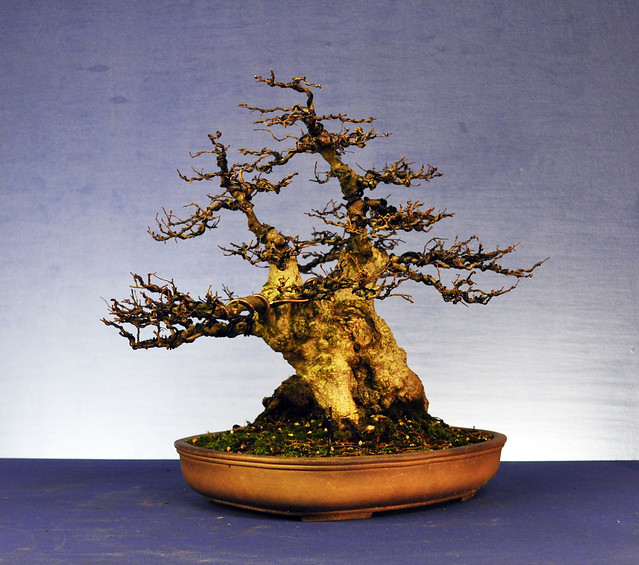
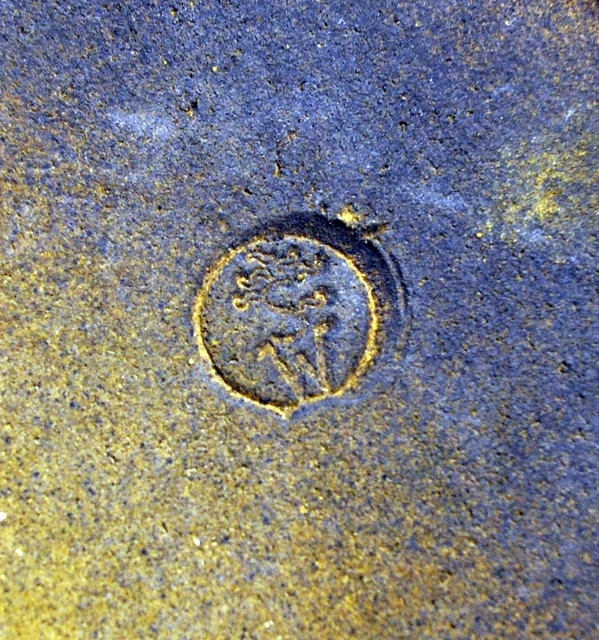
If we are making changes to the front, I might as well repot it. I had a Sylvia Webber pot on the shelf that I love and was itching to use again. I think that’s who the potter is anyway, perhaps someone can confirm from the chop mark below. Is she still making pots? I got this back in 2003.
I transferred the tree over adjusting for the new angle. The pot is perhaps a little shallow looking for such a heavy trunk, but I like it. I was also able to remove an ugly root at the back as a bonus. It’s hard to tell just how much better the image is in a photo, especially as the old front looked good in a photo and this photo isn’t great but trust me, I’m a lot happier with where this tree is going in the years to come. Double the current ramification and I think we have a nice tree in the making. That’s what I love about working on Deciduous trees, there’s no quick image to be had like a conifer, the work has to be done year on year to create a descent bonsai.
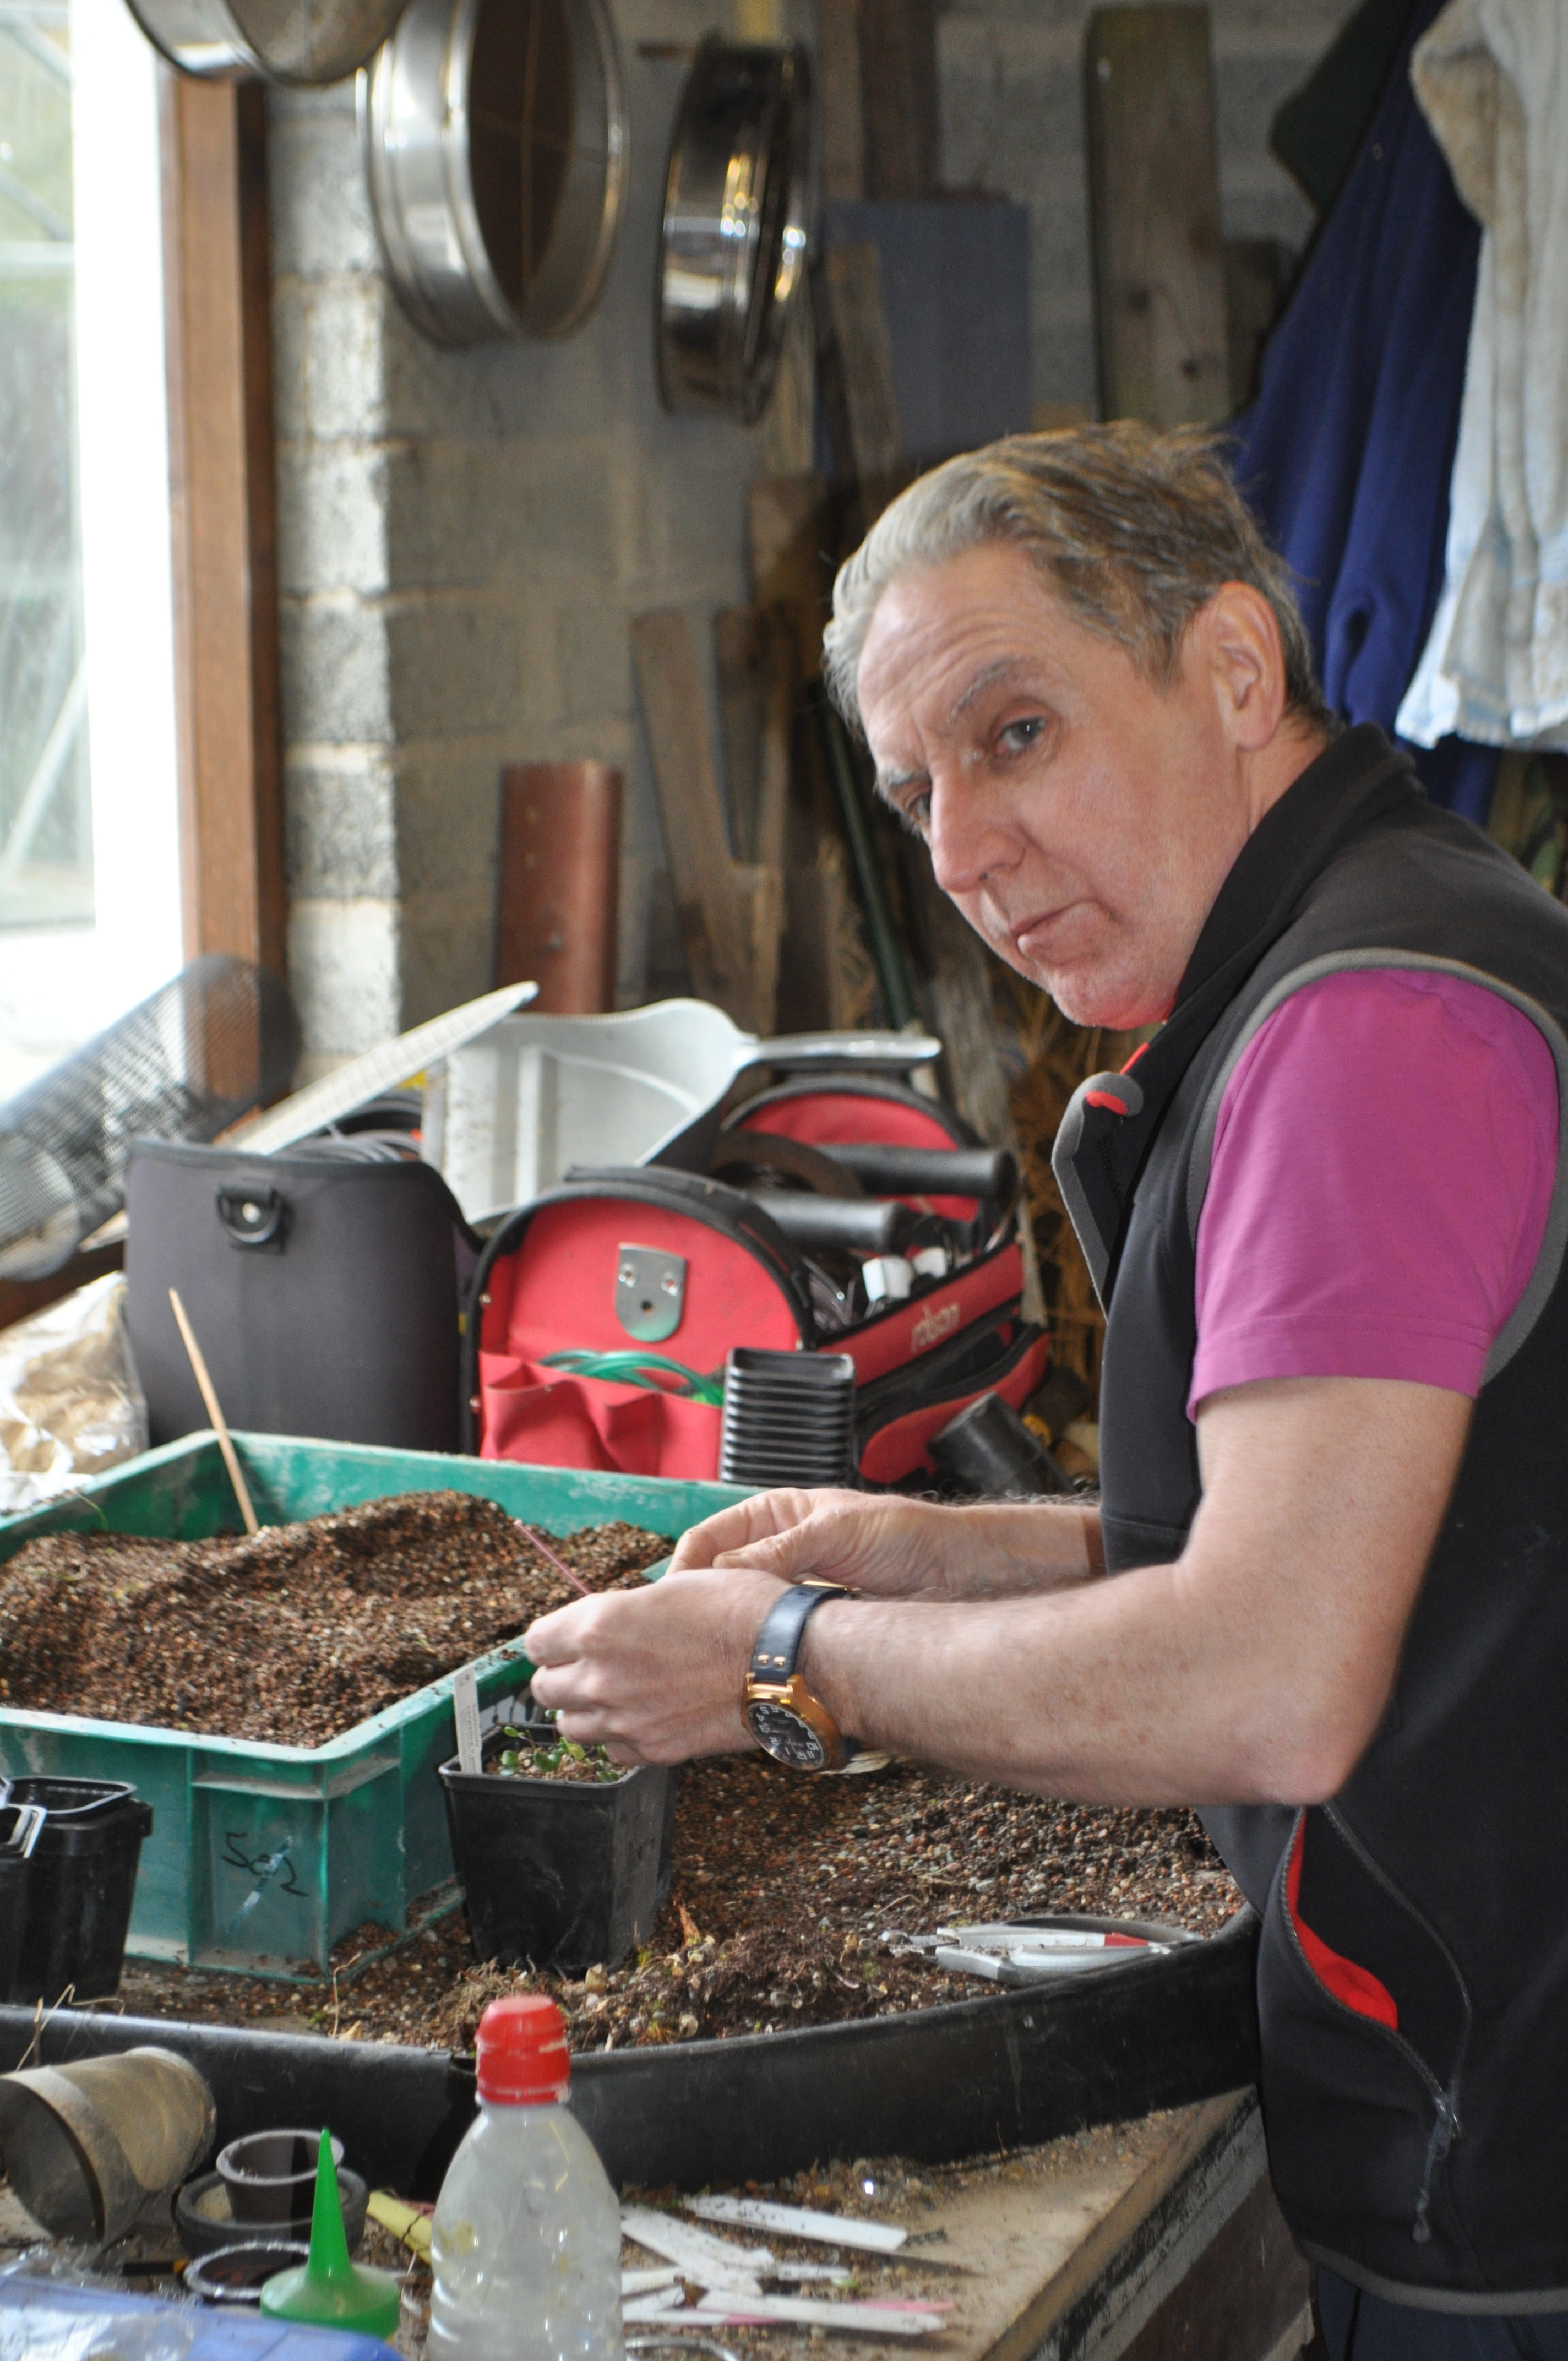
On Tuesday Stephen came to my garage to help me wade through my usual Spring splitting of accents plants. I’m trying to build a nice collection and always like to have spares to sell and swap. A few weeks back I posted about hostas and a blog follower requested that I cover how I split them. This is it 🙂
Stephen hard at work.
A tray full of Soldanella ready for a tidy up.

Some of the recently potted accents.

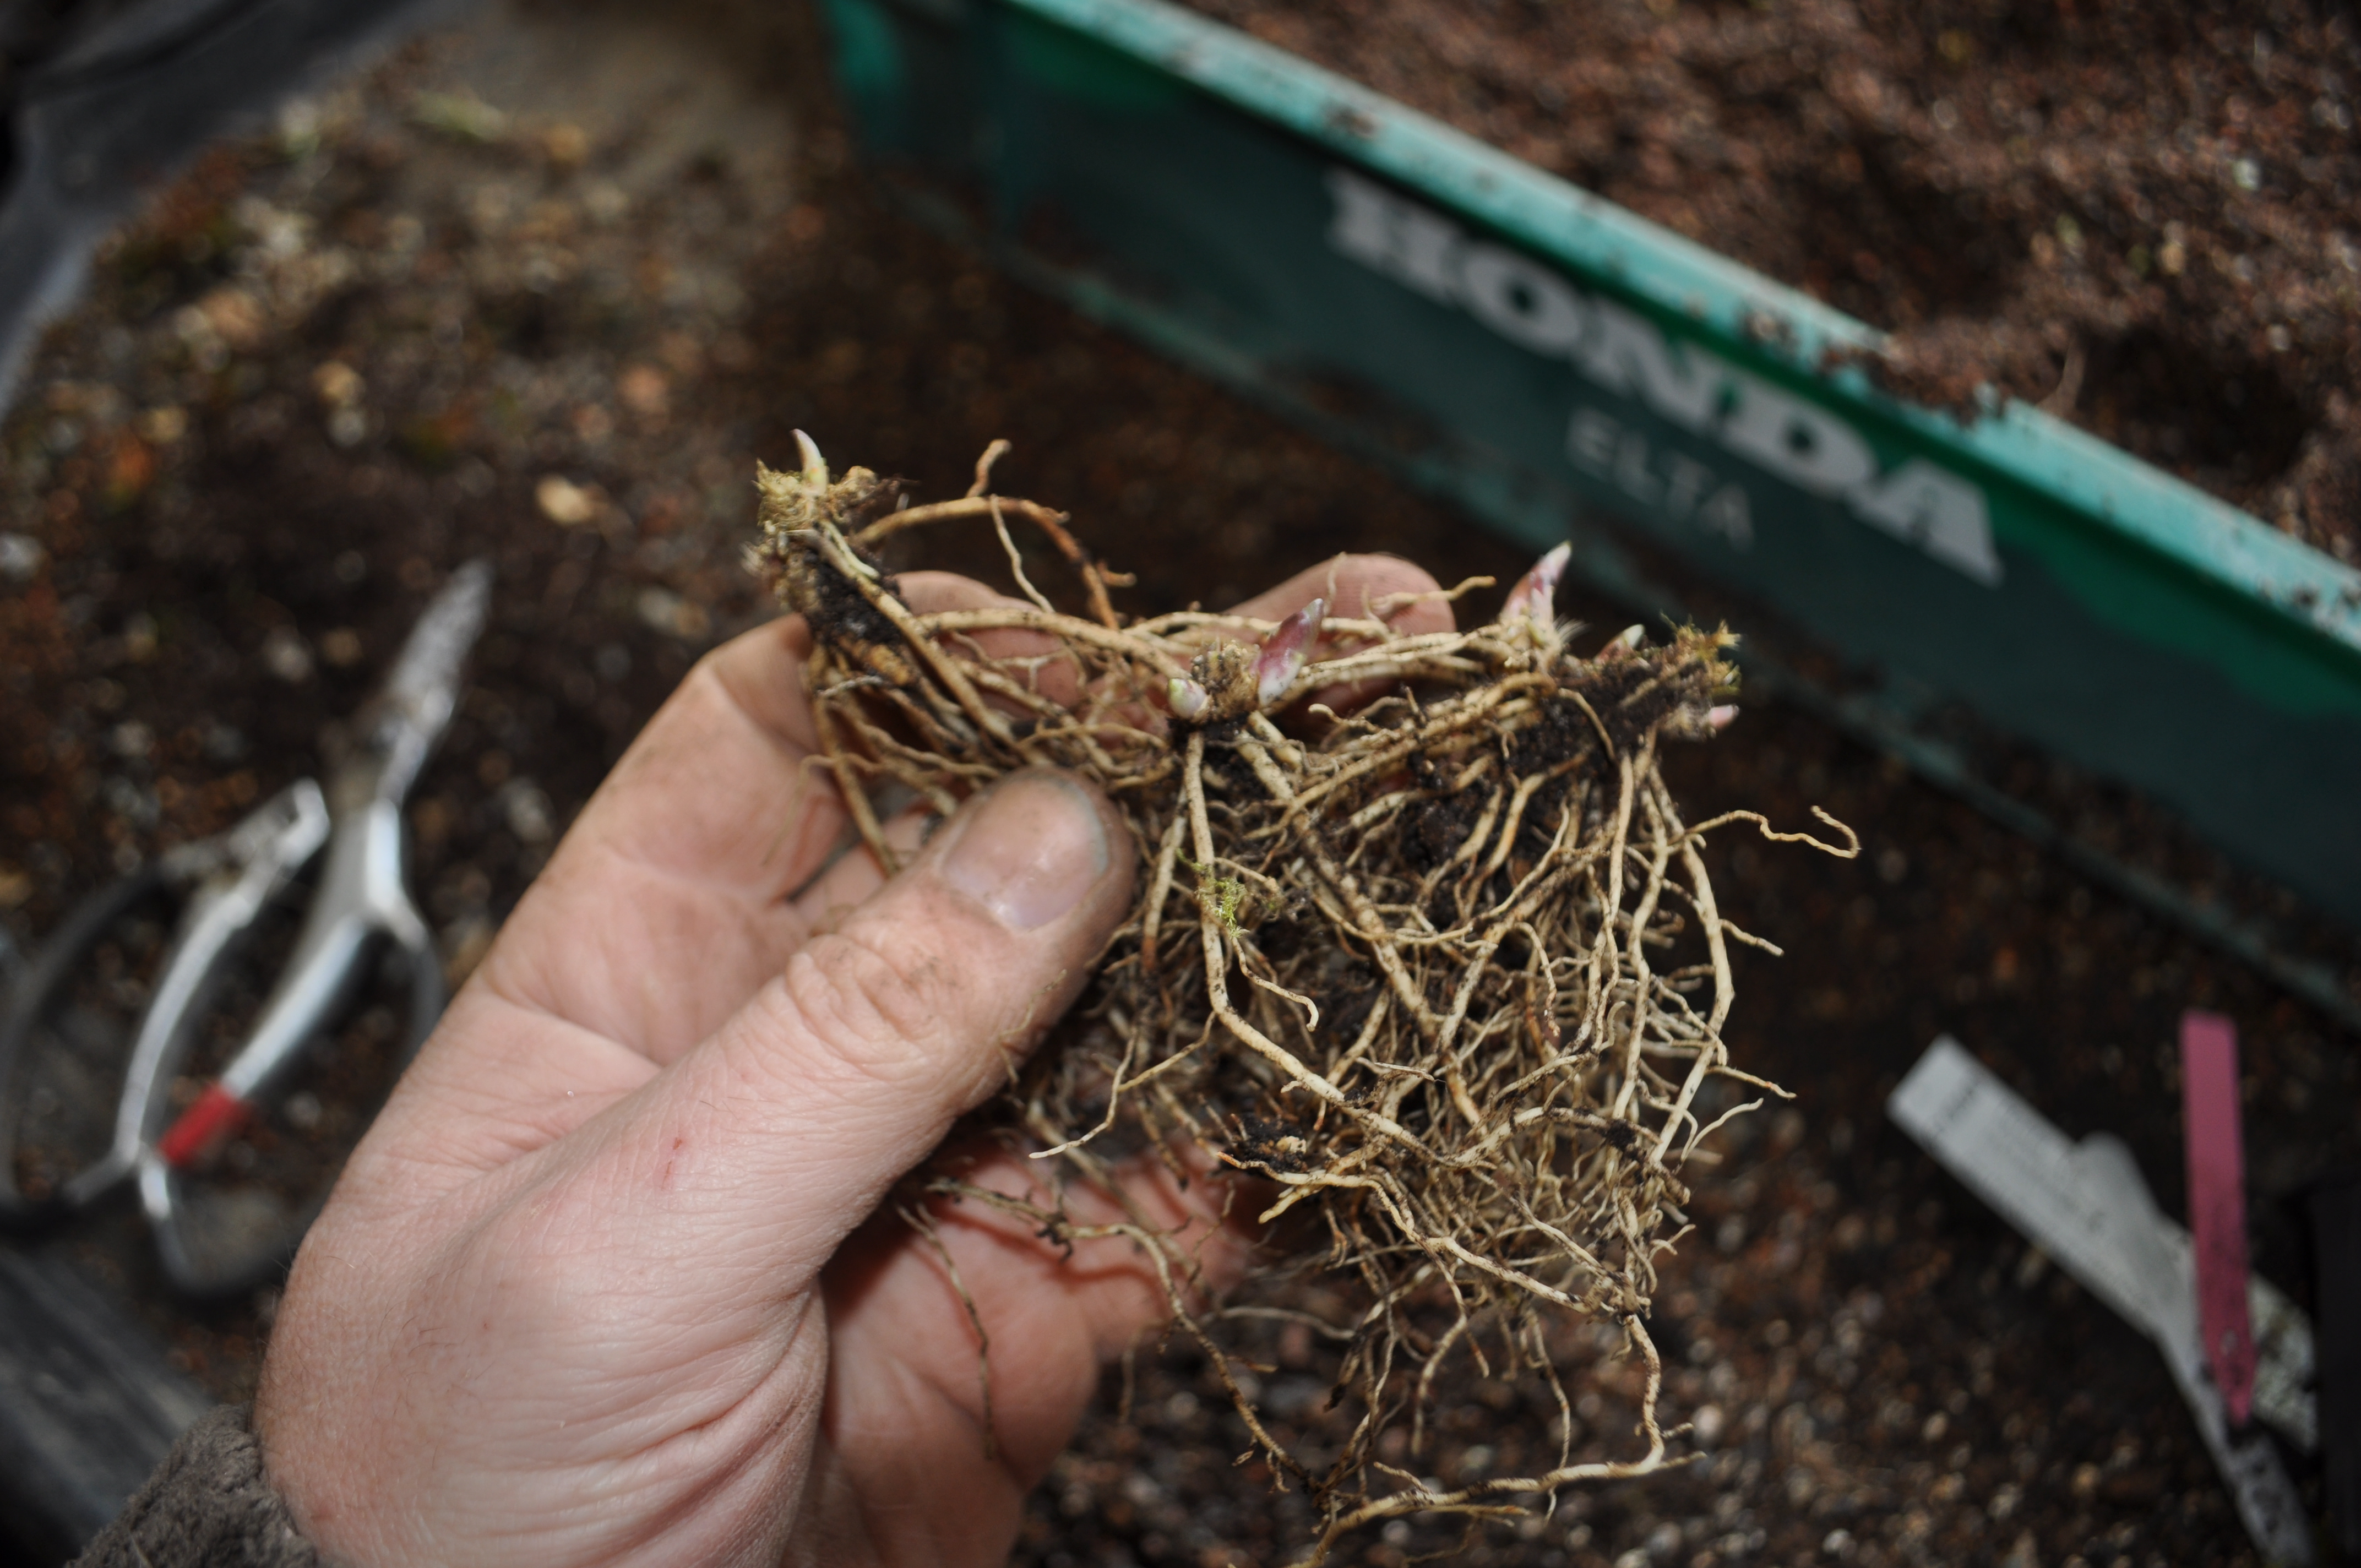
This one clump of hosta yielded seven plants.
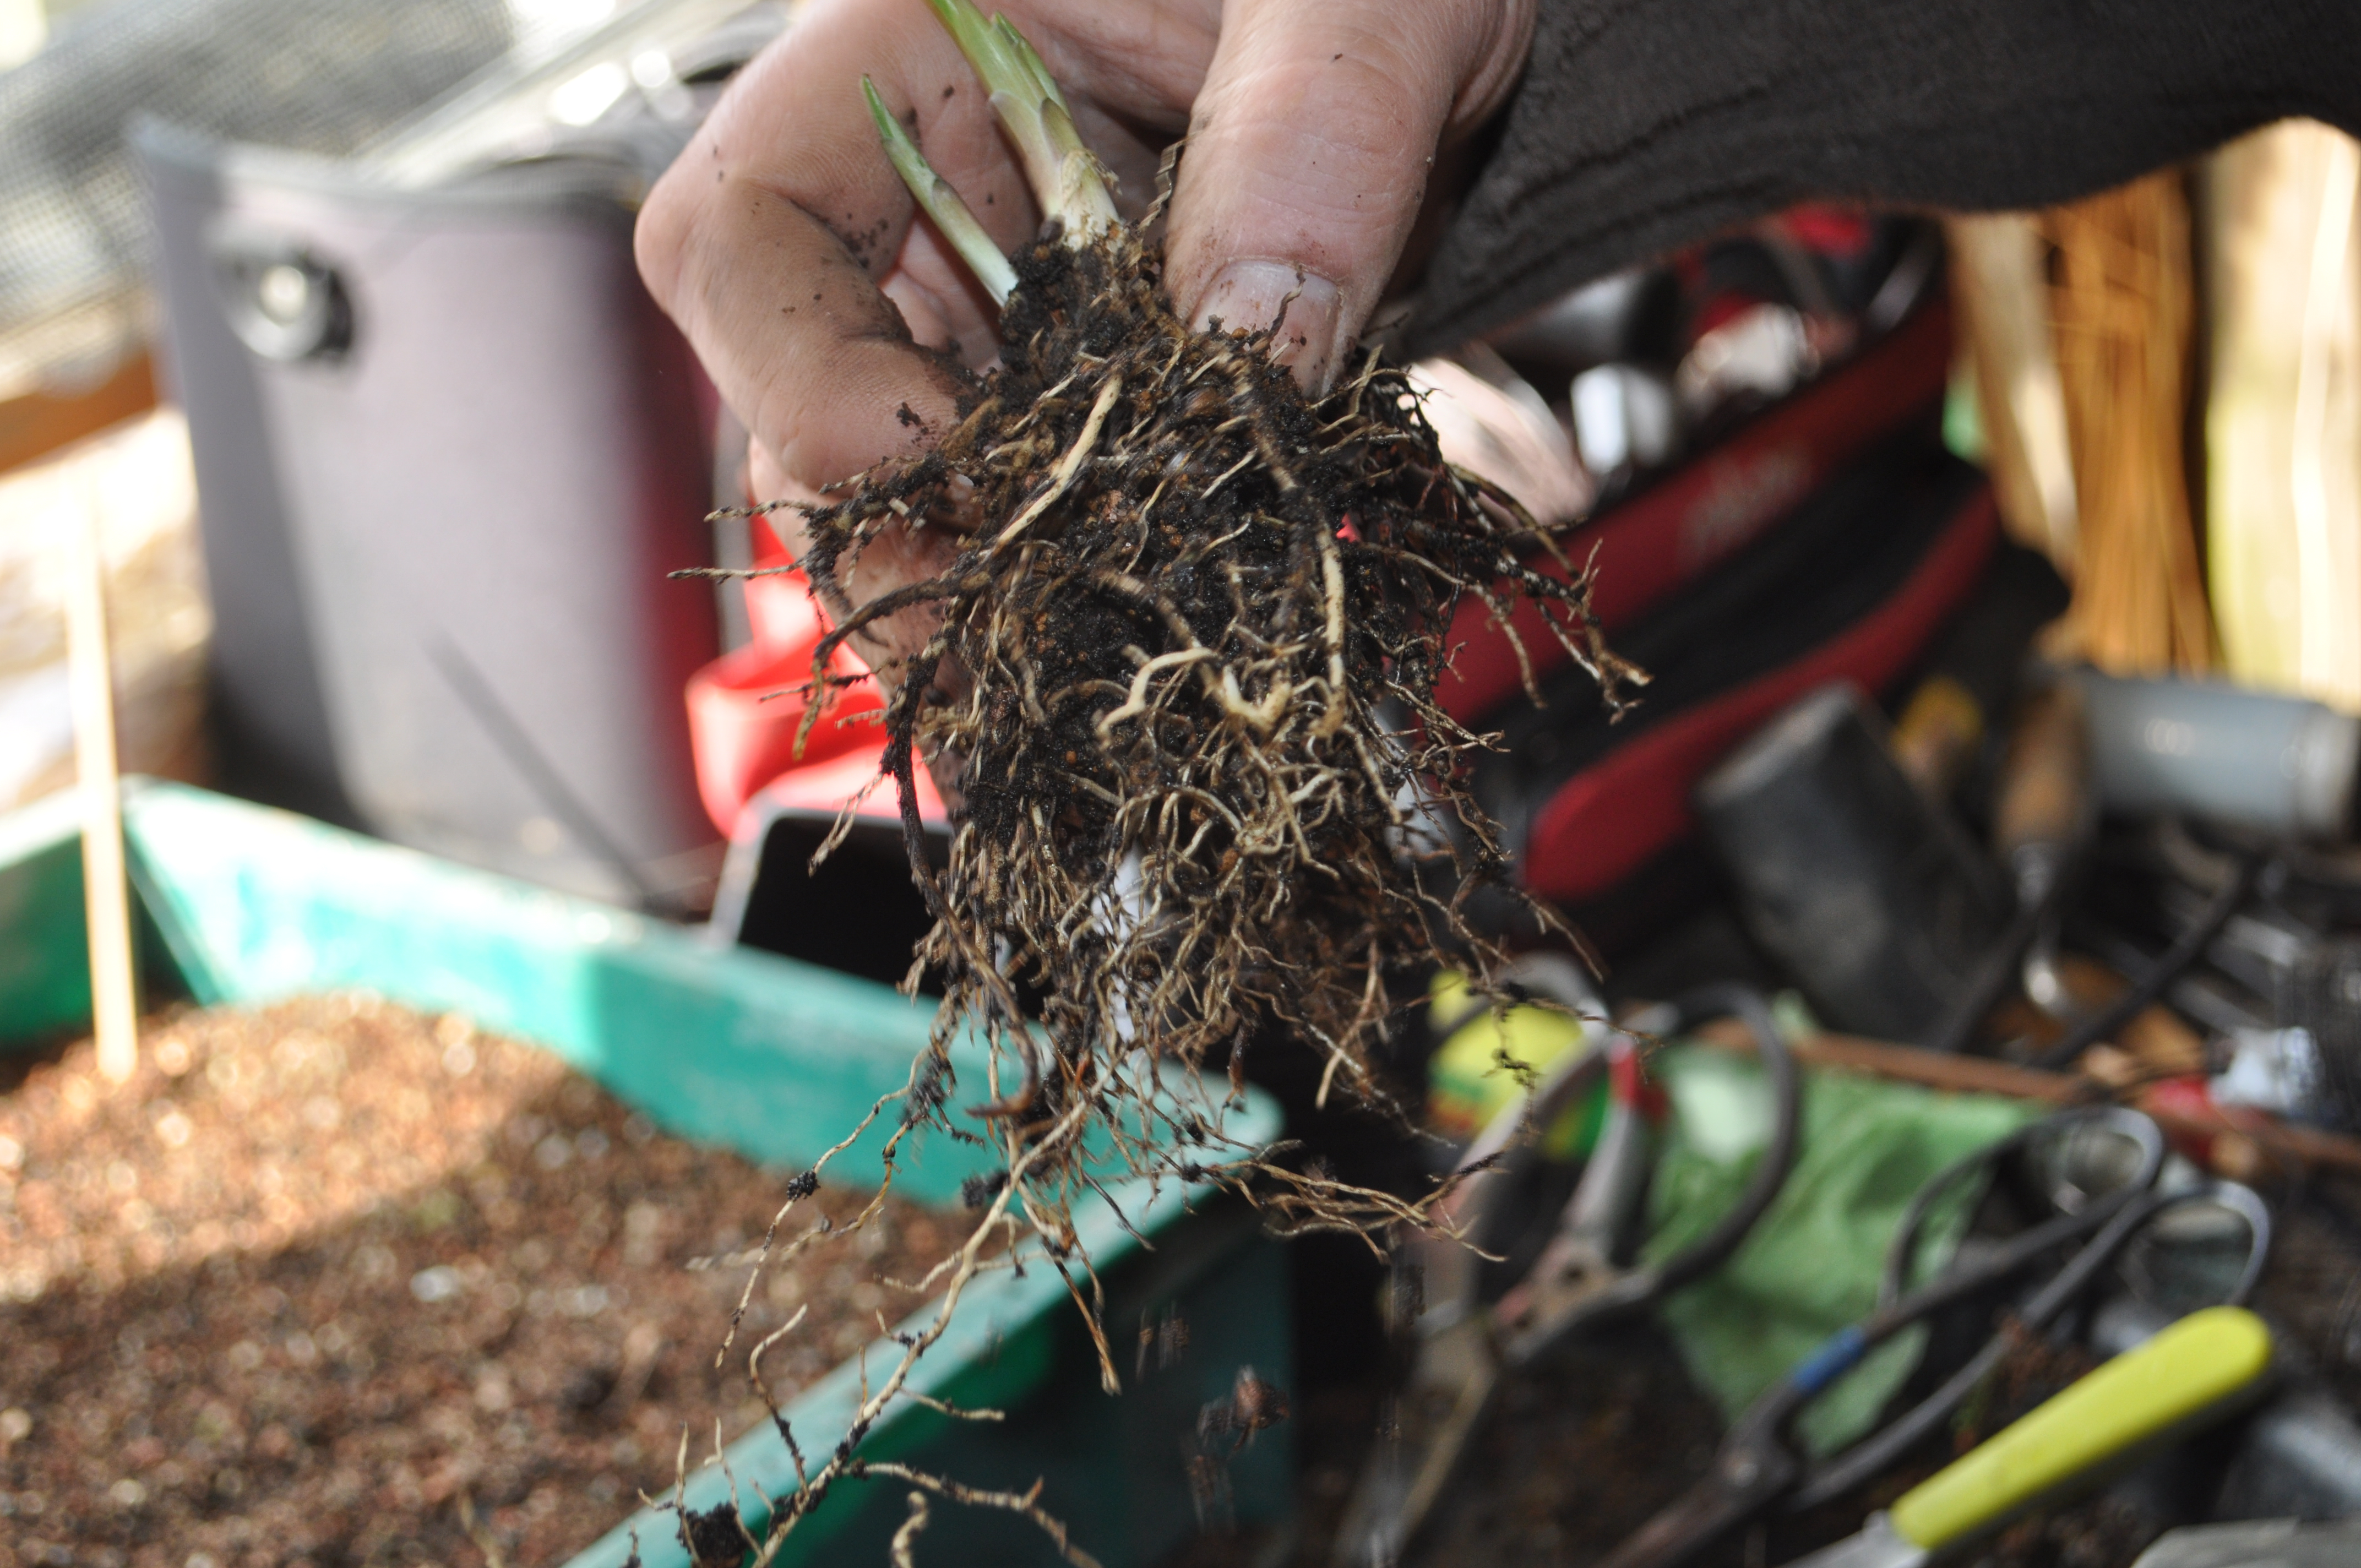
This one was next, ‘Rock Island Line’, originally purchased at Bali Hai Nursery here in Northern Ireland. I have a marking system, white name label, pink label if it’s my stock plant and blue if I reckon it’s ready to split.

Shake off the top dressing of grit. and pop it out of the pot.

A shake out can get rid of most of the lose potting mix.

Then carefully start to tease apart the root mass, in some cases a sharp knife can be used to split down between two shoots.

Split in half, but not finished yet.
Split further…

and again…
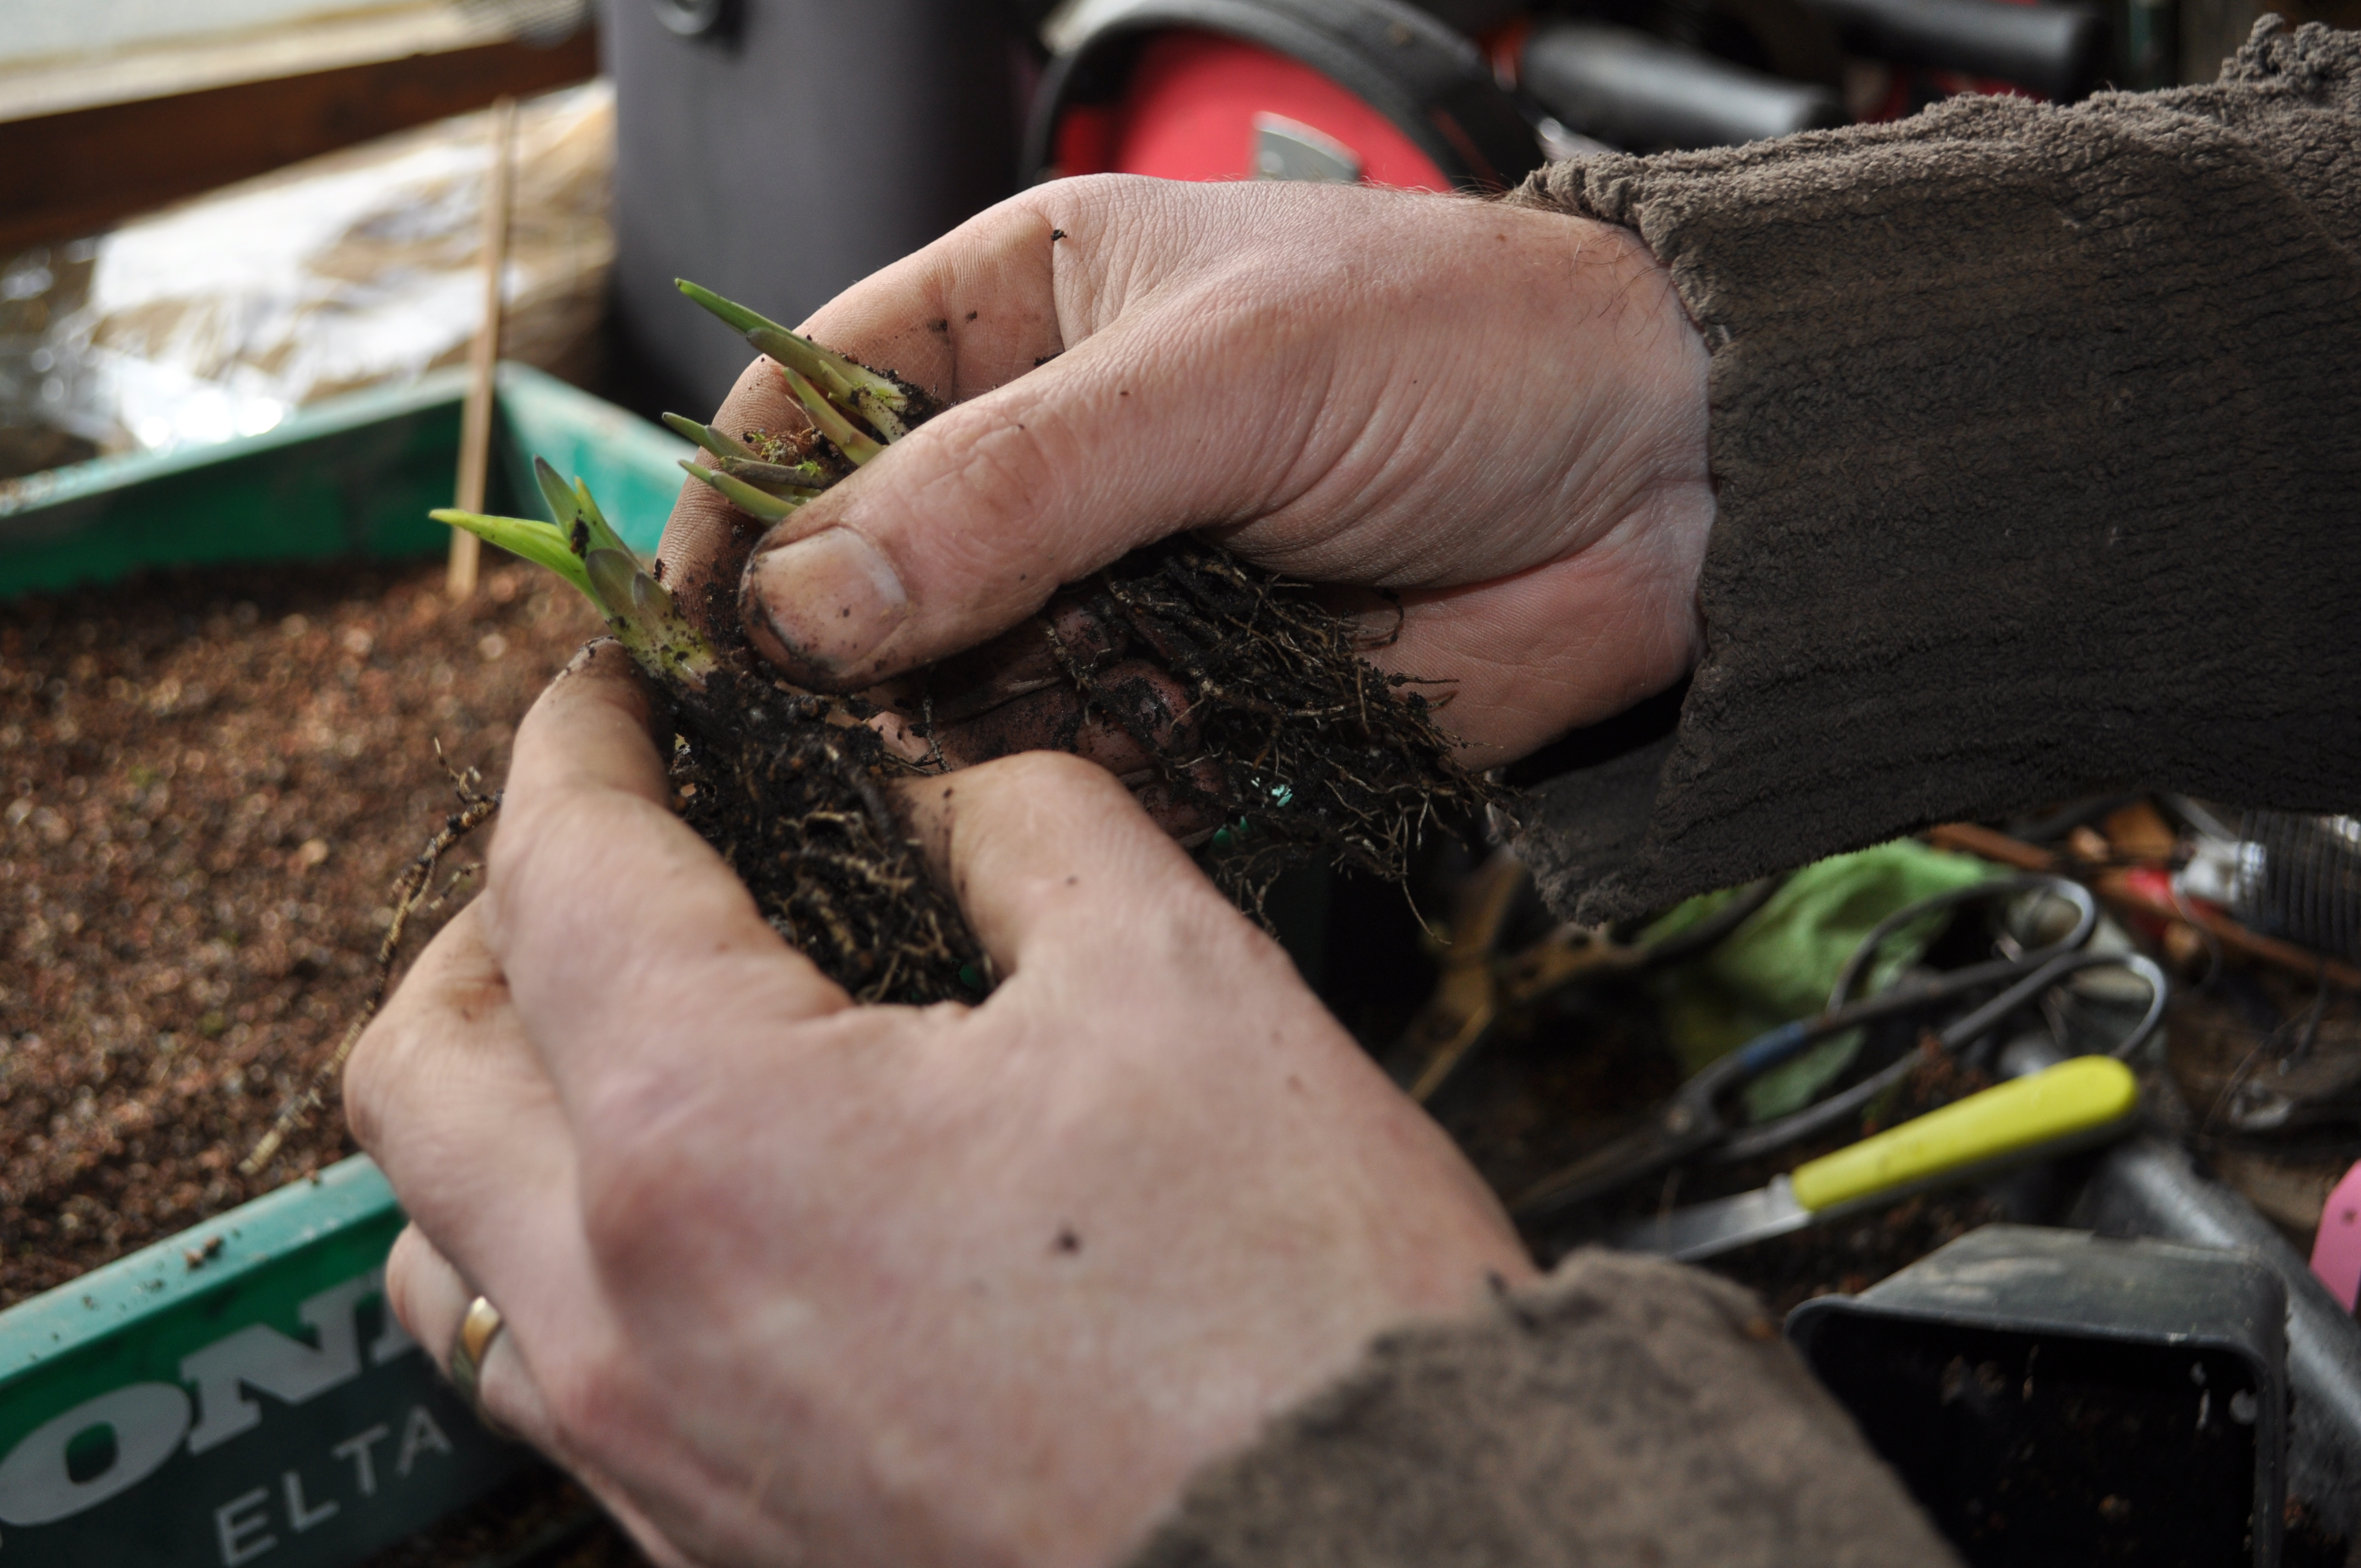
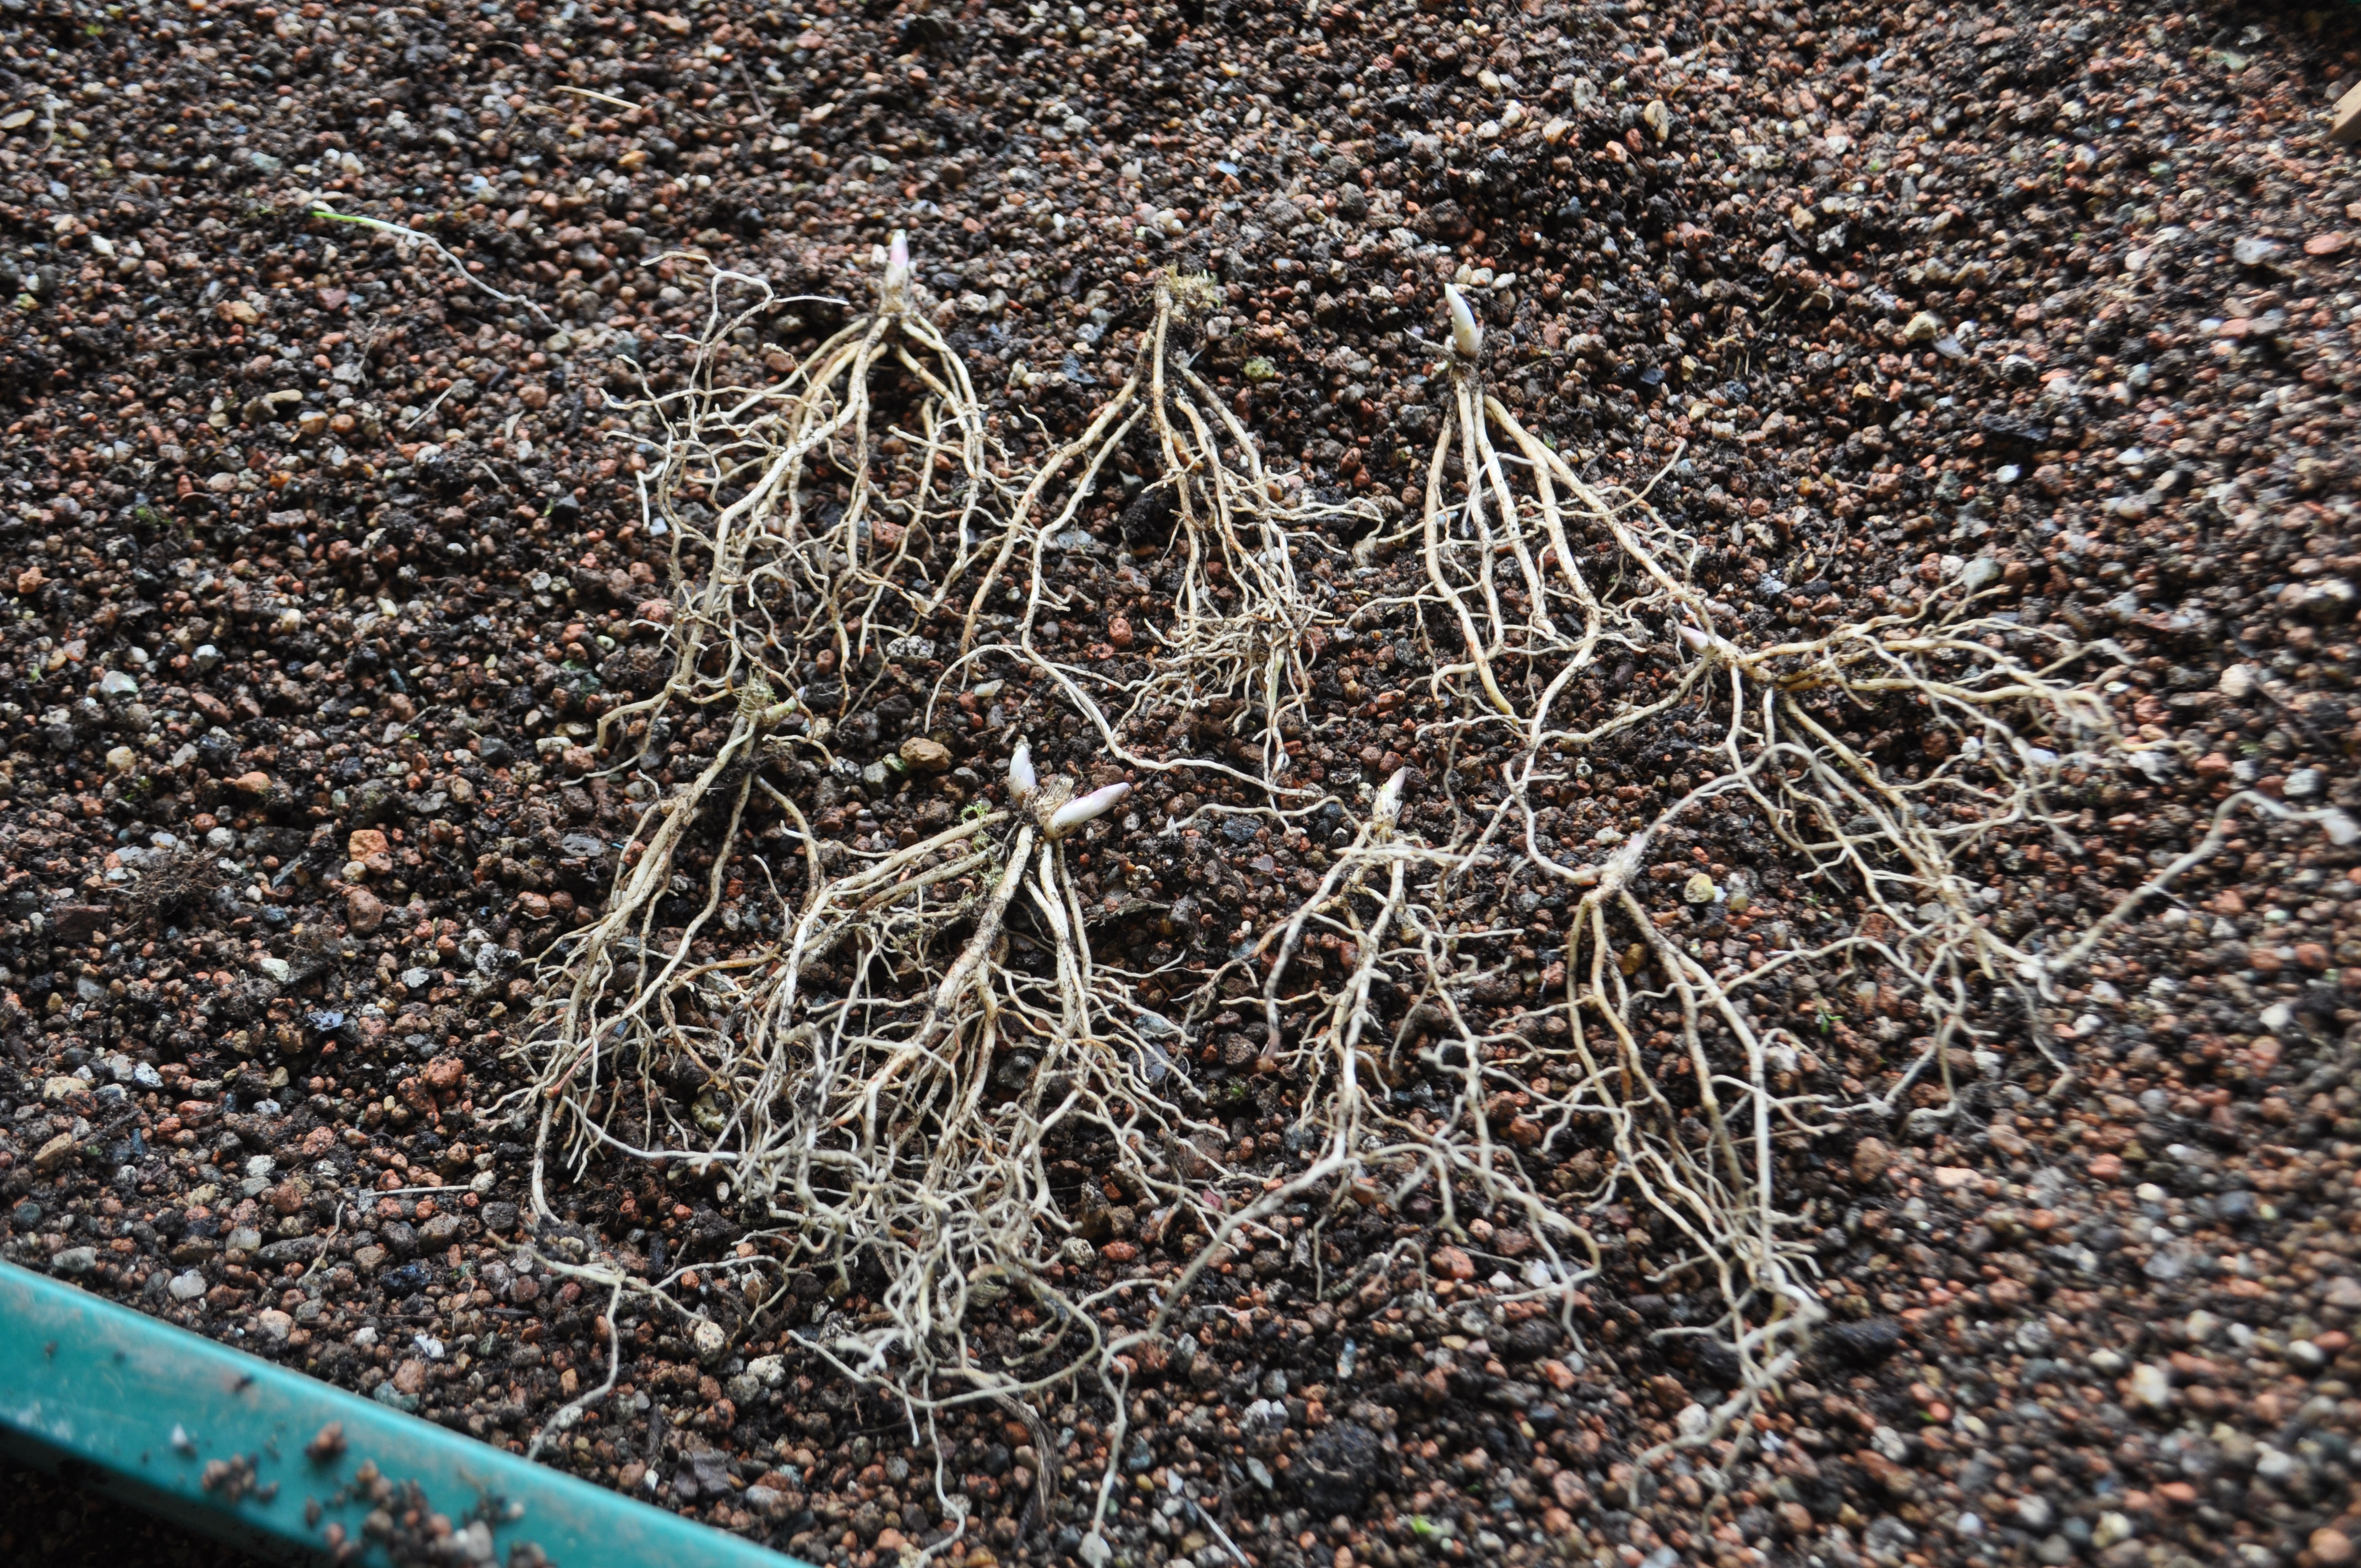
and the five plants separated..

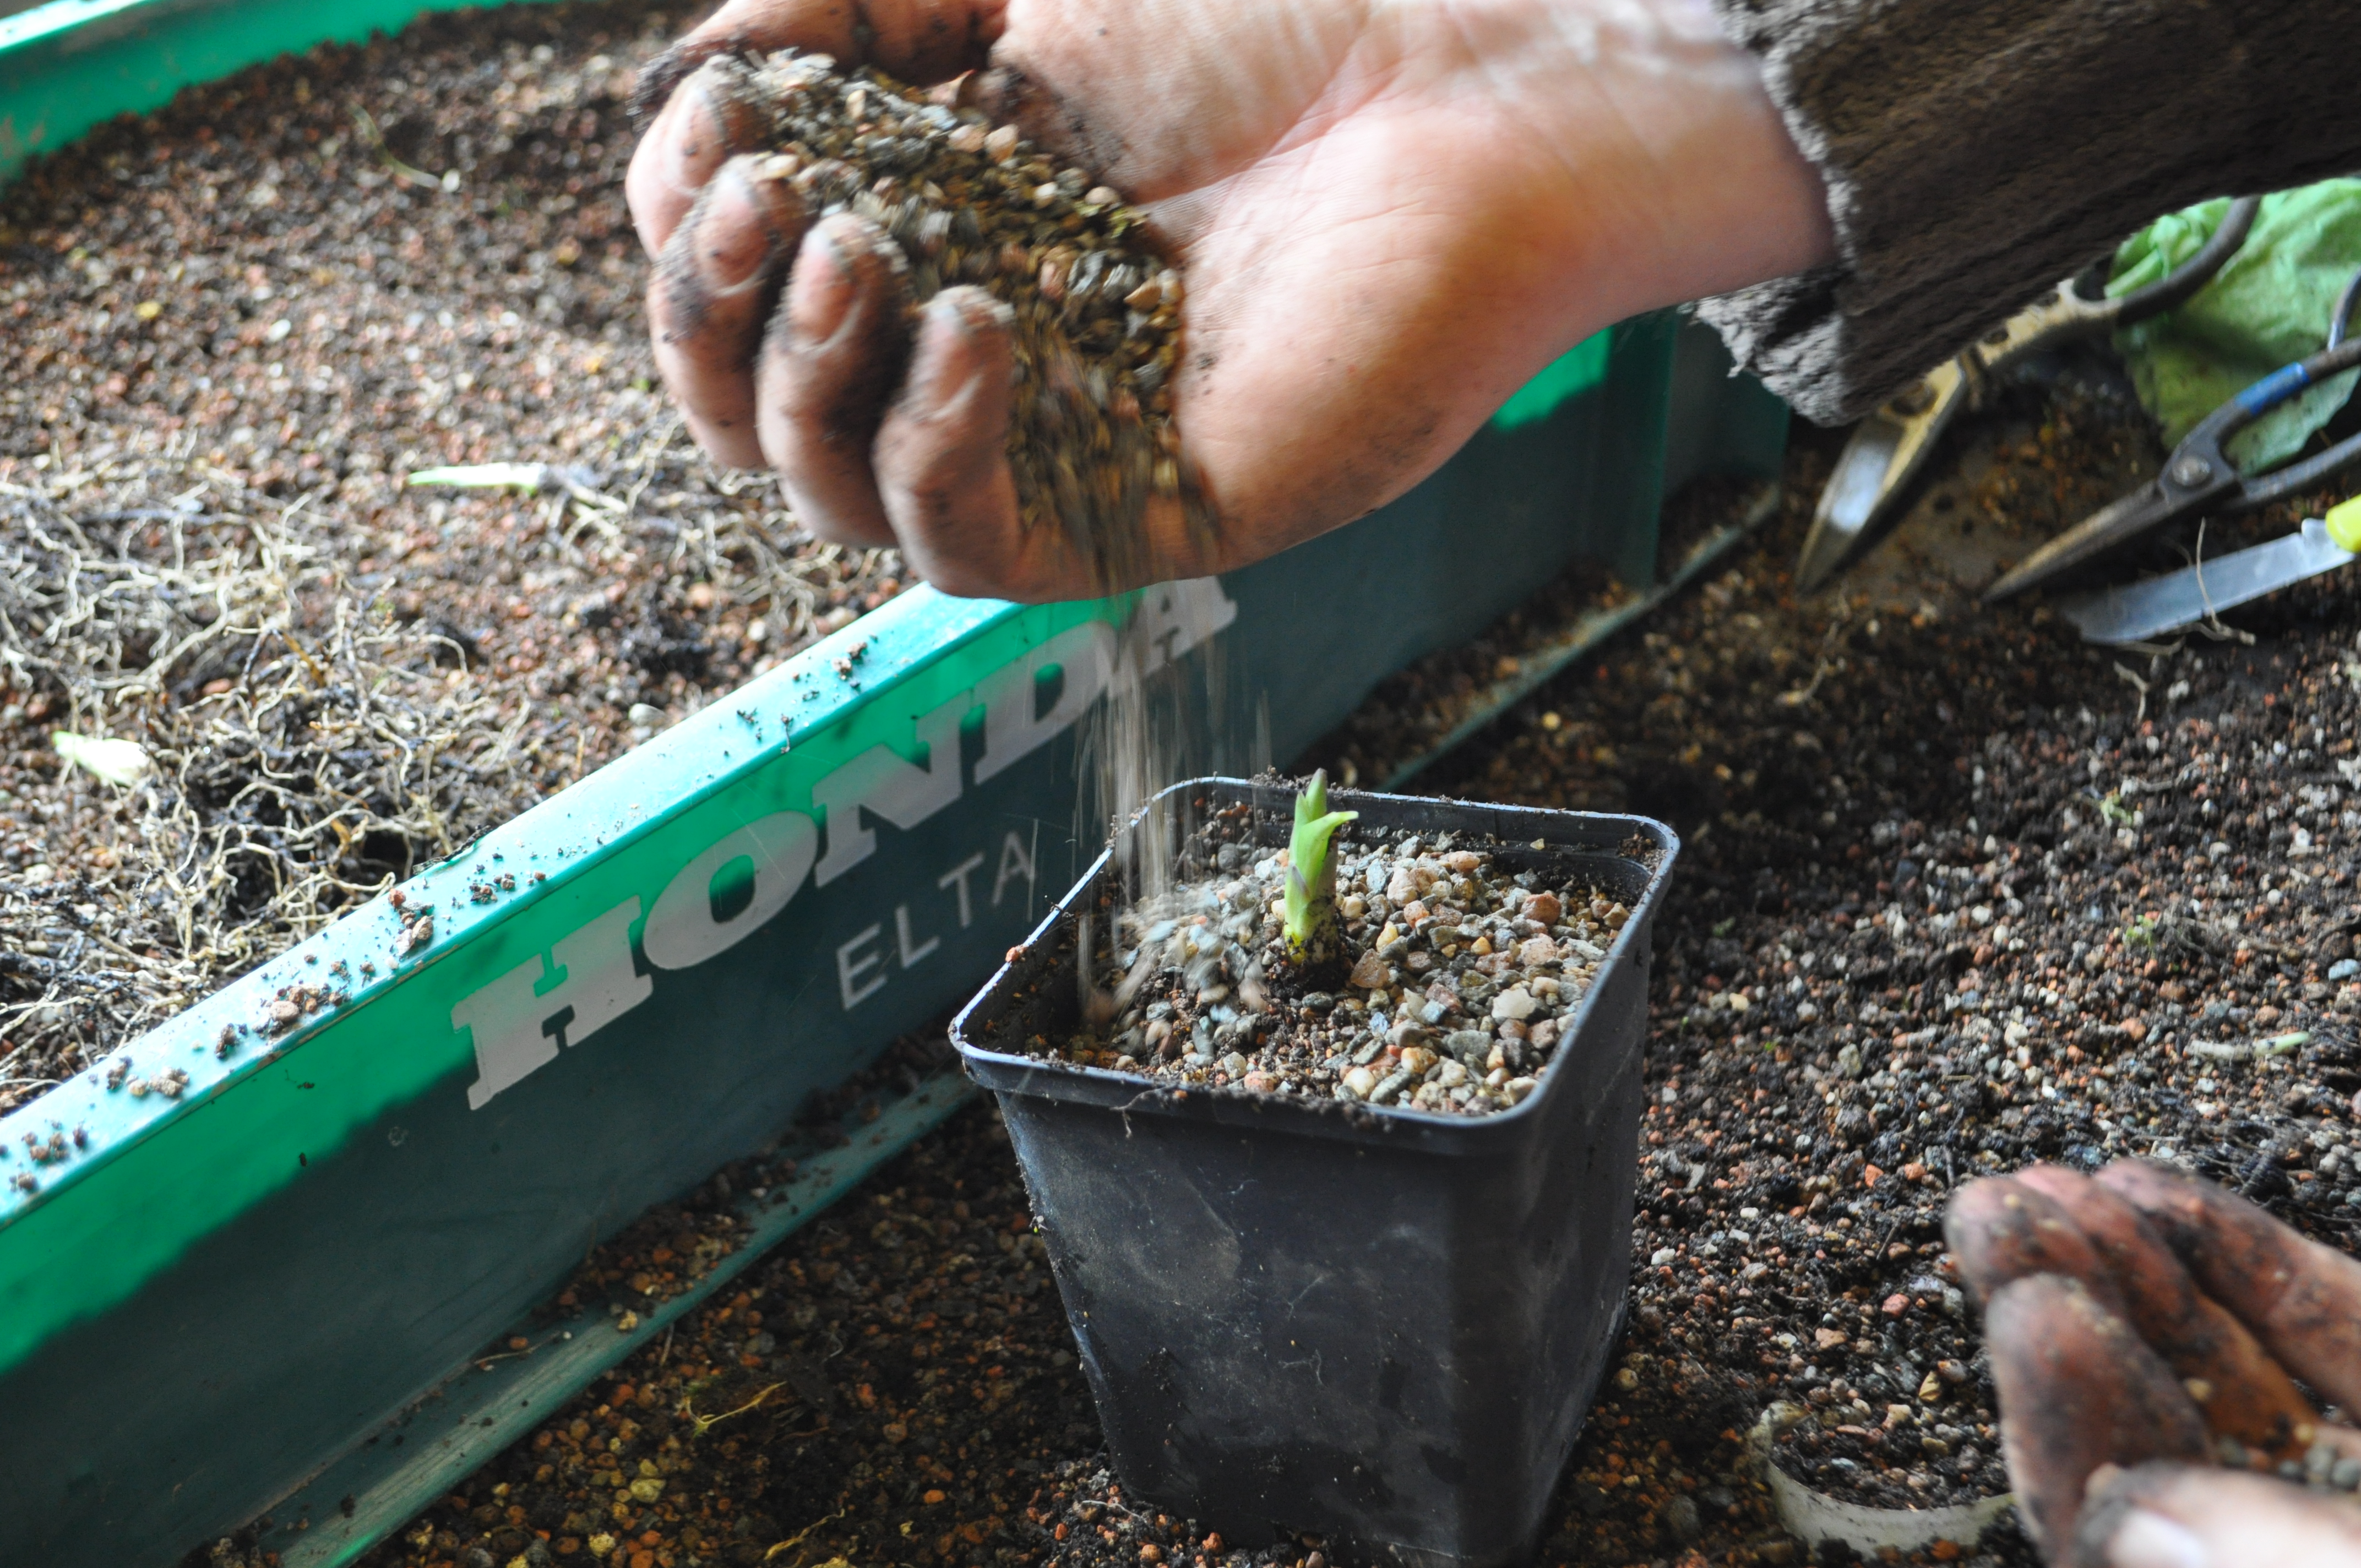
potted up in fresh mix

and top dressed with a layer of grit to keep the weeds at bay.
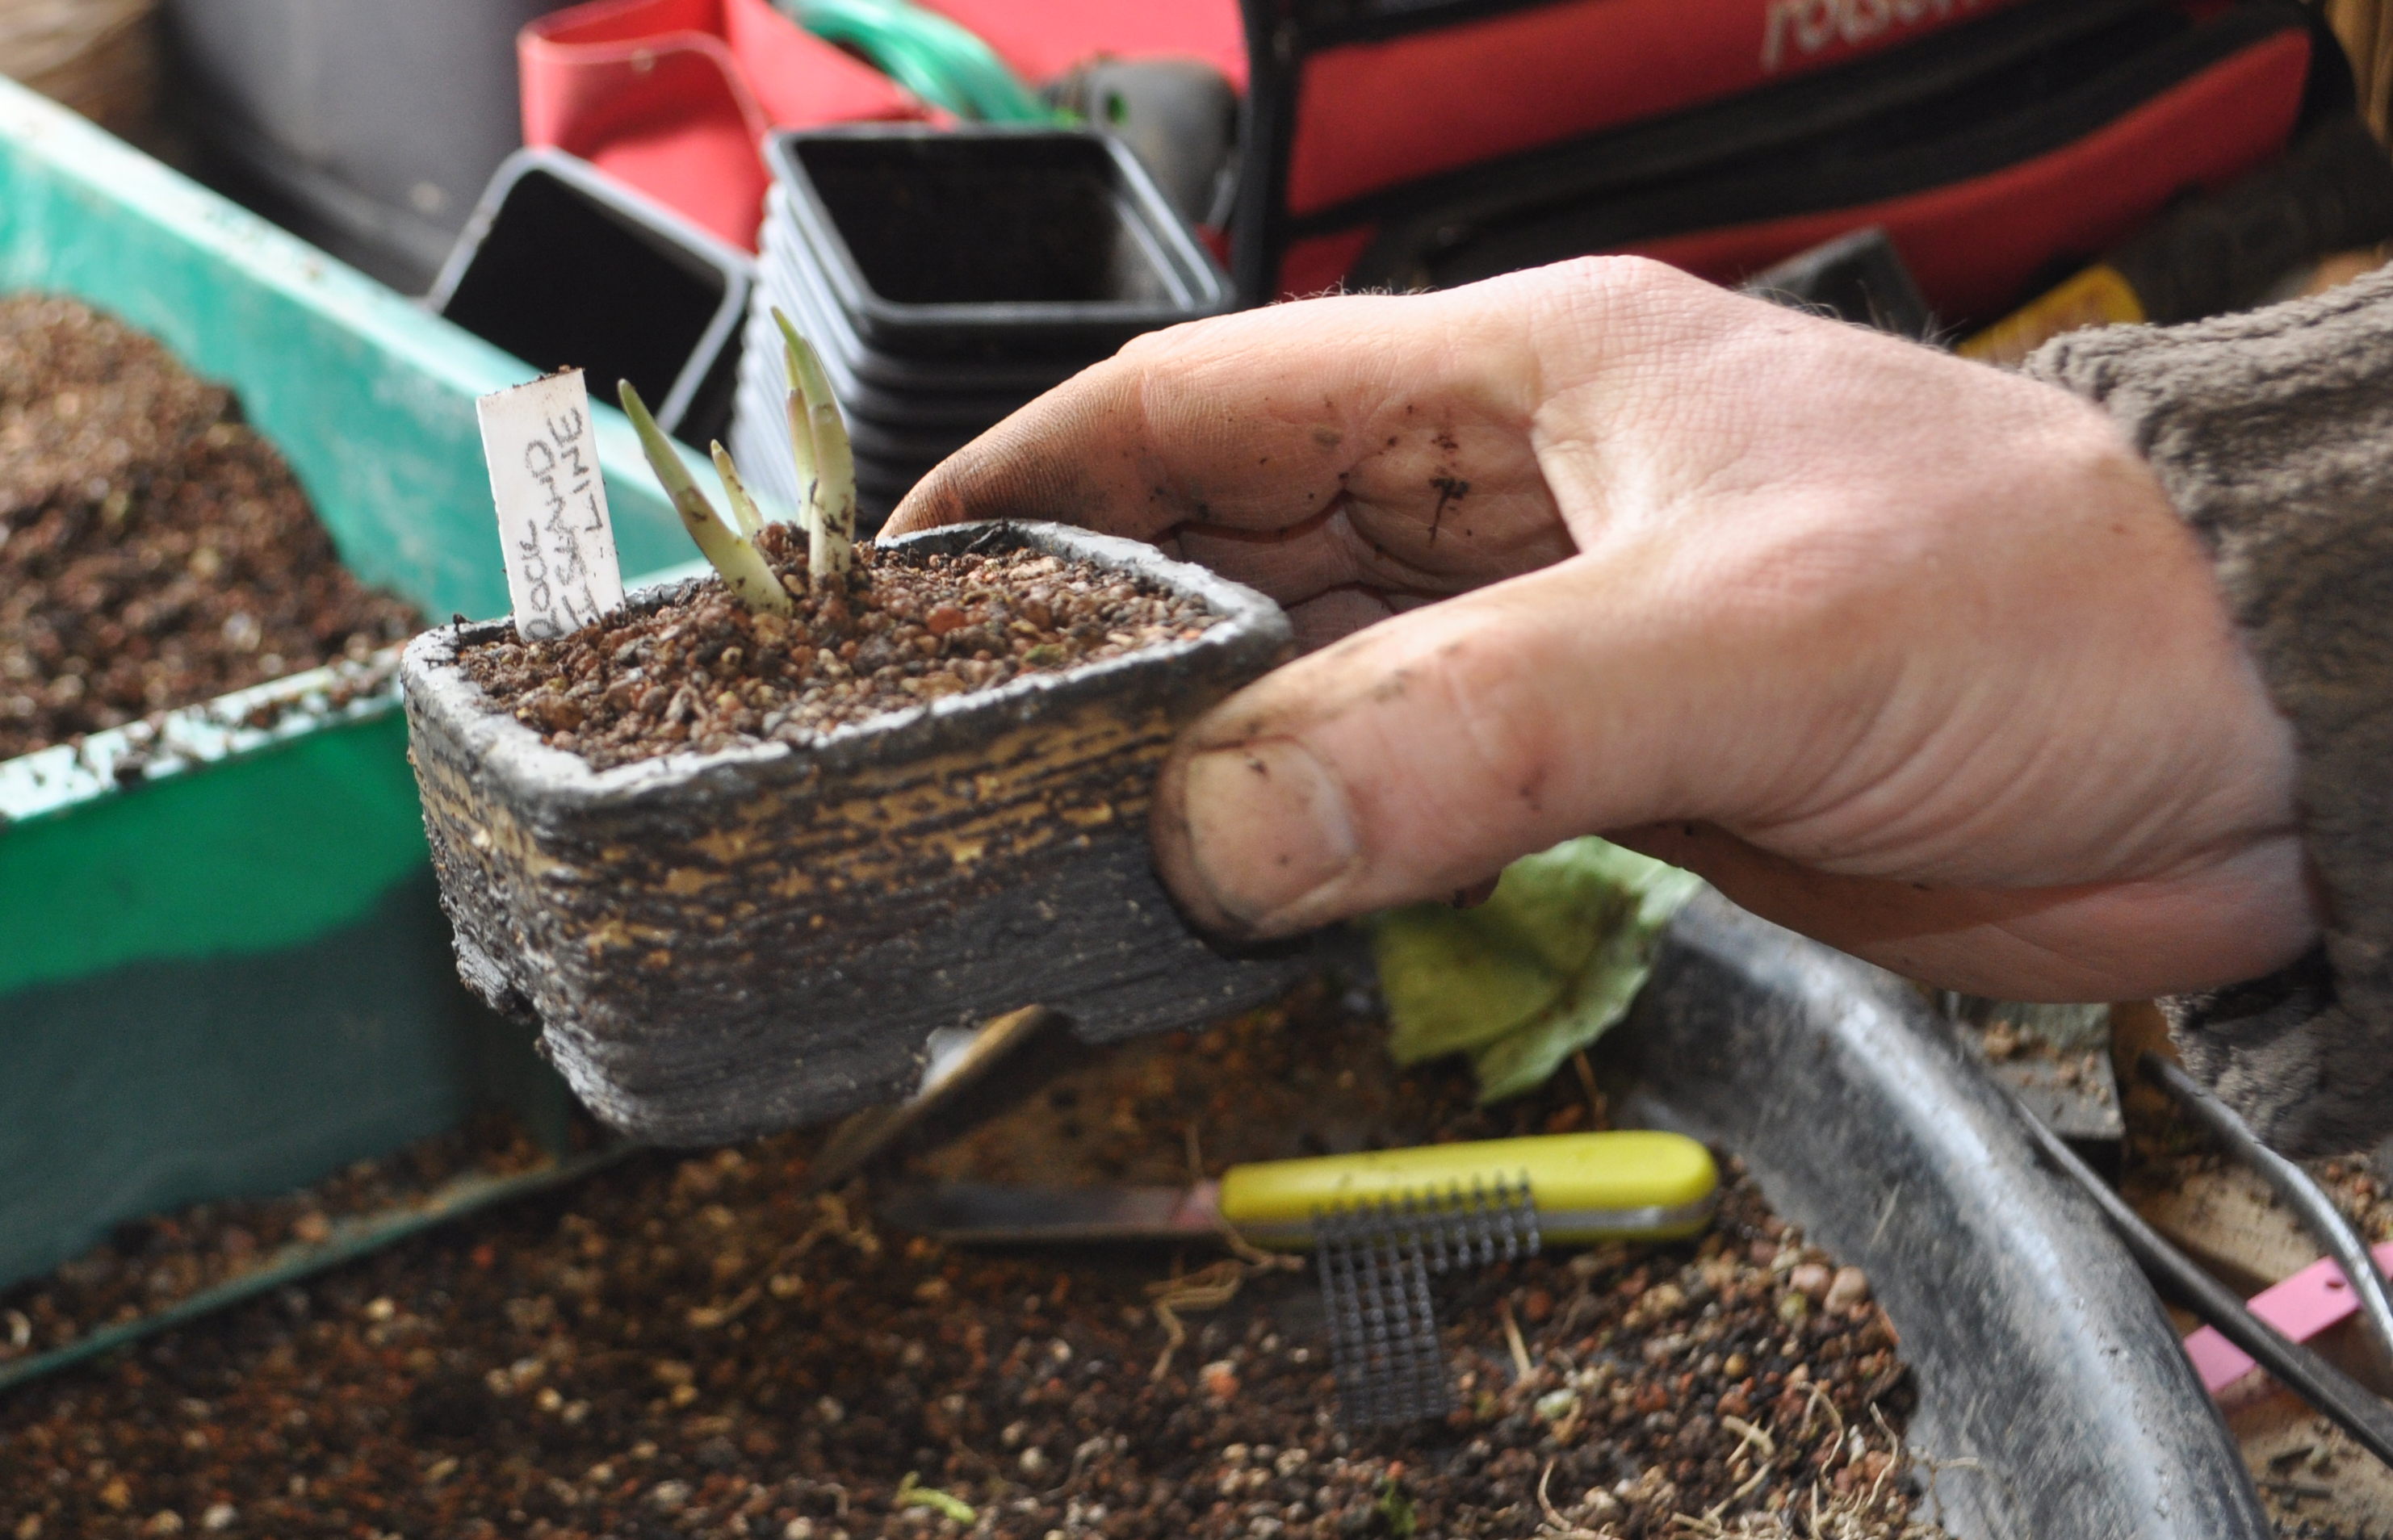
This one is back as stock plant.

This one was selected as worthy of being potted up as an accent. The three shoots will allow for it to bulk out quickly.

A little root pruning can be done, just as in bonsai. This can help reduce the leaf size of the plant compared to being grown in open ground.

A little mix in the bottom of the pot.

Placed in pot and filled around the edges with mix.

And the finished result, label added so I can keep track of what varieties I have potted up. Like the pot, this one by Will Baddelely, obtained as part of a swap with Chris Royal. Cheers Chris 😉
This is a great time to split, however I have had great success splitting in July as well with absolutely no issues with the plants being in leaf.
Anyone interesting in swapping, or even buying a few, drop me an email via the Contact Me tab at the top.
Saturday was another one to one session for me this time helping to repot some tricky trees.
This Hawthorn collected from a garden by Ben a few years back was one of the first trees tackled. A decision had to be made about a heavy long root that would dictate what pot it would fit into.
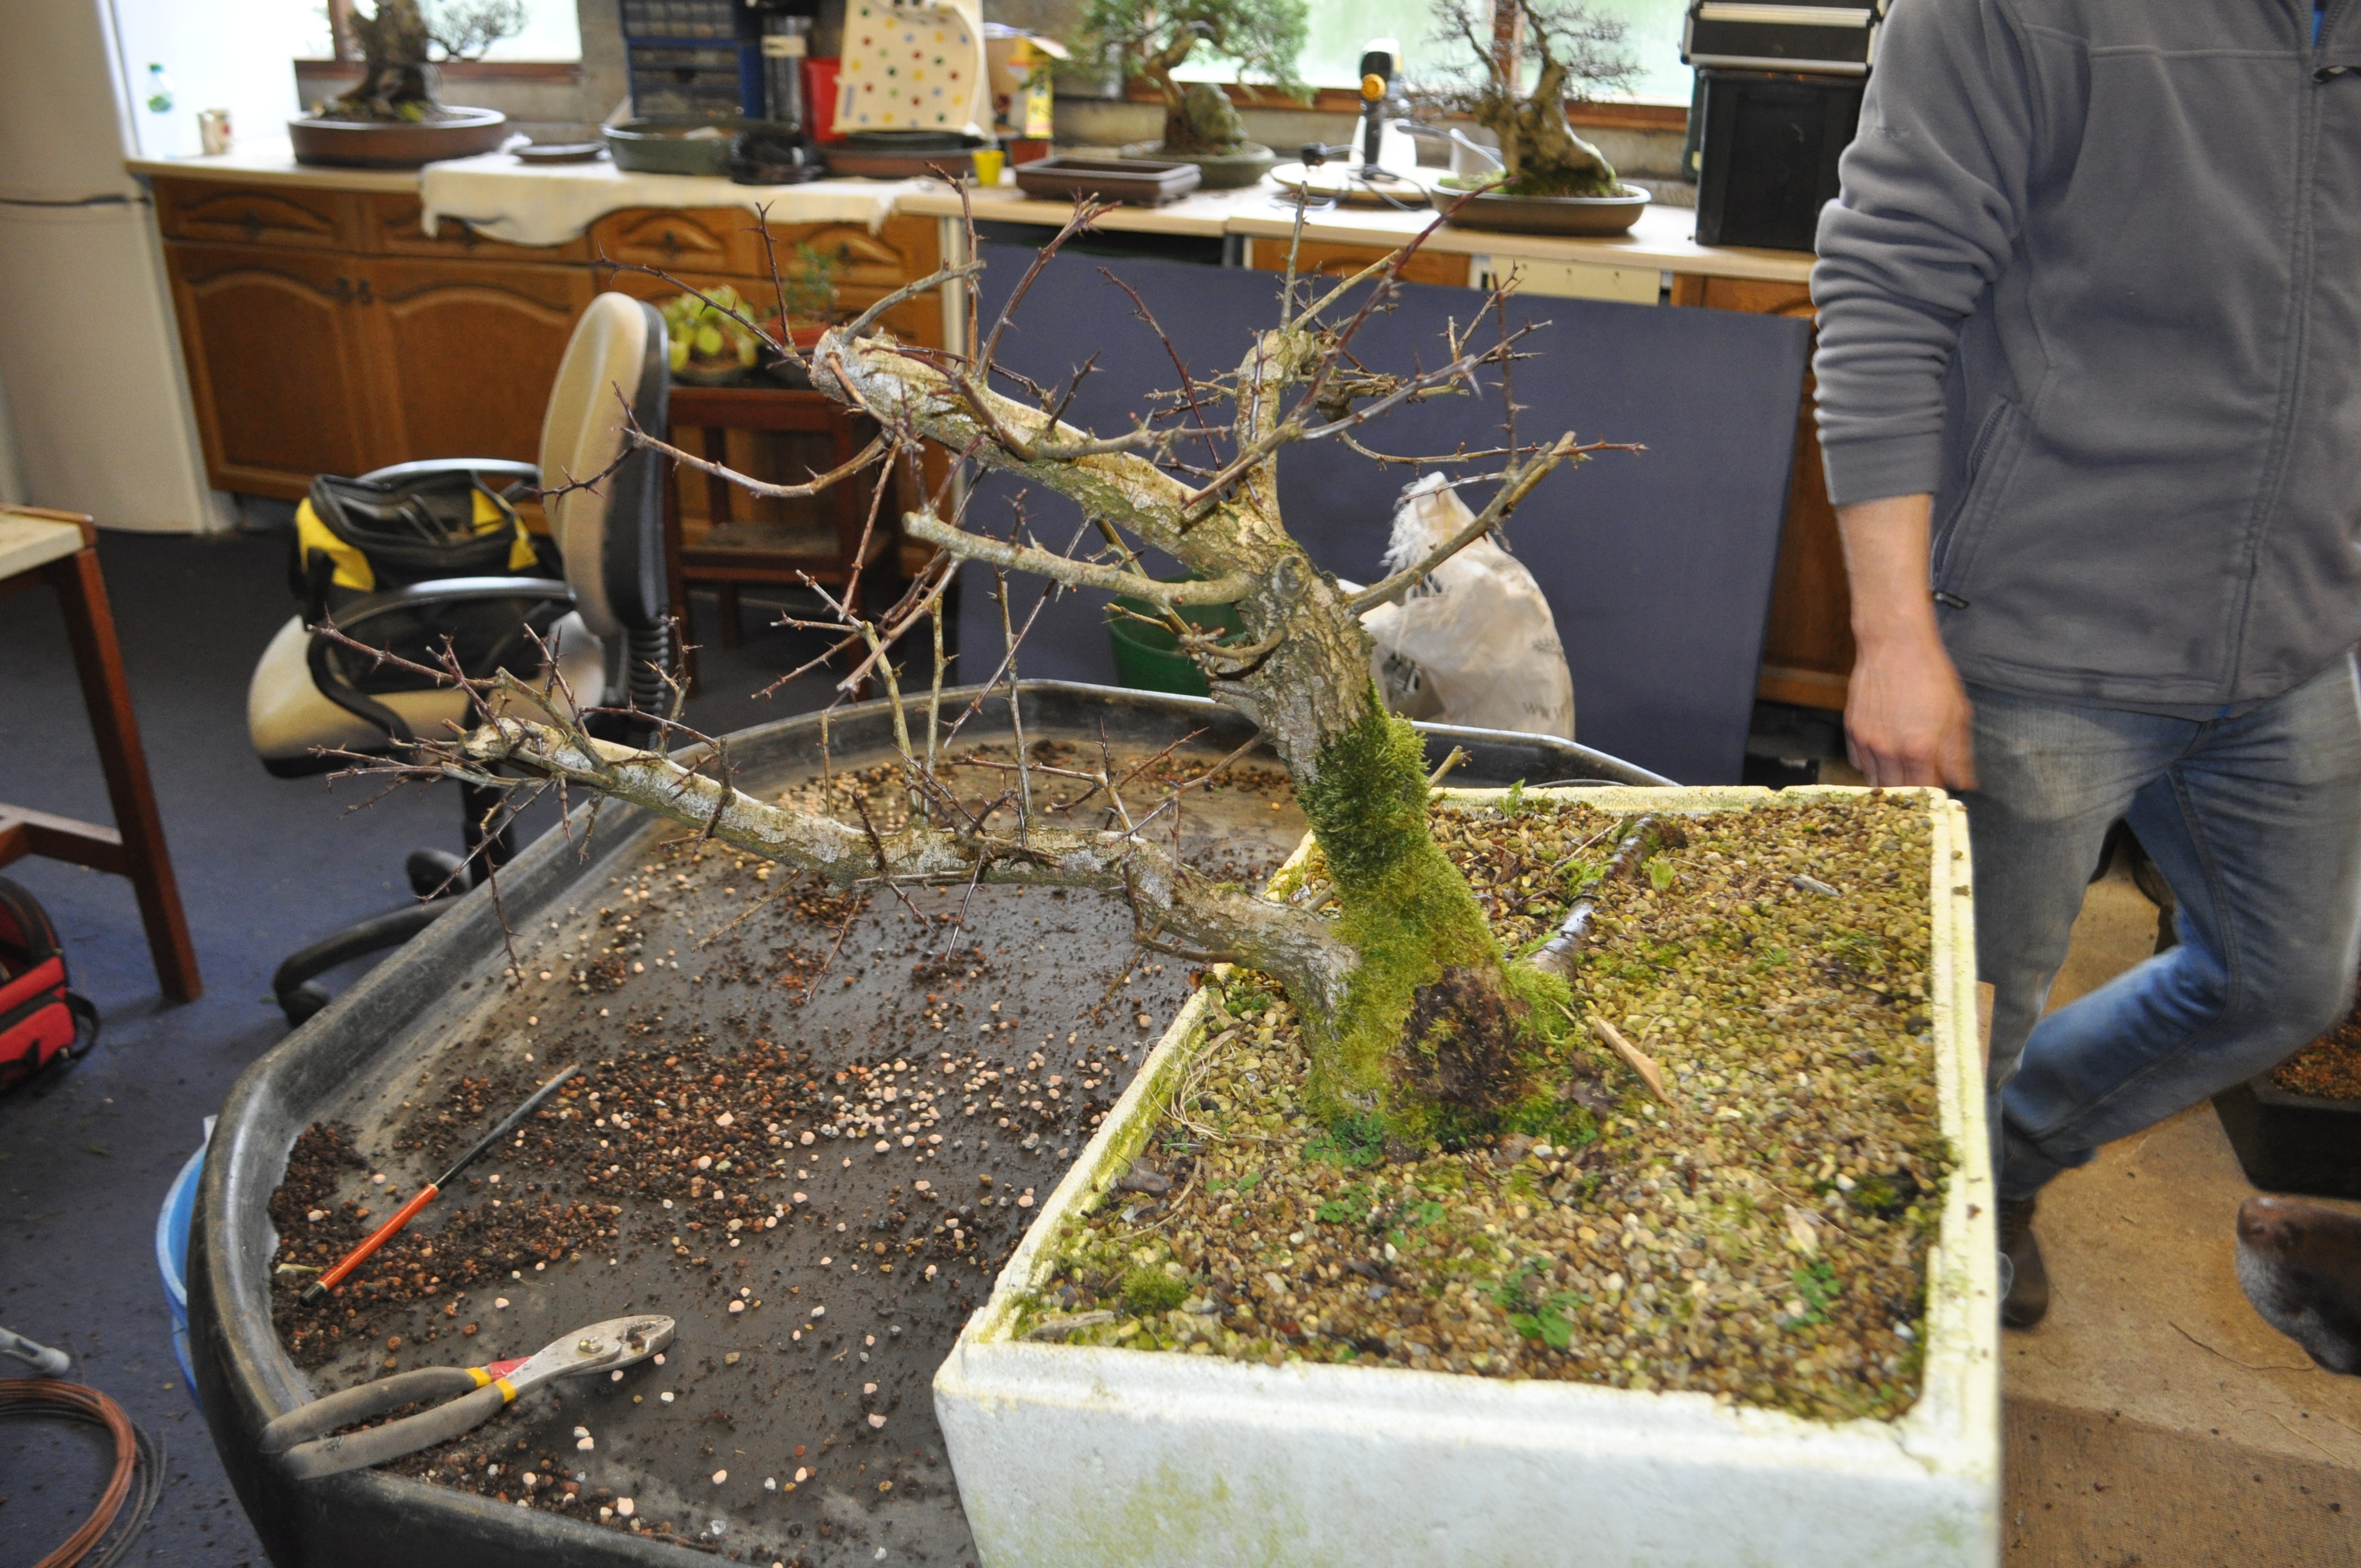
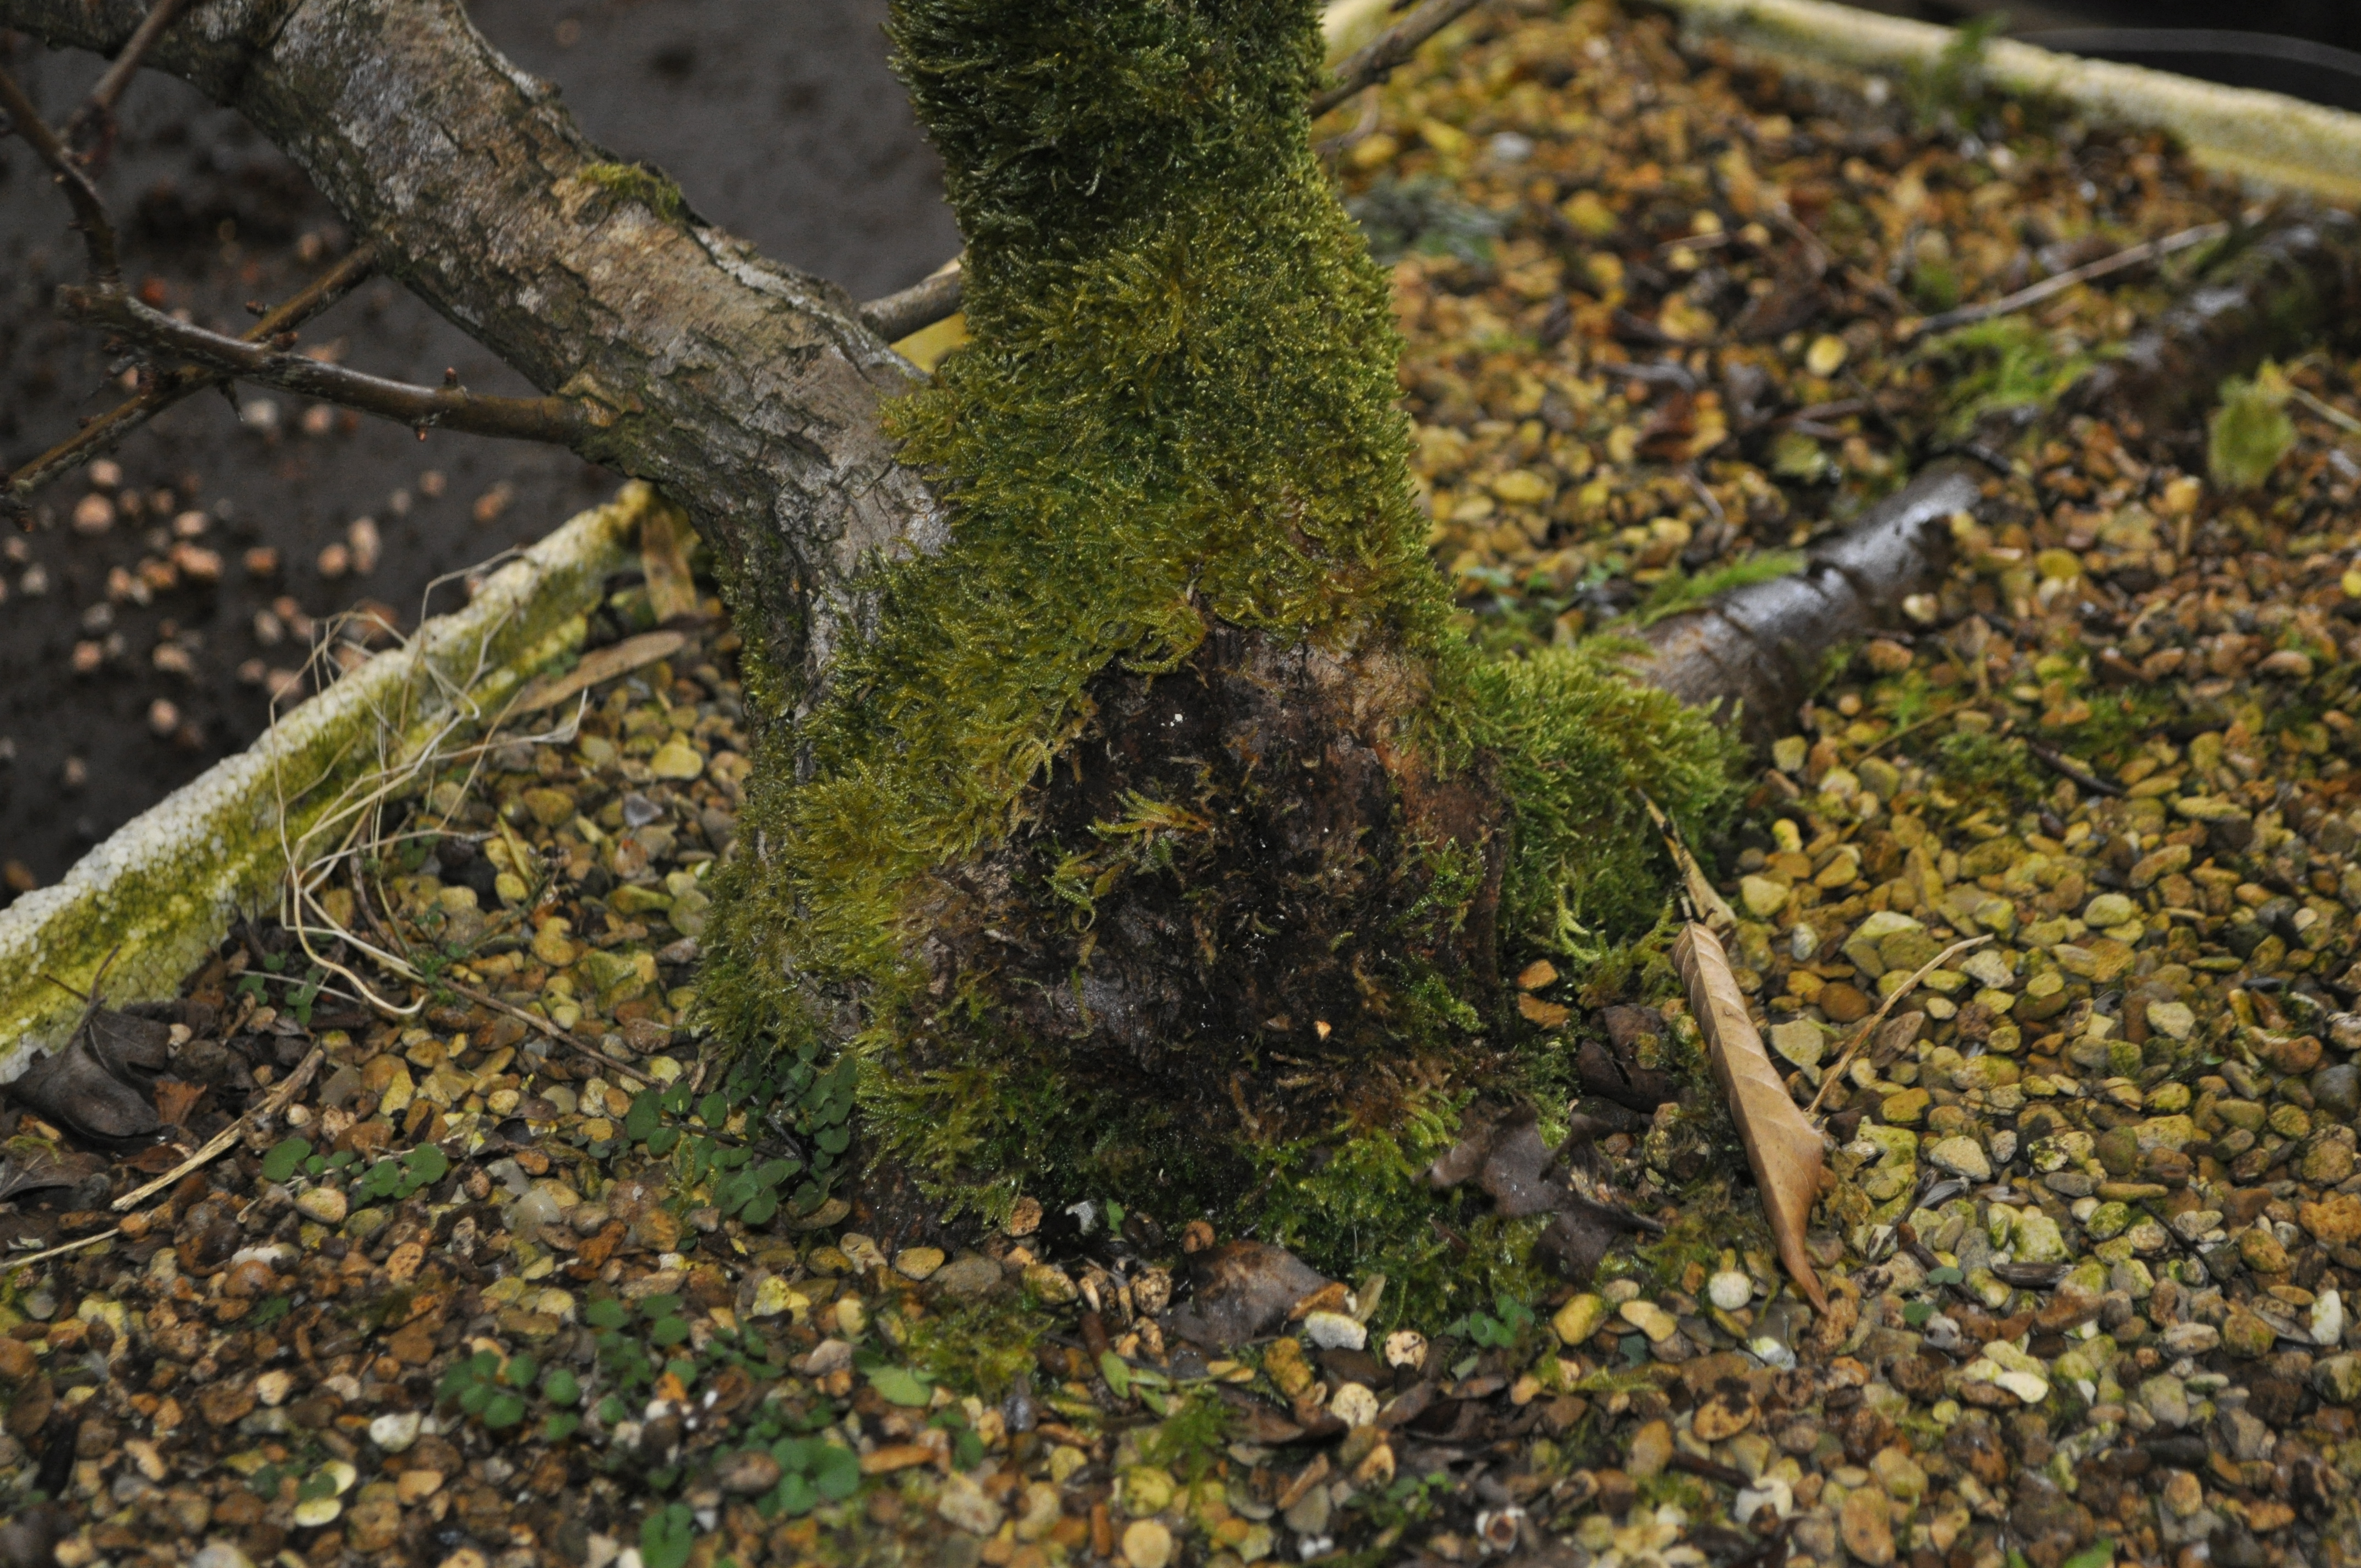
First this tree moss covering the lower trunk had to be removed. I hate this stuff. It gets in under rough bark and can cause it to lift off.
We then had to wash out the old mix and any original field soil. This allowed us to see exactly what had to be reduced and allowed us to see that the heavy root could be removed without putting too much stress on the tree. It had done well under Ben’s care and plenty of fine root was in evidence.
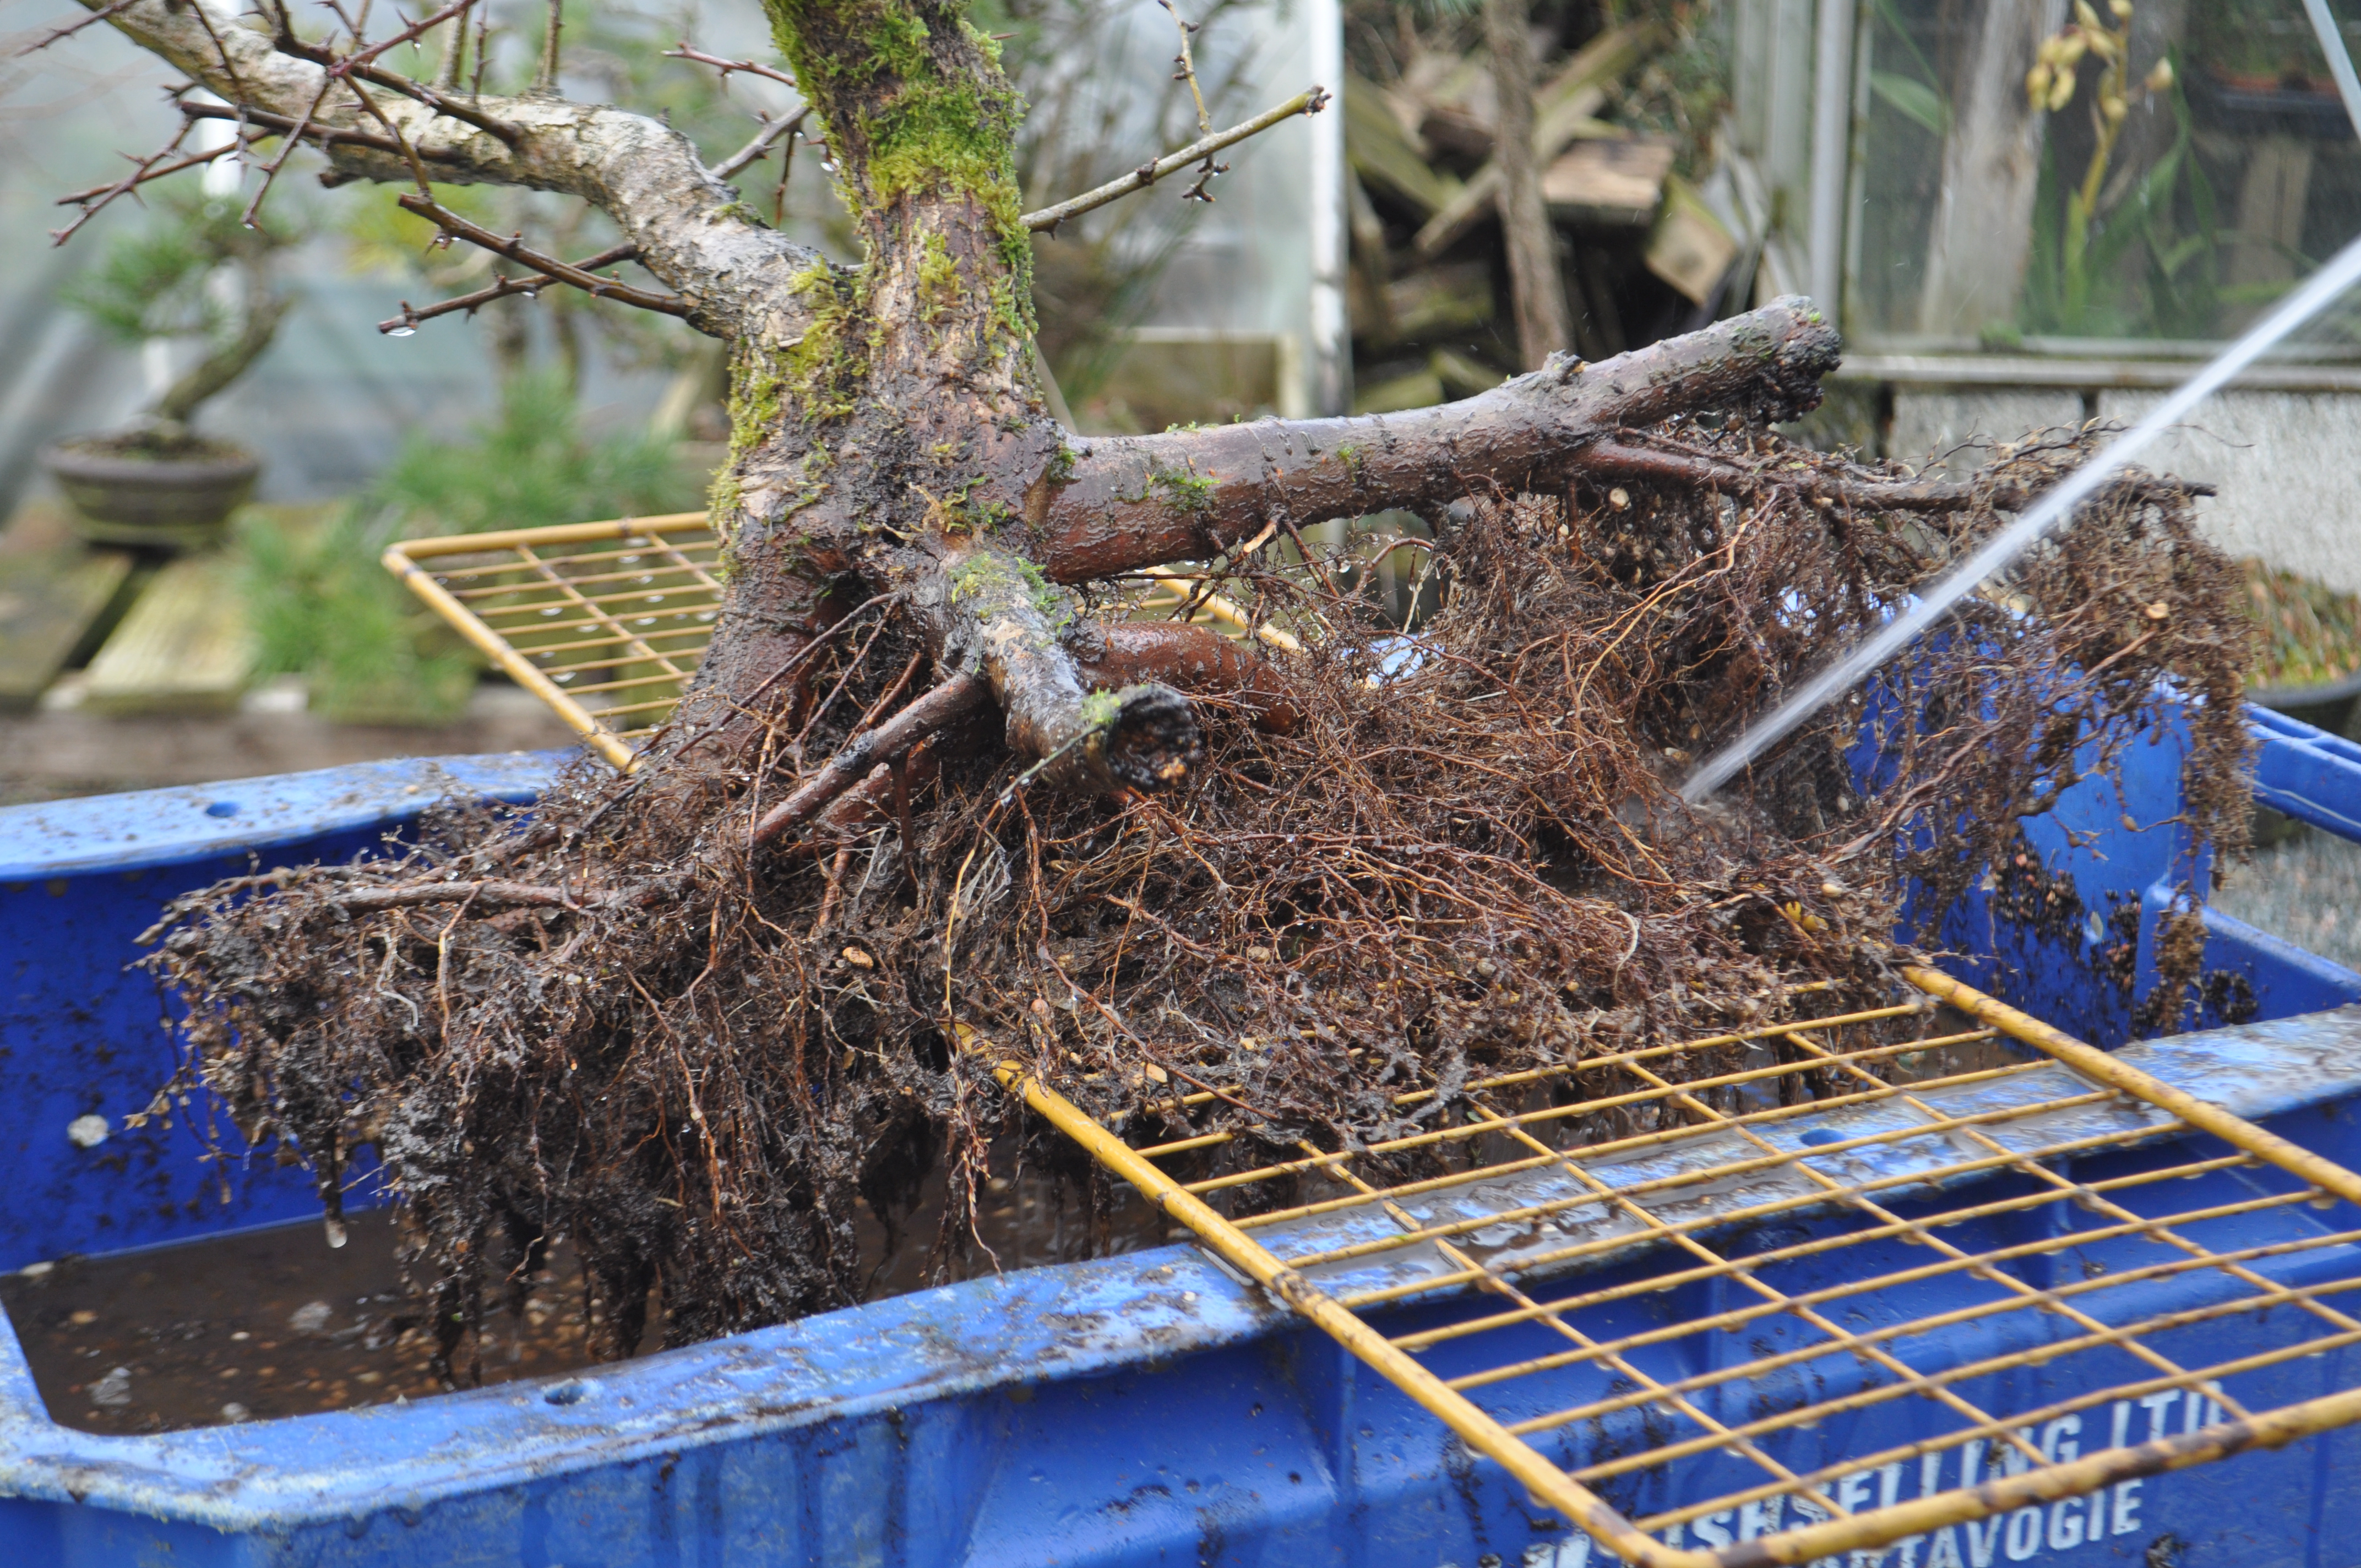
My handy root washing system 🙂

And this is the tree potted up at it’s new angle.

Next is a Shohin Cotoneaster. The current pot is too heavy and clunky for the tree.
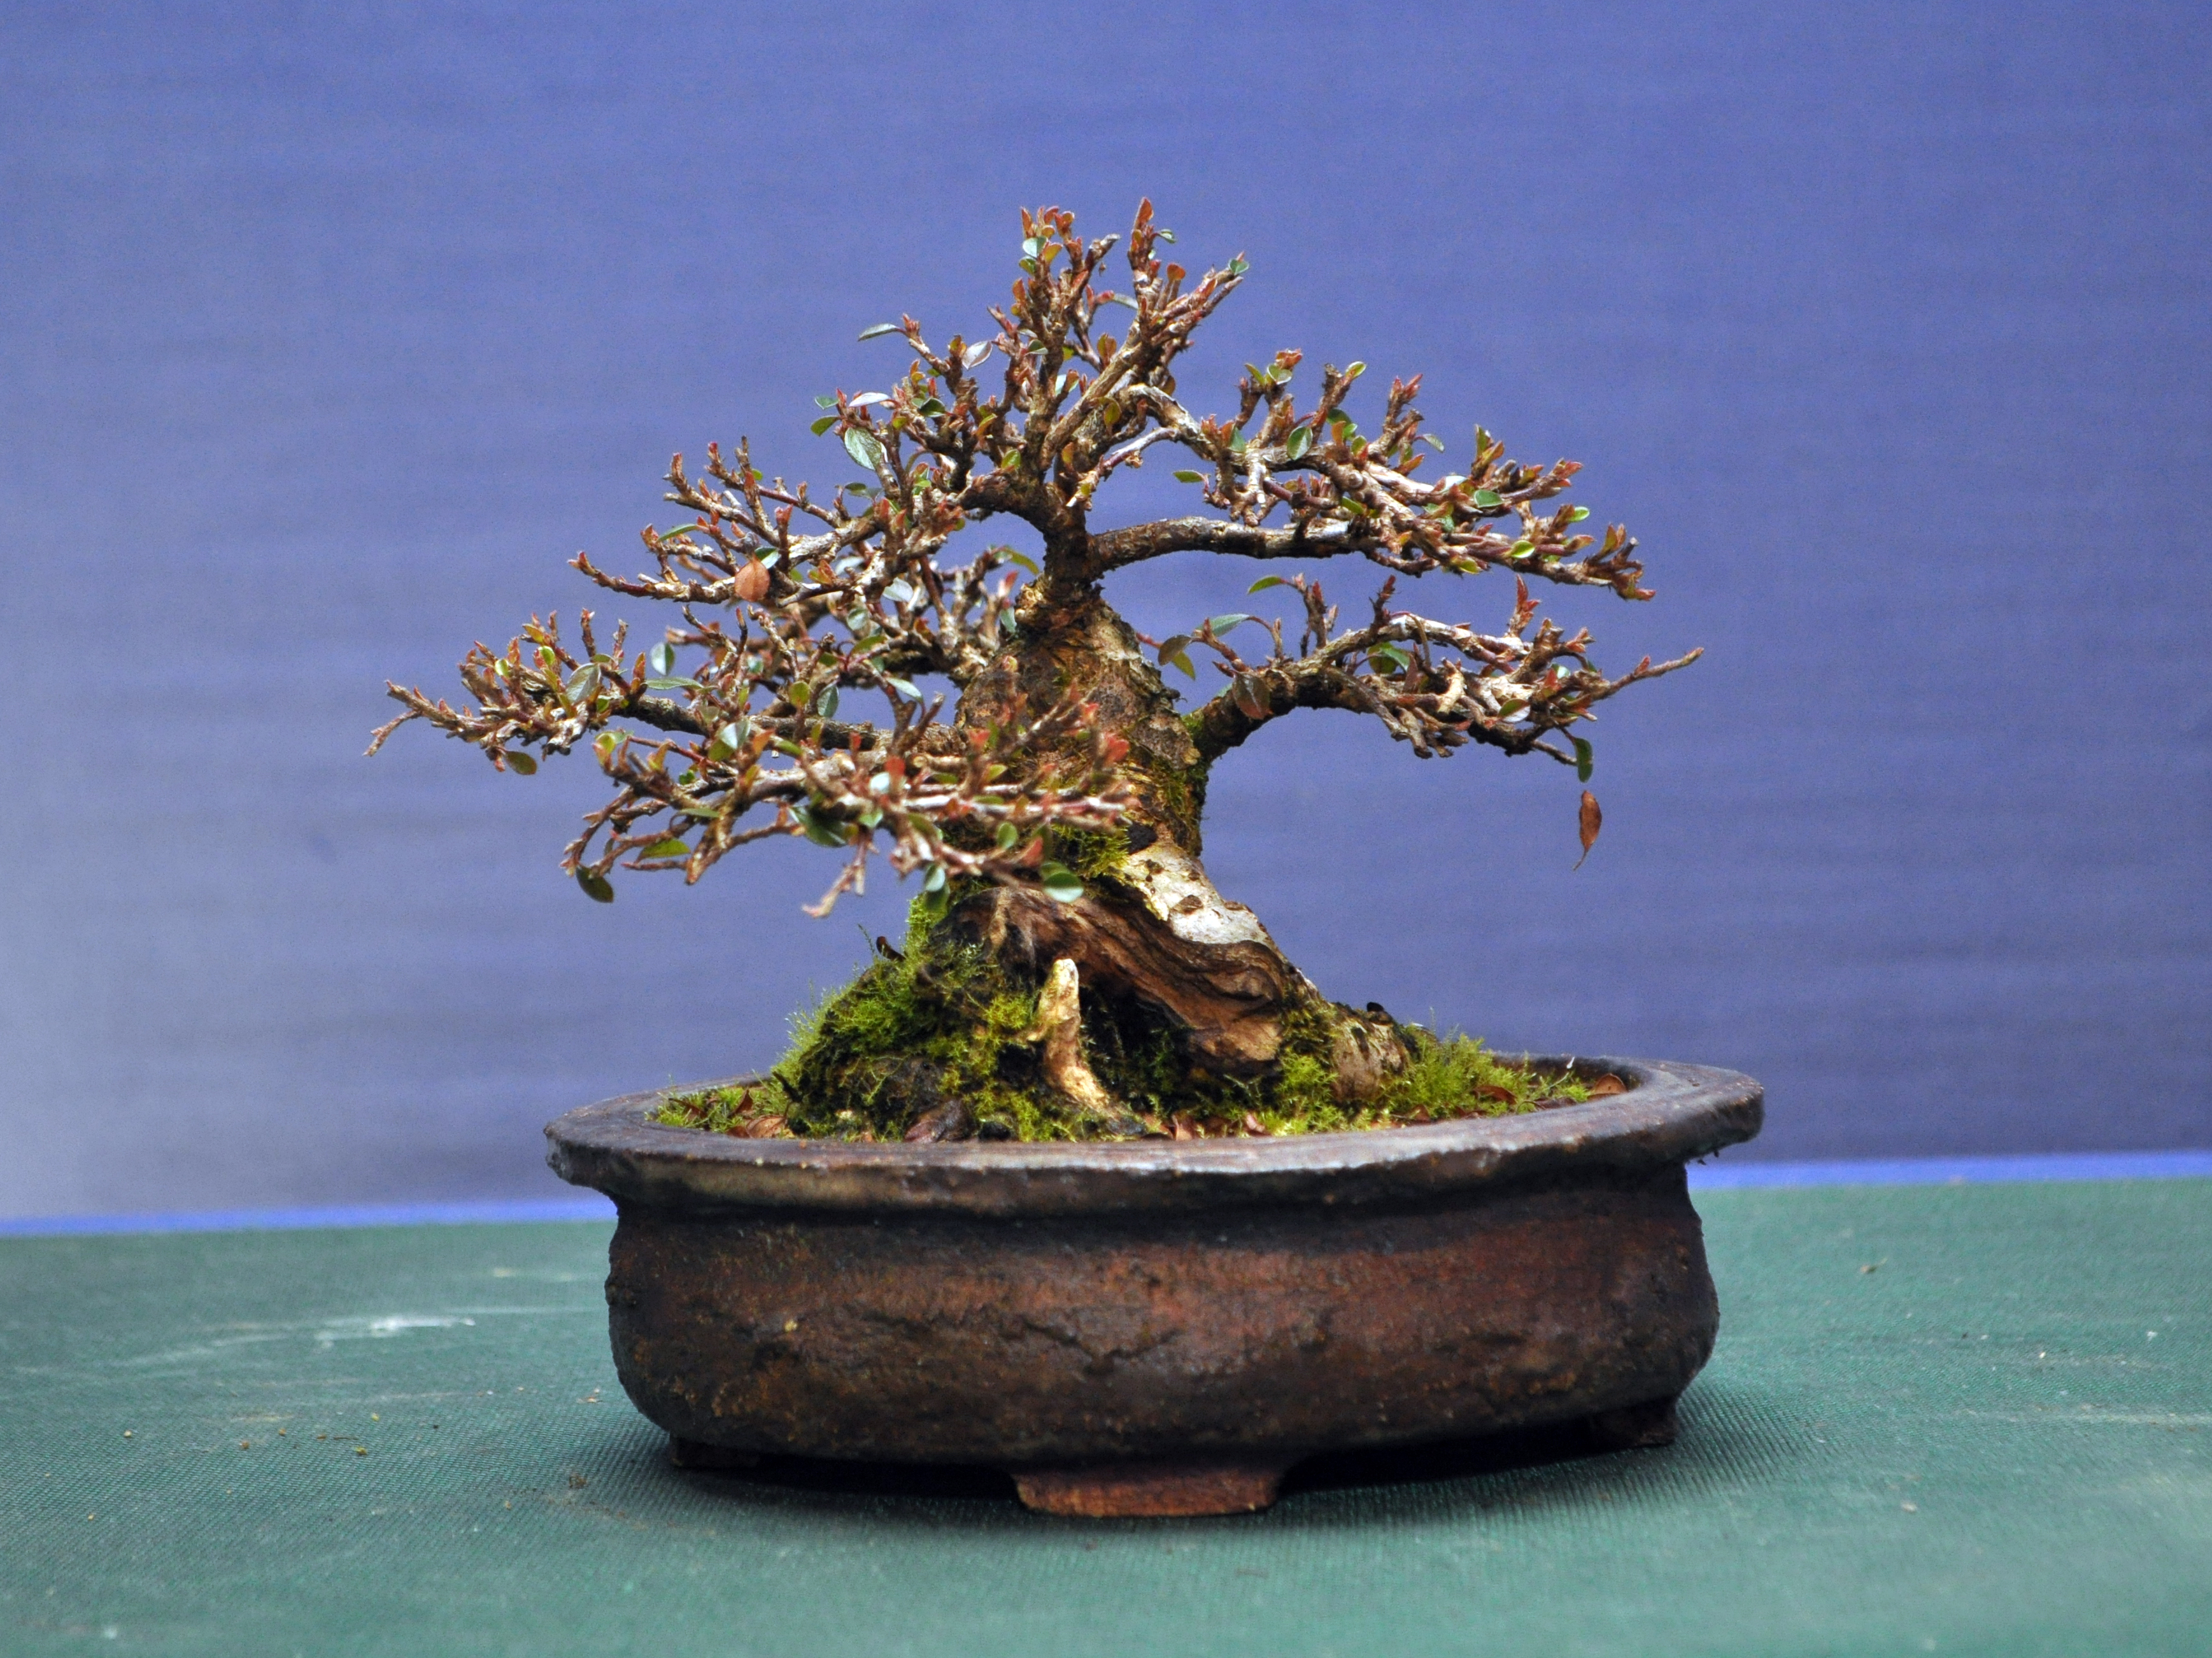
Ben has this little Epimedium accent in a nice Erin pot and he thought it was a better option for the Cotoneaster.
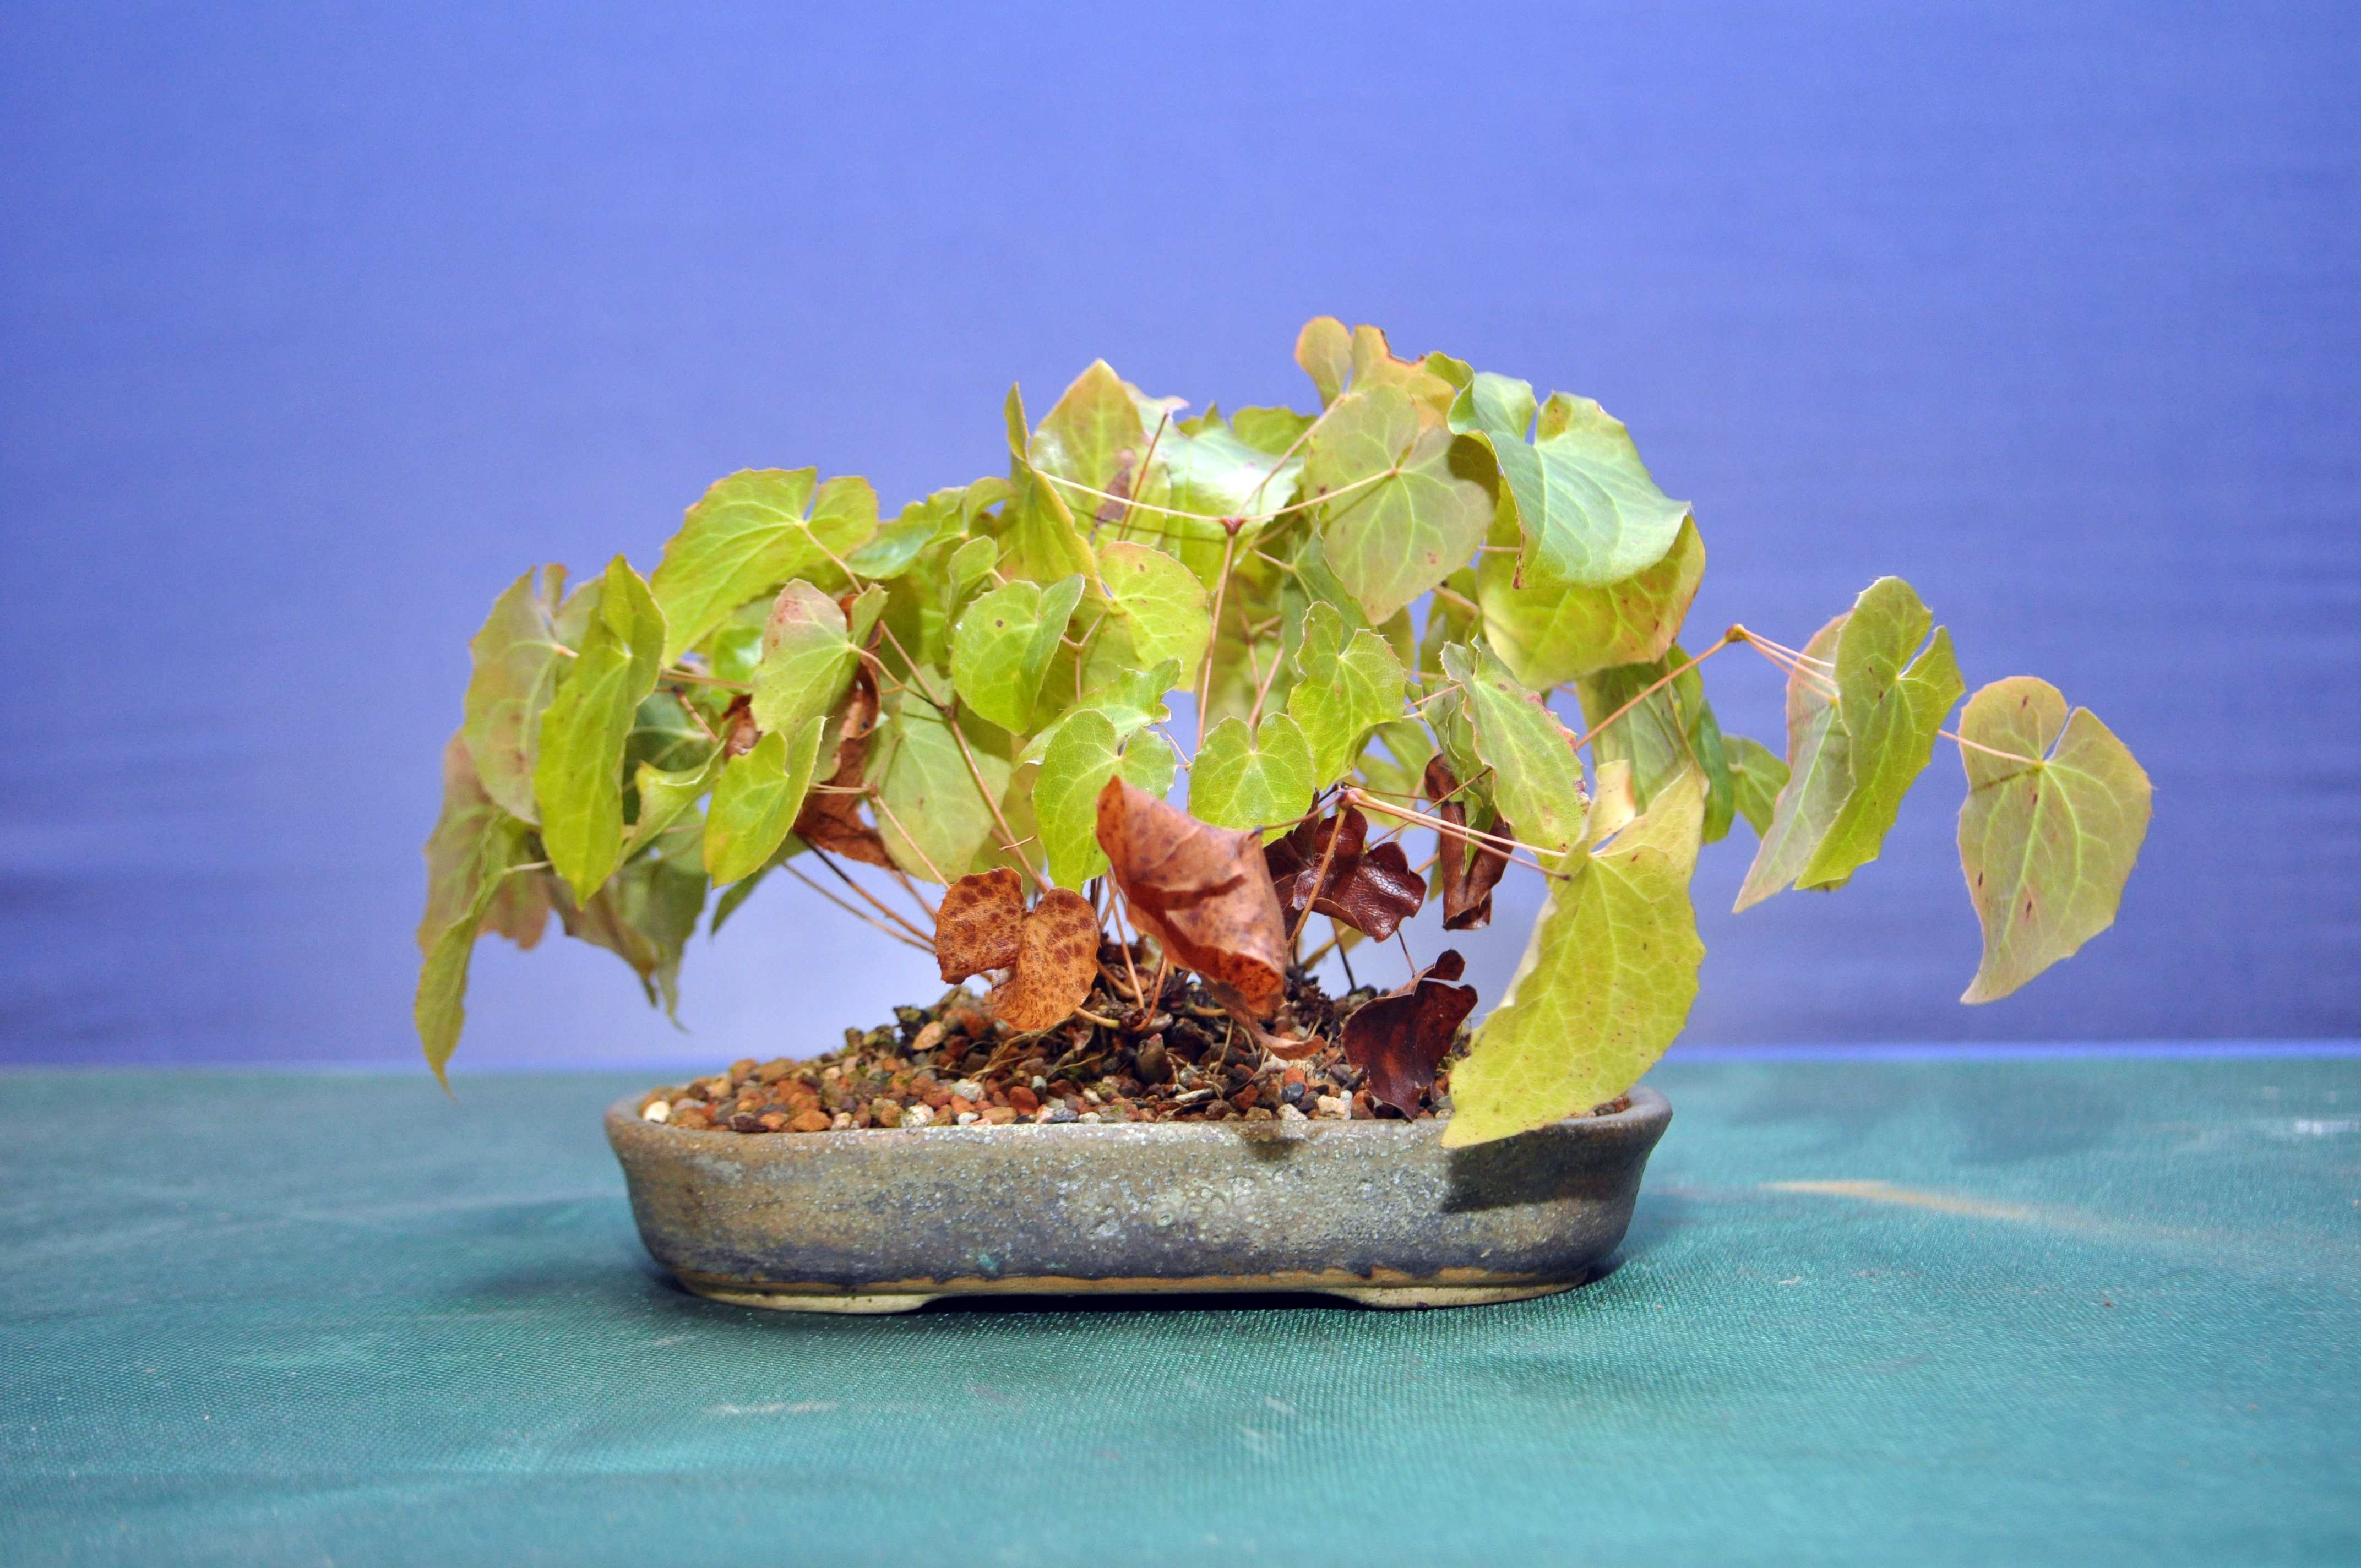
I think he was right, works for me, especially as the tree fills out further. 
This little pine was moved from a flower pot over into this new home. Early days but interesting project.
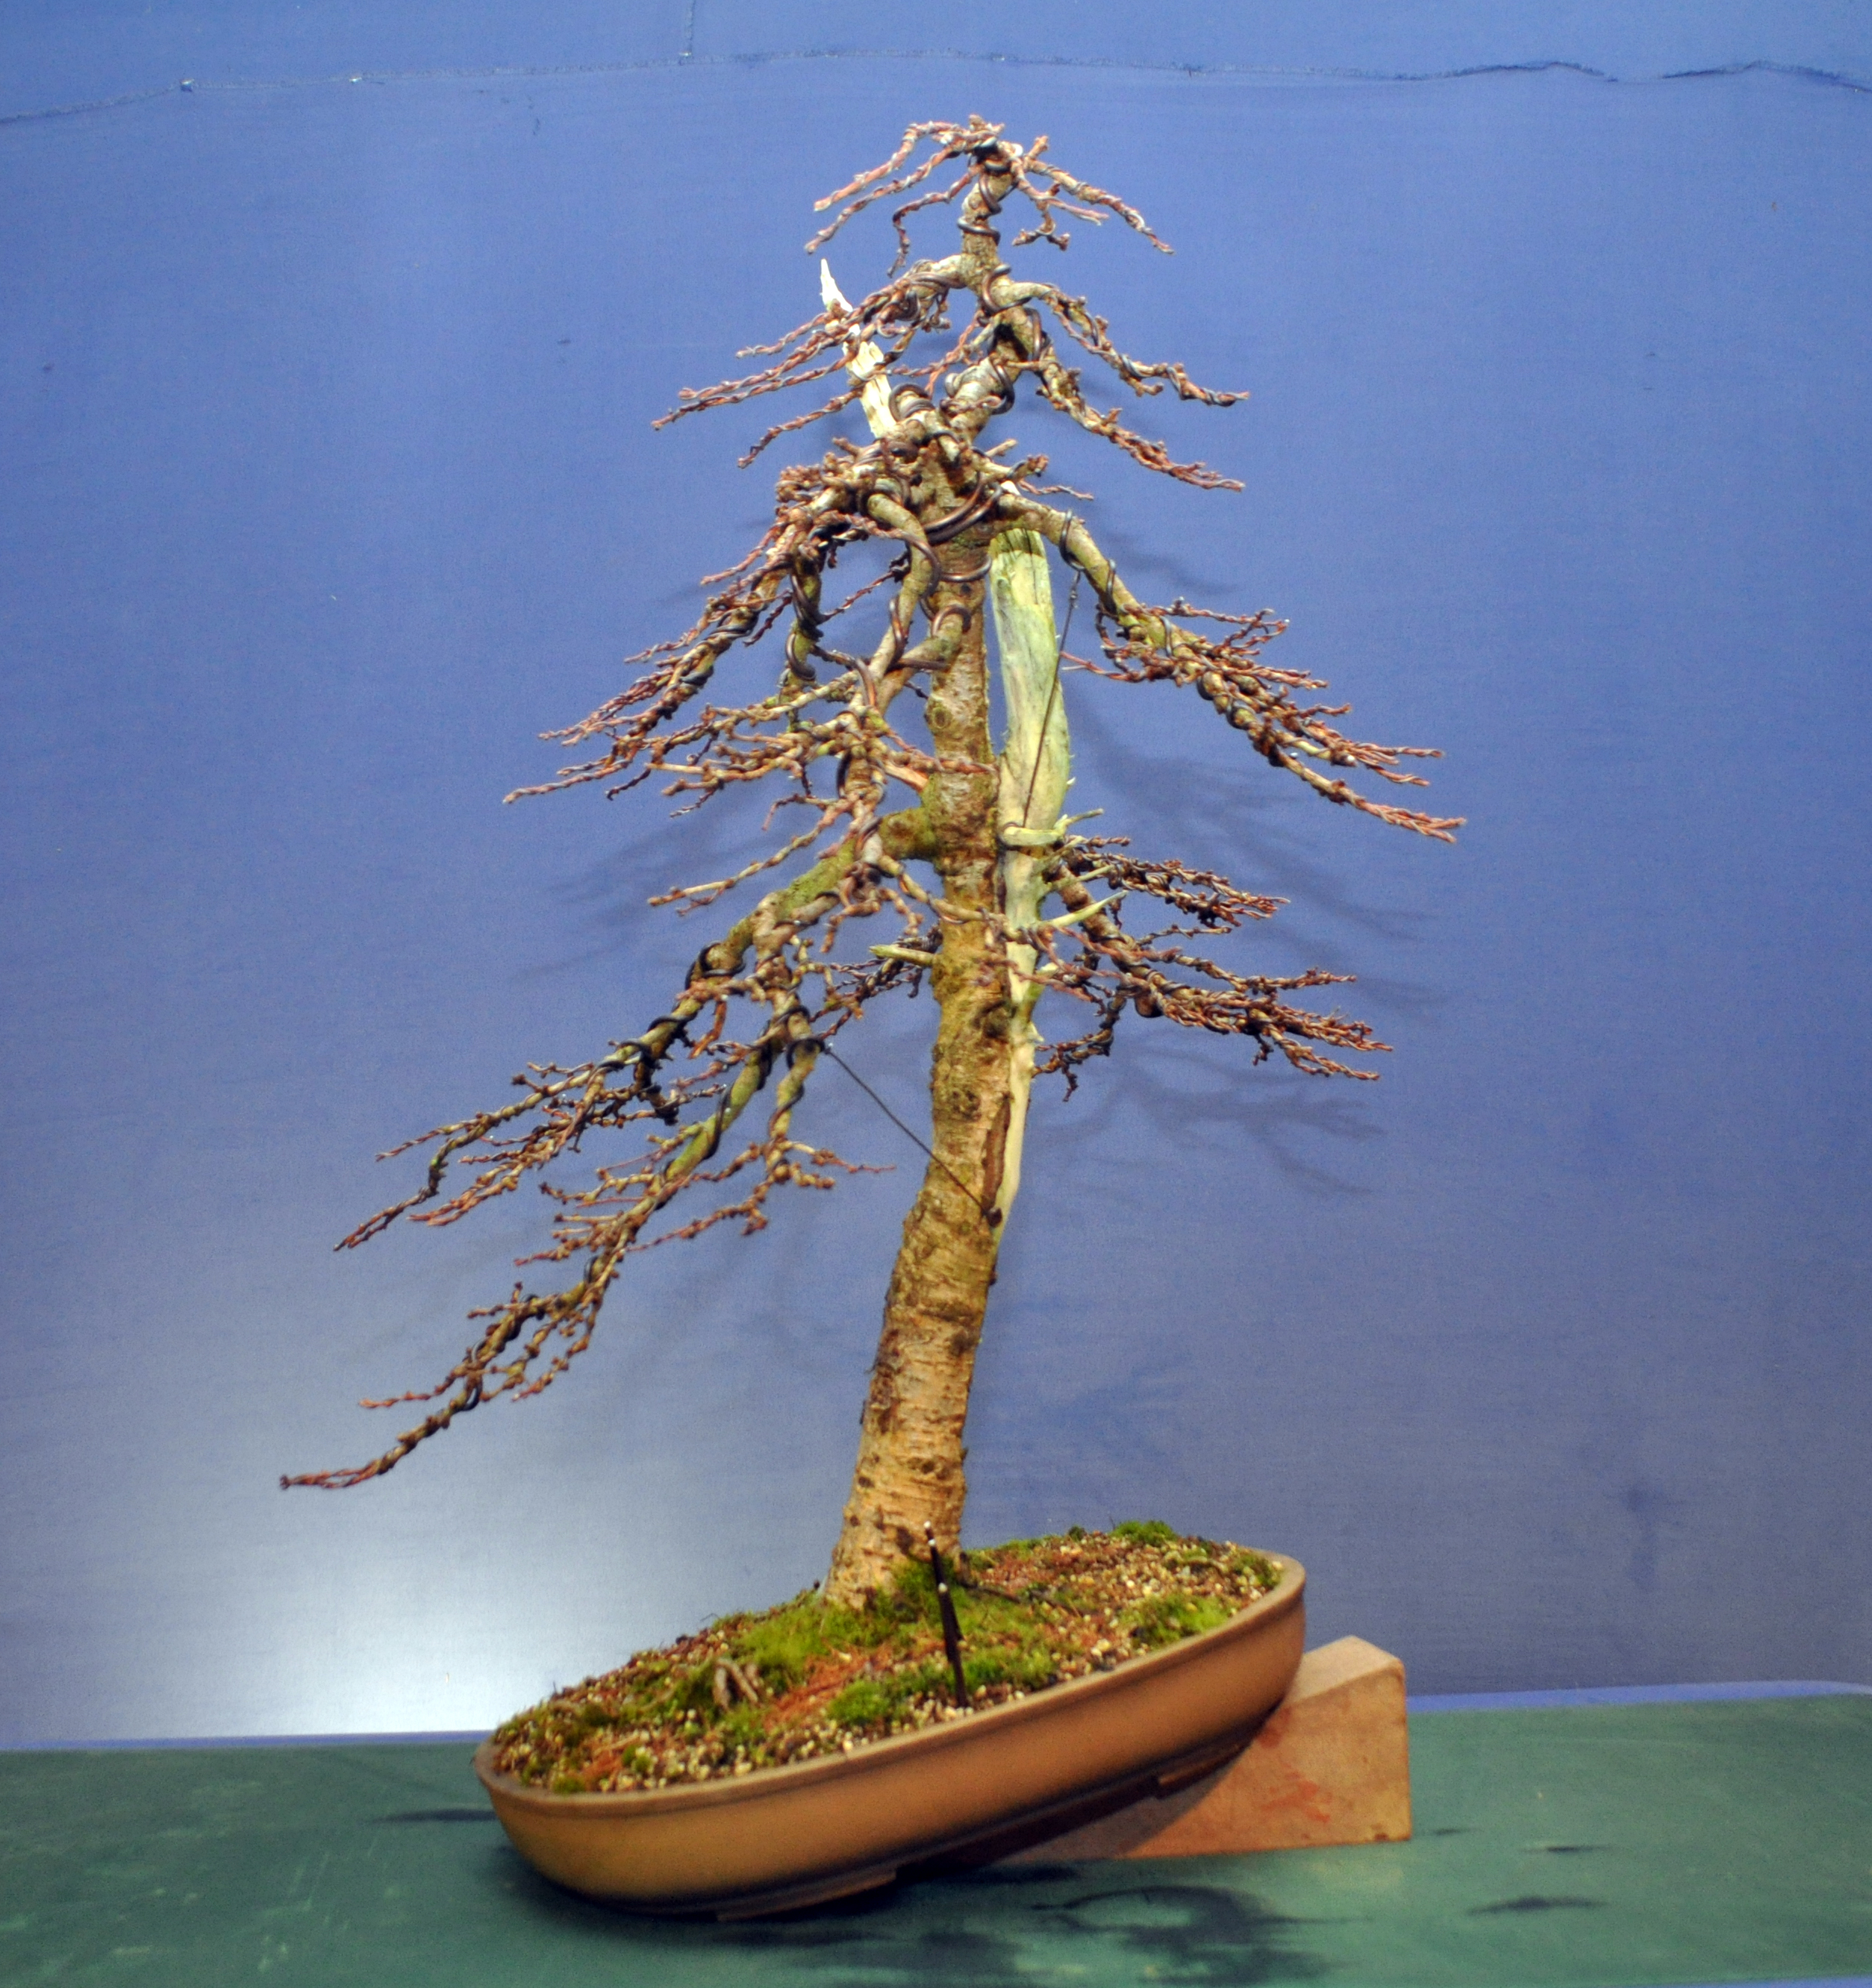
This Larch from a previous one to one styling was brought along to be repotted at it’s new angle.


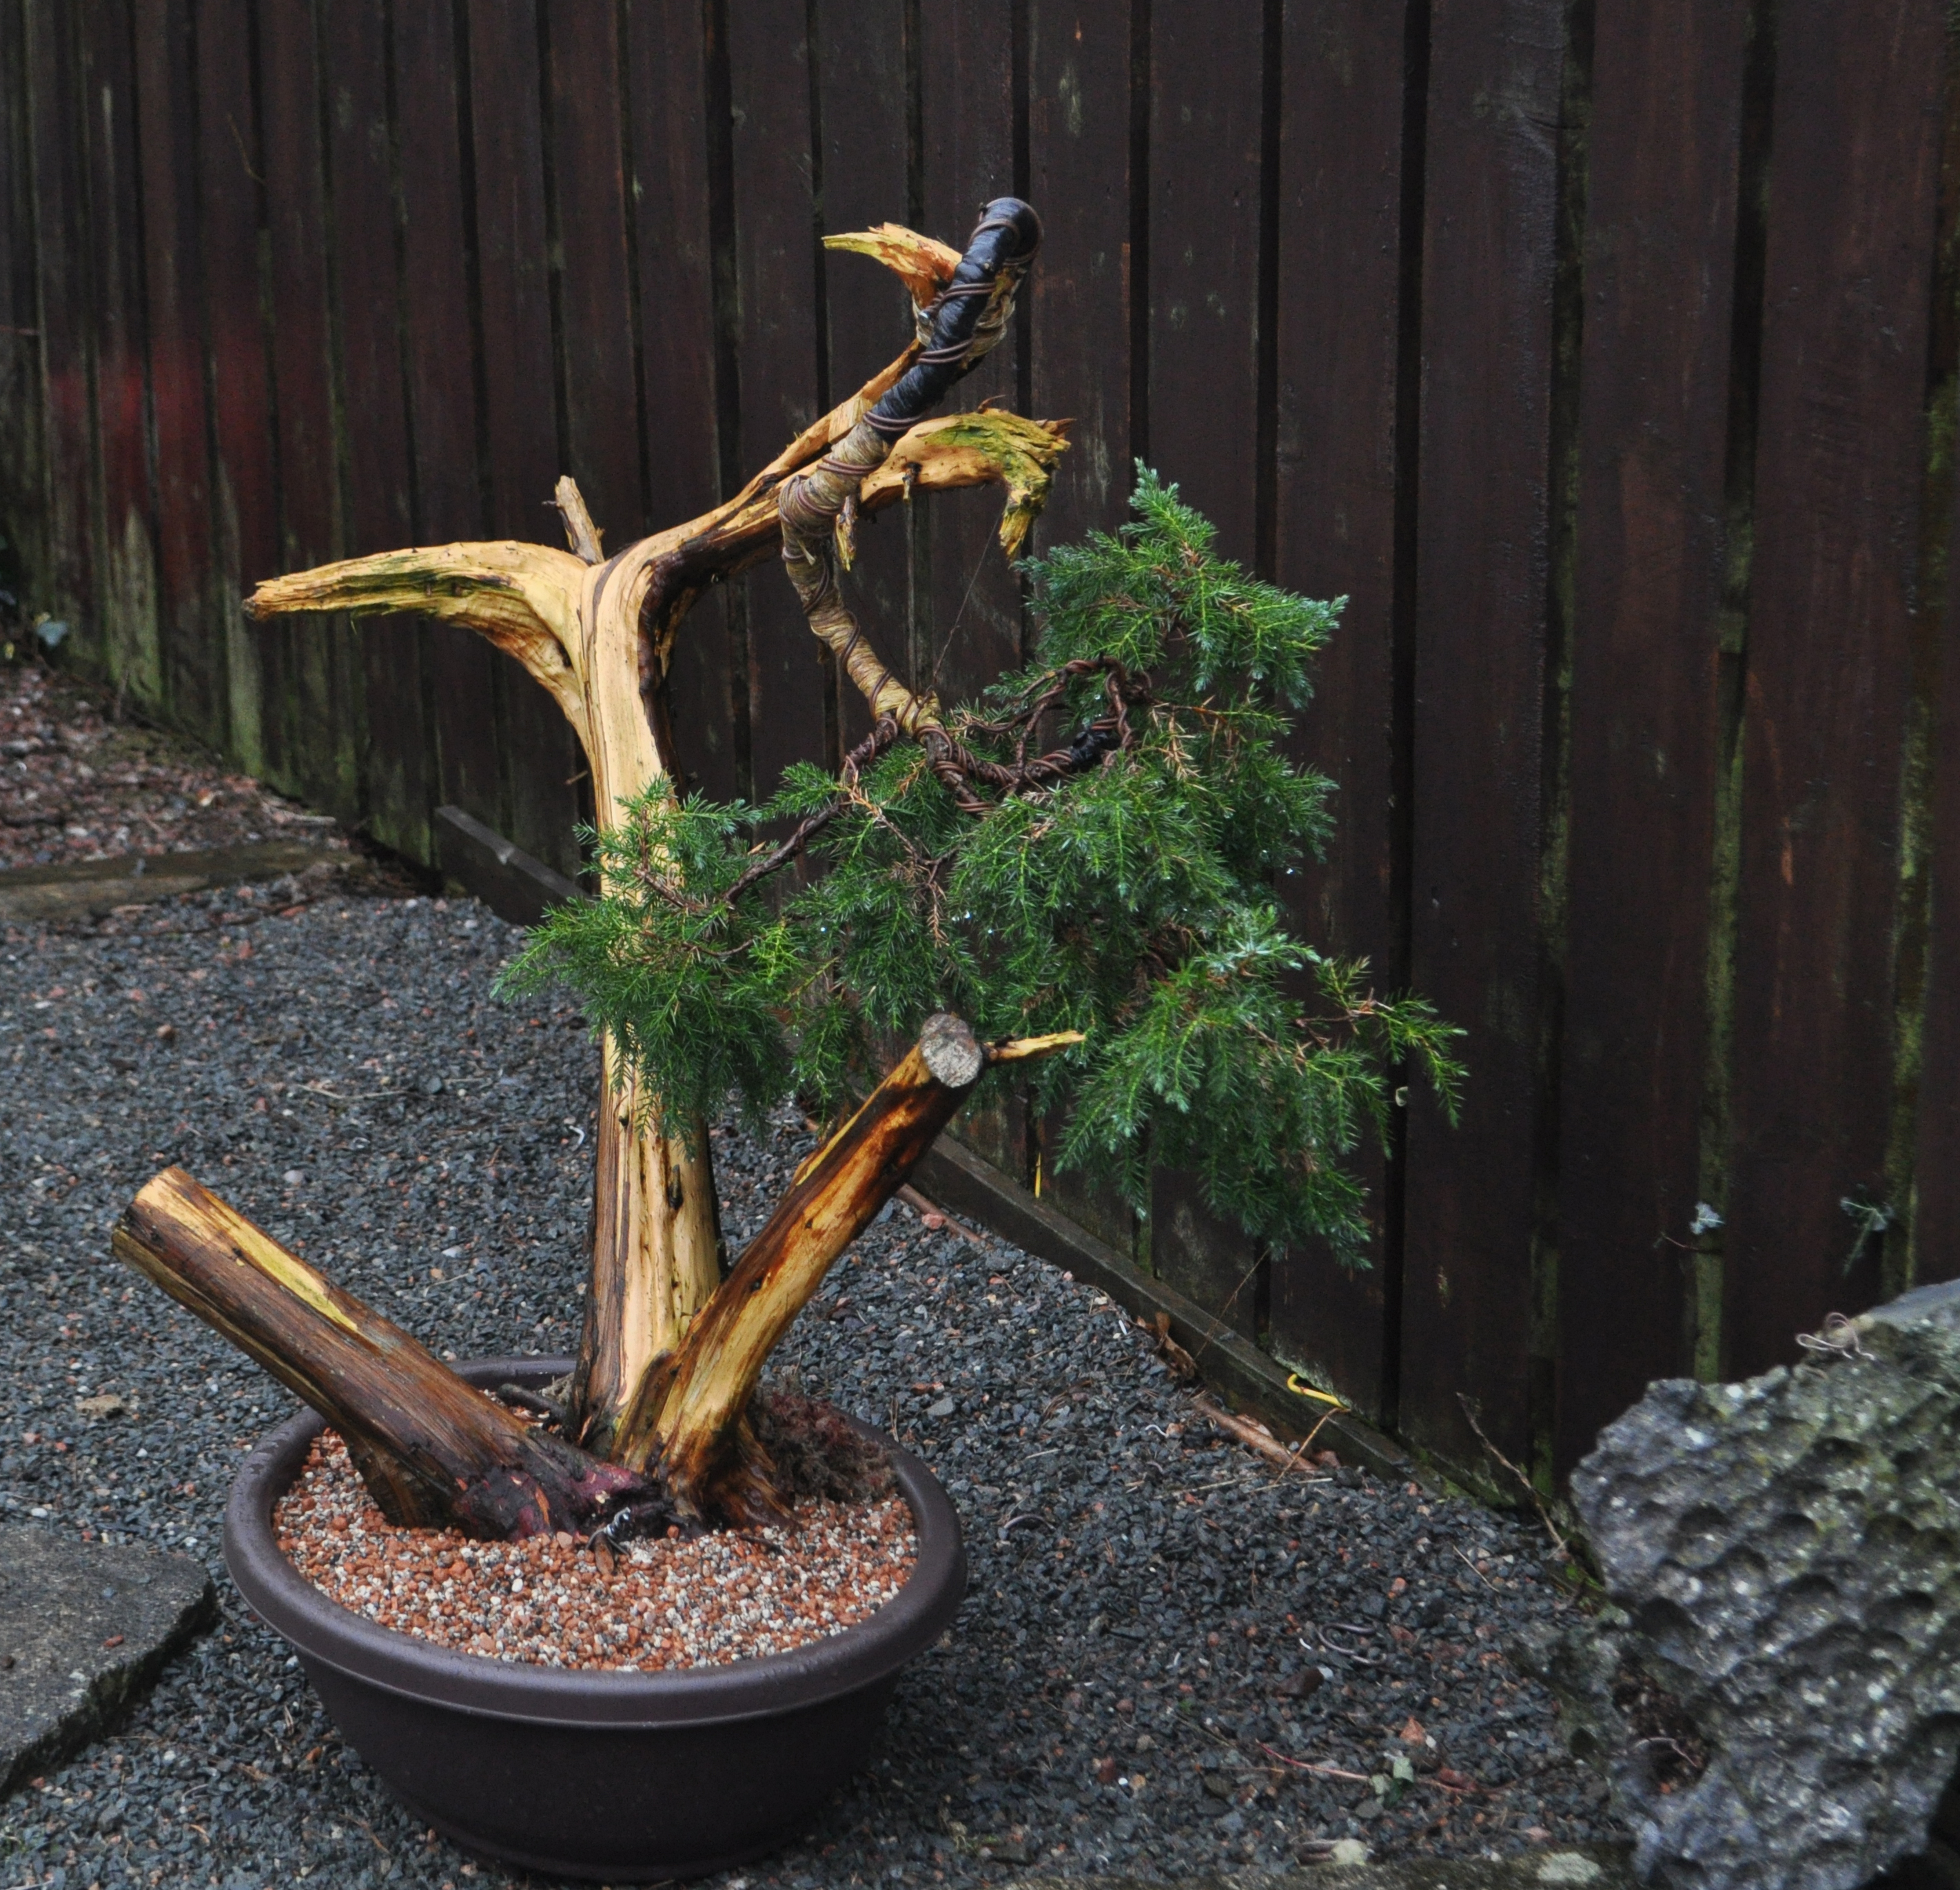
This big Juniper was actually first one repotted. It’s a real odd ball of a tree but has been fun to play around with.


This literati Pine also got a move from a flower pot. Early days again for it but going to be really nice in a few years.

A busy but very productive session.
Shop for quality bonsai
bonsai and garden
The Kaizen Bonsai Blog
Teaching, Learning, Enjoying Bonsai
The ramblings of an old artist and someone who would like to grow better bonsais trees
my bonsai
My wood creations
Hand Crafted Furniture
Creativity Through Bonsai
dirt leaves flowers
bonsaï | vidéo | Japon - ActuBonsaï
Japan's aesthetic, craftsmanship and spirit
Bonsai with a hint of madness...
"Tibolar-RS. your soil needs it, your plants will love it"
