Escallonia – A Change of Home

No not sold, just a change of pot for it to live in. I have enjoyed immensely the journey in taking this tree from from my garden to Bonsai Europa last year. However I was never happy with the pot for any Winter image display. The pot is too large and lacks colour to lift a Winter image display. I have been looking around for a new pot for the tree for a while and this Spring I found what I was looking for from David Benavente.

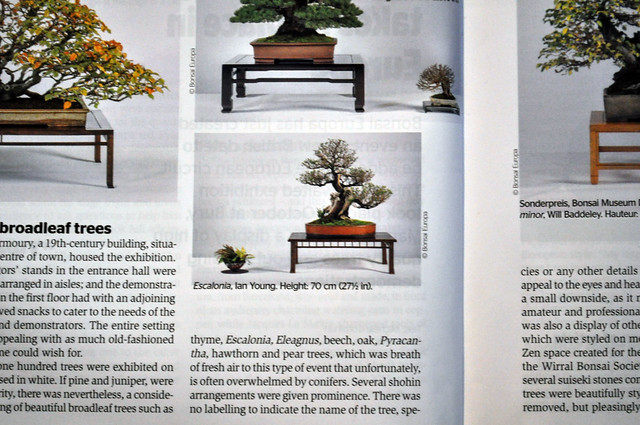
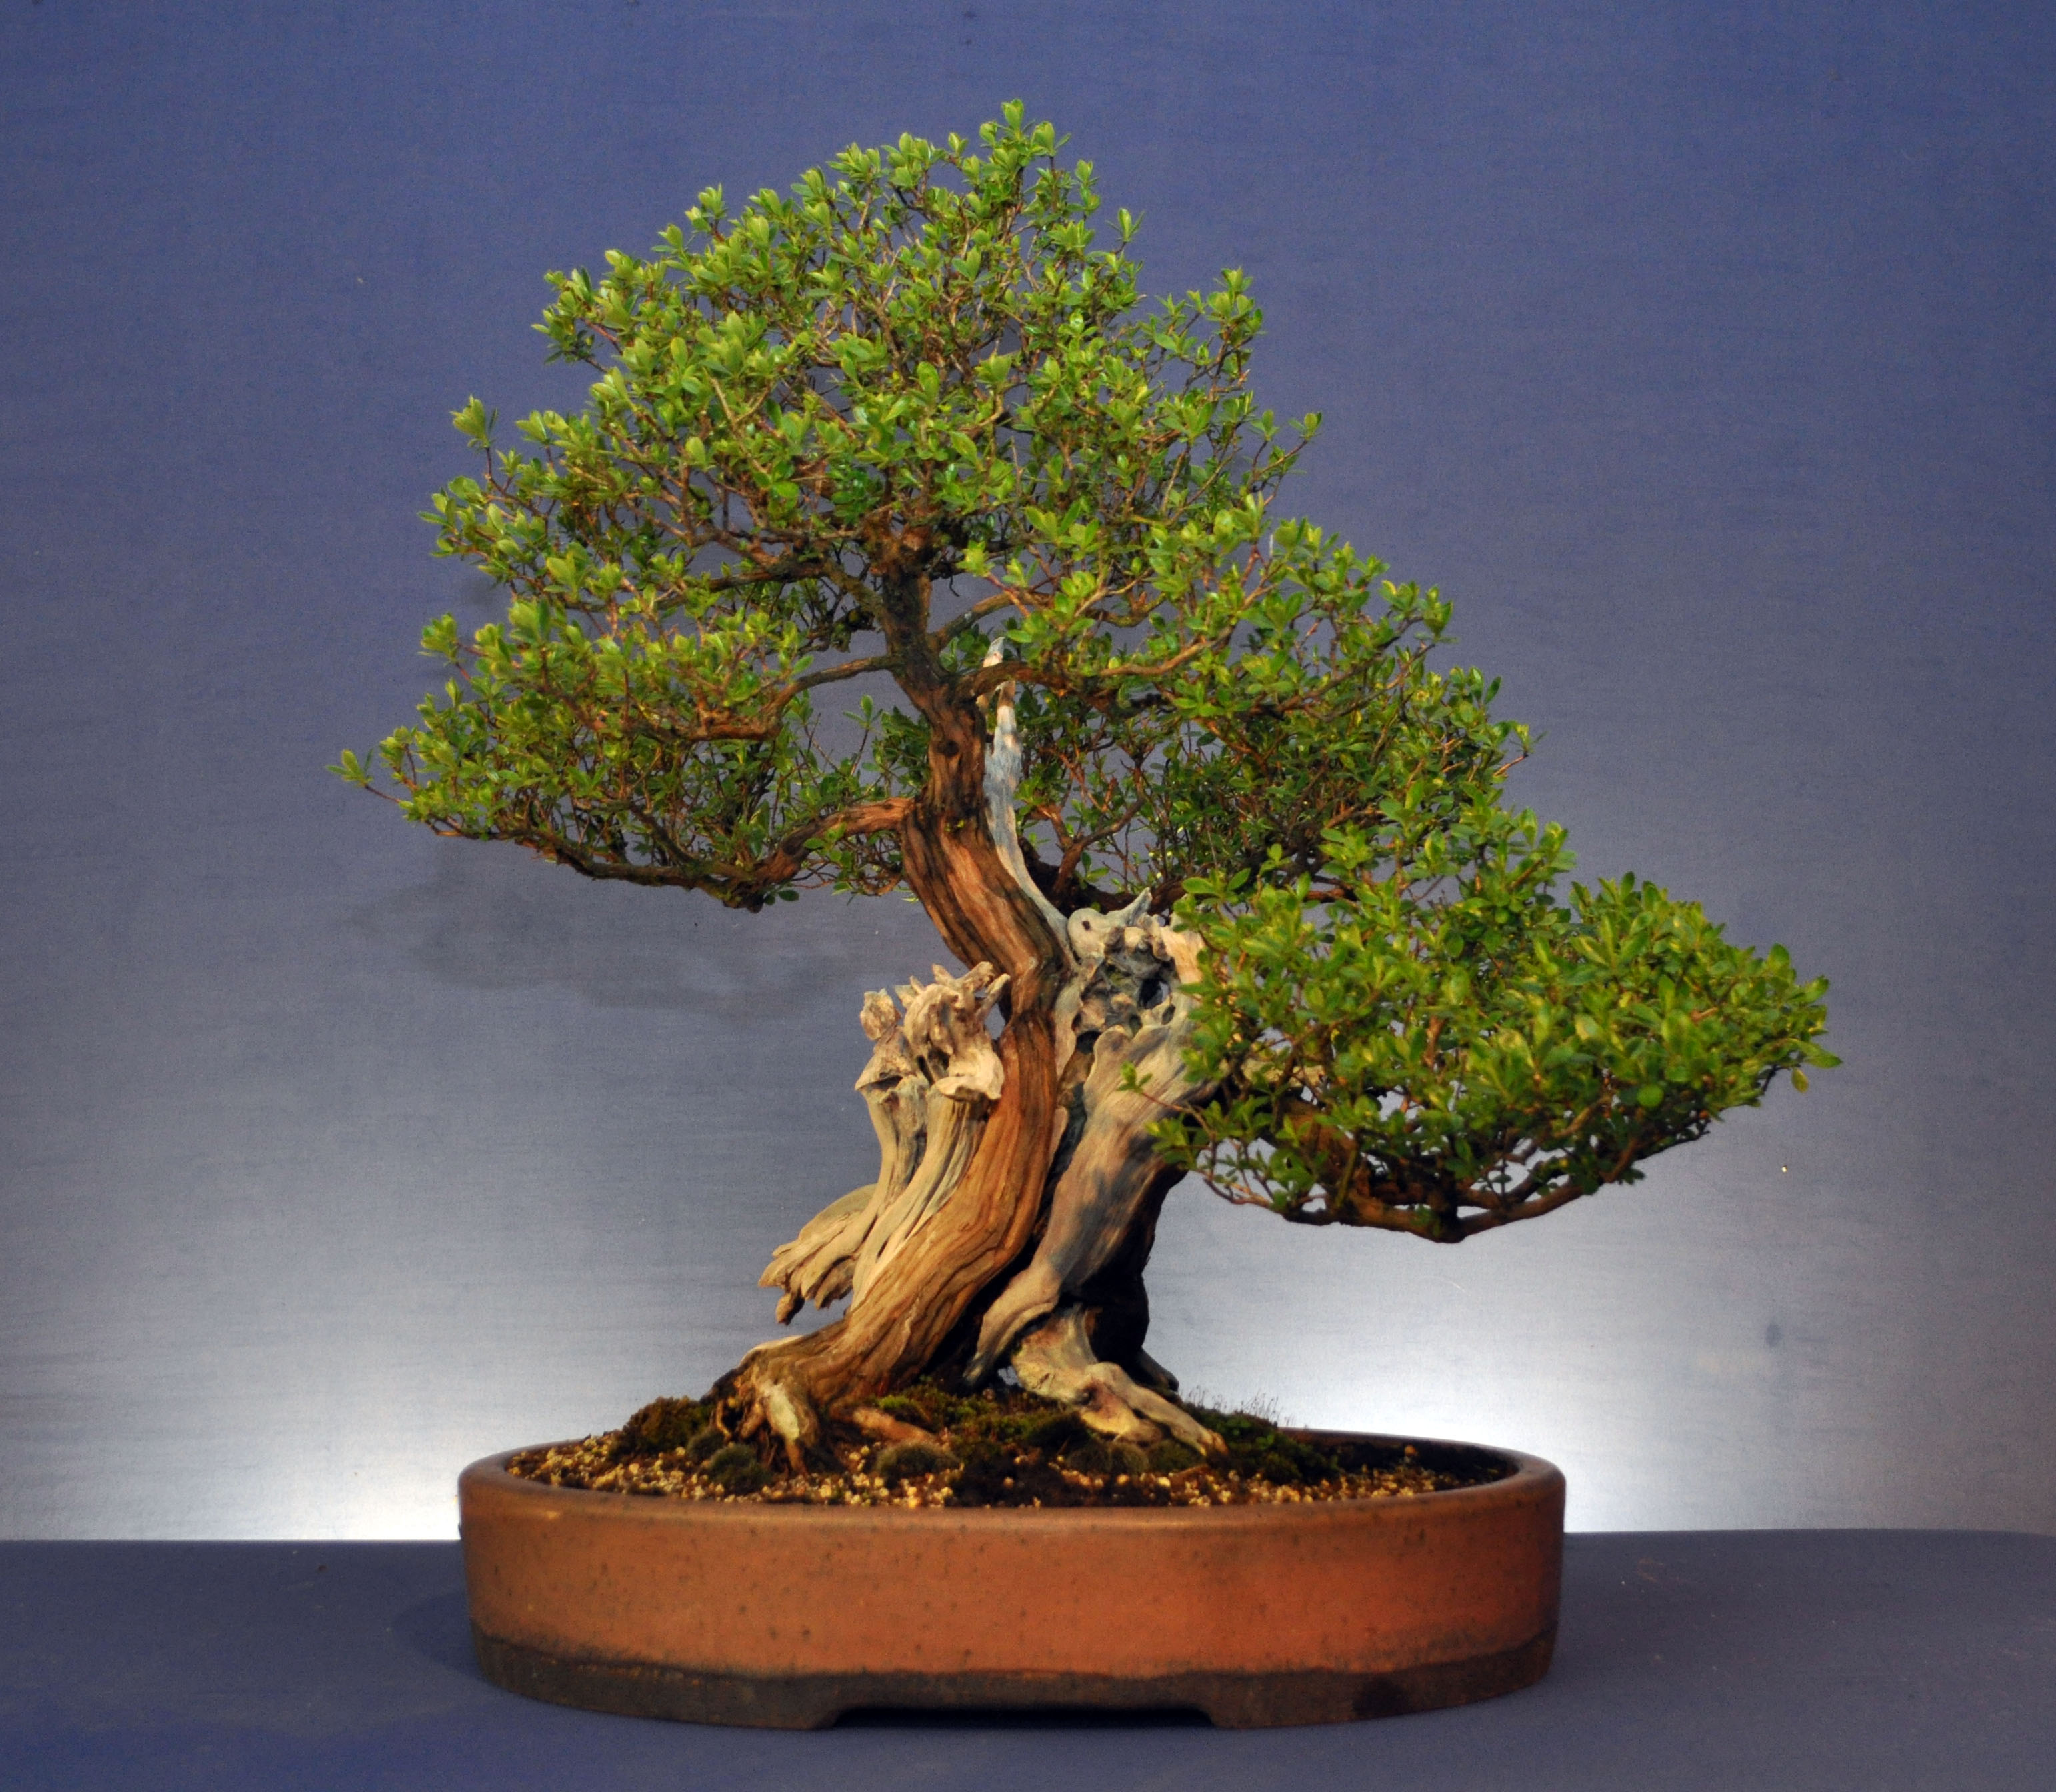
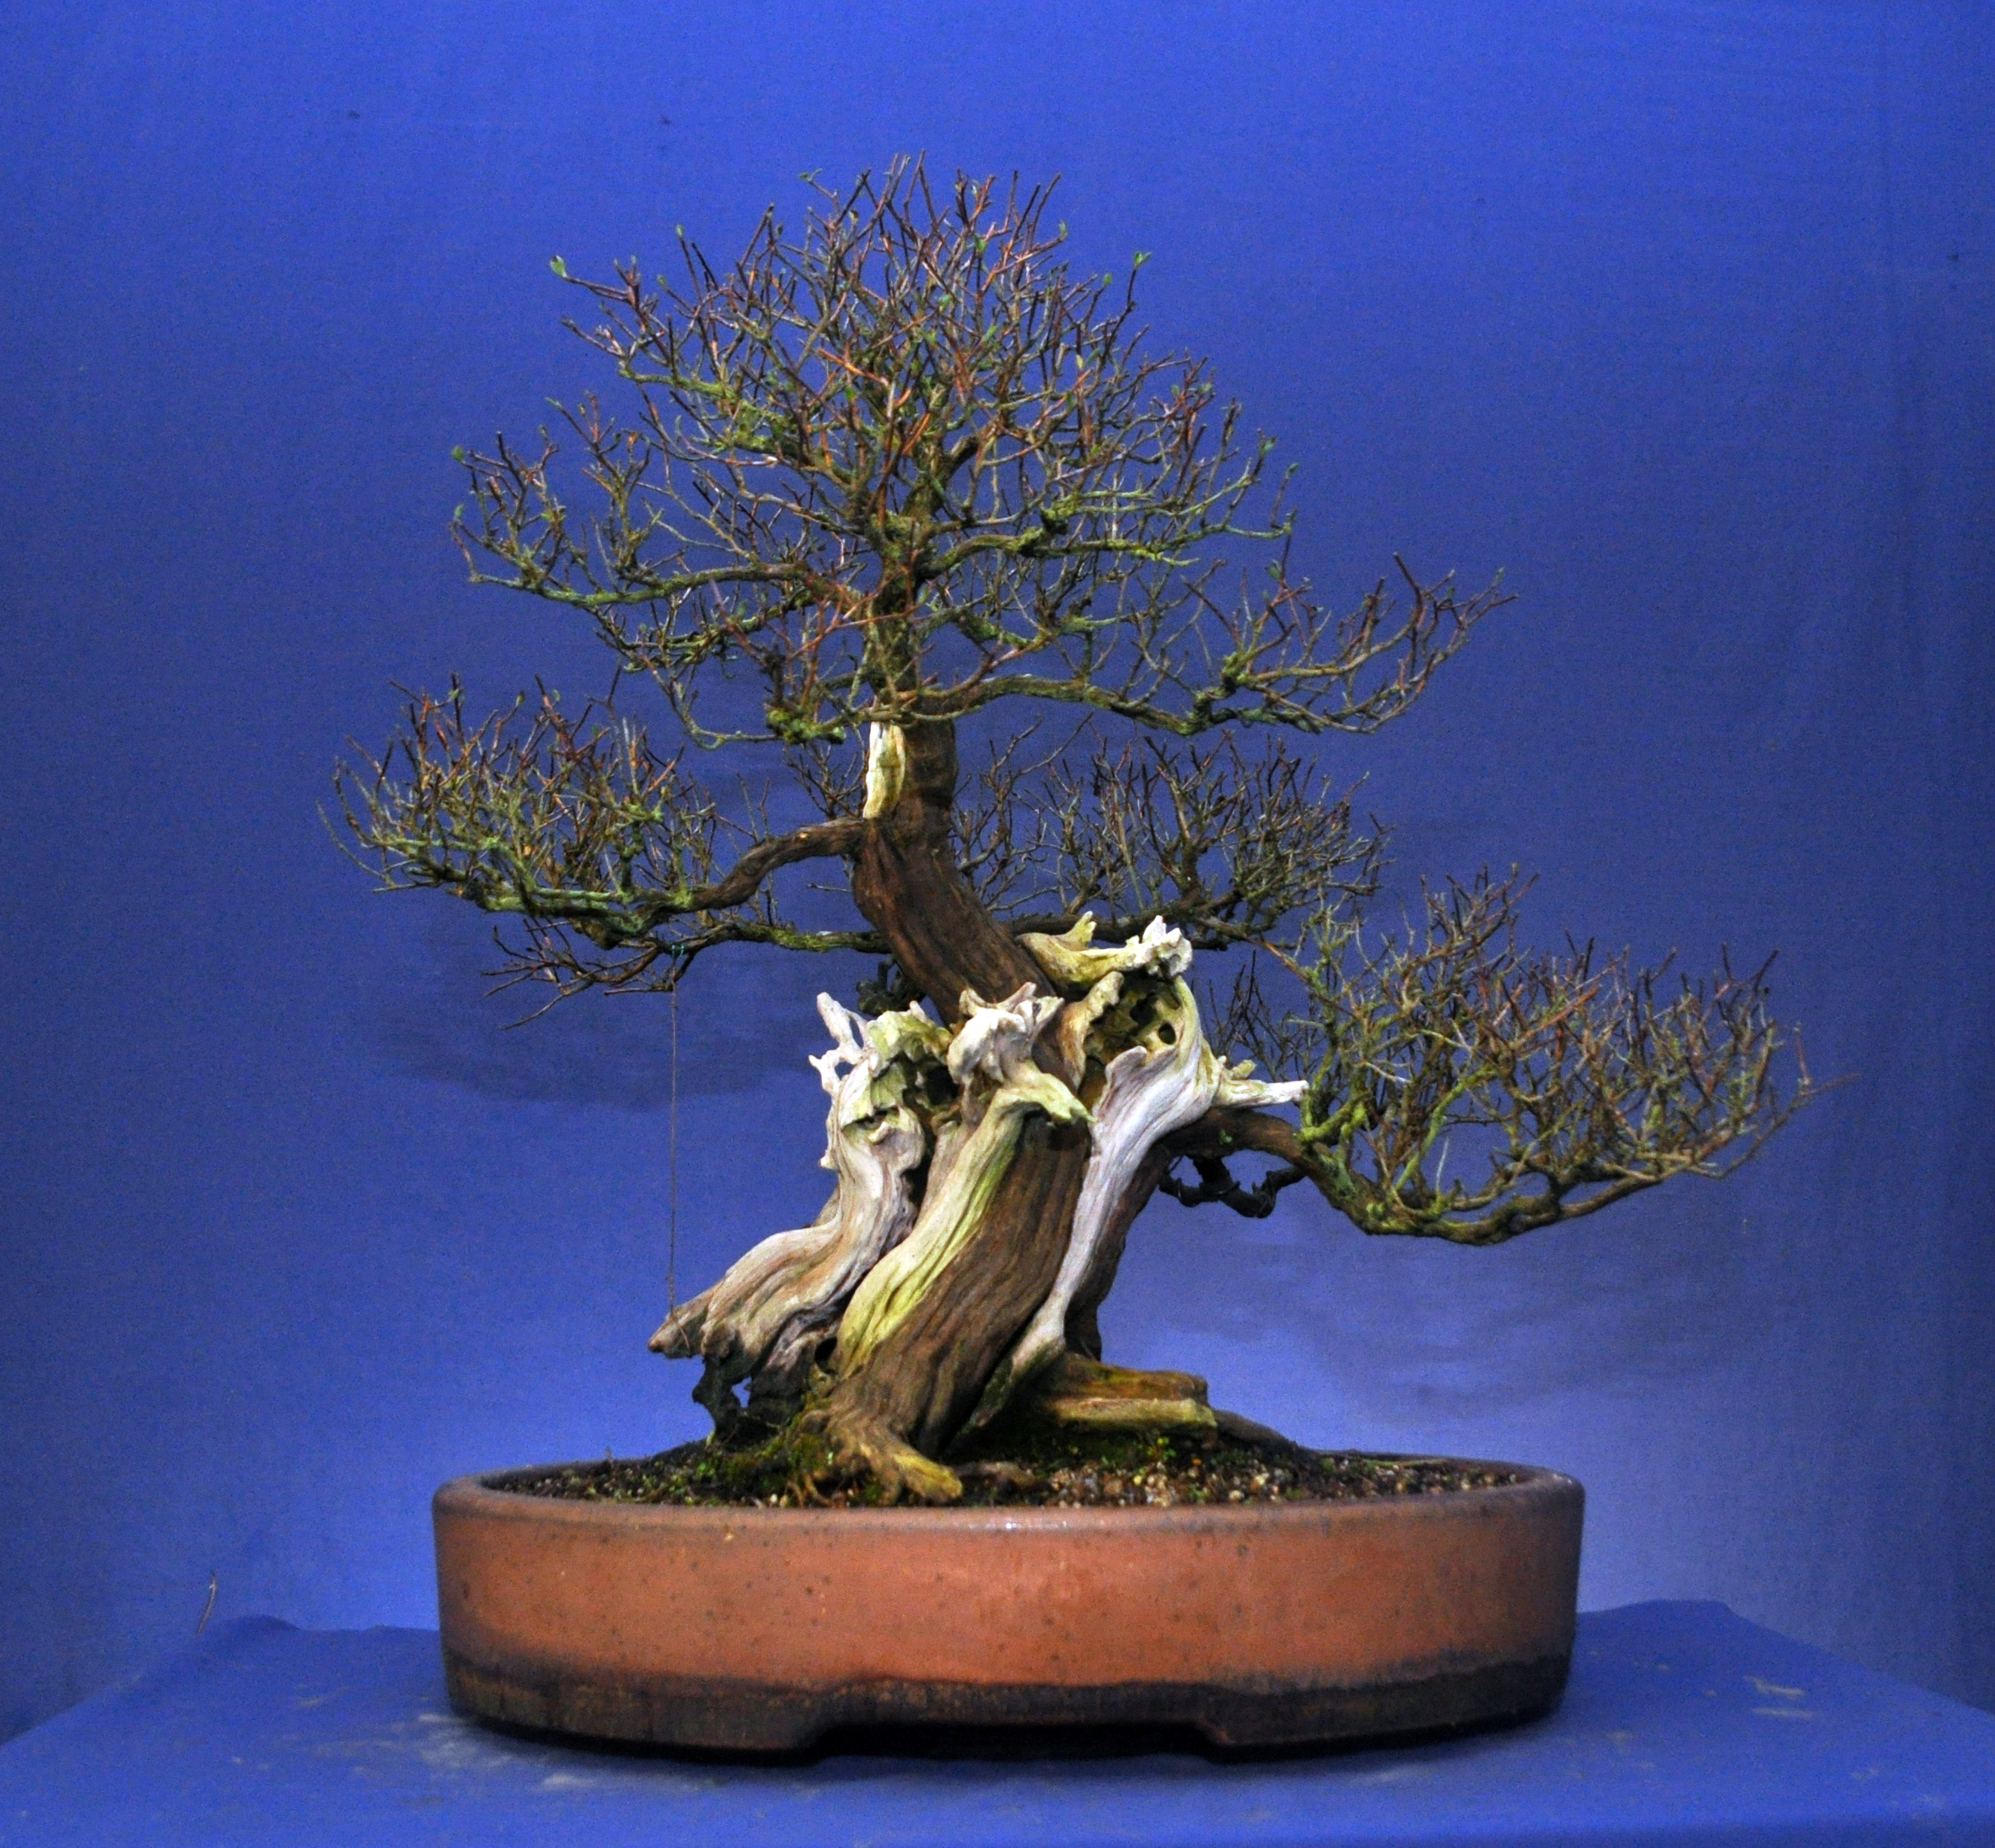
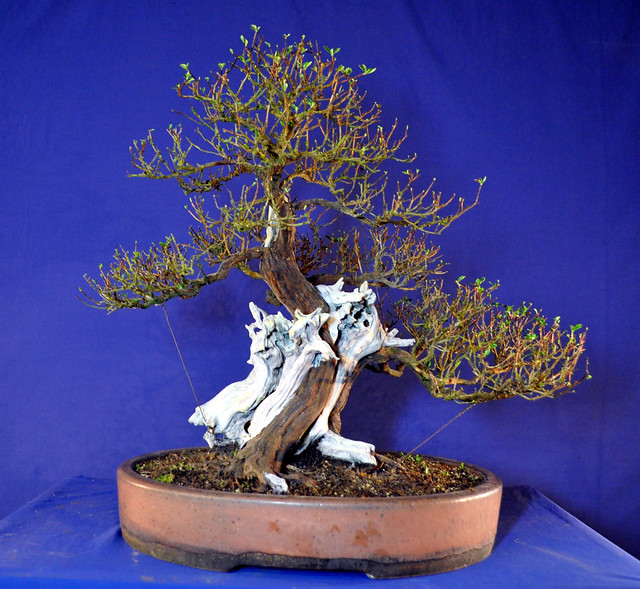
This was the tree in Bonsai Europa last October.

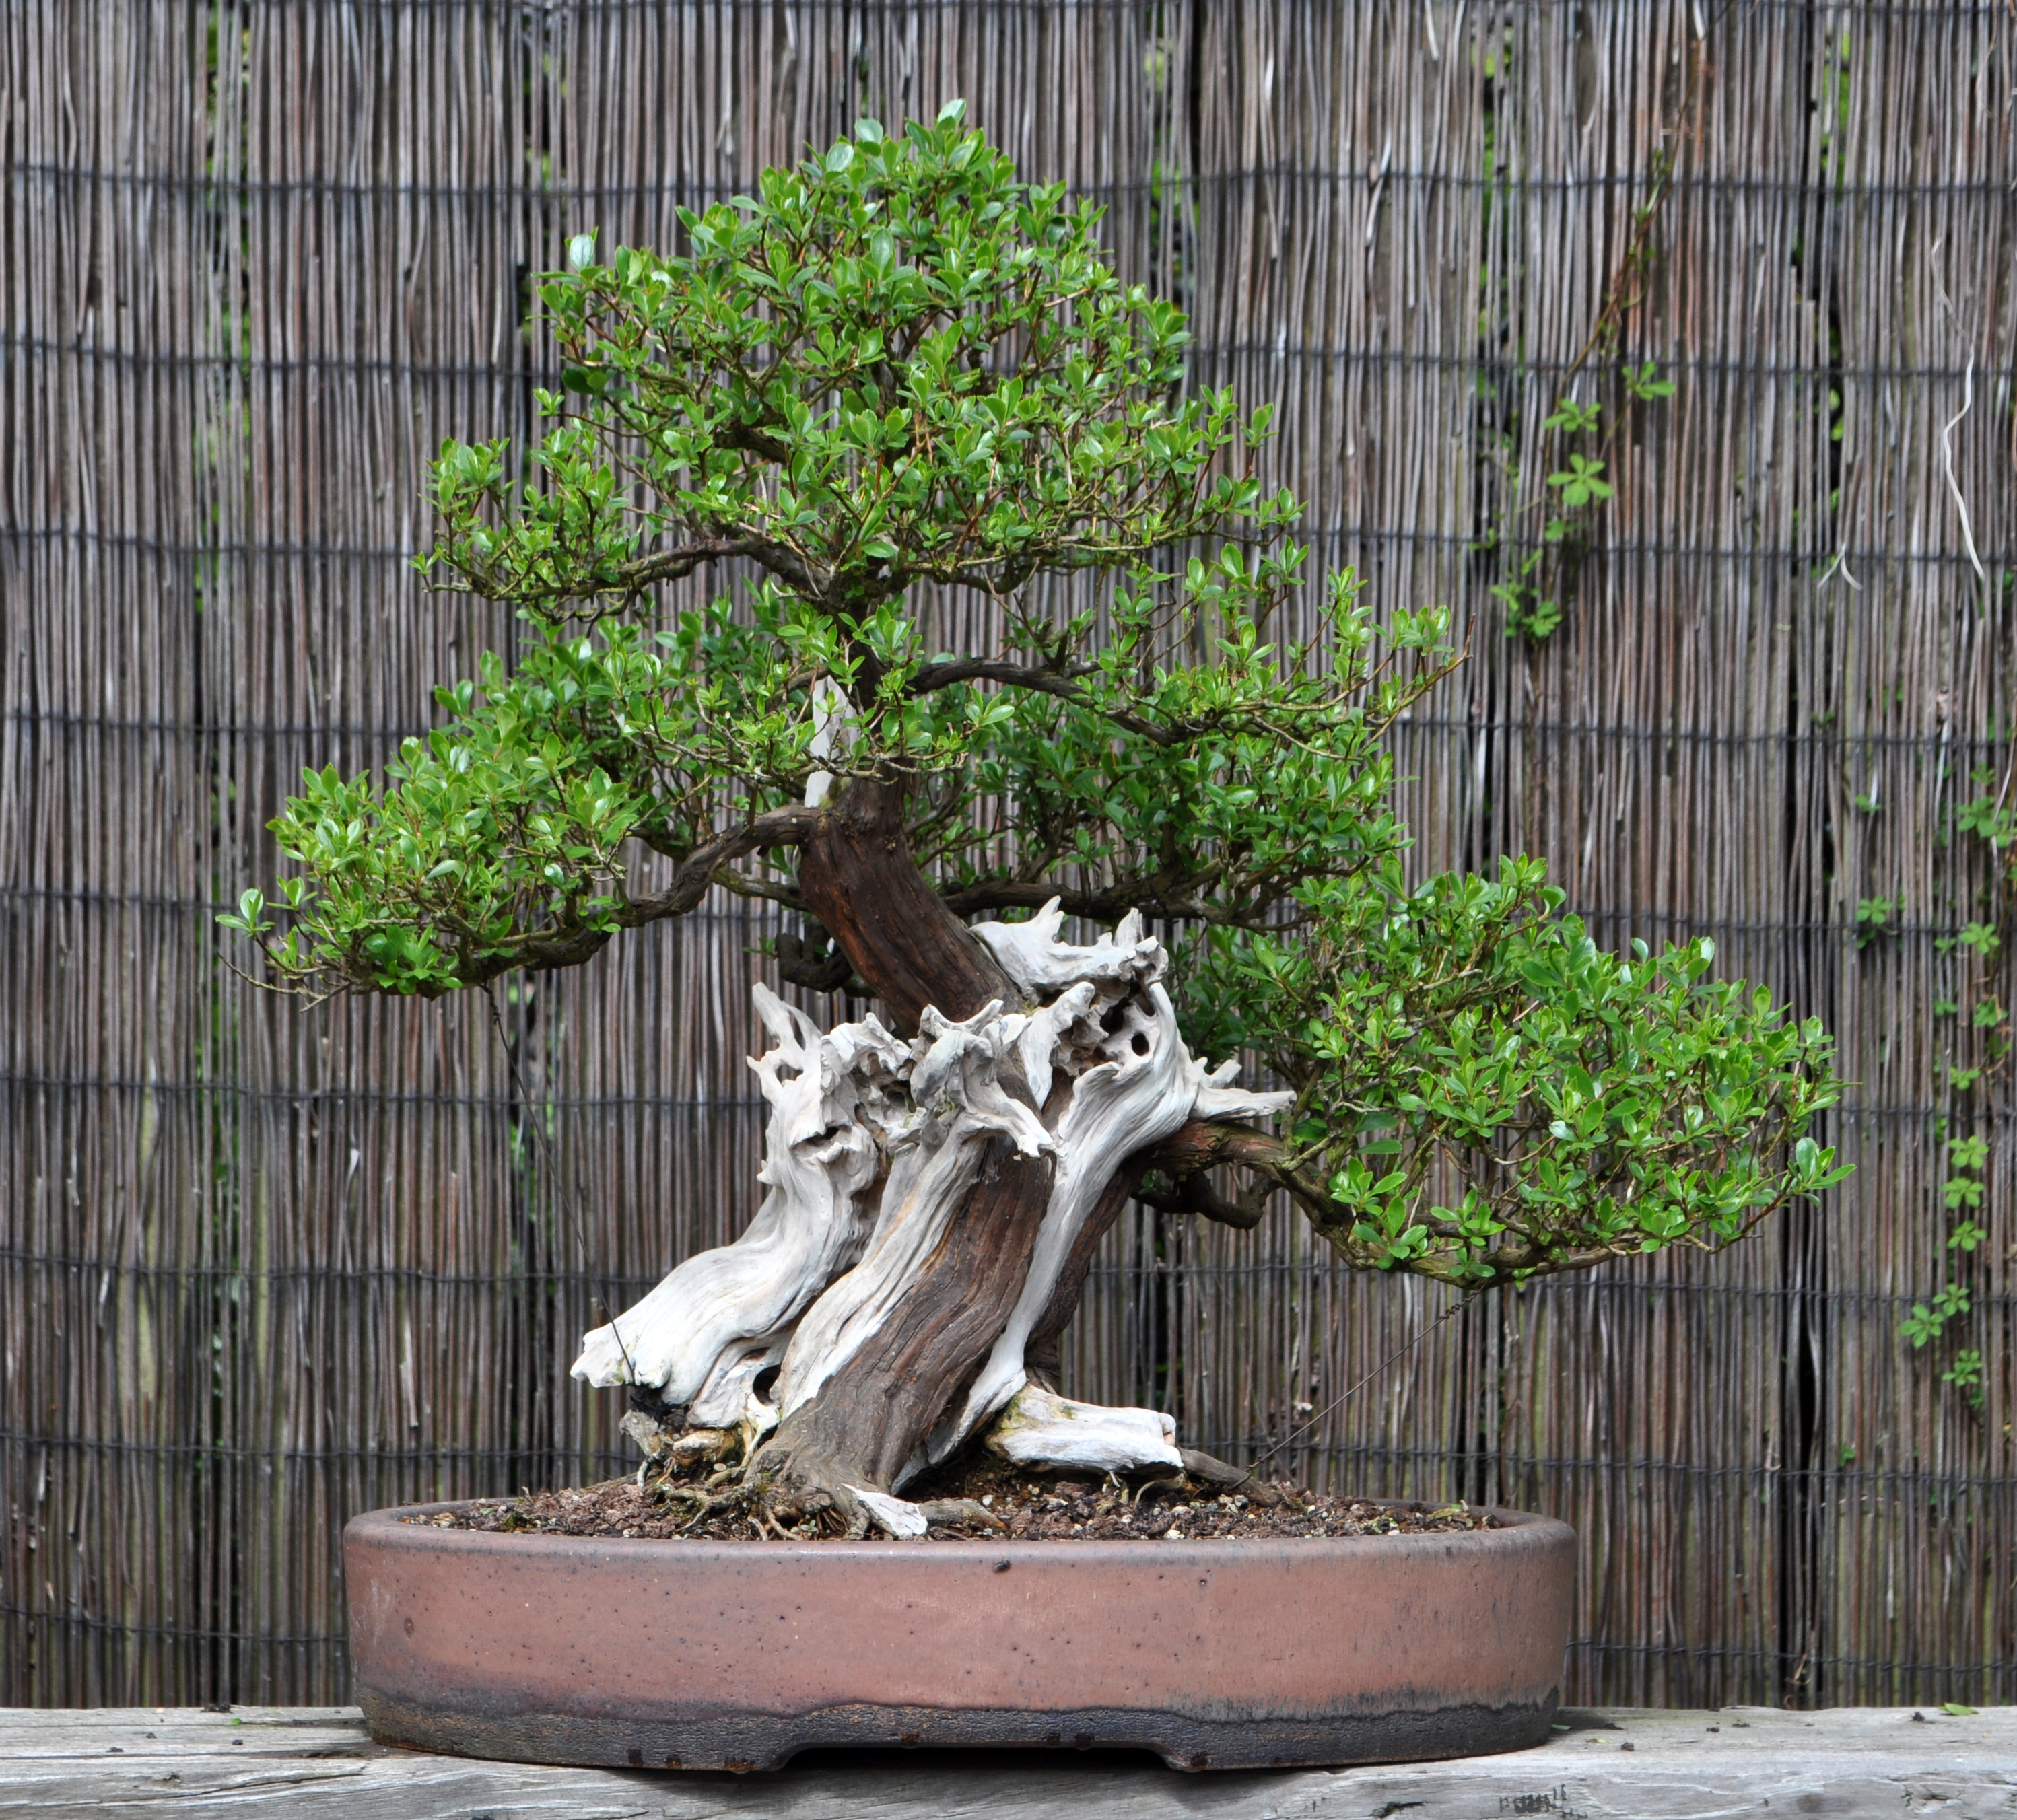
The tree had been allowed to keep a larger amount of finer branching for the show to show more ramification and also try and get a better balance with the pot size. This resulted in a slightly unkempt image but one I liked. Very hard to prep an Escallonia for exhibition at this time of year.

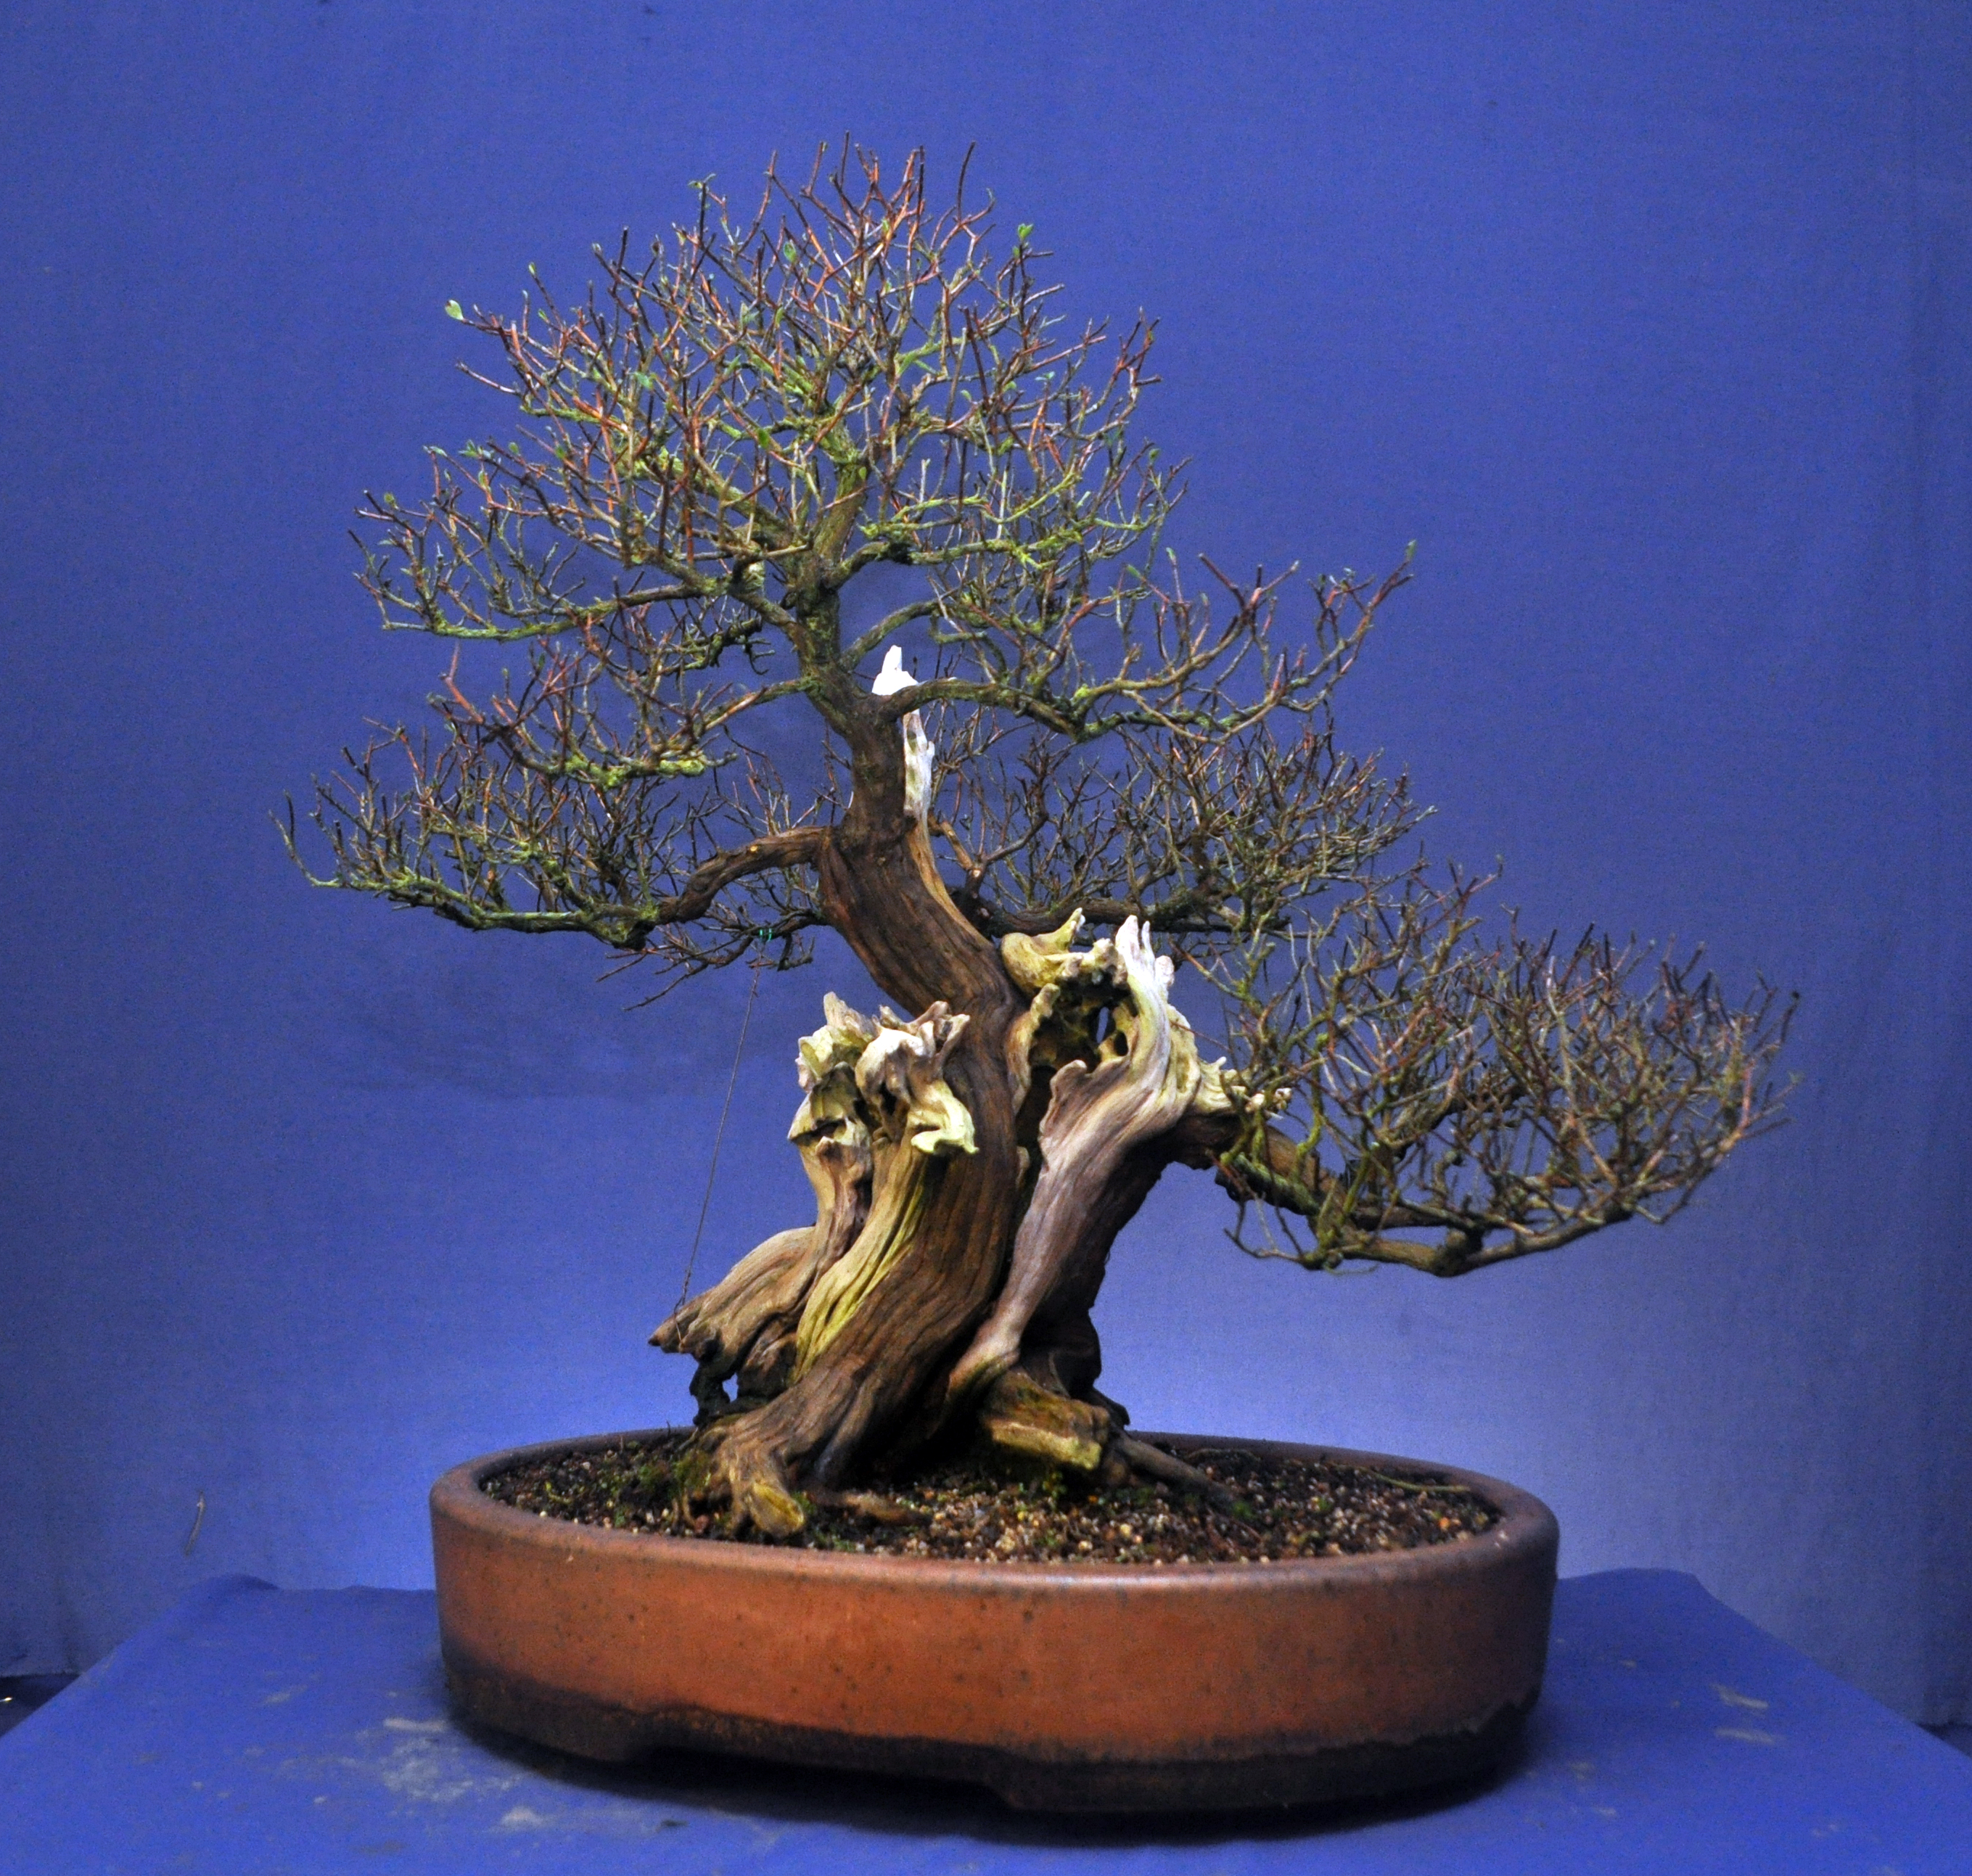
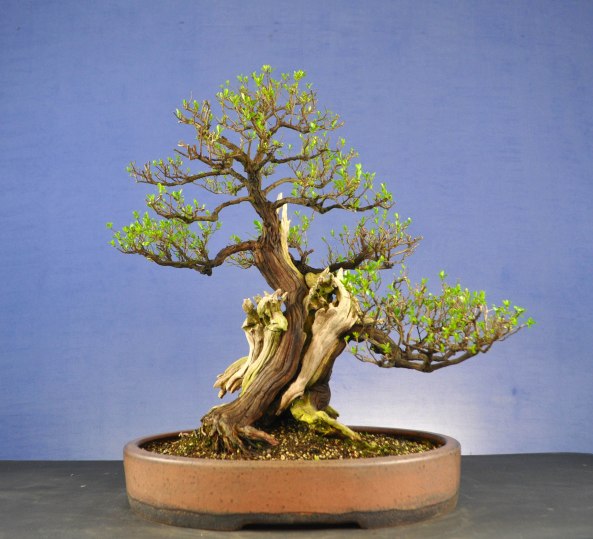
Back to the present and I wanted to reduce the foliage mass to suit a smaller pot and help reset branches on this species. This needs to be done every few years to prevent inner branch die back anyway. It would also make for a more powerful image with a heavier trunk to branch balance. This is the tree after reduction. You can see how big the original Walsall pot looks now.

DSC_0265

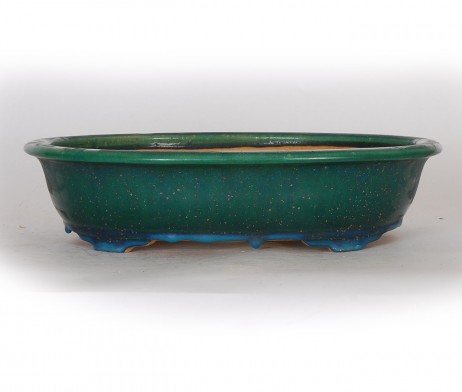
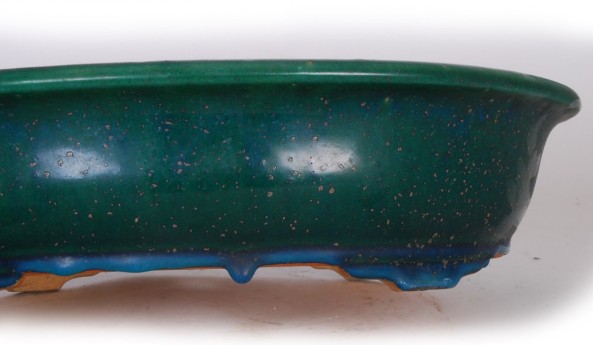
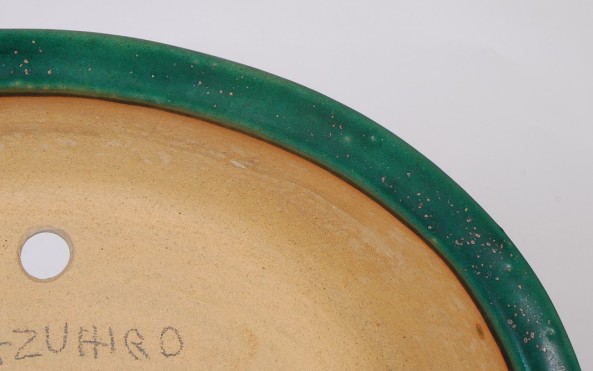
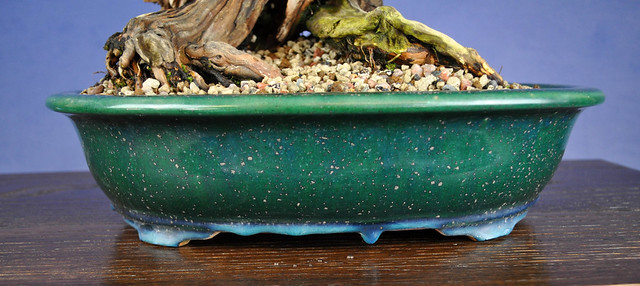
And this is the new pot, a pot from Tokaname made by Watanabe Kazuhiro (Ikkou). I feel in love with this one on sight. The glaze with green with an underlying blue, turning blue at the base in drips was just stunning.

EOV-10126-462x392

ScreenHunter_219 May. 06 11.20 ScreenHunter_221 May. 06 11.21

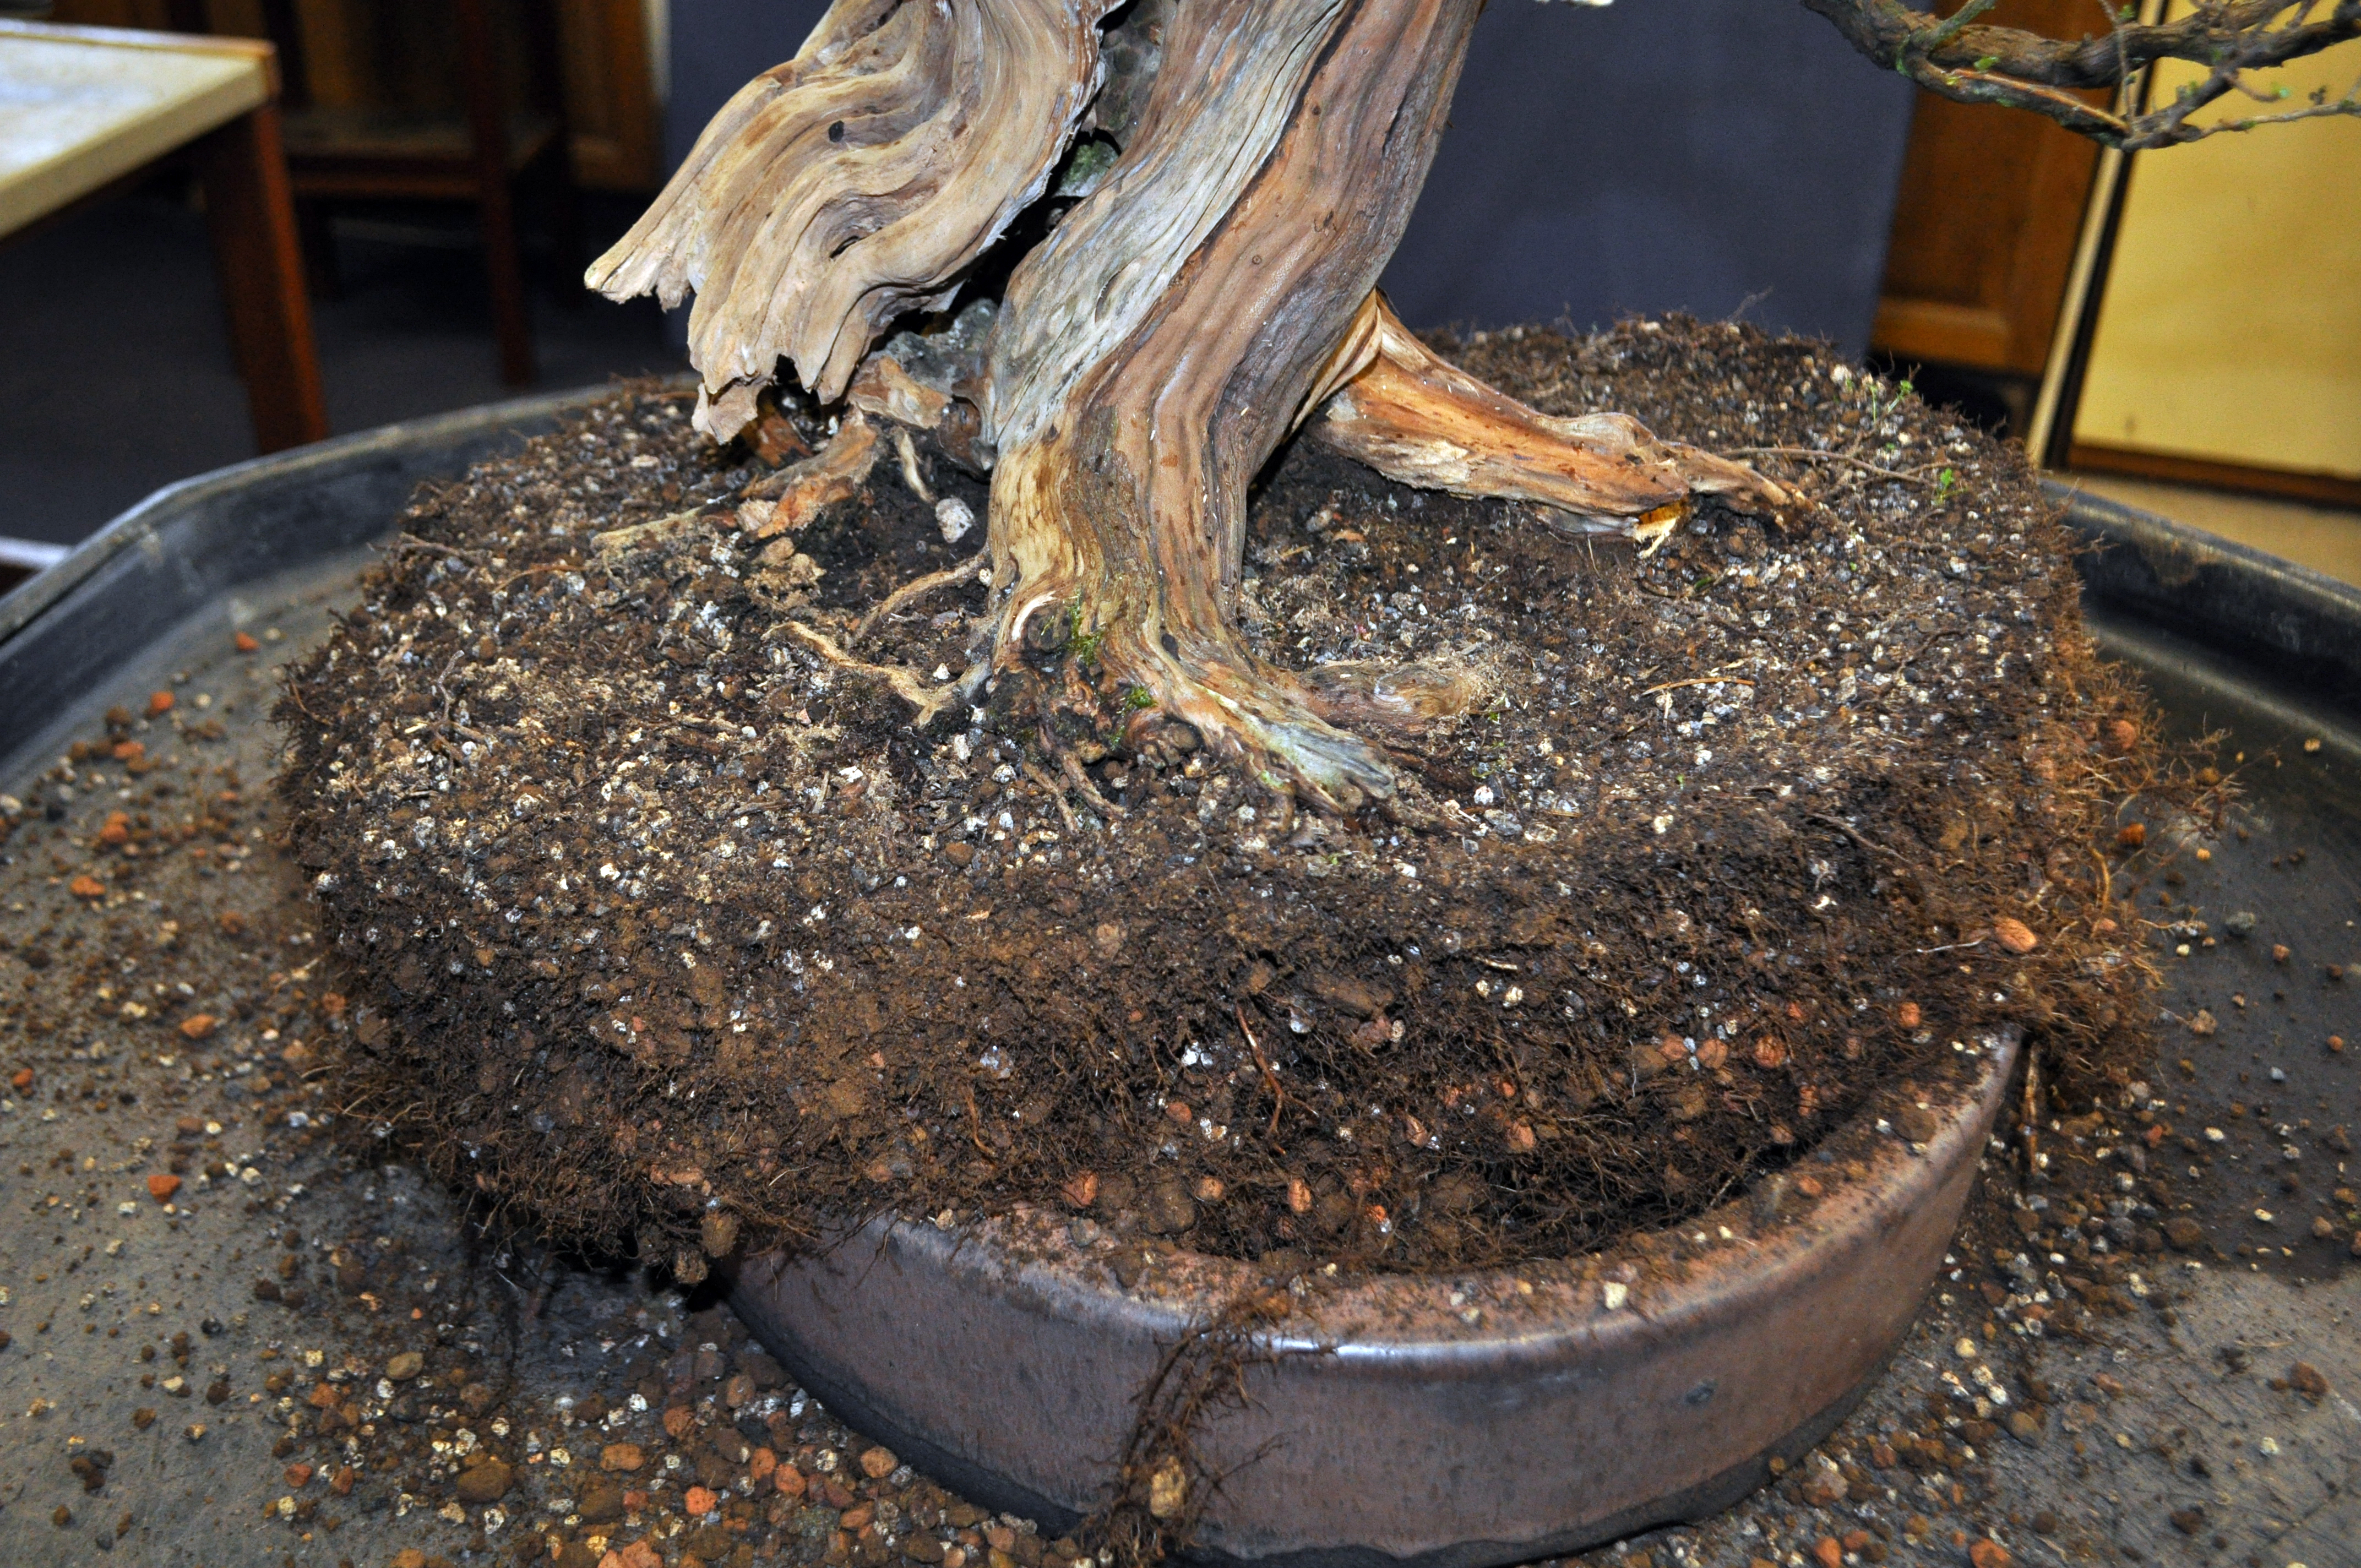
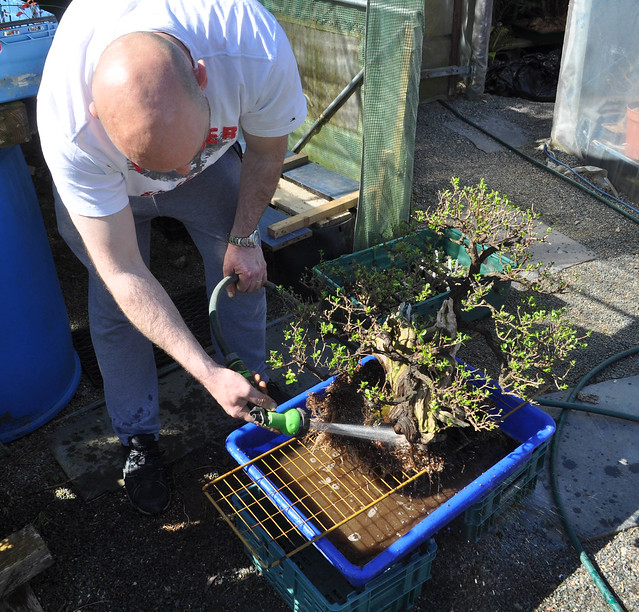
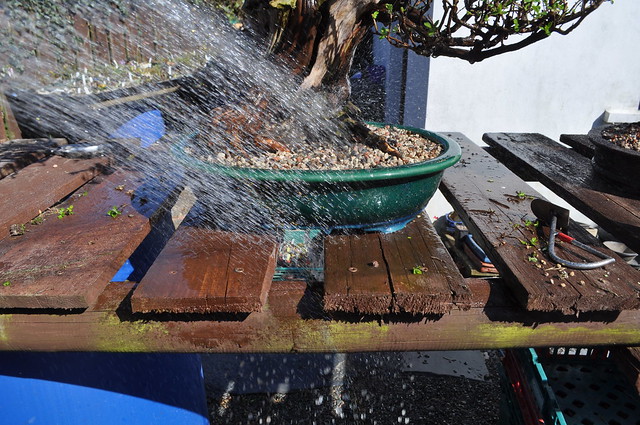
Getting the tree ready, time for a proper repot. This tree has always been robust and after a chop back I was confident that a full repot could be carried out.


A watering in.

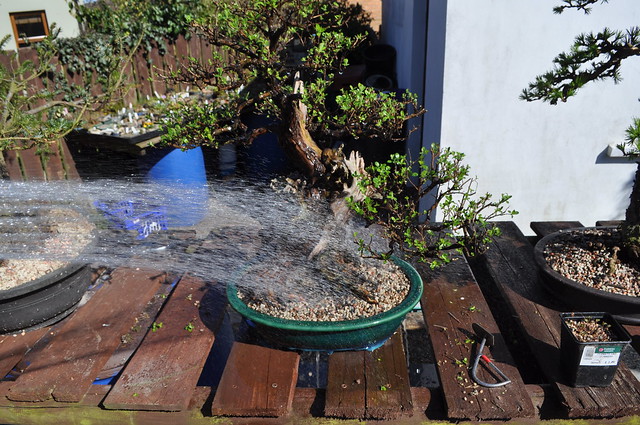
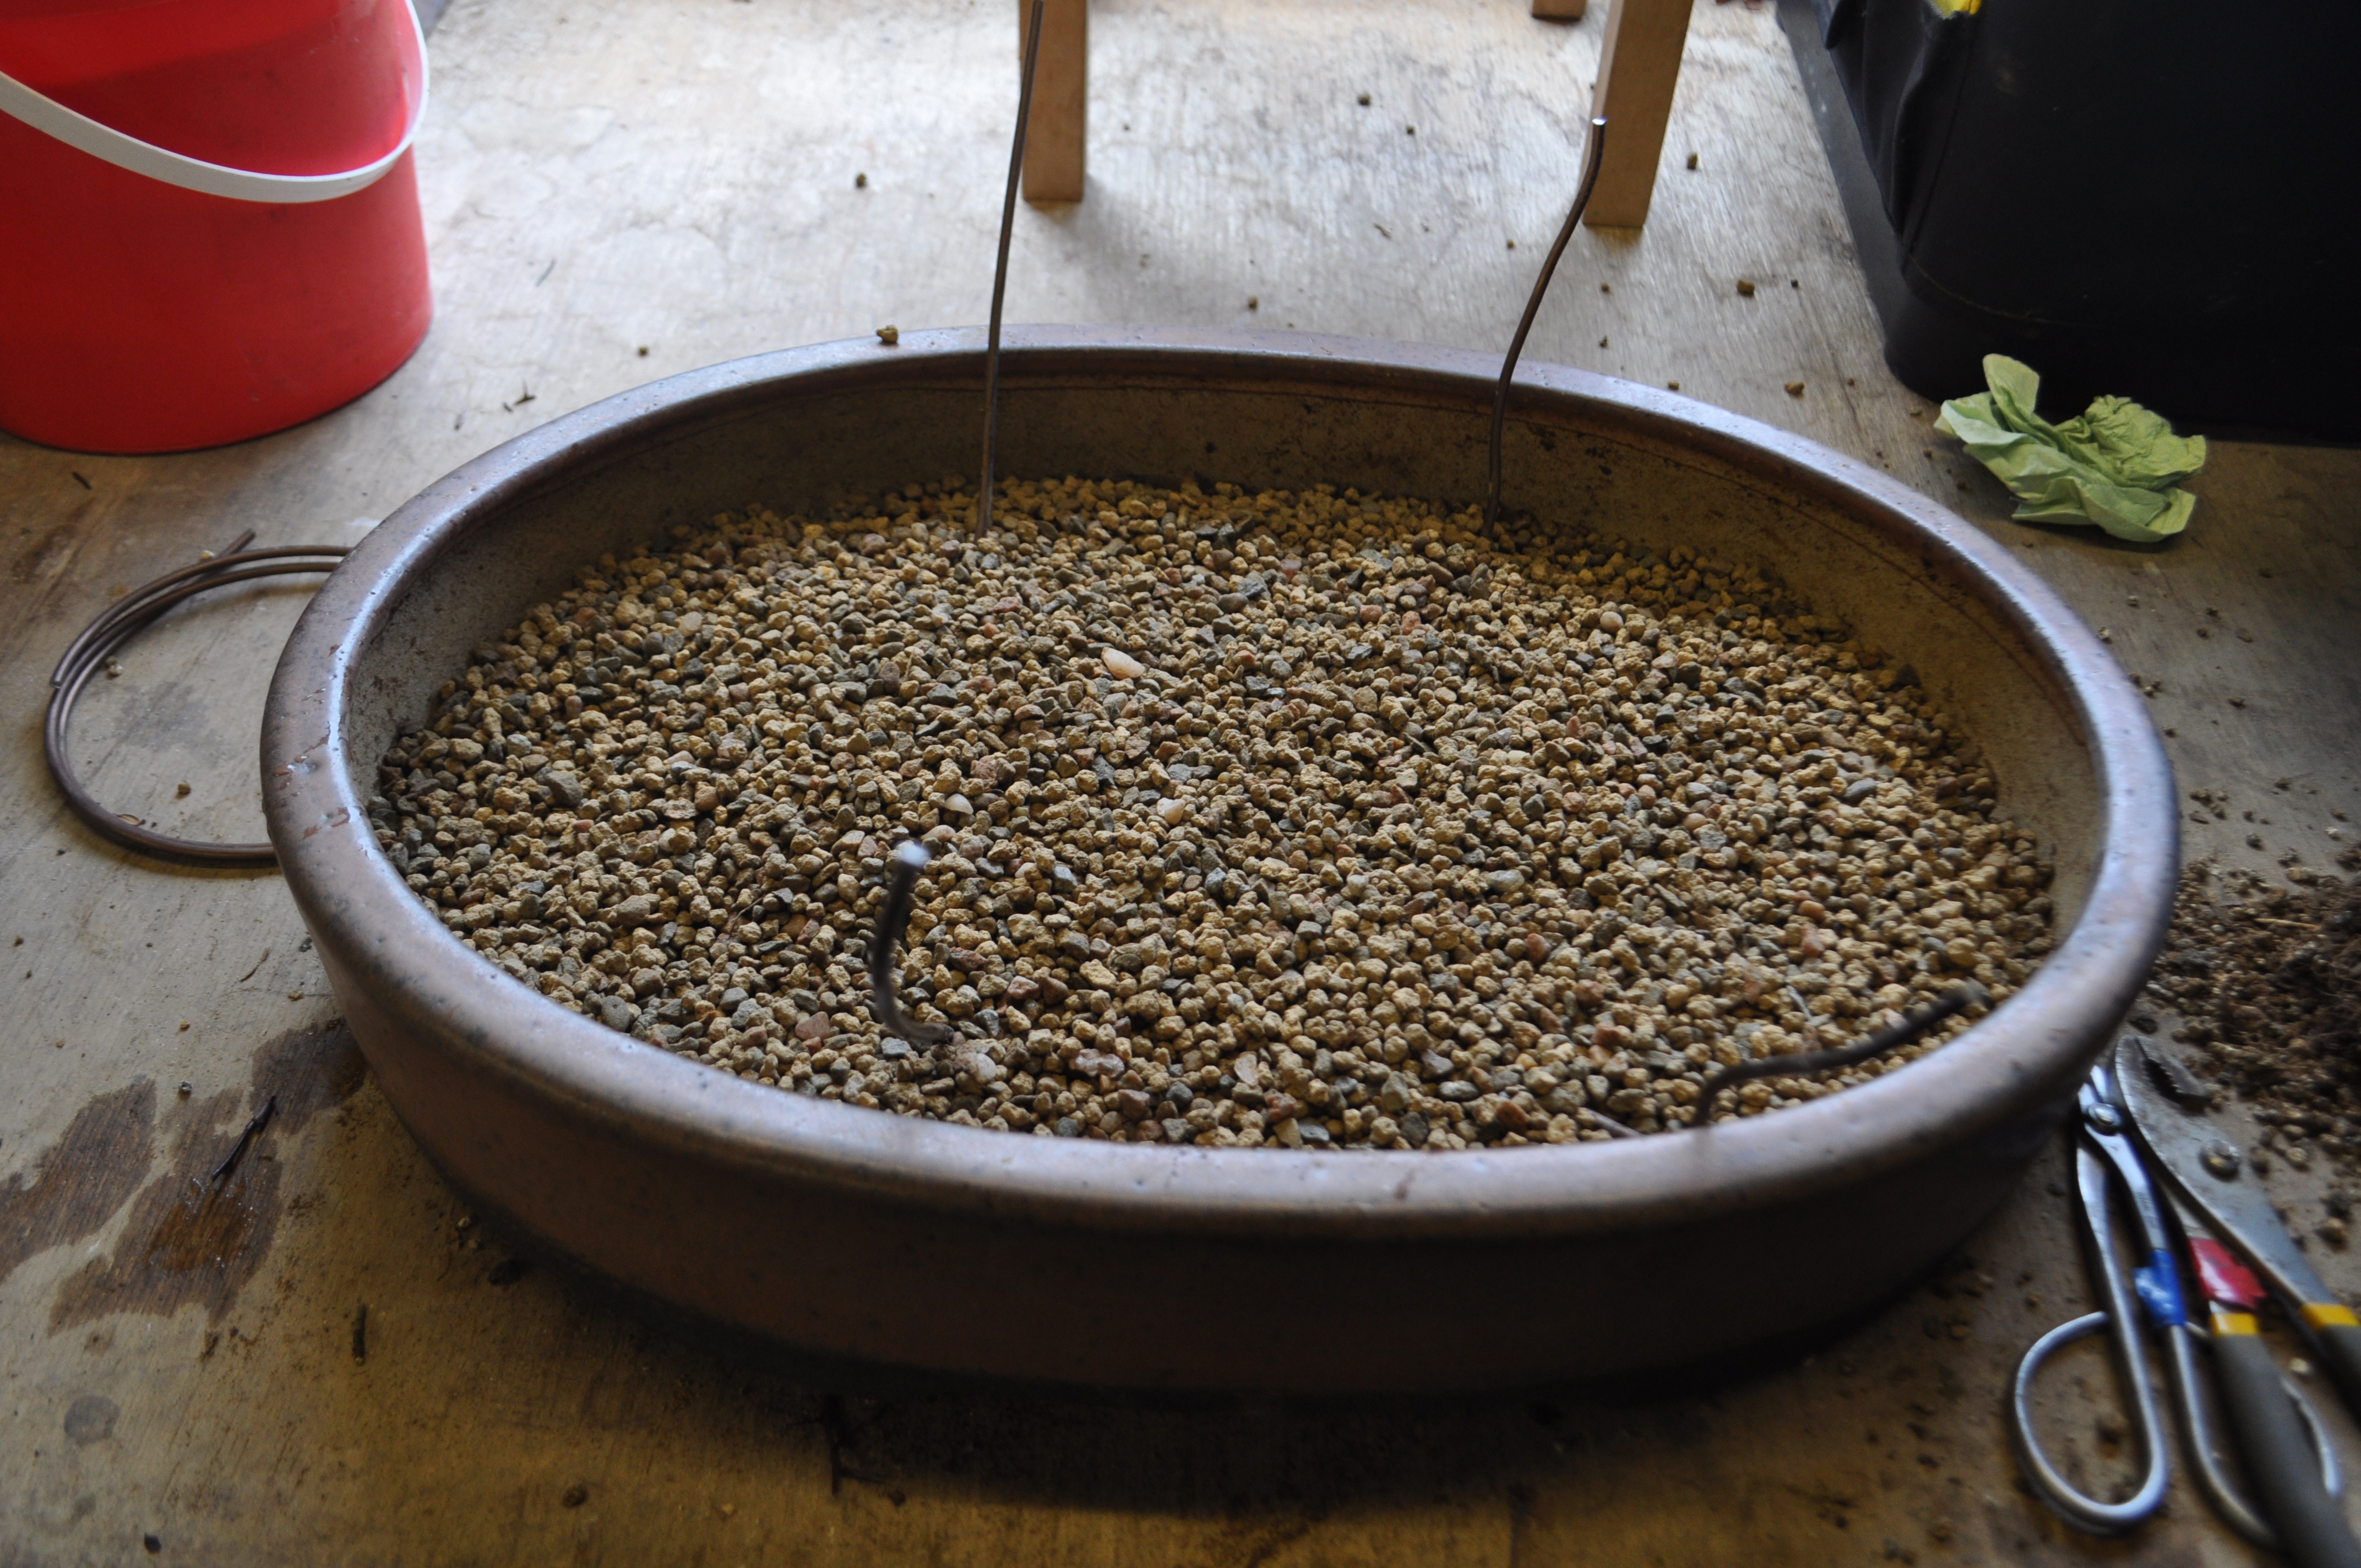
And potted up in it’s new home.

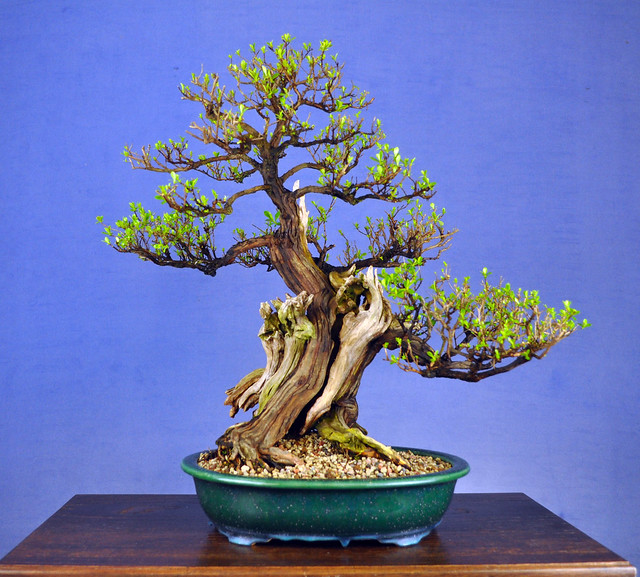
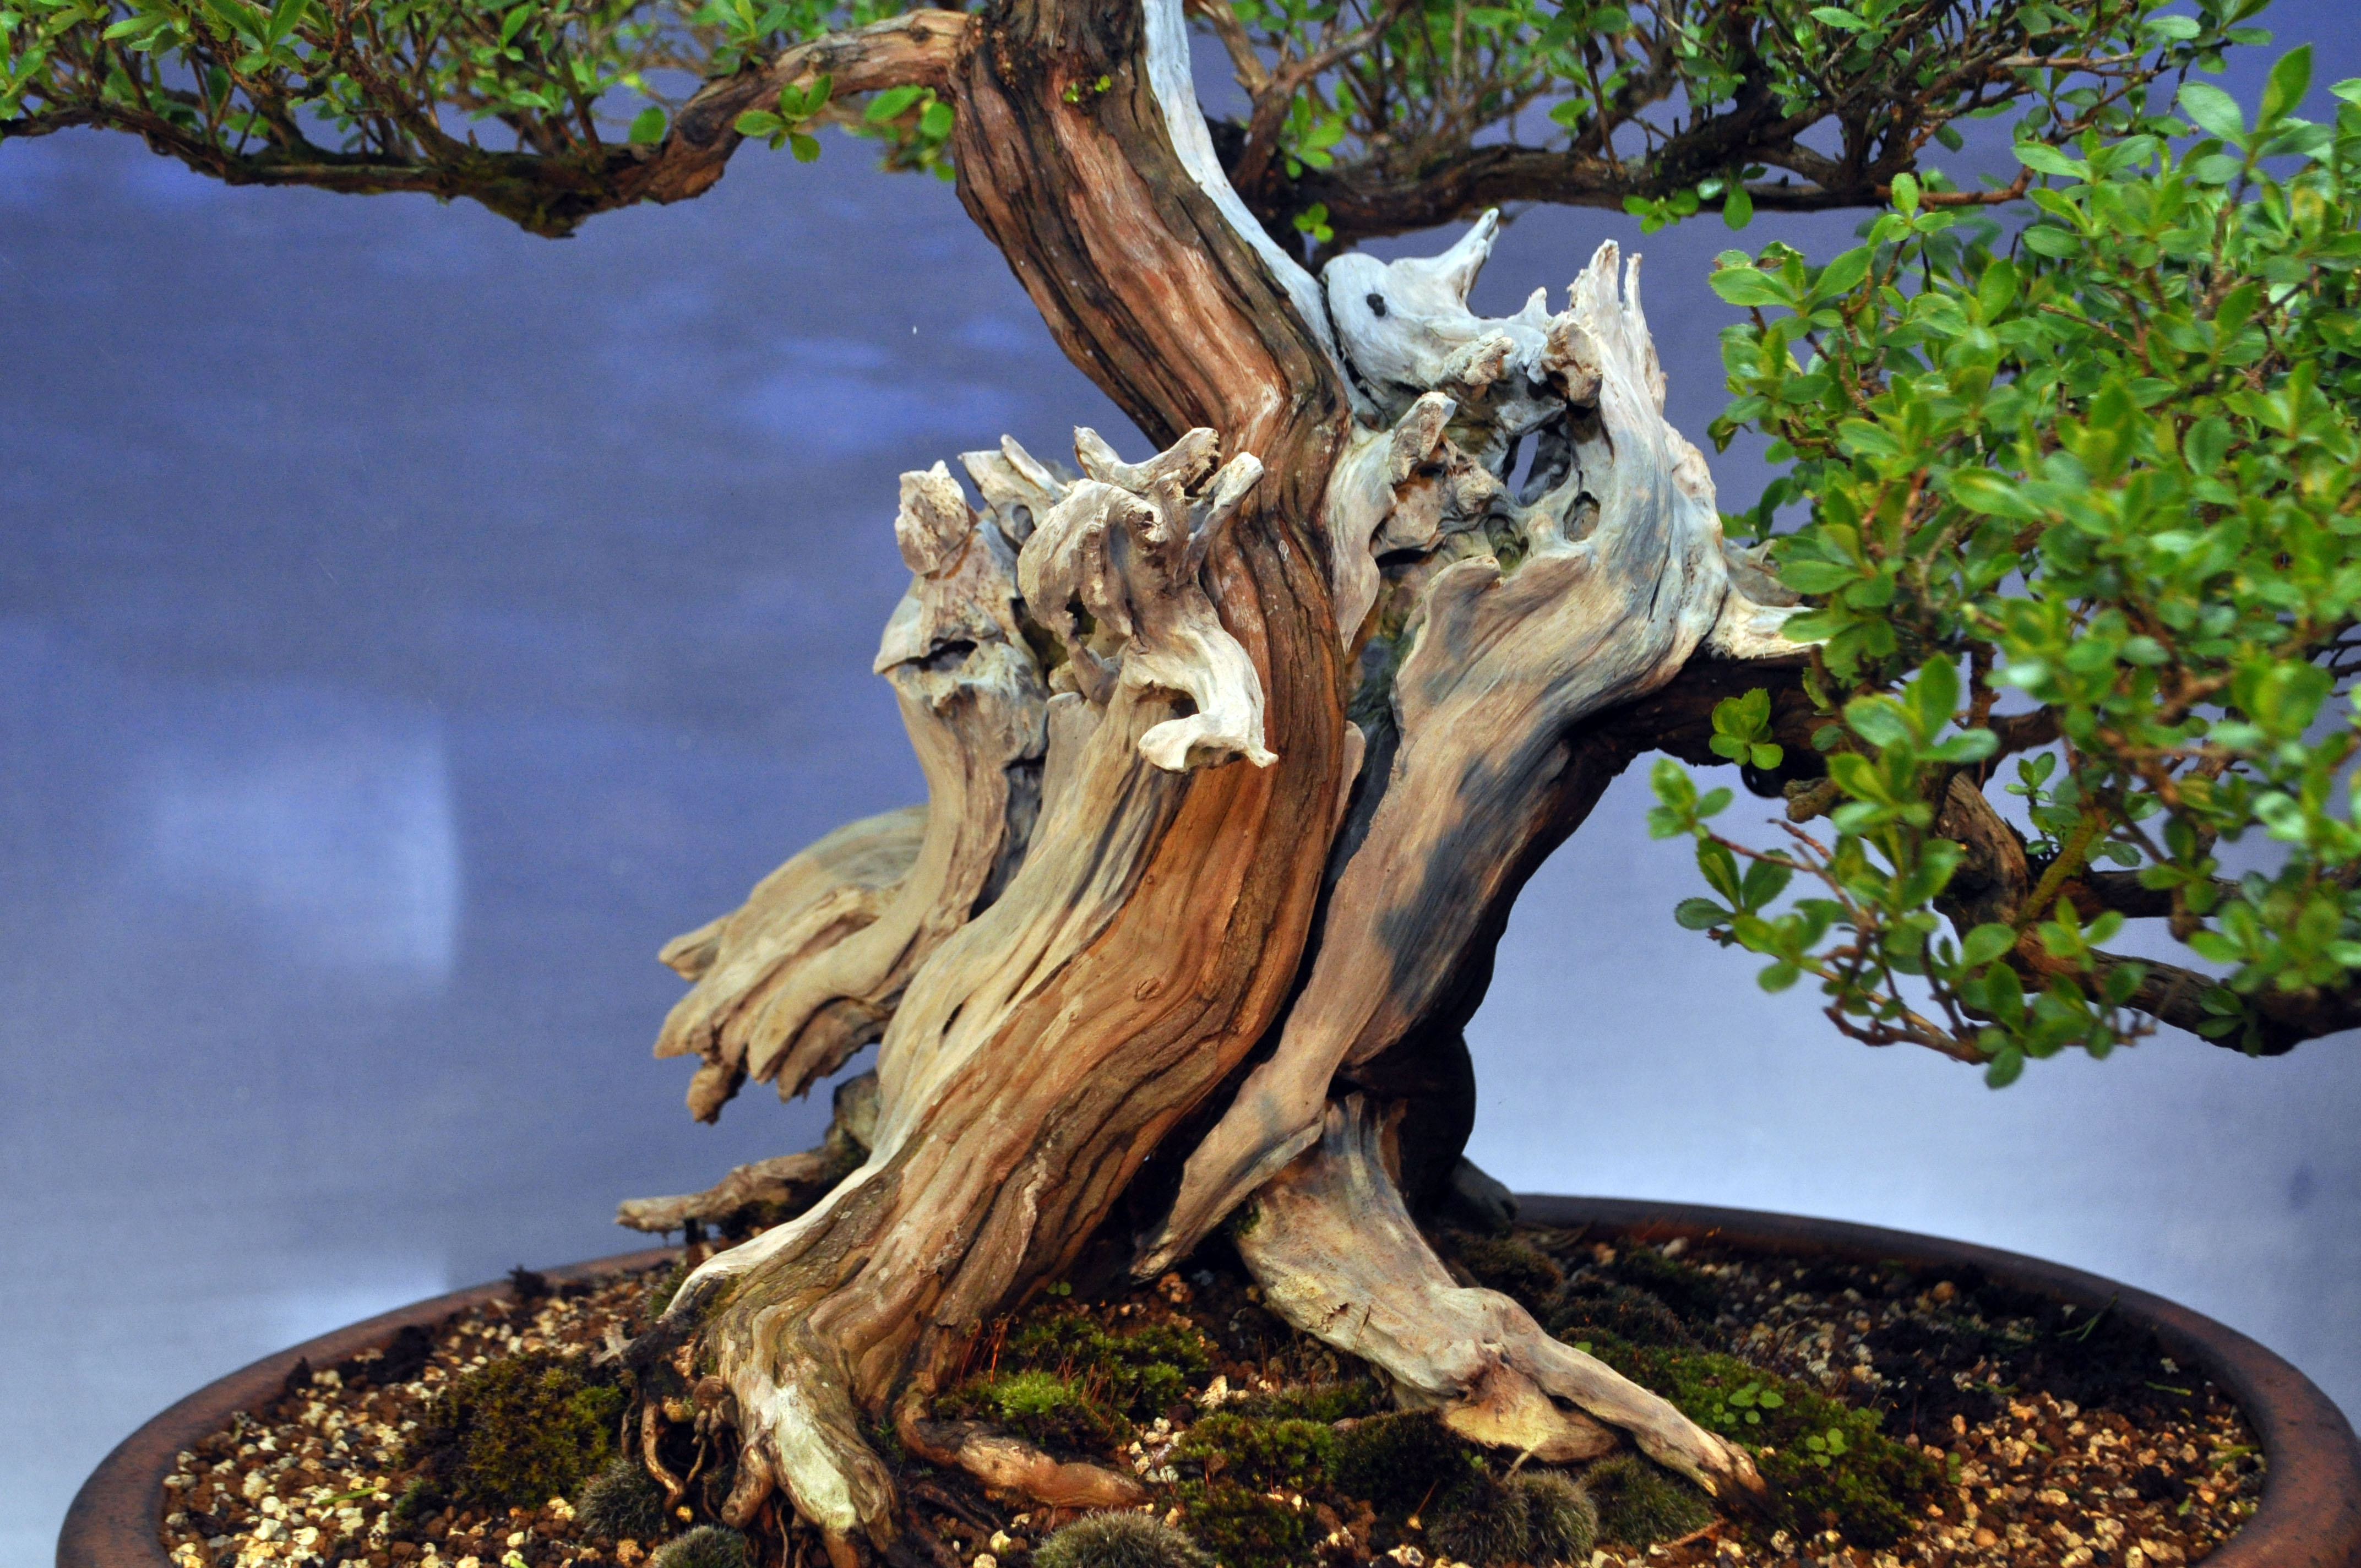
Top dressed with a moss mix. It will take a few months to fill in again but it will make all the difference to the final  image.

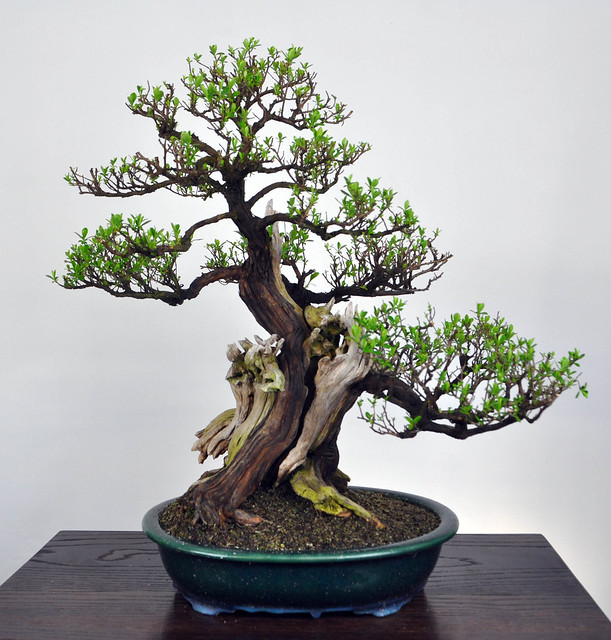
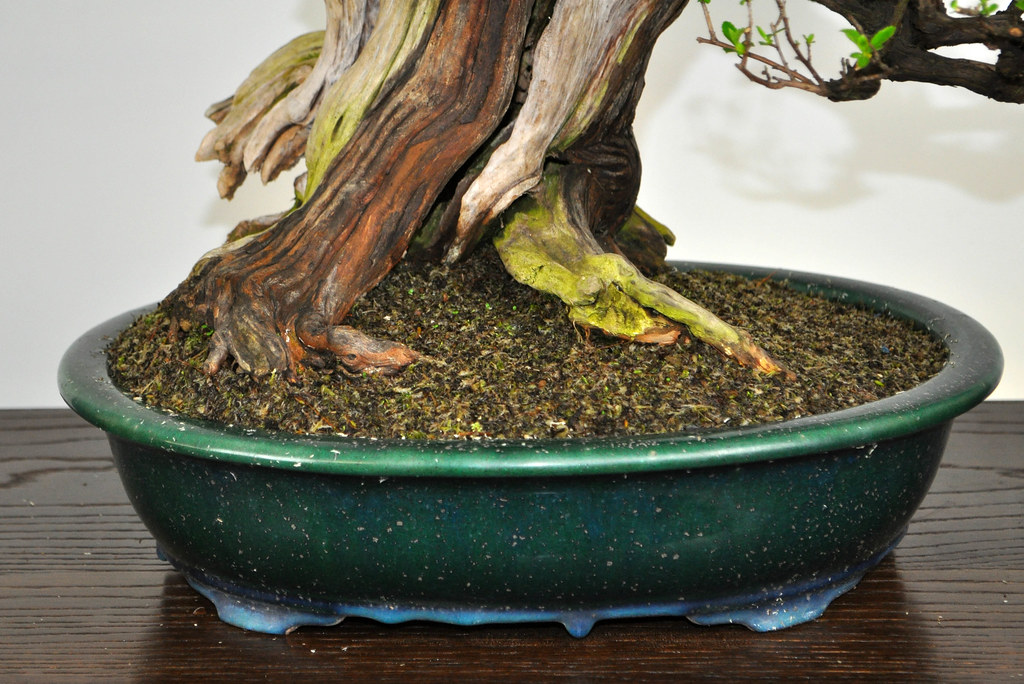
Photos don’t do this pot justice. The colours and age of the pot are just perfect. The tree was repotted about 4 weeks ago and the tree is budding up nicely with plenty of adventurous back budding to boot. It next outing, all being well with be our clubs Bonsai 30 event this September.


Esprit Bonsai – My 15 minutes of Fame

I love this magazine and not just because they published a photo of my Escallonia in issue #79  It’s a great addition to what’s available in the current market.

Anyway, did I mention that they published a photo of my tree 🙂 In case you missed it, see below. Not just my tree, but also another tree from here in Northern Ireland, my good friend Stephen’s Raft Japanese Maple. These where both exhibited at Bonsai Europa back in October (was it that long ago!) What I liked about the article was that they highlighted what Europa had that was different that other European Exhibitions, namely more deciduous bonsai. I’ll be honest, that’s probably the only reason my tree was featured in the article when so many other top quality trees were available. However it was a very pleasant surprise to turn the page and see my own tree, a first for me.

Escallonia

DSC_0010

DSC_0012

Escallonia Repot

Having taken a sneaky day off work I decided to do a little repotting. This Escallonia  needed done as drainage was poor and I wanted to change the front and potting angle slightly.

DSC_0146

DSC_0150


Bit of a lip on the pot so out with the root saw.

DSC_0151

A good mass of root but surprisingly not totally pot bound. Drainage issue must have been due to compacted fertiliser pellets breaking down into the top layer.

DSC_0152

After a cut back and wash out. I did manage to get rid of the very last bit of garden soil.

DSC_0156

Back into the Walsall Ceramics pot. I do want to change this at some point but am still looking for the ideal pot. A mix of Akadama and koyodama which proved successful last time.

DSC_0157

Potted up and ready for a good watering.

DSC_0159

DSC_0161

DSC_0162

The final image.

DSC_0176

The slight front change and tilt below.

DSC_0146 DSC_0176

Next step will be the treatment of the deadwood. Tricky with the tree as the wood rots fast if wet , but also hard to get the right colouring as jin seal looks too harsh. You’ll see how I get on with this here of course.

Escallonia

Current front

DSC_0622

Slight adjust at next repotting

DSC_0624

DSC_0625

Image

Escallonia Winter Work

I did a little tidy up on some late shoots on my Escallonia. This is it before the trim and shows the old front.

DSC_0024

After a trim

DSC_0118

The new front.DSC_0122

DSC_0126

DSC_0127

The back showing another live vein

DSC_0129

Image

Escallonia Leafing Out

DSC_0110

Escallonia

This Escallonia is now back out on the bench too. It got some work done during the Winter on the deadwood. Peter Snart kept me right with the carving and I took some time to preserve the inner deadwood. Just opening up now and in a few weeks it will be extending everywhere as usual.

and outside in the sun.

Next Step

Next Step for the Escallonia was carried out today. I applied the wood hardener to the inside of the trunk with a trusty tooth brush. This was followed up by a fresh coat of lime sulphur.

An hour or so later.

Lime sulphur was applied at 3:1 ratio. It’s very white for now but will fade over the Winter and will hopefully be the right colour come flowering next year. It’s now going into some winter protection.

Escallonia Step by Step

I did a little more work on the Escallonia in November.

Peter Warren had suggested back in October that I remove a front branch. I did this and now this stump needed added to the deadwood on the tree.

When Mr Snart was here a few weeks back we had a look at it. Peter has excellent carving skills and I wanted his advice about opening up the trunk to allow me to reach the hollow centre. It had rotted at the base and was hollow inside, but I couldn’t reach this area to add wood hardener. Peter kindly offered to do a little carving on the tree to add the extra deadwood at the front and also open up the trunk to allow me to gain access.

This was the tree before removal of the front branch.

https://i0.wp.com/farm8.staticflickr.com/7266/8151051685_423bac58cc_z.jpg

and after branch removal

https://i0.wp.com/farm9.staticflickr.com/8195/8094126171_072c2b1c73_z.jpg

Here is Peter doing a little carving.

https://i0.wp.com/farm9.staticflickr.com/8482/8237889736_beea6cfd7d_z.jpg

https://i0.wp.com/farm9.staticflickr.com/8062/8236821683_97362f3f0b_z.jpg

On Friday I spent a little time washing out the remains of the sawdust and rotted wood. I did a little more carving and cleaning of the original deadwood to remove some algae. As you can see below there are now 3 opening added by Peter into the centre of the trunk that I can now access and apply hardener. The opening are small visually but allow room for a toothbrush to enter. The remaining heartwood is all solid and rotting seemed to have been limited.

https://i0.wp.com/farm9.staticflickr.com/8484/8234671177_34eb6cb823_z.jpg

https://i0.wp.com/farm9.staticflickr.com/8068/8234671959_8d21a0bf83_z.jpg

https://i0.wp.com/farm9.staticflickr.com/8069/8235736540_eff0c85af5_z.jpg

I plan to treat the wood this week and apply a fresh coat of lime sulphur to the outside, perhaps darkened down a tad. I’ll keep you posted.