

At the recent Willowbog Workshop on Sunday Ben brought along his Squamata Juniper for some block carving work by Peter Snart. Peter got Ben to do a little Rip and tear on a few of the finer bits of deadwood first and then he got stuck in with the Makita to do some basic block carving on the heavier areas. Peter reckons he’d need a week to do the tree. If he carves as fast as he walks, I’d believe it too 😉

Back before

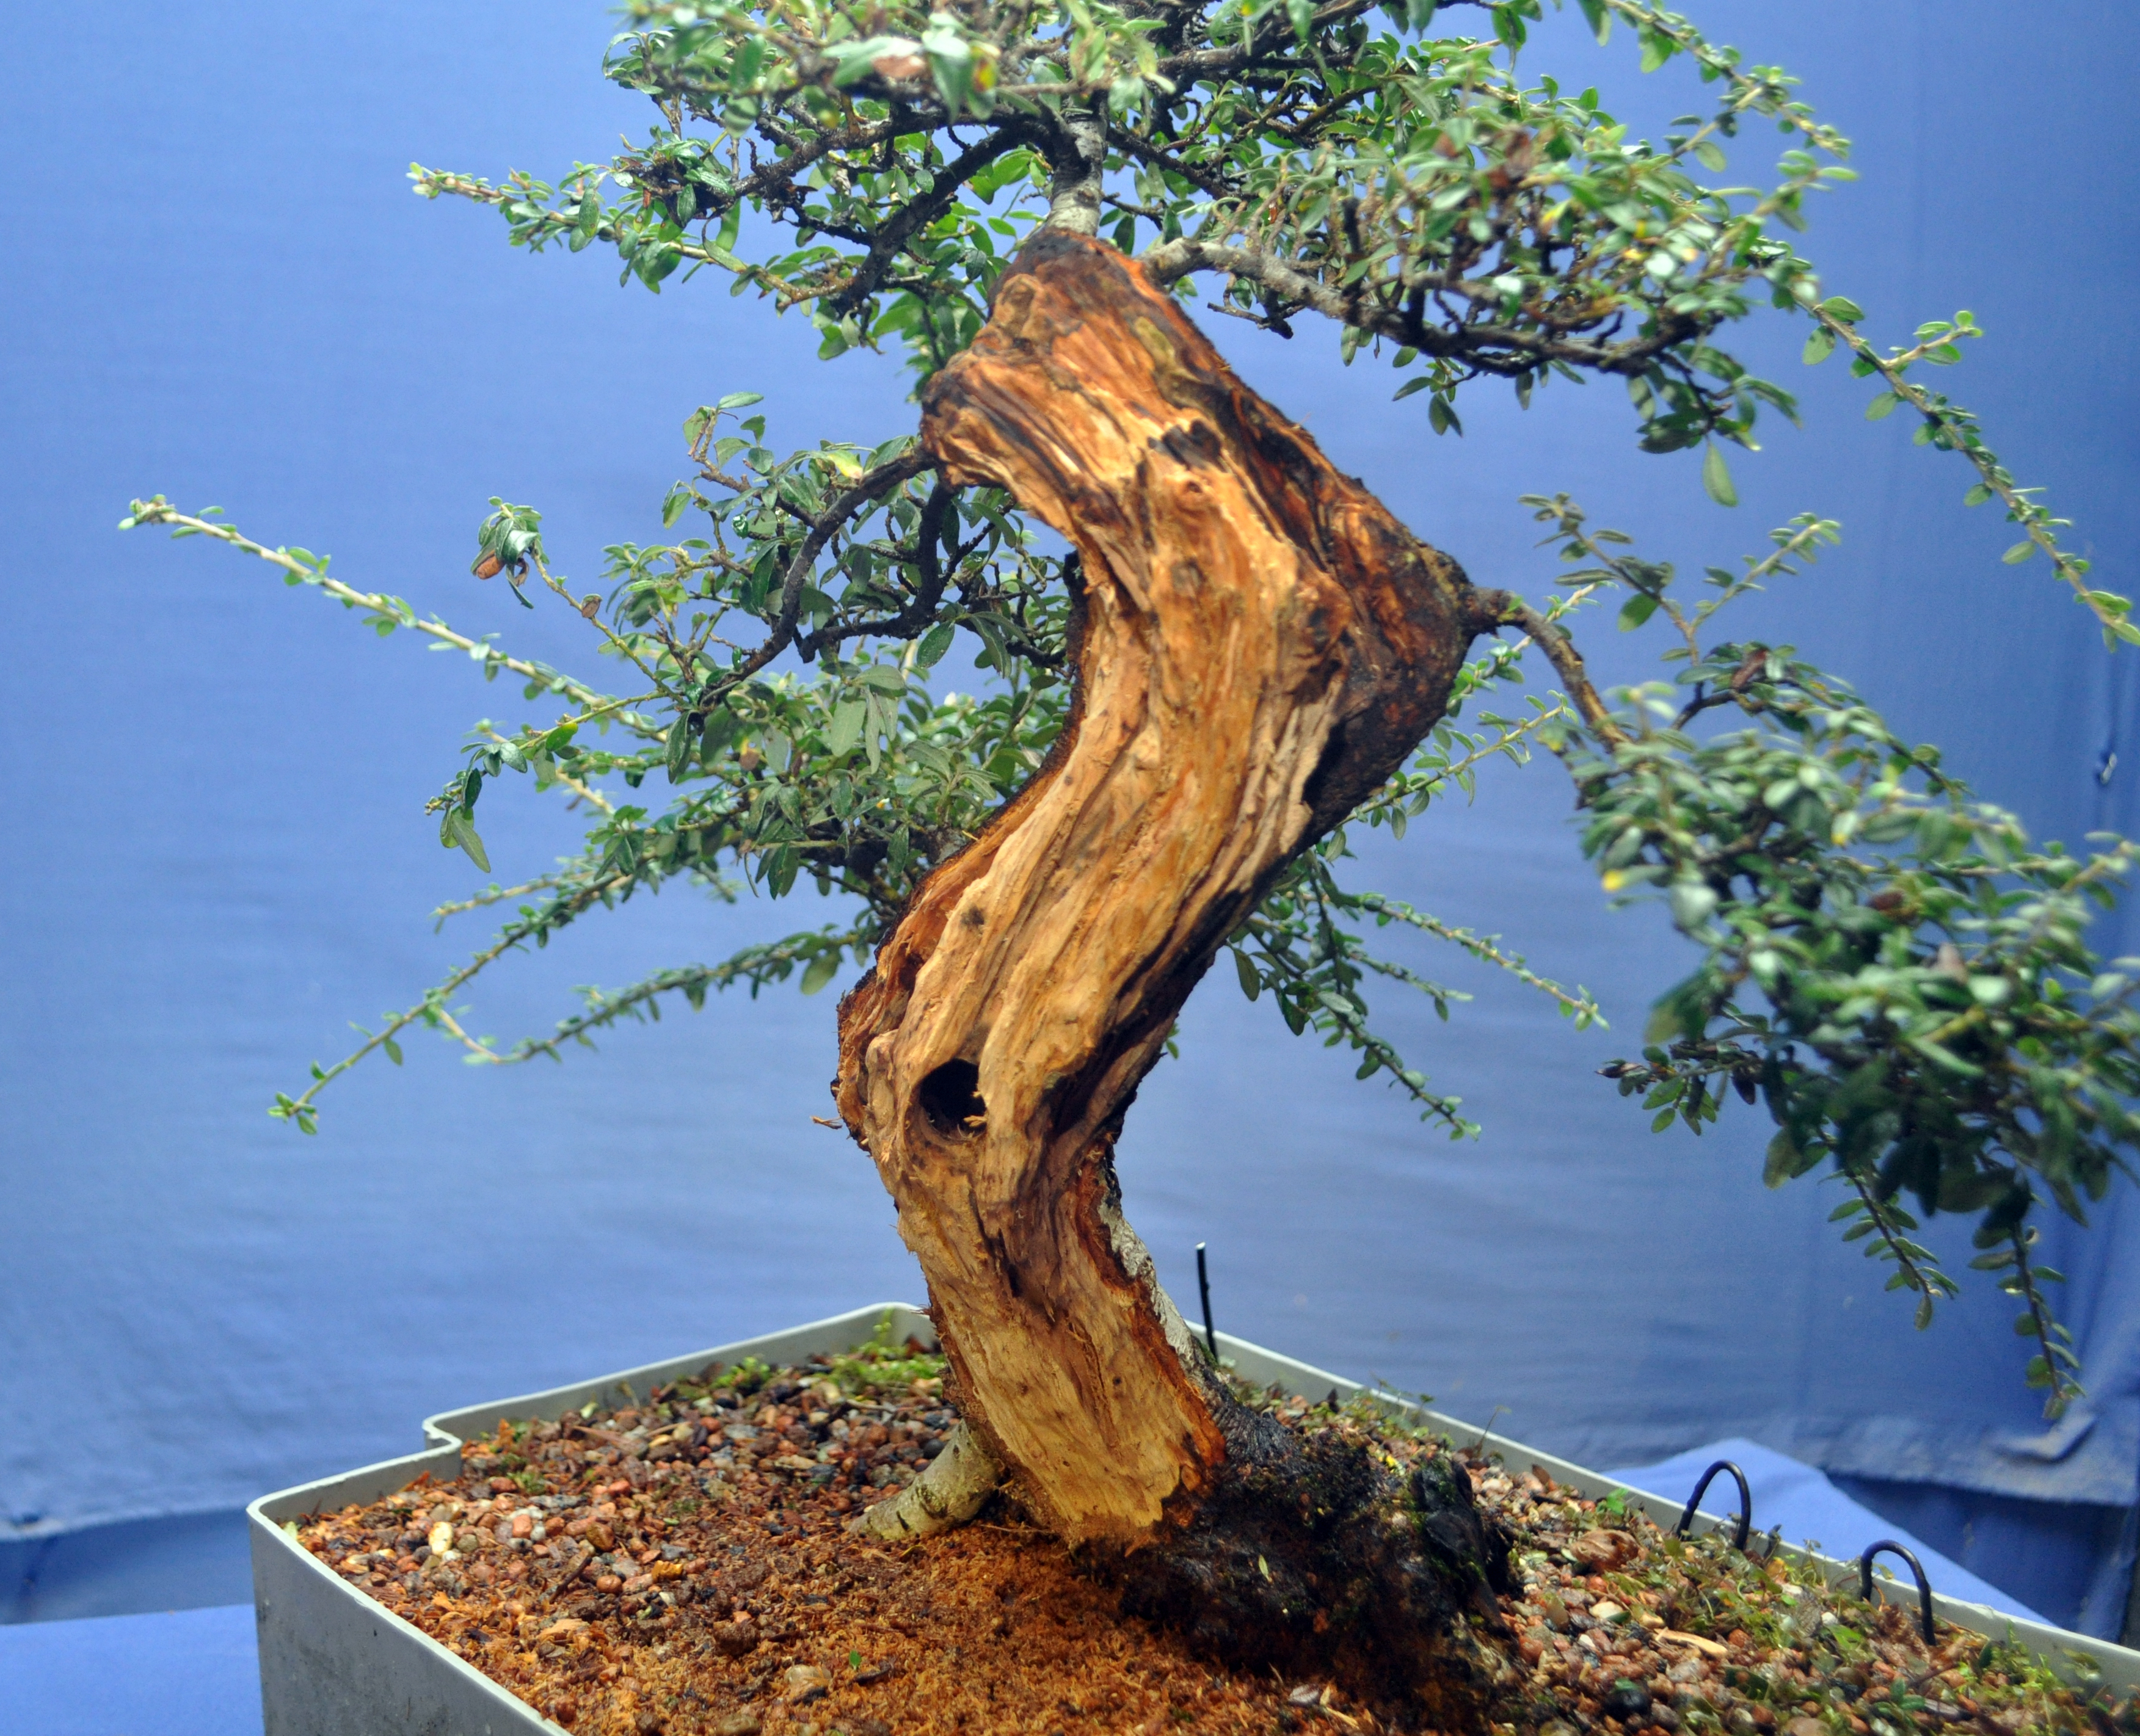
Front before

main area for work before


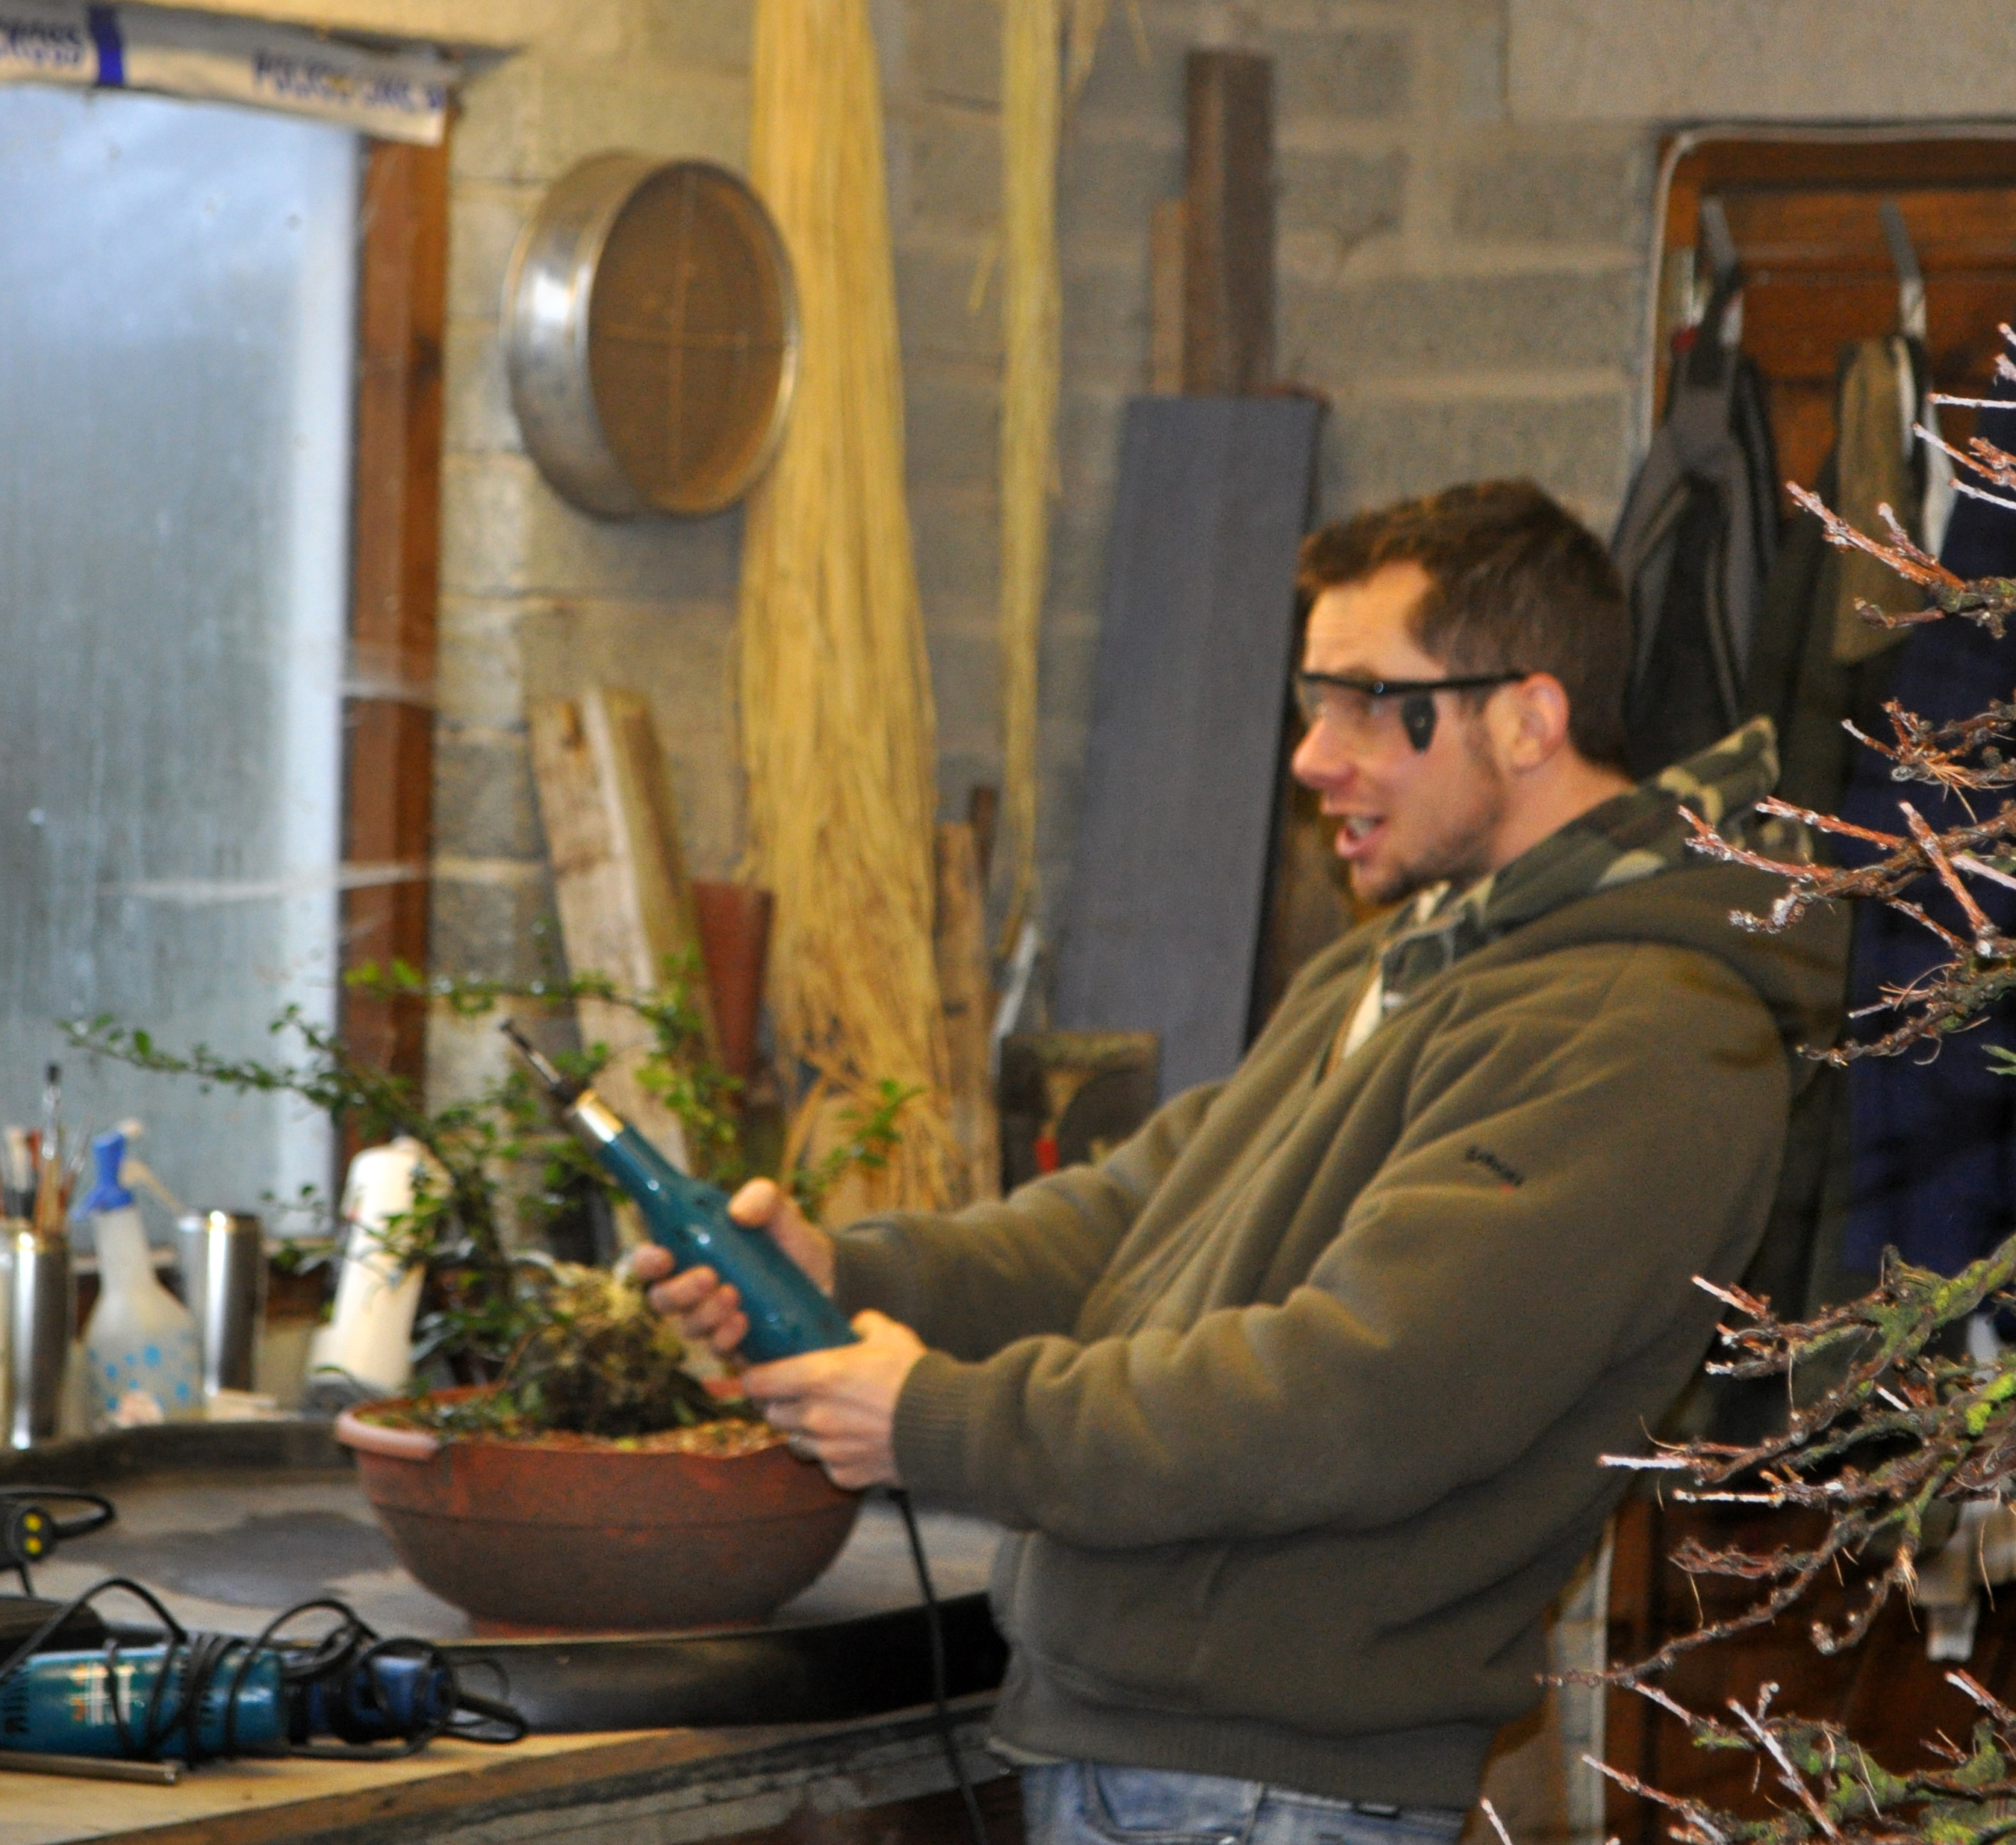
Ben beavering away

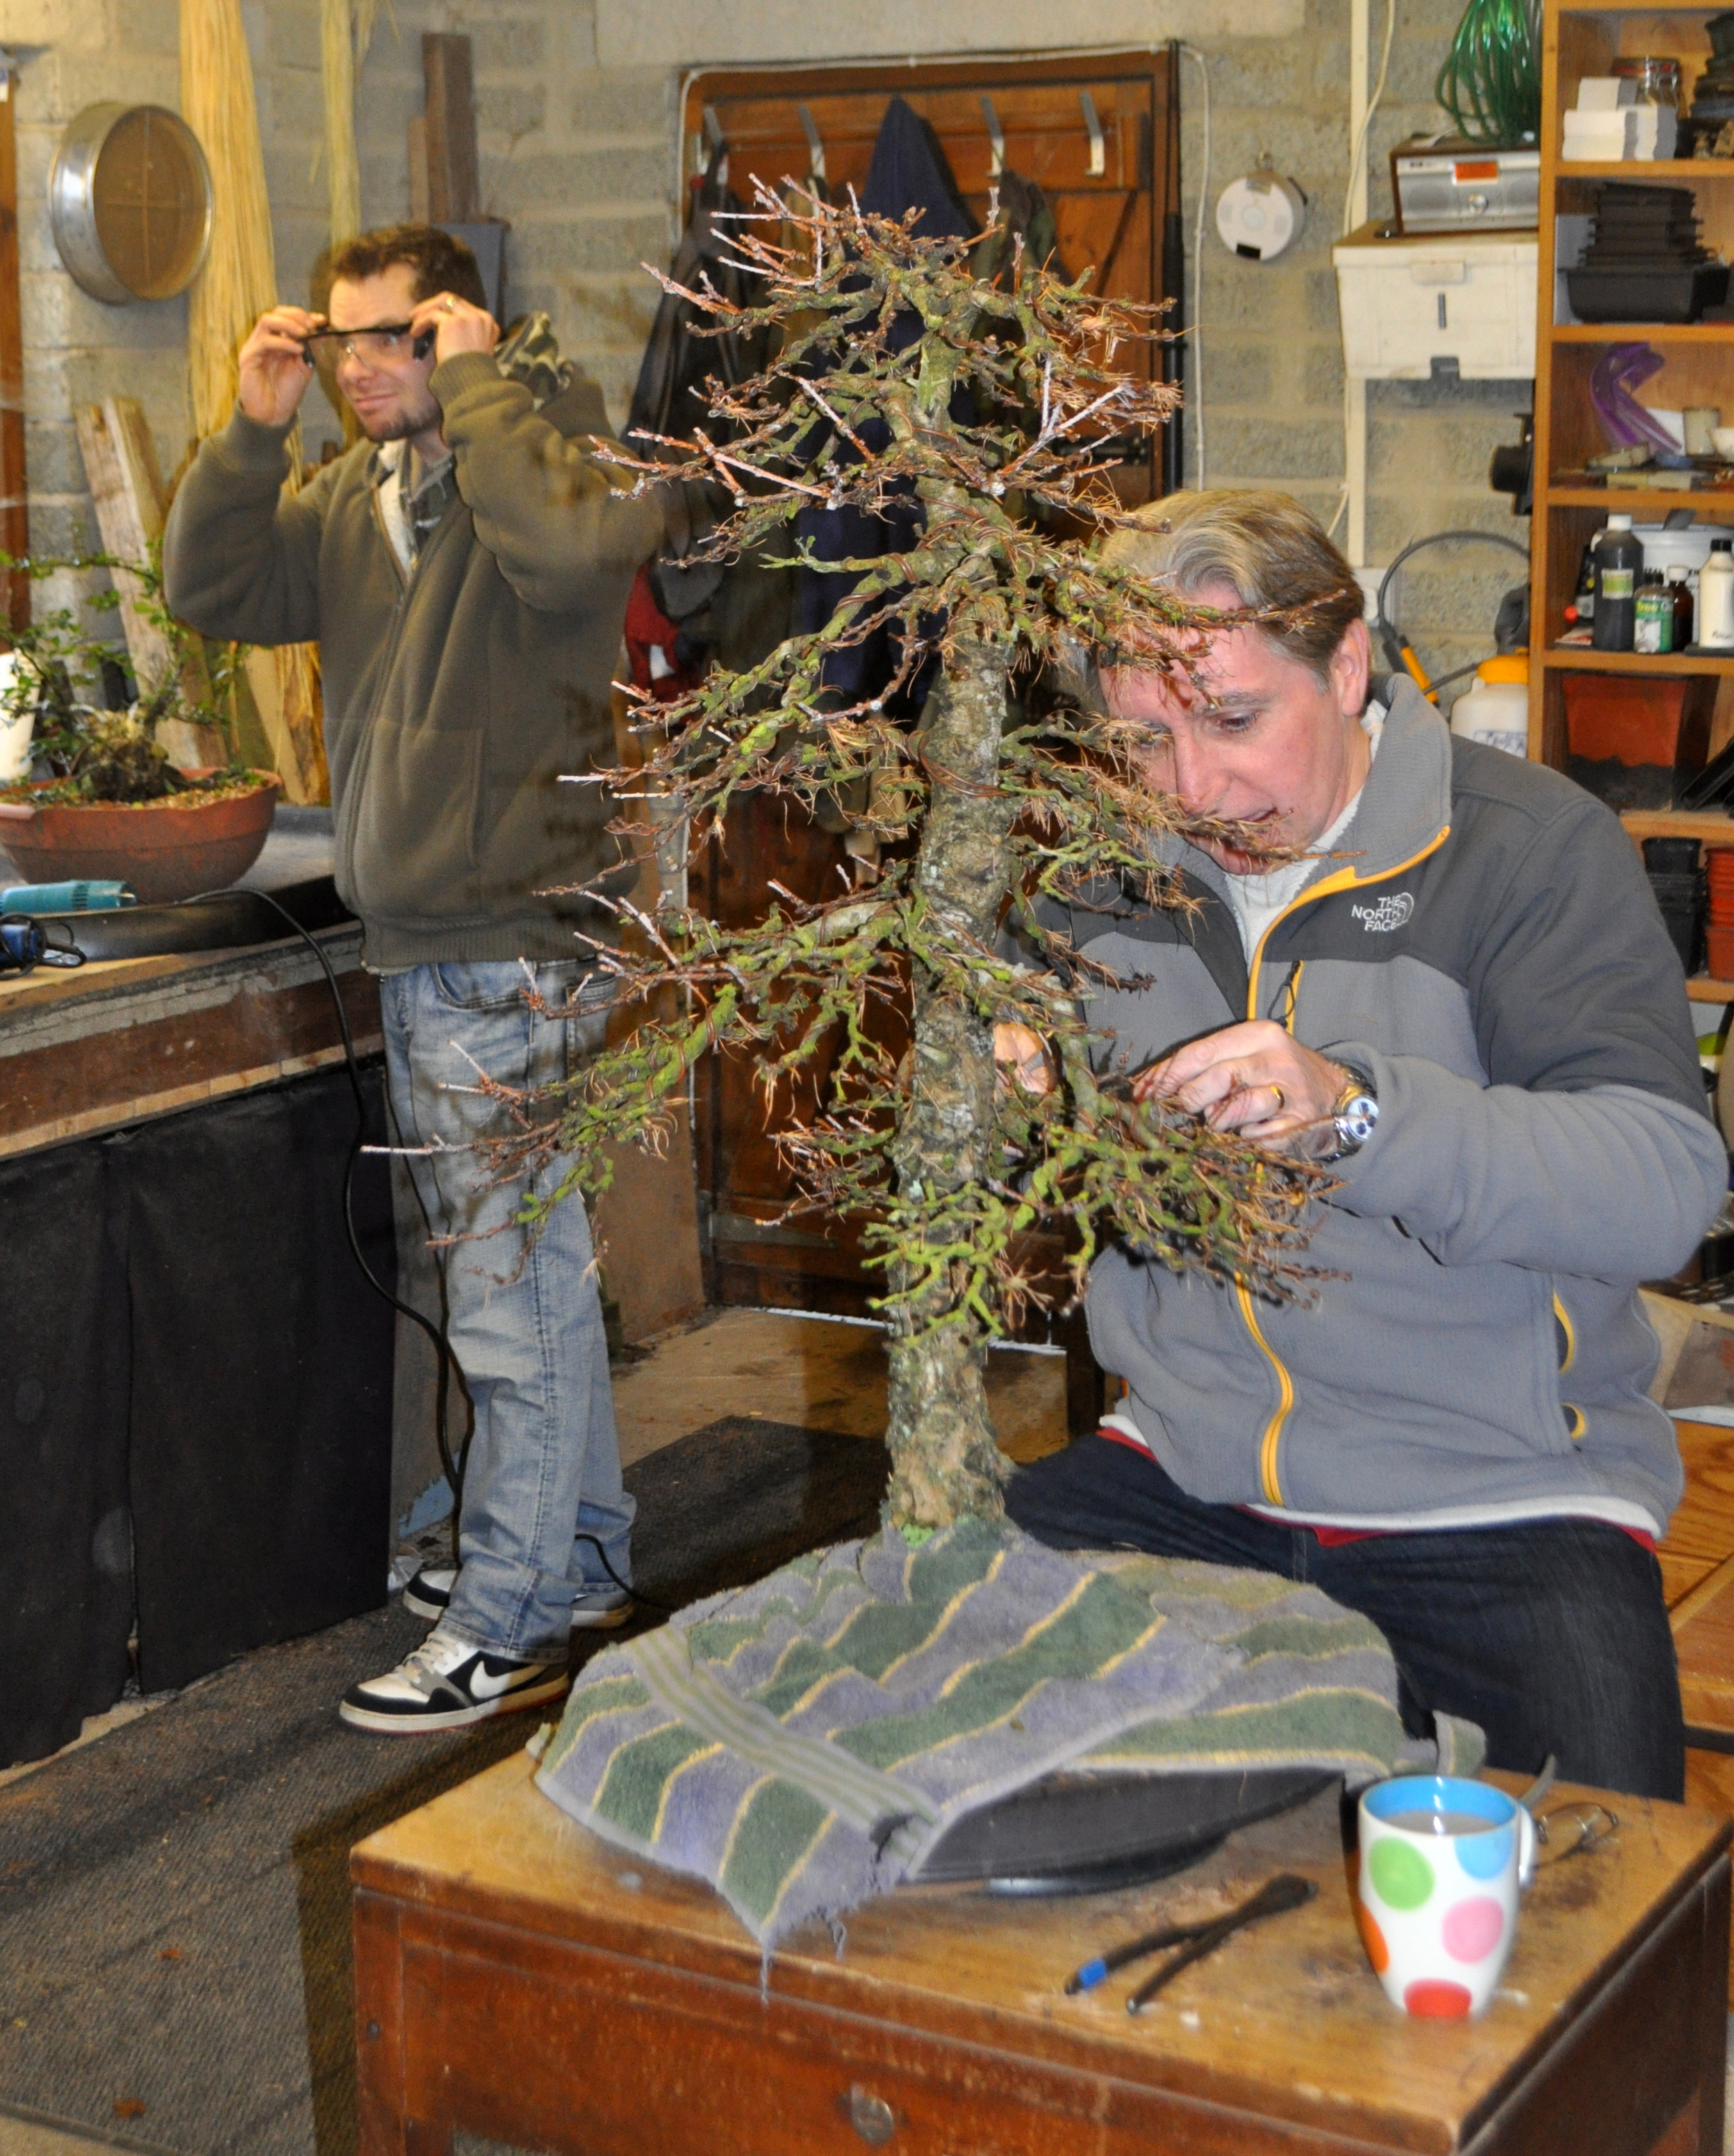
Peter in action


Numpty!

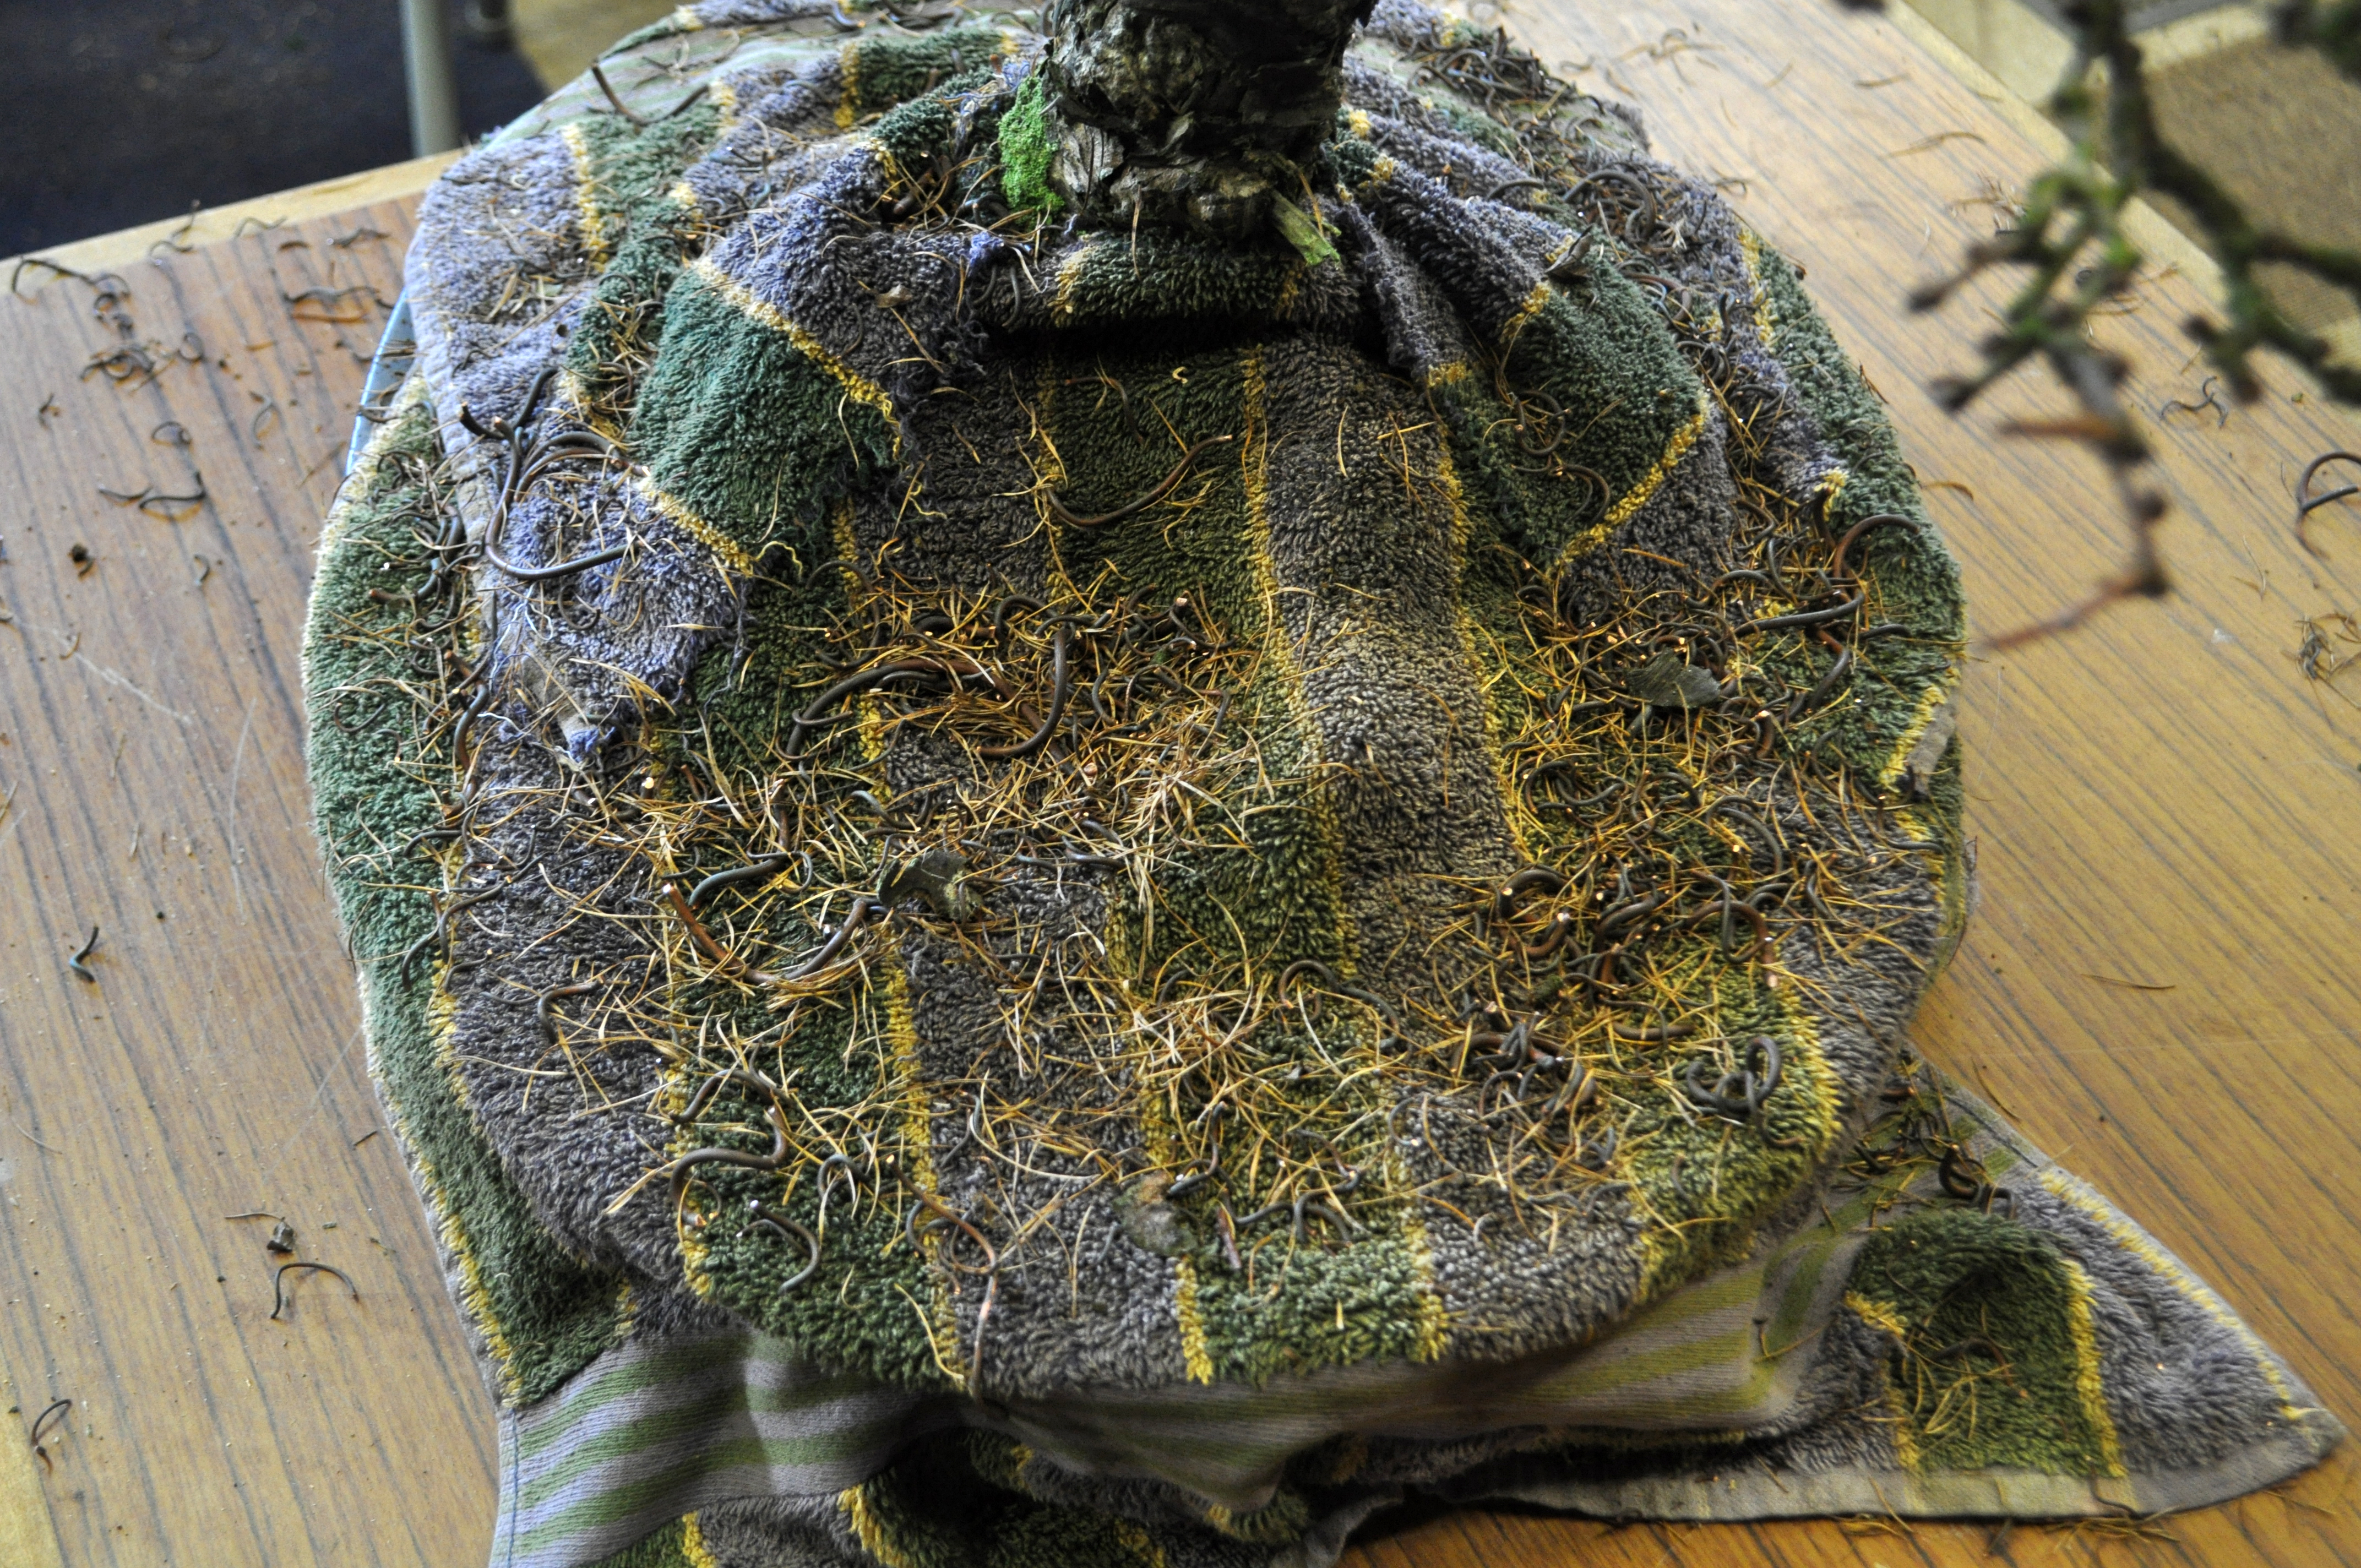
burning off the fluff

Front after block carving

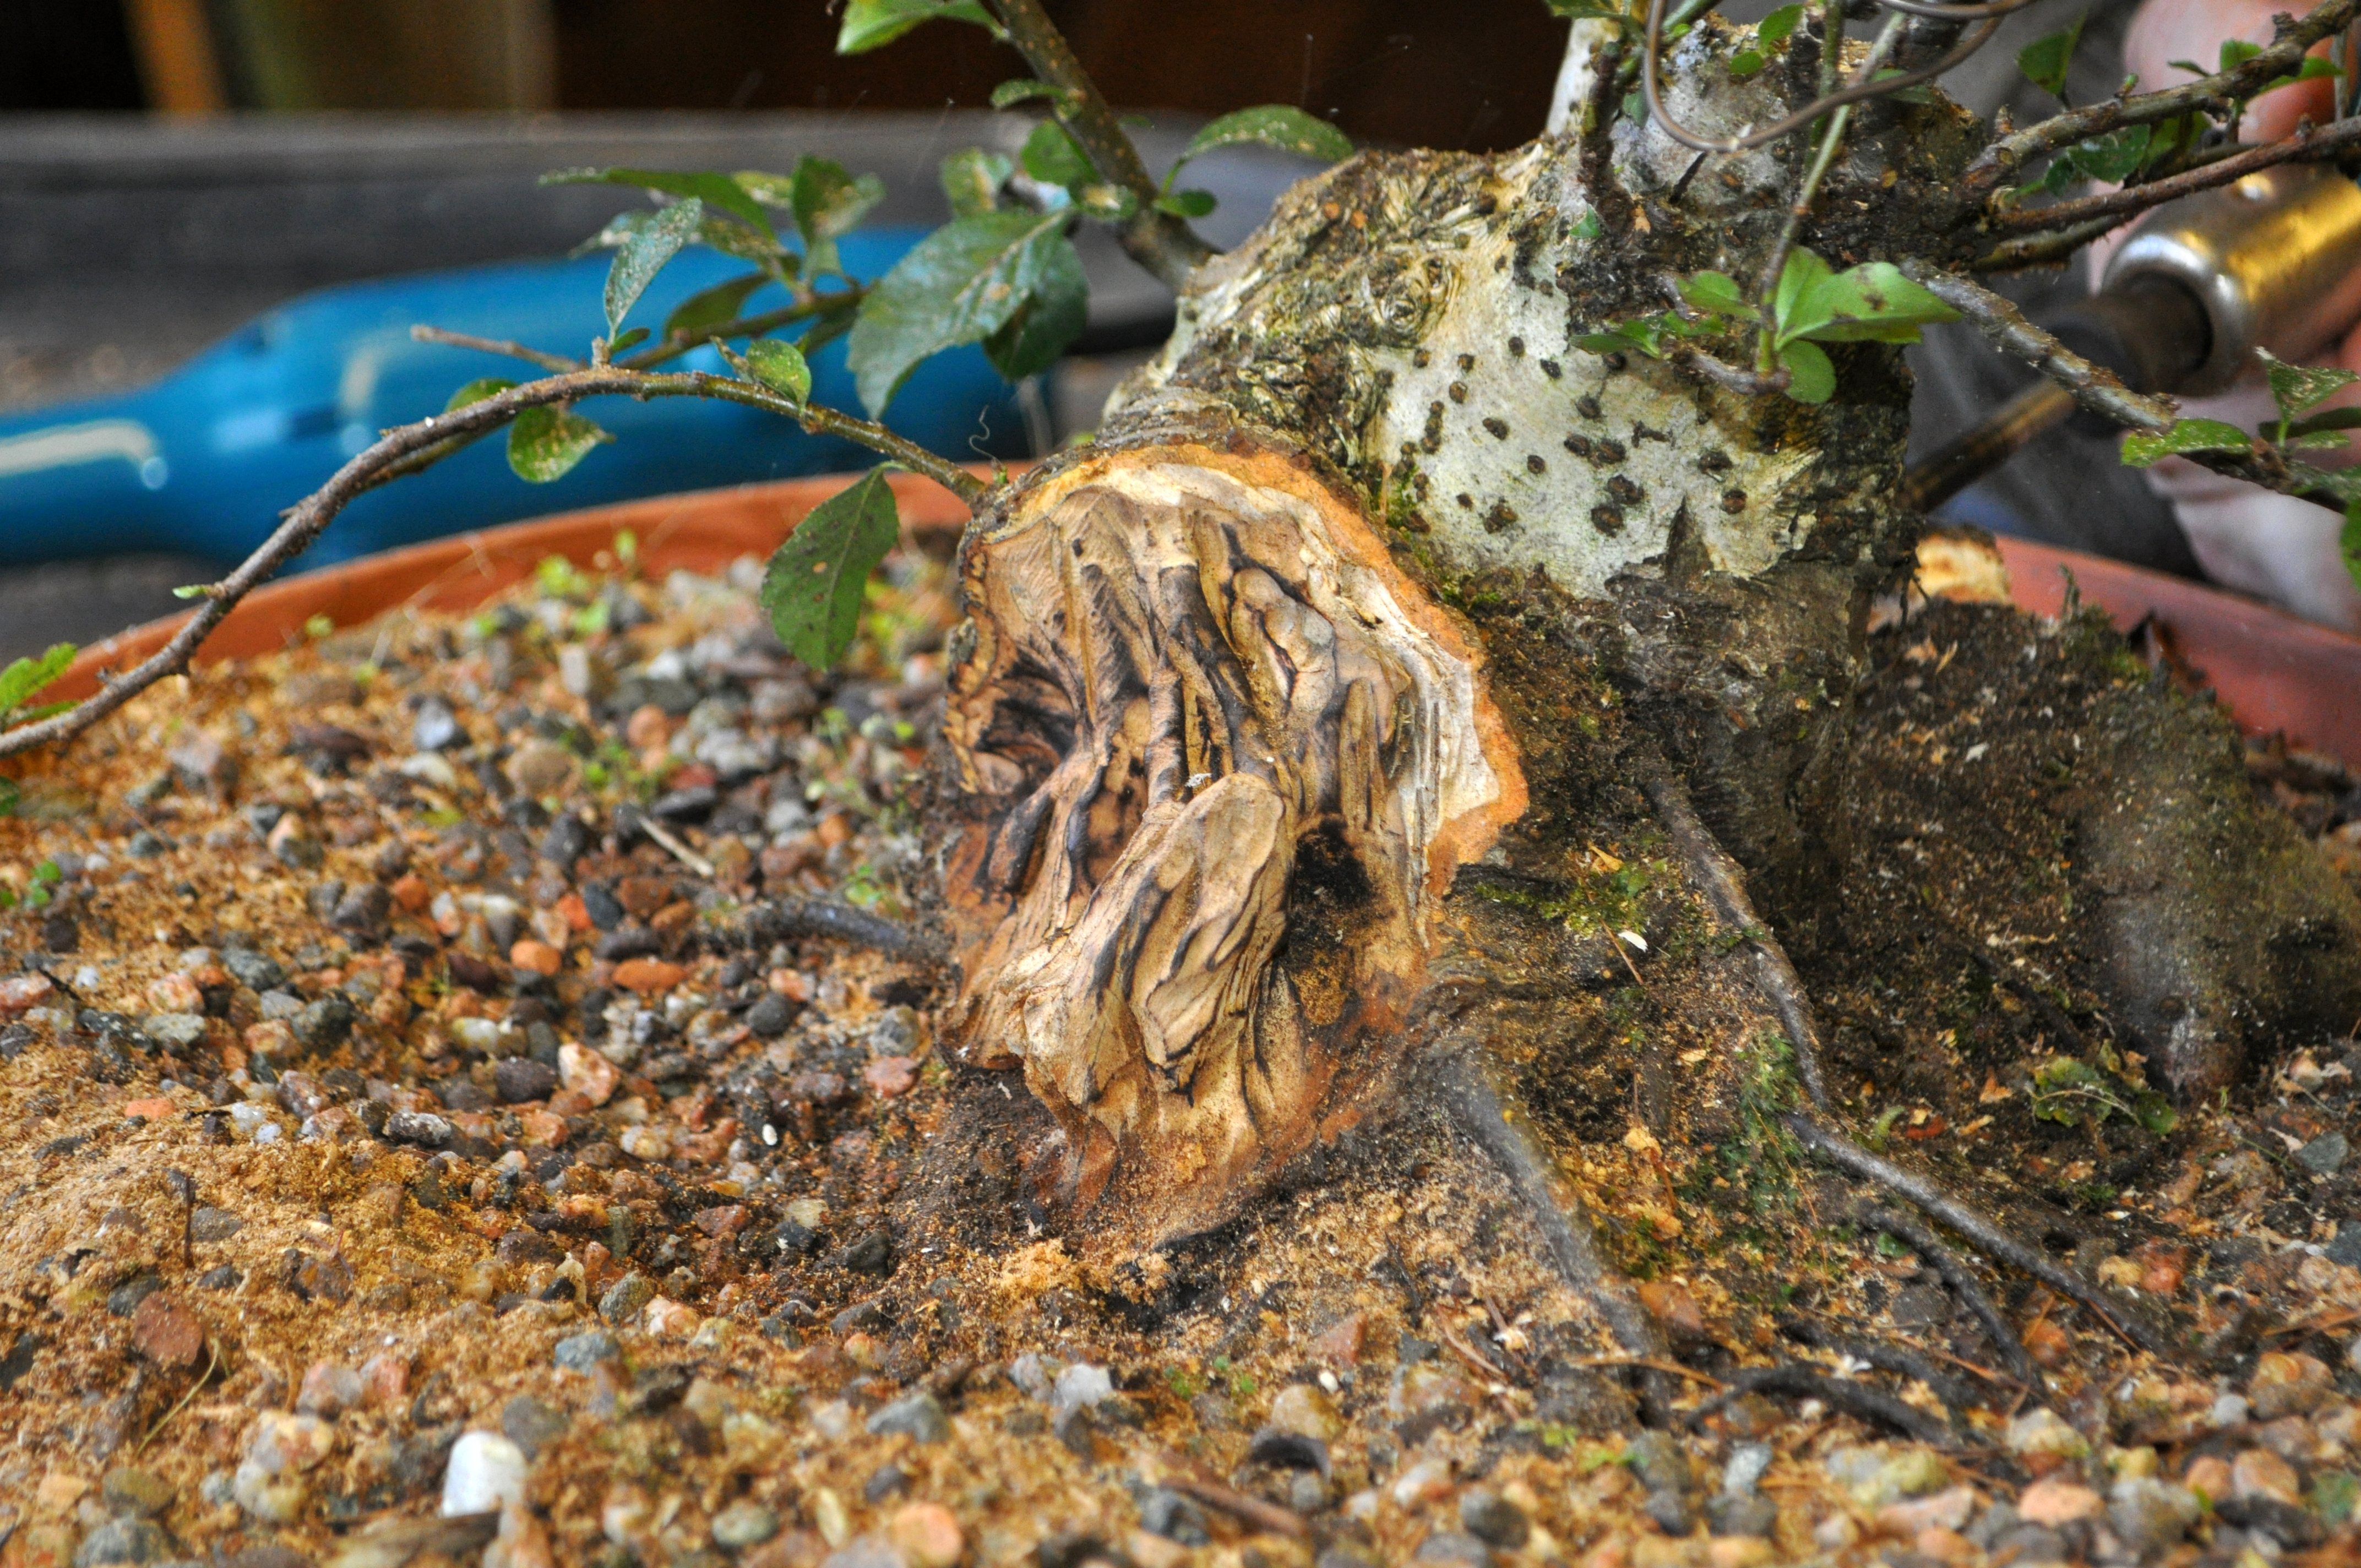
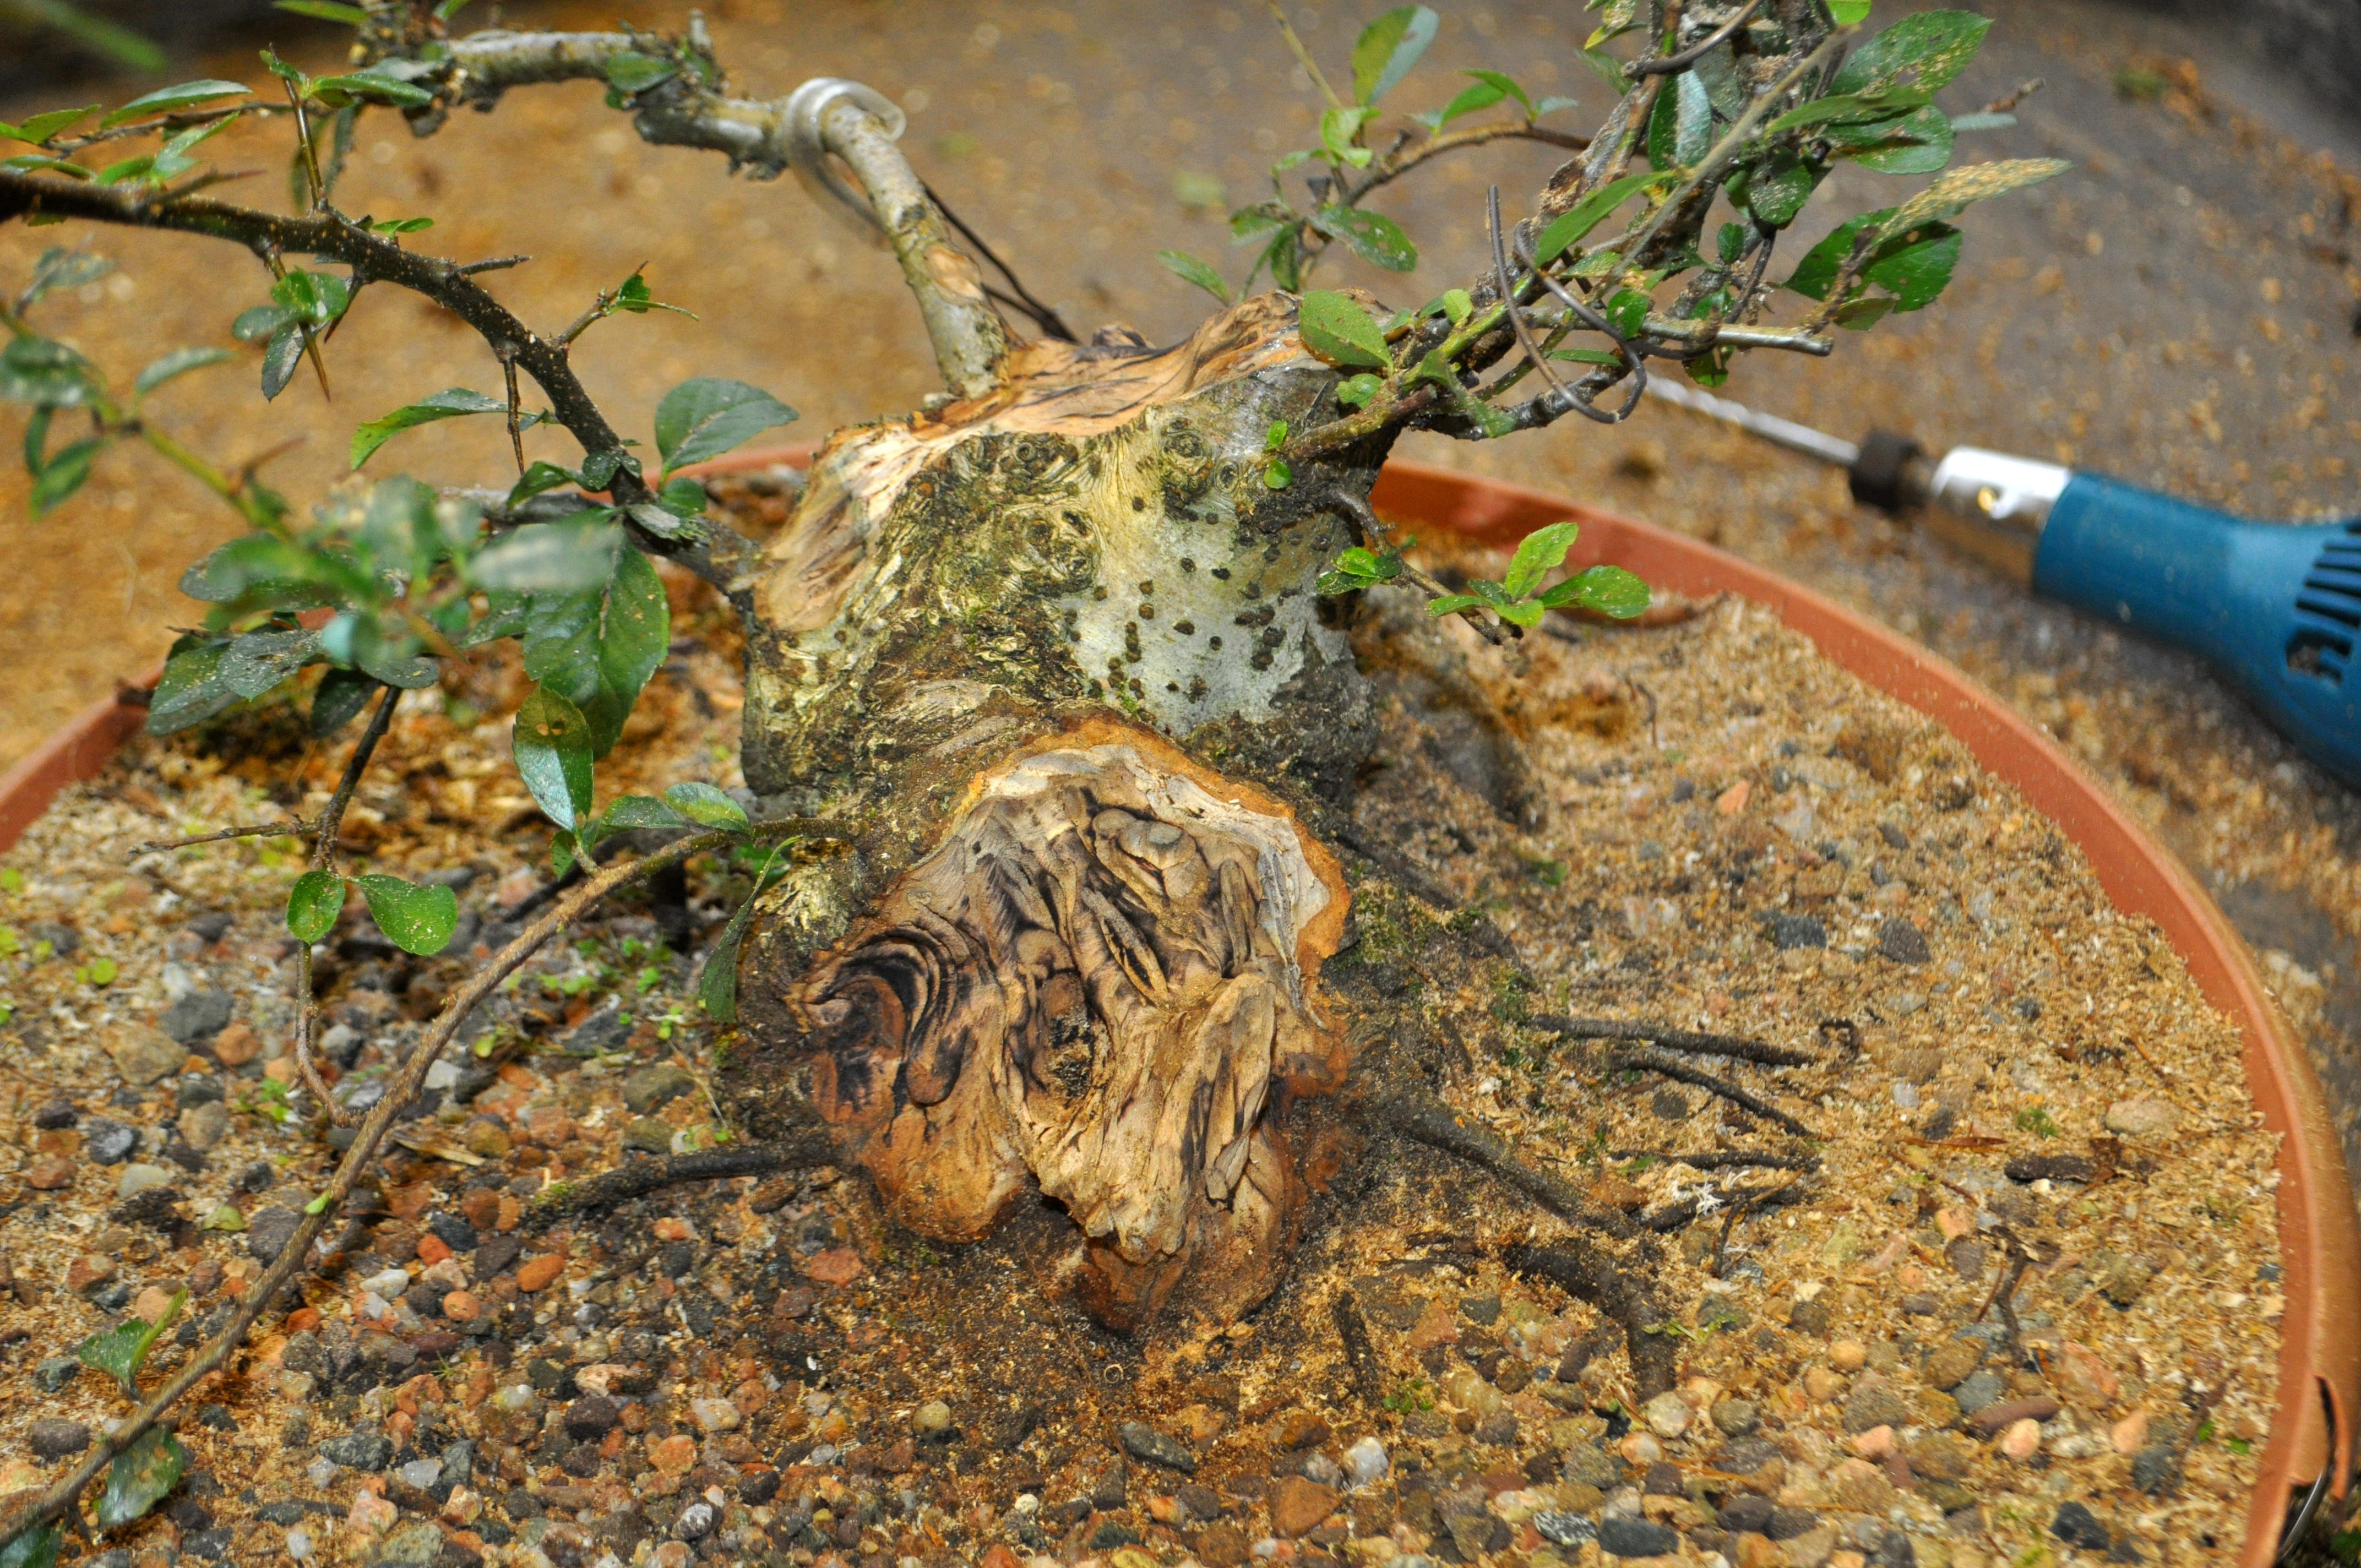
block carving close ups


 Here’s the link to the vendor on ebay.
  after trim


 Tools at the ready…
 The chop after basic carving and a coat of Lime Sulphur.
 A little more detail added lower down.


