Splitting Hostas

On Tuesday Stephen came to my garage to help me wade through my usual Spring splitting of accents plants. I’m trying to build a nice collection and always like to have spares to sell and swap. A few weeks back I posted about hostas and a blog follower requested that I cover how I split them. This is it 🙂

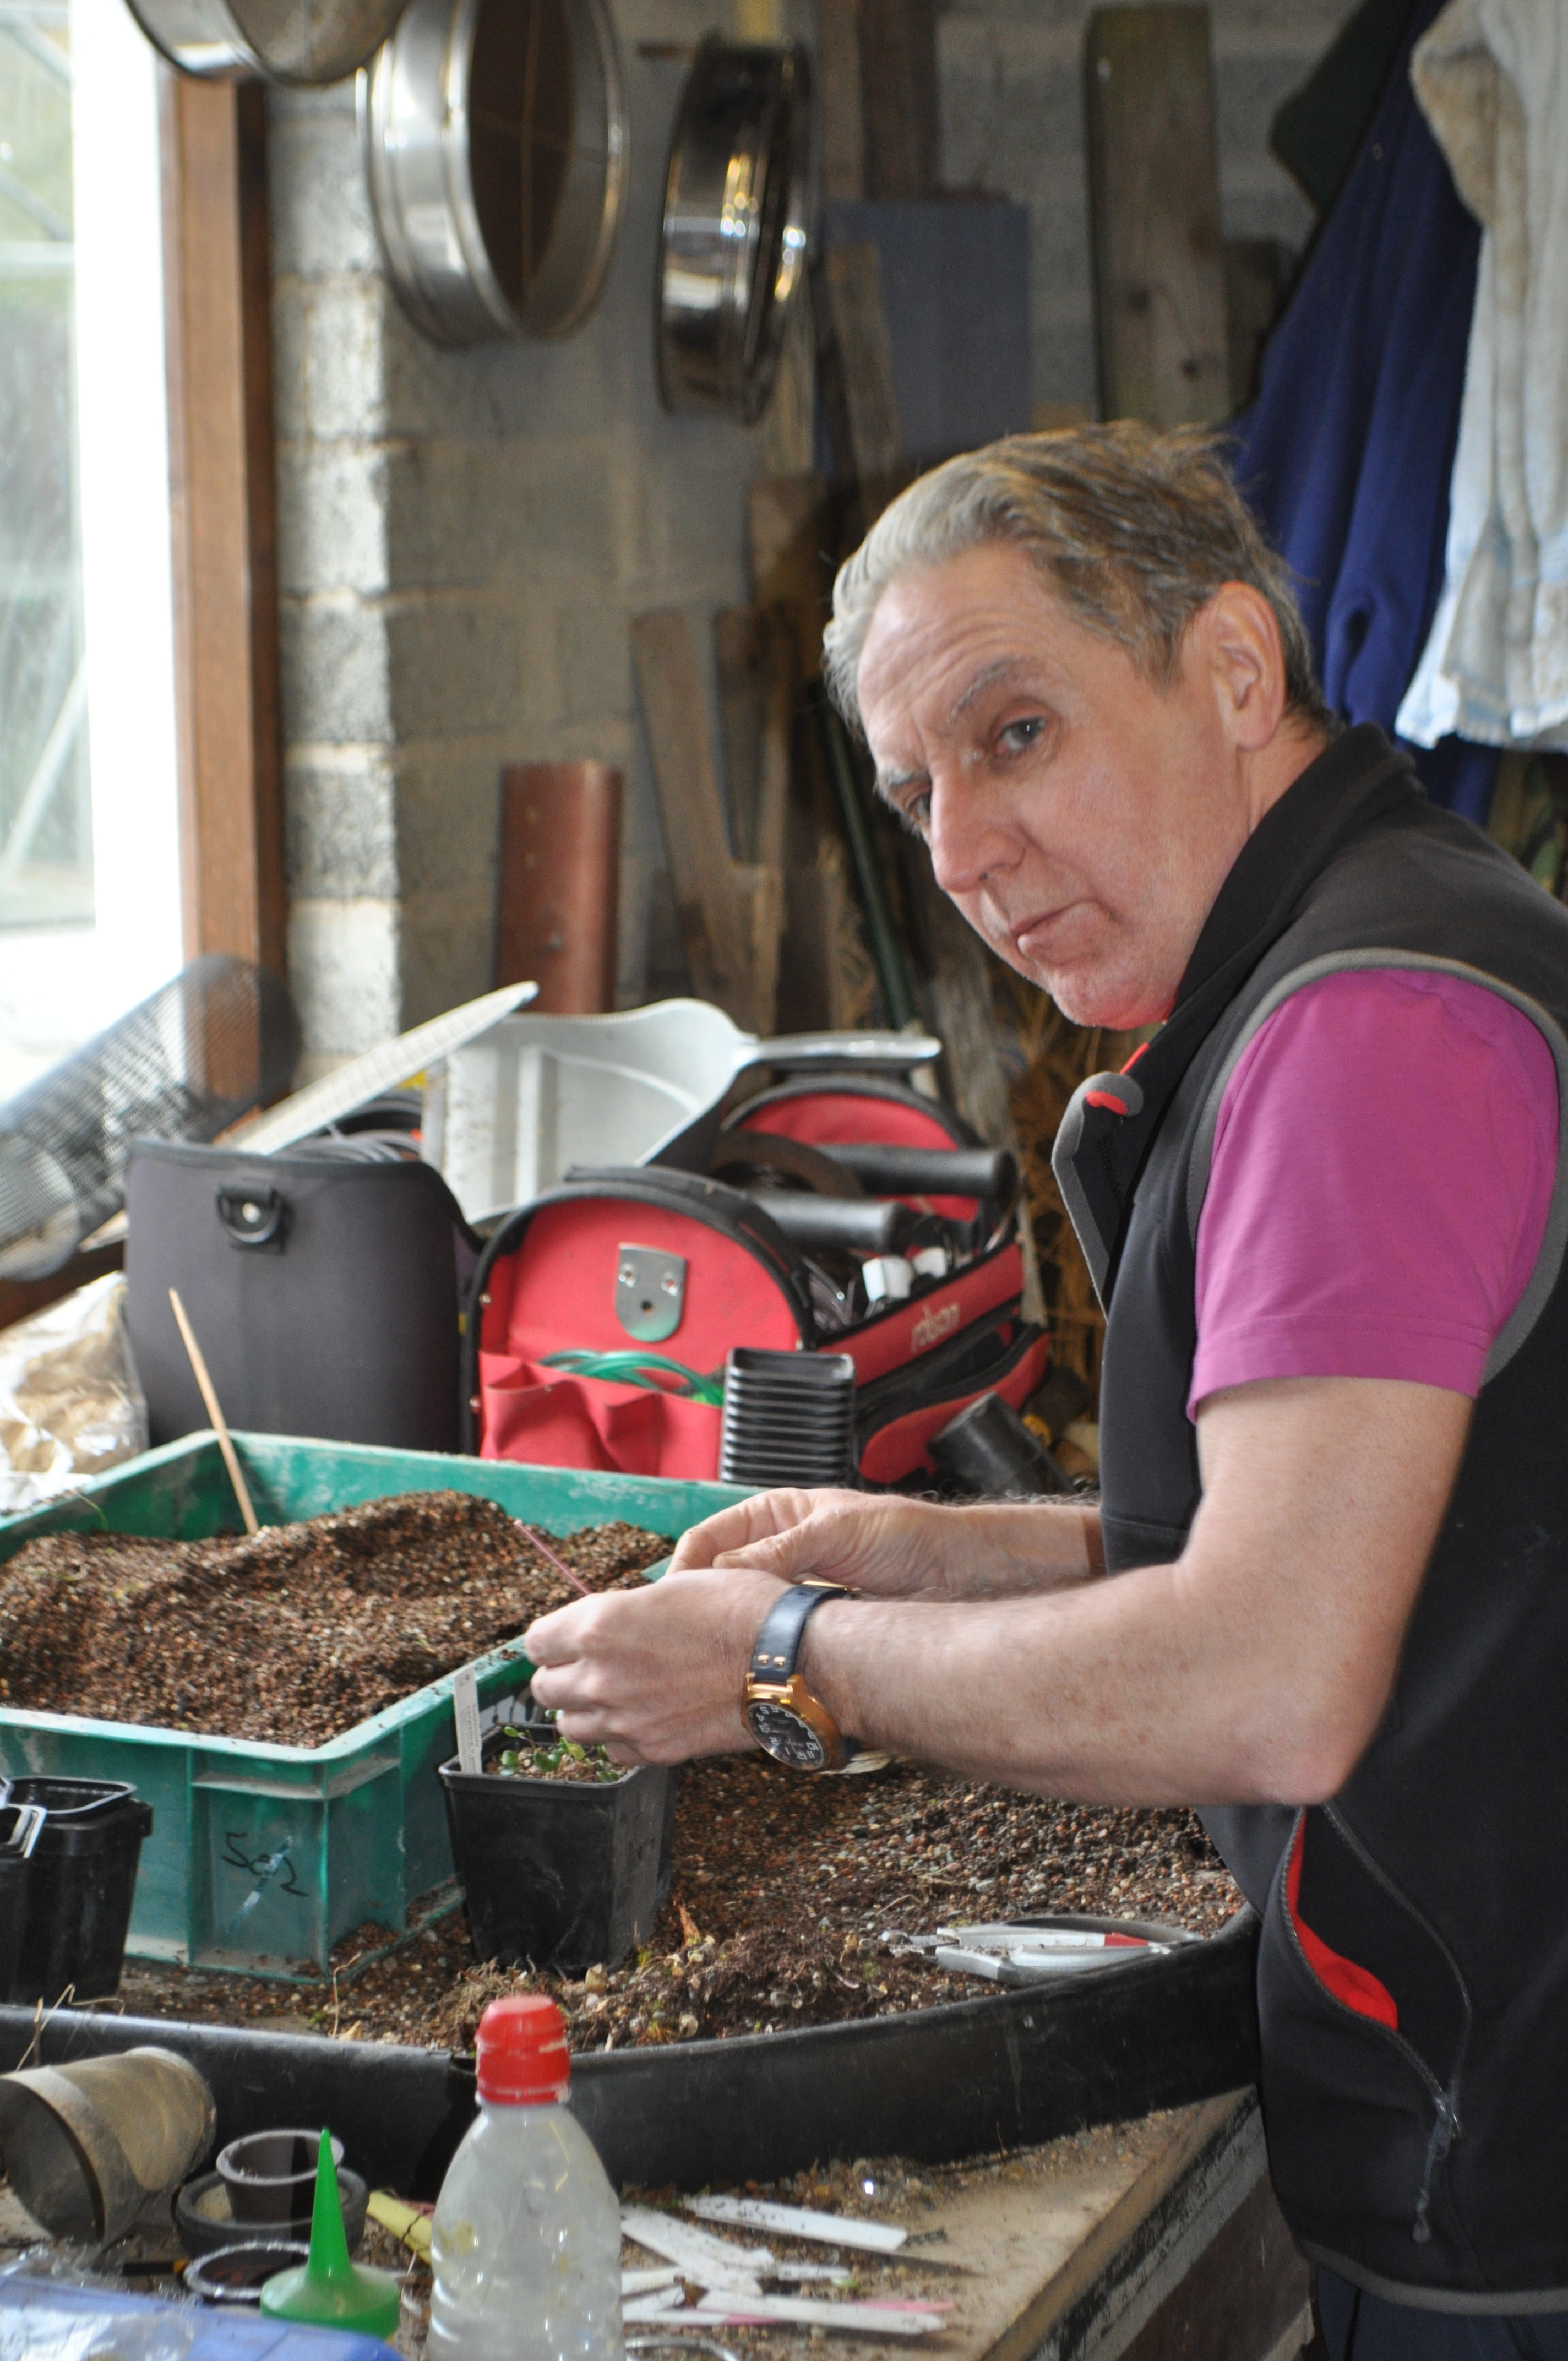
Stephen hard at work.

DSC_0180

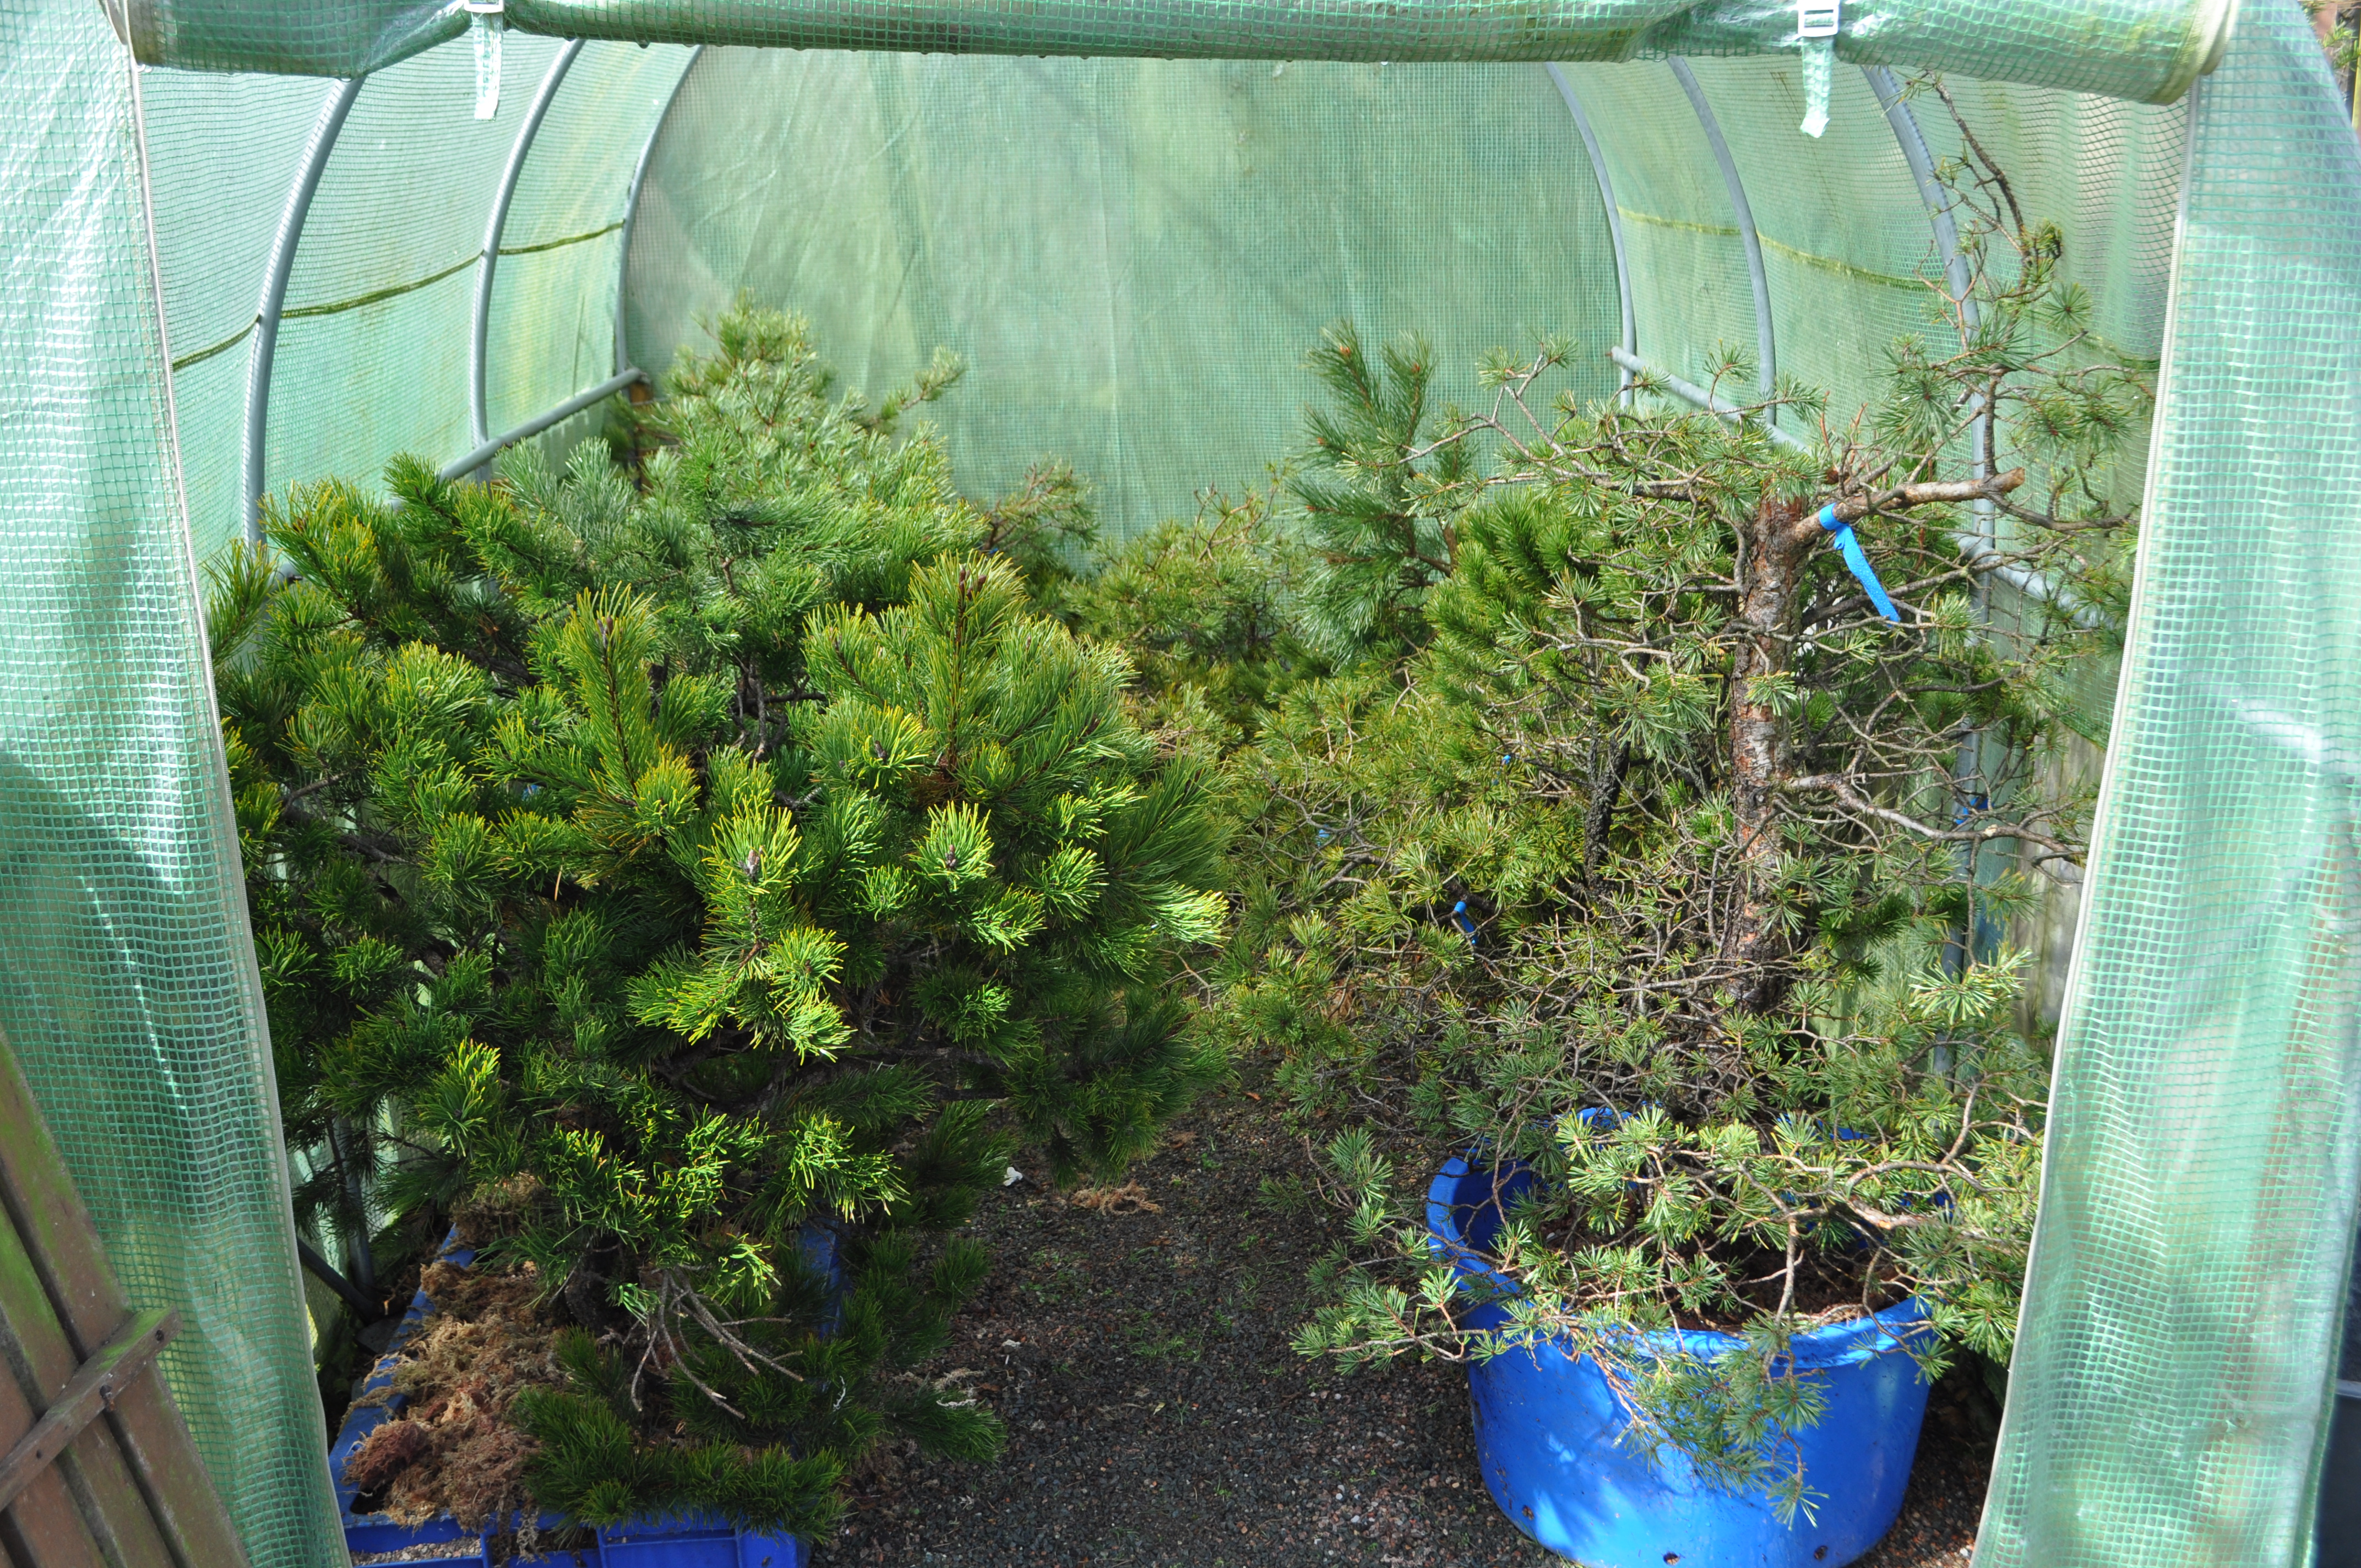
A tray full of Soldanella ready for a tidy up.

DSC_0181

Some of the recently potted accents.

DSC_0188

This one clump of hosta yielded seven plants.

DSC_0189

DSC_0190

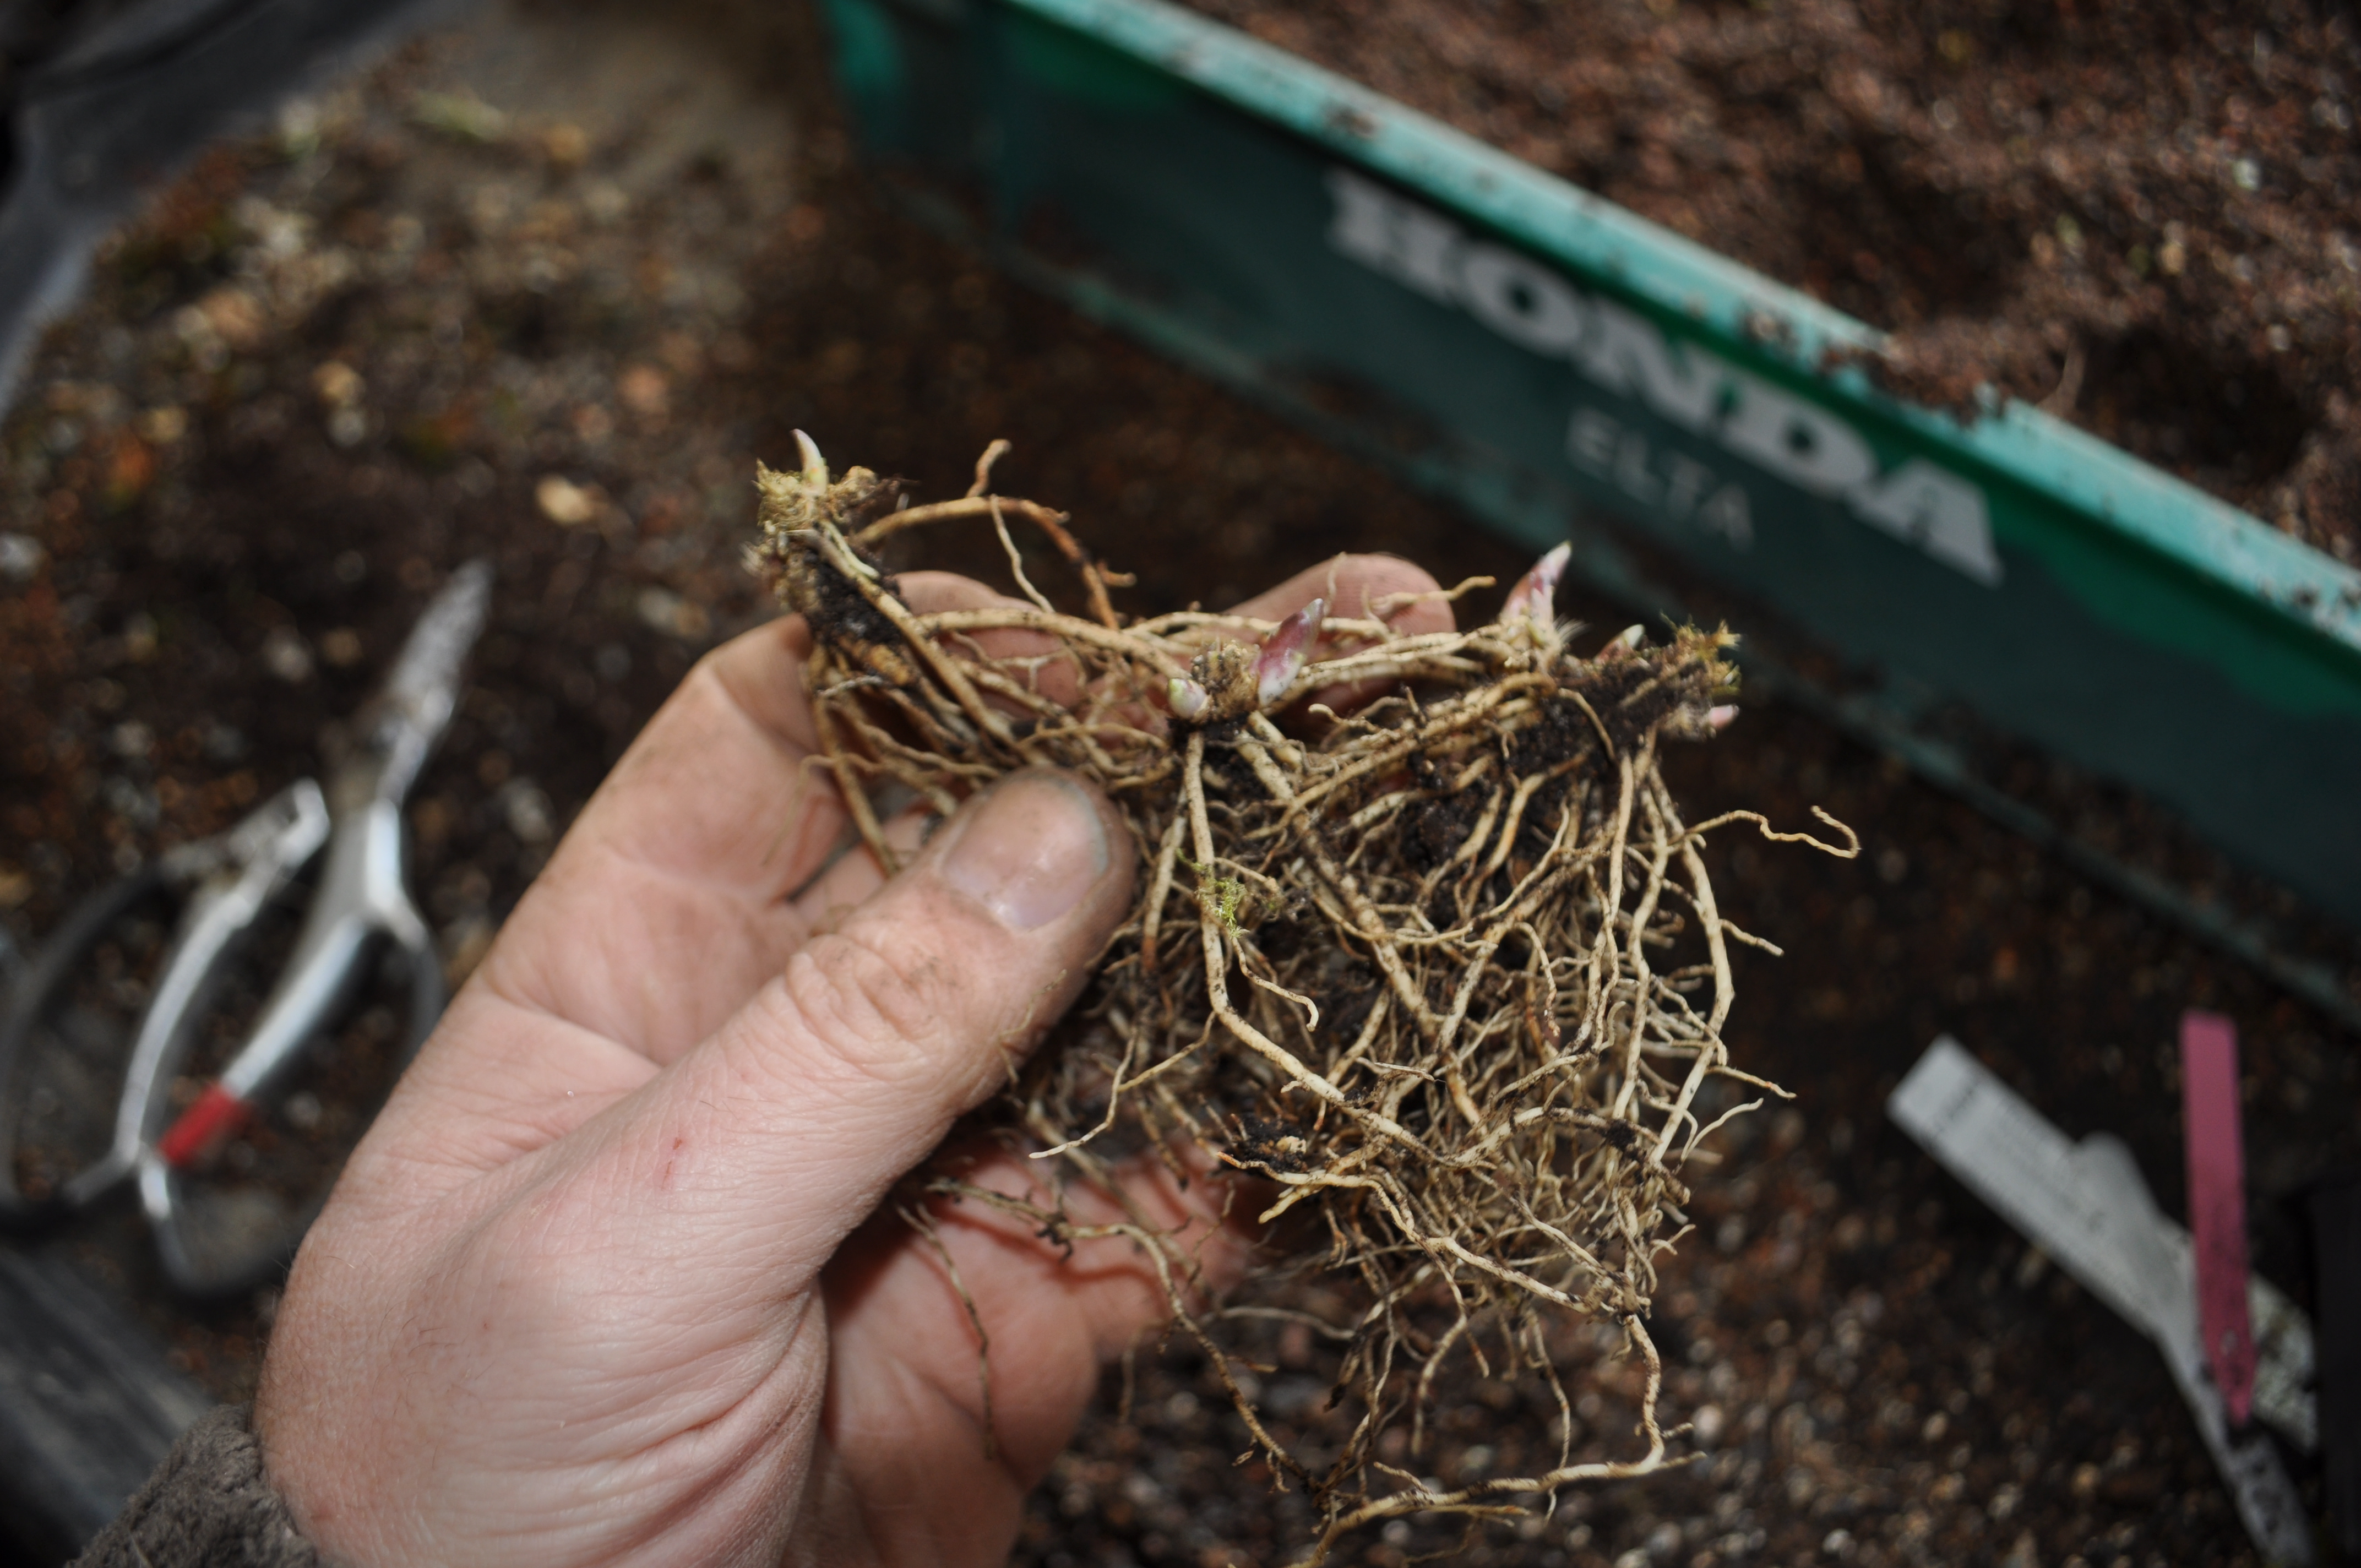
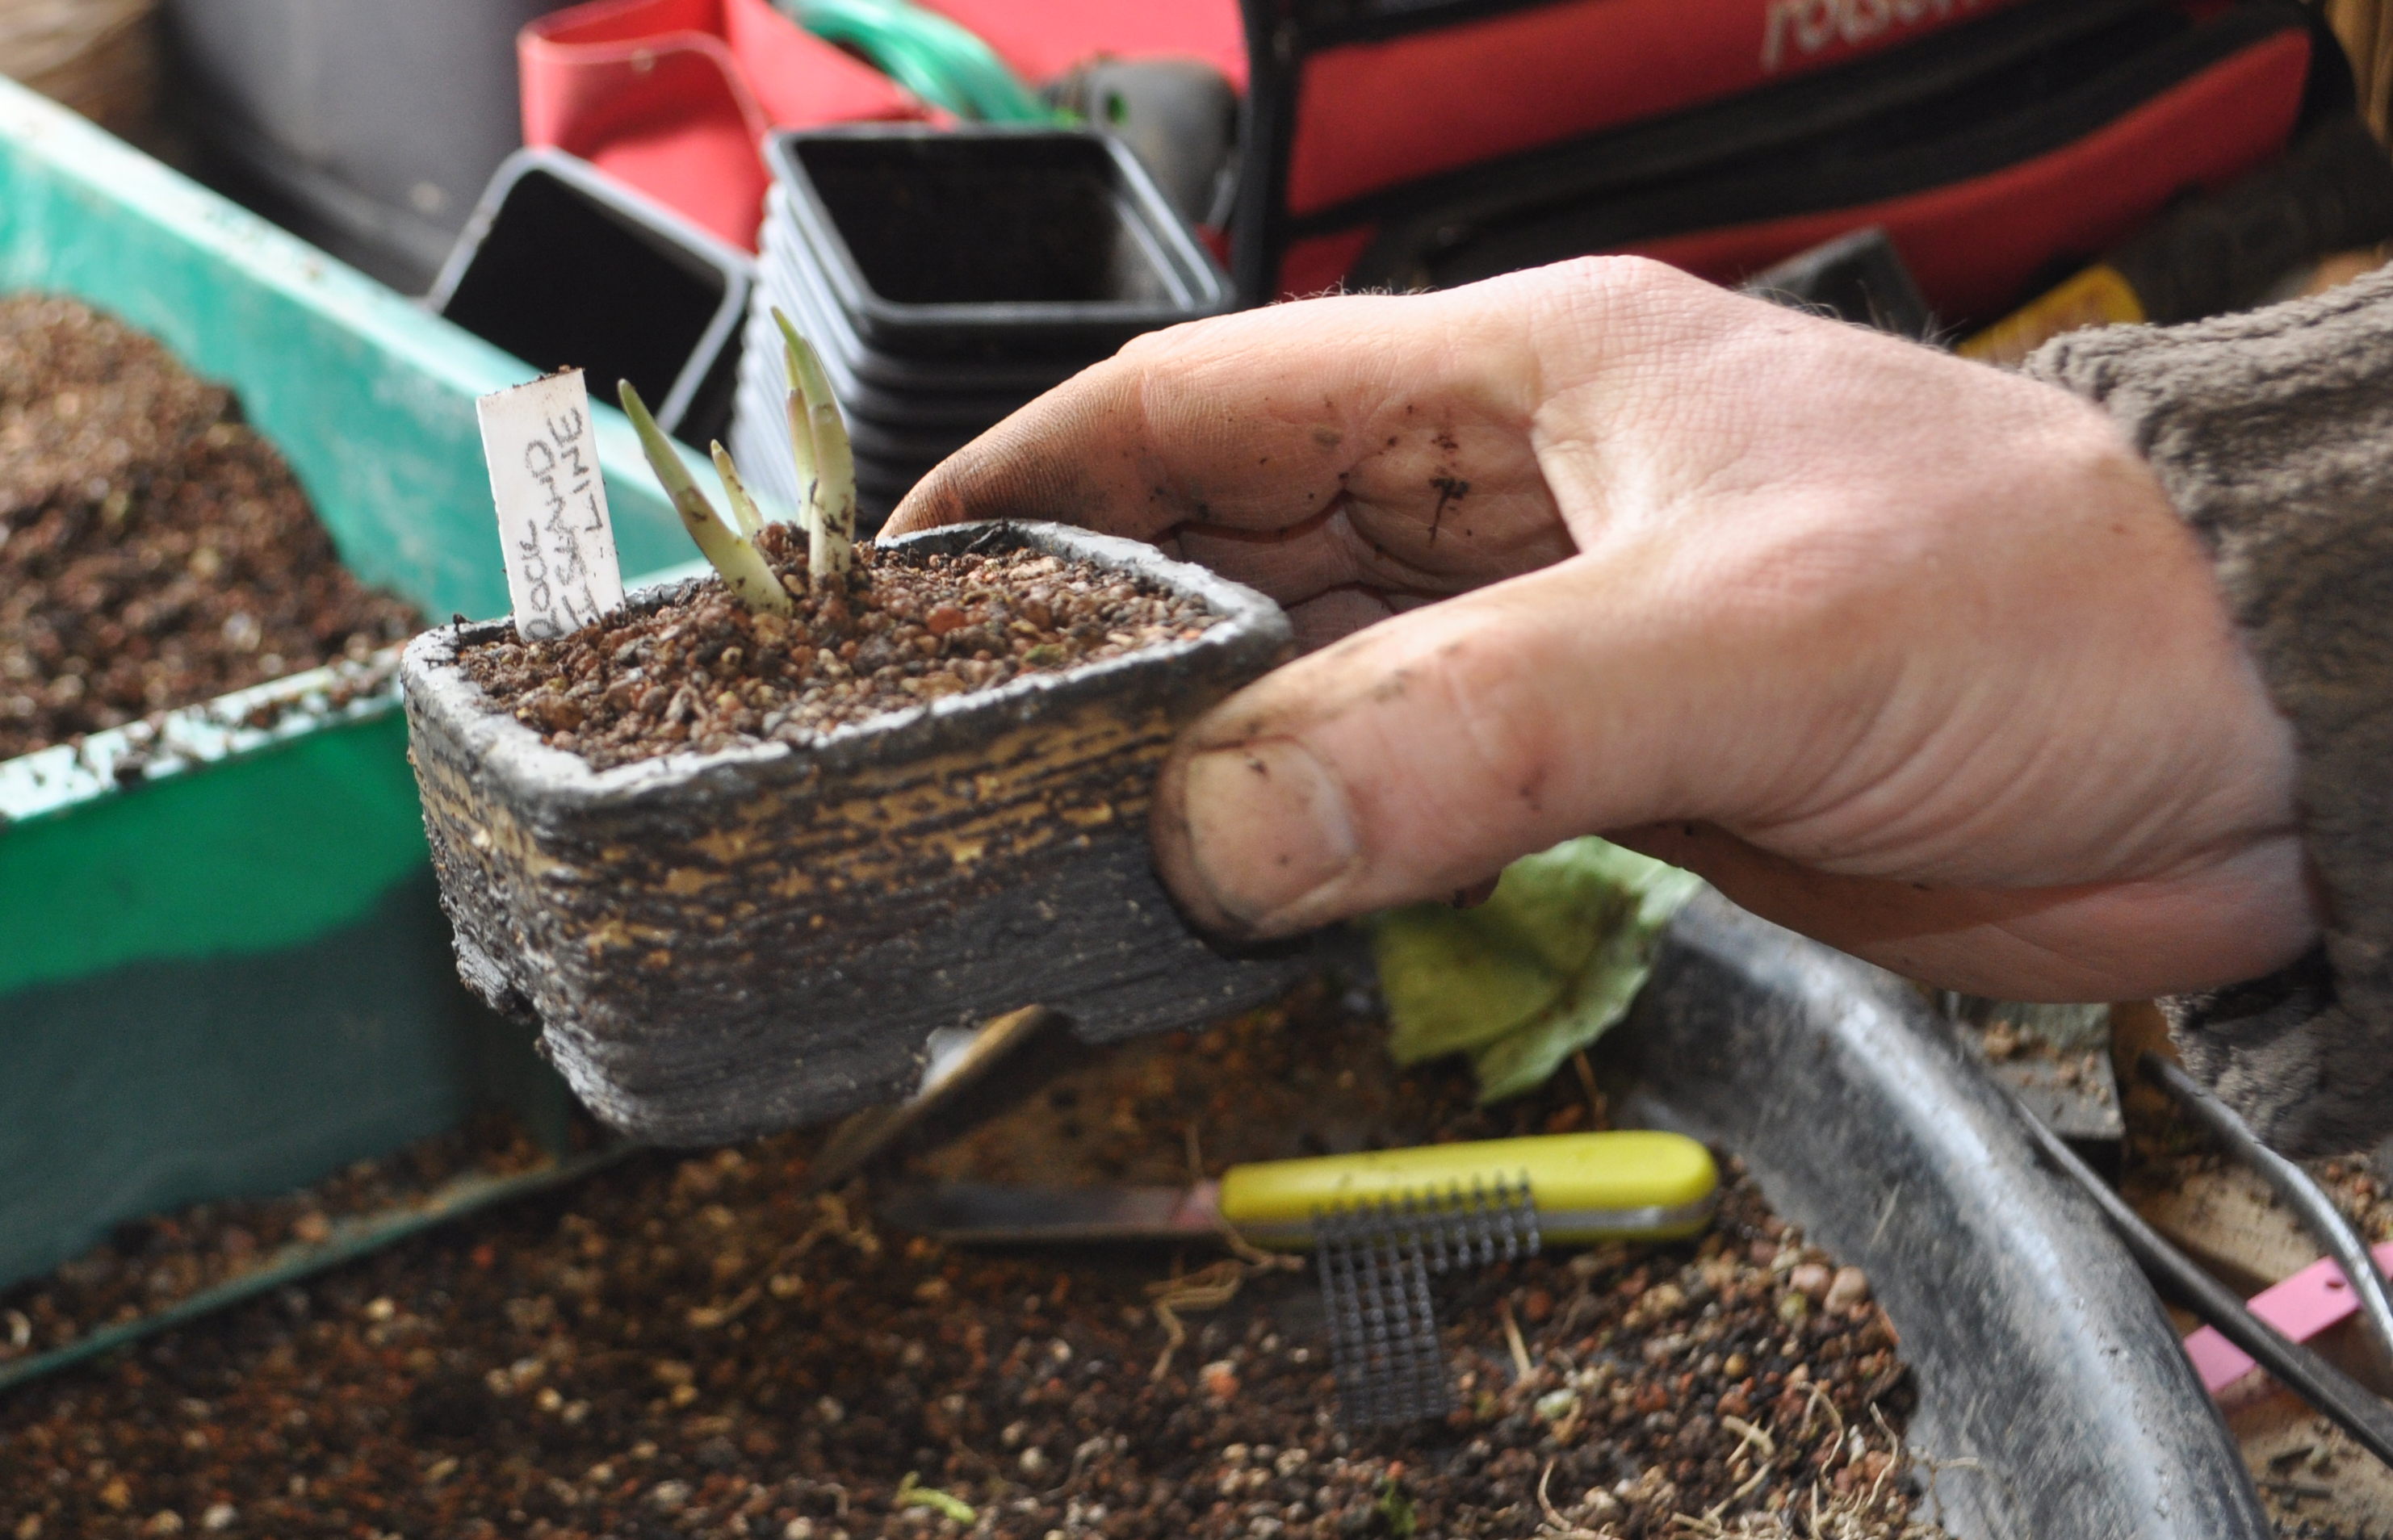
This one was next, ‘Rock Island Line’, originally purchased at Bali Hai Nursery here in Northern Ireland. I have a marking system, white name label, pink label if it’s my stock plant and blue if I reckon it’s ready to split.

DSC_0191

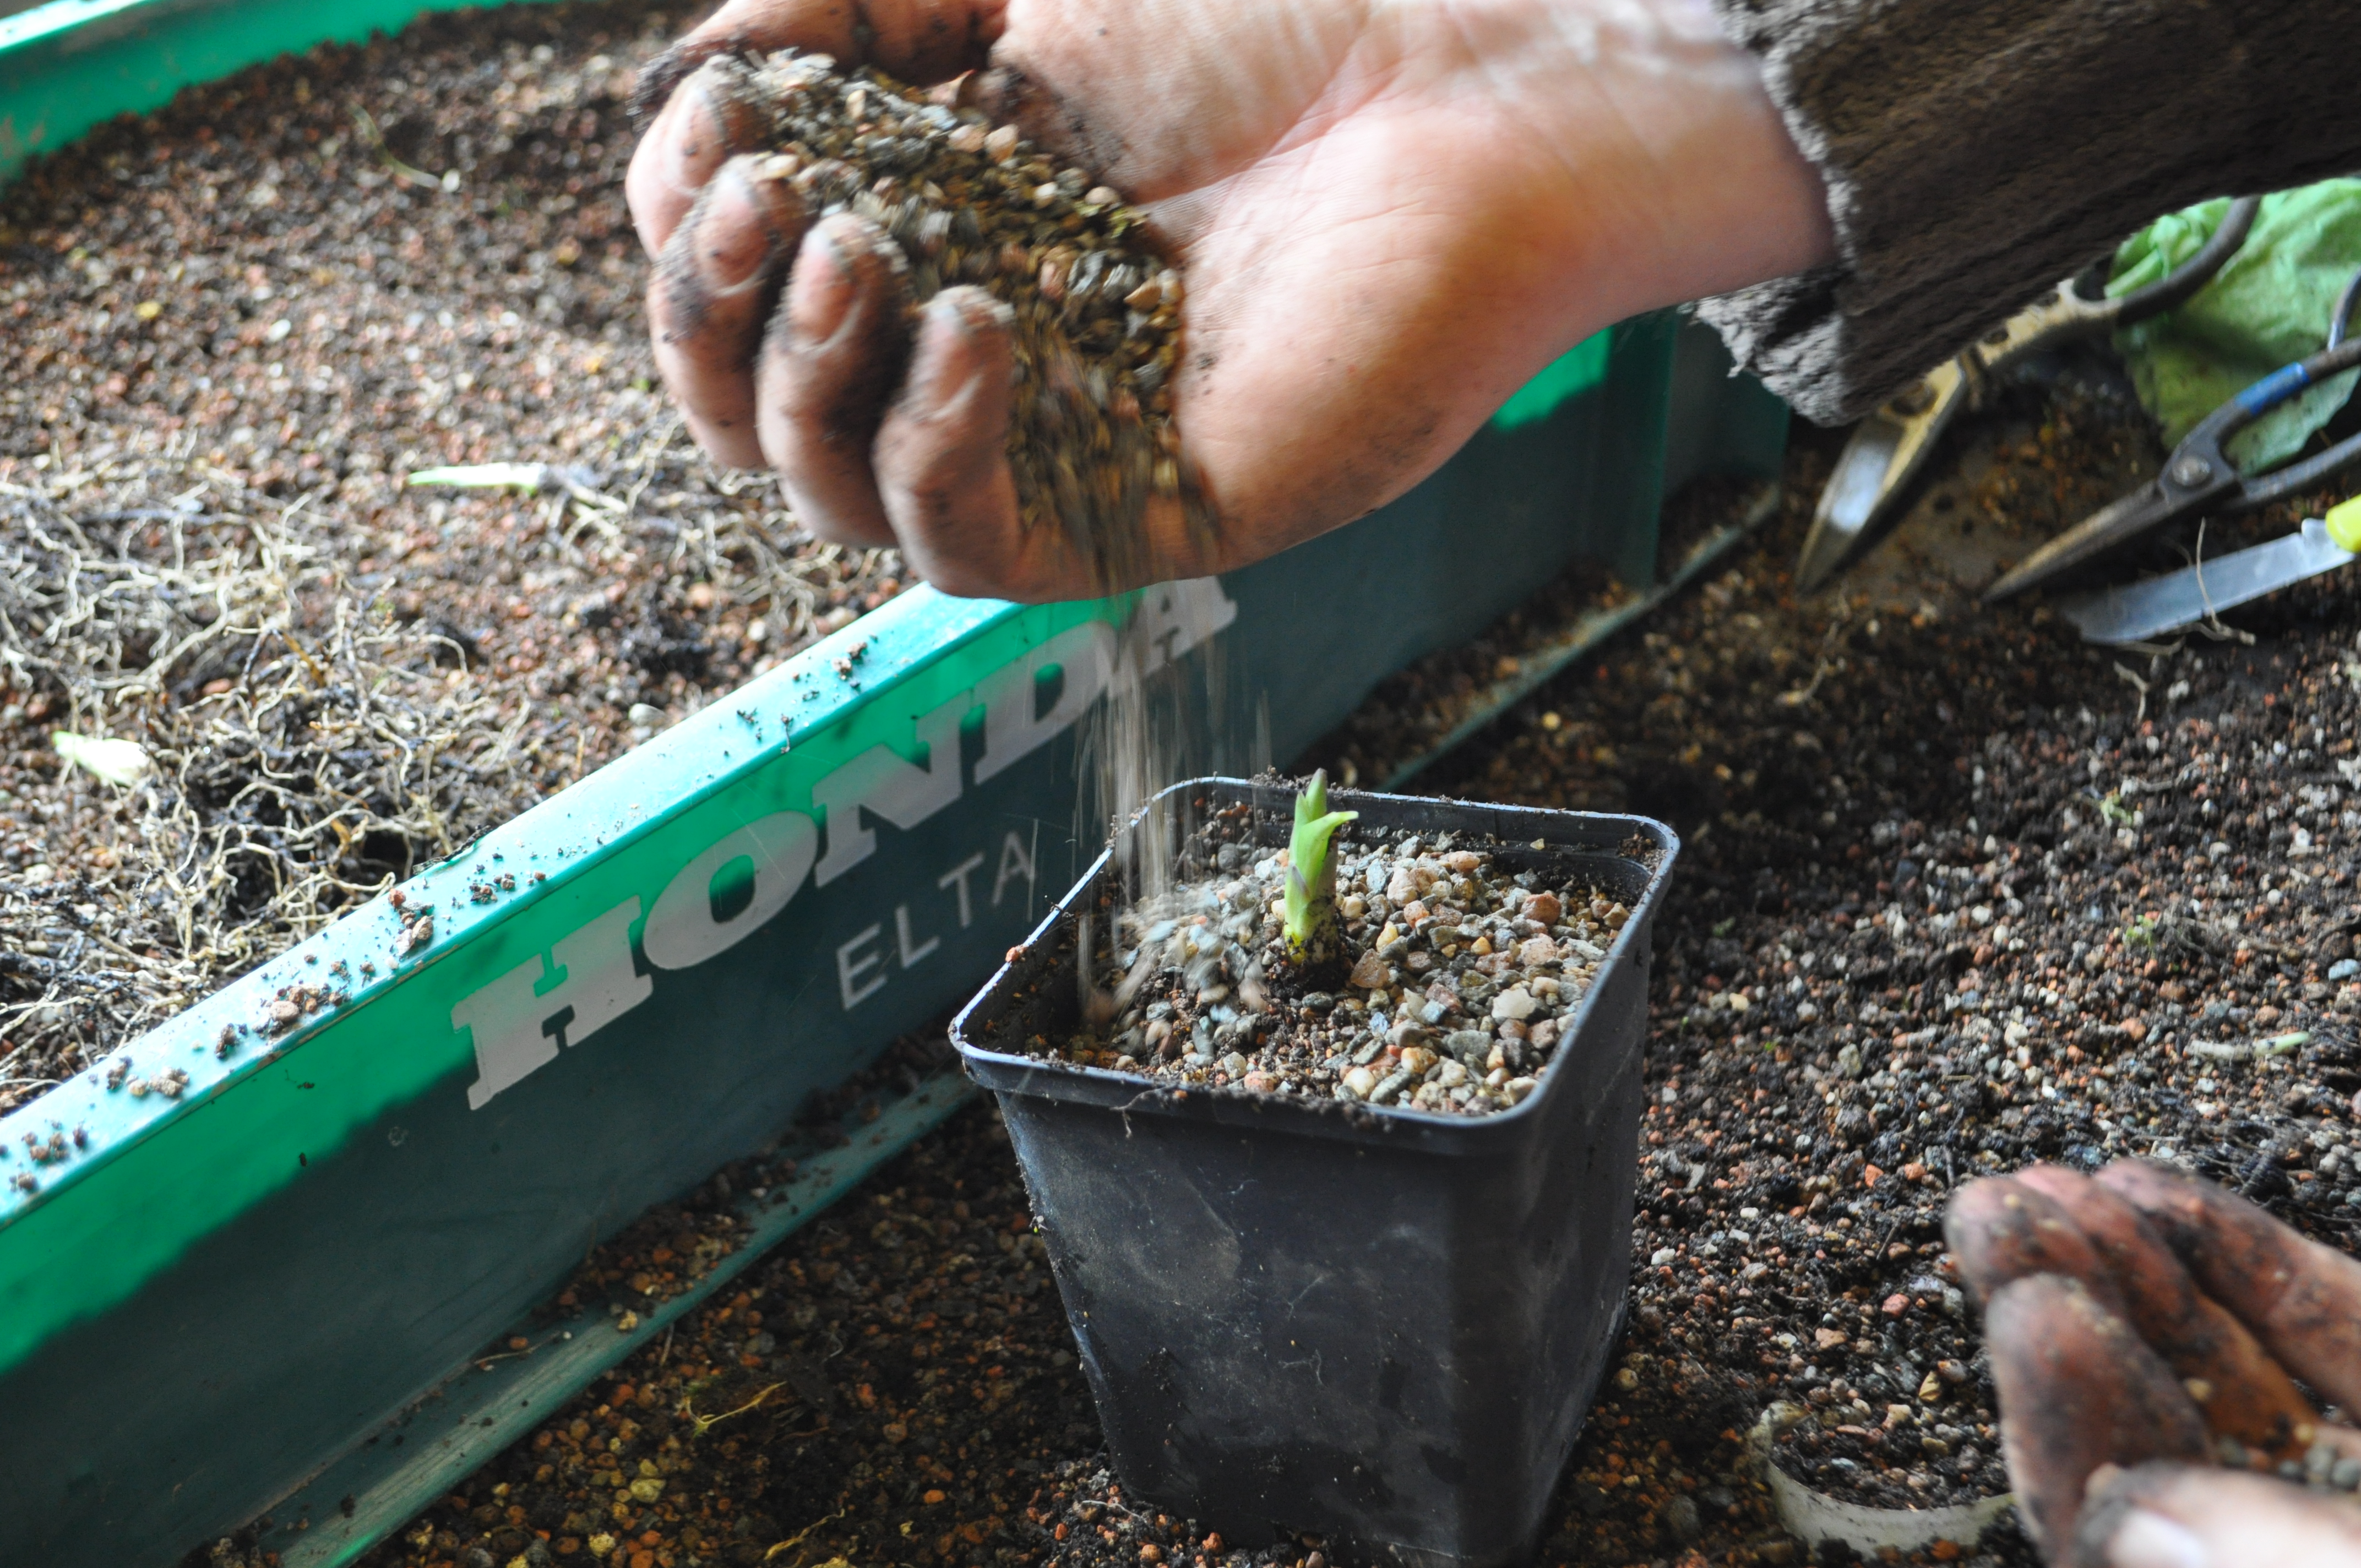
Shake off the top dressing of grit. and pop it out of the pot.

DSC_0194

A shake out can get rid of most of the lose potting mix.

DSC_0197

Then carefully start to tease apart the root mass, in some cases a sharp knife can be used to split down between two shoots.

DSC_0204

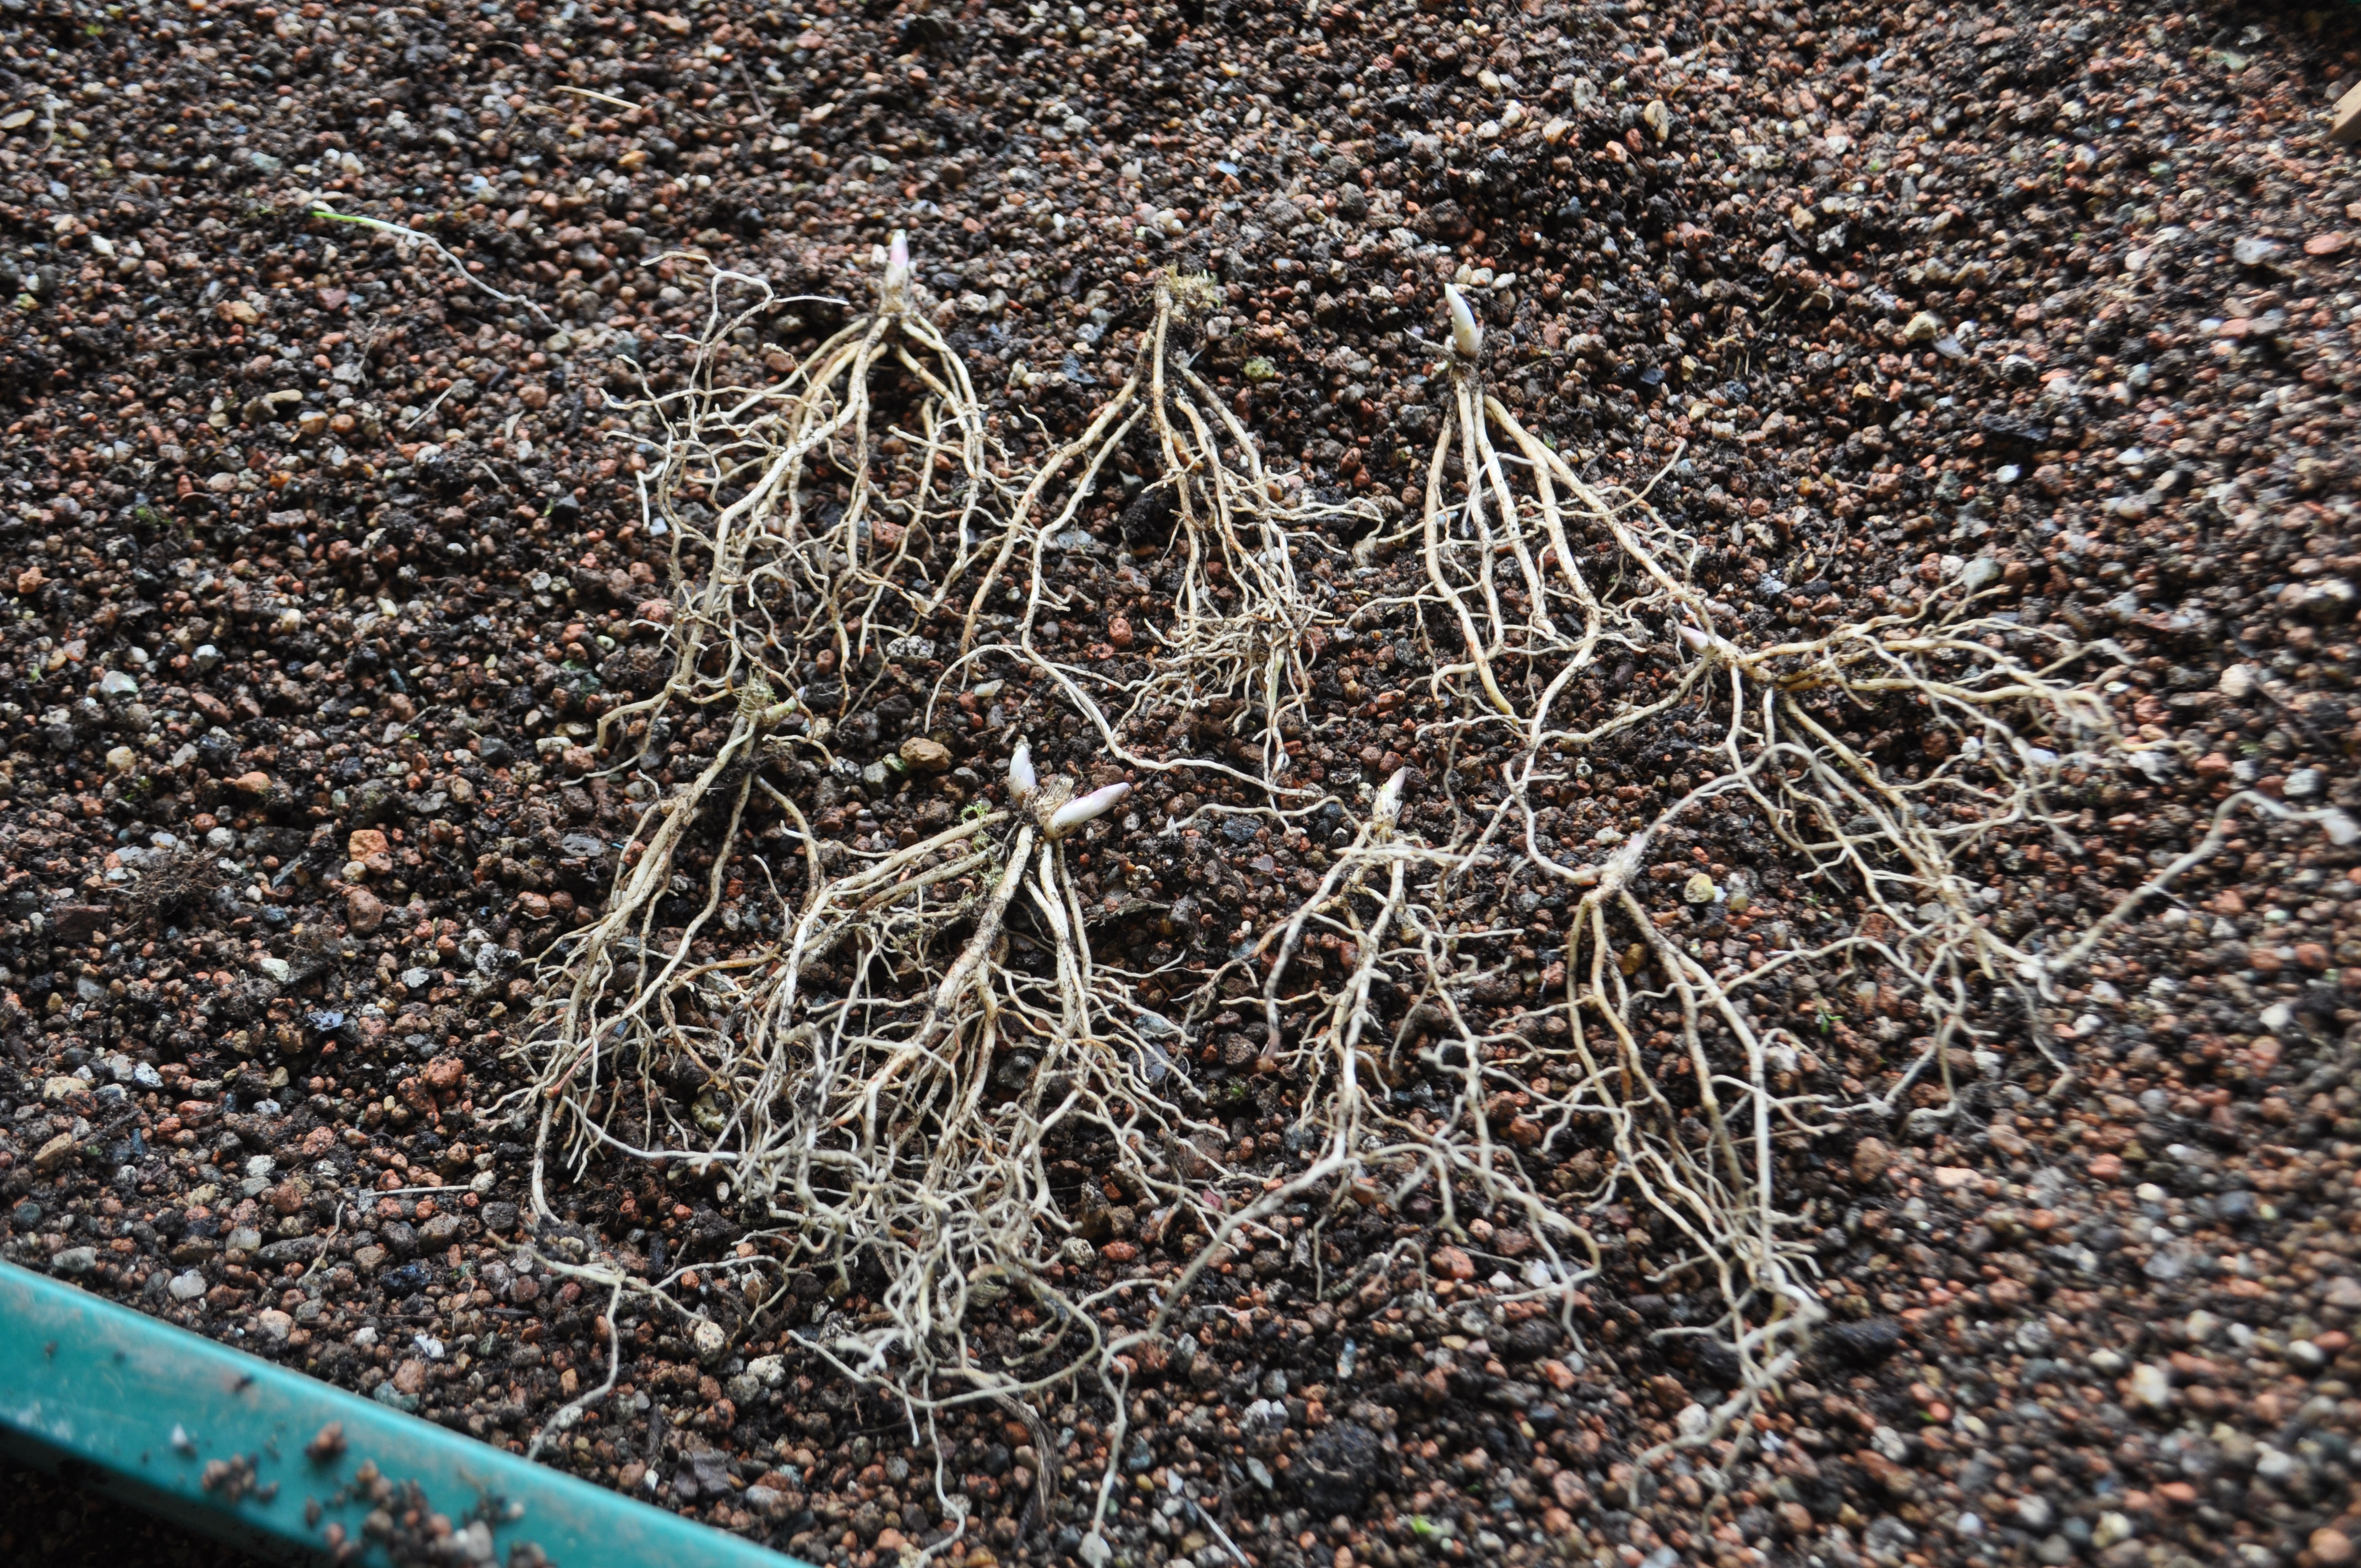
Split in half, but not finished yet.

DSC_0207

Split further…

DSC_0210

and again…

DSC_0215

and the five plants separated..

DSC_0217

potted up in fresh mix

DSC_0220

and top dressed with a layer of grit to keep the weeds at bay.

DSC_0221

This one is back as stock plant.

DSC_0225

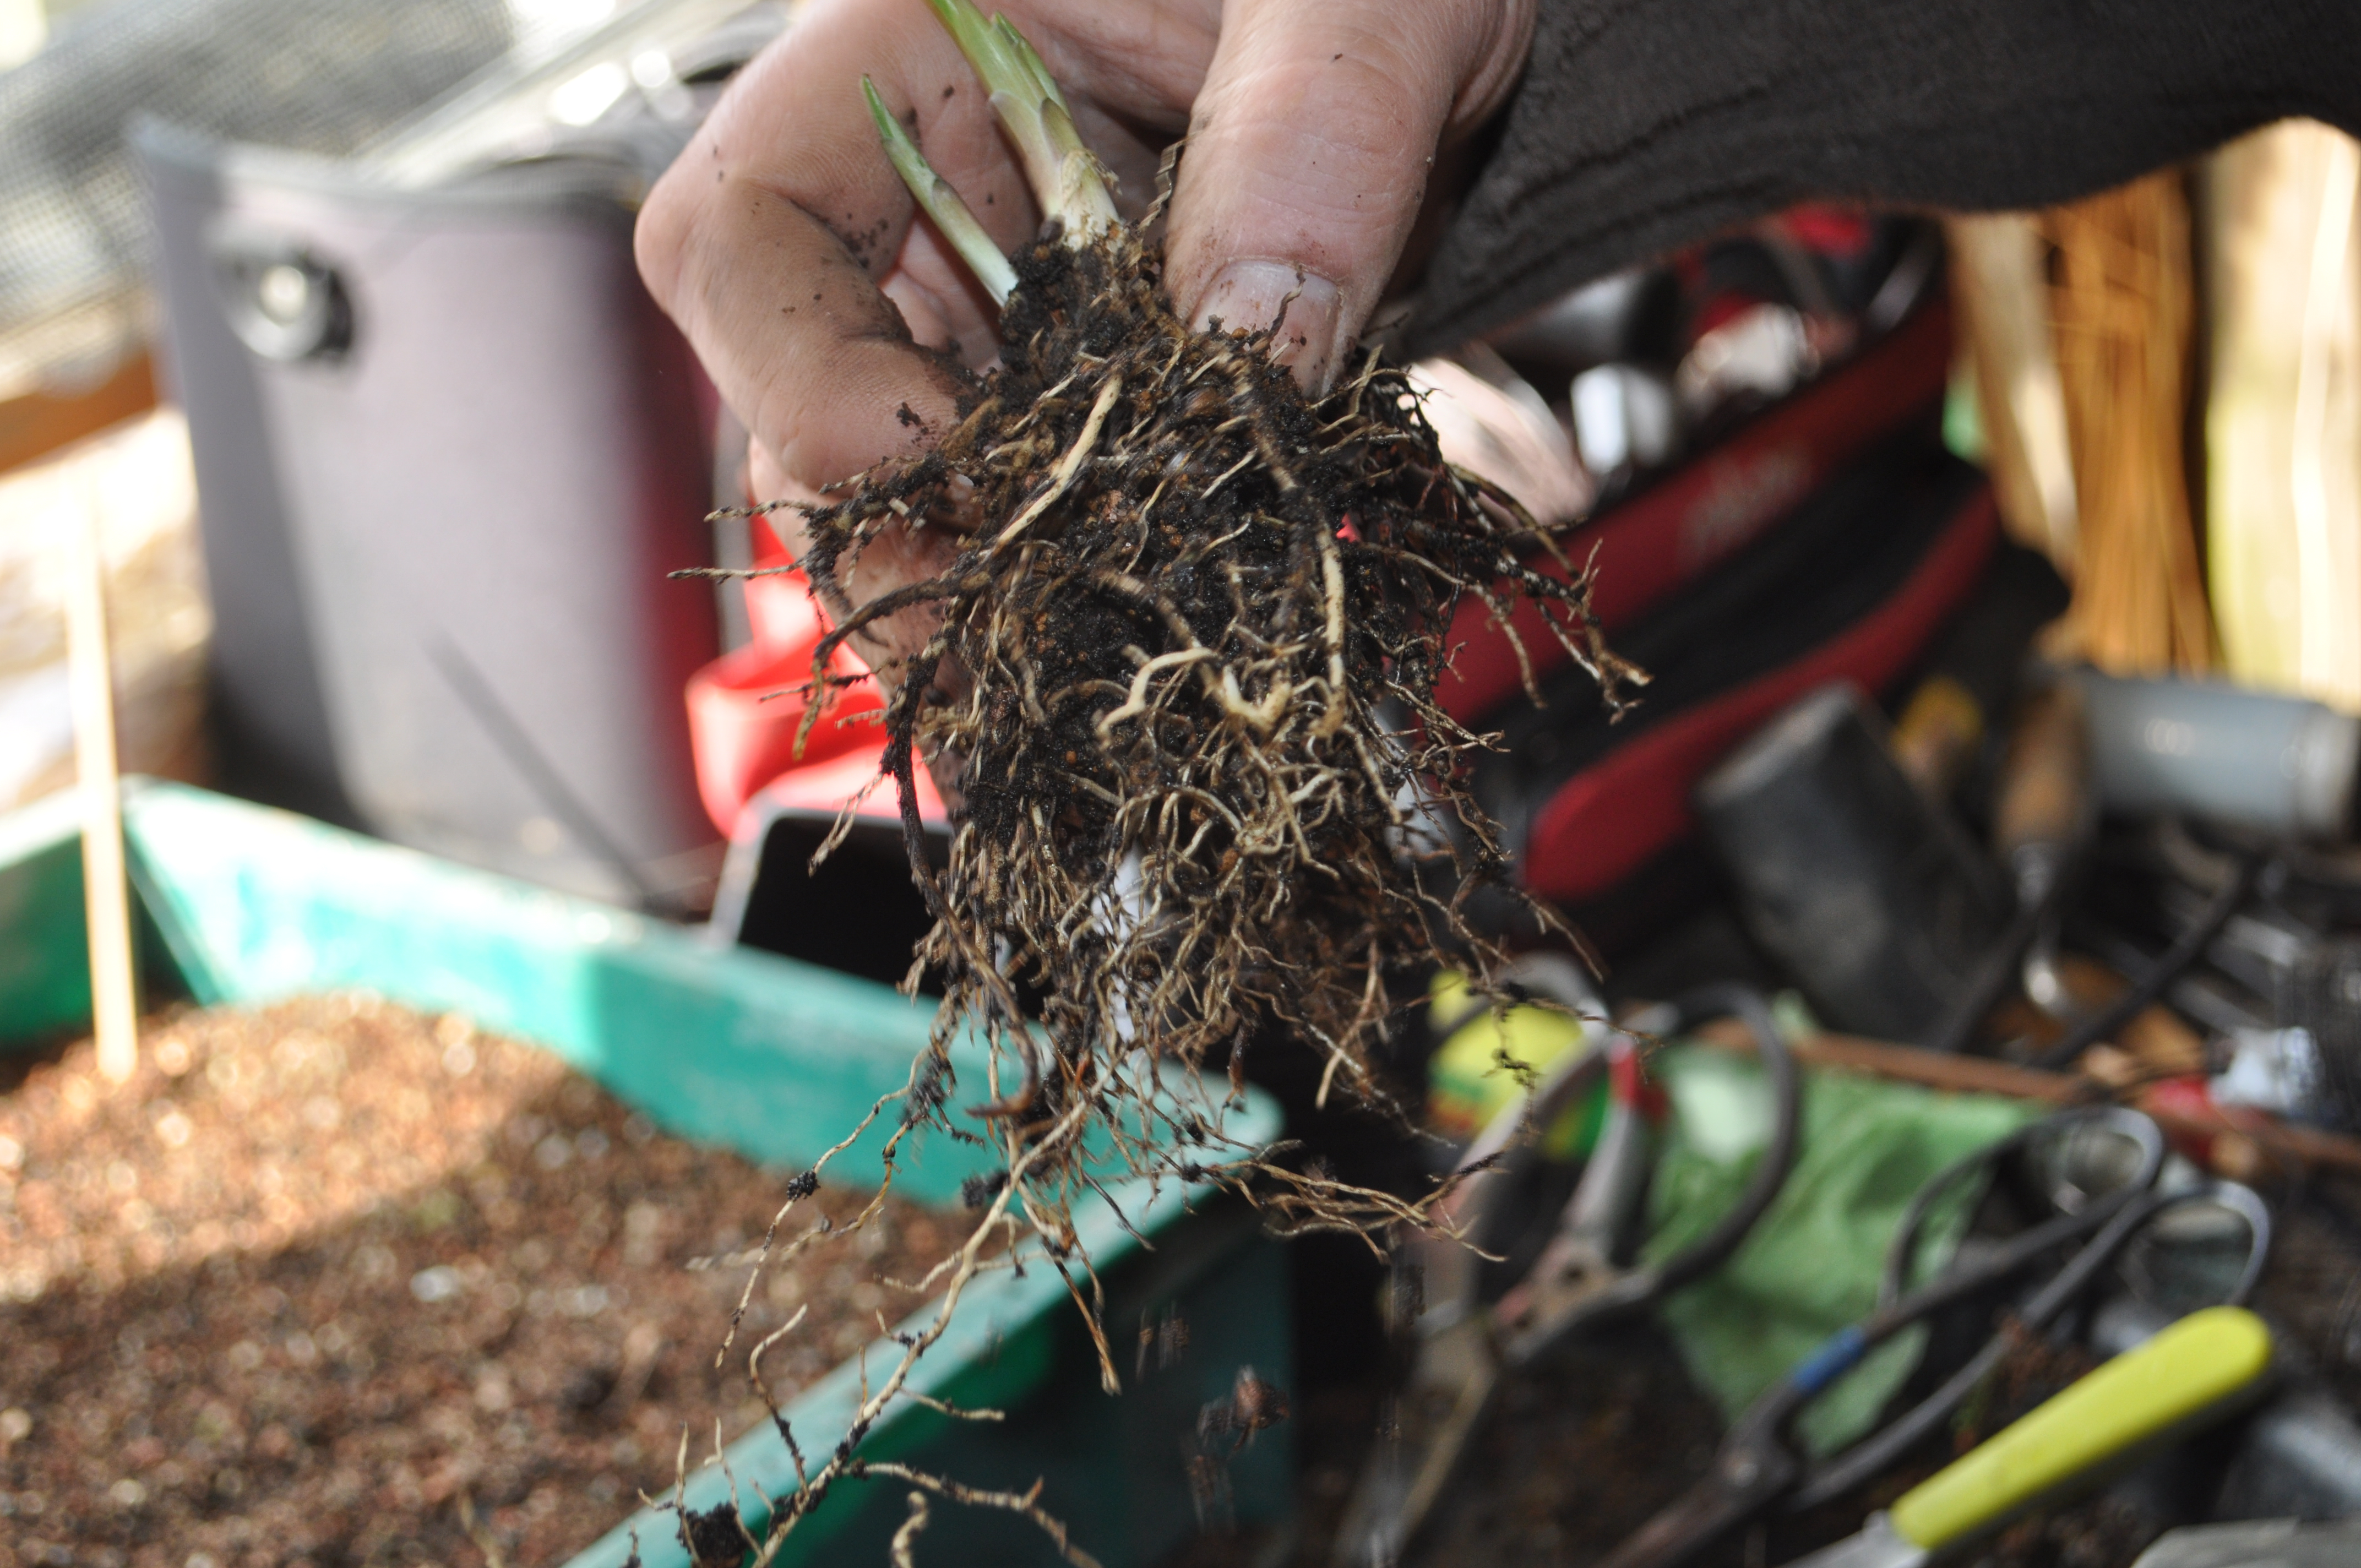
This one was selected as worthy of being potted up as an accent. The three shoots will allow for it to bulk out quickly.

DSC_0226

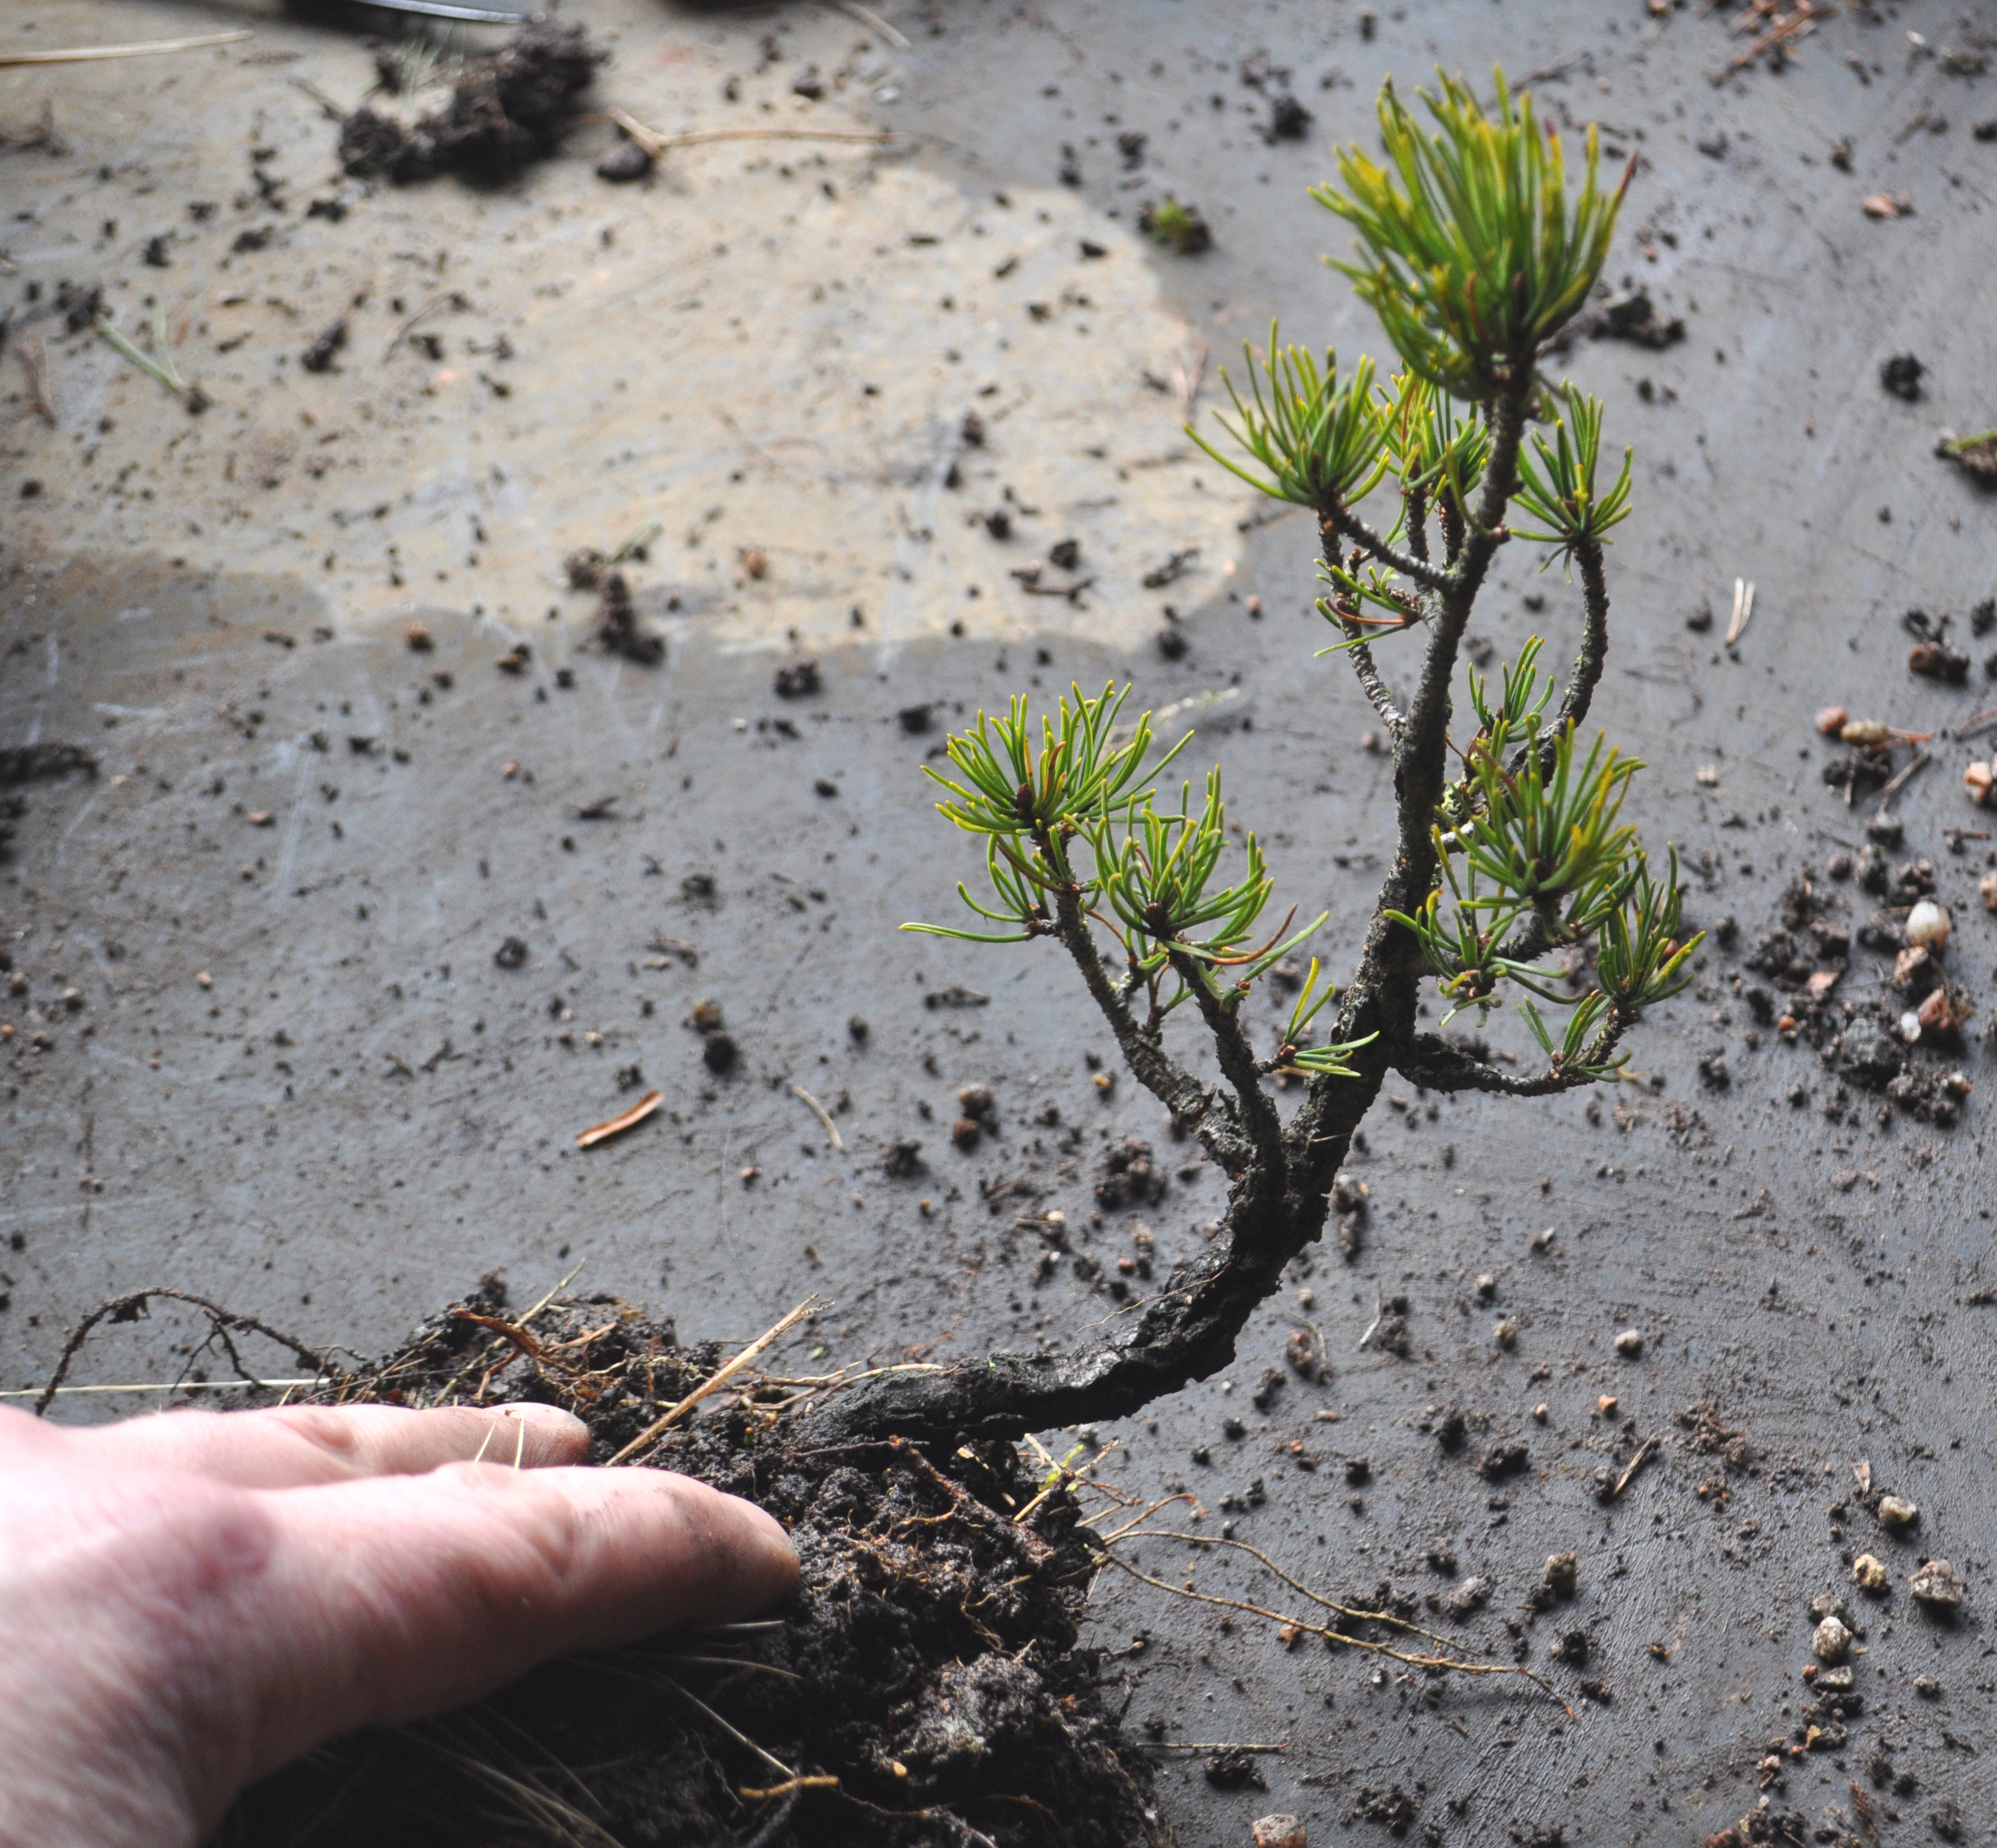
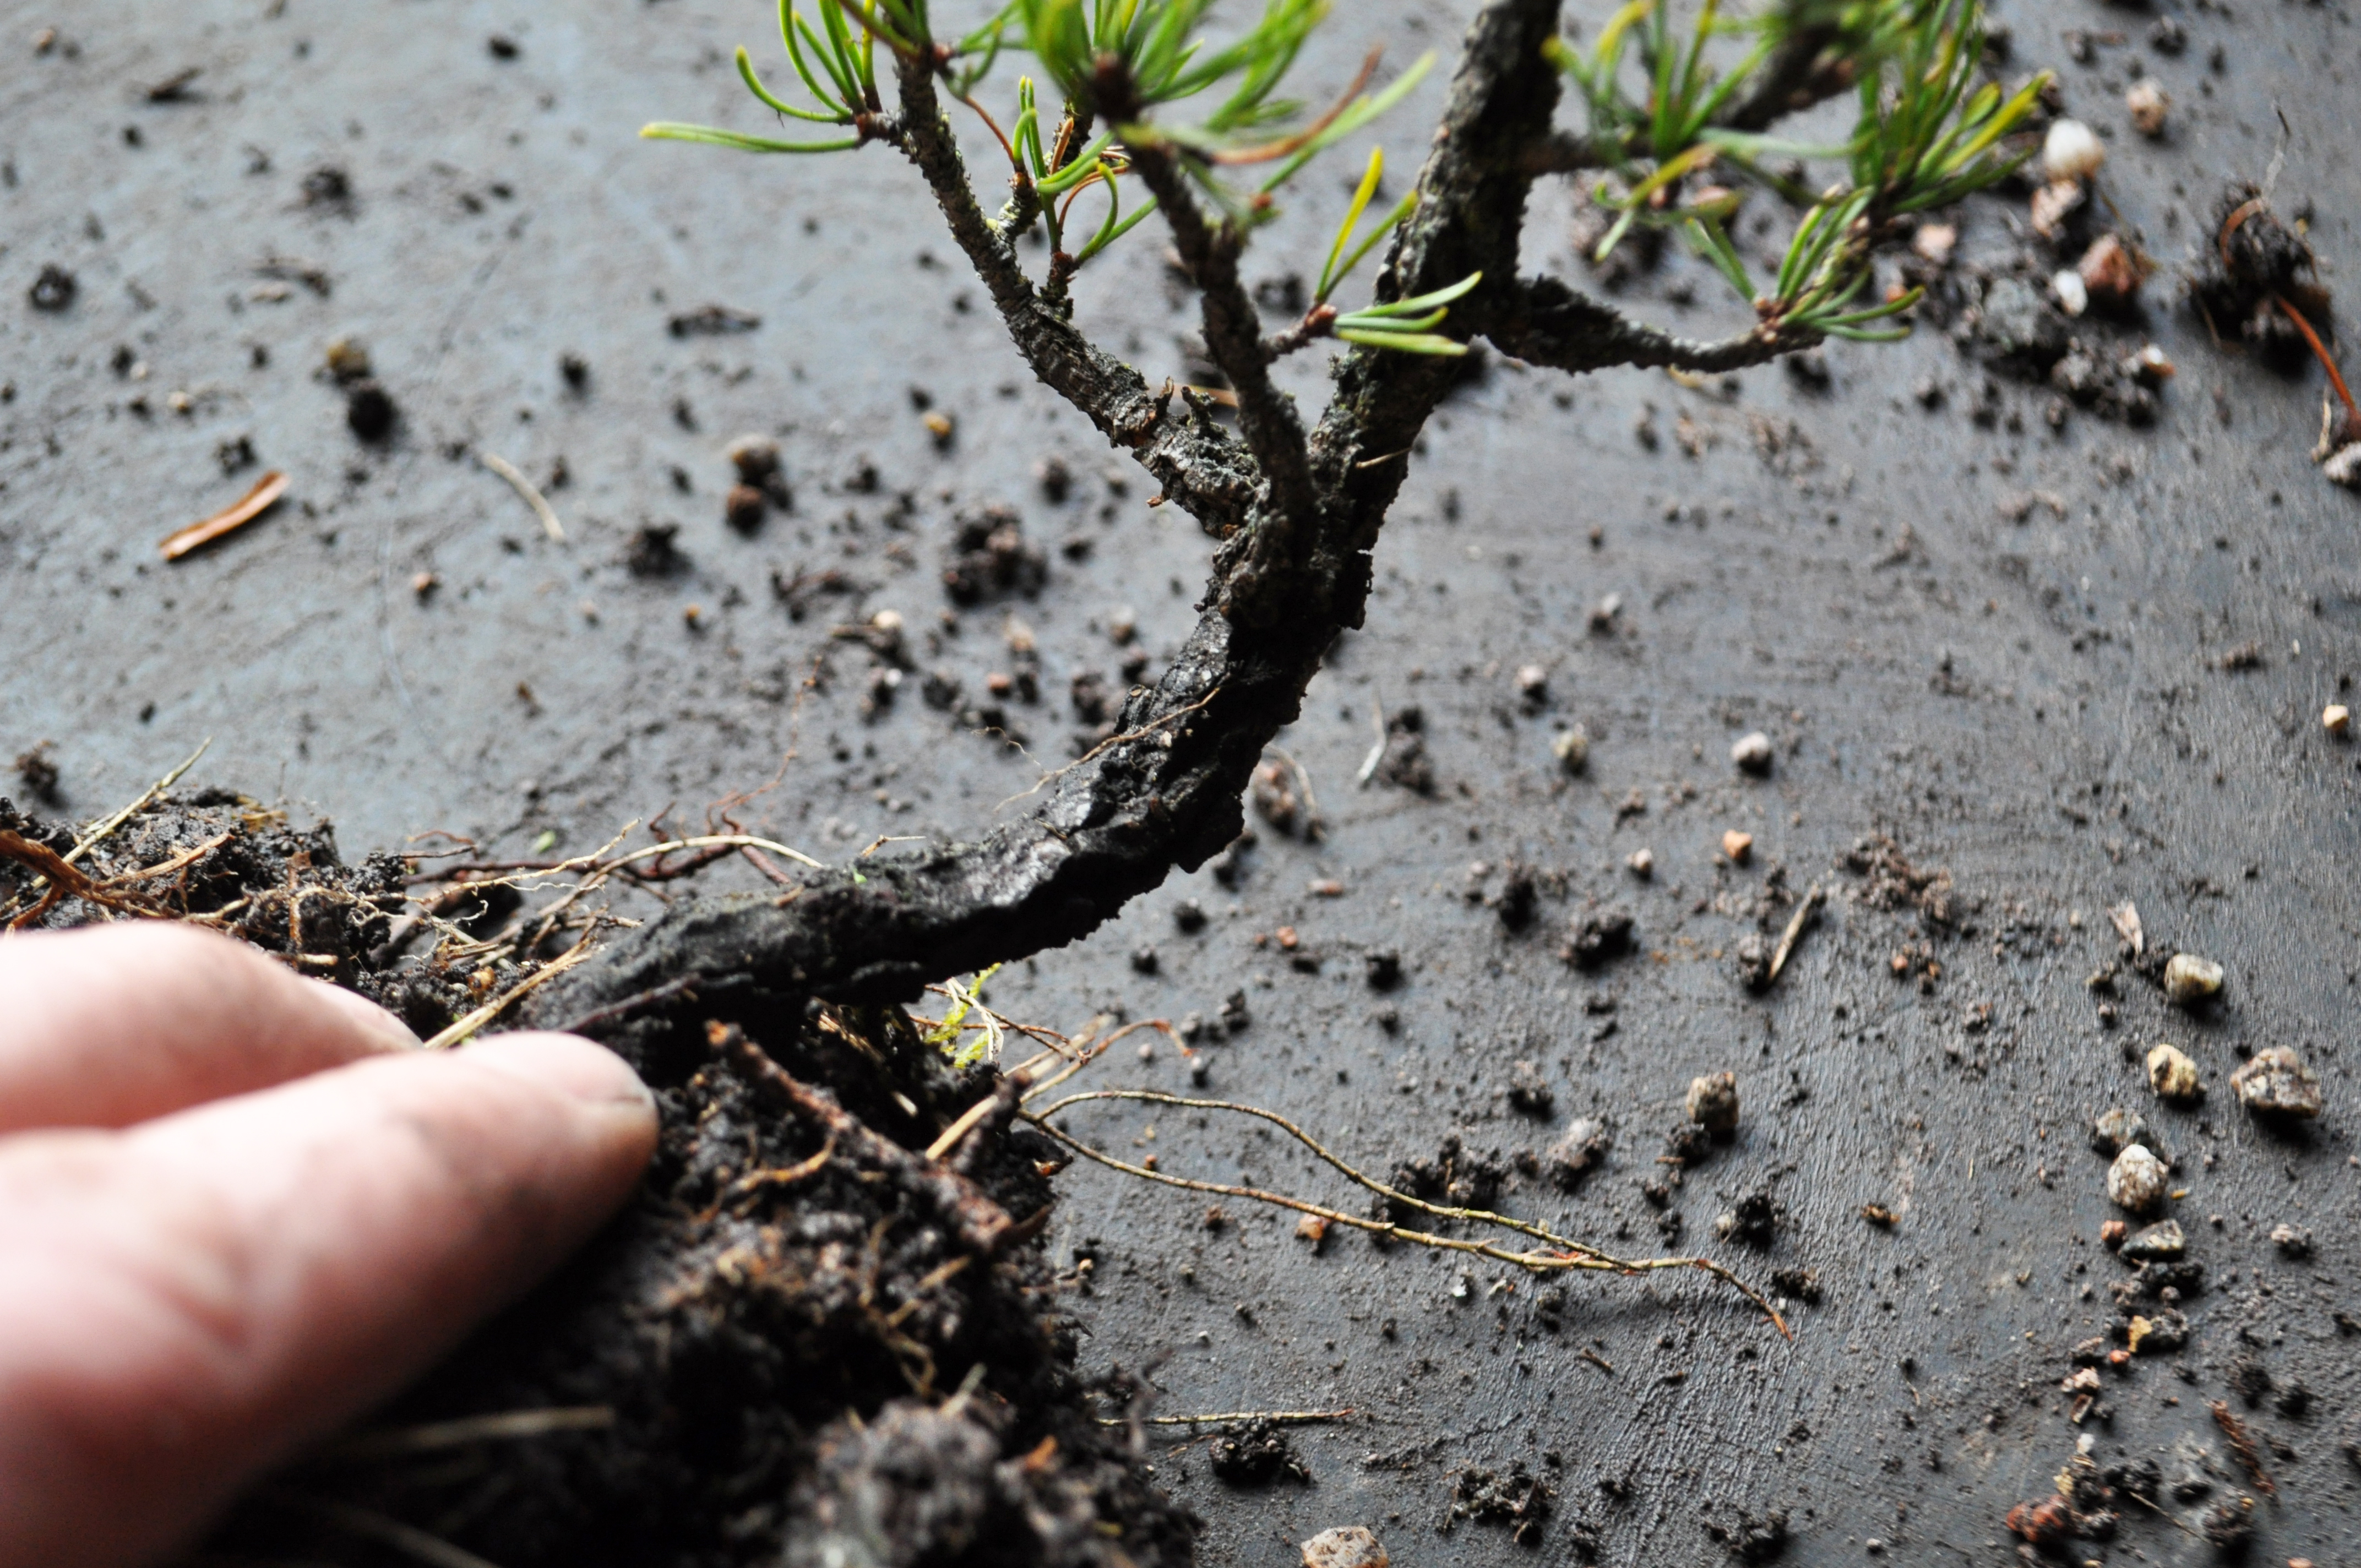
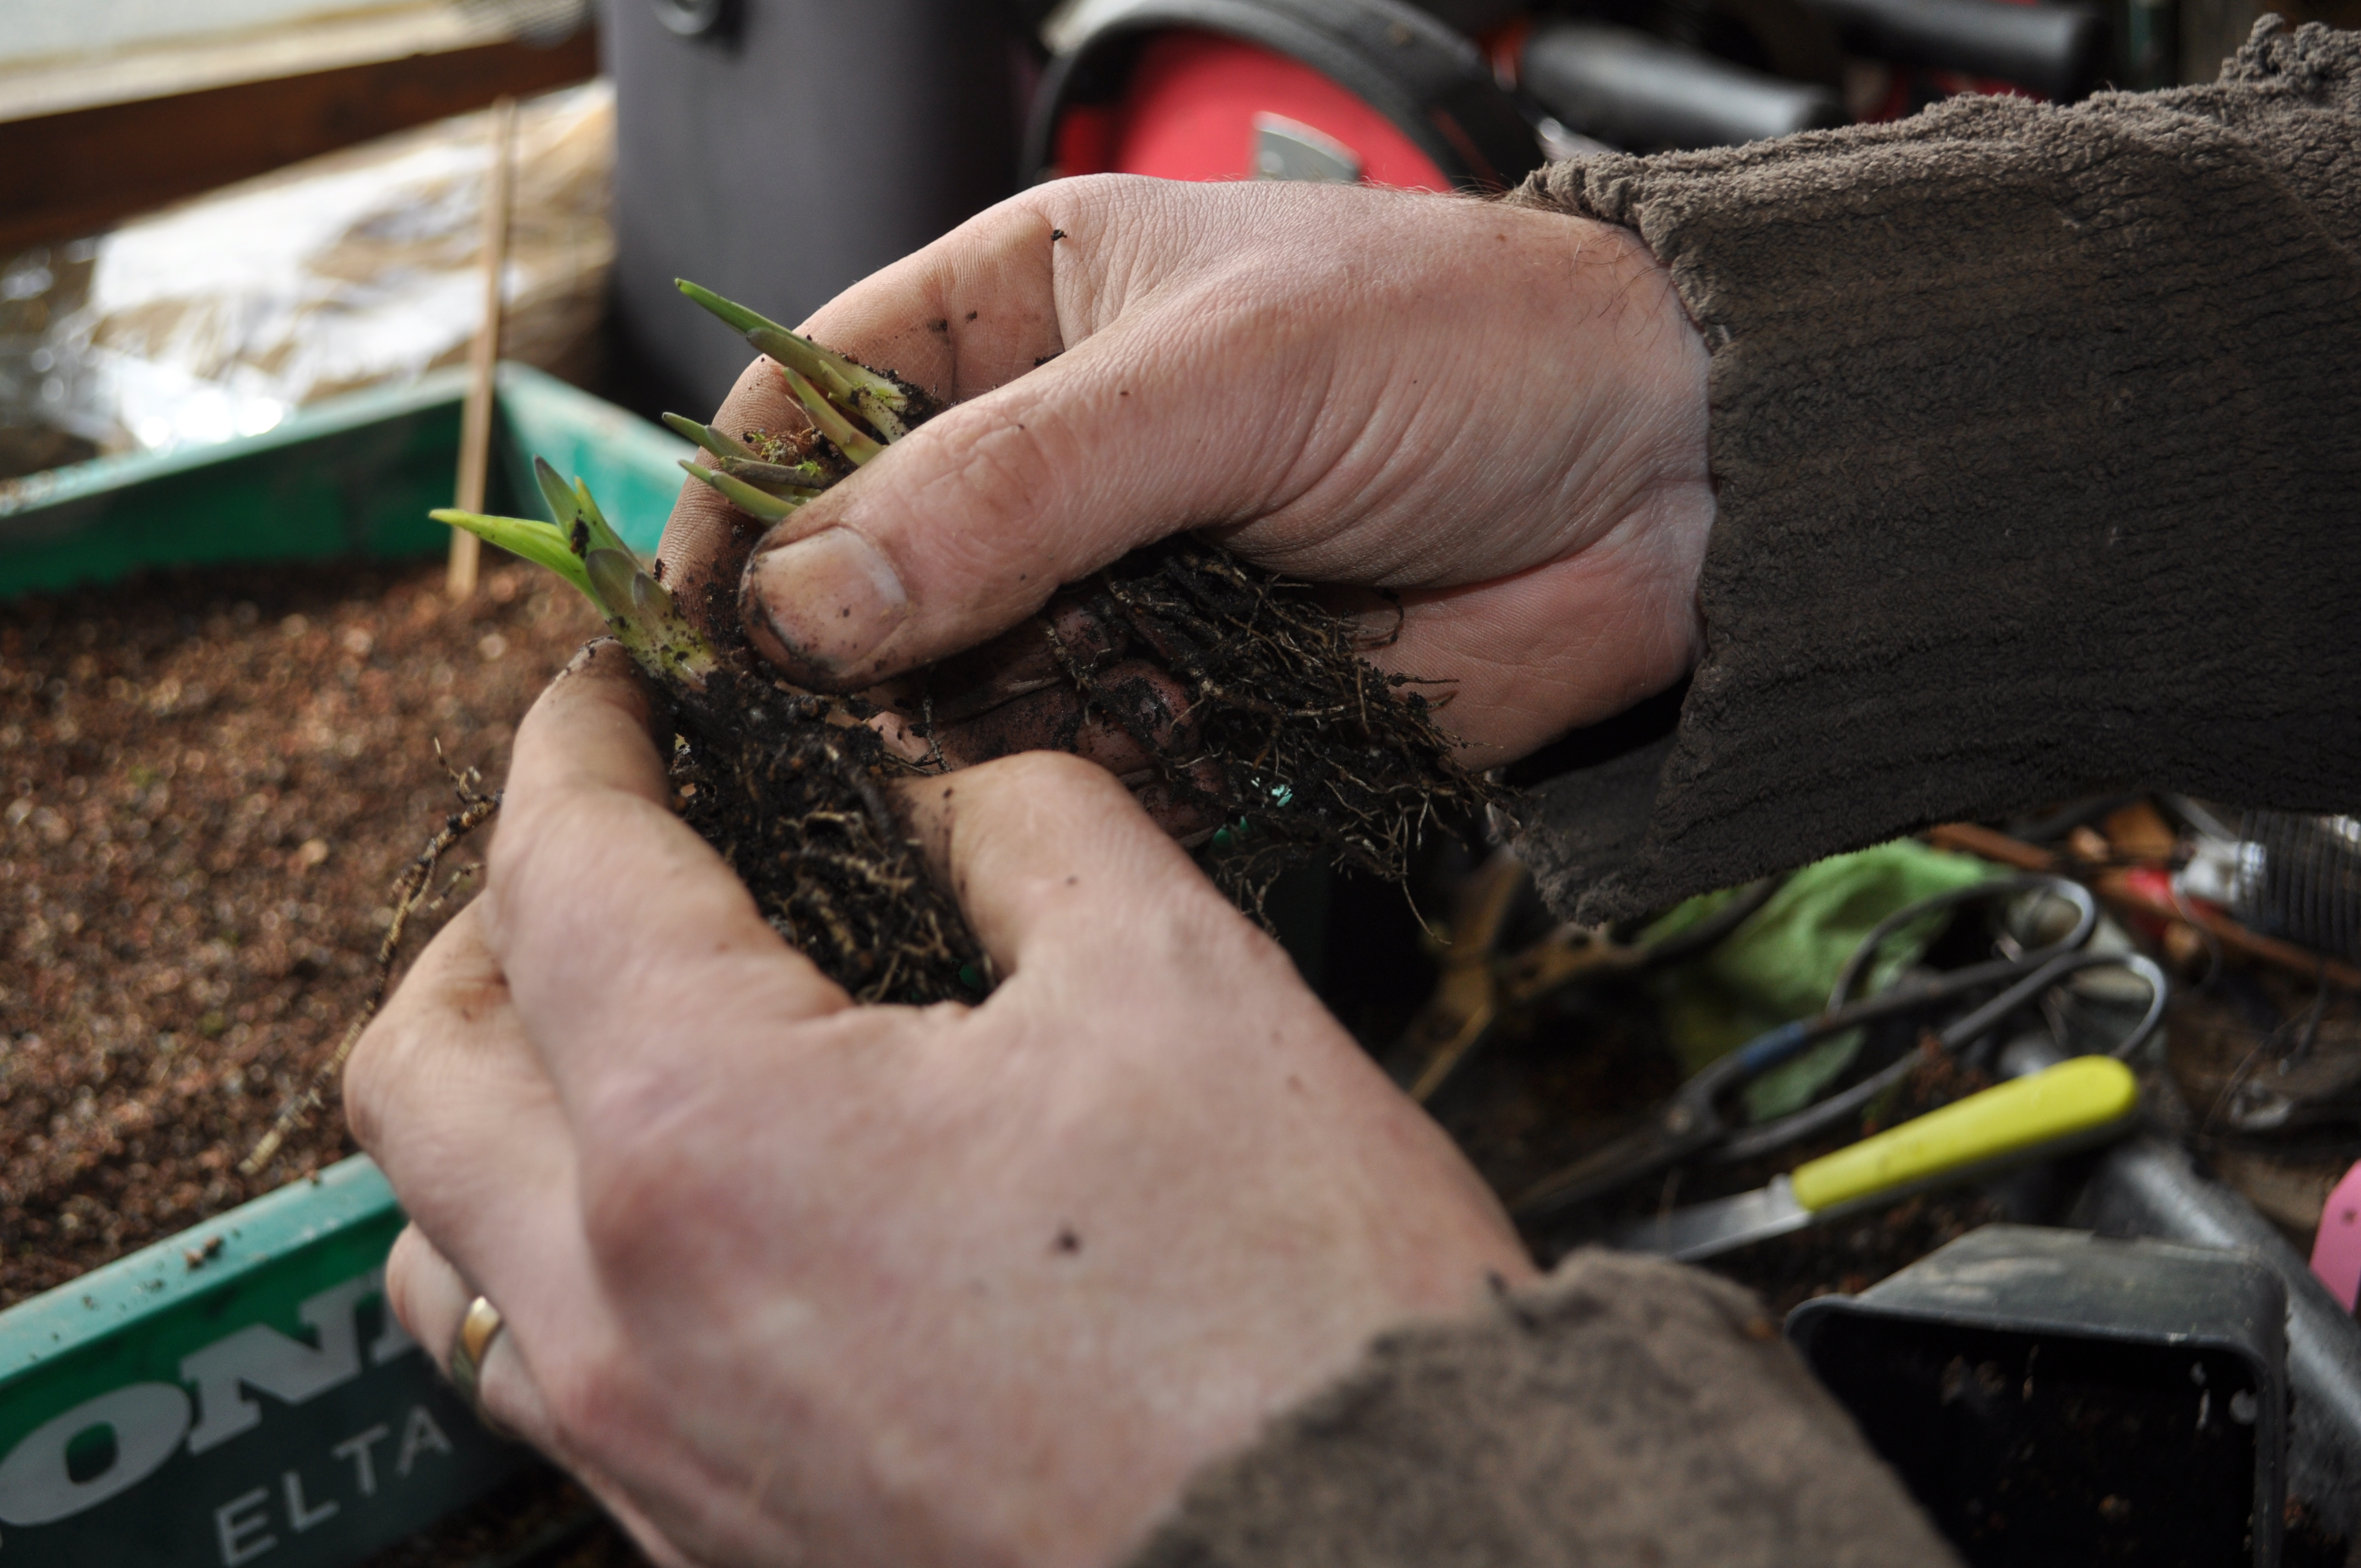
A little root pruning can be done, just as in bonsai. This can help reduce the leaf size of the plant compared to being grown in open ground.

DSC_0227

A little mix in the bottom of the pot.

DSC_0231

Placed in pot and filled around the edges with mix.

DSC_0233

And the finished result, label added so I can keep track of what varieties I have potted up. Like the pot, this one by Will Baddelely, obtained as part of a swap with Chris Royal. Cheers Chris 😉

DSC_0236

This is a great time to split, however I have had great success splitting in July as well with absolutely no issues with the plants being in leaf.

Anyone interesting in swapping, or even buying a few, drop me an email via the Contact Me tab at the top.

Airlayer it!

Finally got around to sorting a few air layers this week.

First up was this Korean Hornbeam. This is the front as it sits now.

DSC_0119

This will be the new front. However the top of the taller trunk is heavy and needs removed. It will make a nice little shohin clump if layered off.

DSC_0124

Layer point marked.

DSC_0125

Cambium layer removed.

DSC_0128

Layer in pace.

DSC_0132

And this Cork bark Elm with poor nebari.

DSC_0133

DSC_0135

DSC_0139

And this Zelkova which will make a nicer broom having removed all the tall leaders.

DSC_0141

DSC_0143

DSC_0144

A Chinese Elm that I’m layering for a customer. The tree came to me in poor health and had lost a lot of lower branches. Best option is to layer off the top and use the nice base as a new tree.

DSC_0148

DSC_0150

Dis a few more but was on a roll and forgot the camera 🙂

Root Over Rock Itiogawa Juniper

After waiting to make sure this Juniper was happy after a recent styling, I finally transferred it over to a new pot. Not the final pot, but one that allowed me to adjust the tree to the proper planting angle.

Before styling in February.

DSC_0288

After styling in March.

DSC_0041

Repotted now.

DSC_0092

DSC_0093

Shohin Larch

Little Japanese Larch in a John Pitt Pot.

DSC_0039

Berberis Clump Outing

Time for this berberis clump to come out of the poly tunnel. Going to make a nice tree.

DSC_0009

Mame Hawthorn Cascade

I’ve had this little tree for 20 years, you’d think it’d be better by now lol.

DSC_0056

Hawthorn Adjustments

I was pushing my luck today wiring this Hawthorn so late on. Easy to knock off emerging buds. However if left for another season the branches would have stiffened further making it harder to get the right shape into them. Some deadwood also removed to improve trunk line.

DSC_0063

DSC_0064

DSC_0065

DSC_0067


A long way to go to create enough ramification on this one to make a convincing mature image, but that’s the fun part 🙂

DSC_0063 DSC_0067

Poser!

Trying to take a few photos around the trees yesterday and Maggie wasn’t happy until she’d done her cute posing routine!

DSC_0030

DSC_0031

DSC_0034

Malus

DSC_0041

Trident Maple

DSC_0042

Japanese Larch

DSC_0043

Escallonia

DSC_0044

DSC_0045

And The Rest…

… of the pines, now tucked away in the tunnels. Mixture of Scots and Lodgepole.

DSC_0010

DSC_0012

DSC_0013

DSC_0014

DSC_0015

DSC_0017

DSC_0021

DSC_0022

DSC_0023

A Great Start

I finished work today at 5 and am off now until 13th April. I have lots of bonsai things planned during this time and thought I’d get stuck in by clearing away the mess in the garage left over from the potting up of the collected pines on Sunday. As I was checking the bags before they went in the bin I spotted a missed shohin sized tree in a bag. After a further check I spotted 3 more!! Result 🙂

All were still in good nick as they had been collected with a full rootball still encased in field soil.

This is what we’ve been finding, even small trees with amazing bark and character.

DSC_0216

DSC_0217

DSC_0226

DSC_0220

DSC_0221

DSC_0223