Hawthorn Pot Change

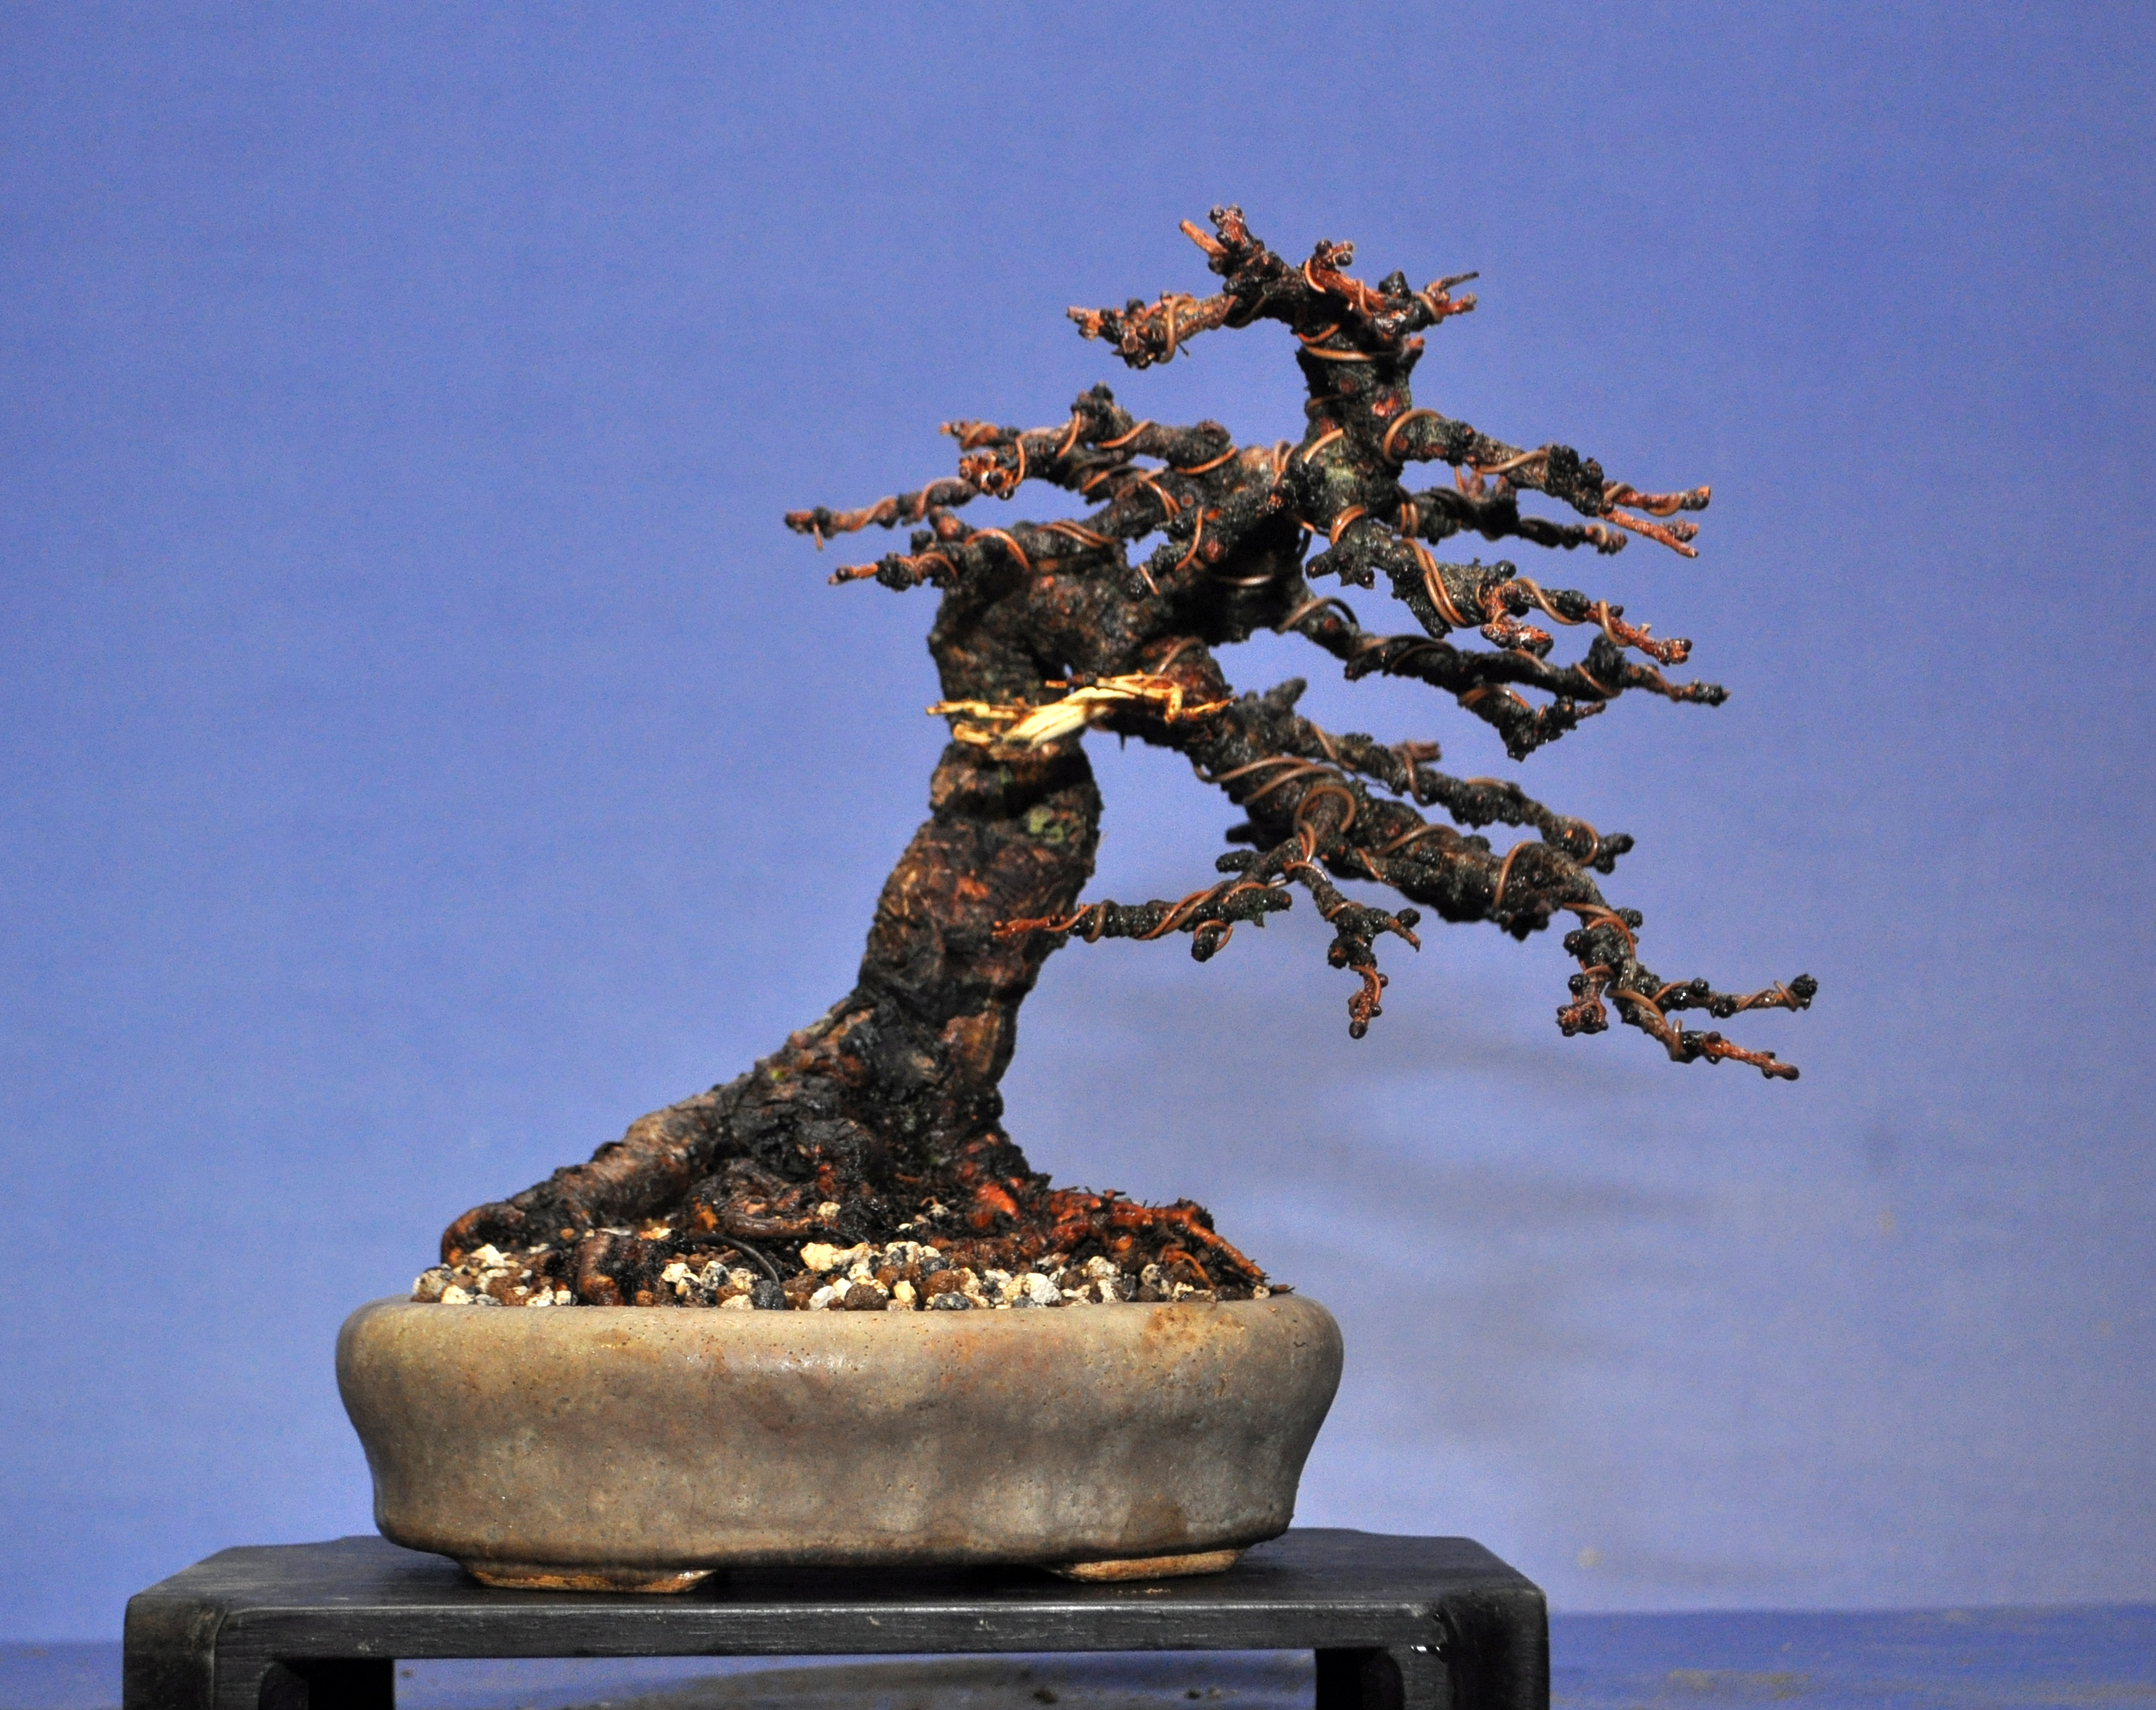
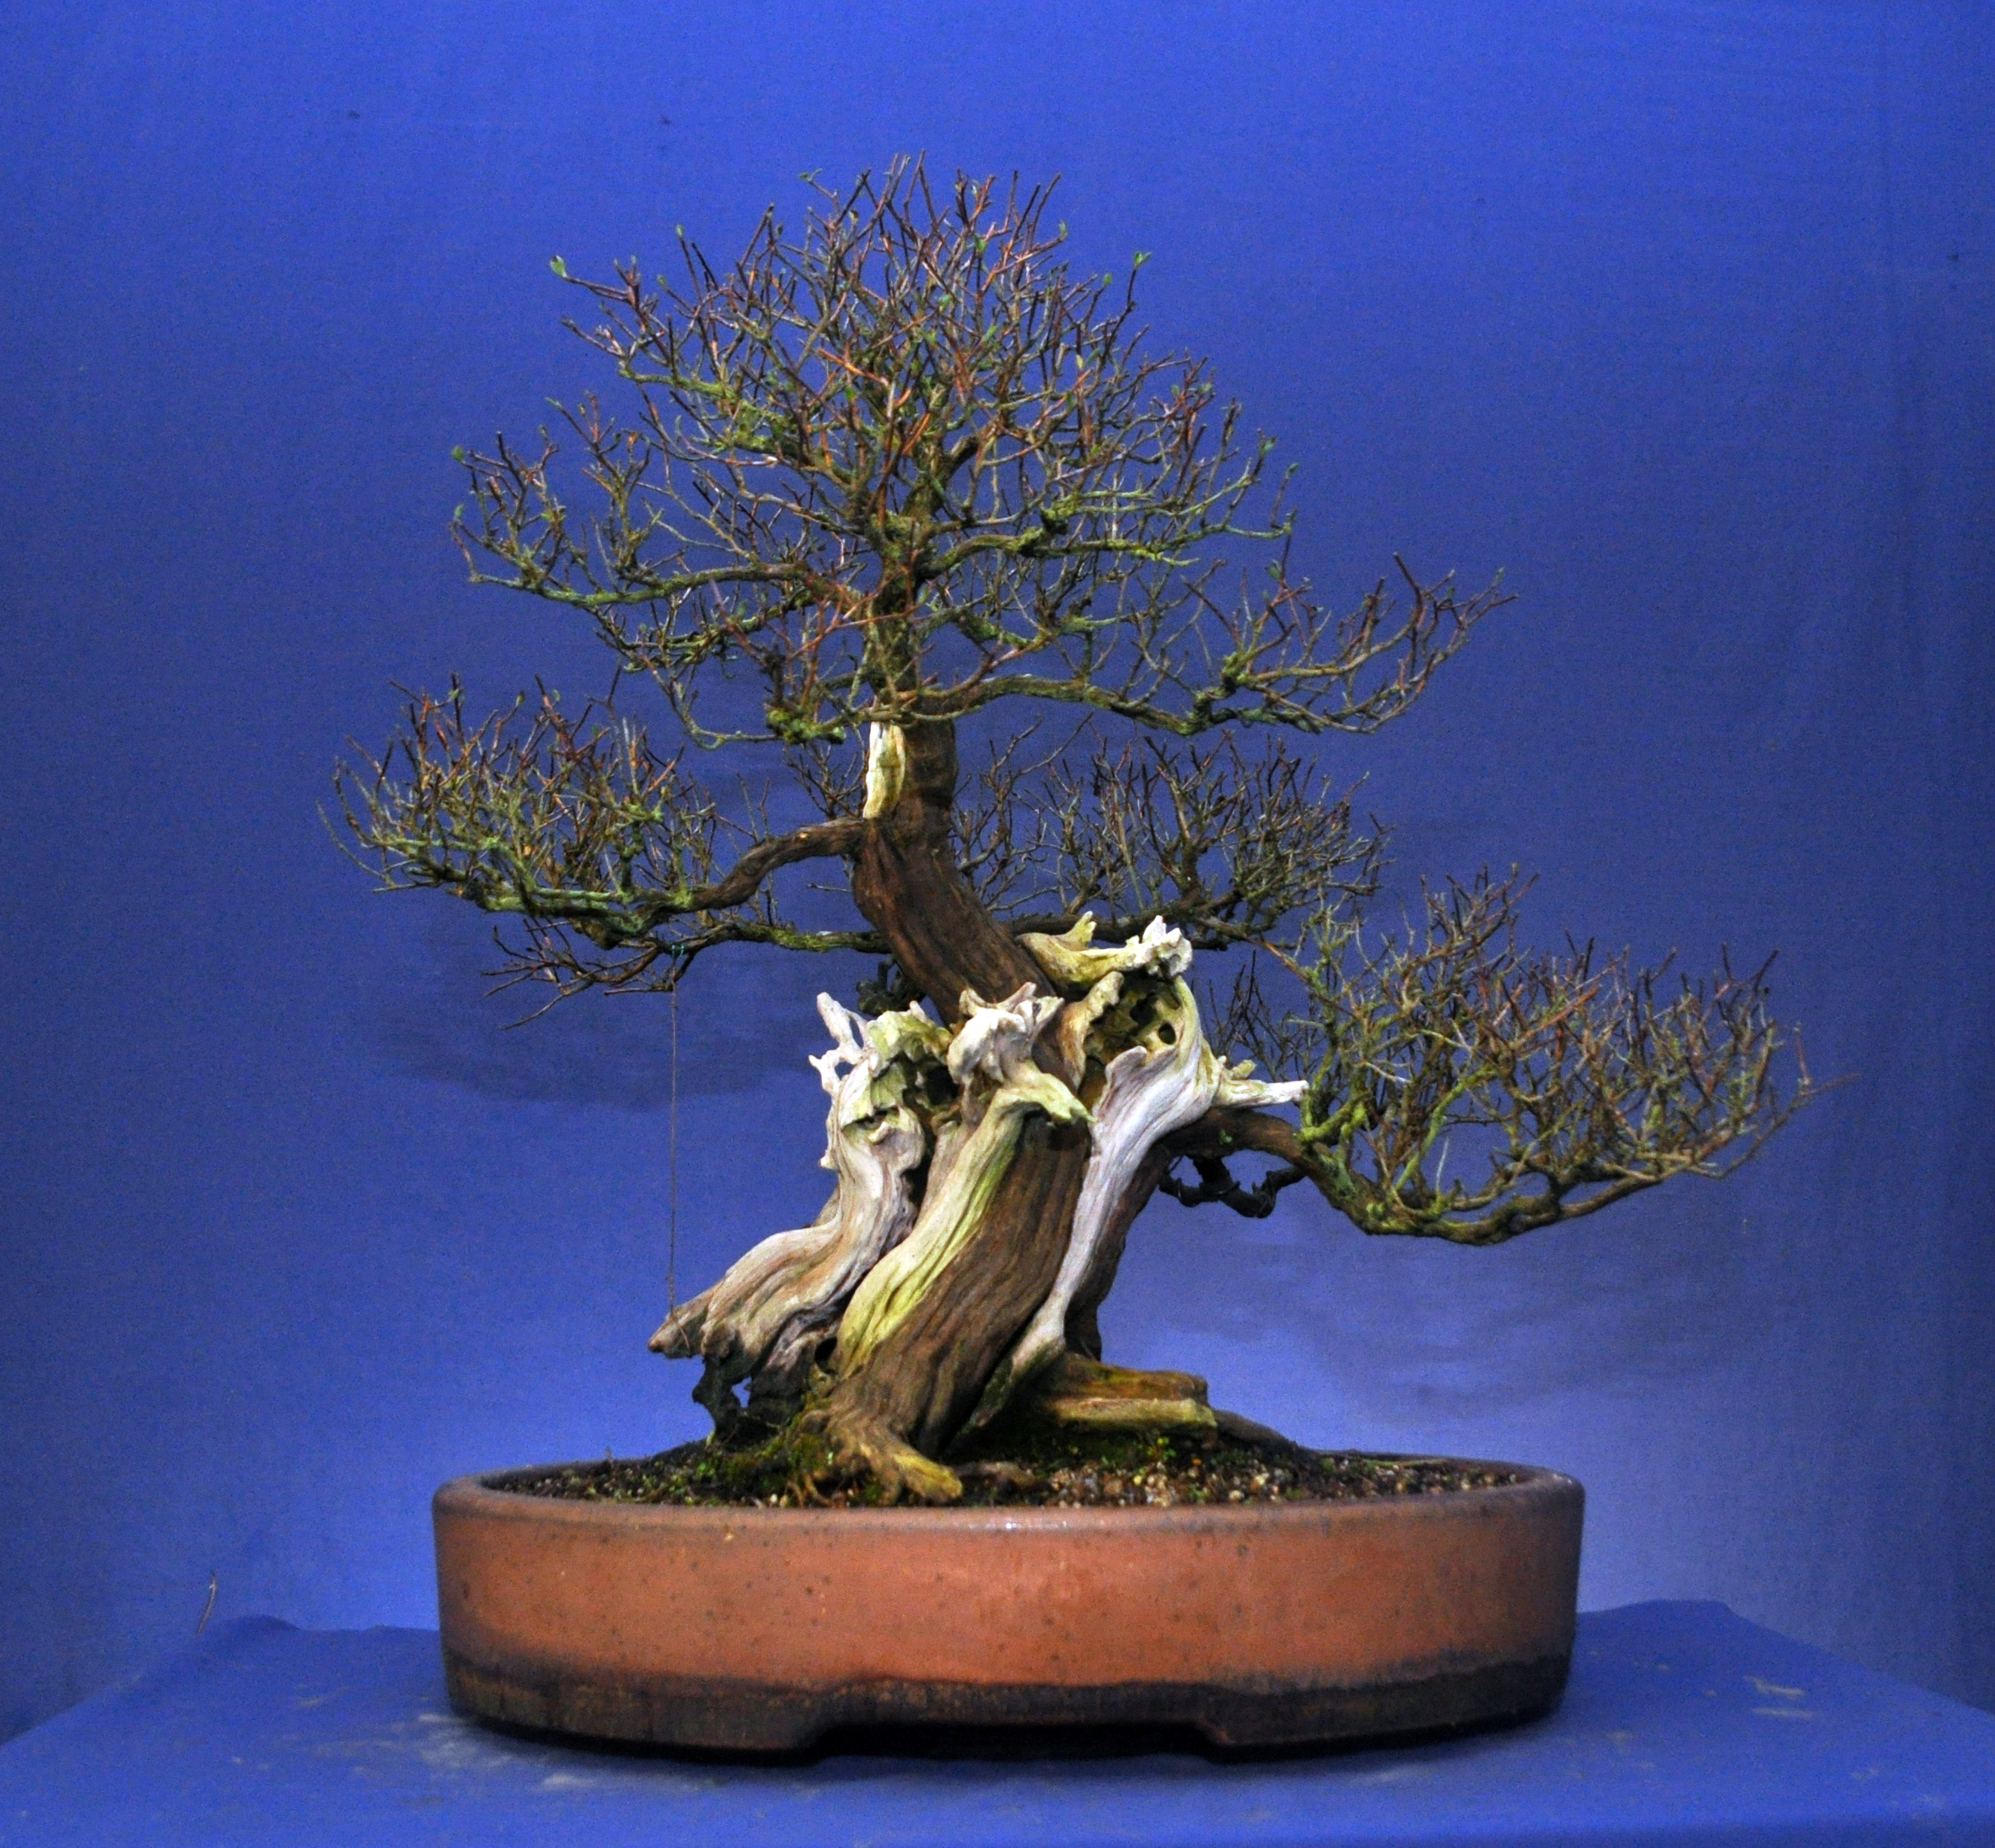
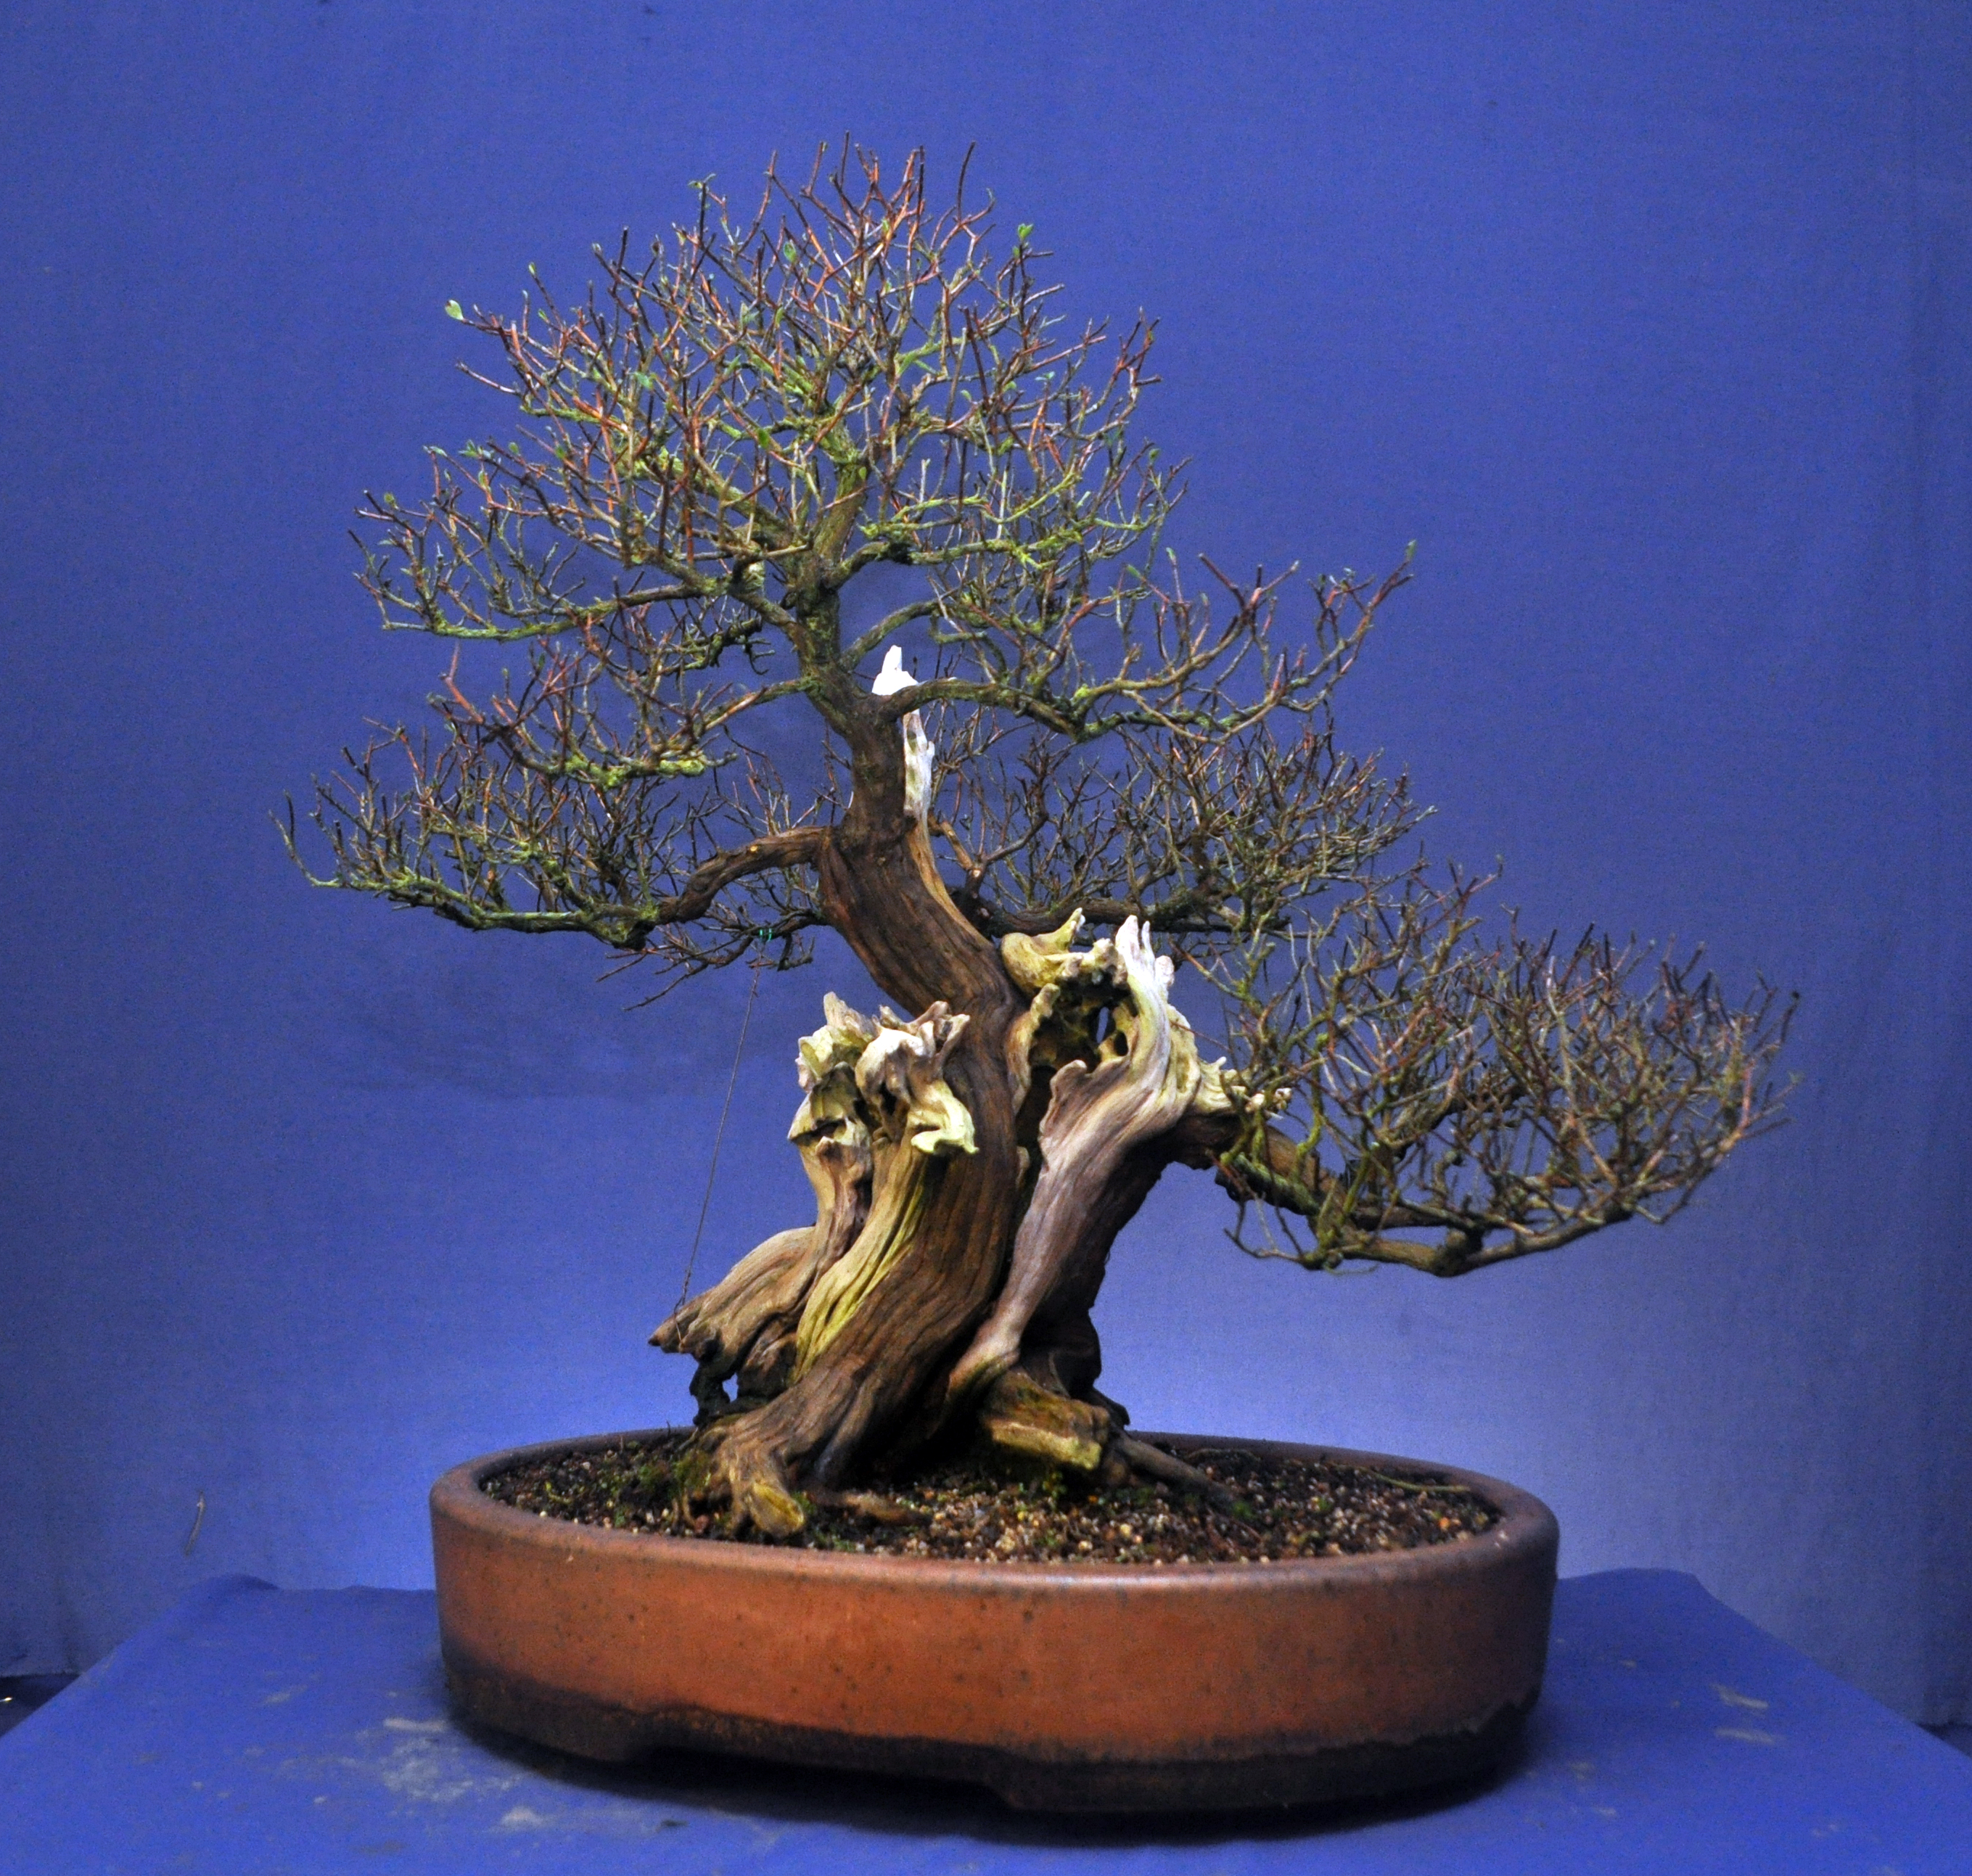
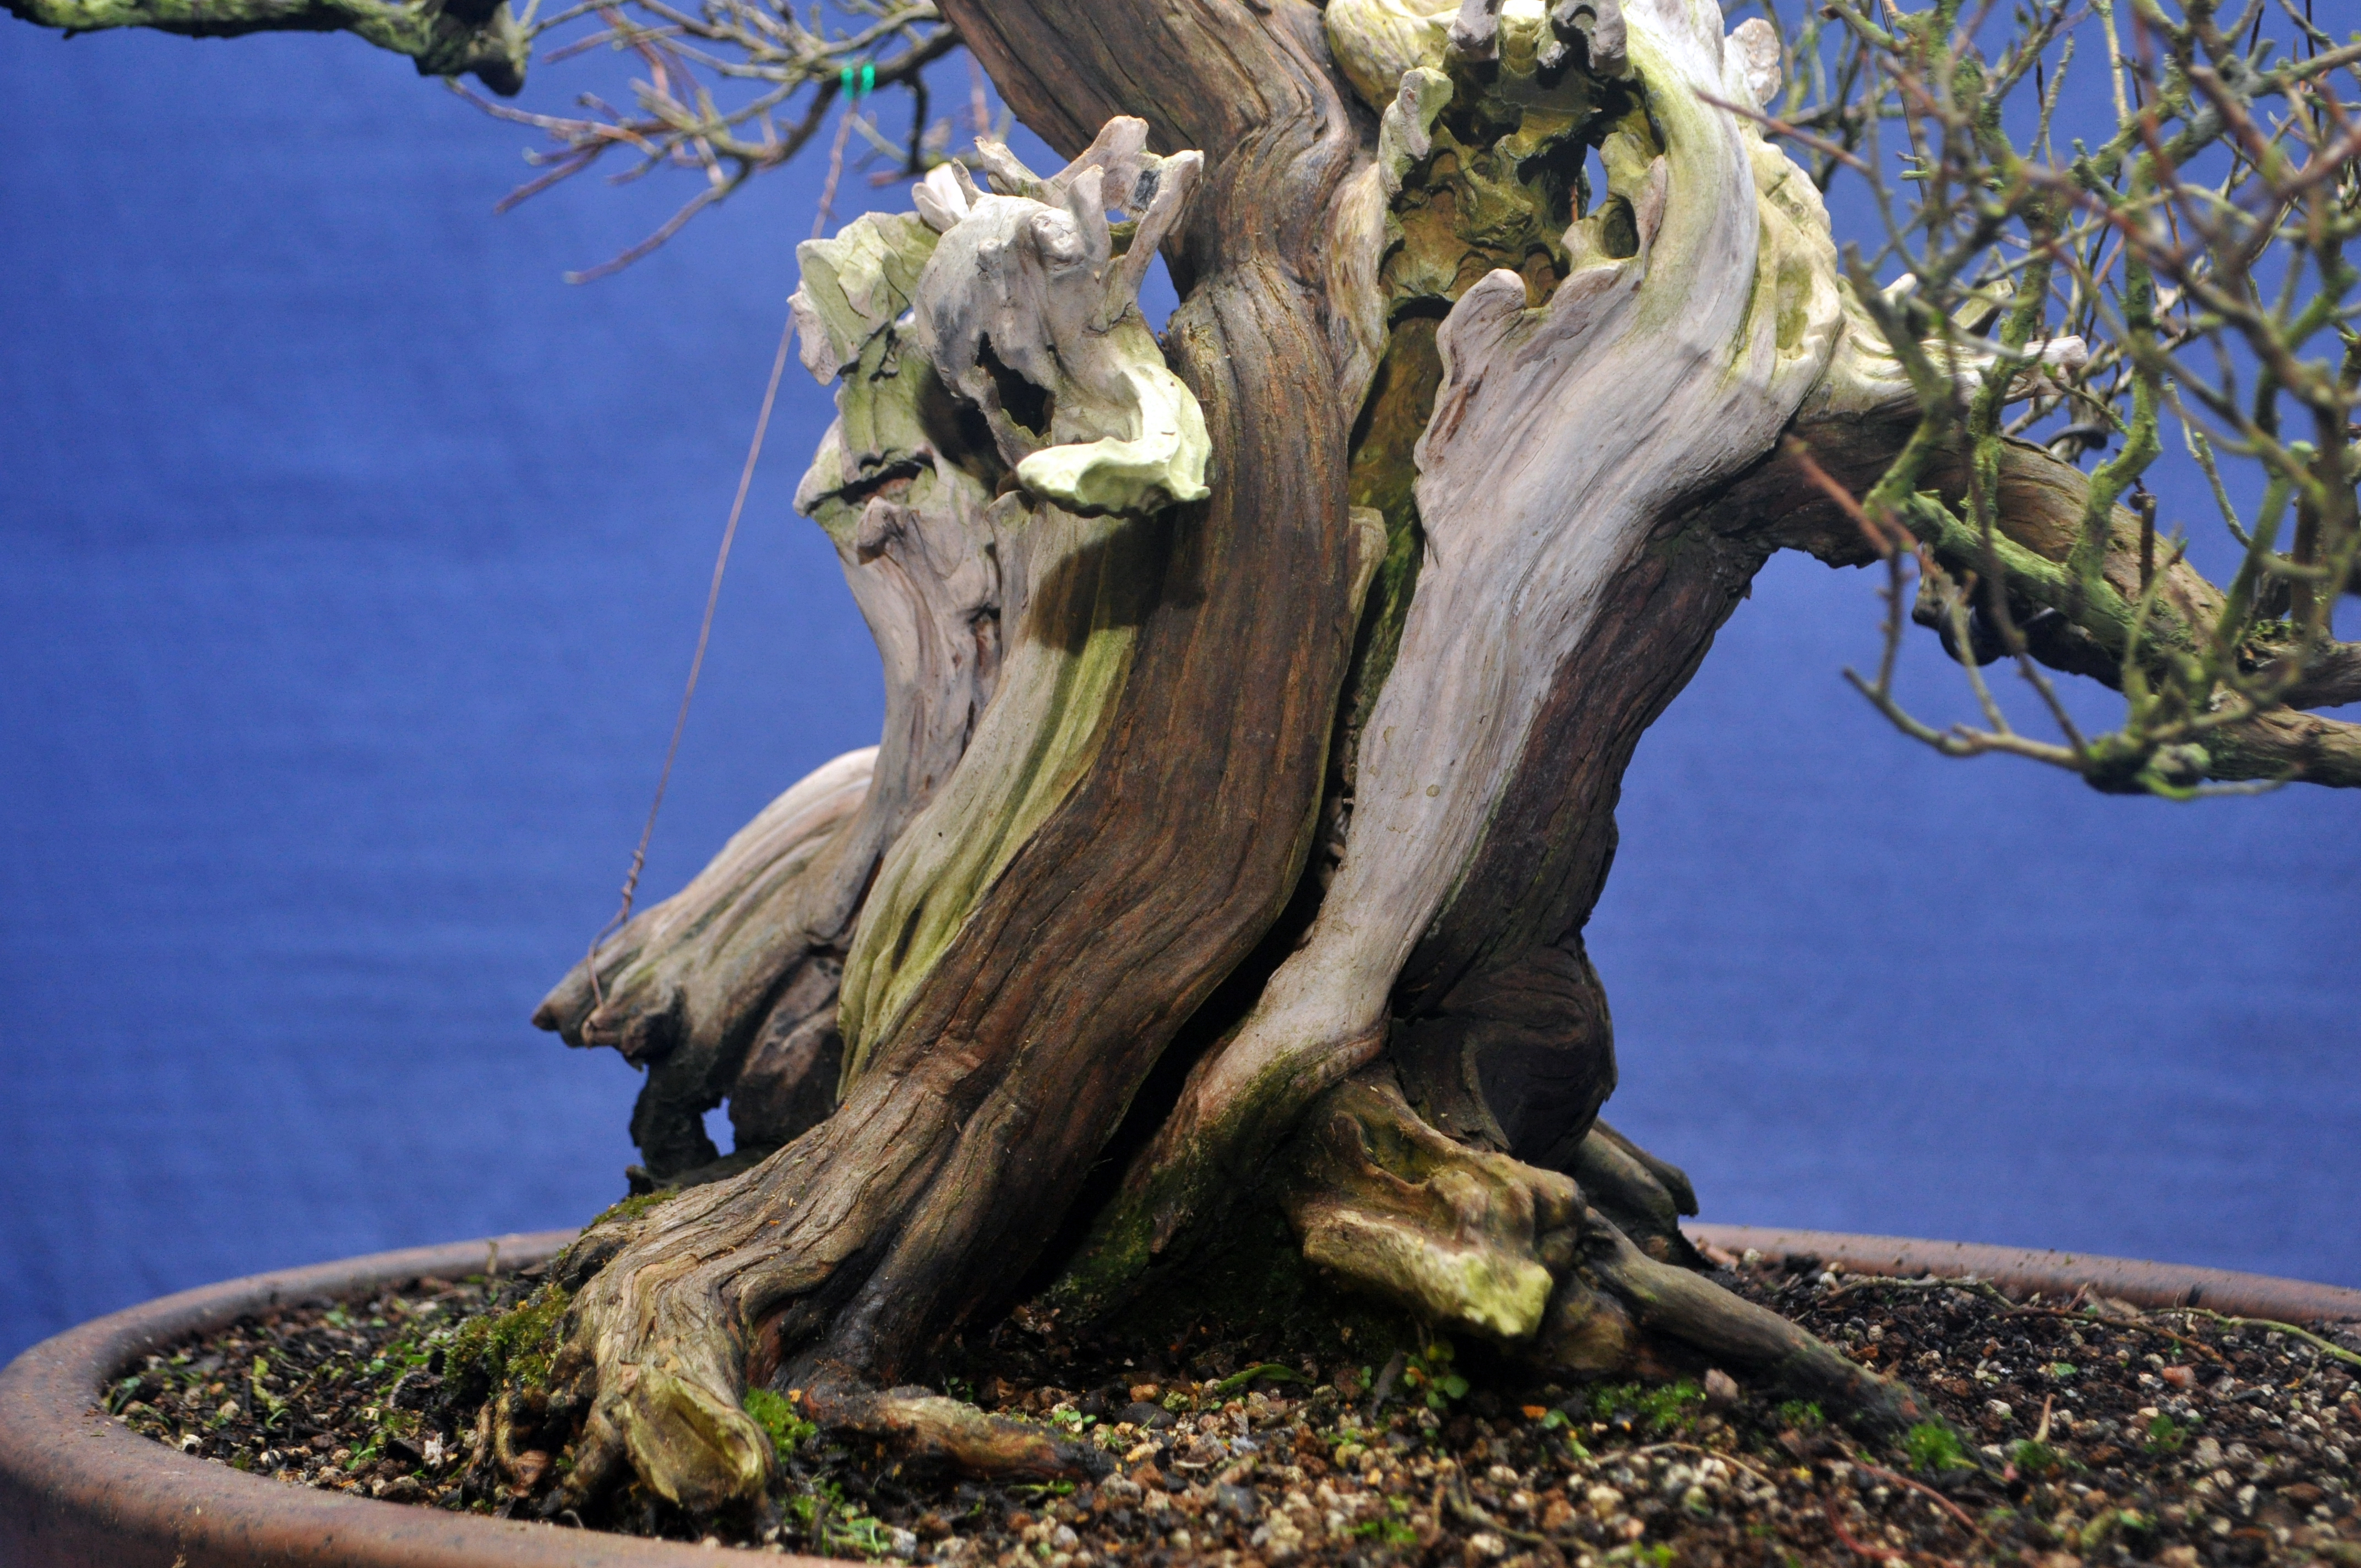
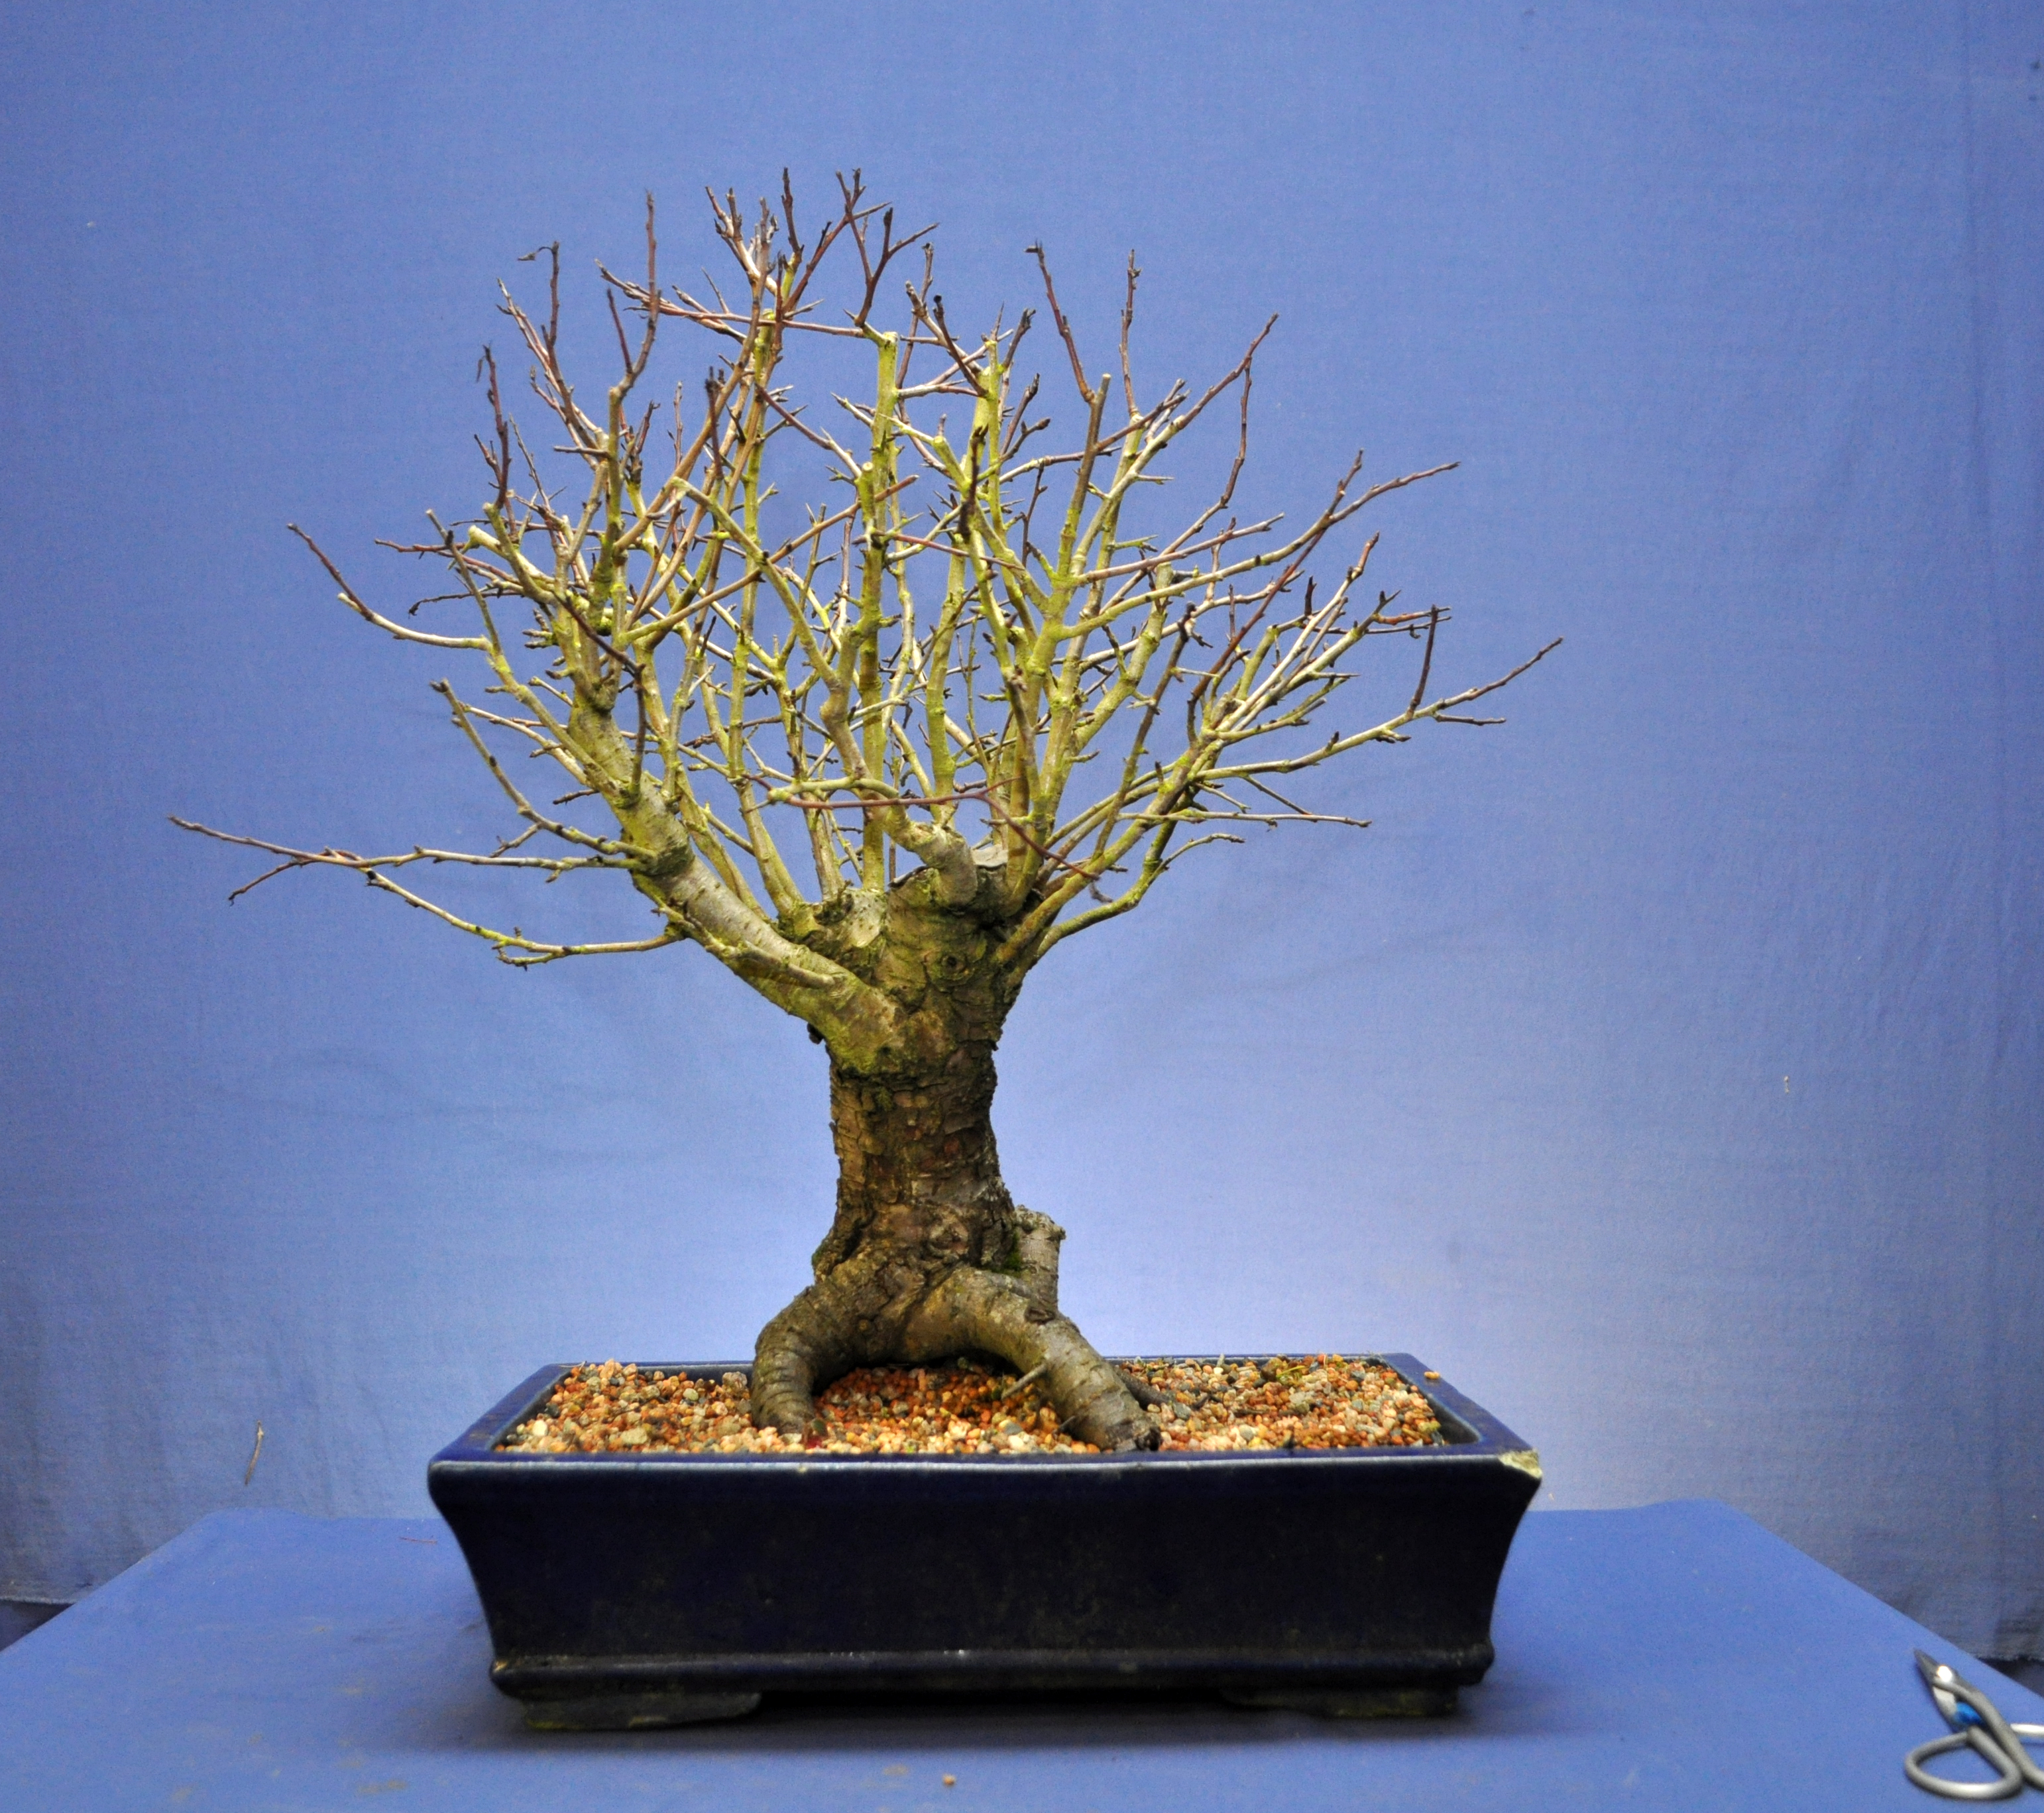
Yesterday’s post saw me changing the pot on my Fuji Cherry, and this Hawthorn was the recipient of the old pot. I know nothing about this pot other that it looks old, with nice patina. I bought a tree in it and I have a feeling that I got a bargain. There’s no stamps anywhere, I’d love to know a little more about it. The last pot for the hawthorn was matt brown, ok as a training pot, but not doing to much for a fast developing Hawthorn. Loads of roots from the last repot and I was able to make a few adjustments to improve the base this time around.

DSC_0303


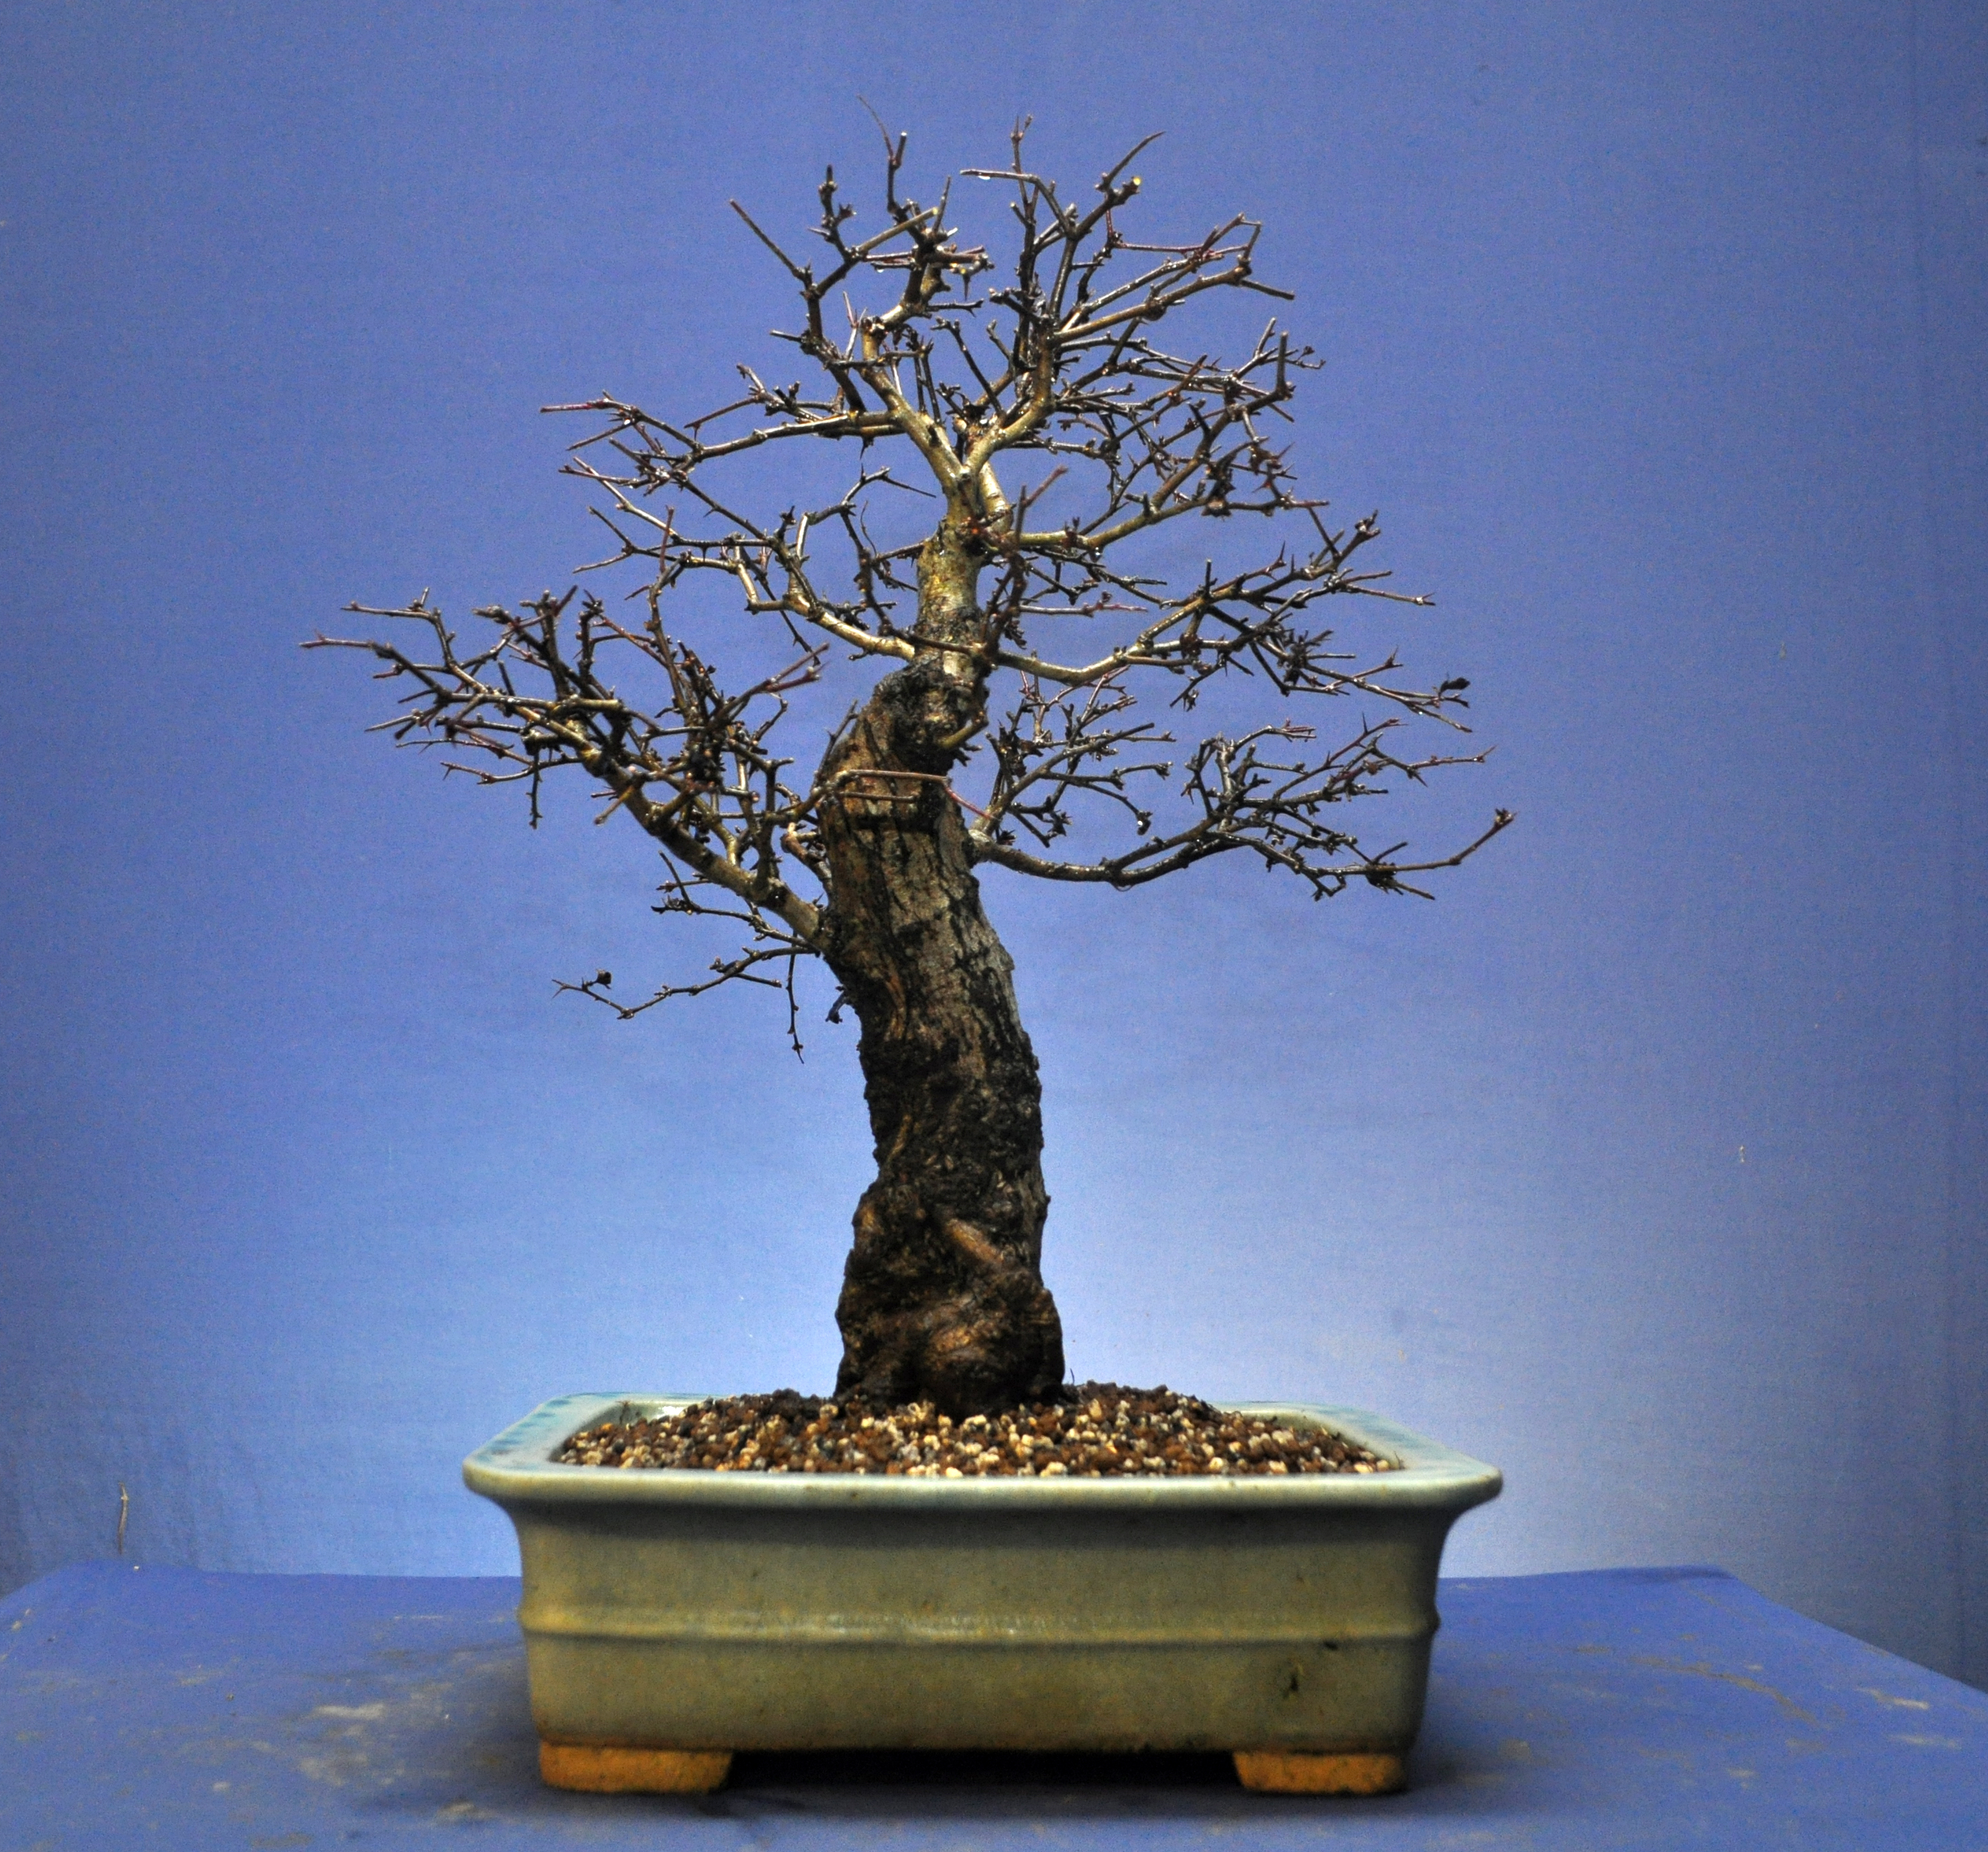
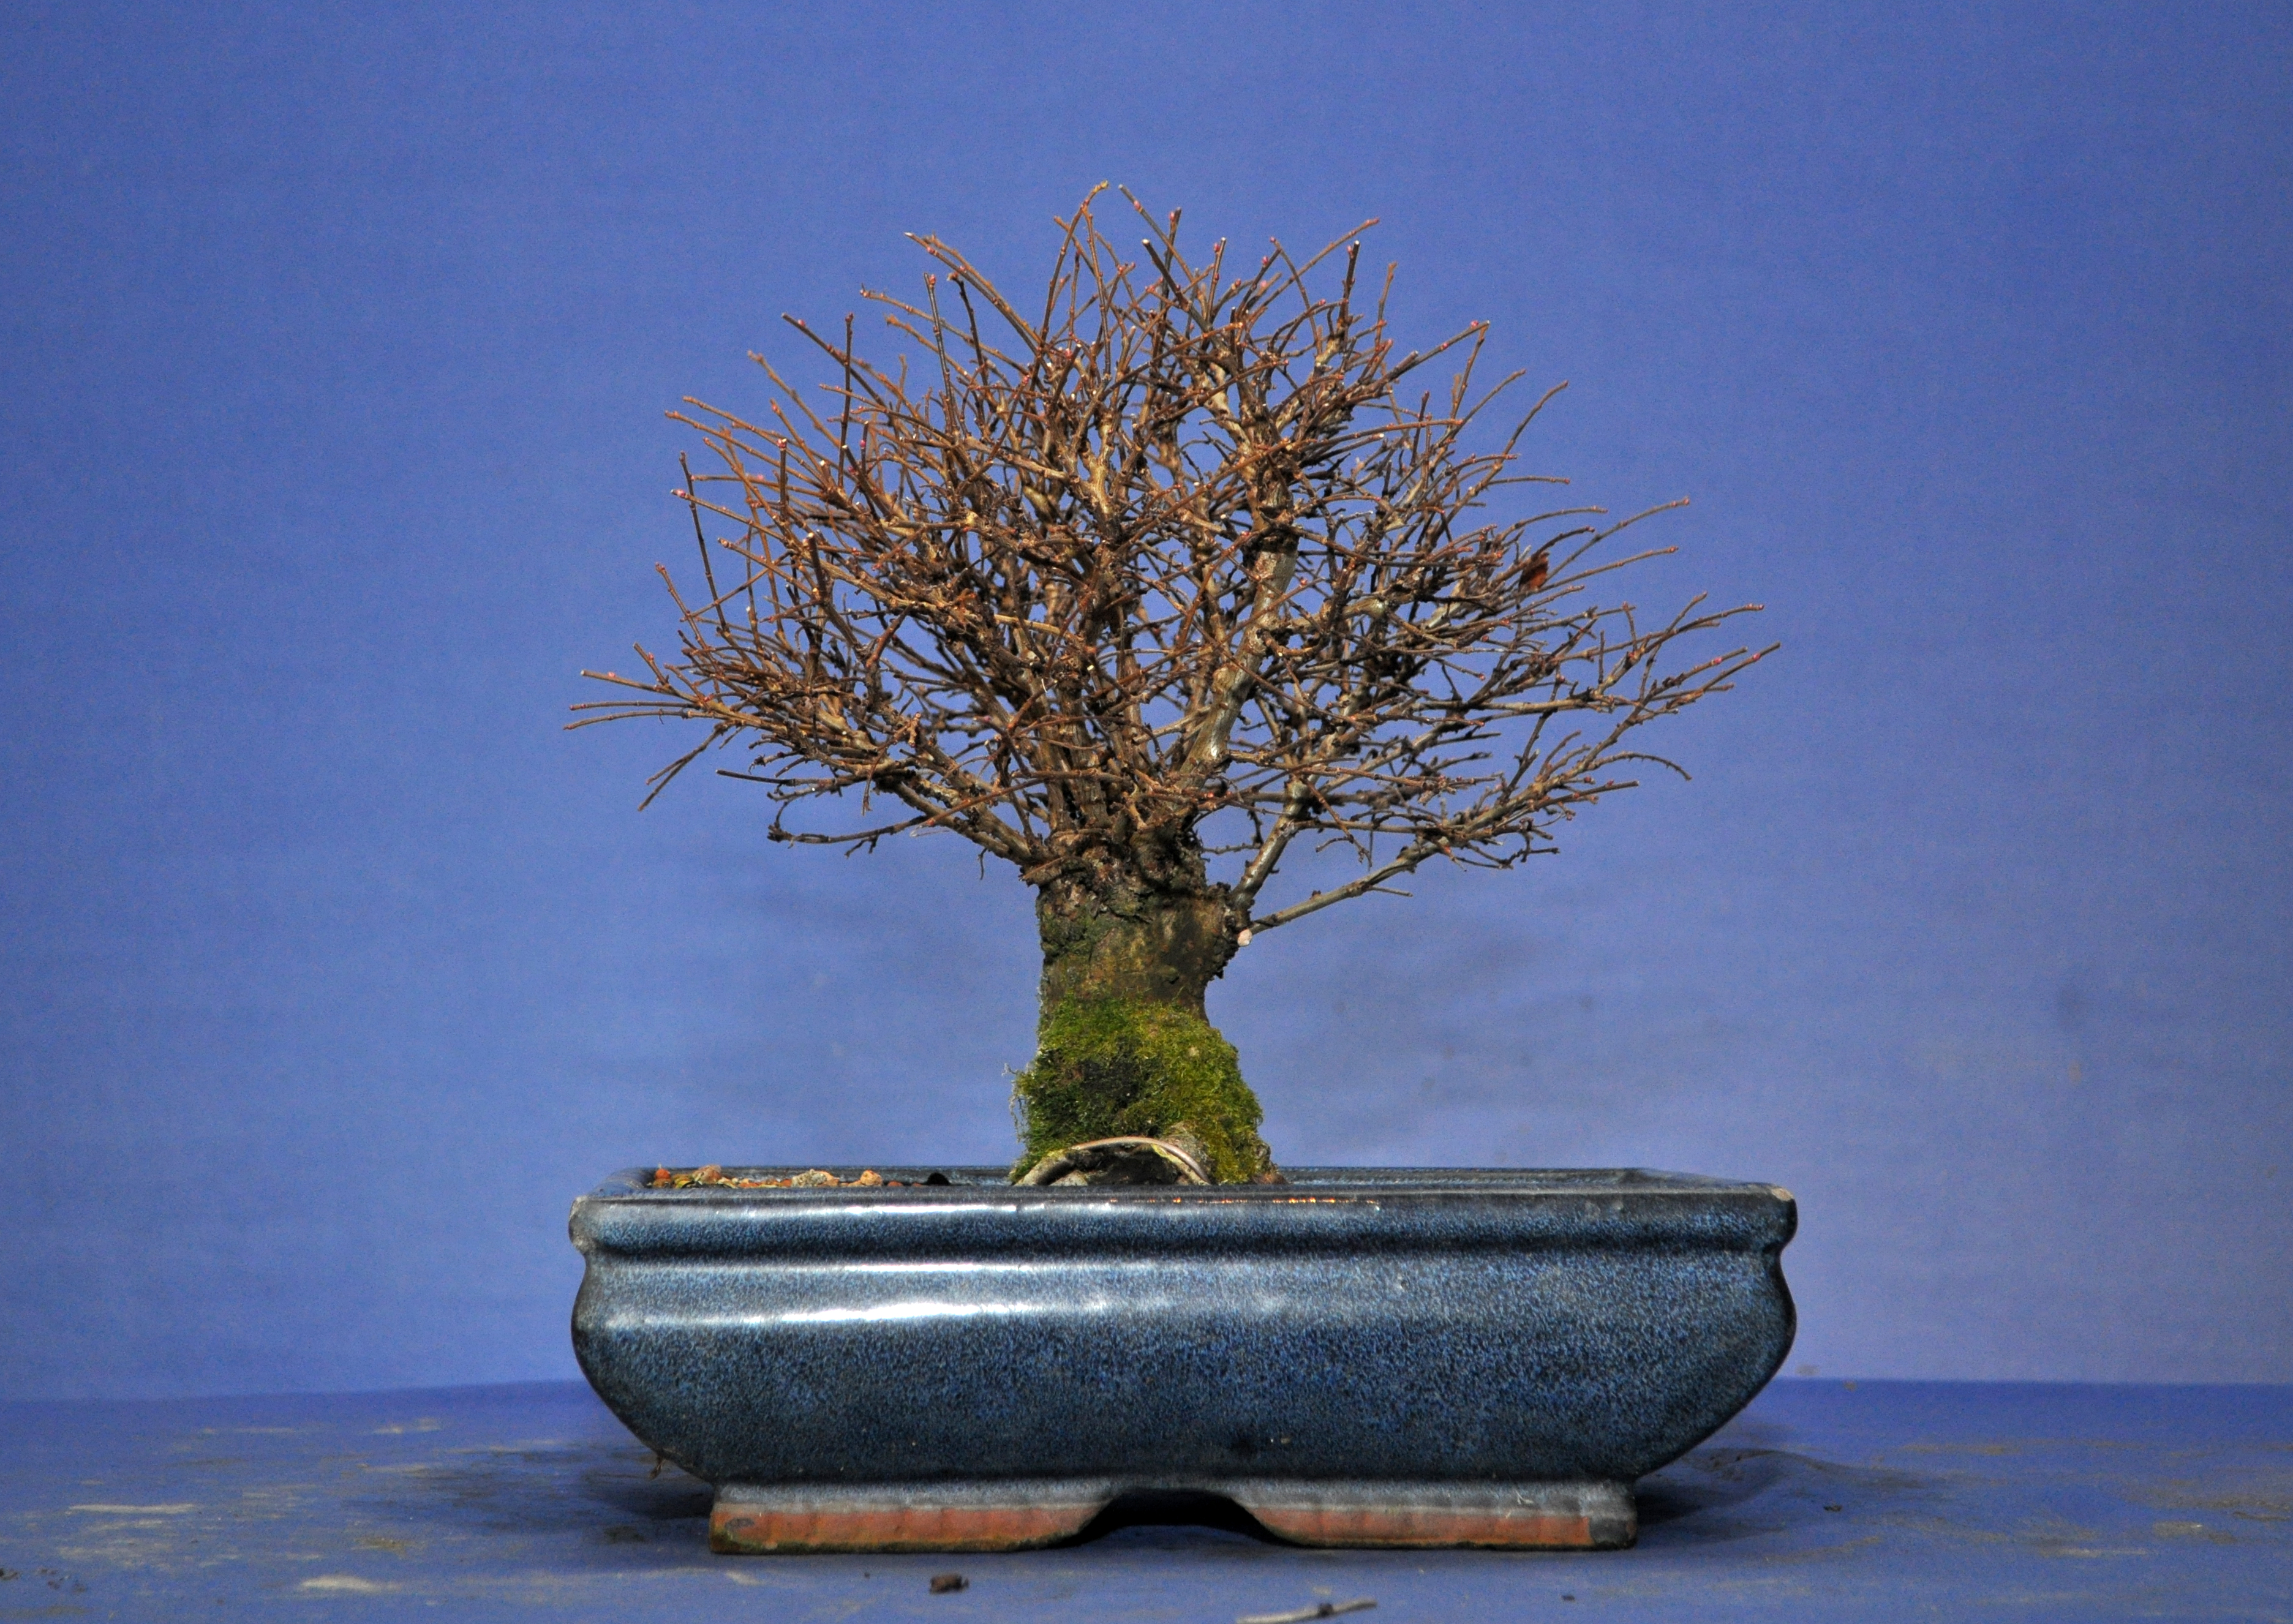
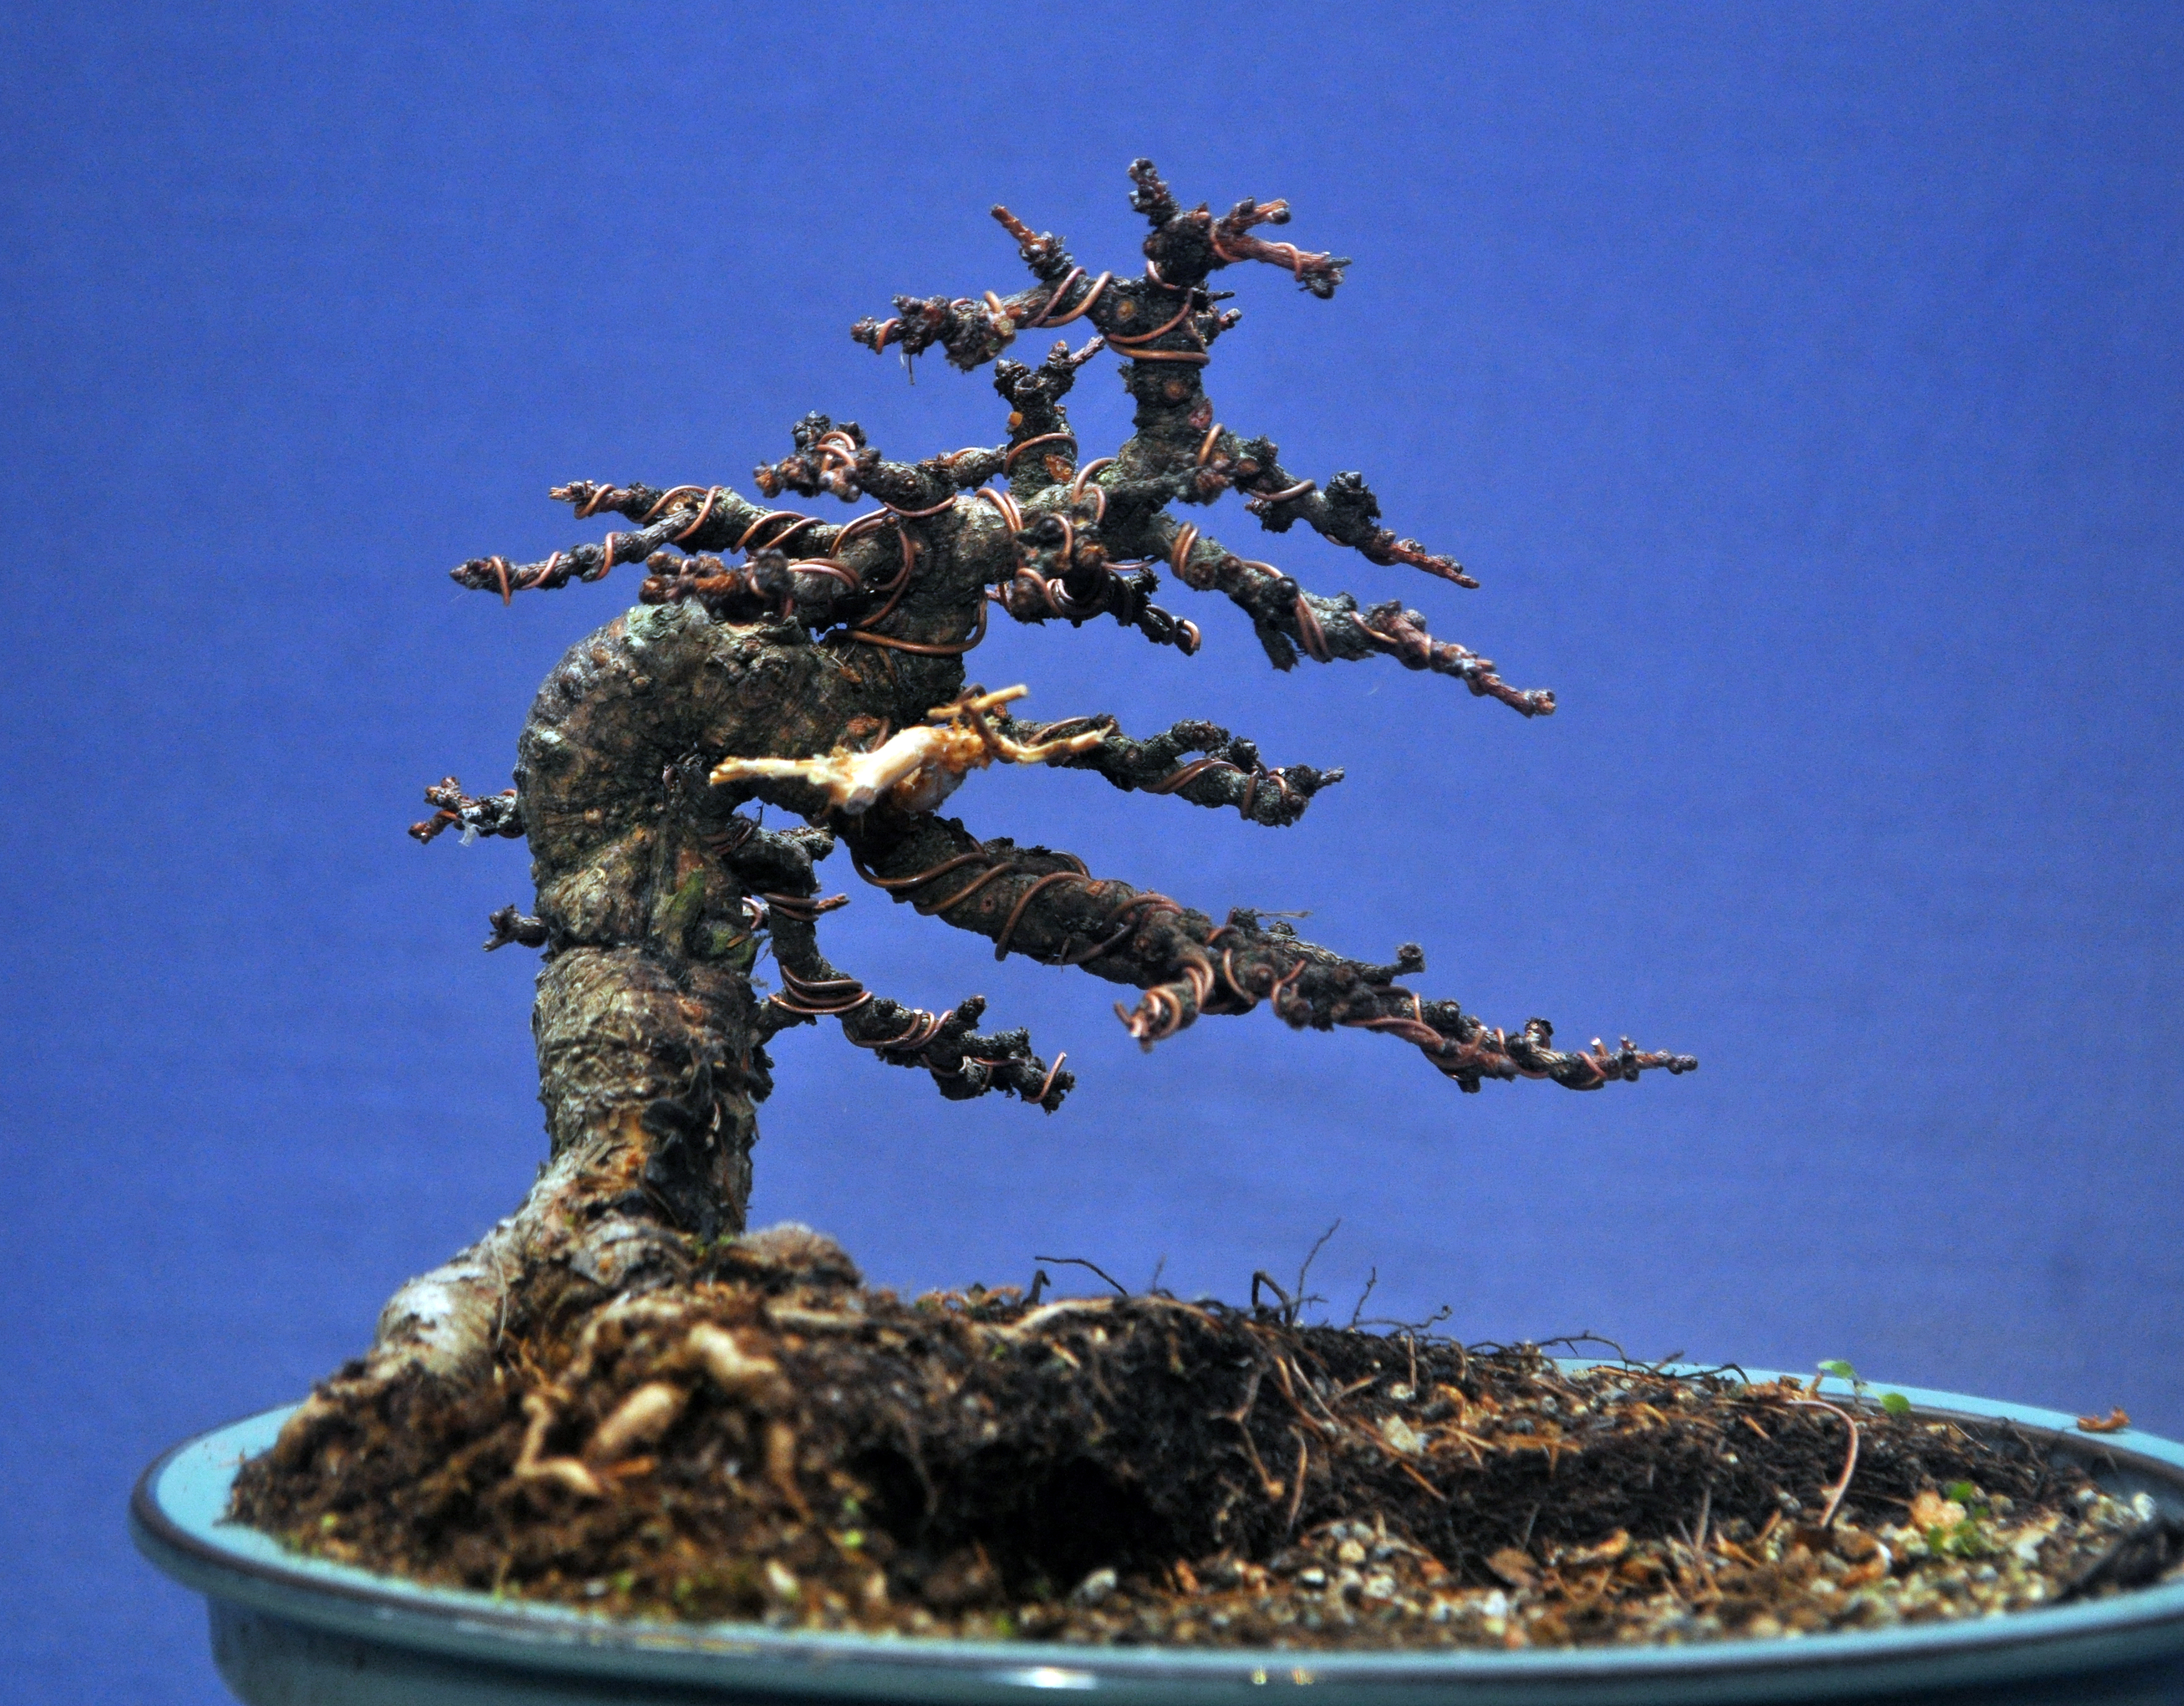
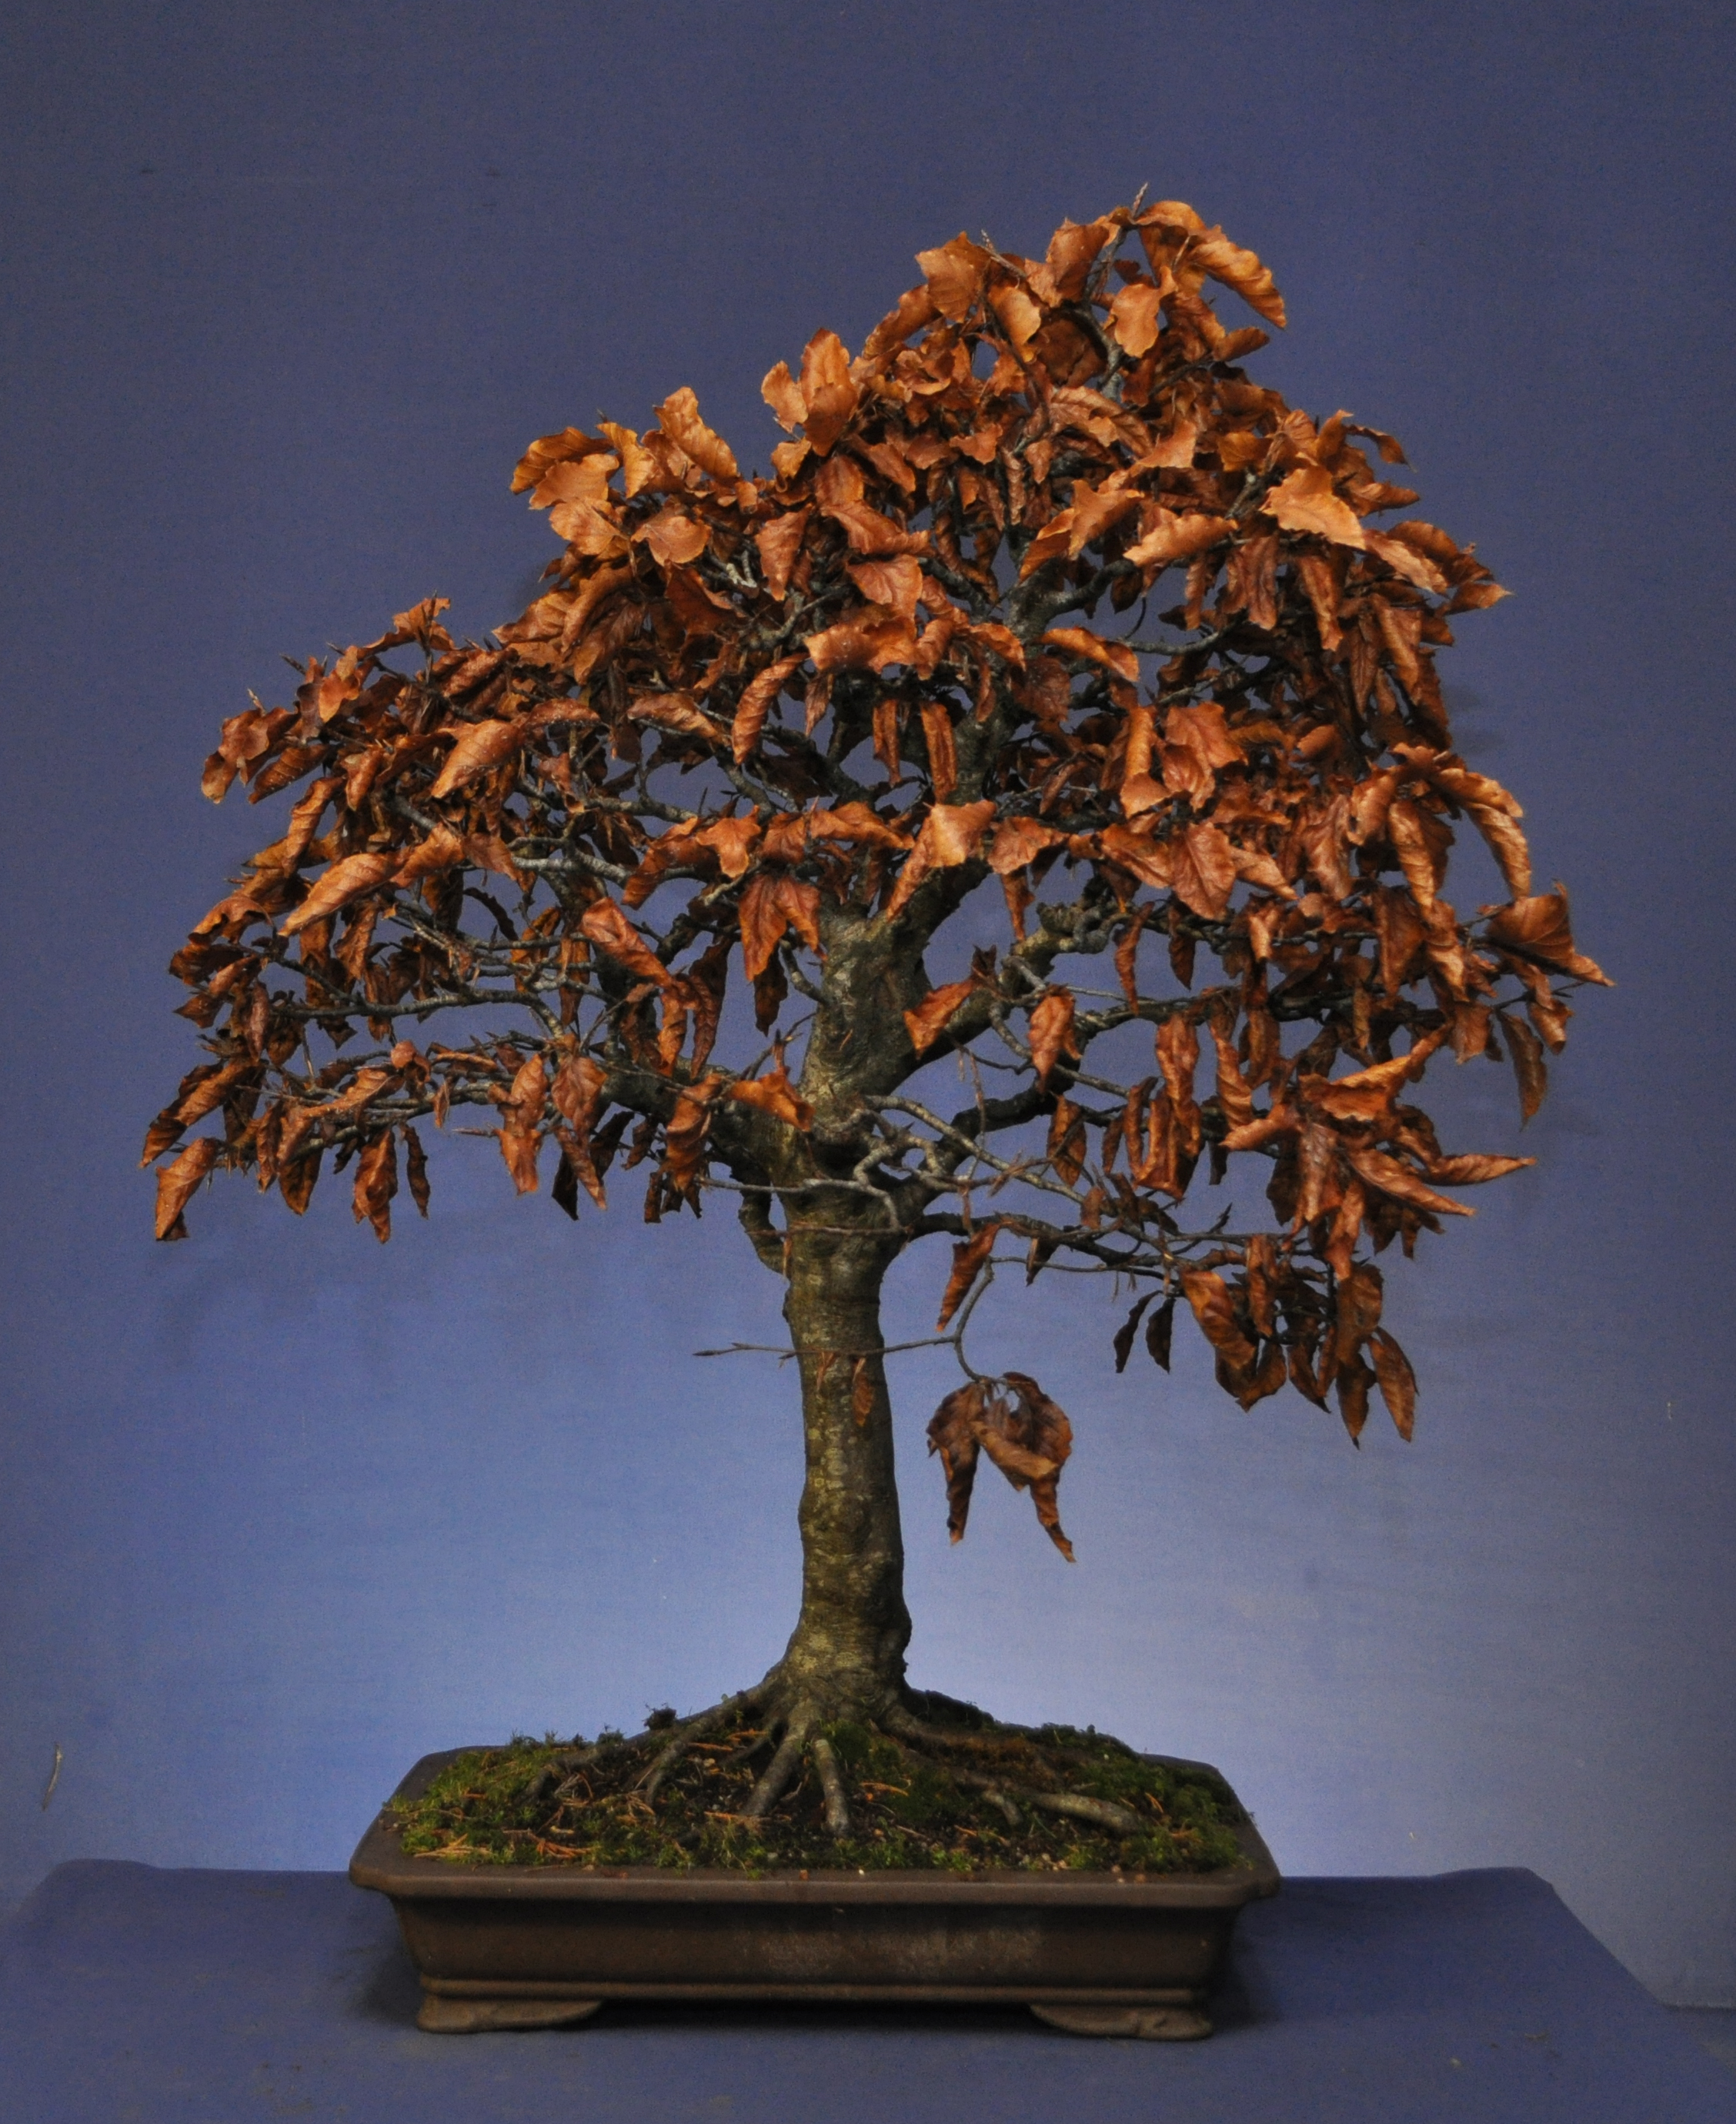
This was the old pot back in November.

Fuji Cherry

I repotted this fuji Cherry last week. I wasn’t happy with the lack of growth last year and wanted a look at what was going on with the roots. I also wanted to us the current pot for another tree. It is showing signs of flowering and I wanted to act now as it leafs out before the flowers finish.

DSC_0204

DSC_0207

DSC_0210


Root growth had been poor in the 3 years that it’s been in this pot. I changed the mix and transferred it into a different pot.

DSC_0299

A bit of TLC this year and nurture this one along I think. This was it a few years ago in Flower.

And a link to other seasonal photos of this tree.

Shohin Larch Repot

I acquired this little Larch back in September.

Winter Image in November

Last month I removed the rock and restyled the tree ready for a repot.

and on Saturday I repotted the tree into a nice little John Pitt pot that I bought from Willowbog Bonsai earlier in the month. Unusual that it’s glazed but I think it works well with a shohin tree. I might have to make a few adjustments as the tree was a tight fit and I couldn’t pot it exactly at the styled angle, it was going to look unbalanced in the pot with the tree positioned too far to the right and the movement all going to the right. By tilting the tree I was able to show a better nebari and show a better balance to the composition.

DSC_0278

Shohin Elm Repot

This little Cork Bark Elm was the base of an air layer a few years ago.

August 2011

September 2011

August 2012

and now…

Ready for a hair cut and a repot into a more suitable pot.

DSC_0212

In it’s new home. I’m loving yellow and orange pots at the moment 🙂

DSC_0214

Still a few heavy bits to be cut out but I’m getting there.

DSC_0215


Image

Shohin Larch

I posted about this Larch recently. It’s the latest addition to my collection. Originally a landscape with a rock in the pot, I removed the rock and have now wired the tree into it’s new shape. Next step will be a repot. I can see a few problems with the roots and fitting them into an appropriately sized pot. I think I have one for the job but time will tell.

This is the before shot

DSC_0010


Rock removed

DSC_0026

This is it after wiring and shaping. I have removed a heavy front branch that was blocking some of the real character exhibited in the trunk line. A small jin created but this may be removed soon. I’ve just left it for now to consider.A lot of thinning out done and many smaller but overly heavy branches removed.

DSC_0135

A slightly different angle that shows the trunk line a little better.

DSC_0137

Image

Escallonia Winter Work

I did a little tidy up on some late shoots on my Escallonia. This is it before the trim and shows the old front.

DSC_0024

After a trim

DSC_0118

The new front.DSC_0122

DSC_0126

DSC_0127

The back showing another live vein

DSC_0129

Elm Adjustments

I have been making a few decisions with this field grown Cork Bark Elm. It was styled a few years ago and since then I have been building up ramification and girth to lower branches.

This year saw a lot of growth but a lot of this wasn’t in the right places. The wire had been removed last Winter and during the year they have risen out of  the desired profile. The finer growth is too dense in places to the detriment of inner areas.

DSC_0006


I spent an hour the other afternoon wiring the primary and secondary branching and thinning out the dense areas to create proper structure. Although this has reduced the size of the overall tree, in a negative way, the structure left is correct and I will be able to quickly replace the ramification. I did manage to snap a little branch near the apex. Didn’t see that pruning wound from last year which had created a weak spot. At least at the apex it can be replaced quickly.

DSC_0007


The foliage mass needs to be at least twice as much as it is now, but that’s part of the enjoyment of deciduous bonsai, no quick fixes.

Image

Beech Autumn to Winter

Back

DSC_0002

Front

DSC_0004

Half way strip

DSC_0014

Back

DSC_0016

DSC_0017

Front

DSC_0019

Image

Step One

Step one on this little Larch was an easy one. The removal of the rock. I can now get a better look at what’s on offer and make a few decisions about future options.

DSC_0010 DSC_0026

Image

Wild Pear 2013


Wild Pear, raw material and early days but unusual enough to stick with I think.

Spring

DSC_0395


Winter

DSC_0143