
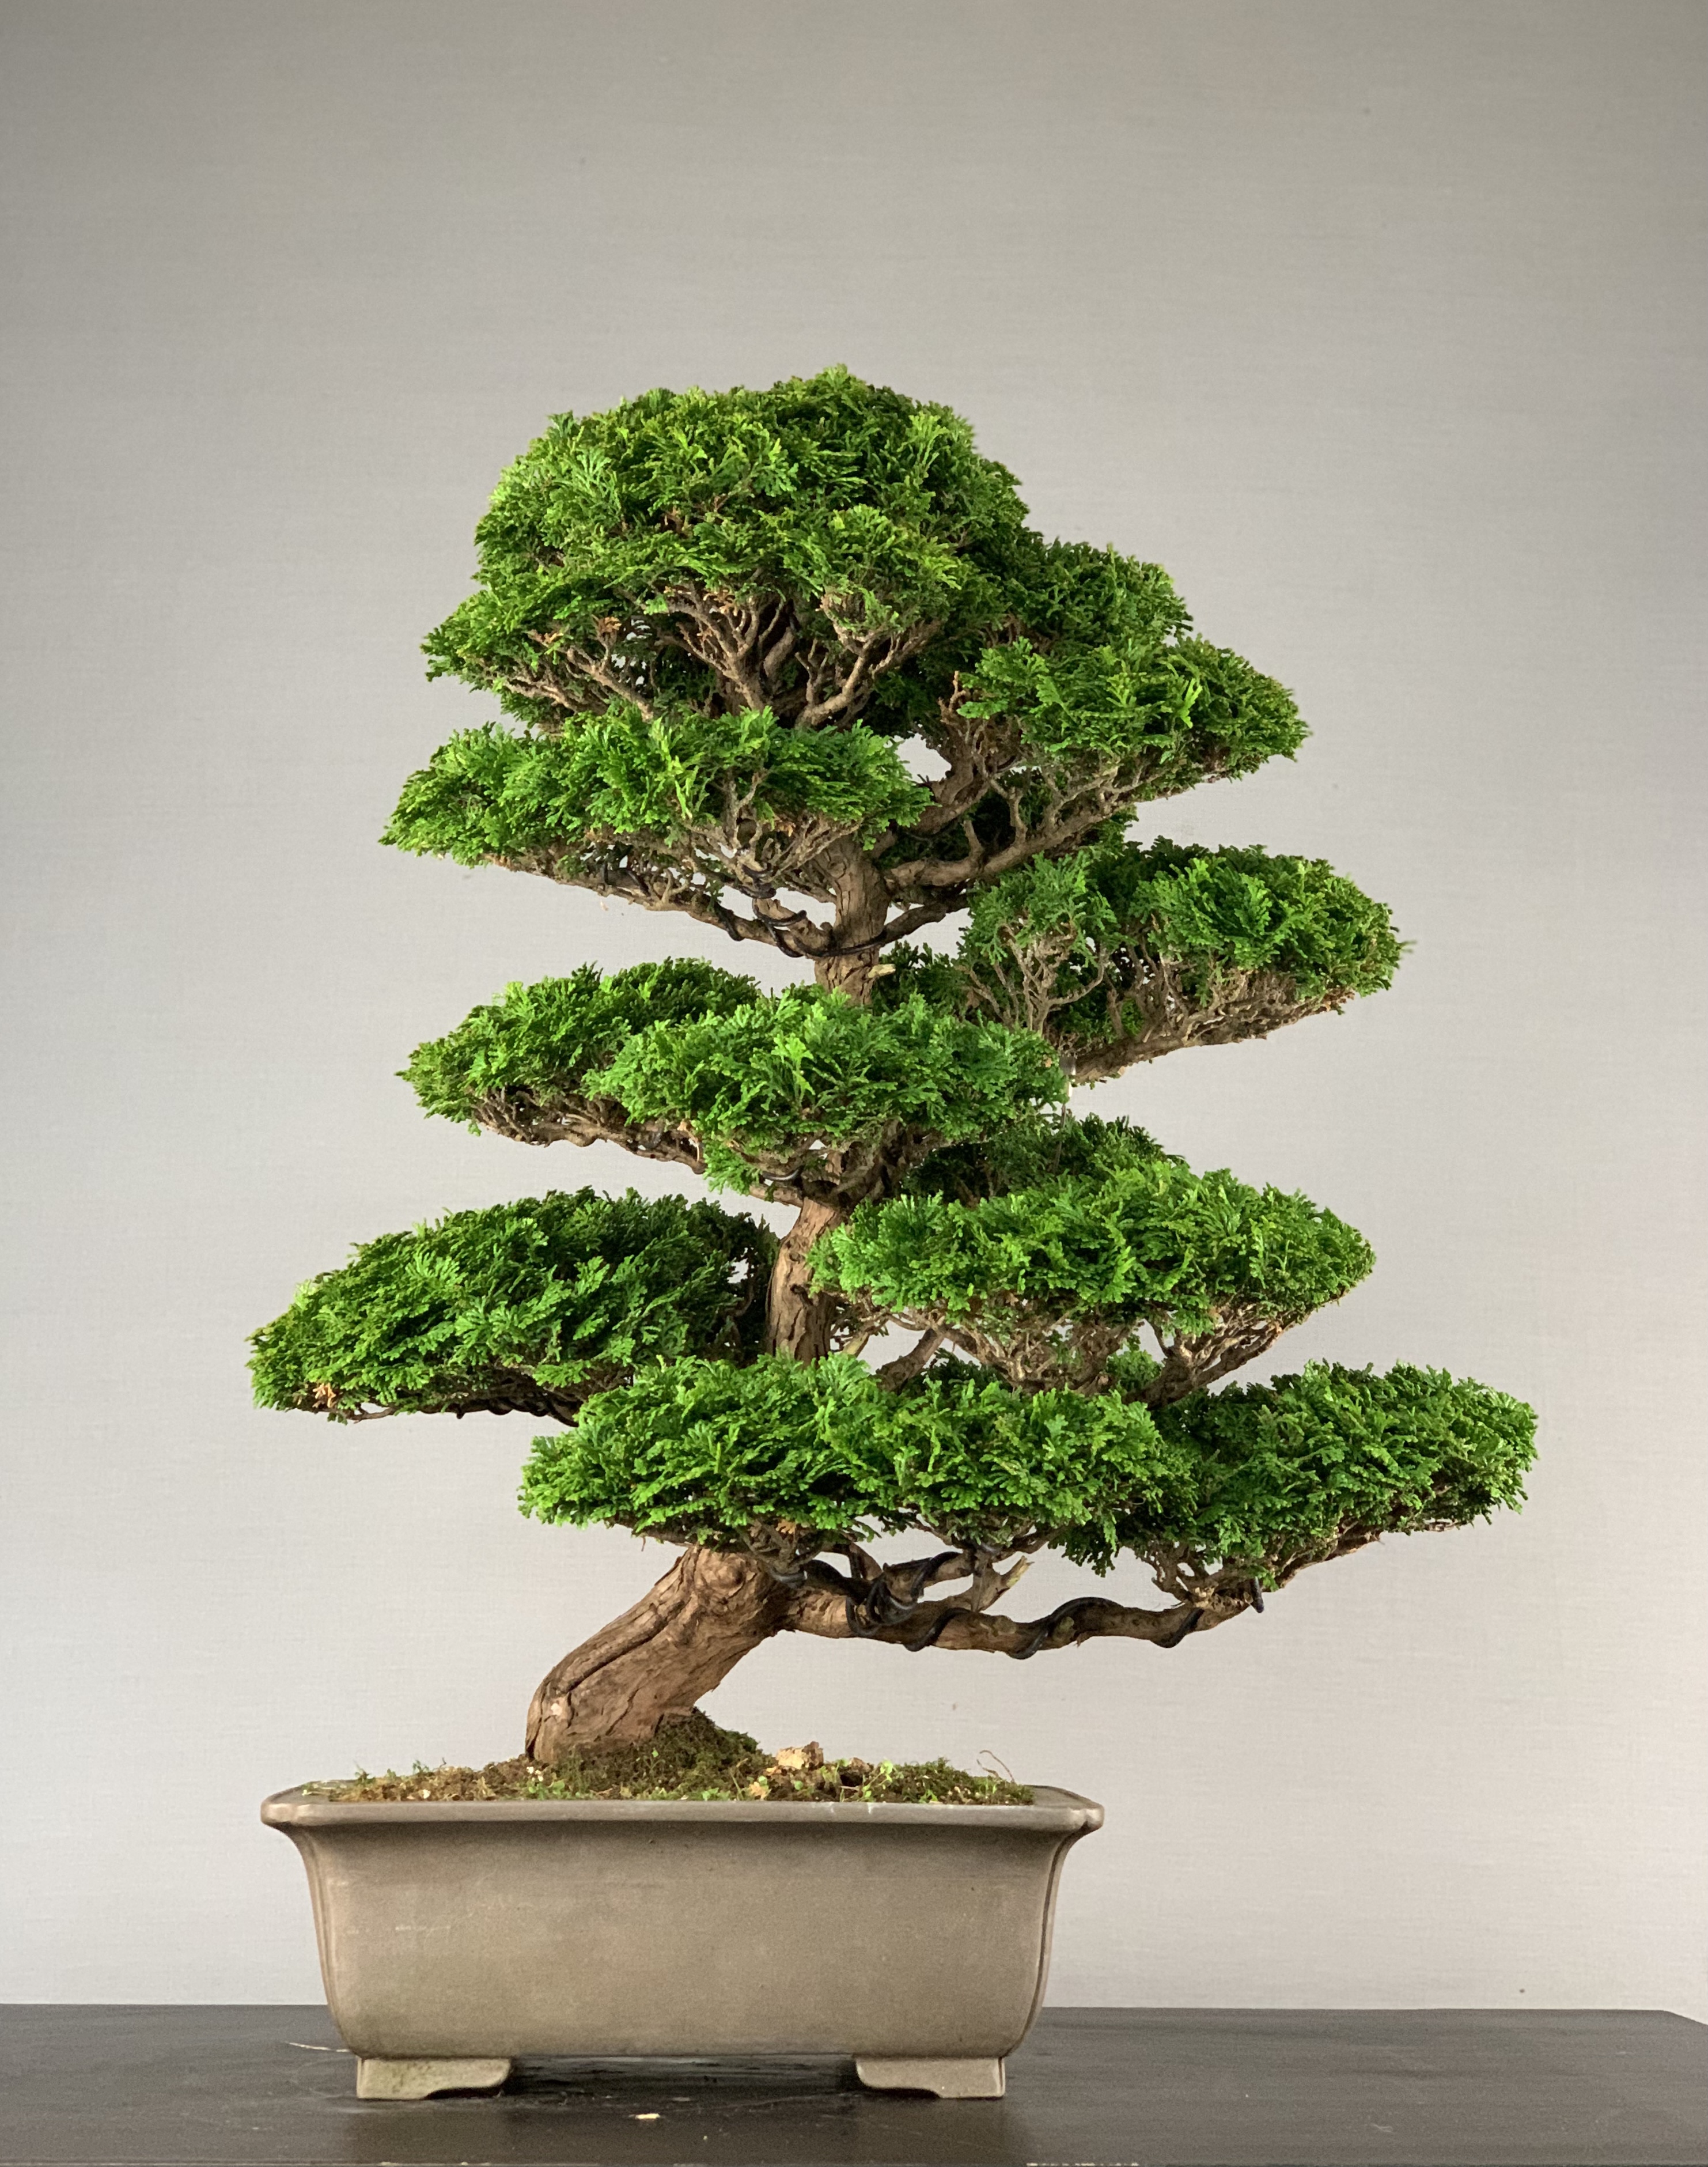
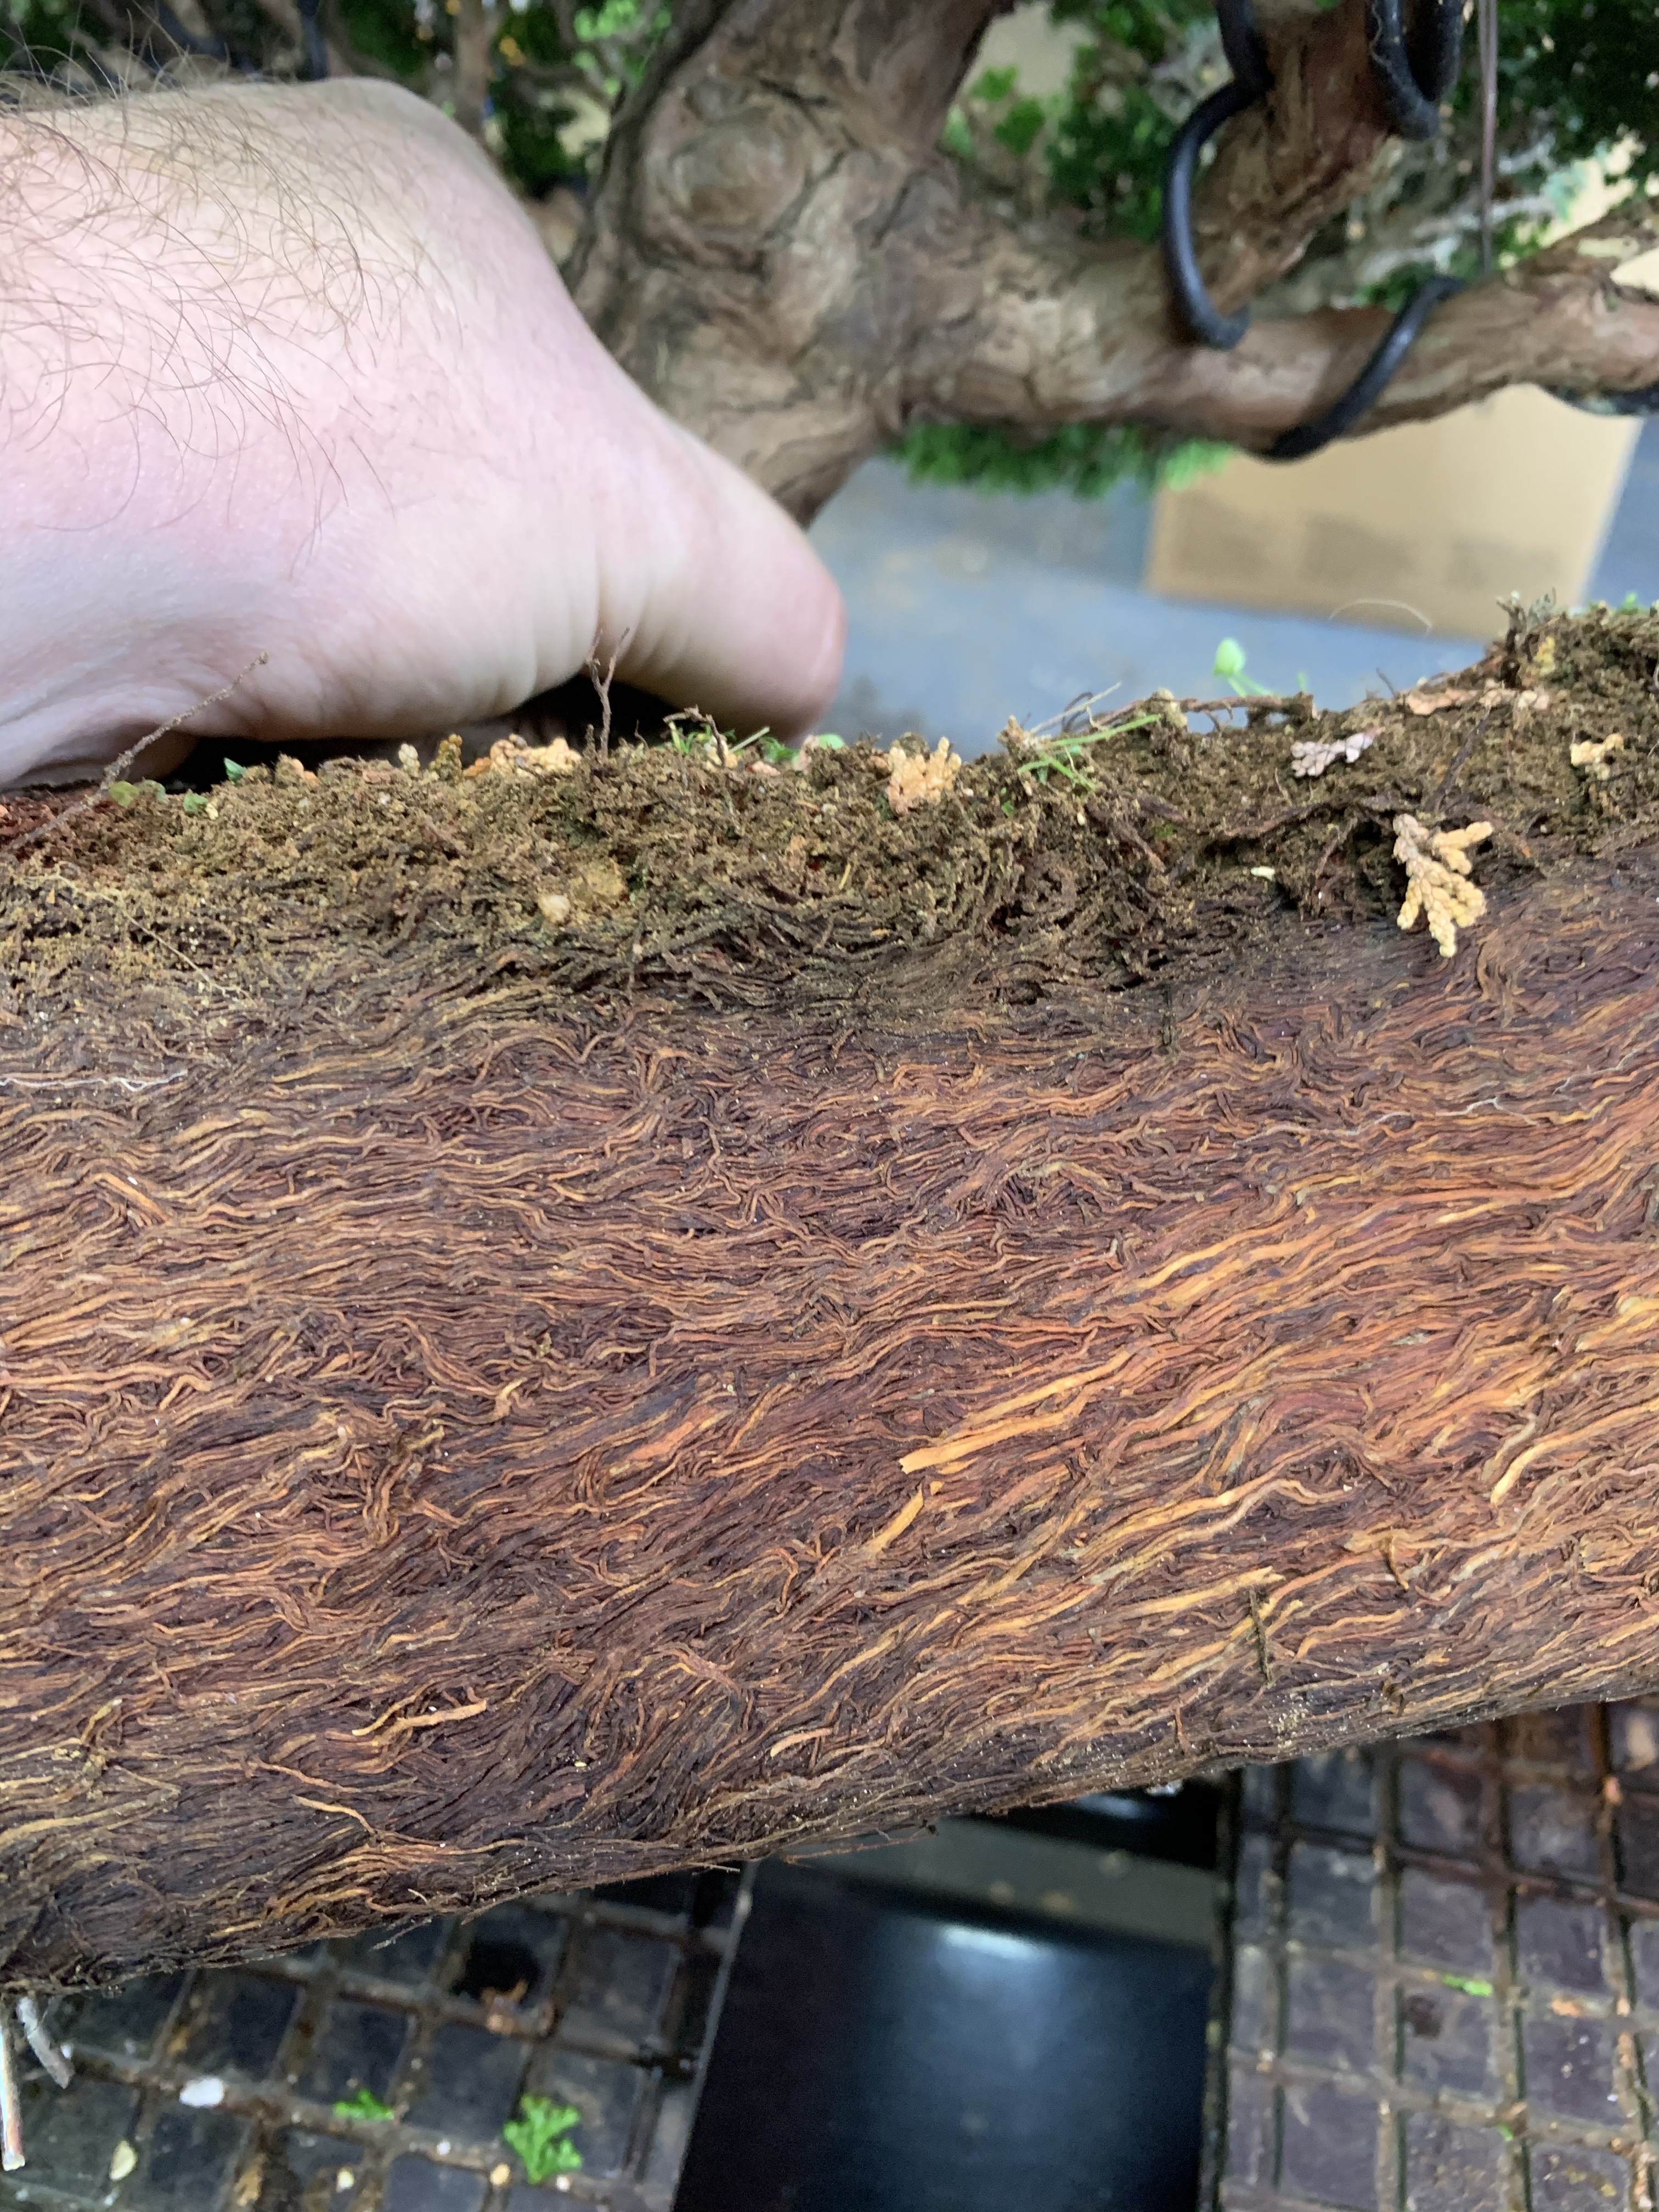
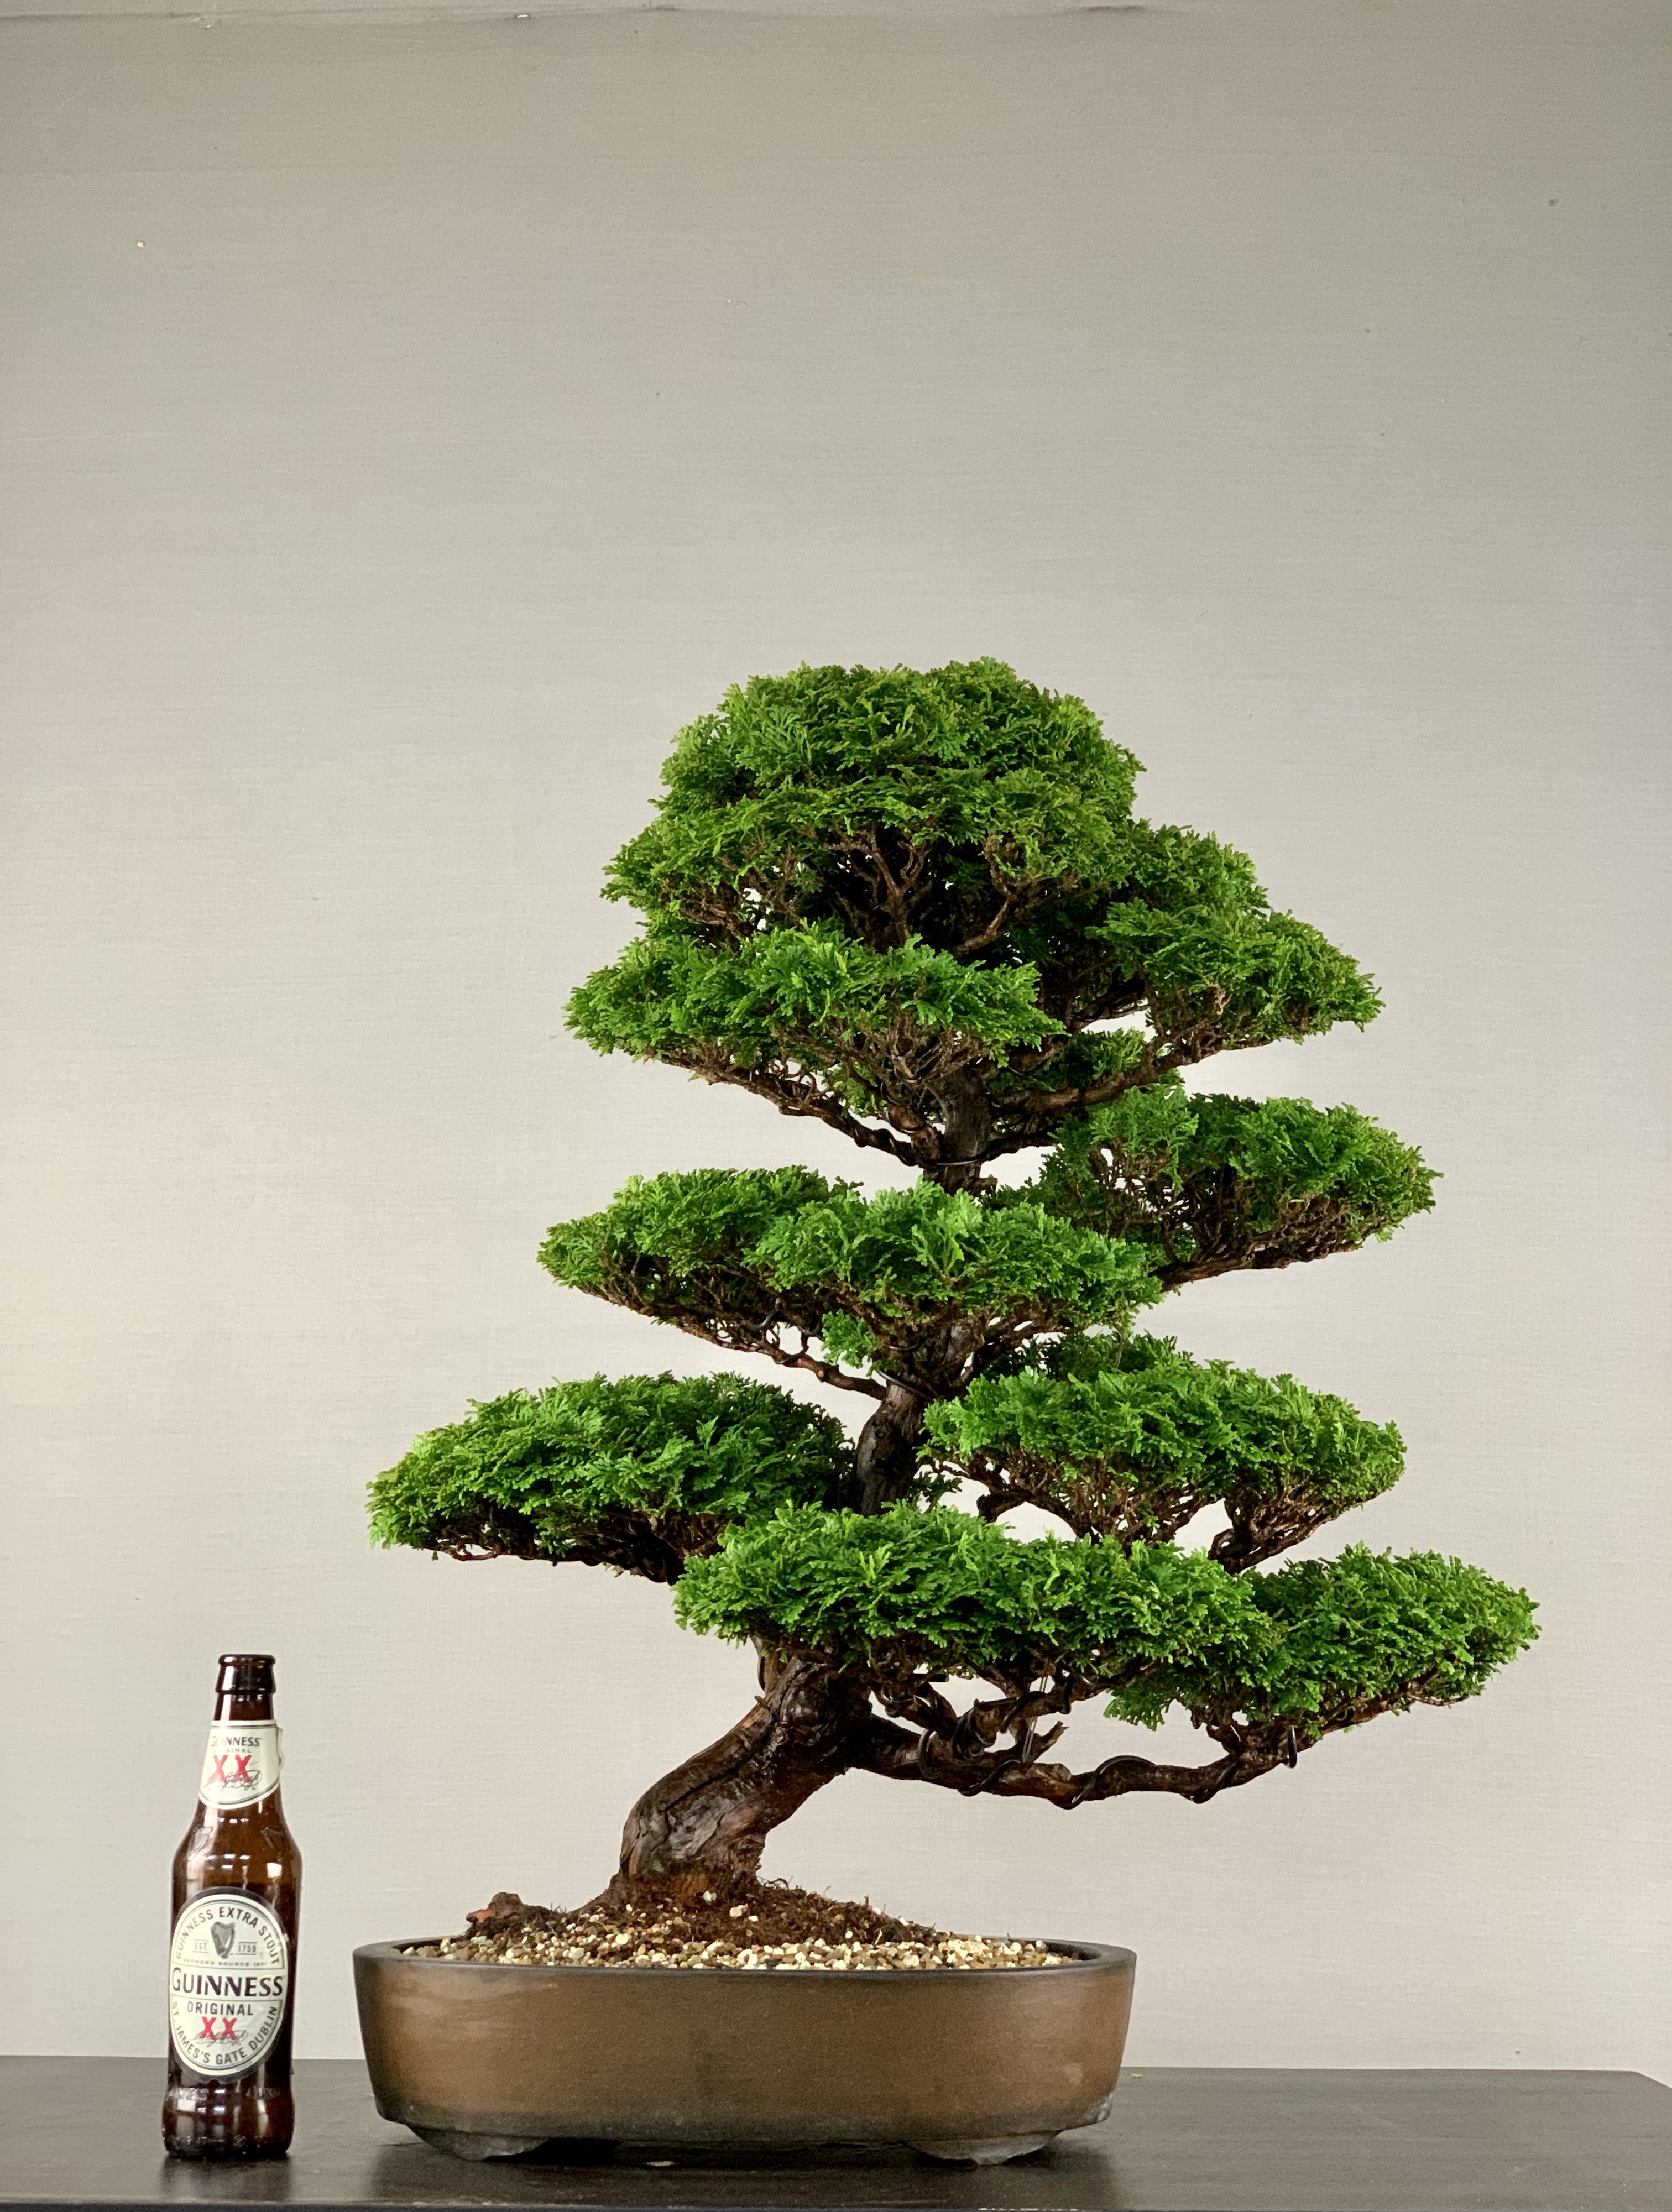
Hinoki Cypress repot today with Alan. A very nice tree with an view from below worth checking out.


Raft Maple Progression
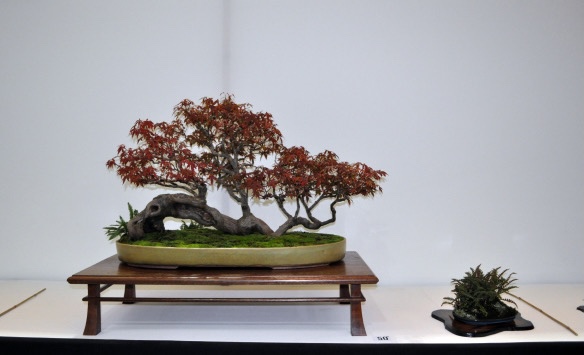
Back in 2013 my good friend Stephen bought this Raft maple from Willowbog Bonsai. The tree, Acer Palmatum Anyropurpureum, had previously been started from garden Centre material having. Even laid horizontally in a box for a few year to create the raft image. It had been displayed in John Hanbys Newstead Exhibition in 2010. These are some of the photos from the trees creation through to around 2012.


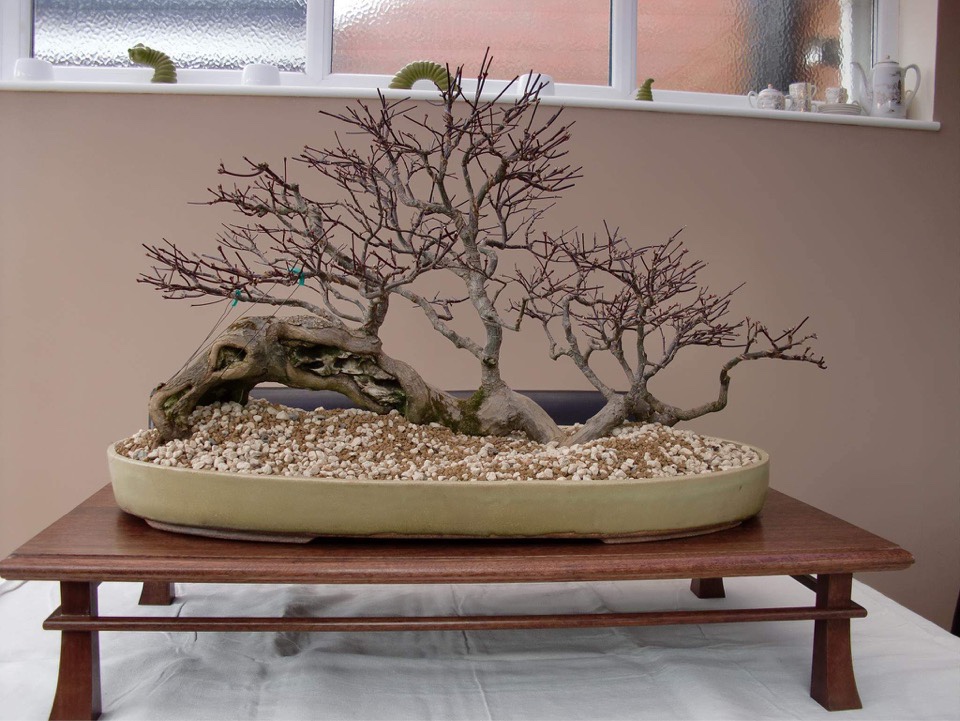


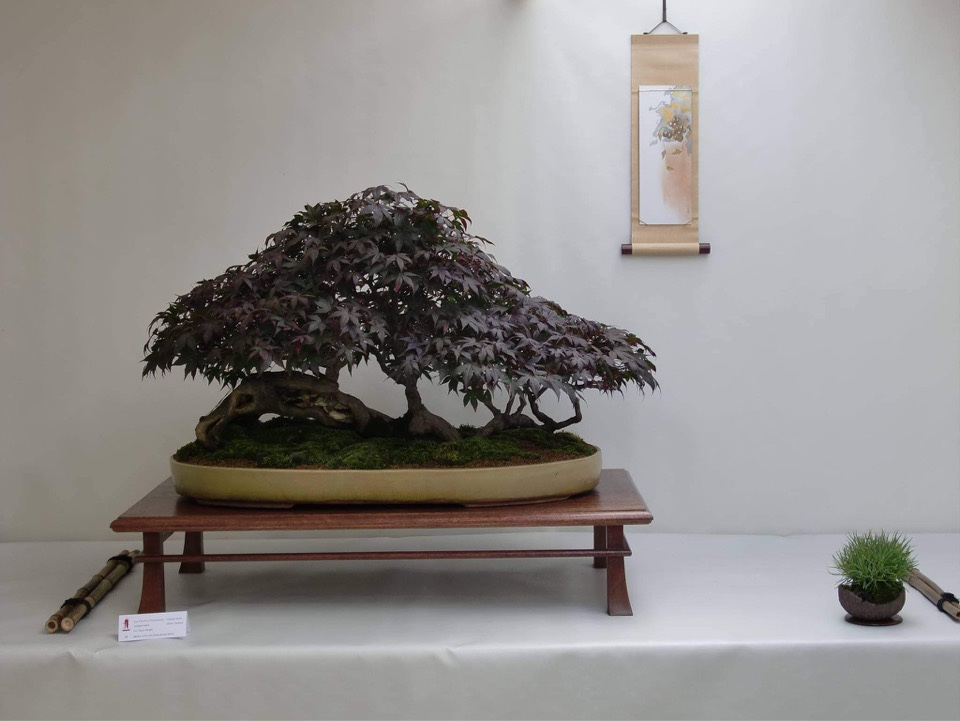

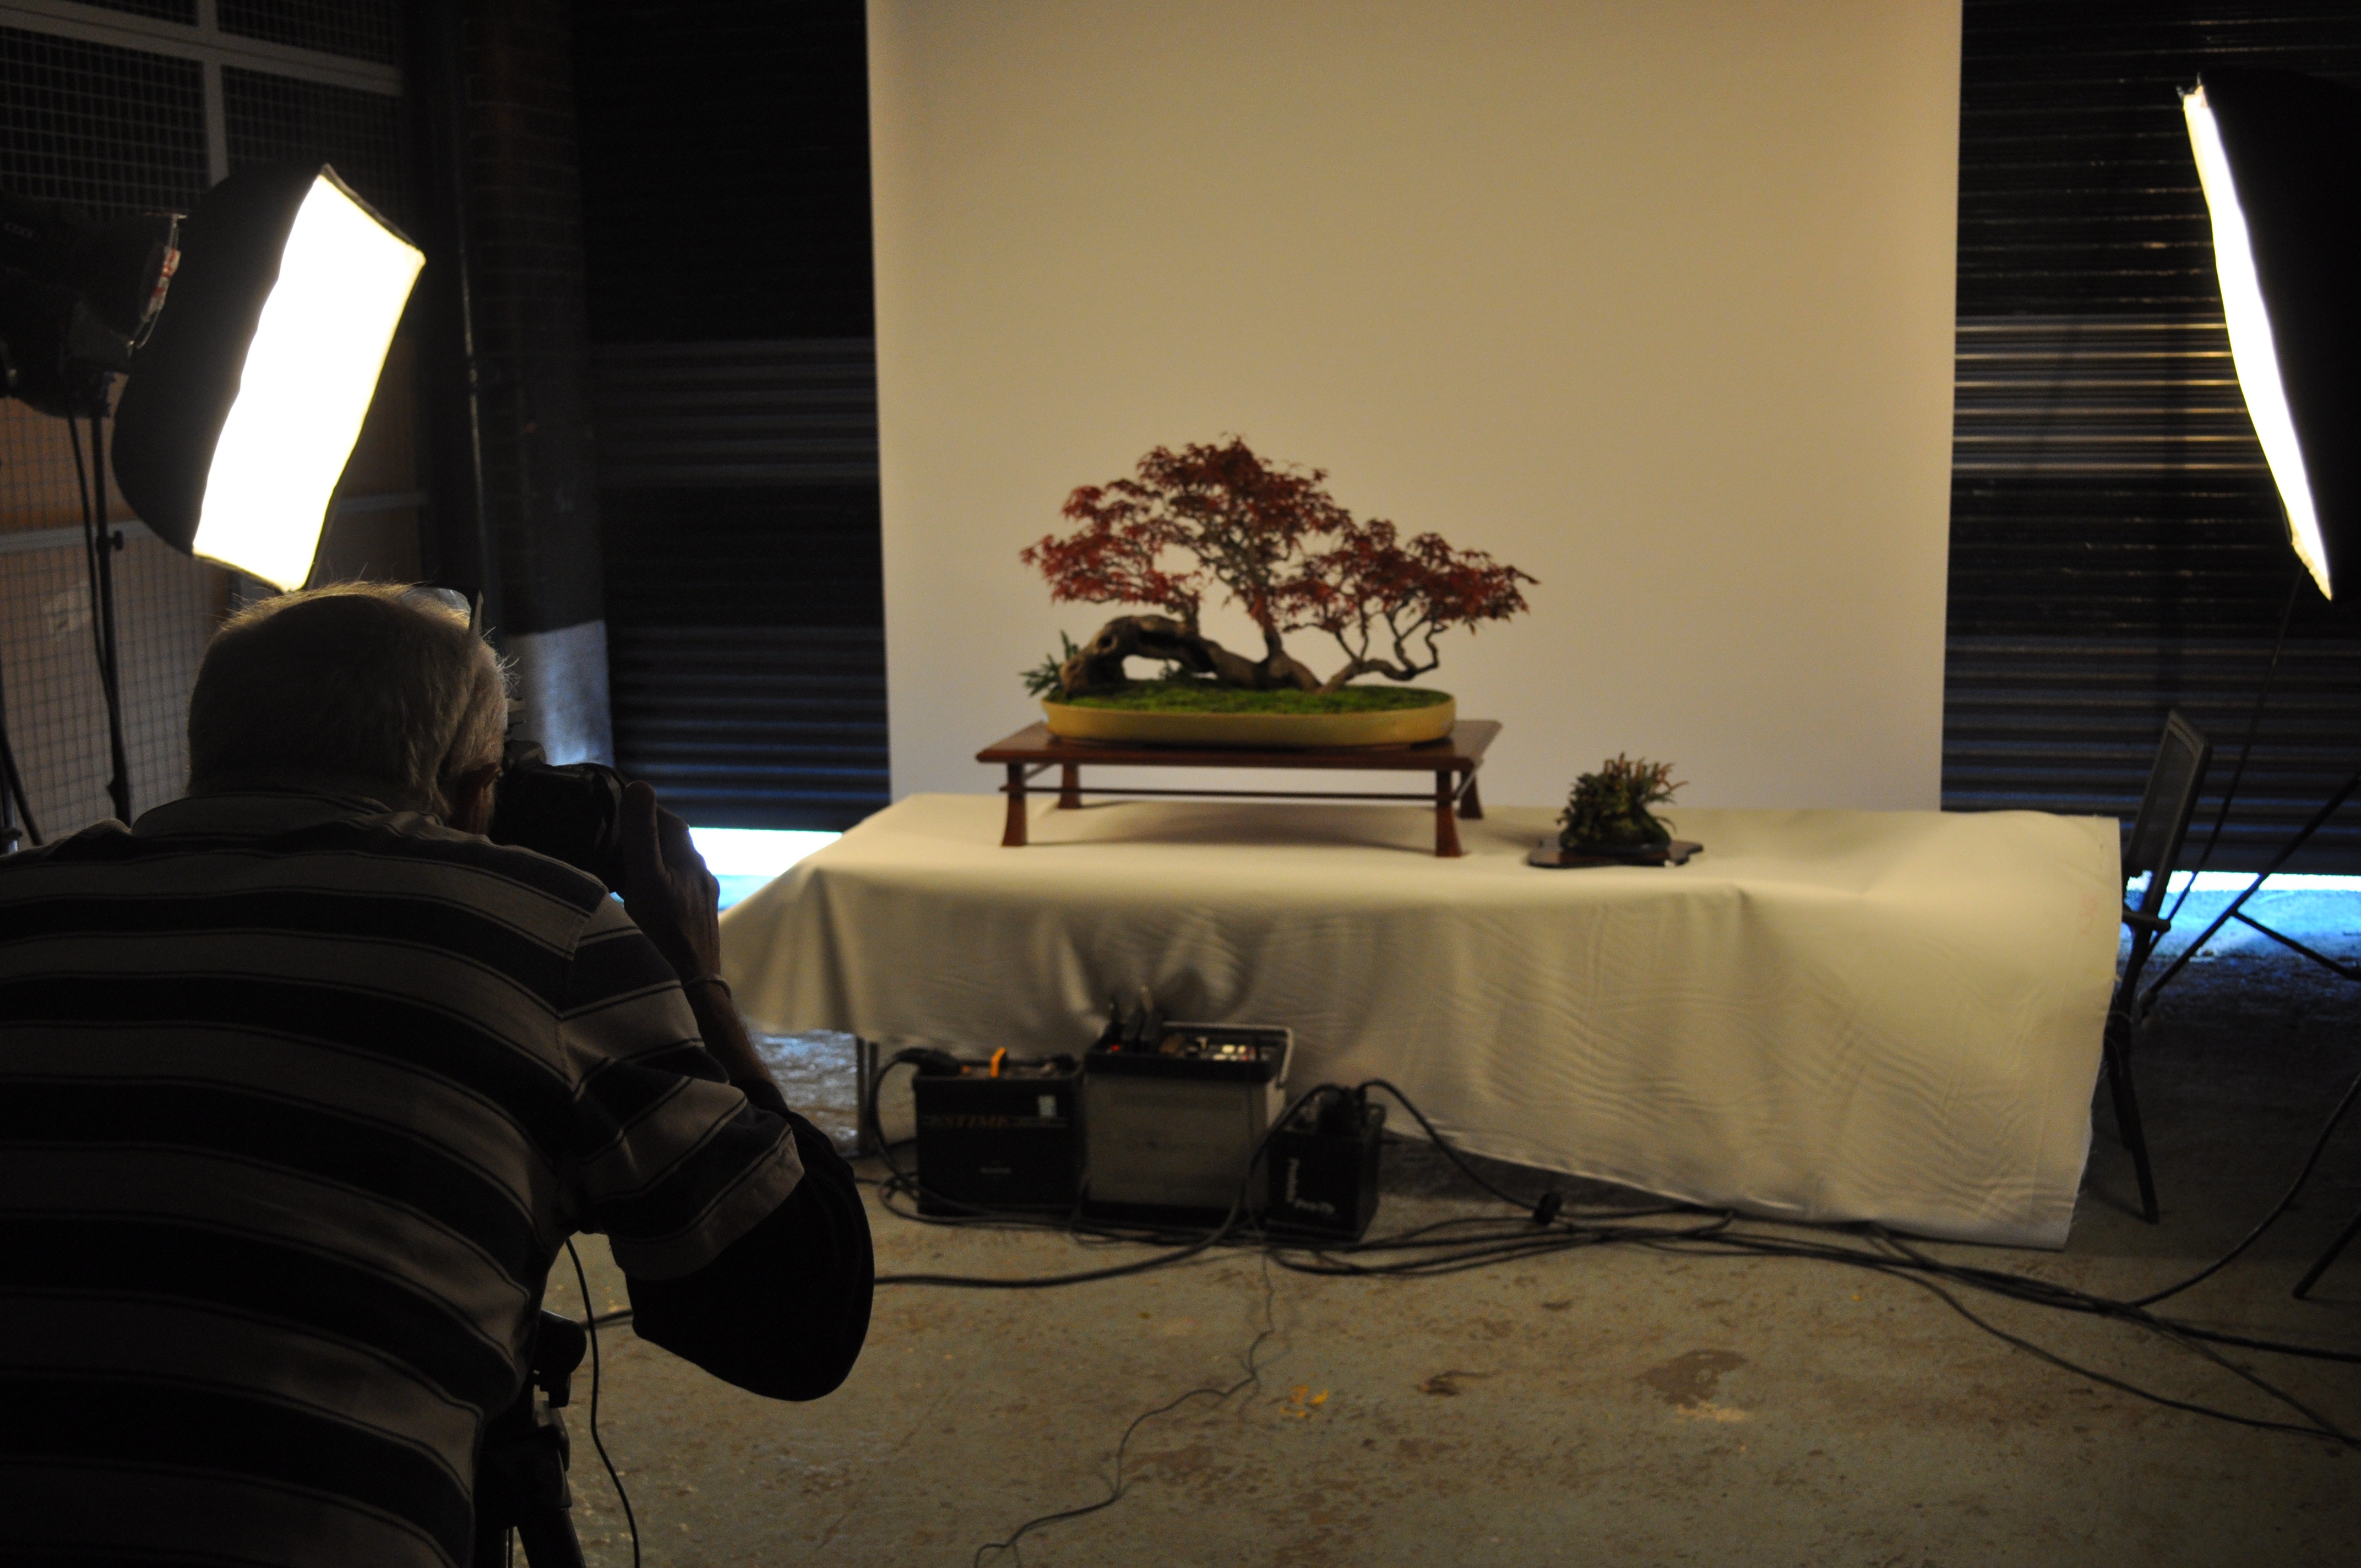
Stephen exhibited the tree in Bonsai Europa in 2015.


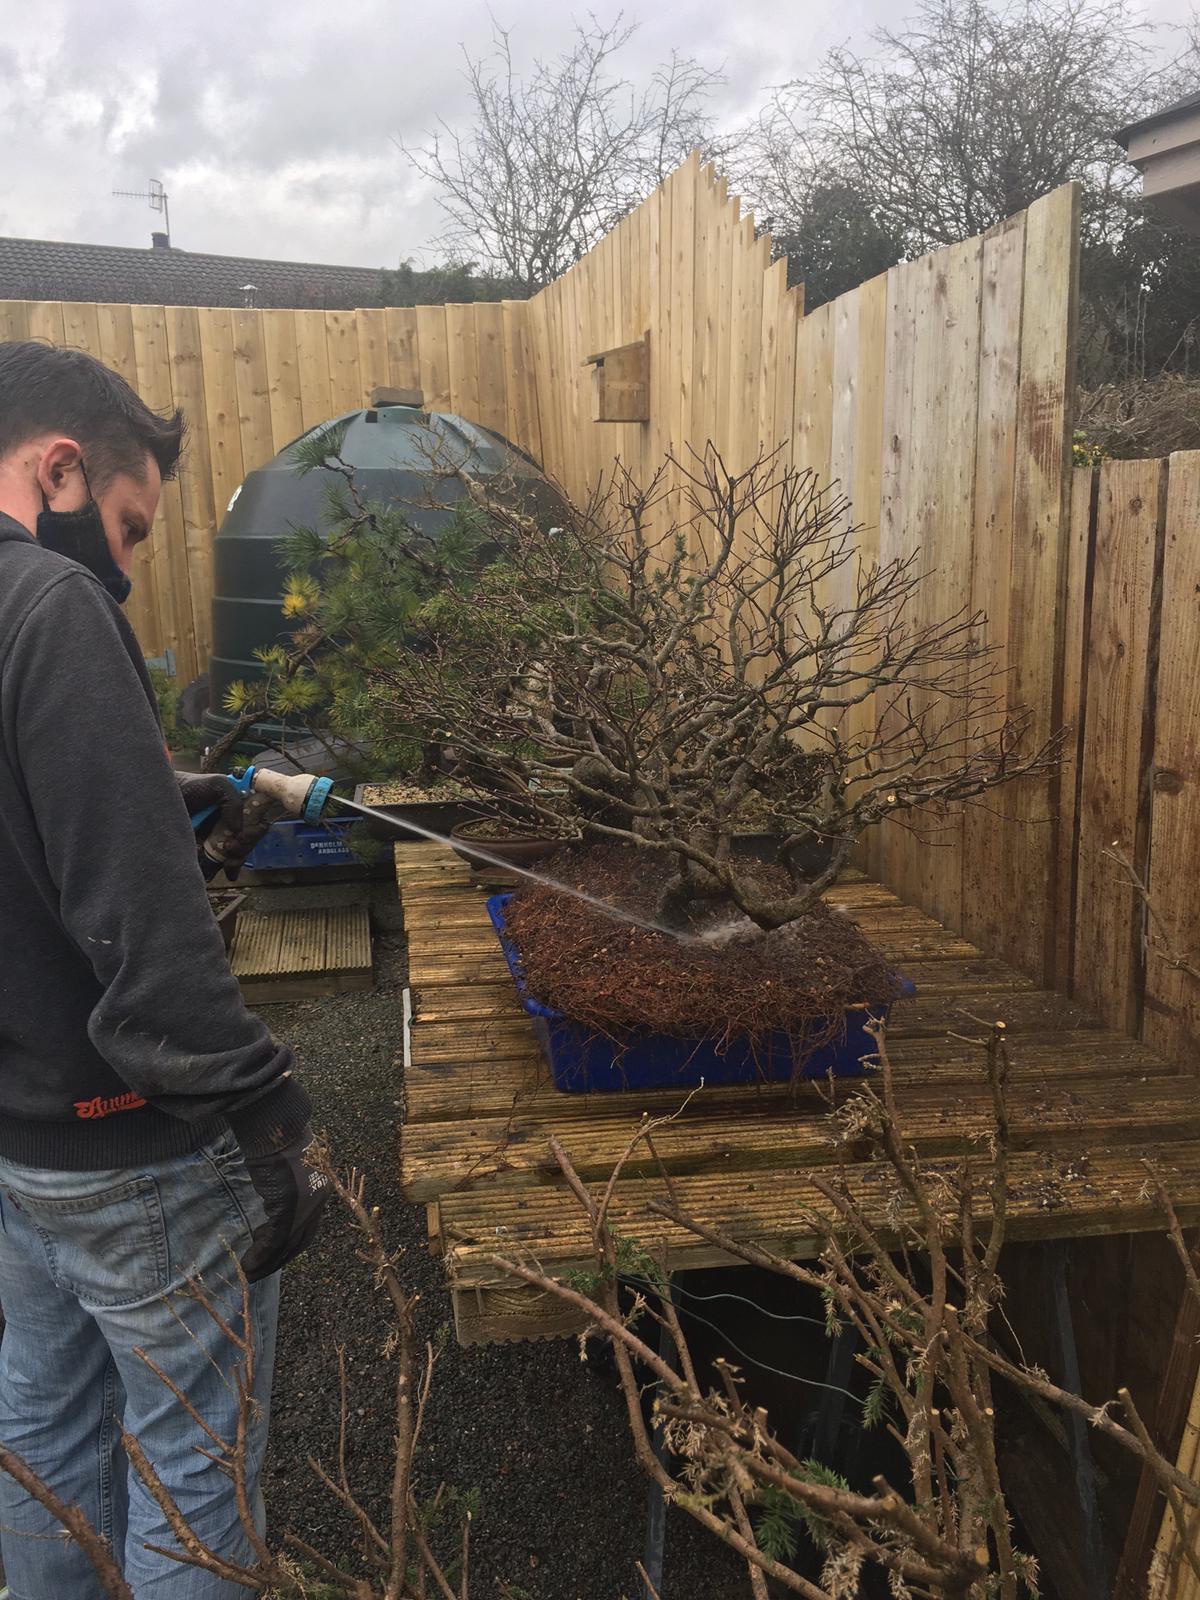
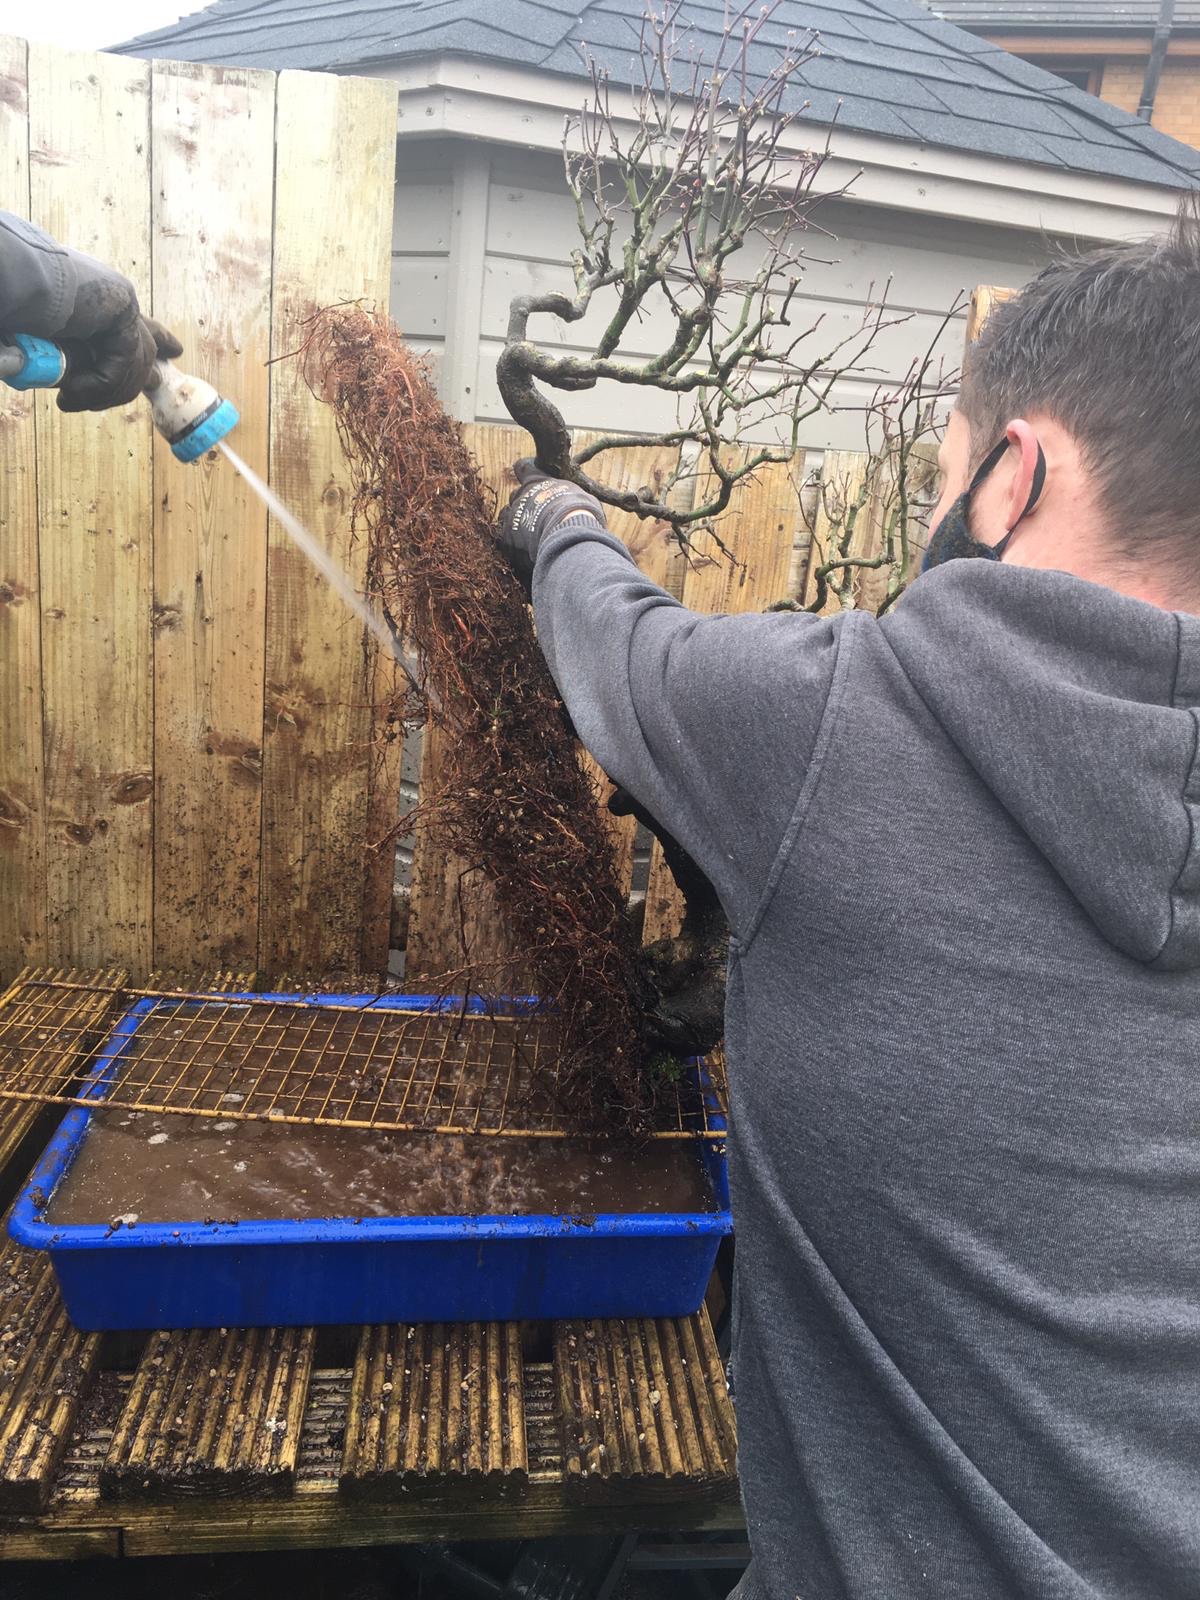
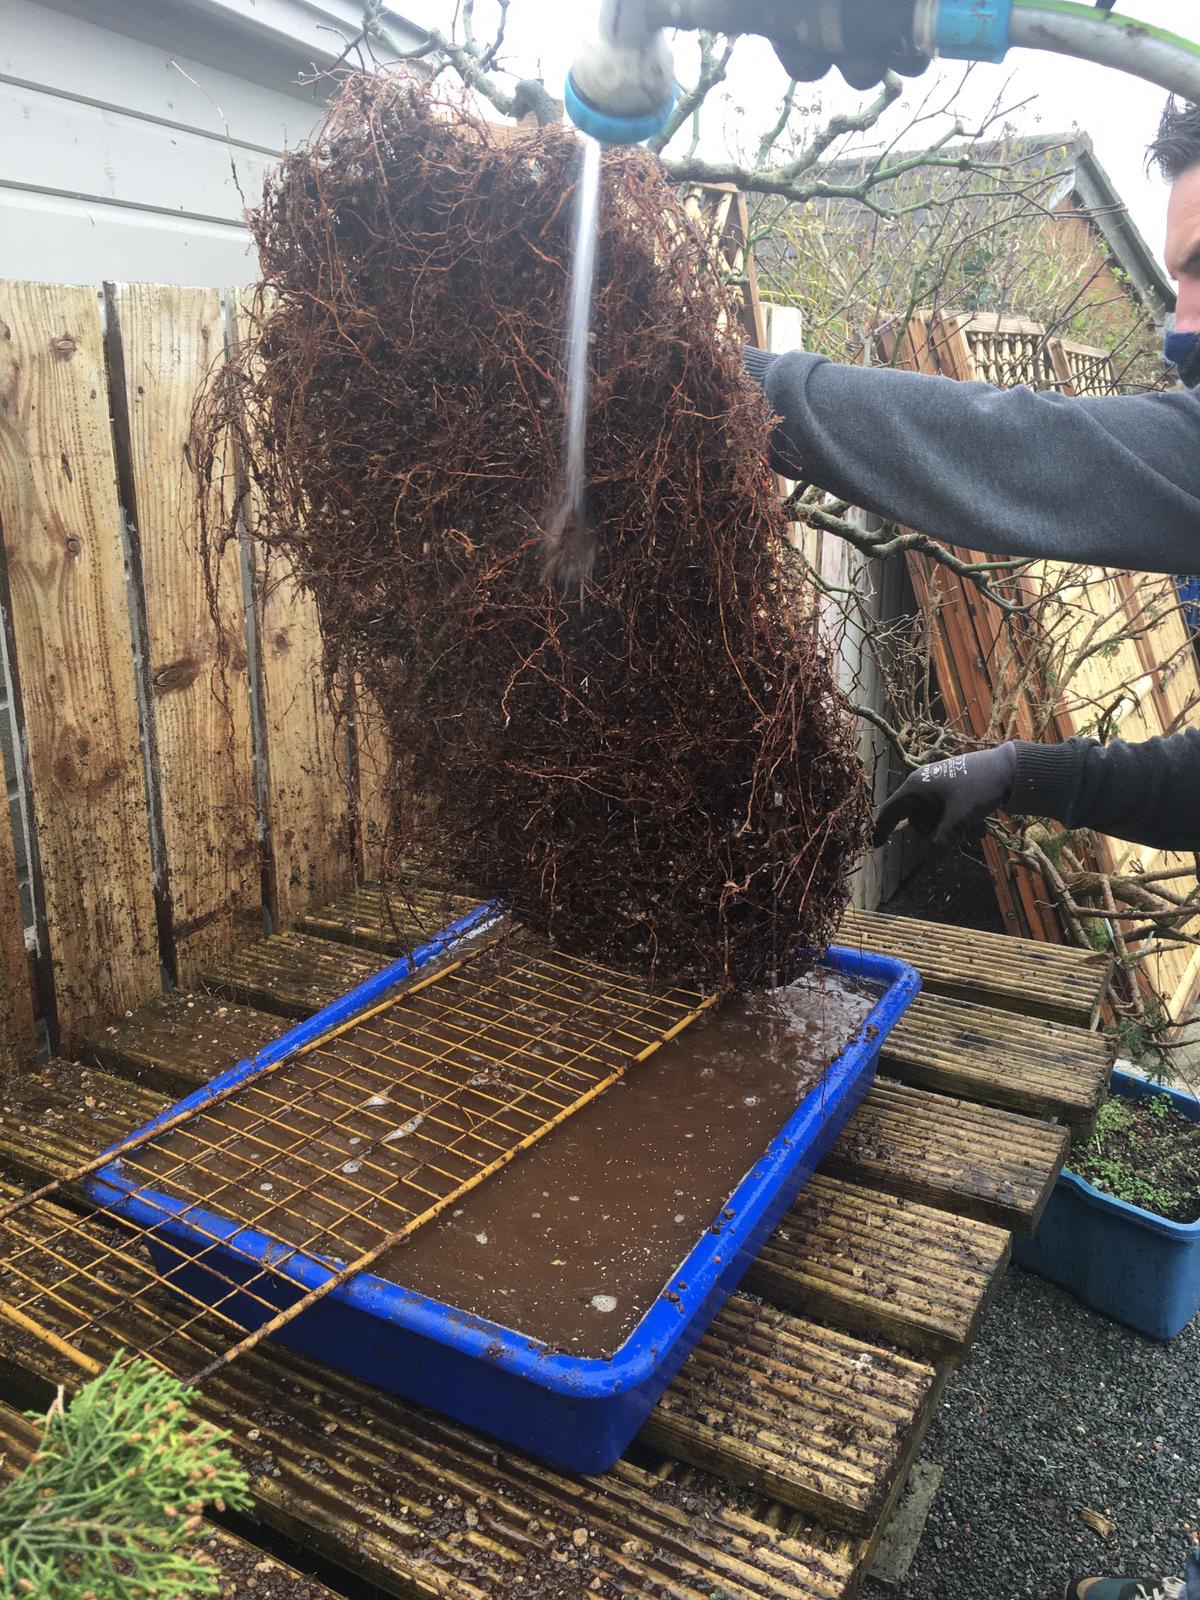
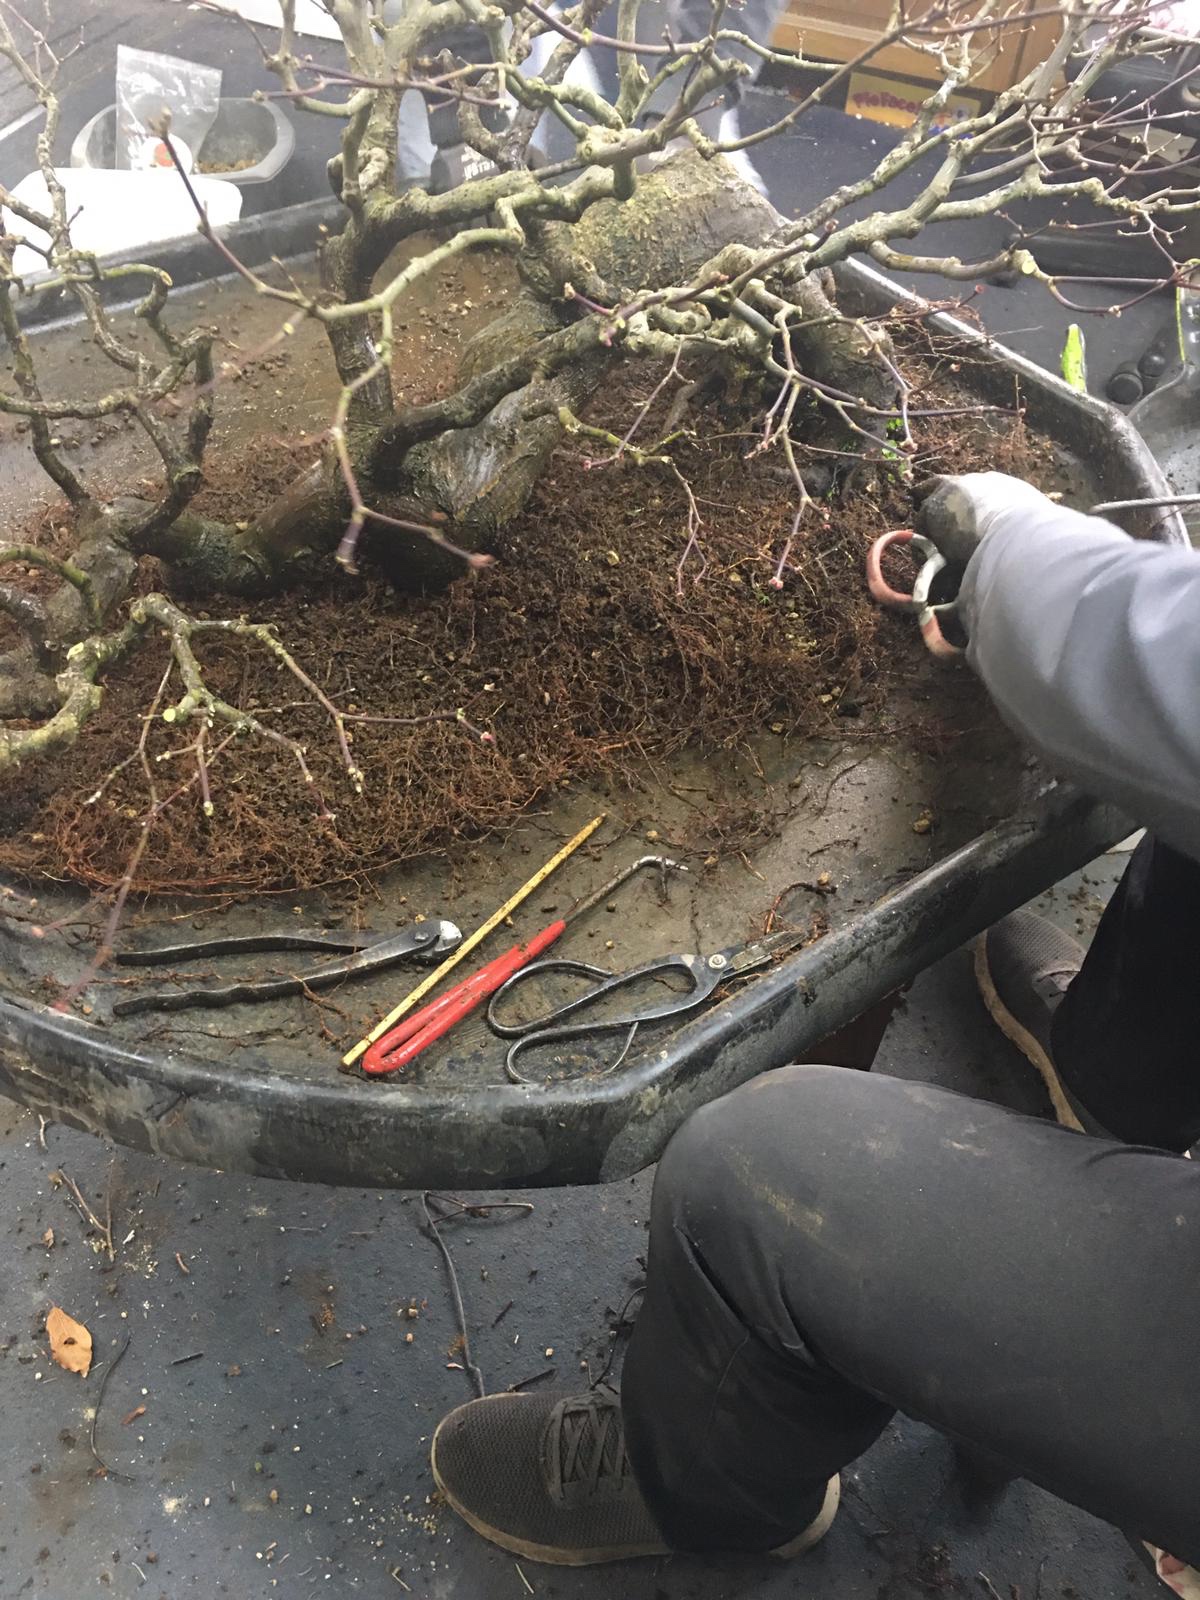
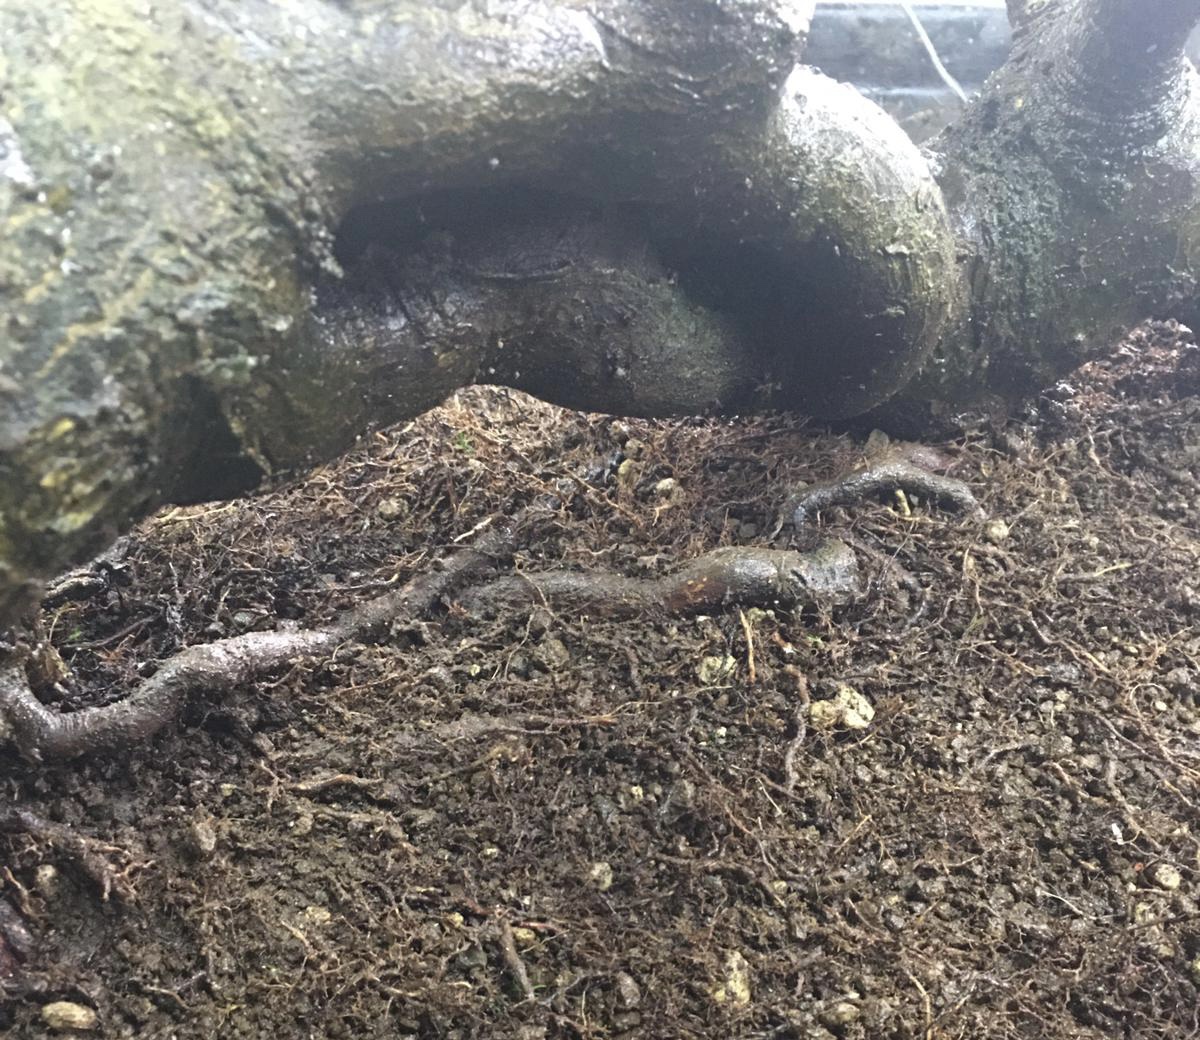
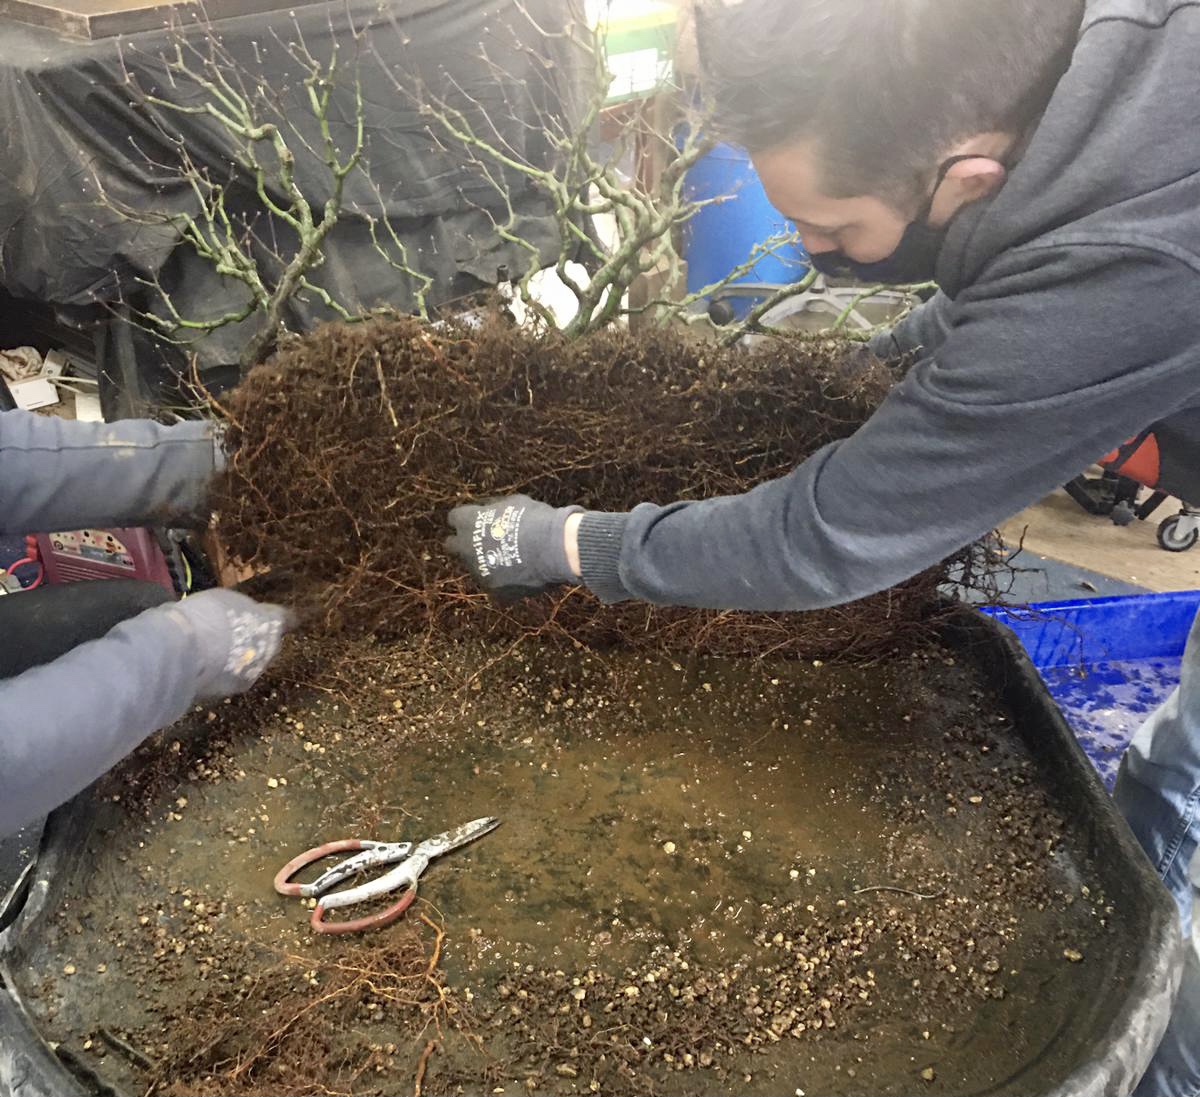
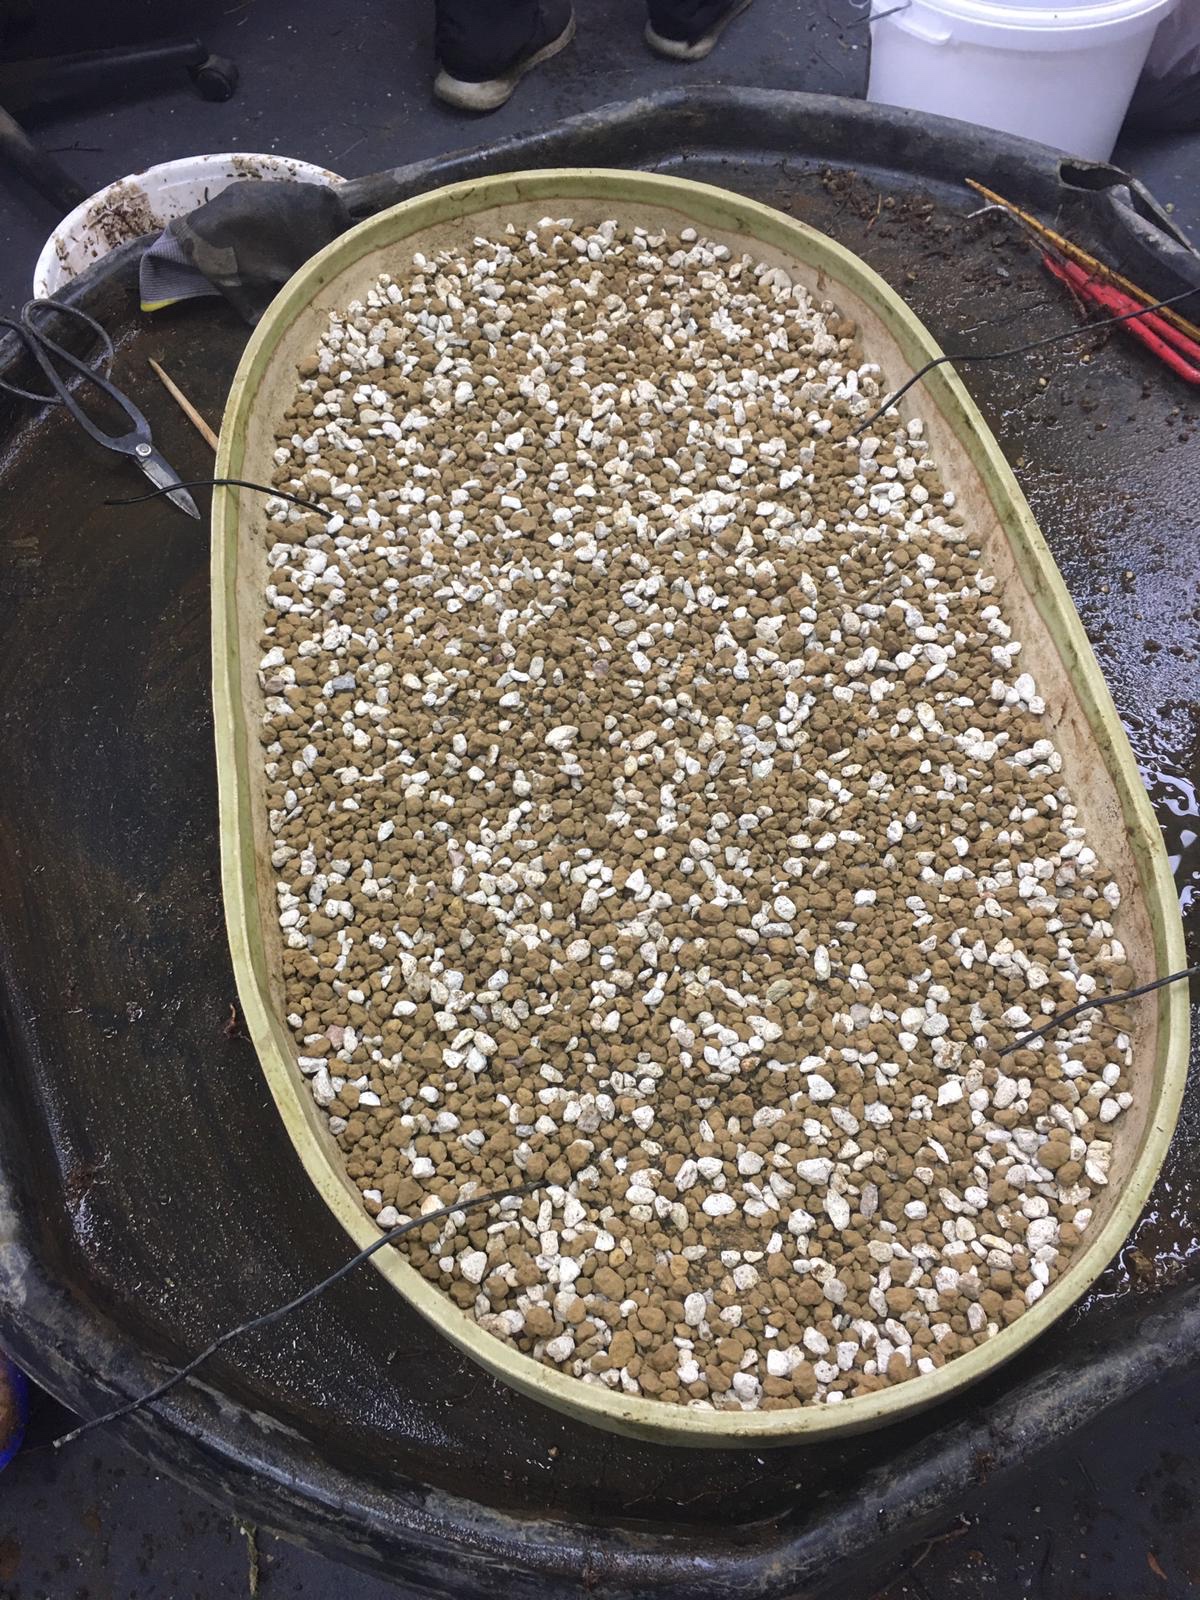
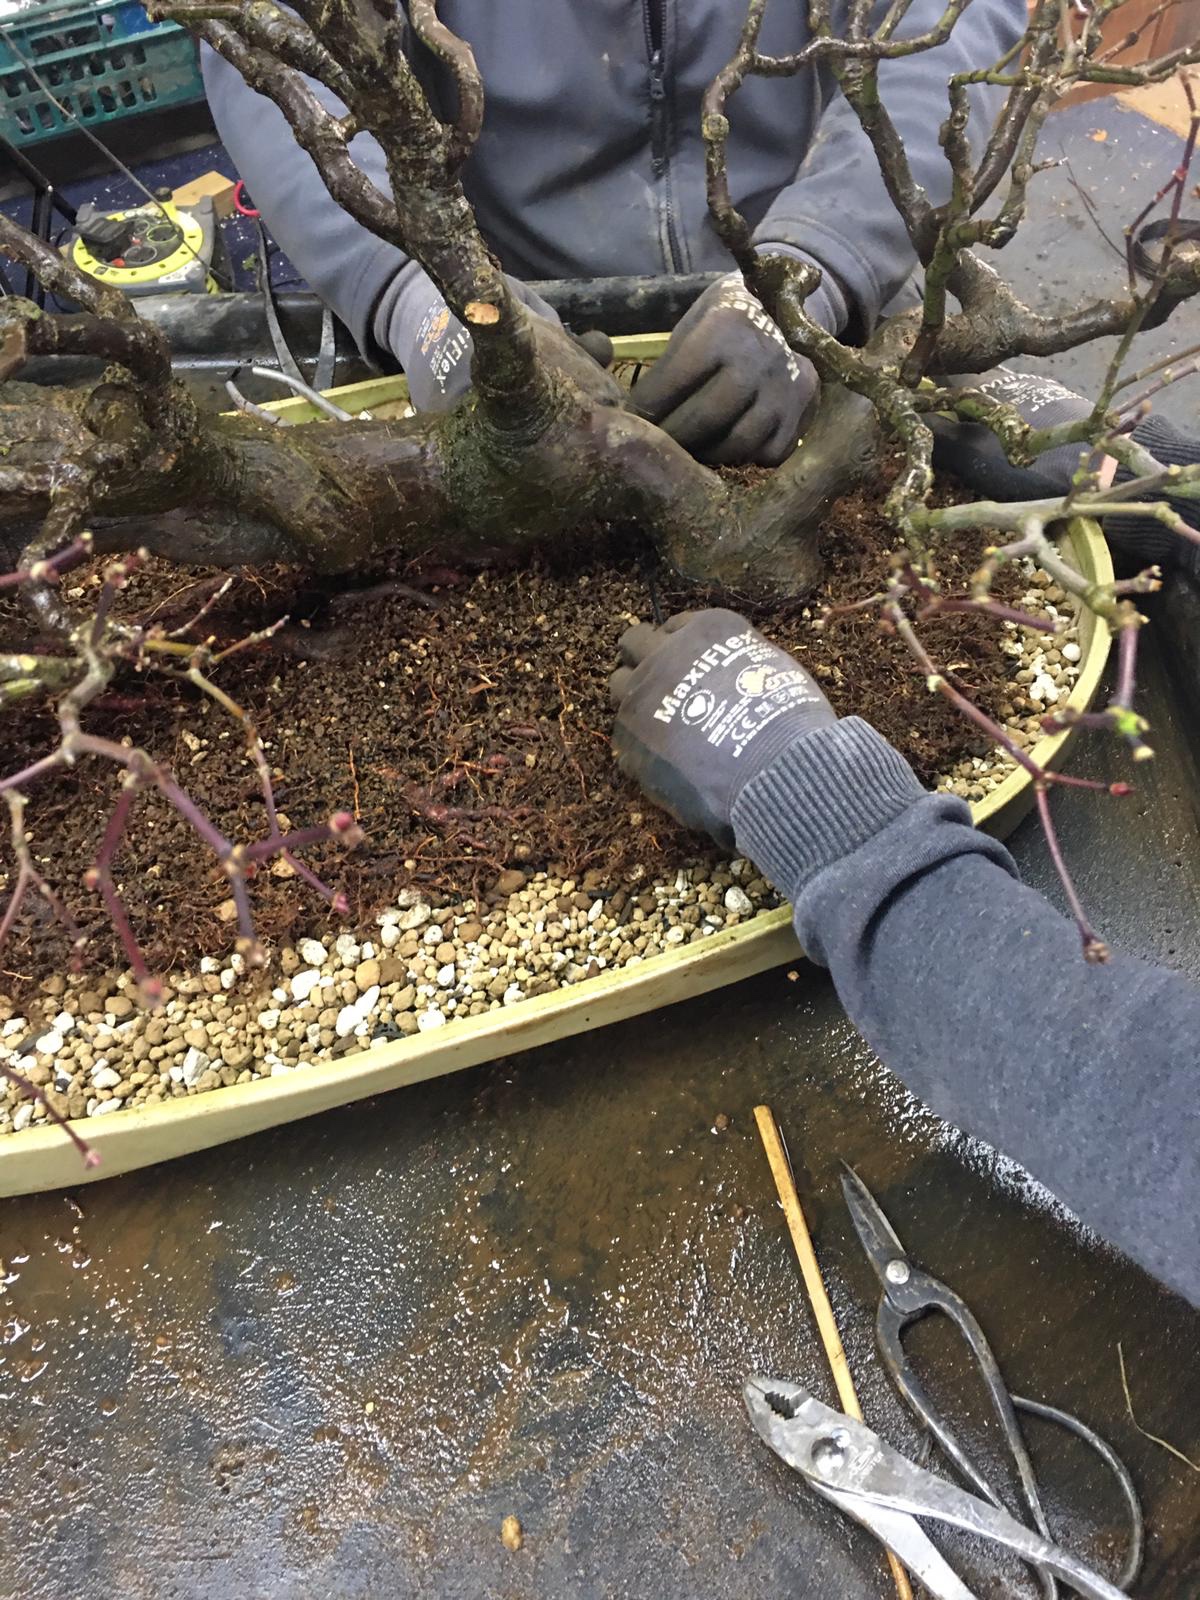
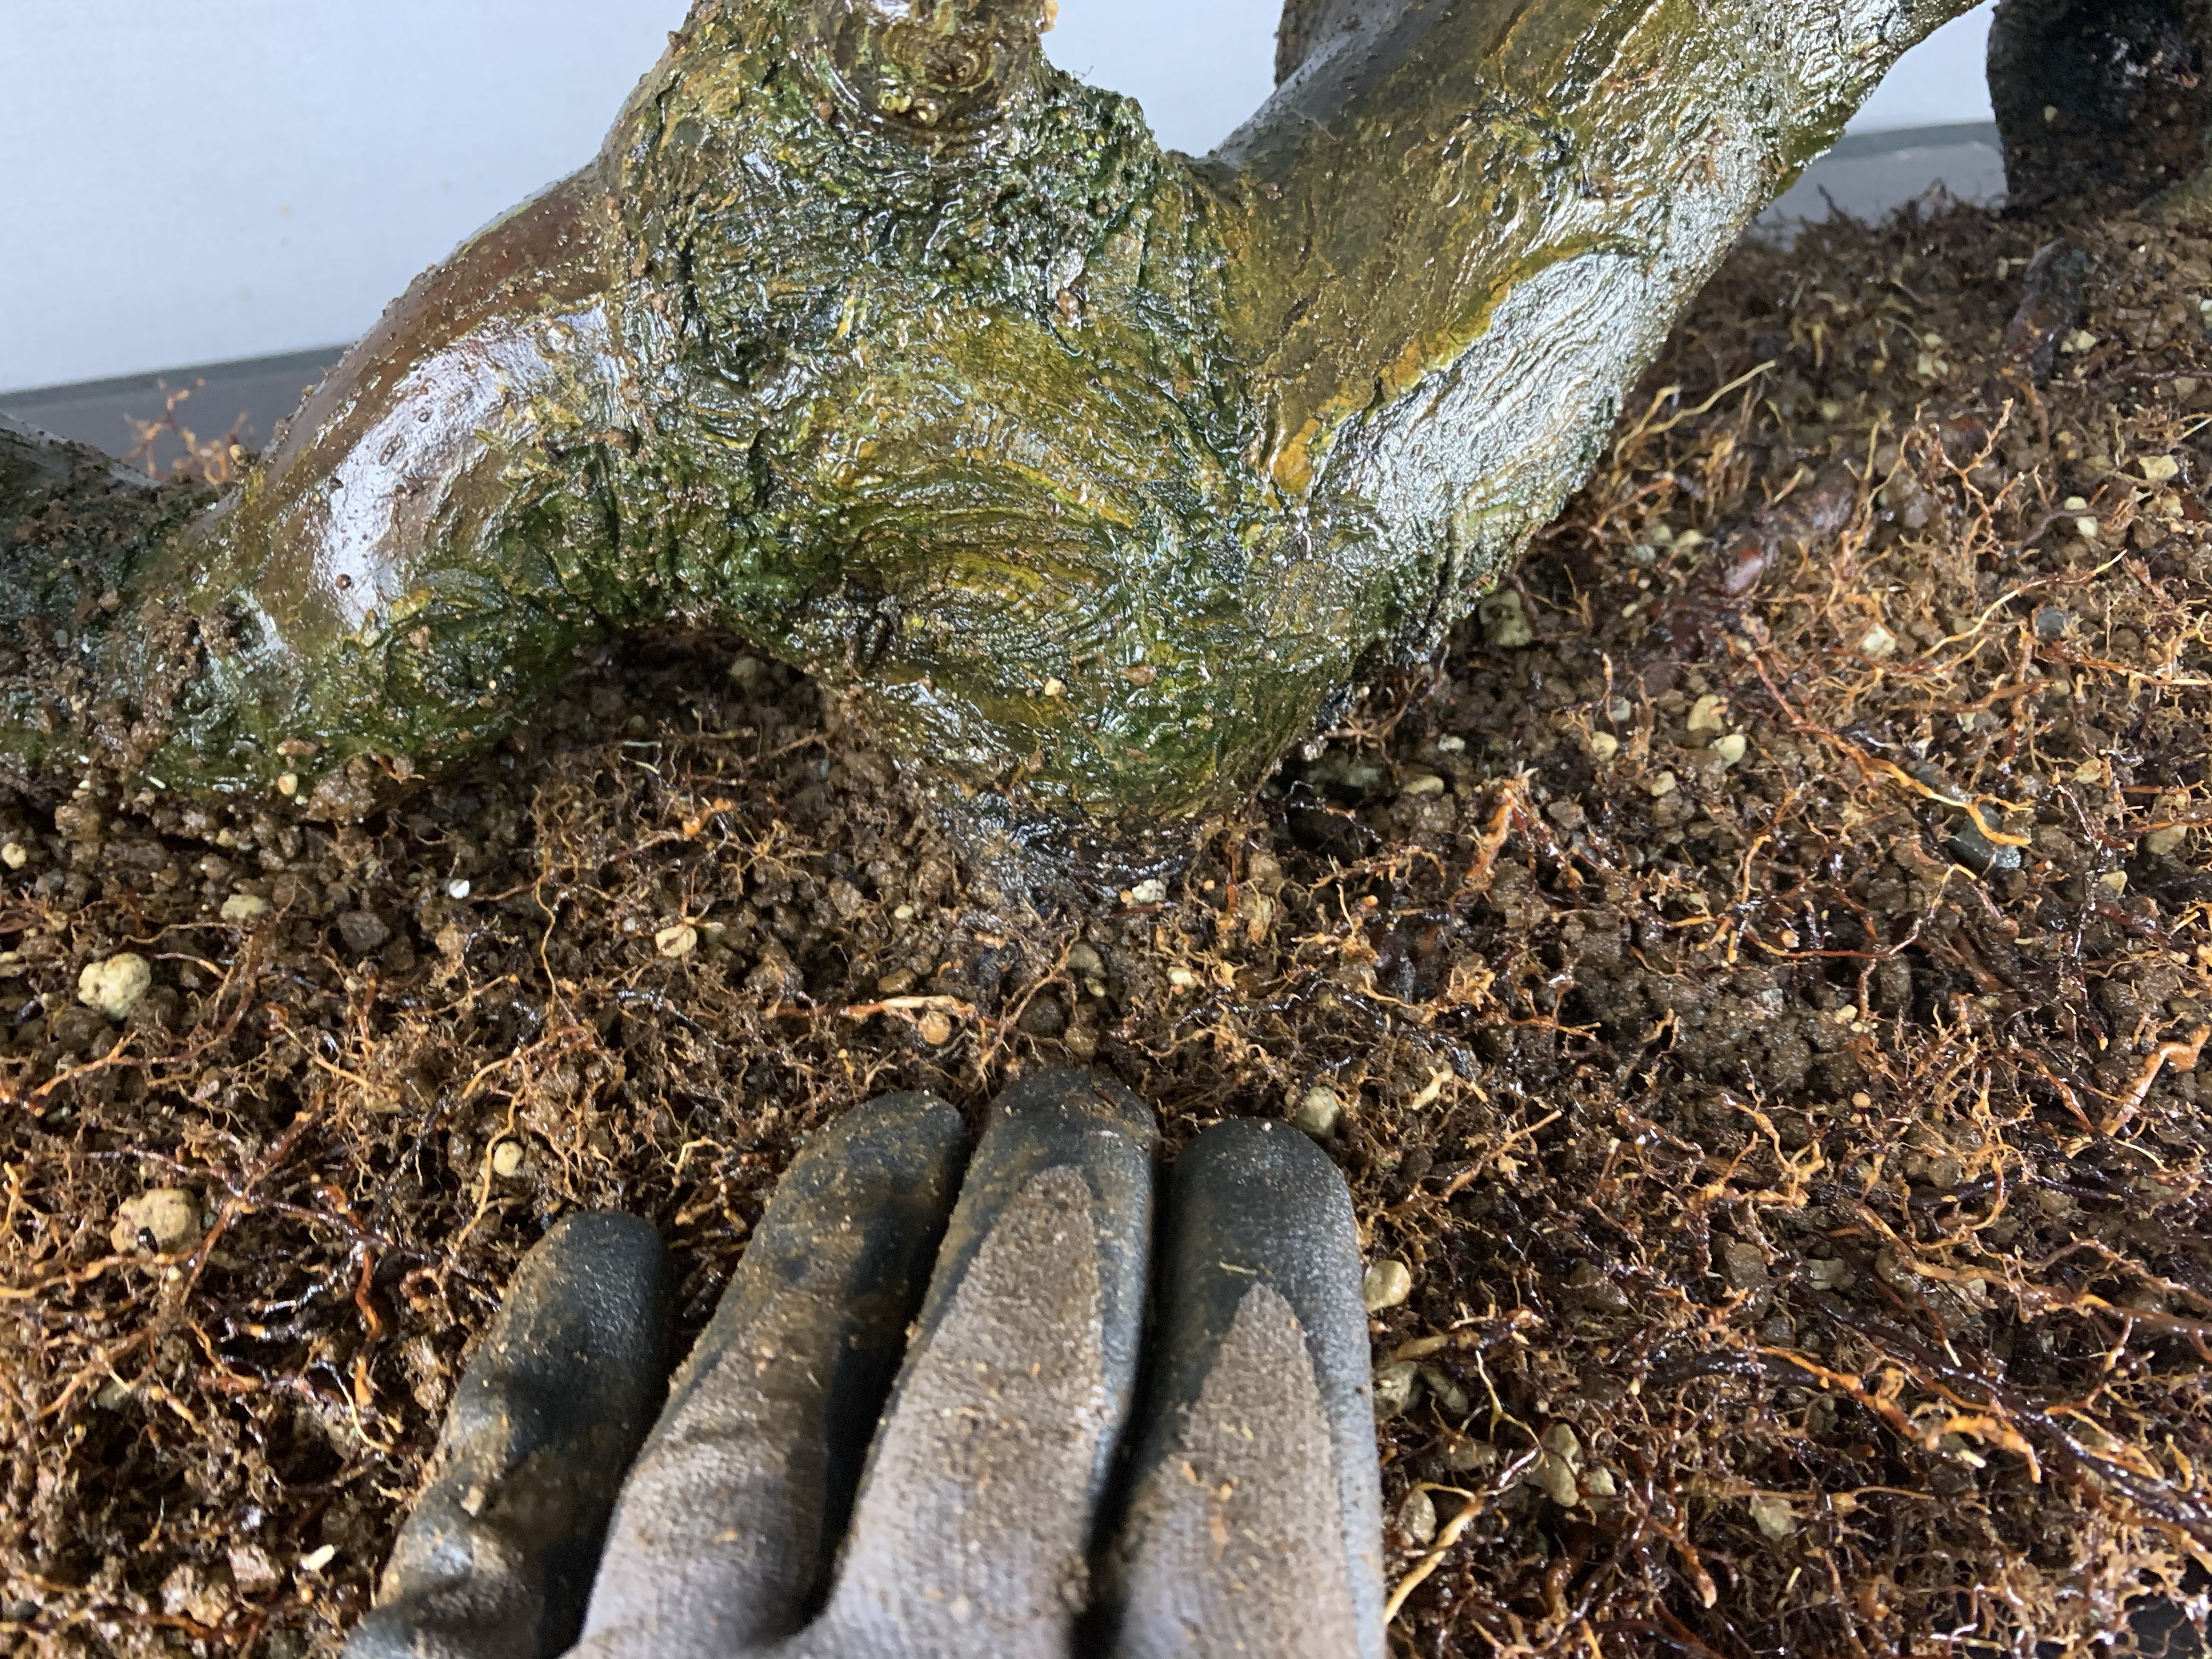
In 2019 the tree moved about 200 yards from Stephen’s home to Kris’s place. The size and weight of the tree meant that Stephen moved the tree on and who better than a friend who is easy to visit. Today we masked up and got down to the task of repotting the tree. It got a trim first. A good time to make cuts as having the roots worked means they won’t bleed. Here’s the full process step by step.
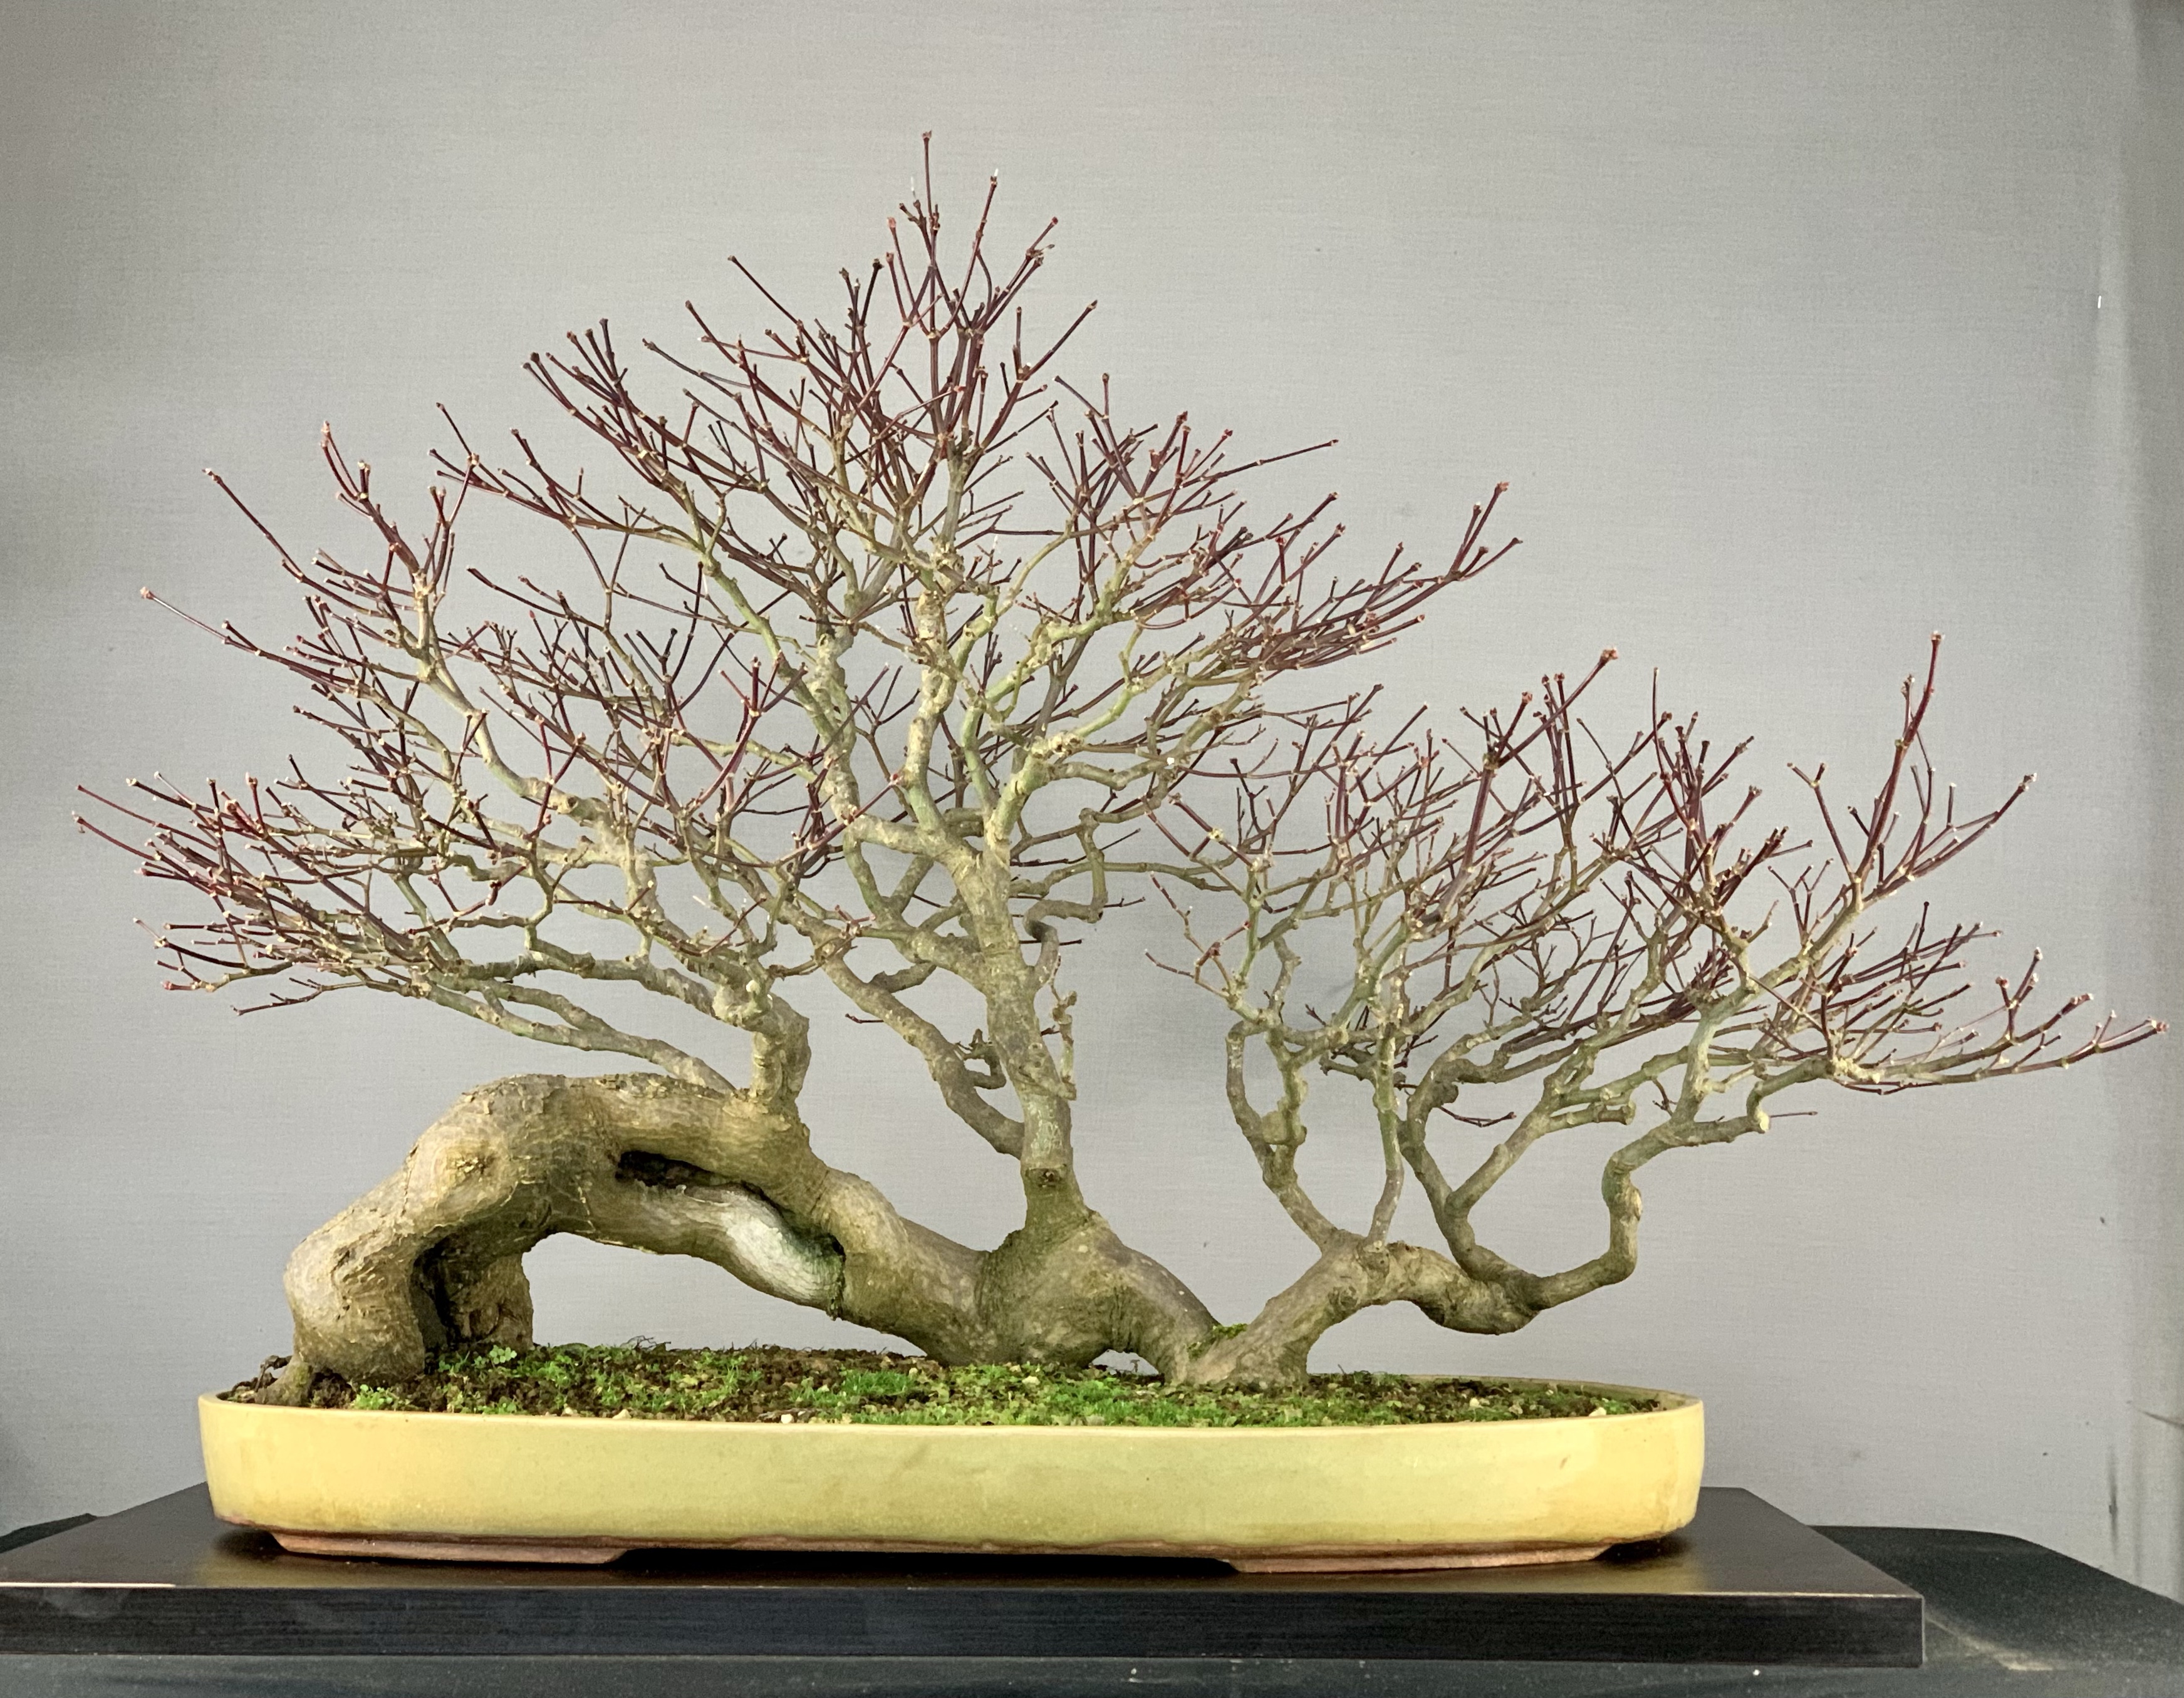


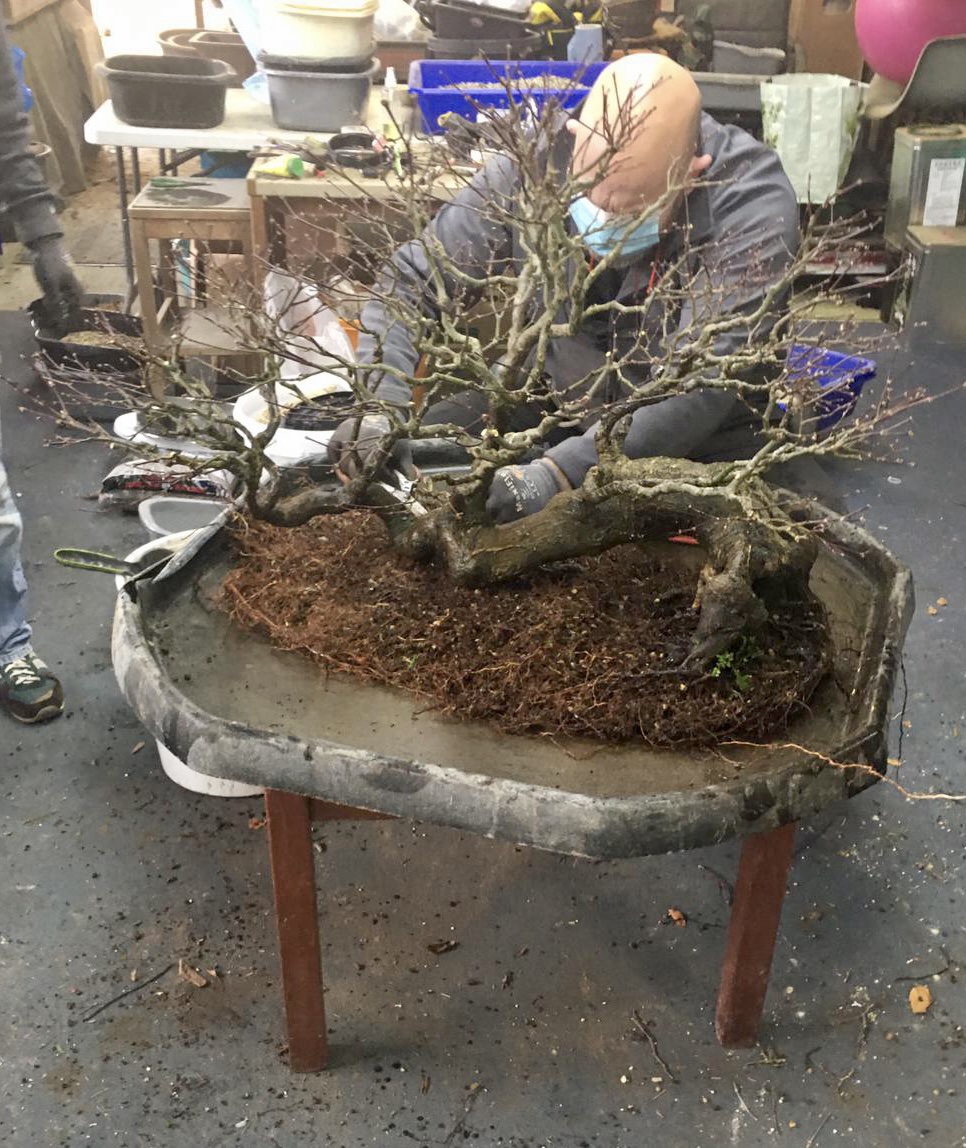


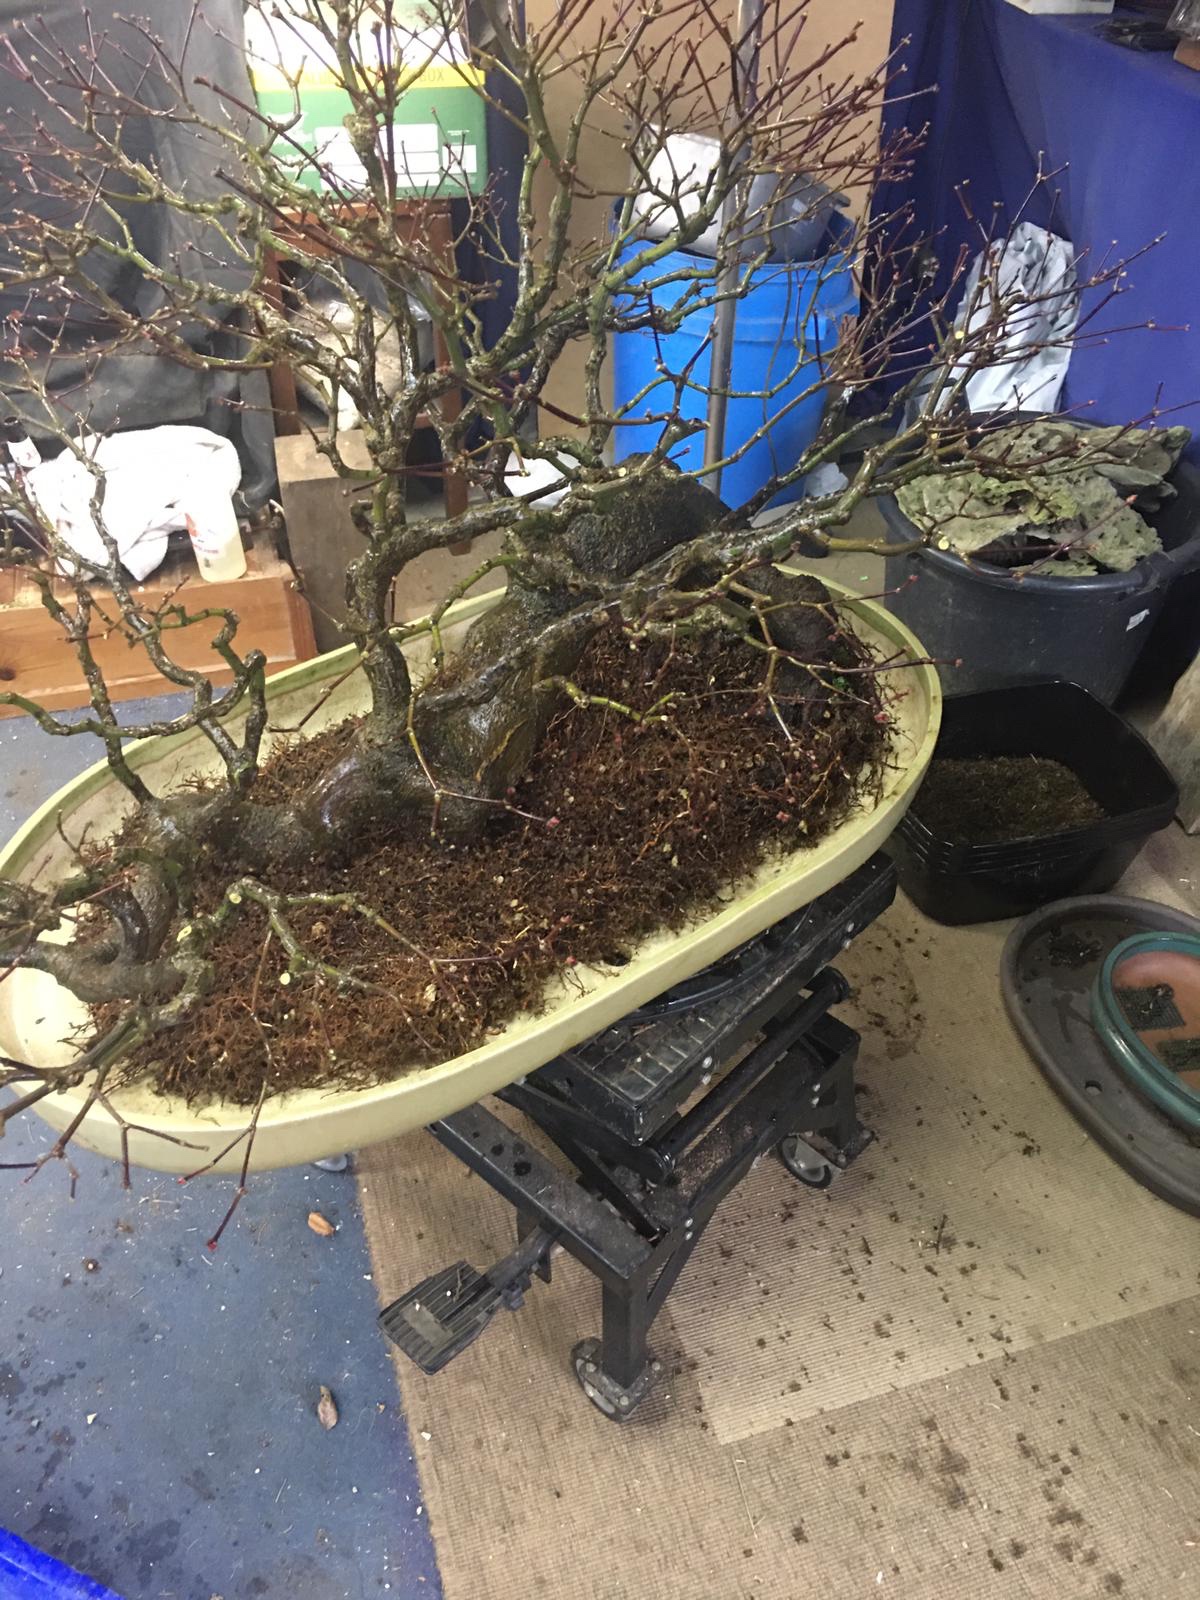


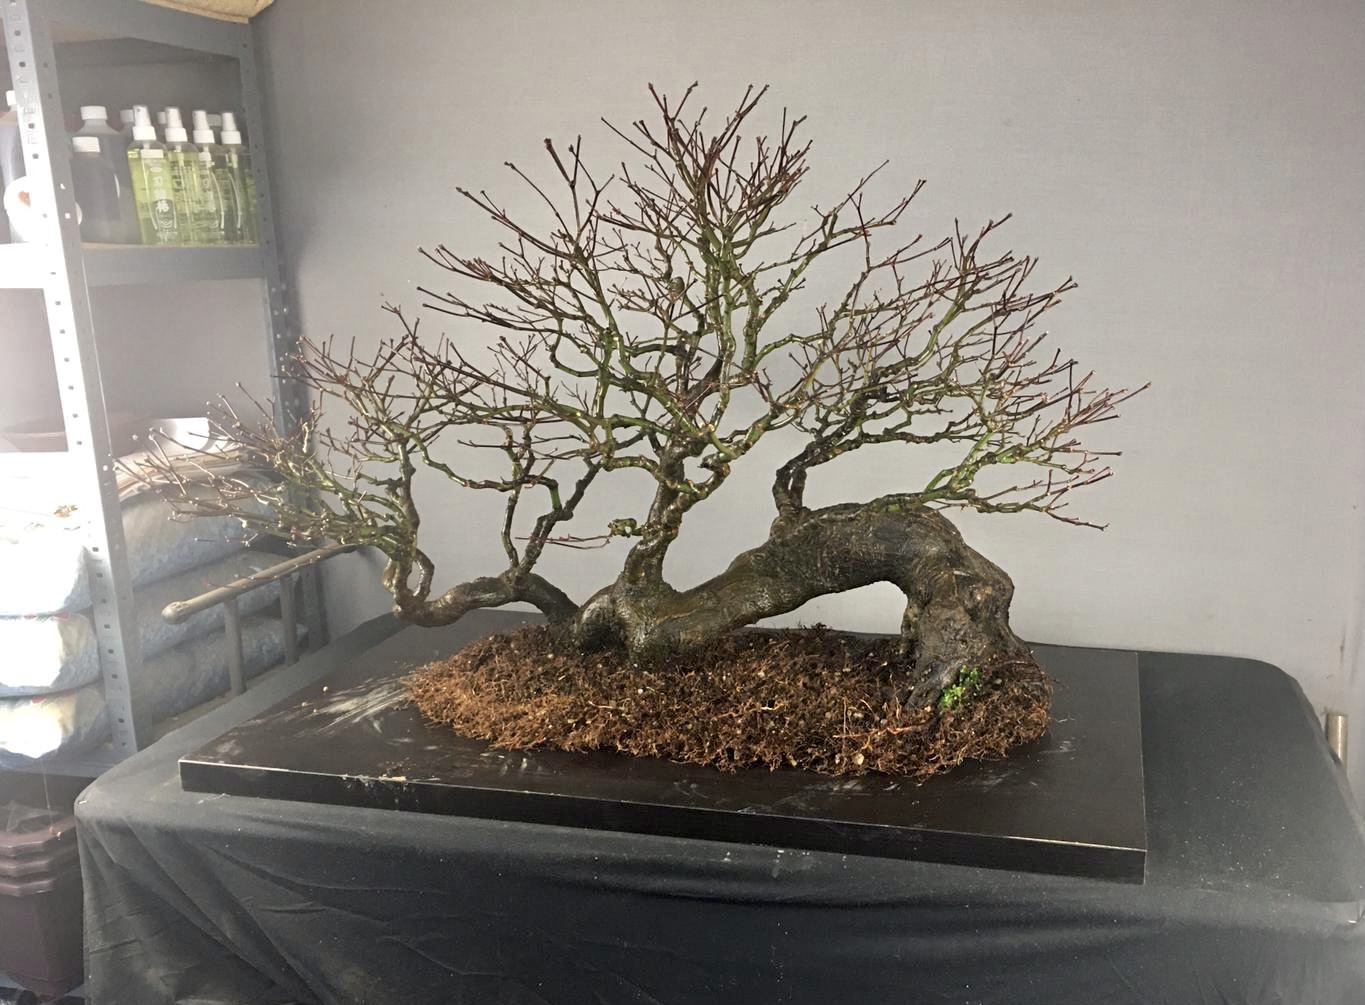


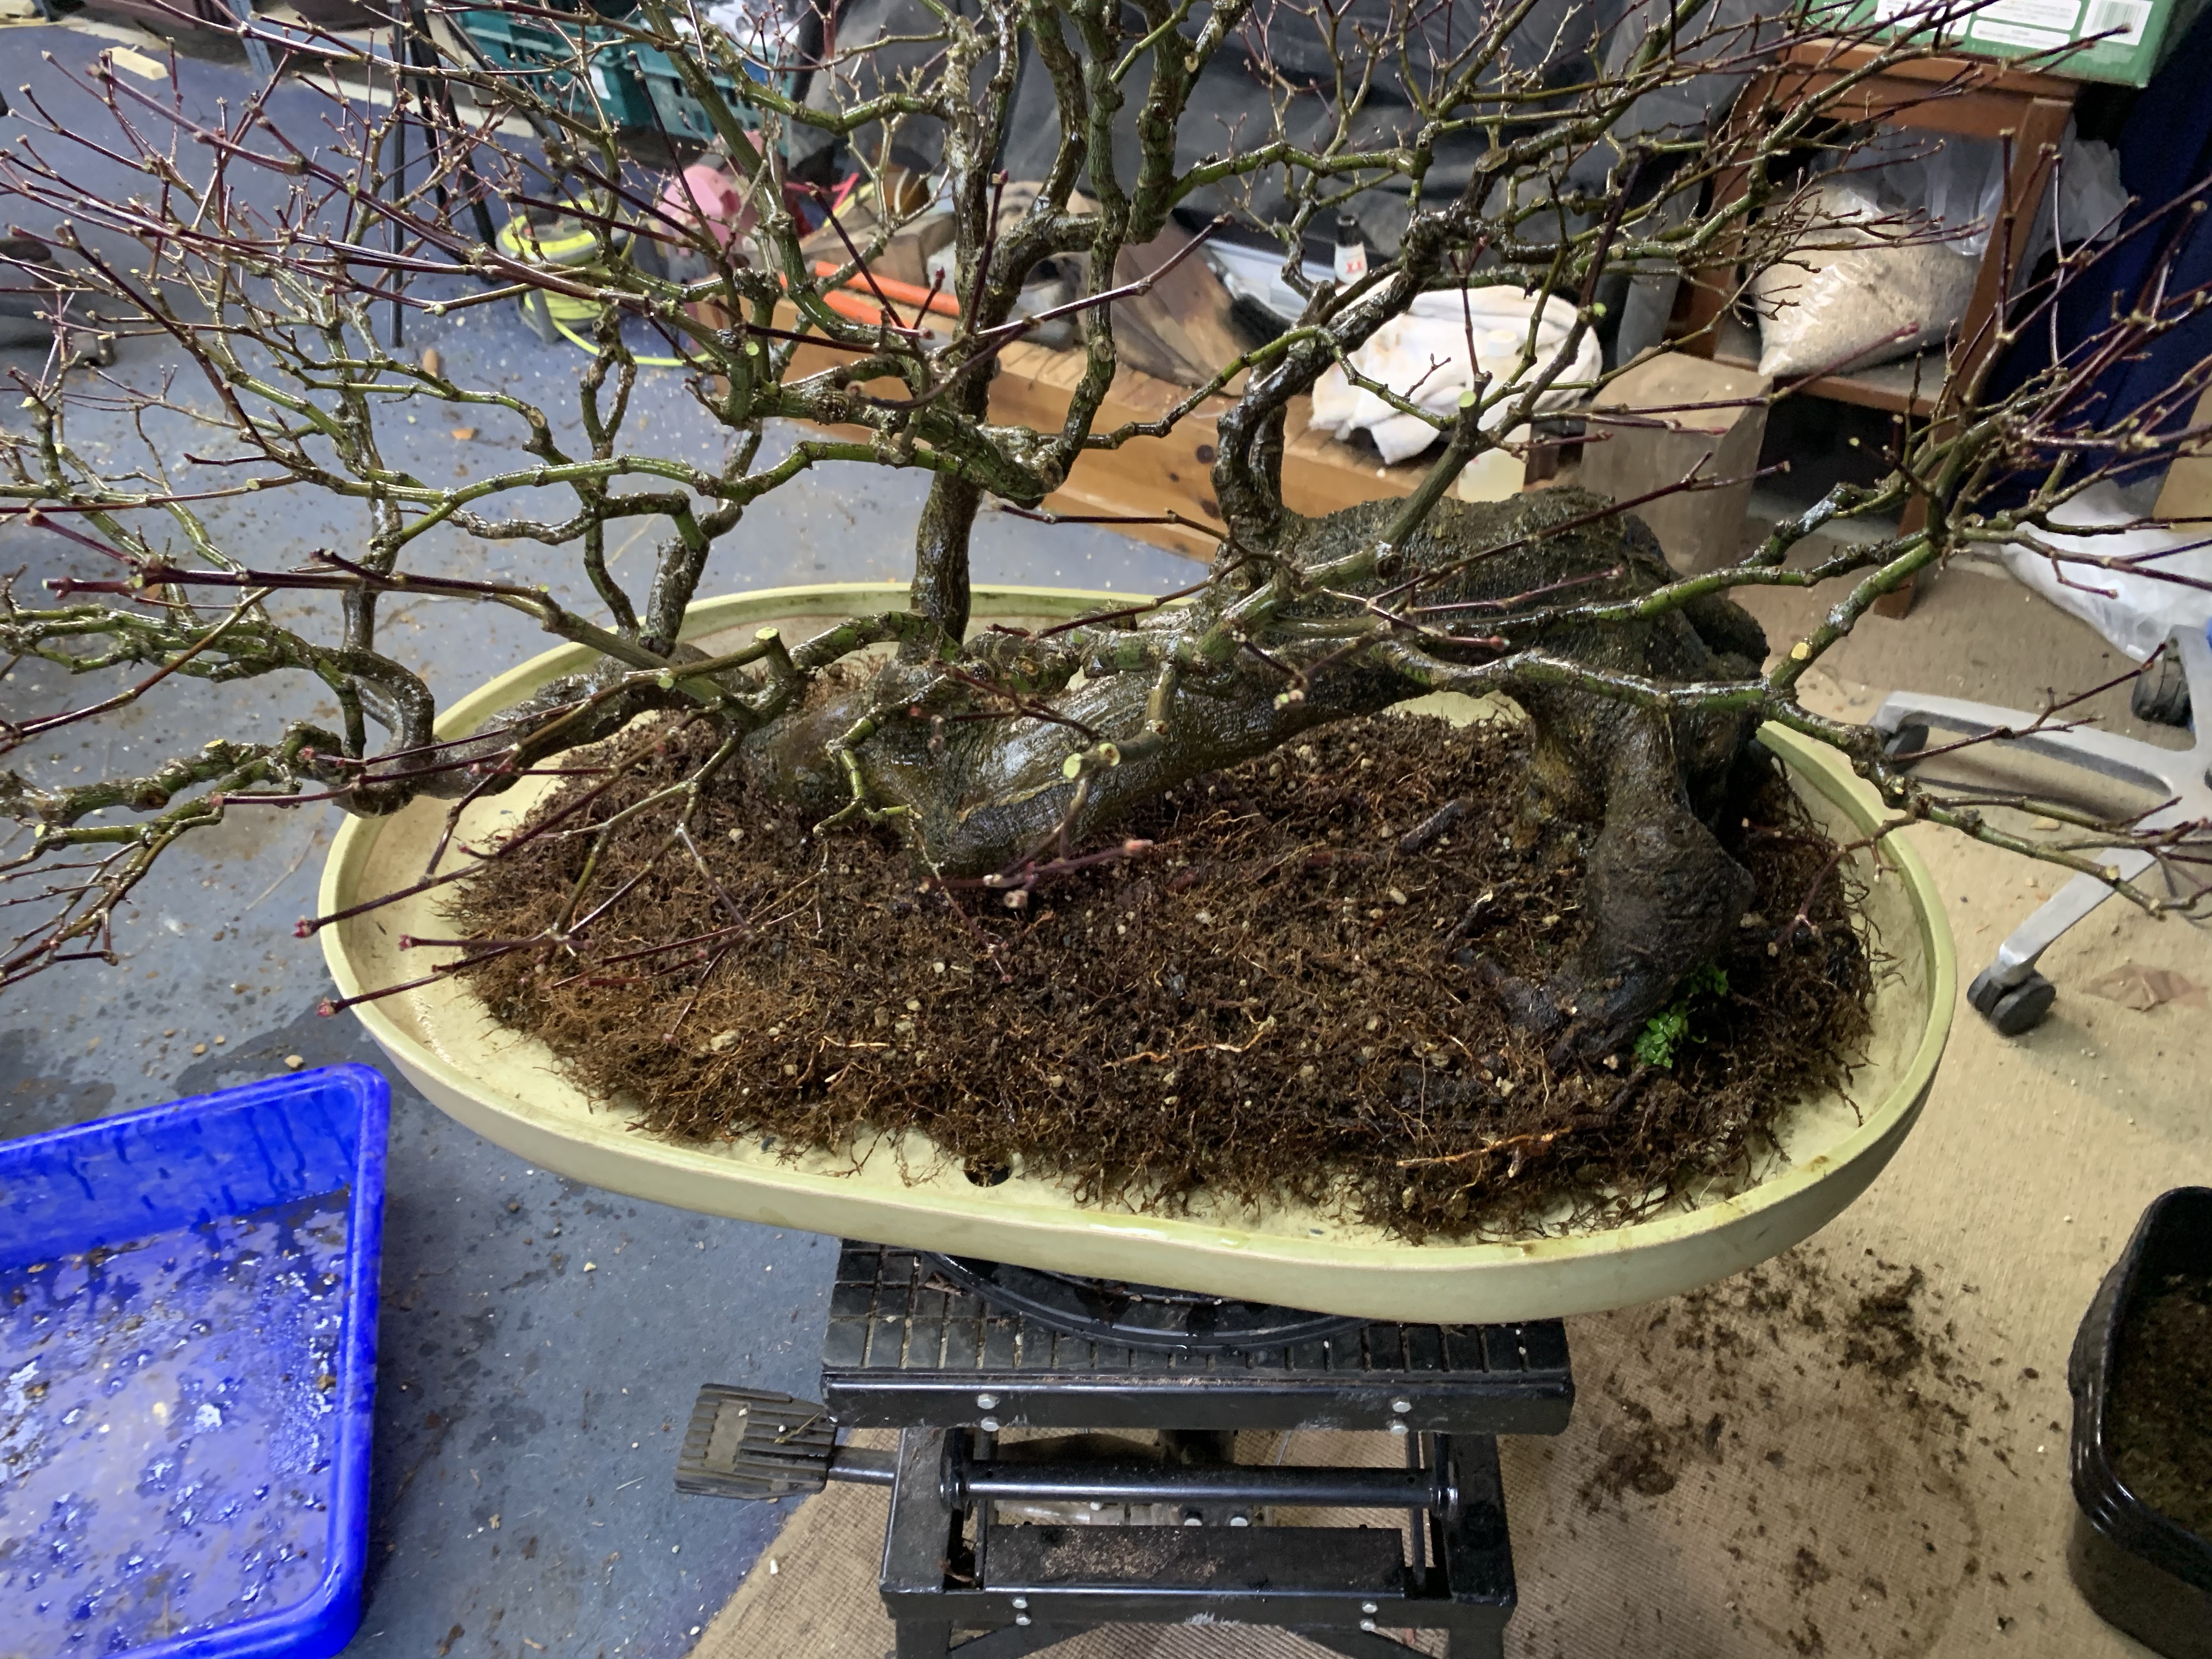

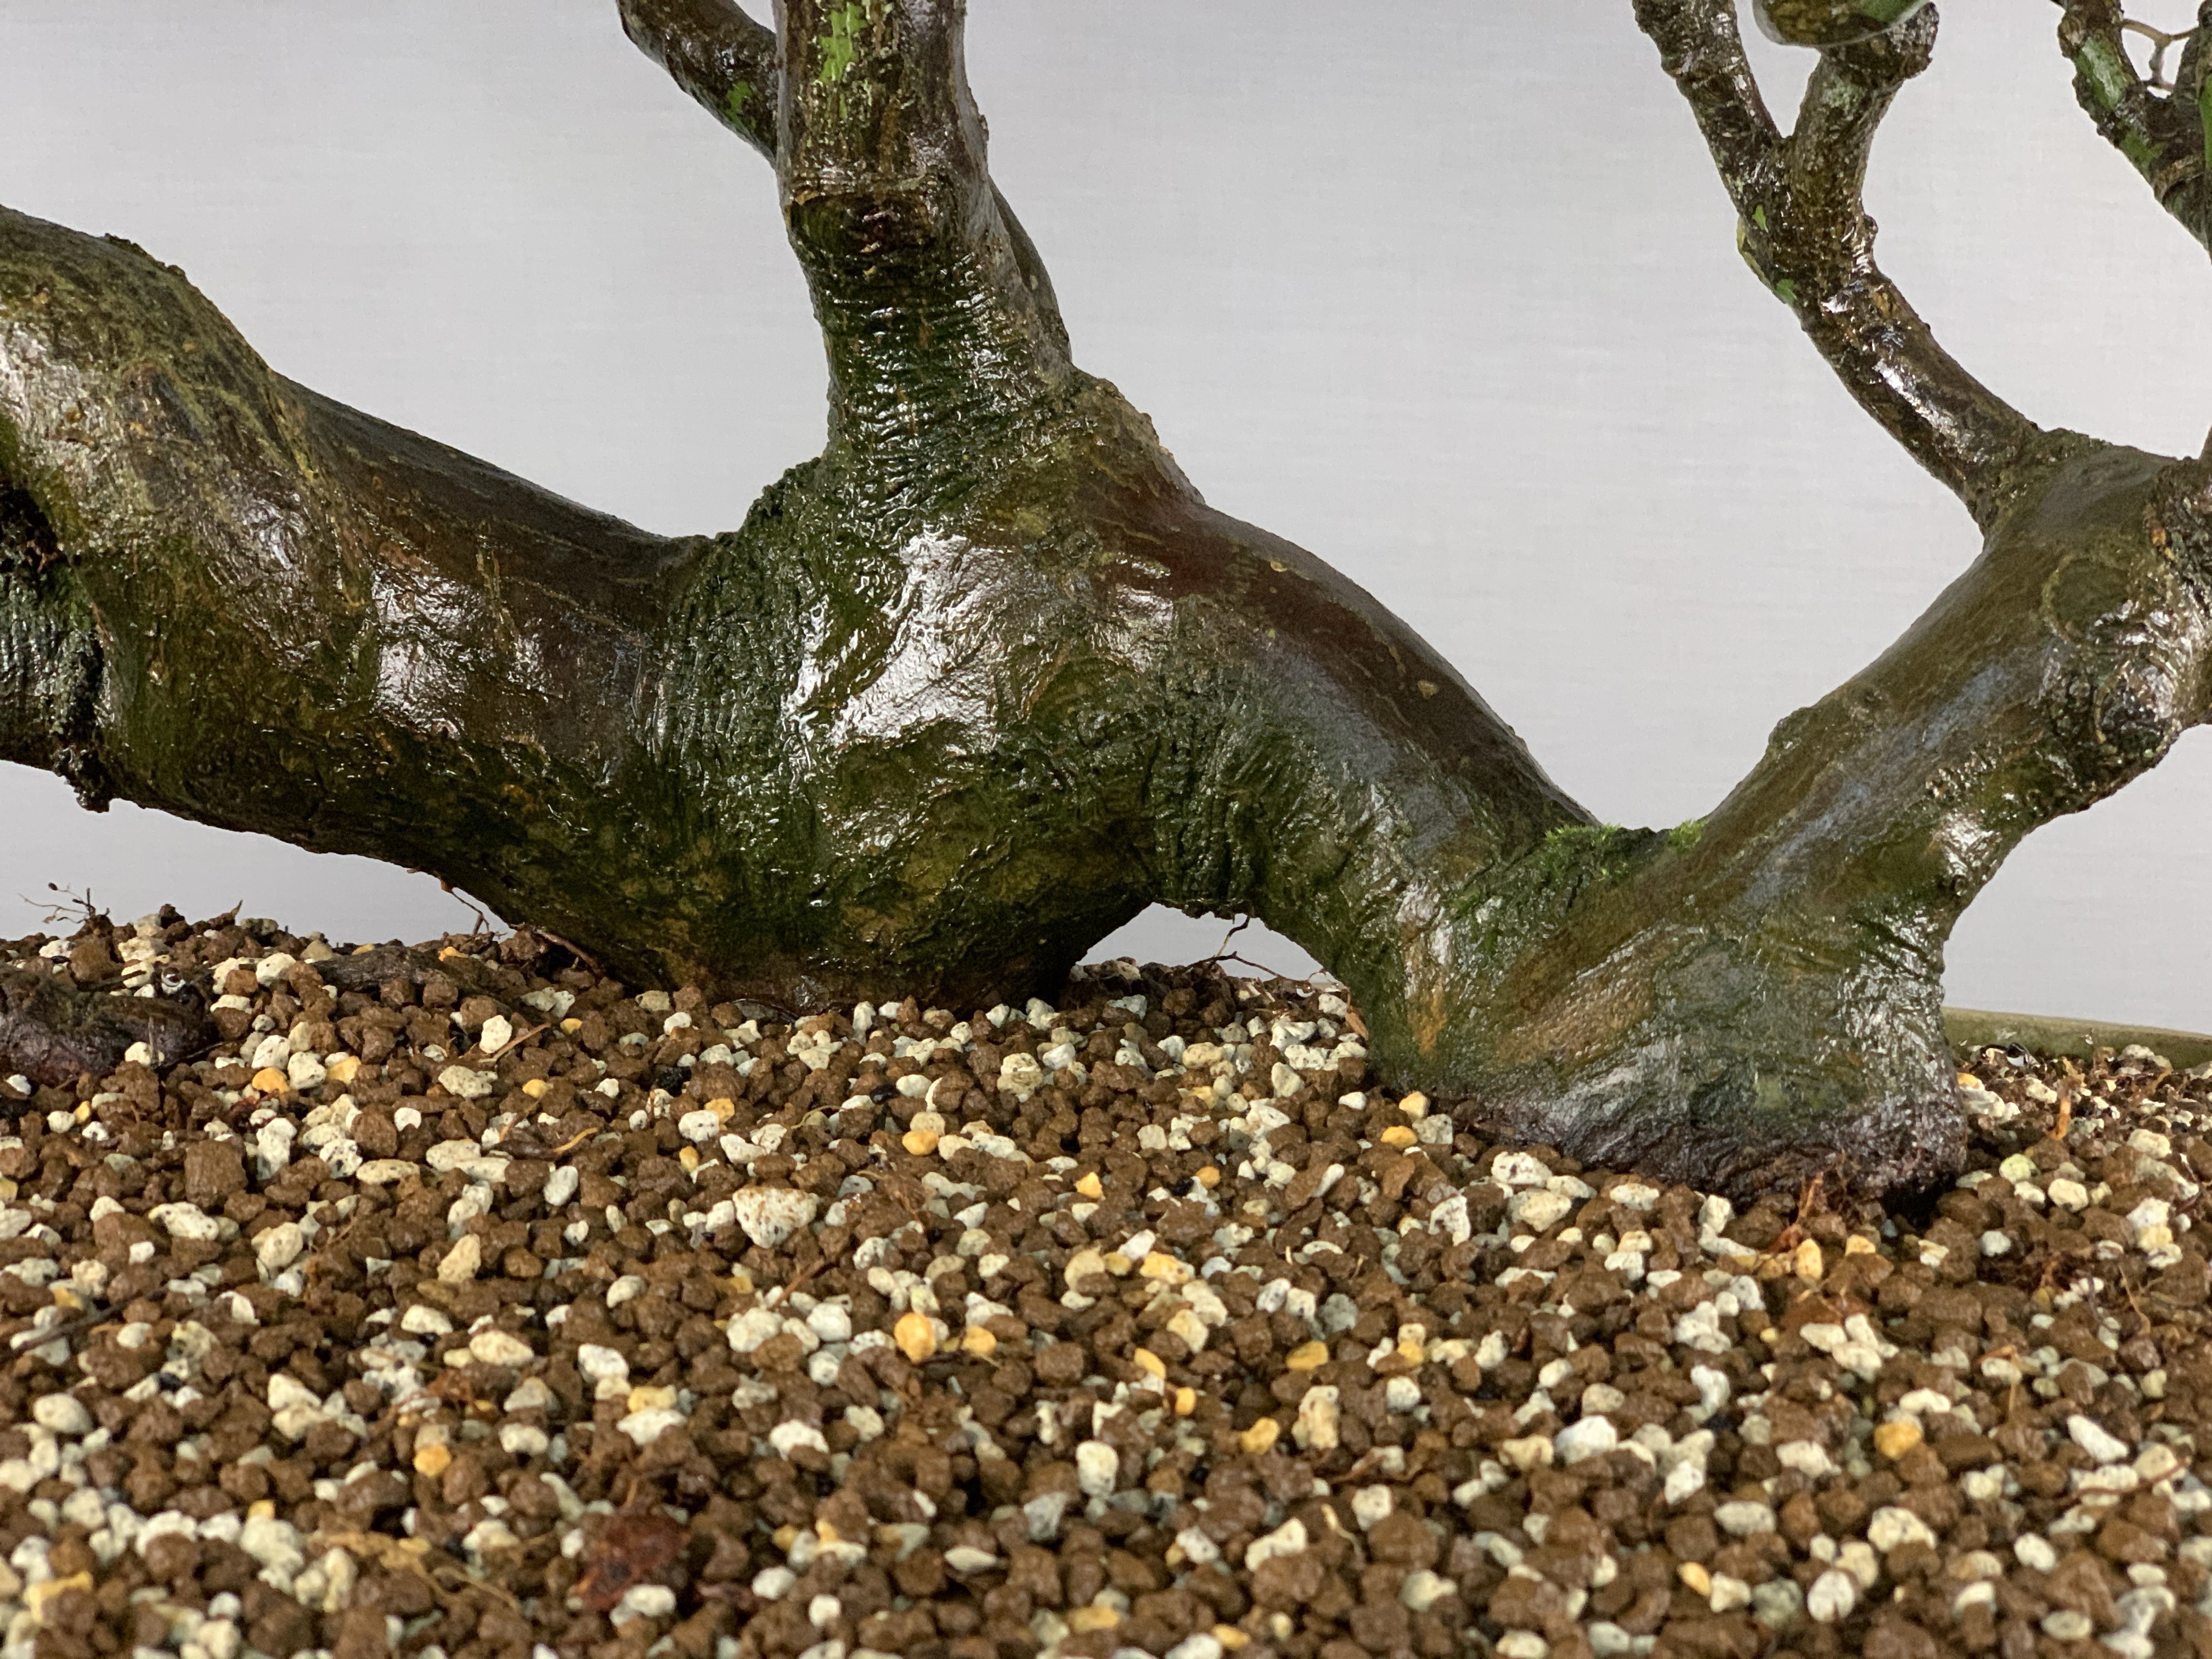

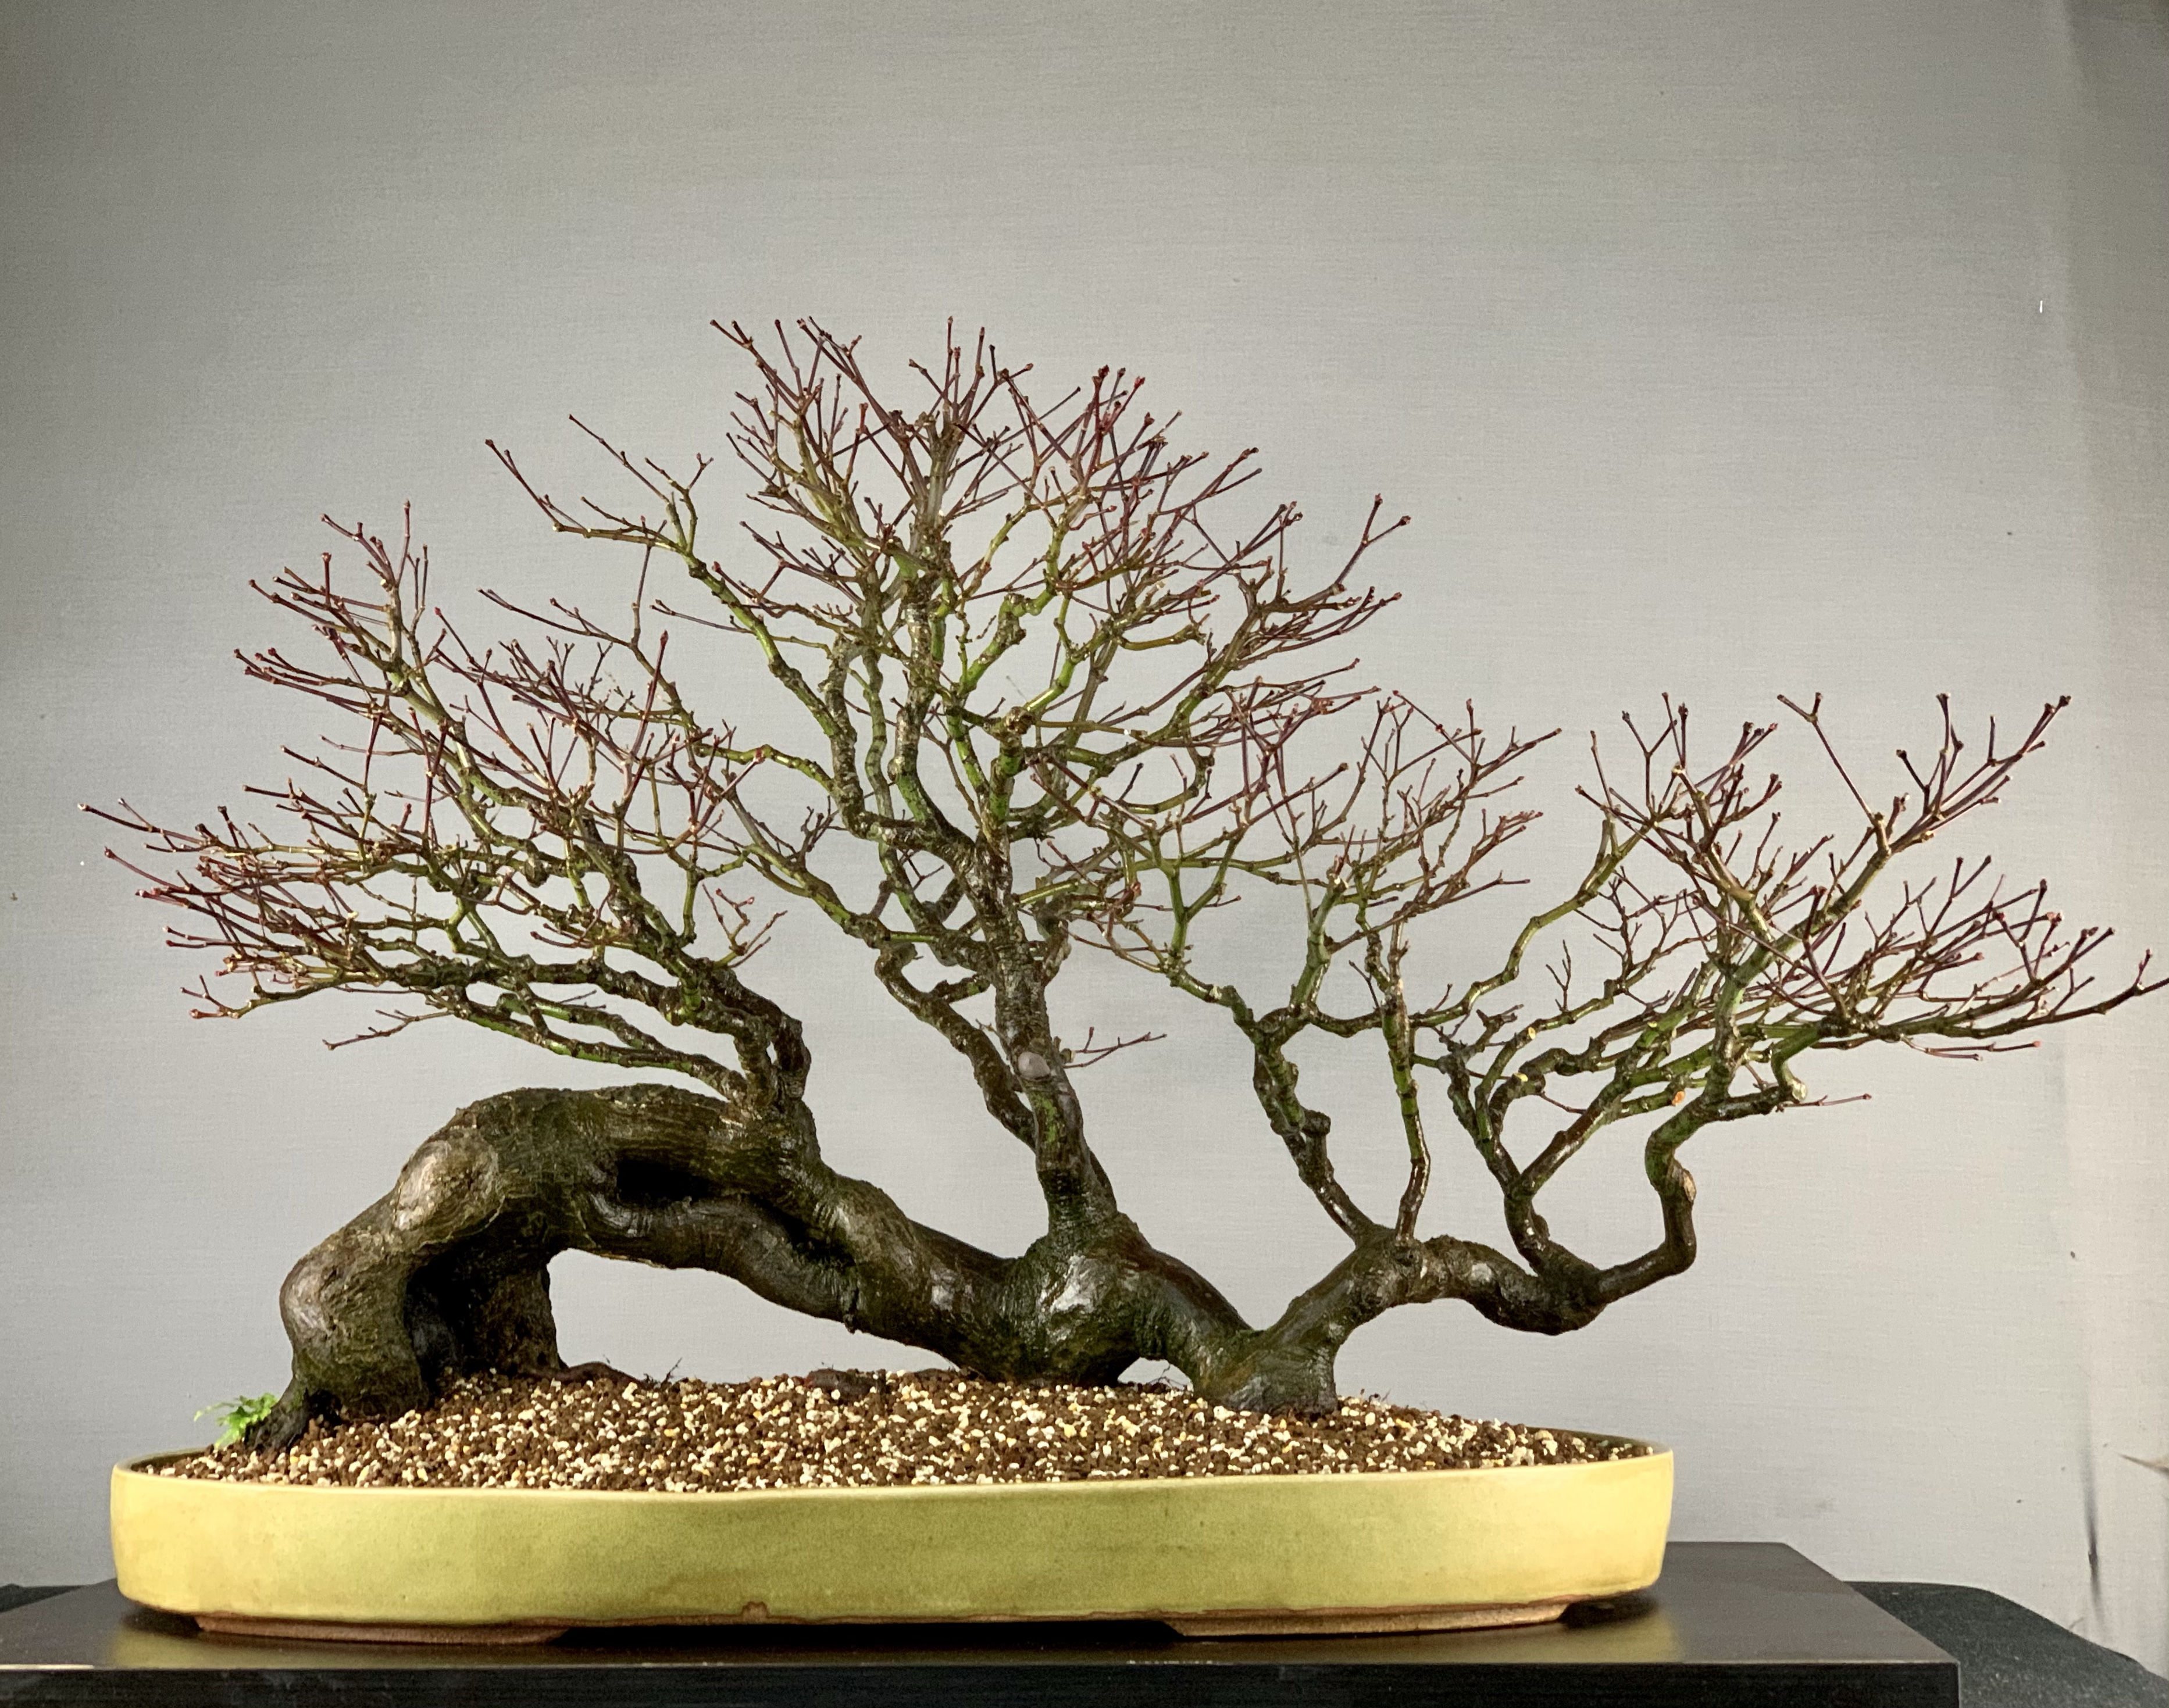

A few branch adjustments to be made once the tree has settled. A pleasure to have helped work this tree for the last 8 years. A unique tree and an awkward species, Antropurpureum is not often used for bonsai as it’s larger leaf and courser growth can put people off. I look forward to seeing Kris progress this tree in the years to come. It’s nice to record the provenance here for all to see.
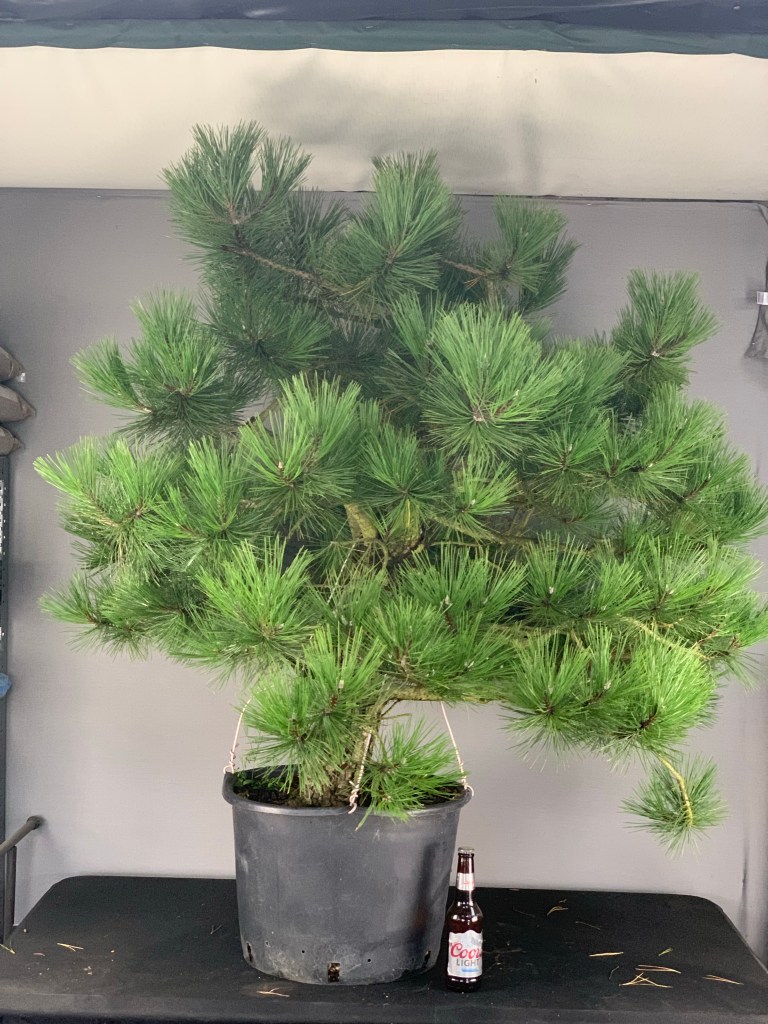
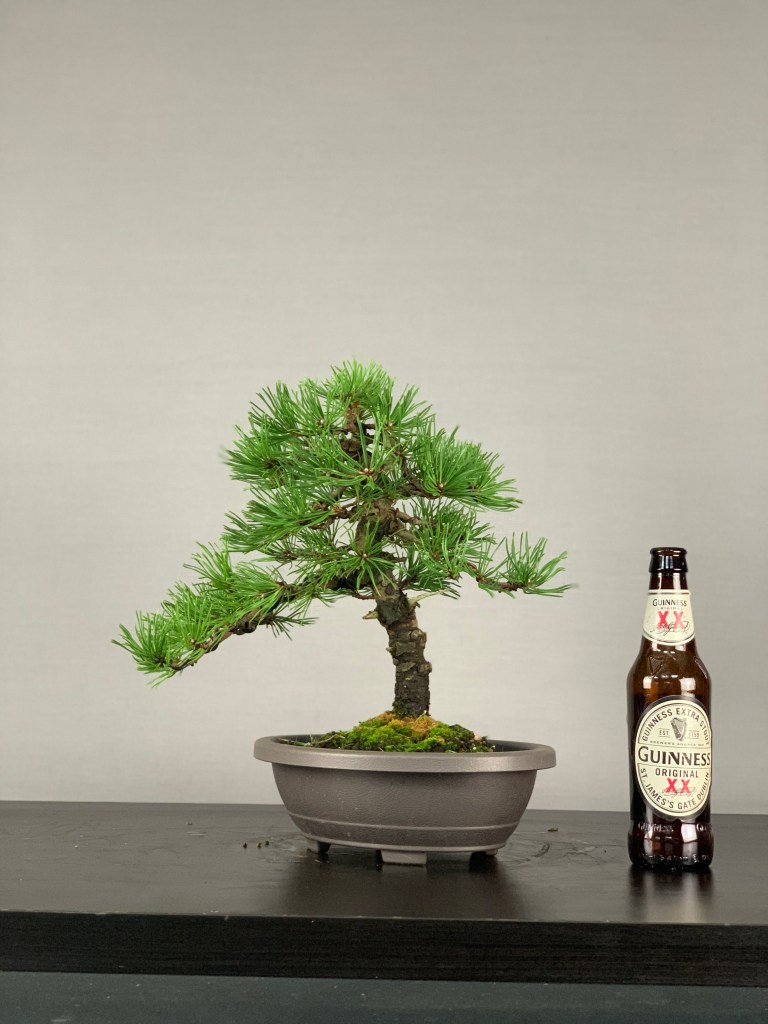
Austrian Black Pine
This tree once belonged to a bonsai enthusiast from County Cavan. It had been a bonsai, but due to ill health it was planted into the ground for quite a few years while he fought his battle. Sadly he died and his widow moved to a new home but took the tree with her, planting it in a large pot as we see it below in January 2016.

She wanted the tree to go to someone who would bring it back to its bonsai journey and I was offered the tree. Myself and my friend Stephen went to collect but had been told to leave the pot. Now look at the photo above and imagine getting that out of the pot it had been in for years!

We got it home and potted up as above. The tree was dense with a lot of branches that were not usable in a design so I cleared it out to allow light to penetrate for back budding.

It was left for 2 1/2 years with only the occasional prune back where back budding had occurred. Then in September 2019 I brought in in for its first branch placement.
It’s a big tree with a large needle and I was happy to create an expansive image.
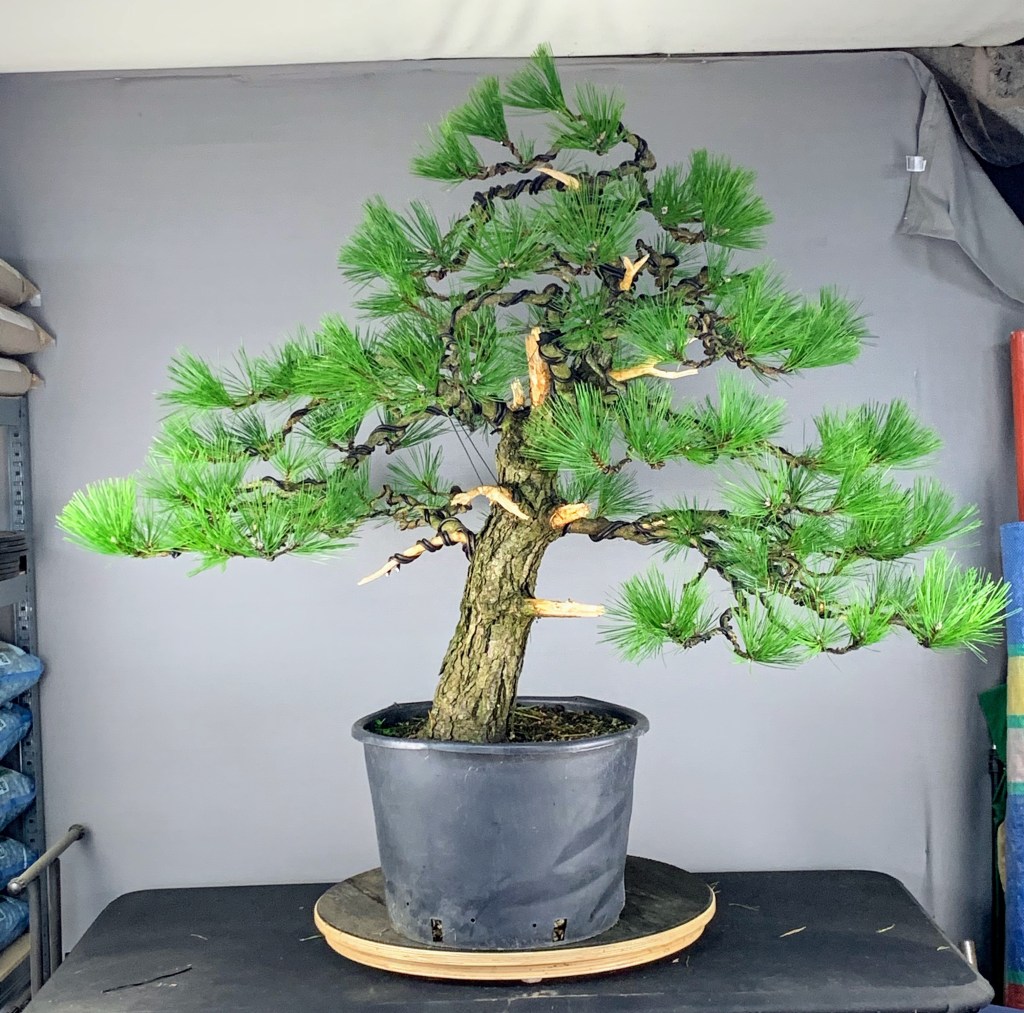
In March 2020 I repotted the tree into a more suitable training pot.
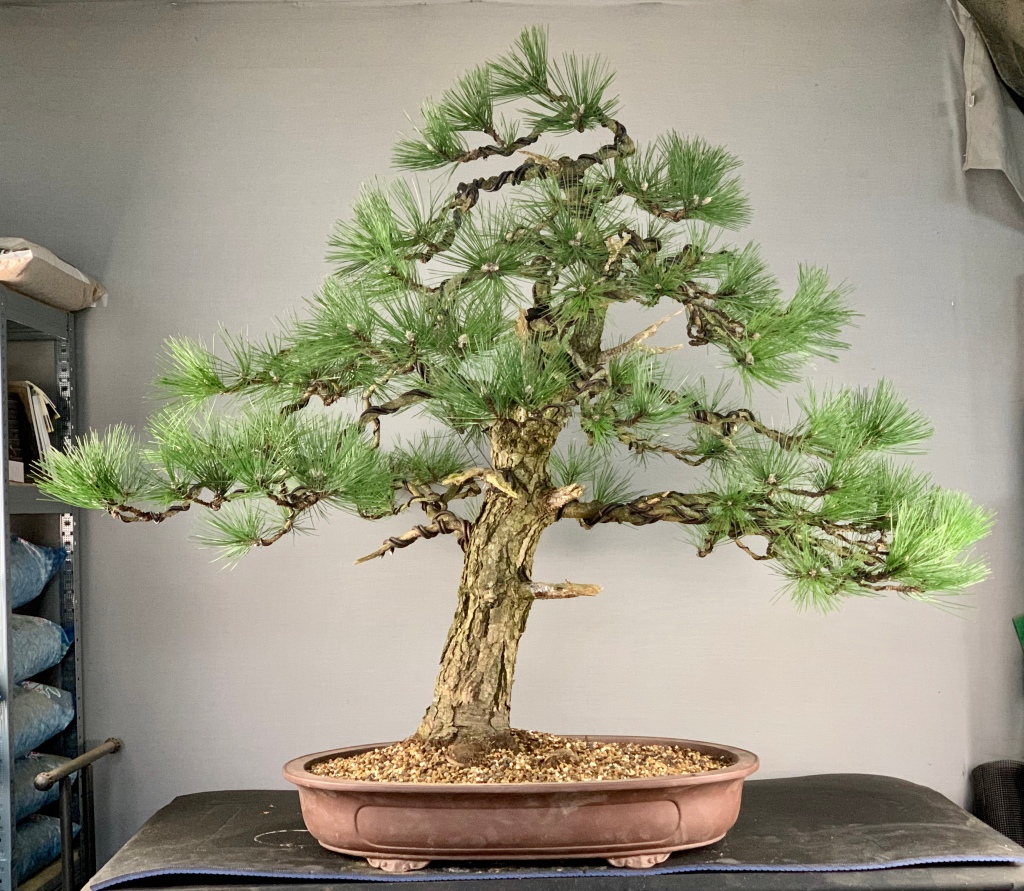
It was fertilised heavily throughout 2020 and was a little slow to flush but came good in the end.

So just under 4 years in, I’m happy enough with the progress. The tree has a long way to go and, as it’s my only Austrian Black Pine, I’m enjoying the learning process with this species. A lot of back budding and ramification to be added as the years go by but I think 2021 should be an exciting year for this tree.
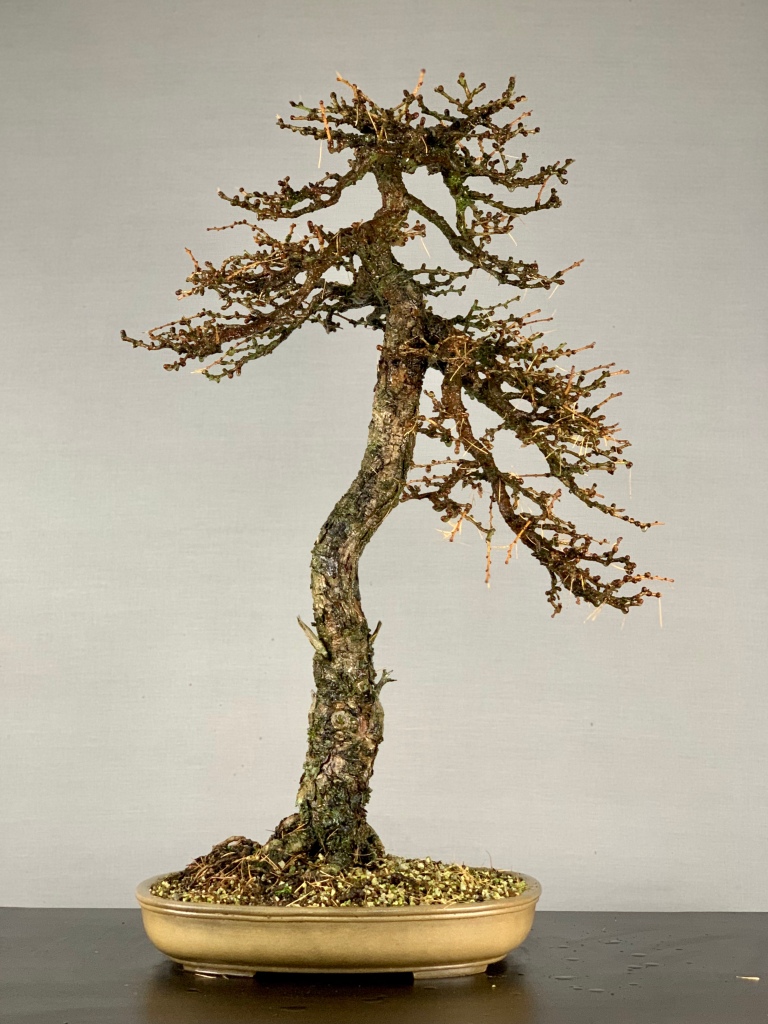
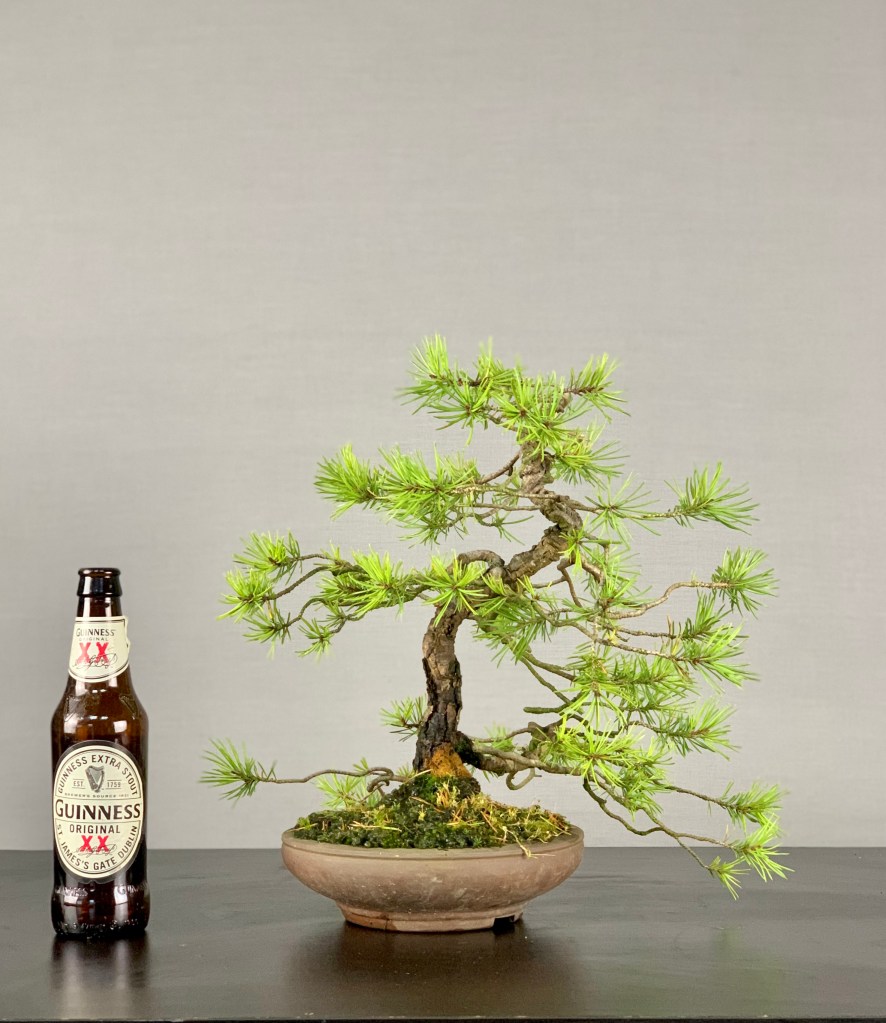
European Larch
The owner has had this tree a long time and it only needs a nudge in the right direction now and again.
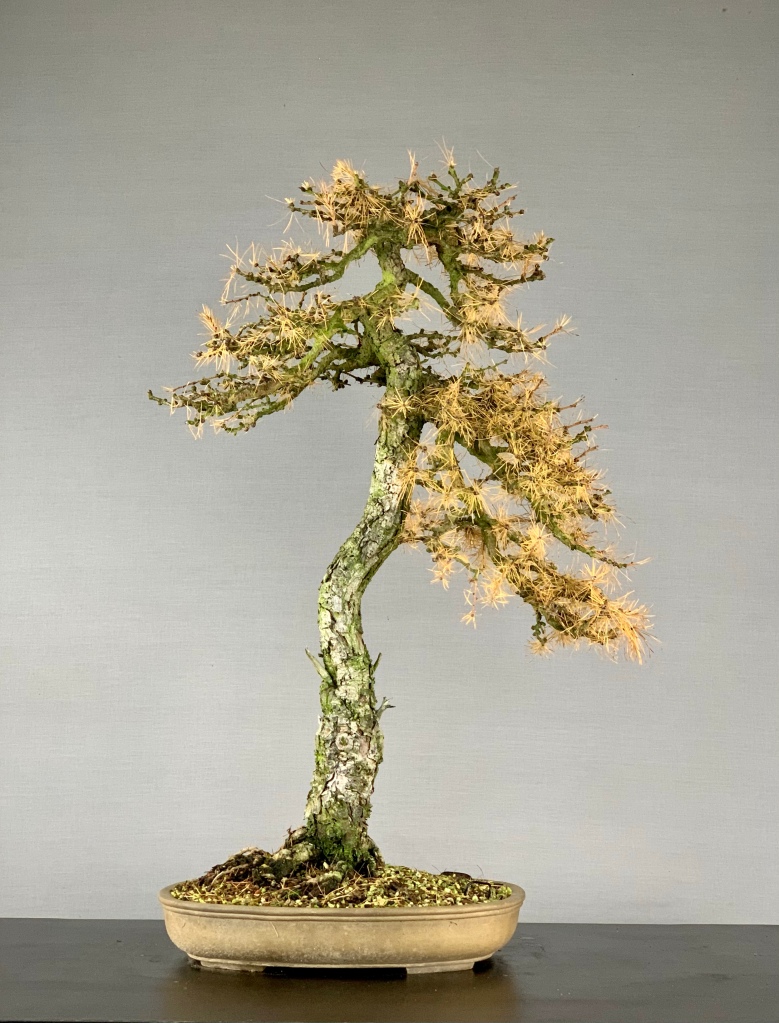
The tree needed a good clean before work to clear the last hold out needles and remove the algae starting to clog up the branches.
As many branches had risen a rewiring of most of the primary structure was needed. I find larch need this every 3-4 years even when established. Other work included the removal of branches that had over thickened and replacing them with younger finer ones. Probably the biggest issues with larches is their ability to fatten fast if over fed or left to run too long during the year. Building up a good structure to allow these to be replaced on a cycle over the years by younger finer branches is so important on larch, more so that other species.
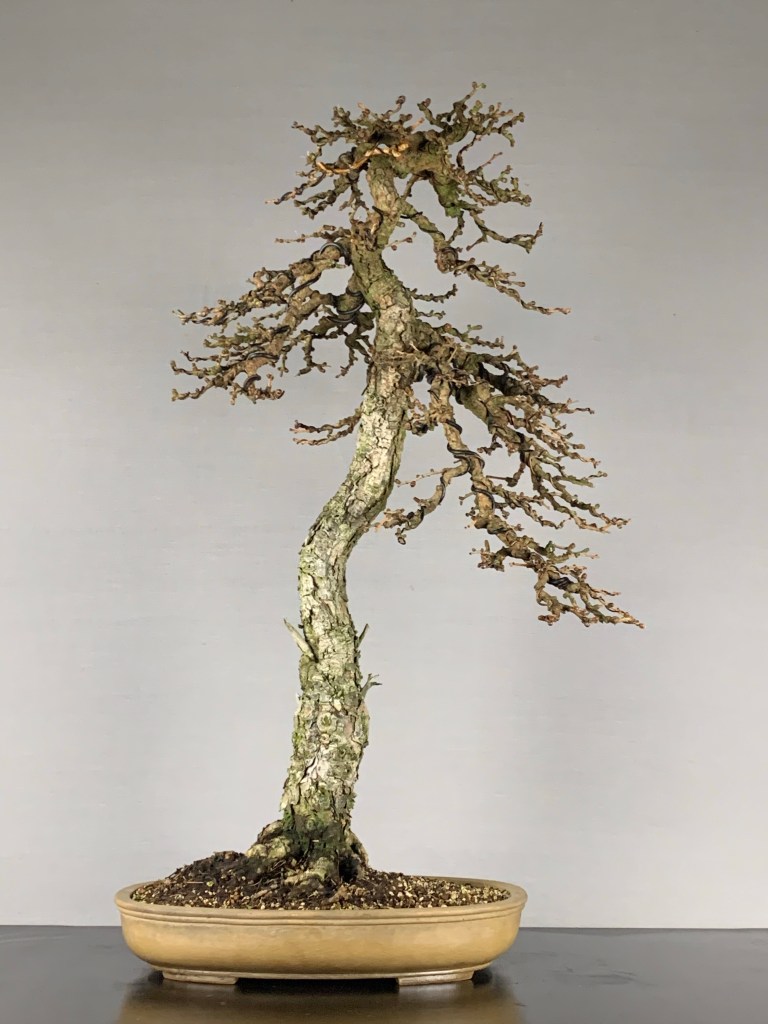
After wiring above. Not every fine detail is wired just what was out of shape or needed to be moved to fill space crated by branch removal.
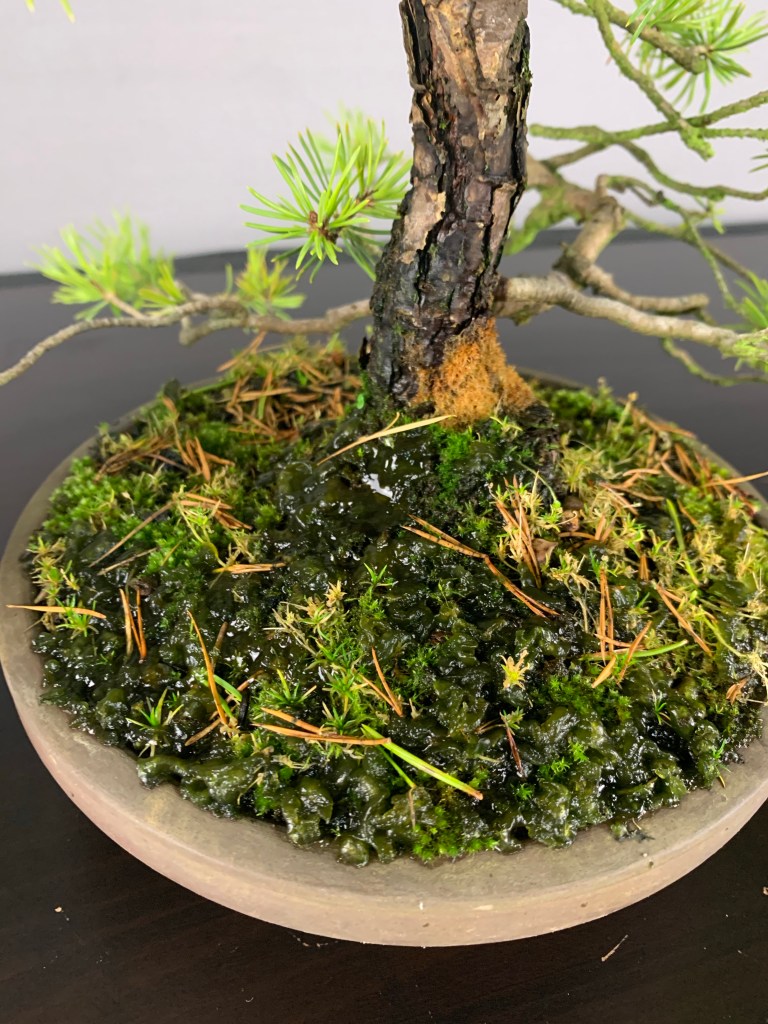
This tree back in the 90’s had the trunk split down the middle to allow more flexibility and had the movement you see now created by heavy wiring. Over 30 years later you’d be hard pushed to see it amongst the flaky bark. Here’s a few other older photos of the same tree dating back to 2012-13.

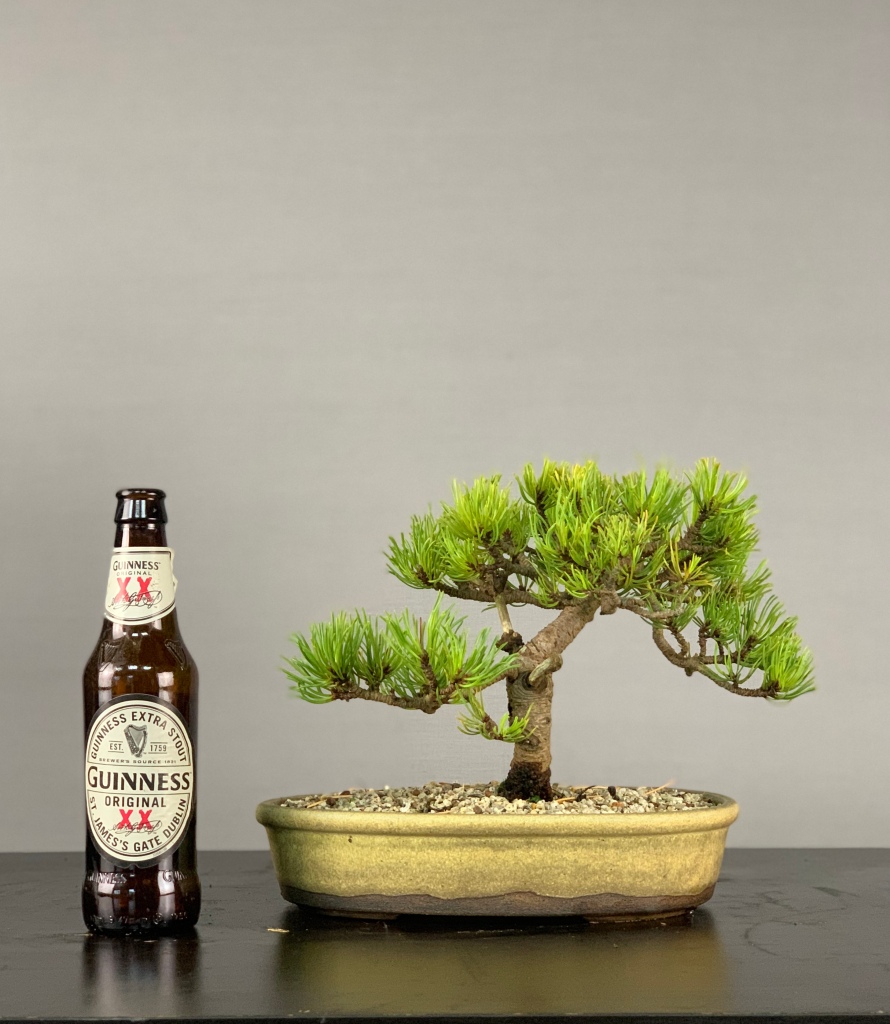
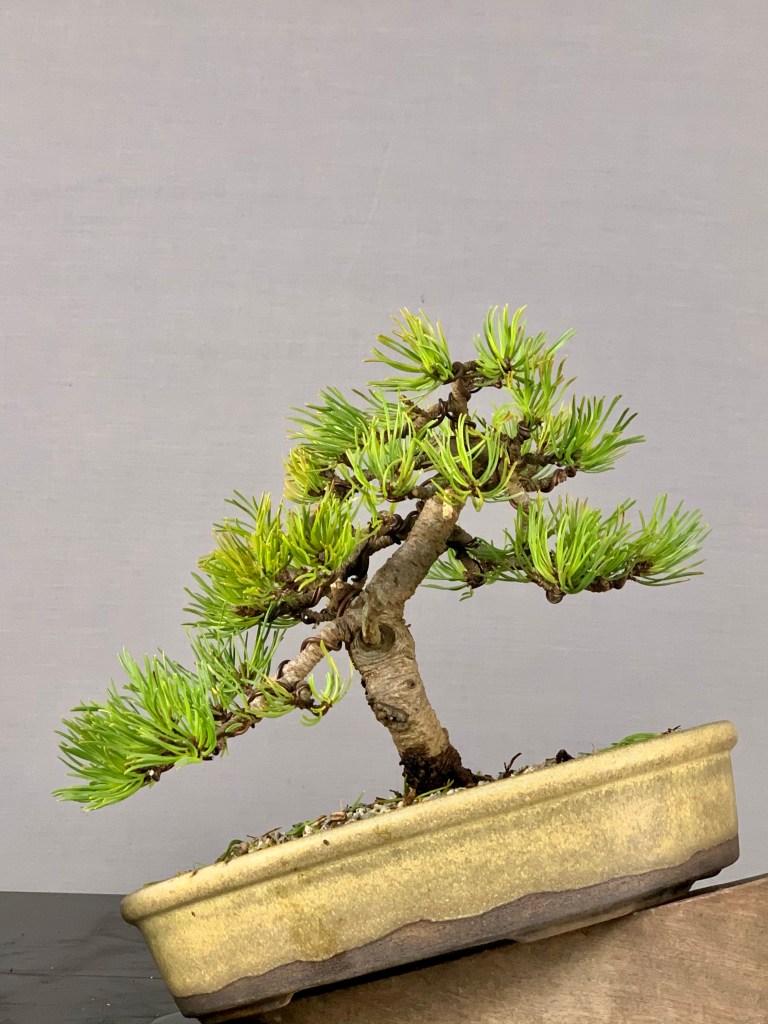
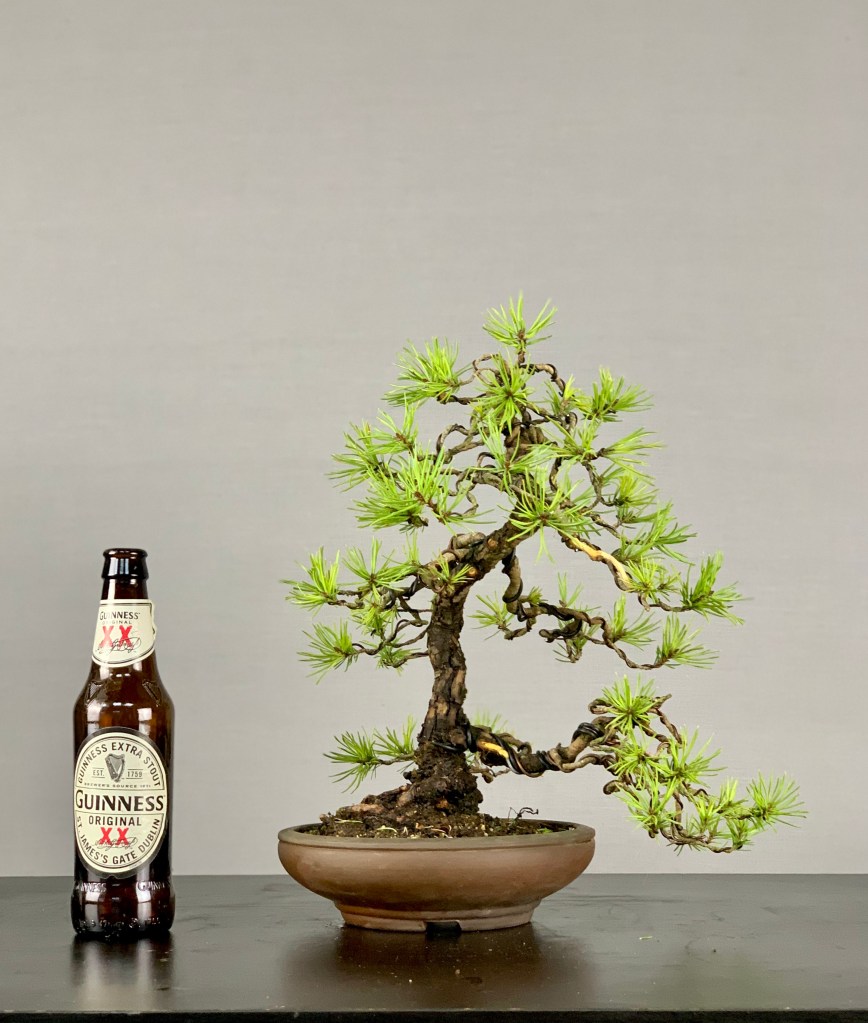
Mugo Pine Evolution

A Mugo Pine that was gifted to me by an great lady called Valerie. I have watched this tree progress for many years since she first brought it to a club workshop with Willowbog Bonsai probably the guts of 15 years ago now. A tree that was upright, leggy and lacking hardly any branches back then. I only wish I could find the original tree photos. Valerie brought the tree back every few years and slowly the tree progressed.

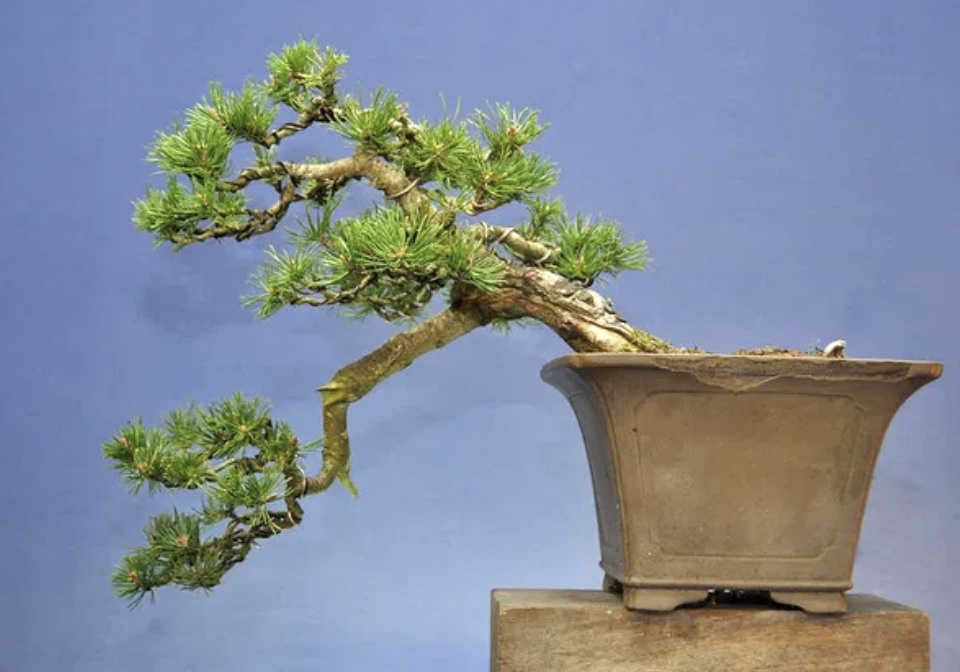


I did a little needle thinning and bud selection this week and perhaps sat looking to the future for the tree. I think next year will see a few changes. The problem with good care and application of technique is that sooner or later you reach a point were you revert the tree back to a green dome if you don’t pull branches out of the design. As a semi cascade this tree shouldn’t look as full as it does, especially in the crown. After that work is done I’ll need to reassess the pot. By adding negative space and some deadwood I think we can age the image.
Valerie if you’re reading this, it’s in good hands 😀

Last Two
A few days back I shared a few pines that had been left with me to wire and style and I said I had two left to go. When given the work to complete its human nature to jump in and grab the trees that excite you the most and leave the tricky ones to the end. Well these are the end ones.
This little Mugo Pine is an oversized pot was a challenge. Humble material with a lot of the branches coming from the same spot high up in the tree. How to make an interesting image and at the same time reduce the branches at the top to stop it becoming an unsightly swelling.

Above is the result. An angle change to add more trunk movement and to bring the apex over to the left to be harmonious with the character branch. A heavy apex branch at the back was removed and a few other weaker ones to start the reduction. This trees image will change massively when the pot is changed.
I keep telling my bonsai friends to practice. We don’t have an endless stream of trees to work nor are all those trees going to be high end. However taking a simple tree like this with a few issues and going through the design process can be beneficial. This took 30 minutes.
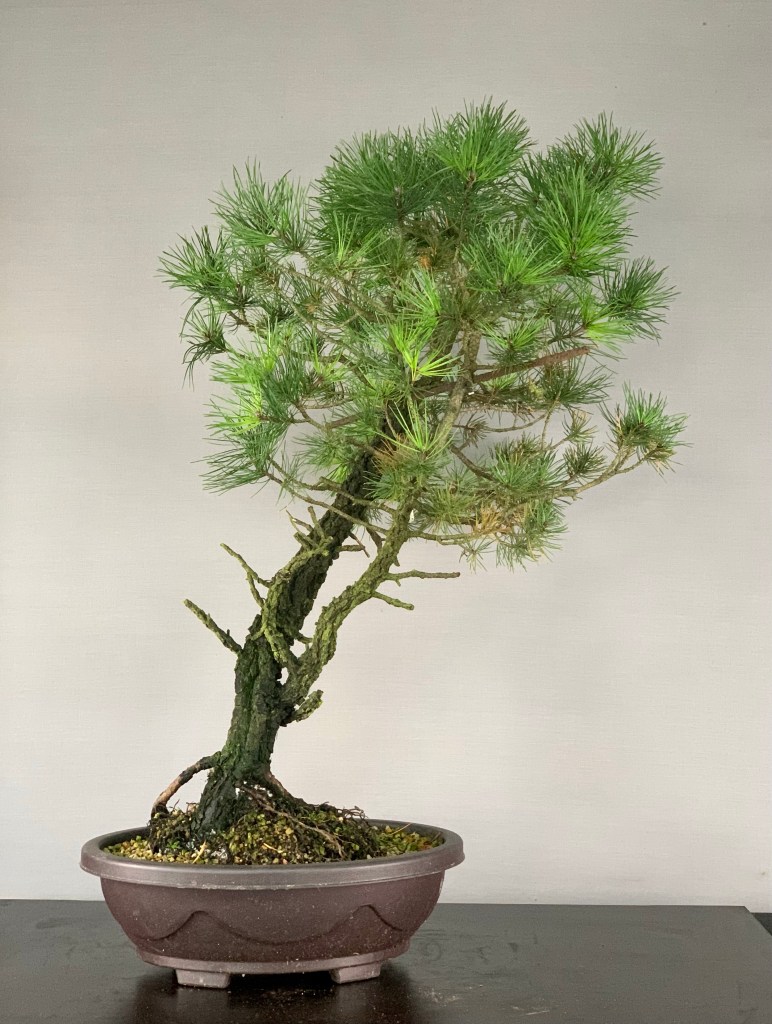
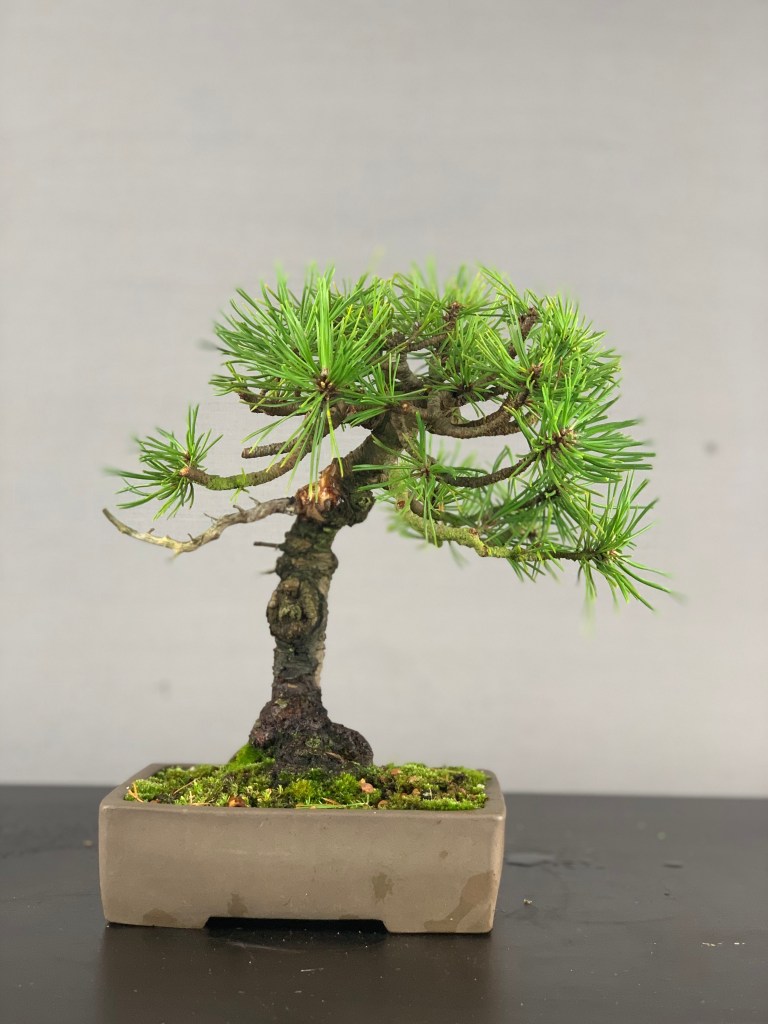
This second tree, a Scots Pine grown from seed by the owner, was also a tricky proposition. It’s always been leggy branch wise for as long as I remember it. It seems to cycle between periods of extreme growth with back budding and then shuts down. As its not in my care I can’t say for sure what the cause is. Perhaps as a seed grown tree it could just be genetic.
One of issues currently is drainage. When you see all of this crap on the surface you know that it’s way too wet for a pine to thrive. The mix was good but has broken down to the point where a repot in the spring is required.
Above shows the tree after being worked. Where I could safely chase back branches, I did. This tree left me with a few interesting dilemmas. I was styling the tree with a free hand from the owner but I wanted to give him a few options for his own tastes. The branch/second trunk bottom right adds character and yet has very poor structural branching. I have made the best of it but there’s actually a great tree there without it. It’s now his choice to keep or remove or even Jin and has no impact on the rest of the tree. There’s another bit of weirdness going on down there with the freaky little low branch at the bottom rear. I love leaving funky things on trees that make them different from the usual fare we see. I think a possible option on this tree is to Jin the bottom trunk but leave the freaky bottom back branch and swing it slightly to the right.
Anyway, a few options to discuss with the owner when he sees it in person. After 30+ years in his care I think it’s only right to let him have a say.
Another Shore Pine
This was the latest on the tidy up list. It wasn’t quite ready for any wiring. Needed the strong areas thinned out and generally balanced out to aid health f lower branches. Ready for work after 2021 flush. The high root at the base was cut through half way to allow a staged removal. As with most of the Shore Pine I mange to collect, the bark is rather special.


Hawthorn Adjustments
This hawthorn has been knocking around my garden for probably 15 years and can be seen here as part of a case study on air layering.
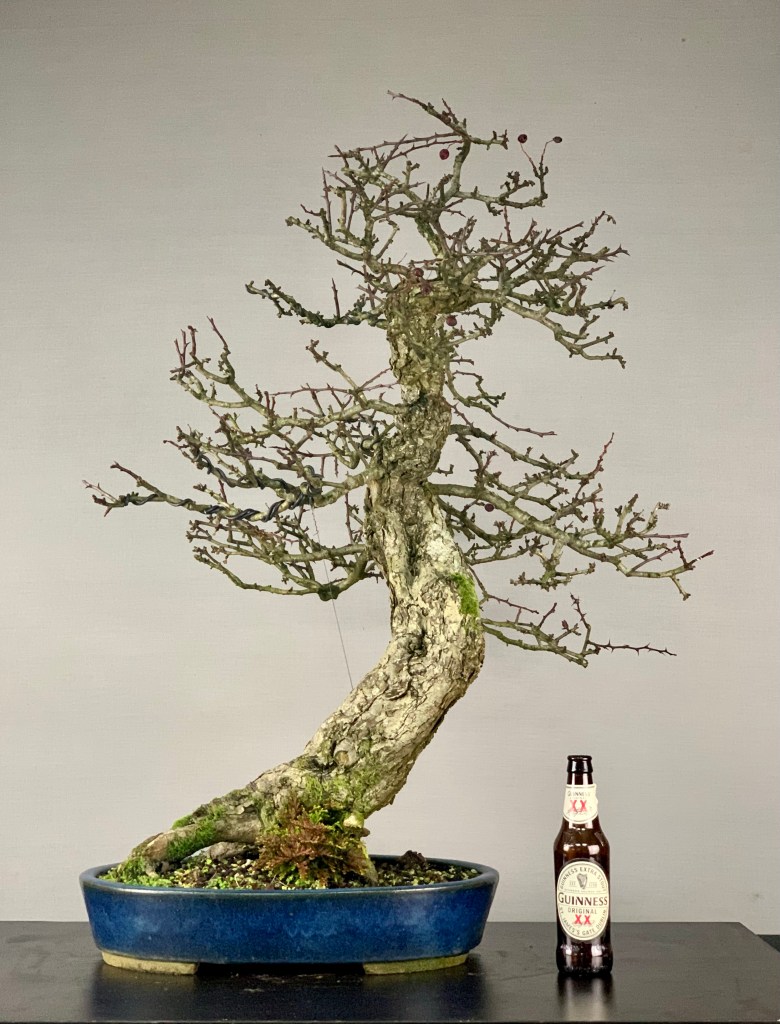
It had a major repot in 2019 and sulked in a big way all that year. 2020 has been a shitty year for most of us but this hawthorn made a come back. I decided that although I like my hawthorn to have a natural angular appearance and to not over wired, this tree needed adjustments. The branches had sprung a bit and a slight angle change at the repot meant things weren’t quite in place.


Even after all this time the tree has plenty of ramification still to be added. And some branch fattening here and there. If I knew back then what I know now this tree would be further on and branches in better proportion. Bonsai is a journey that’s for sure.
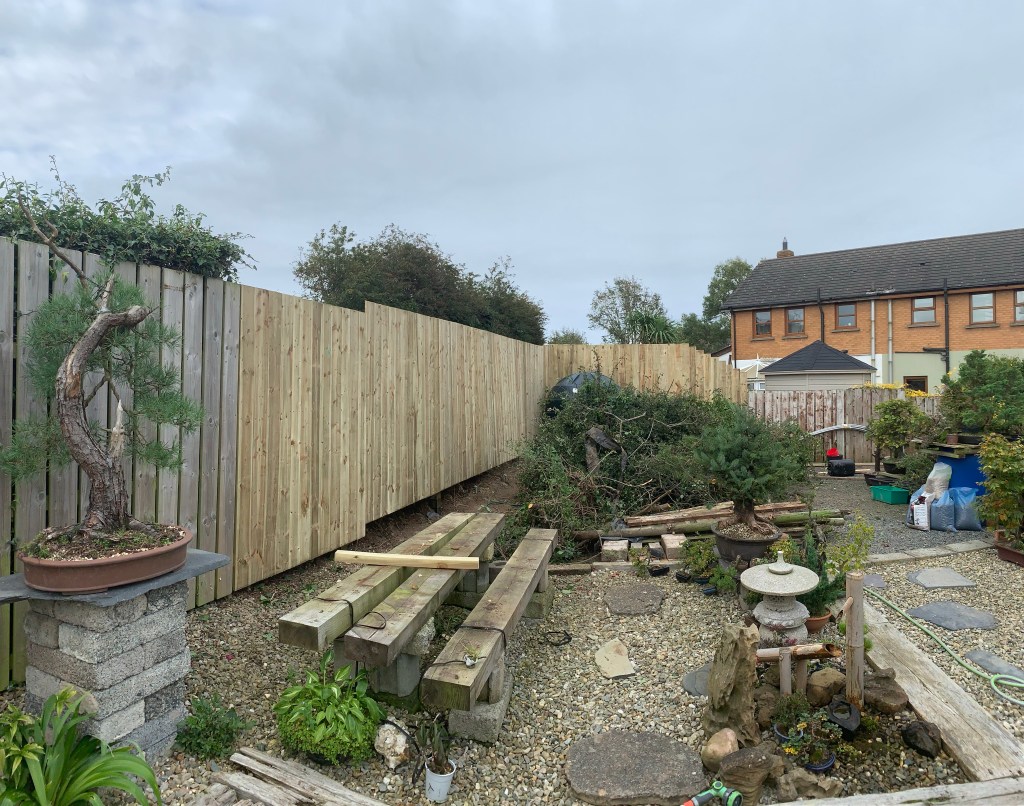
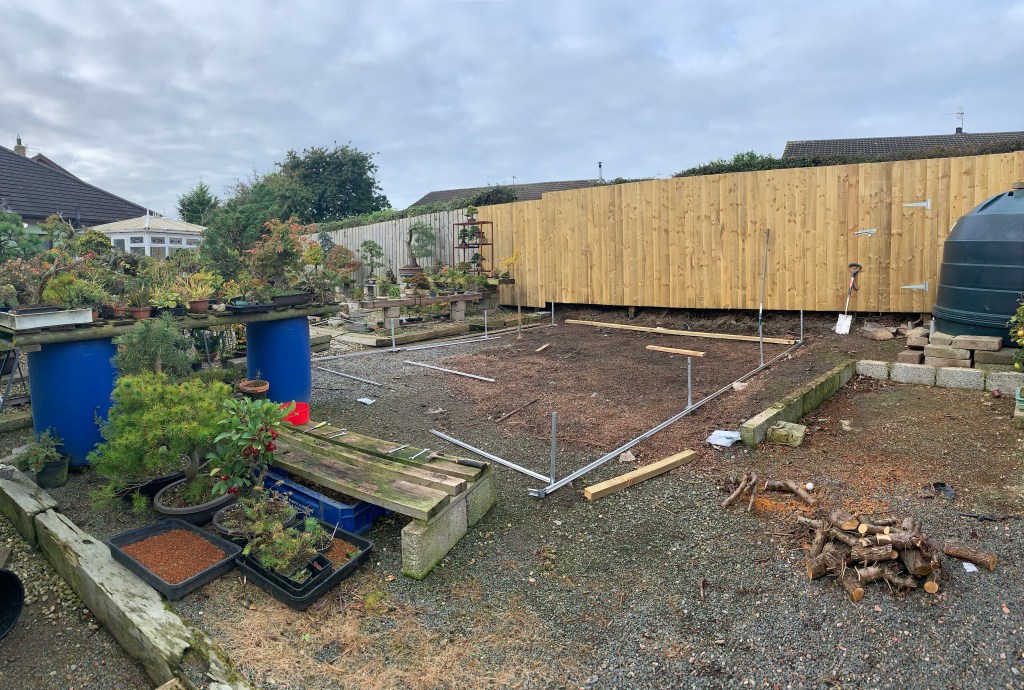
New Polytunnel
My last little tunnel was 10’x8’ and along side my little greenhouse, they done a job for me for close to 25 years. The greenhouse was taken down in 2019 and the small tunnel alone just wasn’t going to cut mustard over winter. So, down it came and up went the new tunnel 14’ x 15’.


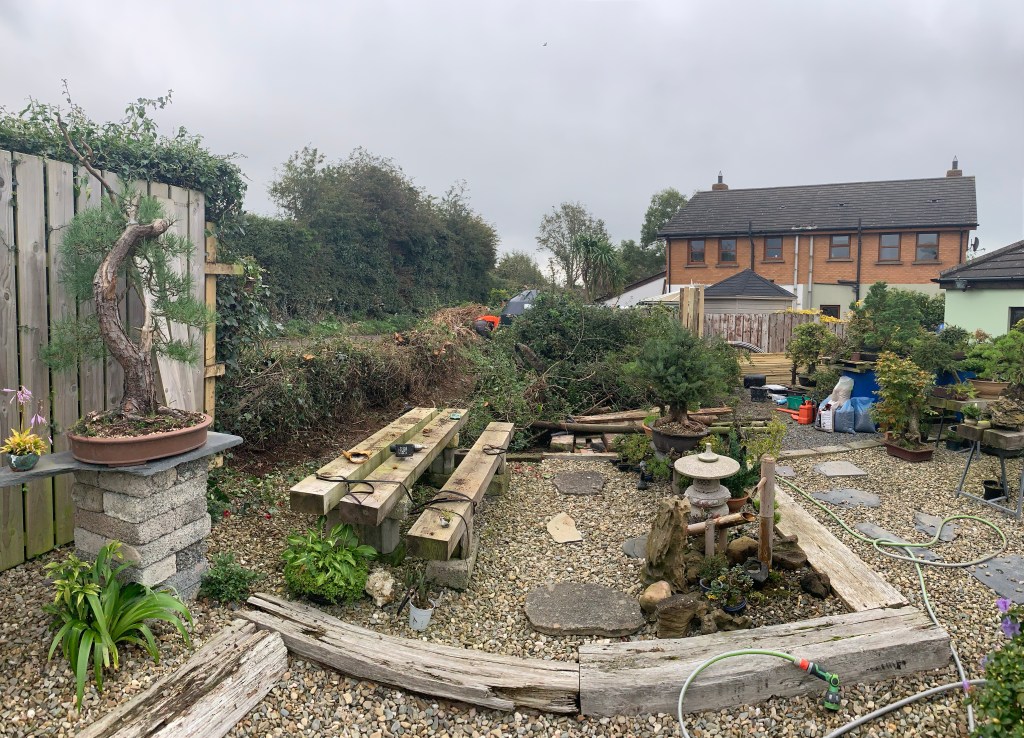
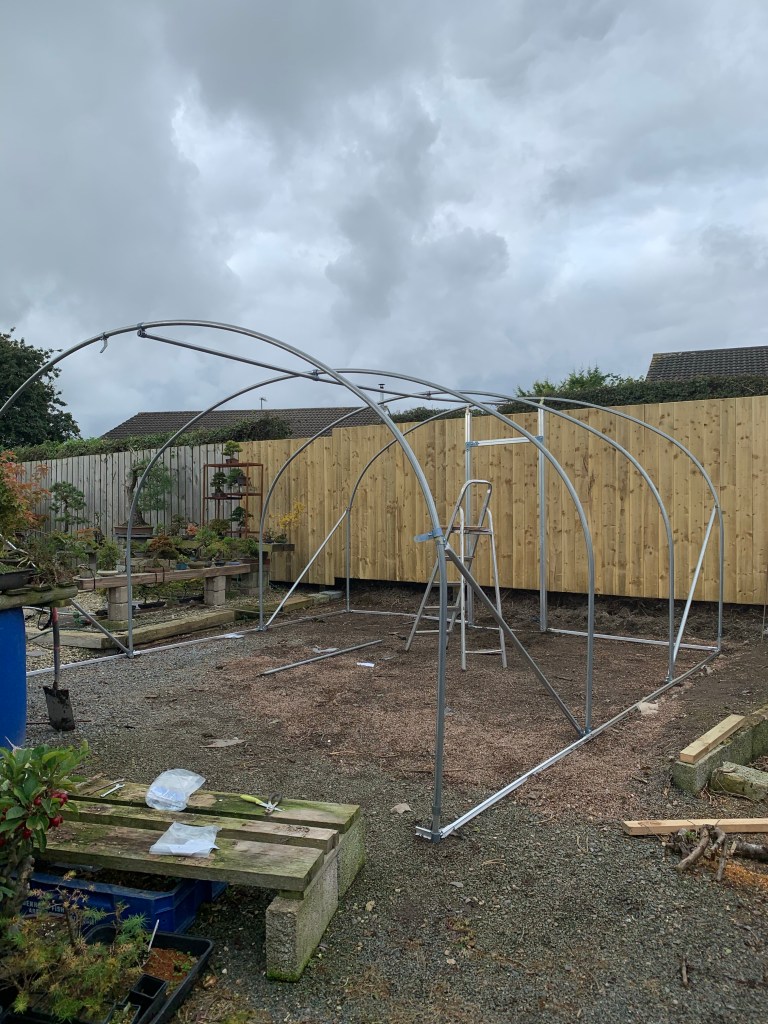

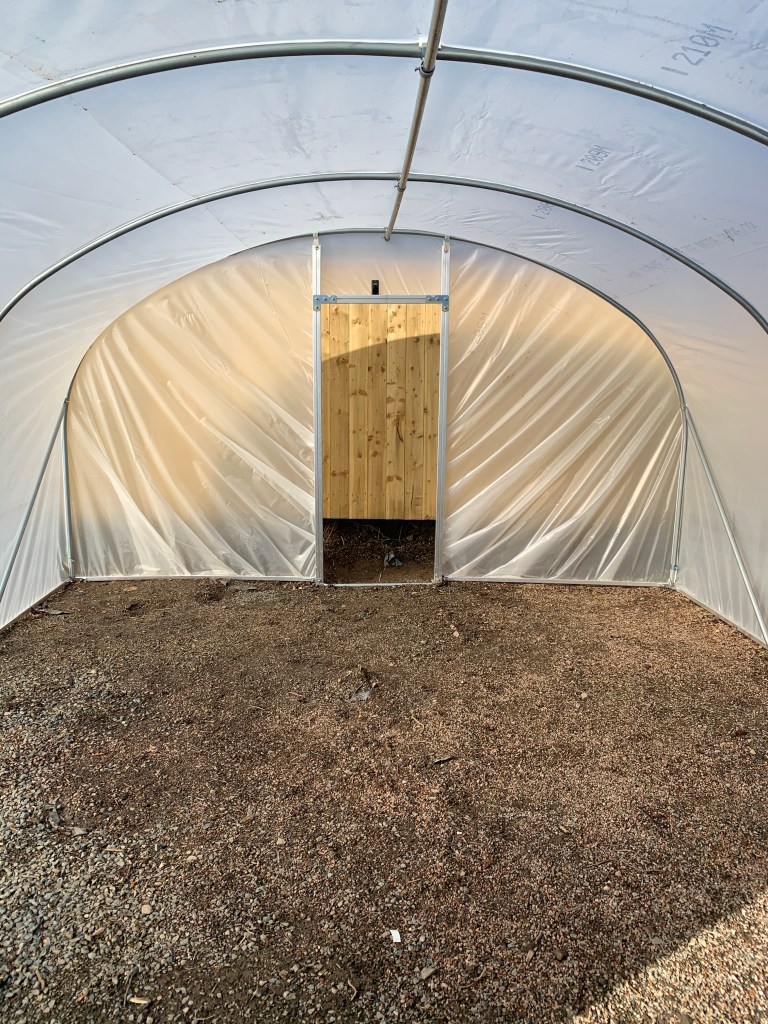
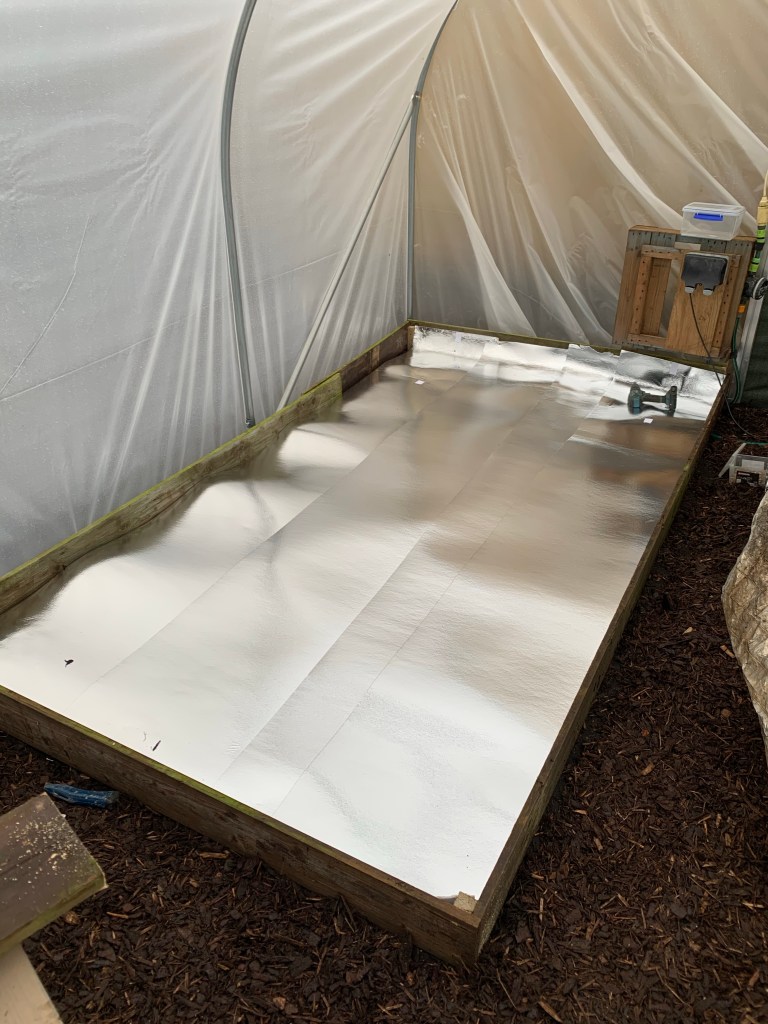

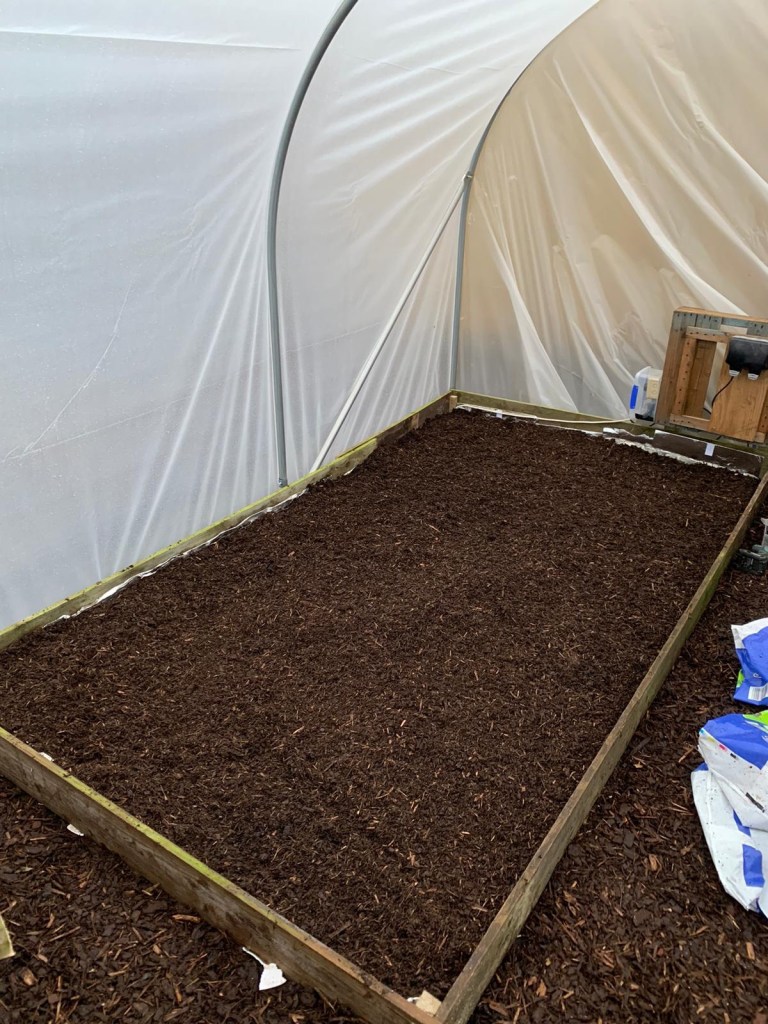


So far with storms seeming to hit every other day it has stood strong. It’ll be doing well to last as long as the last one. I’ve a misting system for the yamadori still to go in and a watering system as well.
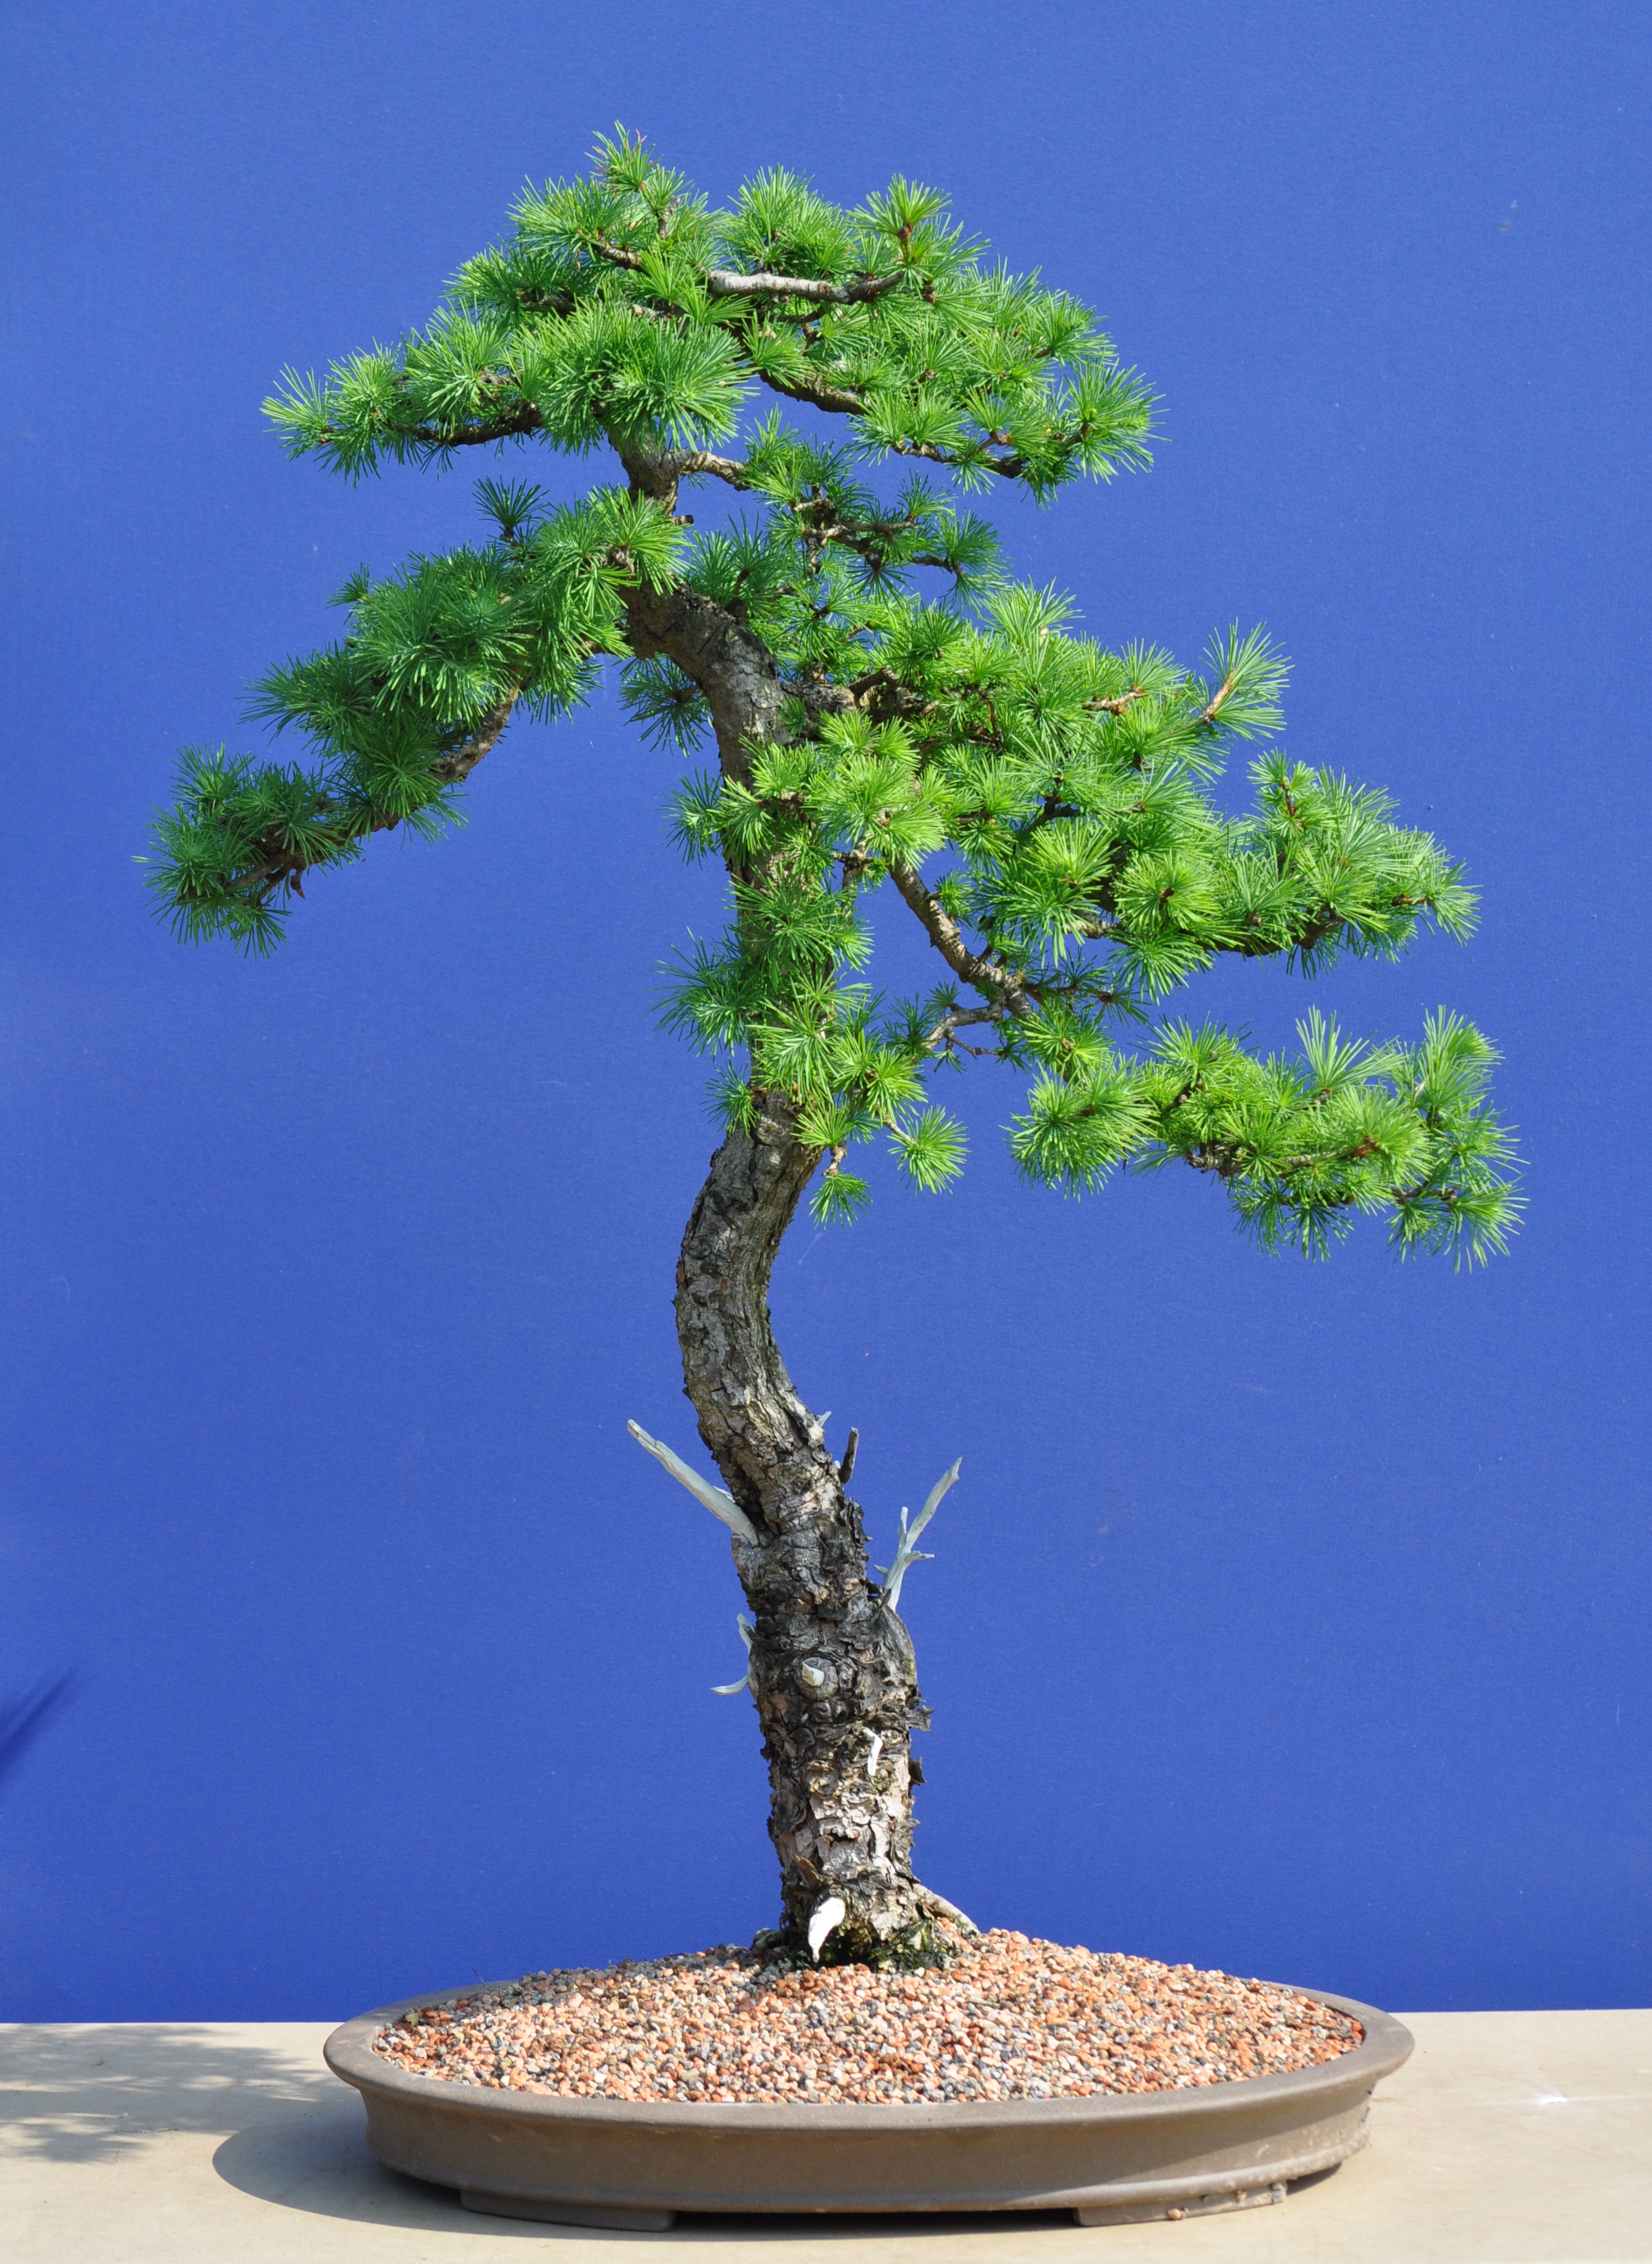
Seedling Scots Pines
A friend has some Scots Pine that he started from seed over 30 years ago and have never been out of a pot of some sort in that time. They’ve have good years and bad during that period and this month I’ve been sorting them out and doing a little wiring for him.


I love the fact that these trees have been grown from seed by the owner and have stayed with him all these years. I have two more to complete work on which I’m looking forward to.
Here is a Mugo Pine that he also collected from his own garden last year getting a first styling.


