Graham’s two videos on airlayering a crab apple. This is the original one from 3 years ago.
and this is the new update.

Graham’s two videos on airlayering a crab apple. This is the original one from 3 years ago.
and this is the new update.
I had 3 broom shohin Elms which was 2 too many. I sold one a few weeks ago which got me down to two. I looked at the other two and decided that this one with inverse taper needed to change to make it worth keeping. I opted to air layer it to make a clump style image. This is it before and after the layer.


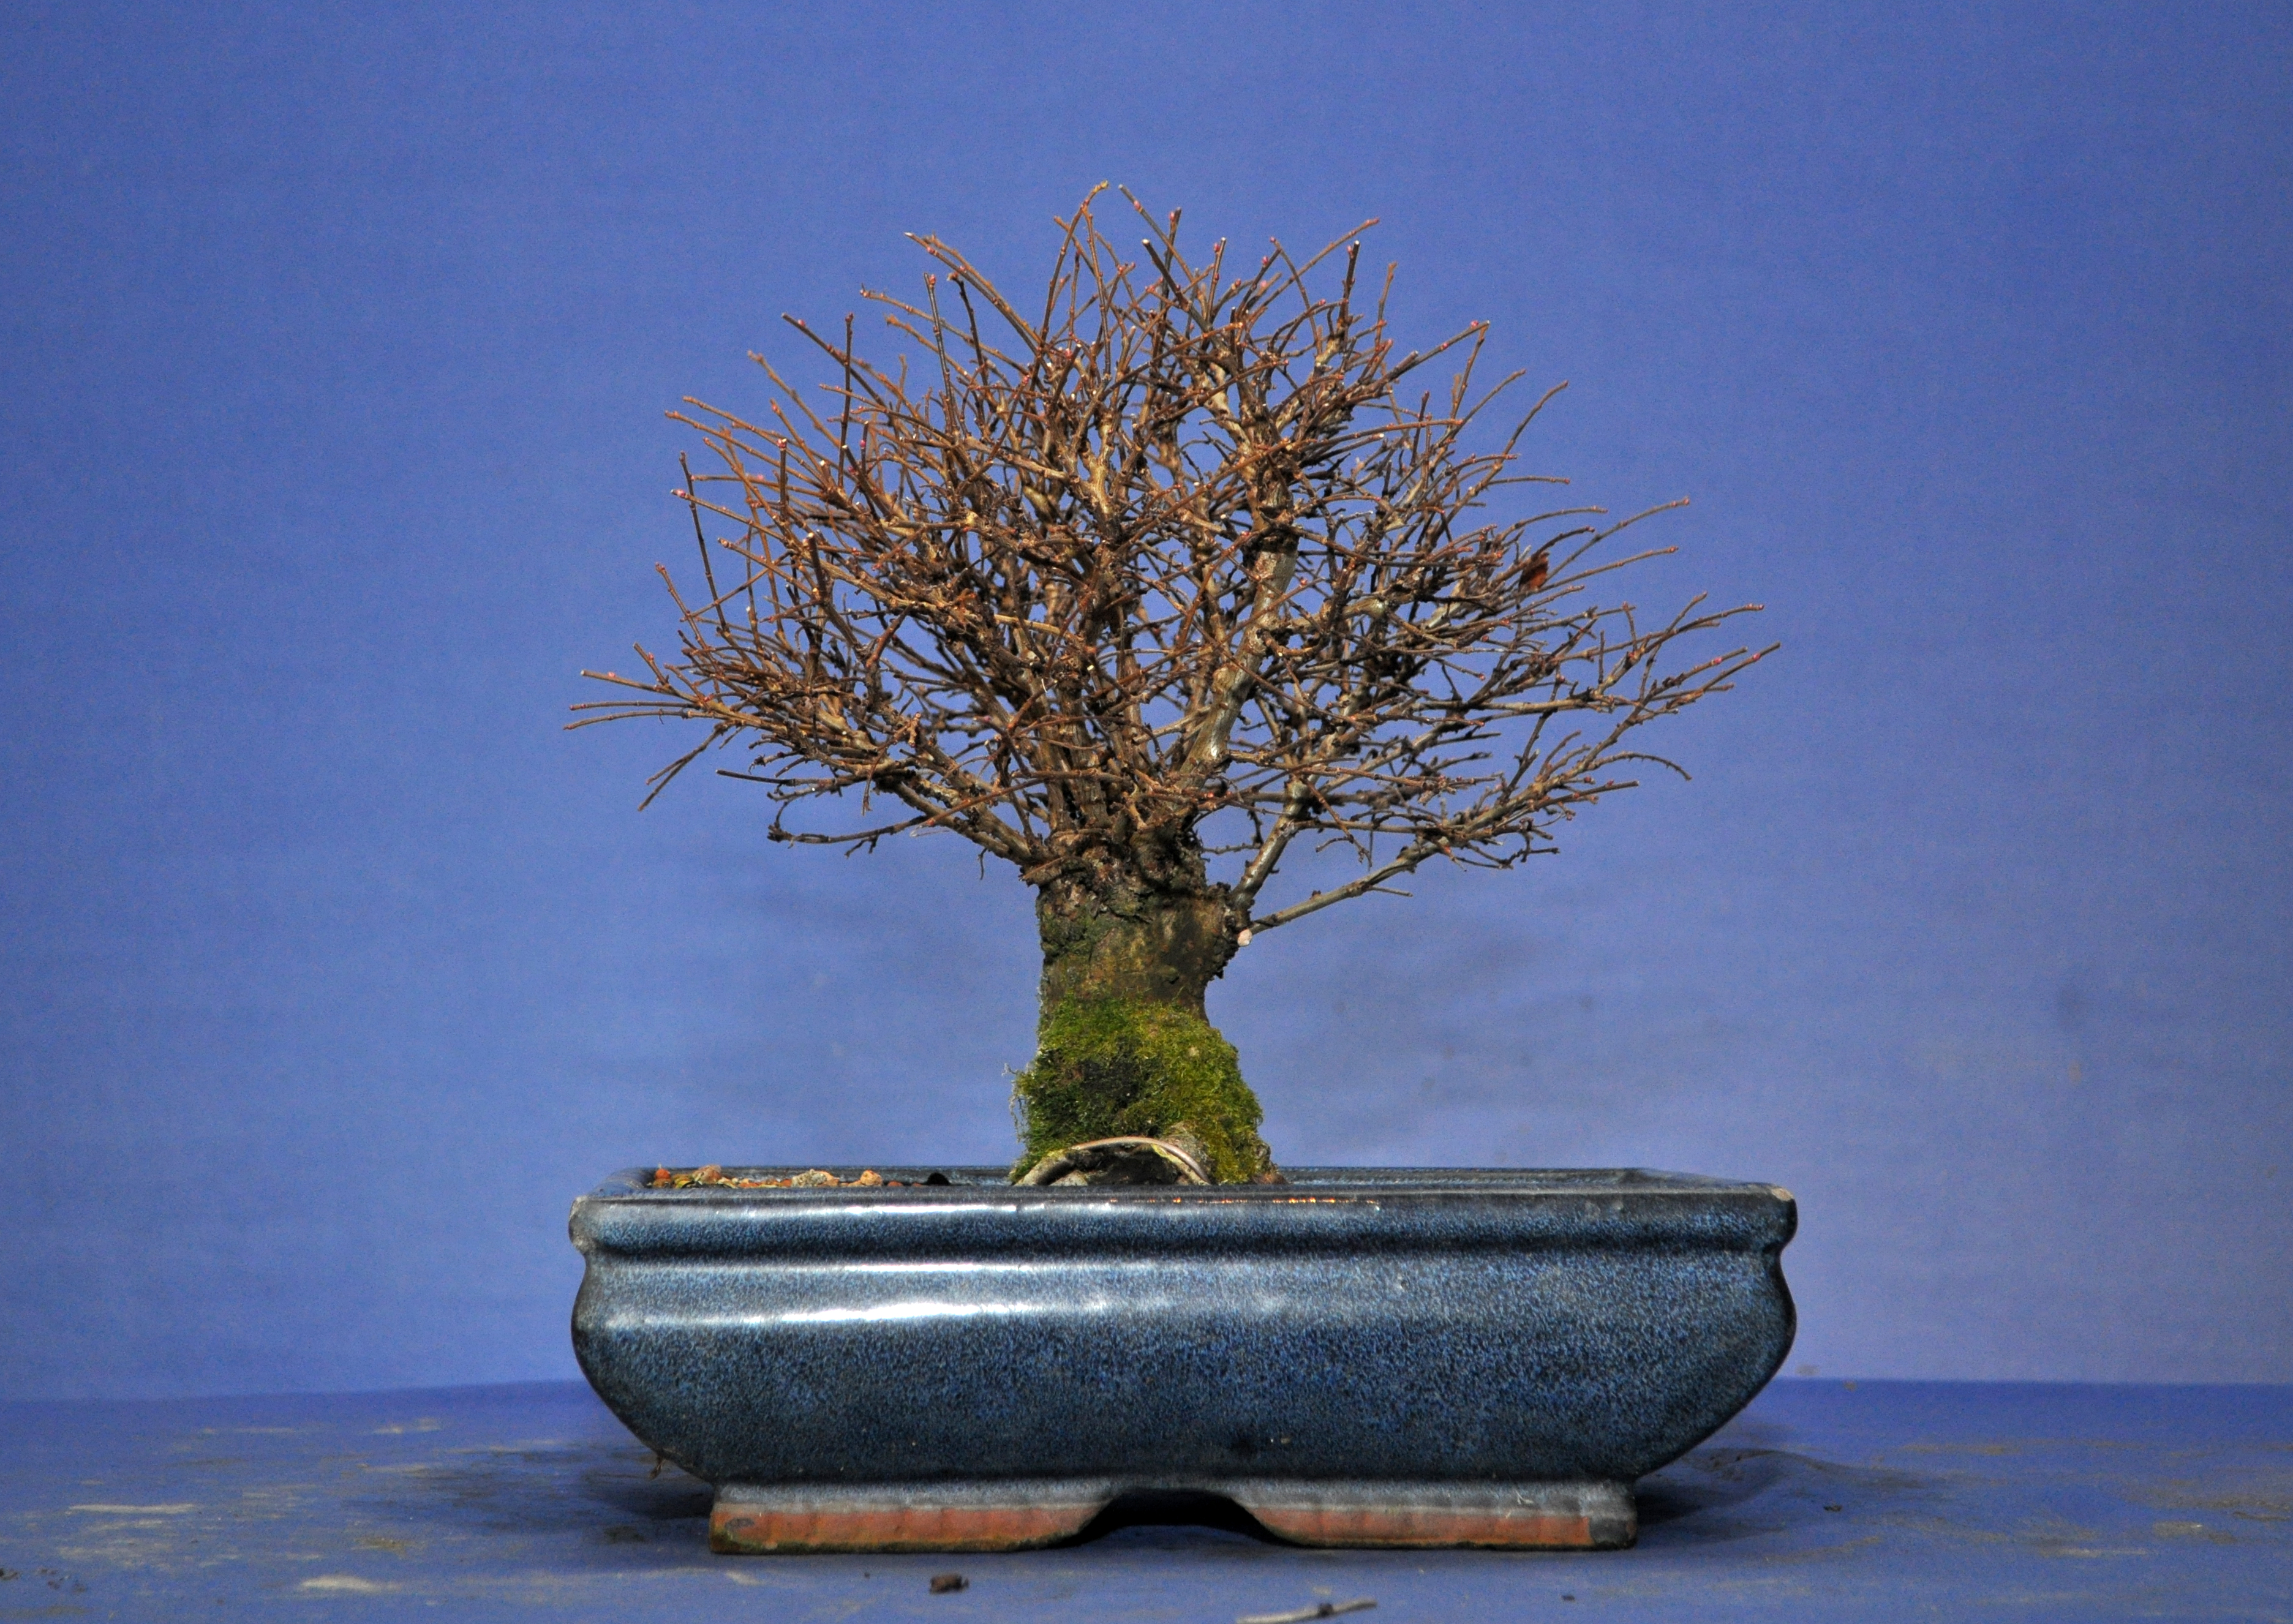
This little Cork Bark Elm was the base of an air layer a few years ago.
August 2011

September 2011


and now…
Ready for a hair cut and a repot into a more suitable pot.
In it’s new home. I’m loving yellow and orange pots at the moment 🙂
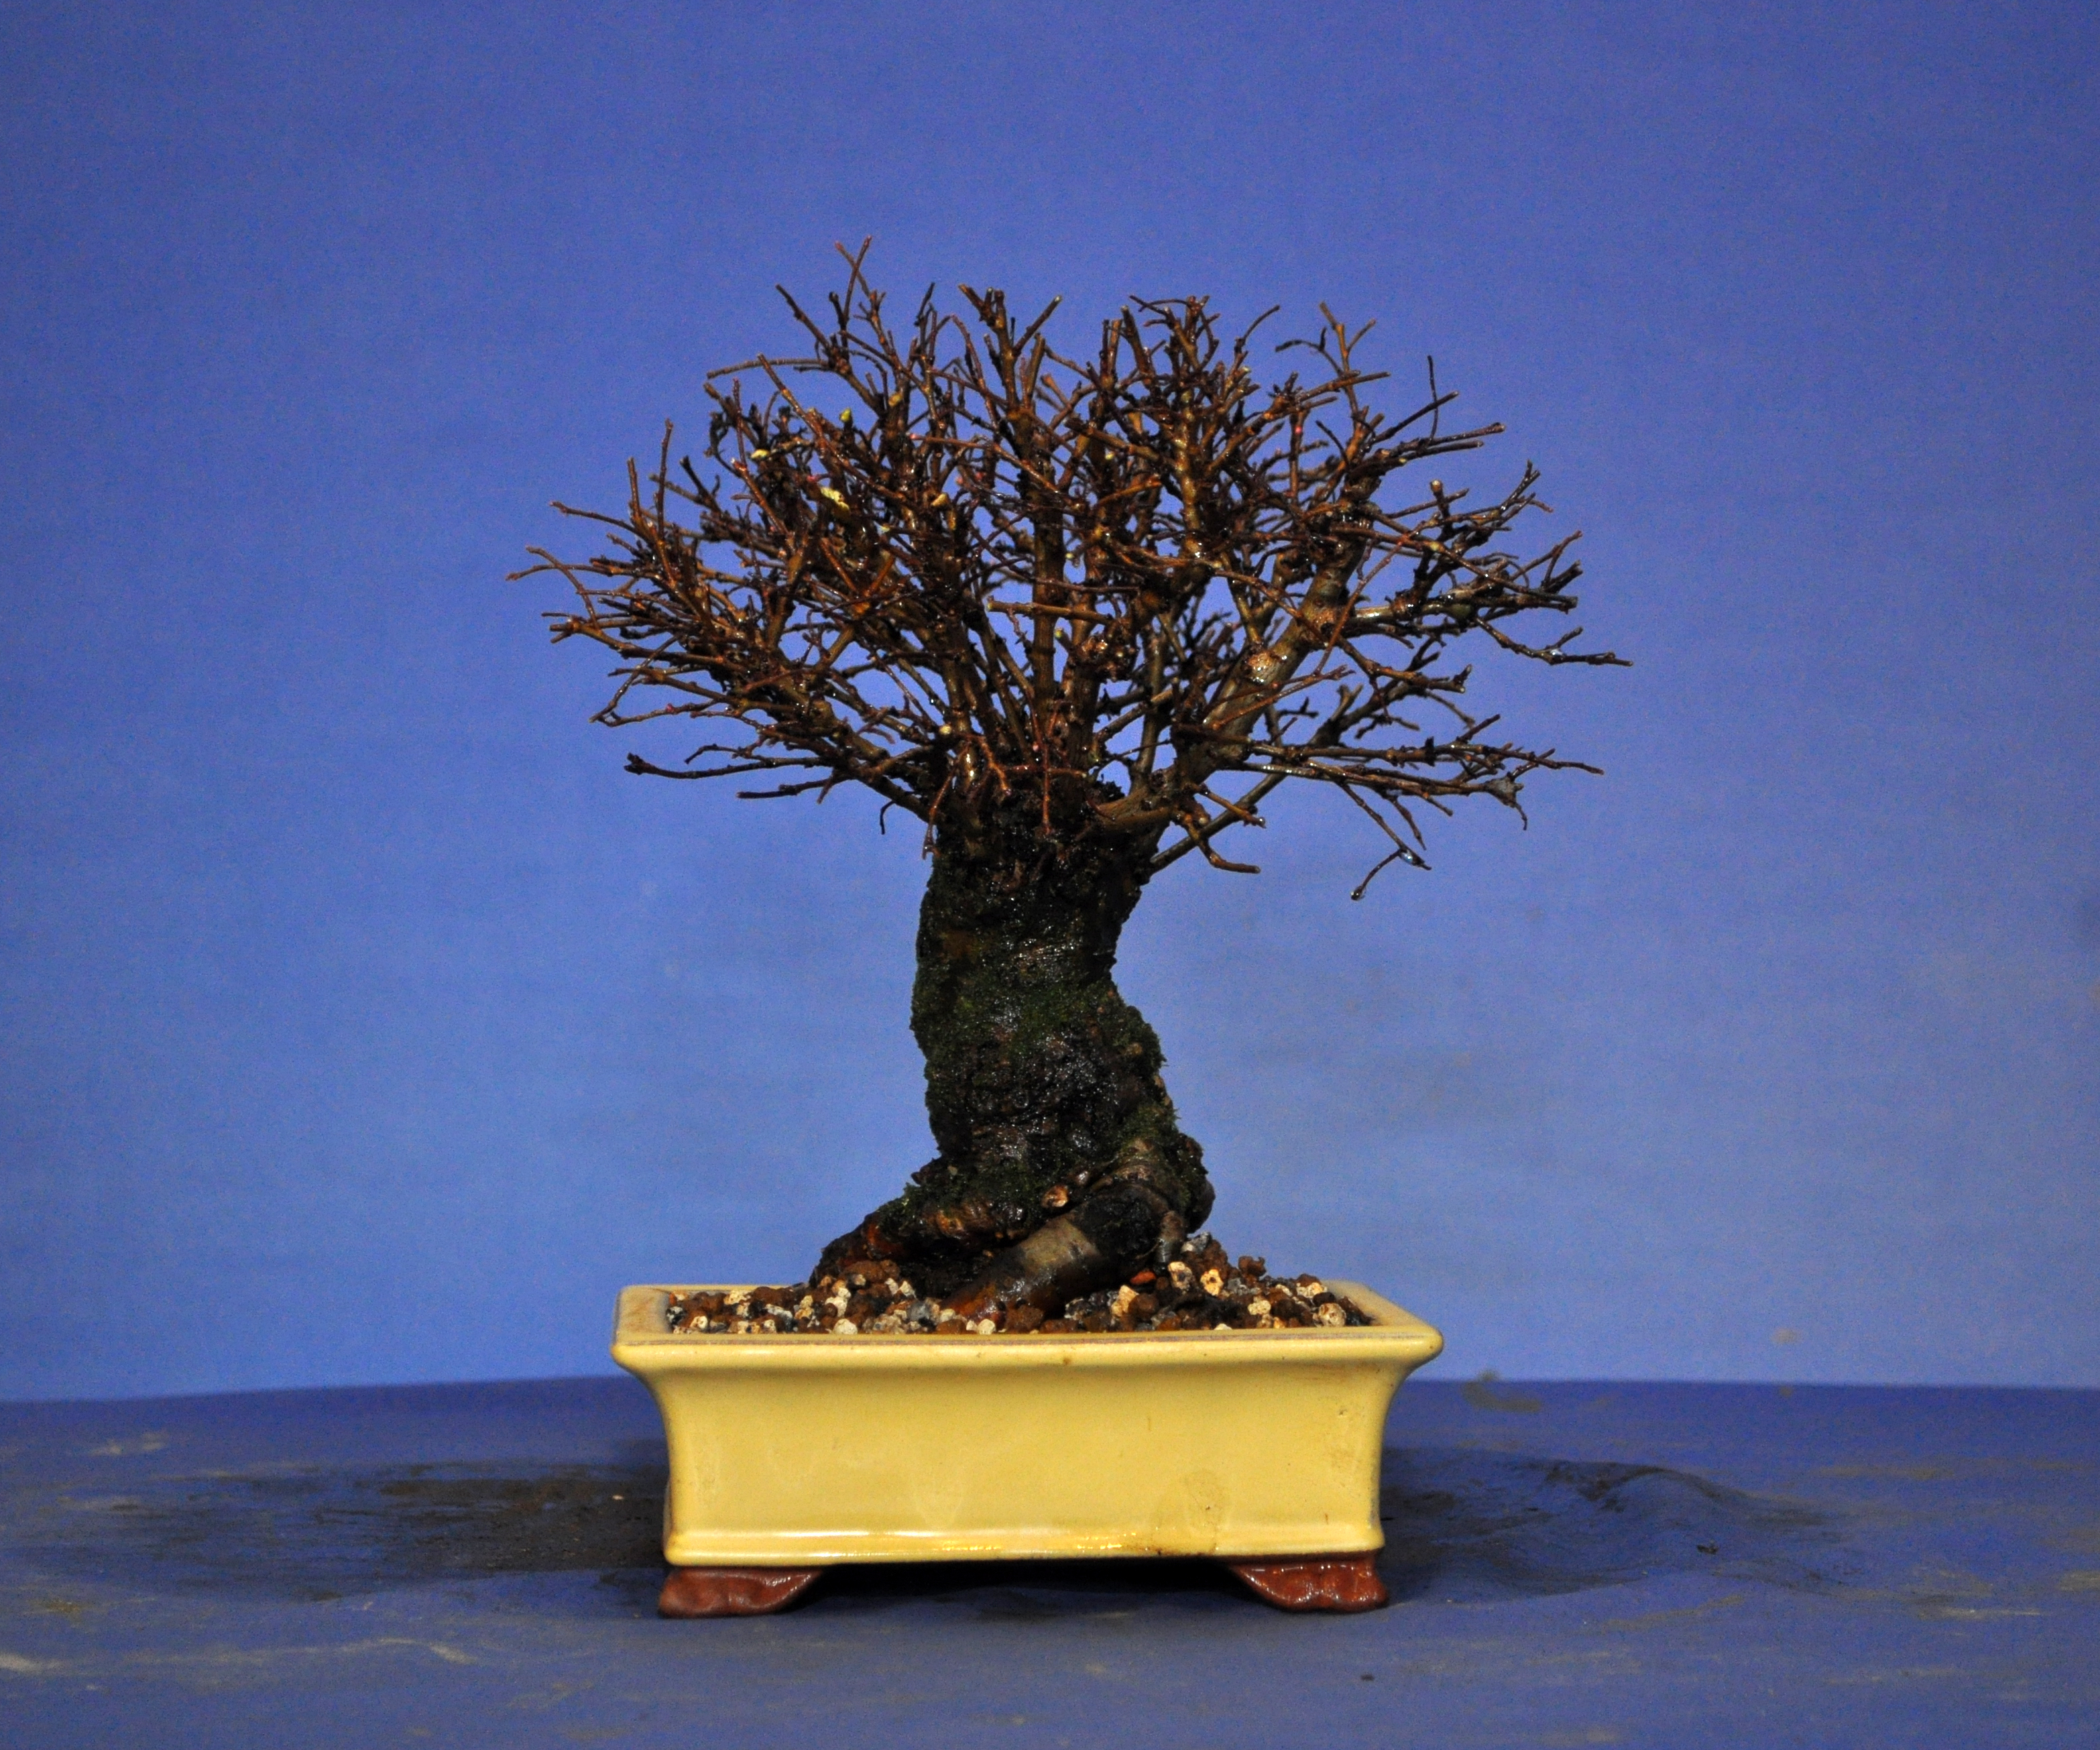
Still a few heavy bits to be cut out but I’m getting there.

Apart from one tree a few years back, my air layers have never failed. I always use the same method, strip a ring of bark, apply moss and wrap with cling film. I can usually remove within 4-5 months. It would be easy to only post about success on the blog, but we all know bonsai has it’s fair share of failures and woe 😉
This year I did two layers, one on a Japanese Maple and one on a Trident Maple. Both species I’ve layered before.
The maple was slightly different this time as I used a cut flower pot to hold the moss in place. The Trident was done as normal.
This was the result of the Japanese Maple.

Roots only issued from one place that were of use.
Some other roots appeared but from below the layer on the parent trunk.

The tree had managed to bridge an inch wide ring to rejoin with the parent trunk.

I removed the unwanted roots and any unwanted bridging callus. I then removed even more of the heartwood to be 100% sure that bridging wouldn’t occur.
This time I opted to use root hormone to stimulate the tree. I mixed power with water to make a paste which was applied to the area where roots are wanted.


I then replaced the moss with a akadama mix with a little grit.

We will wait and see !
The Trident didn’t fair much better!

Loads of callus and very early signs of roots

As it was close to bridging, I removed the bottom but left the top portion as this will add to the future width of the nebari.

Moss reapplied and the mini tree was pruned to get a little structure into the future new image.

I’ll keep you updated next year.
When we had Robert Porch over speaking at the club last year, he was talking about how a lot of the small maples we see from Japan are air layers developed on a parent plant and then layered off. One of the techniques that is used is to ring the tree with wire at the point where you eventually want to layer. Then while you develope the tight branch structure the wire bites in and causes the trunk to swell at this point. Then when you are ready to layer you already have a wider nebari to work with.
I’ve been meaning to do this all year on a maple in my garden but only got around to it a few weeks ago. Late in the season, but maples tend to bulk up in the autumn and I intend to leave the wire on through next year and layer off in 2015. I’ll keep you posted as to how this works for me. In the meantime here are a few of the bits I’m layering off. Some better than others but I want to do as many as possible on the same tree.


This time it’s a mame Trident Maple. I have a stump of maple that is far from attractive. I opted to layer off the little apex.


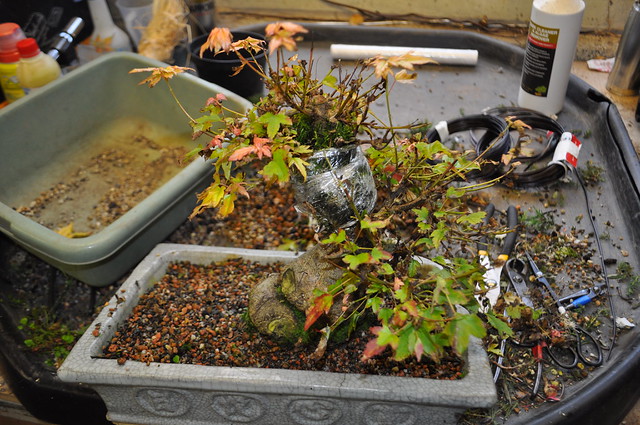
After spending the last few years getting this maple back to health, it was time to make a decision about the rotting wood at the base and slight inverse taper. The tree has obviously had a hard life and large areas of the trunk have died back. After consideration I am opting to try an air layer.


I marked out the best spot for stripping the bark. Not easy as the deadwood always breaks the circumference of the trunk at some point.


Sharp tools at the ready and some Sphagnum Moss at hand.


Strip removed and a clean upper edge created. Lots of evidence of a hard life in the heartwood of this tree.

Instead of doing the usual air layer with cling film I opted to use a flower pot as it can sit at the base of the tree. Pot sliced and a portion removed to allow the trunk to fit through the bottom.


Taped up and ready for the moss.


Filled with moss and cling filmed over the top to help retain moisture.

Here we go. Update in the Autumn.

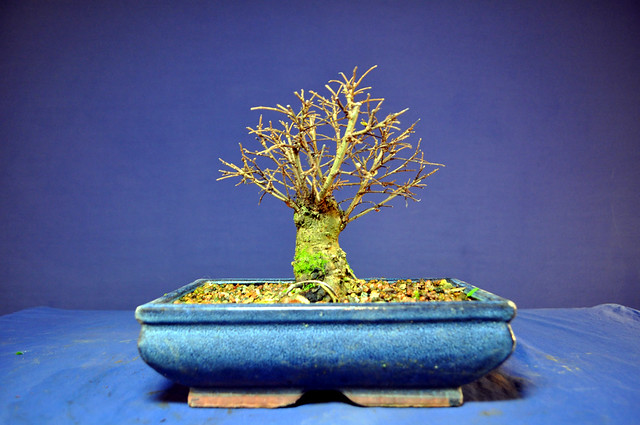
I potted up my Elm air layer a few days back. This was layered back in MAY 2011
Not into a nice shallow pot to help flair out the roots. A little directional wiring done and it’s mostly clip and grow from here.

I have just repotted my Hawthorn Air layer for the first time. The full story up until now can be read and seen HERE.
It was originally layered back in 2010 and it was now time to repot to enable me to removed the sphagnum moss that had been left intact so that the new roots wouldn’t be disturbed.
Before repot.

Plenty of root to work with


Buds swelling fast, a good time to repot.

Removal of the old stump below the layer point

Getting rid of the old sphagnum moss that will hold way too much water and will cause problems in the roots if left.

Potted up. It will get a full year and then some styling decisions will be made next year.

Another angle to show movement.

An update on the parent plant and the layer I took on a Cork Bark Chinese Elm in 2011.
This is the parent now achieved from a stump in a year. A few bits need to be cut back to balance out the growth but not bad for a year. Might even get a suitable instead of this Sh1te one 🙂
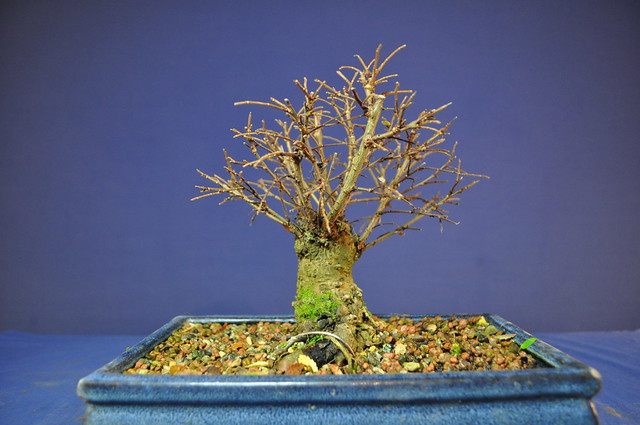
This was it in September 2011
And this is the layer a year on.

Shop for quality bonsai
bonsai and garden
The Kaizen Bonsai Blog
Teaching, Learning, Enjoying Bonsai
The ramblings of an old artist and someone who would like to grow better bonsais trees
my bonsai
My wood creations
Hand Crafted Furniture
Creativity Through Bonsai
dirt leaves flowers
bonsaï | vidéo | Japon - ActuBonsaï
Japan's aesthetic, craftsmanship and spirit
Bonsai with a hint of madness...
"Tibolar-RS. your soil needs it, your plants will love it"
