Escallonia Repot

Having taken a sneaky day off work I decided to do a little repotting. This Escallonia  needed done as drainage was poor and I wanted to change the front and potting angle slightly.

DSC_0146

DSC_0150


Bit of a lip on the pot so out with the root saw.

DSC_0151

A good mass of root but surprisingly not totally pot bound. Drainage issue must have been due to compacted fertiliser pellets breaking down into the top layer.

DSC_0152

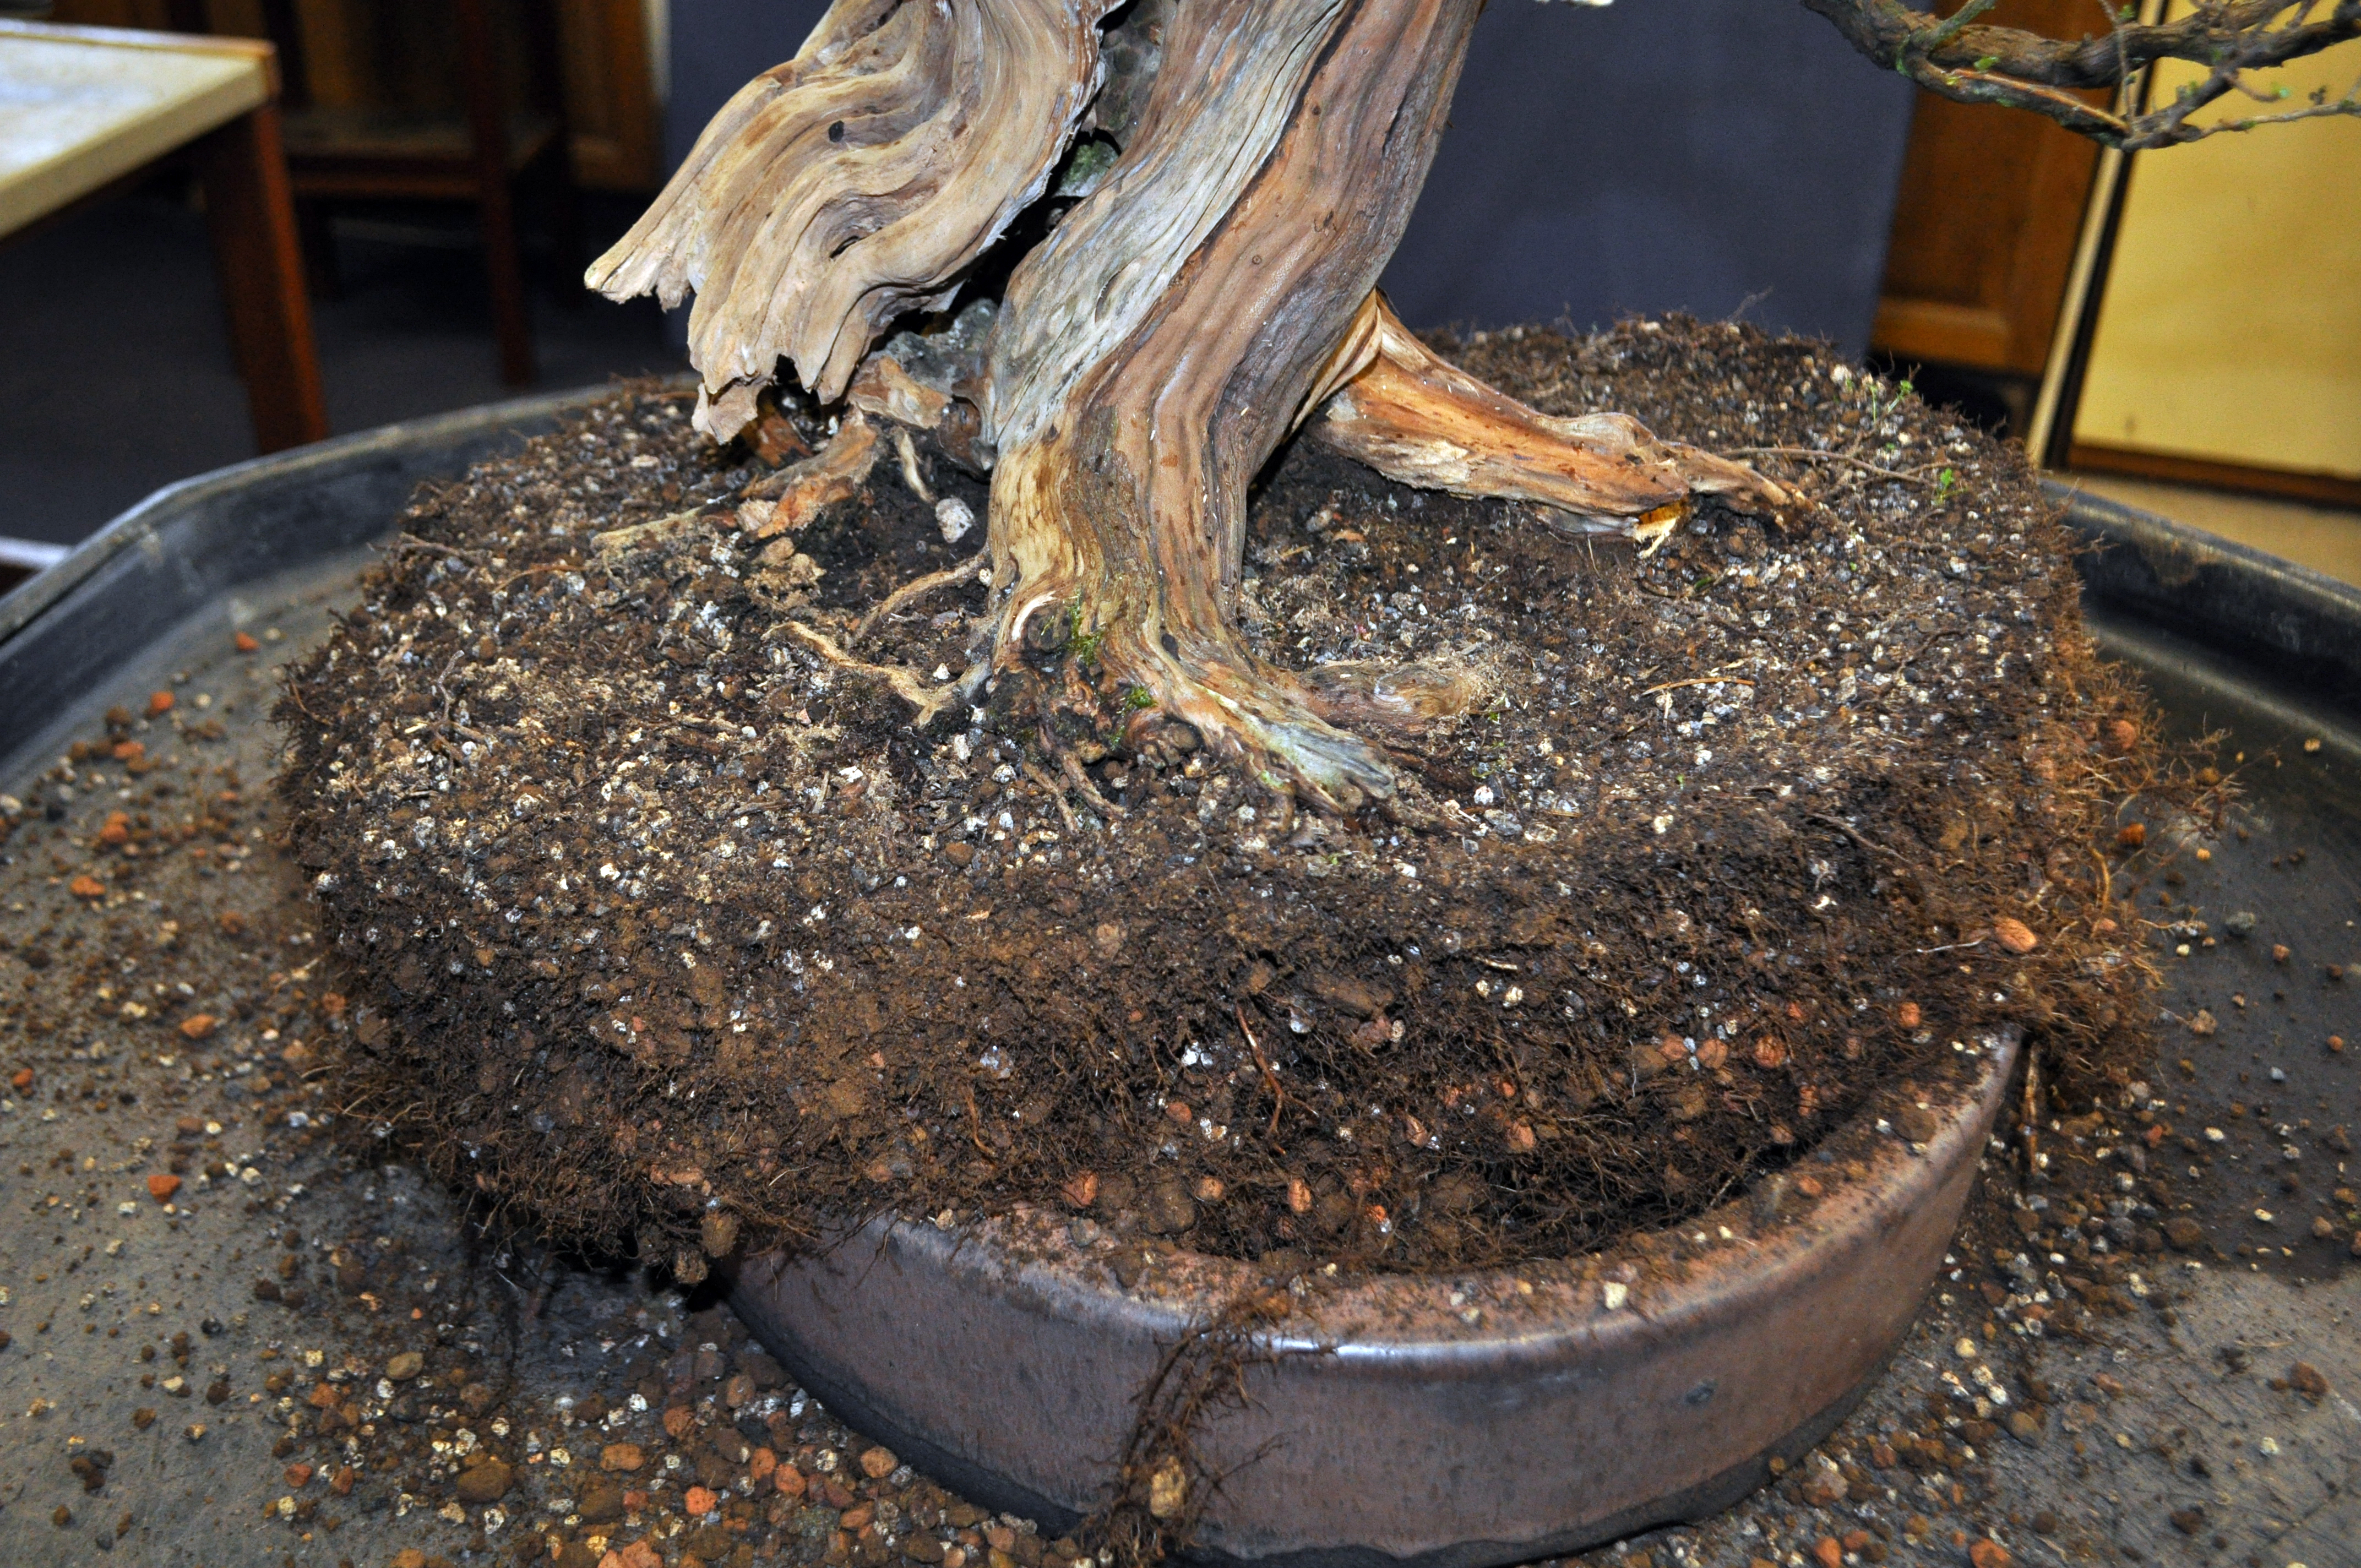
After a cut back and wash out. I did manage to get rid of the very last bit of garden soil.

DSC_0156

Back into the Walsall Ceramics pot. I do want to change this at some point but am still looking for the ideal pot. A mix of Akadama and koyodama which proved successful last time.

DSC_0157

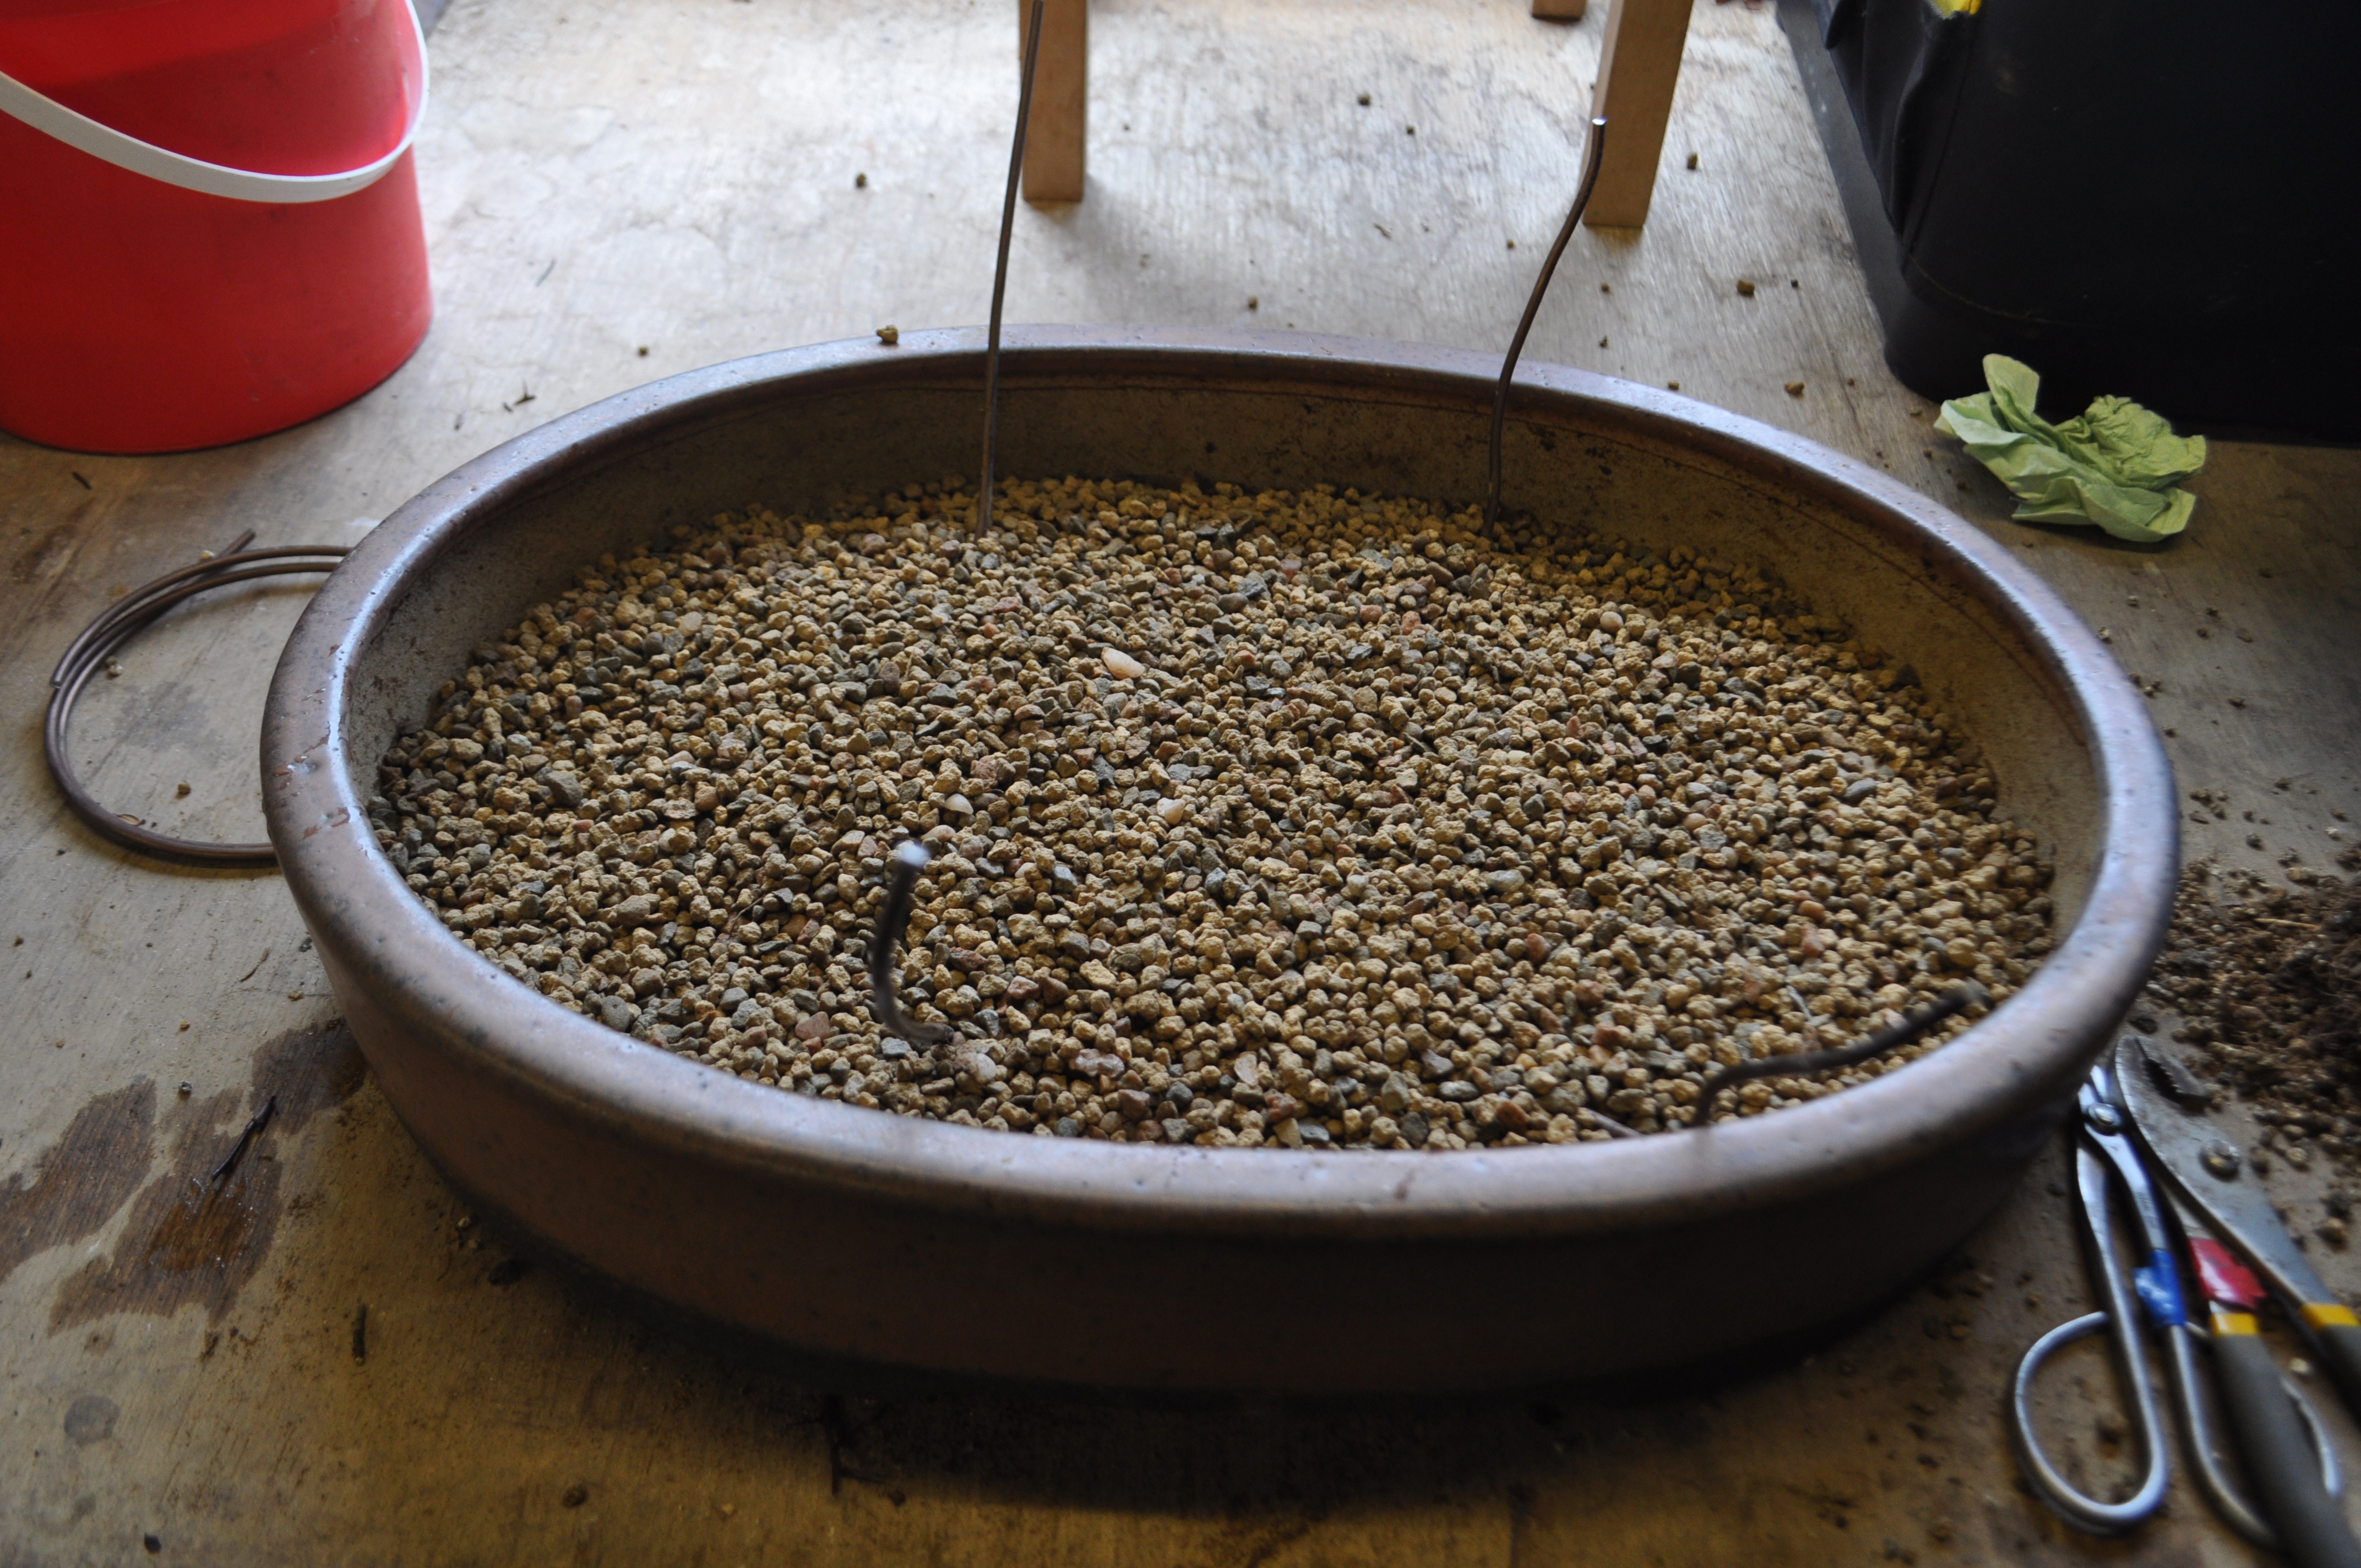
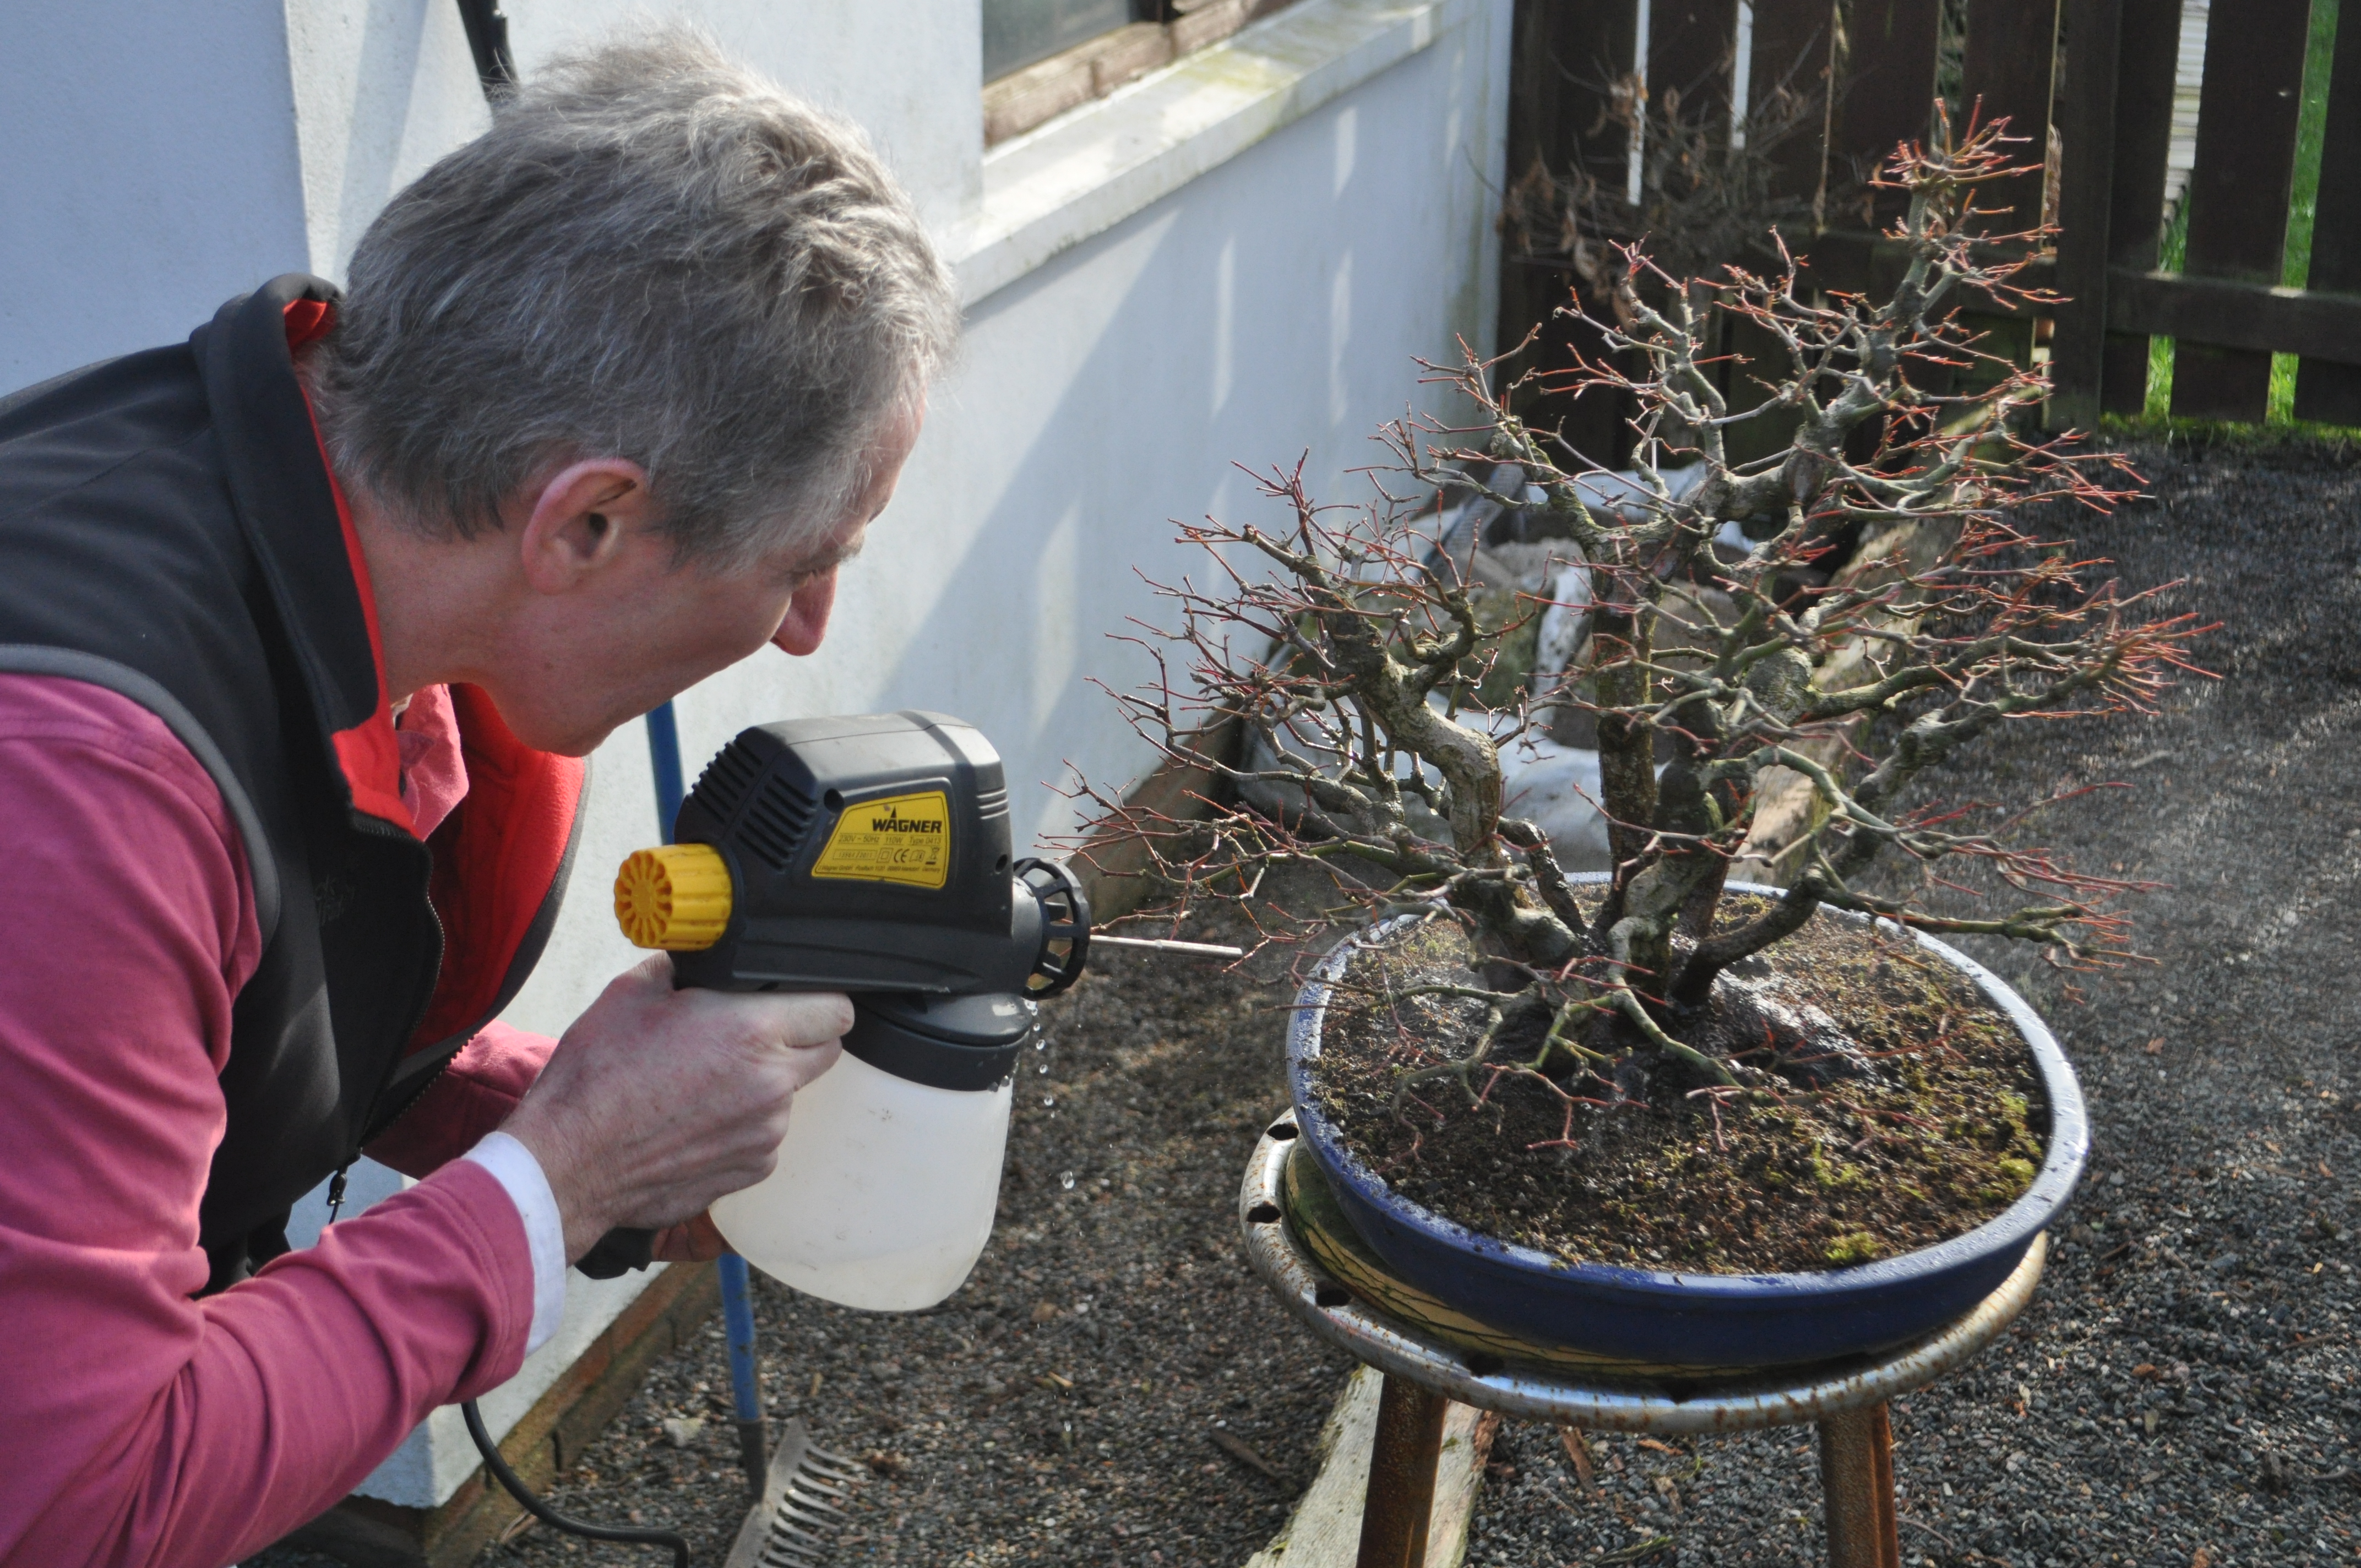
Potted up and ready for a good watering.
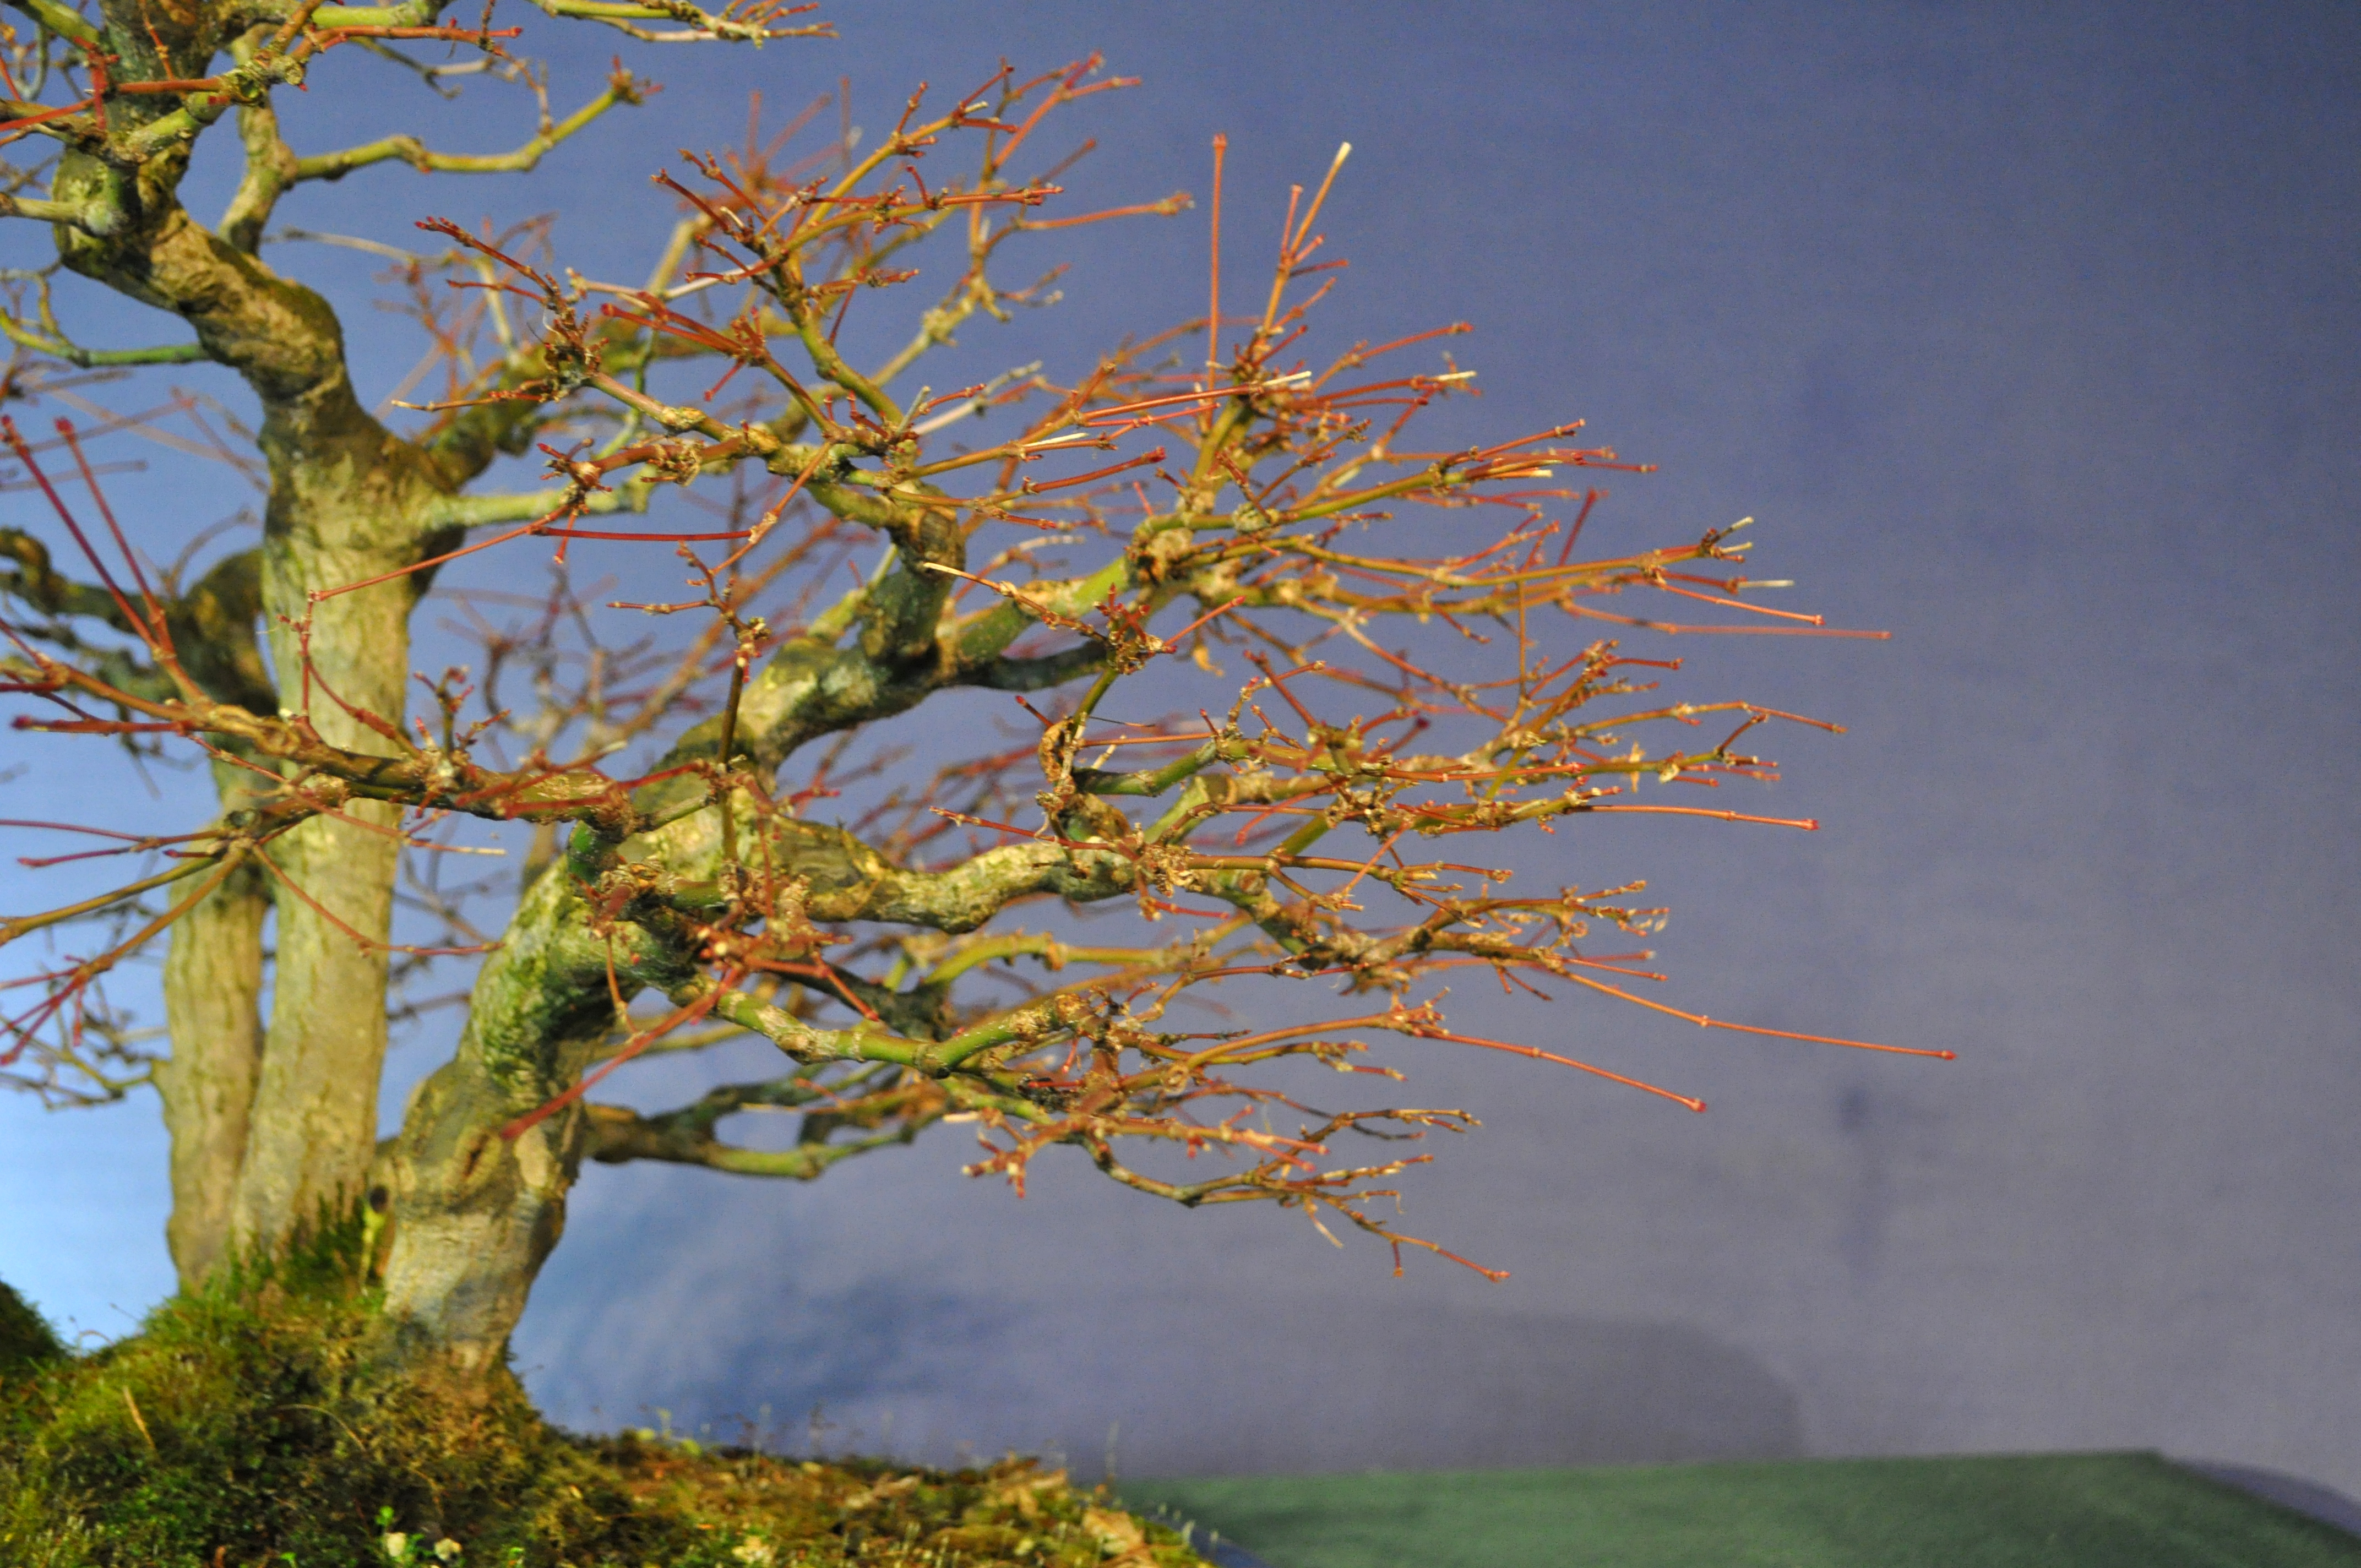
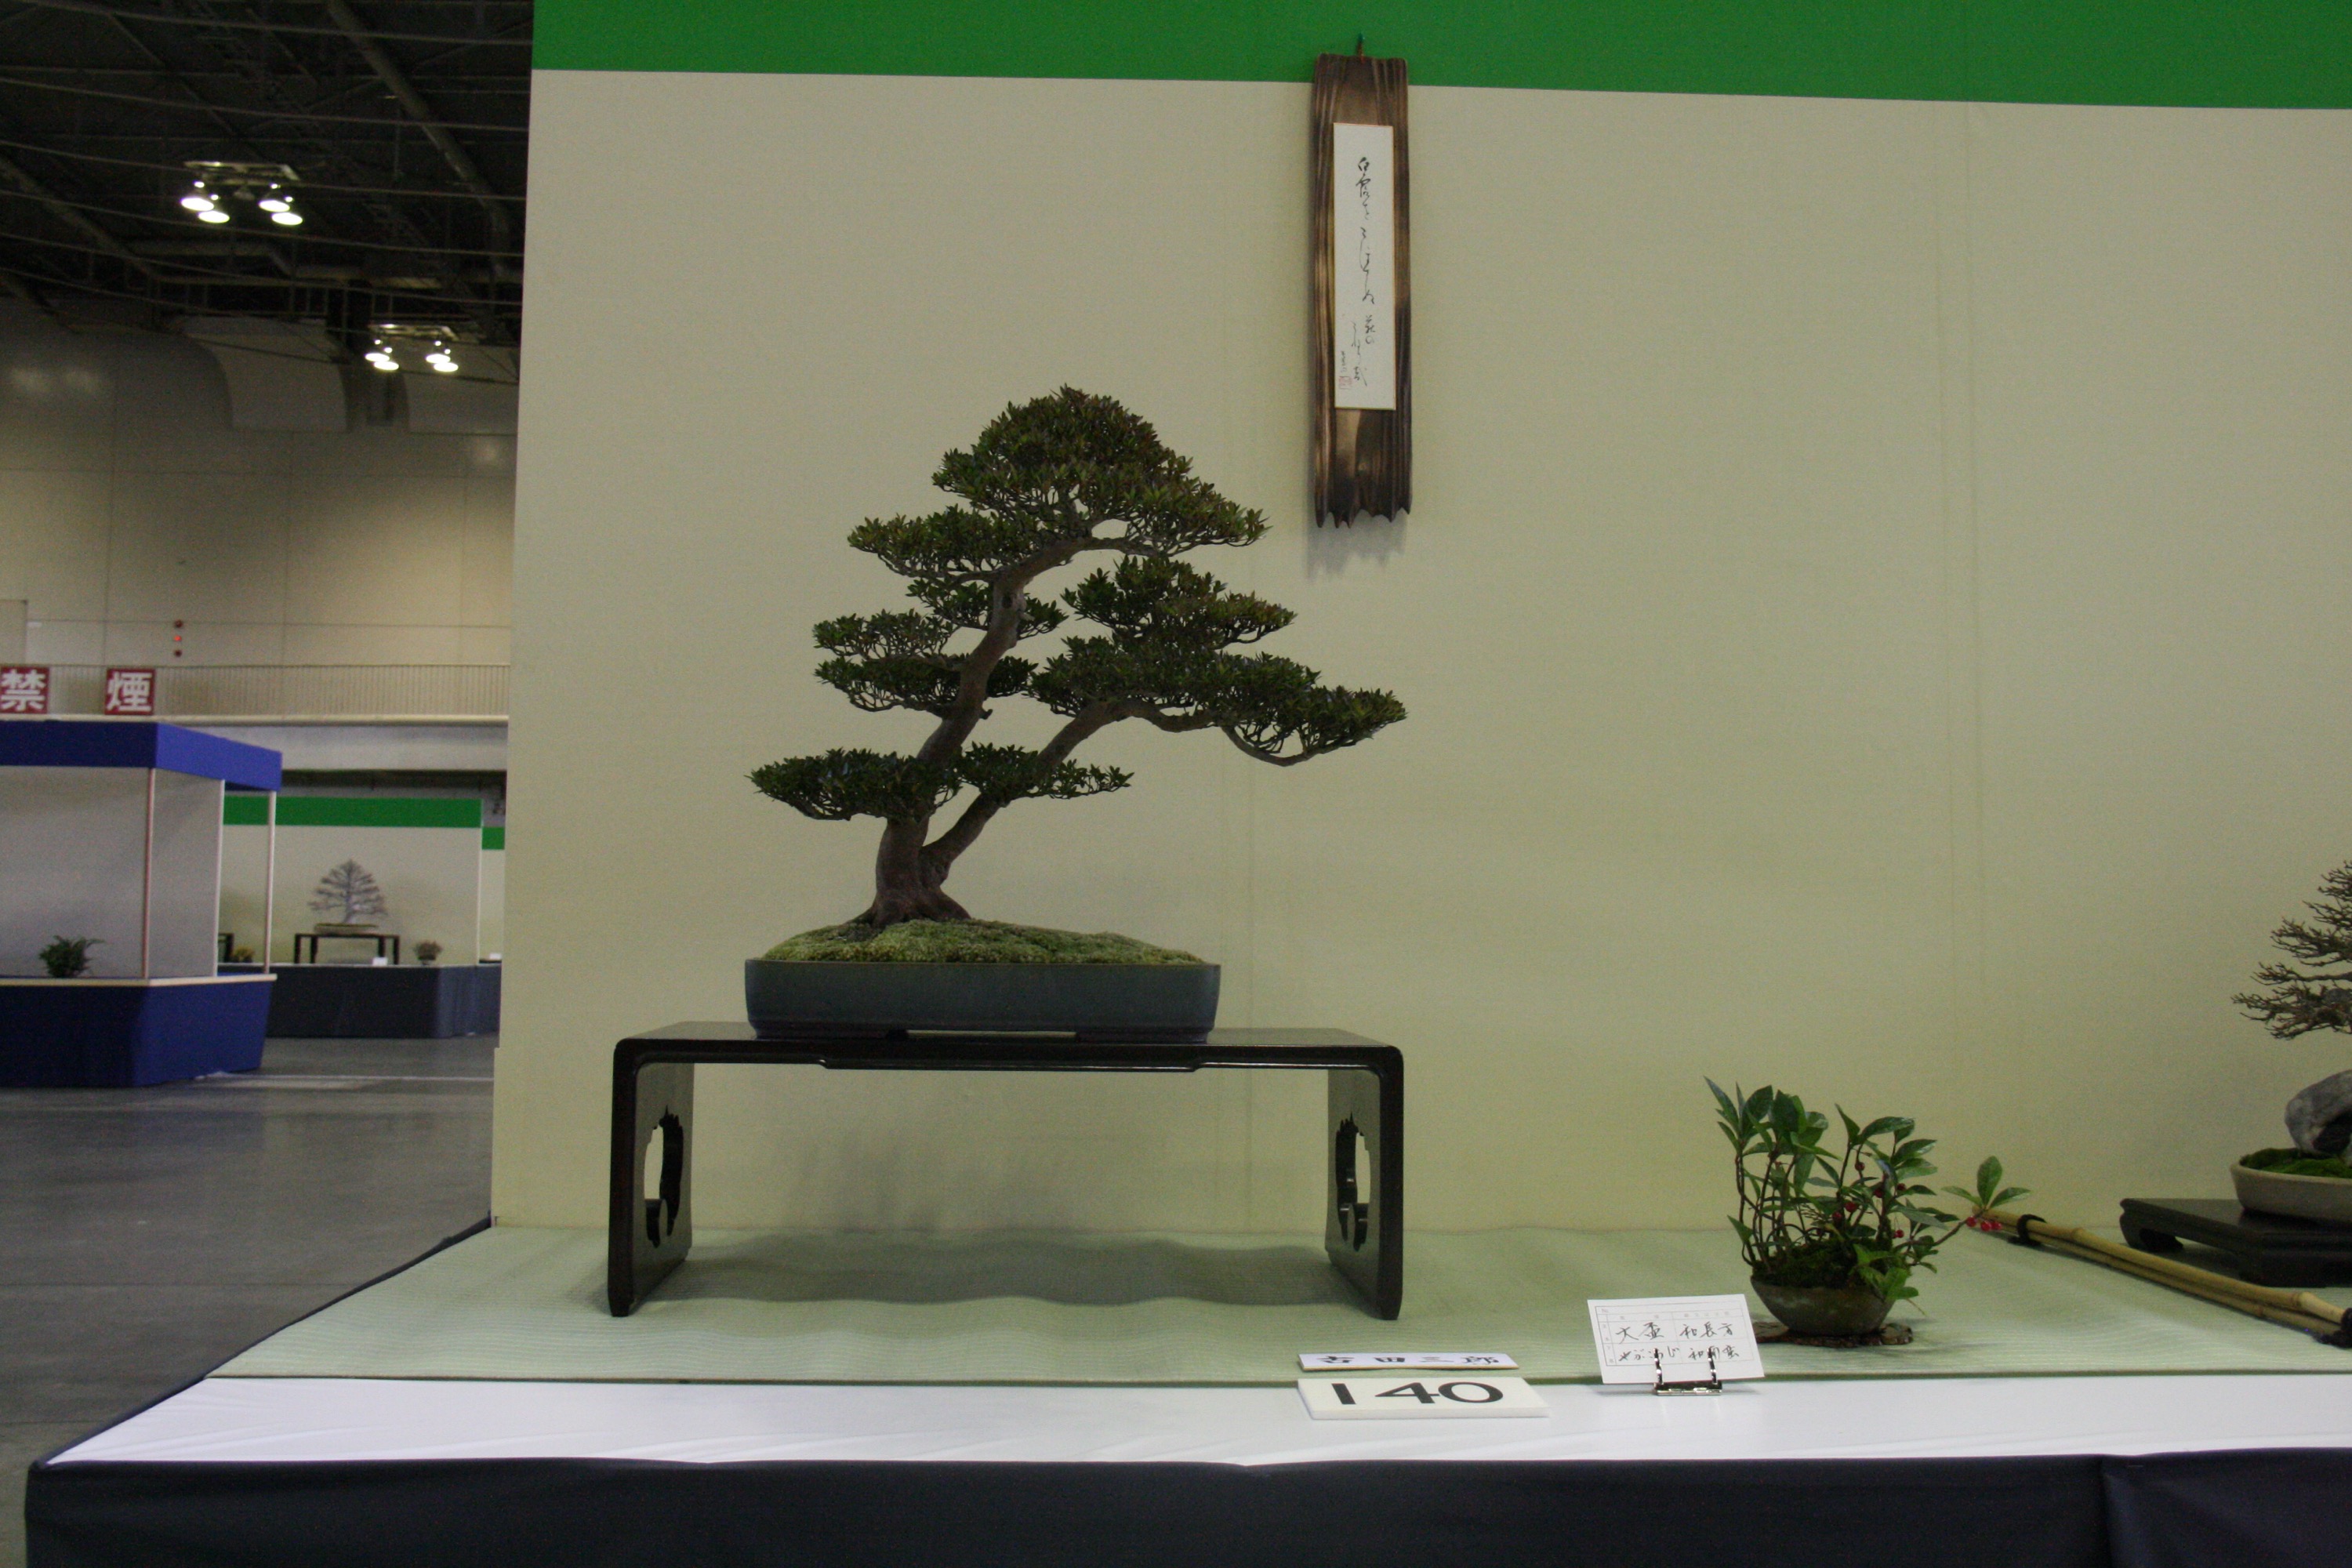
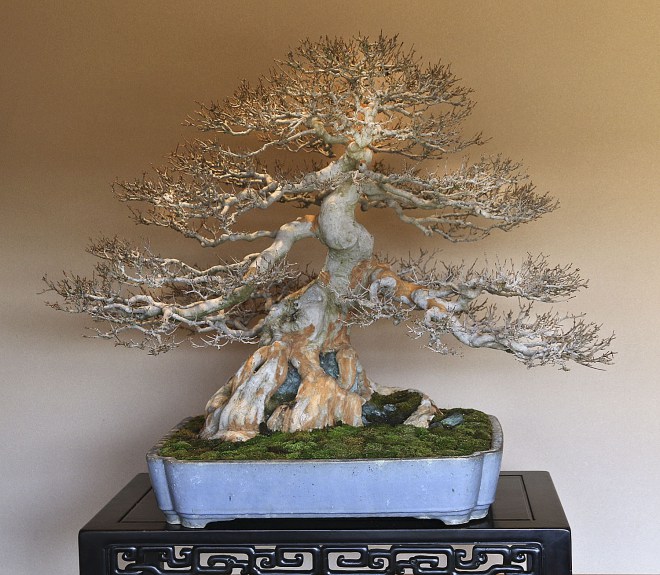
DSC_0159

DSC_0161

DSC_0162

The final image.

DSC_0176

The slight front change and tilt below.

DSC_0146 DSC_0176

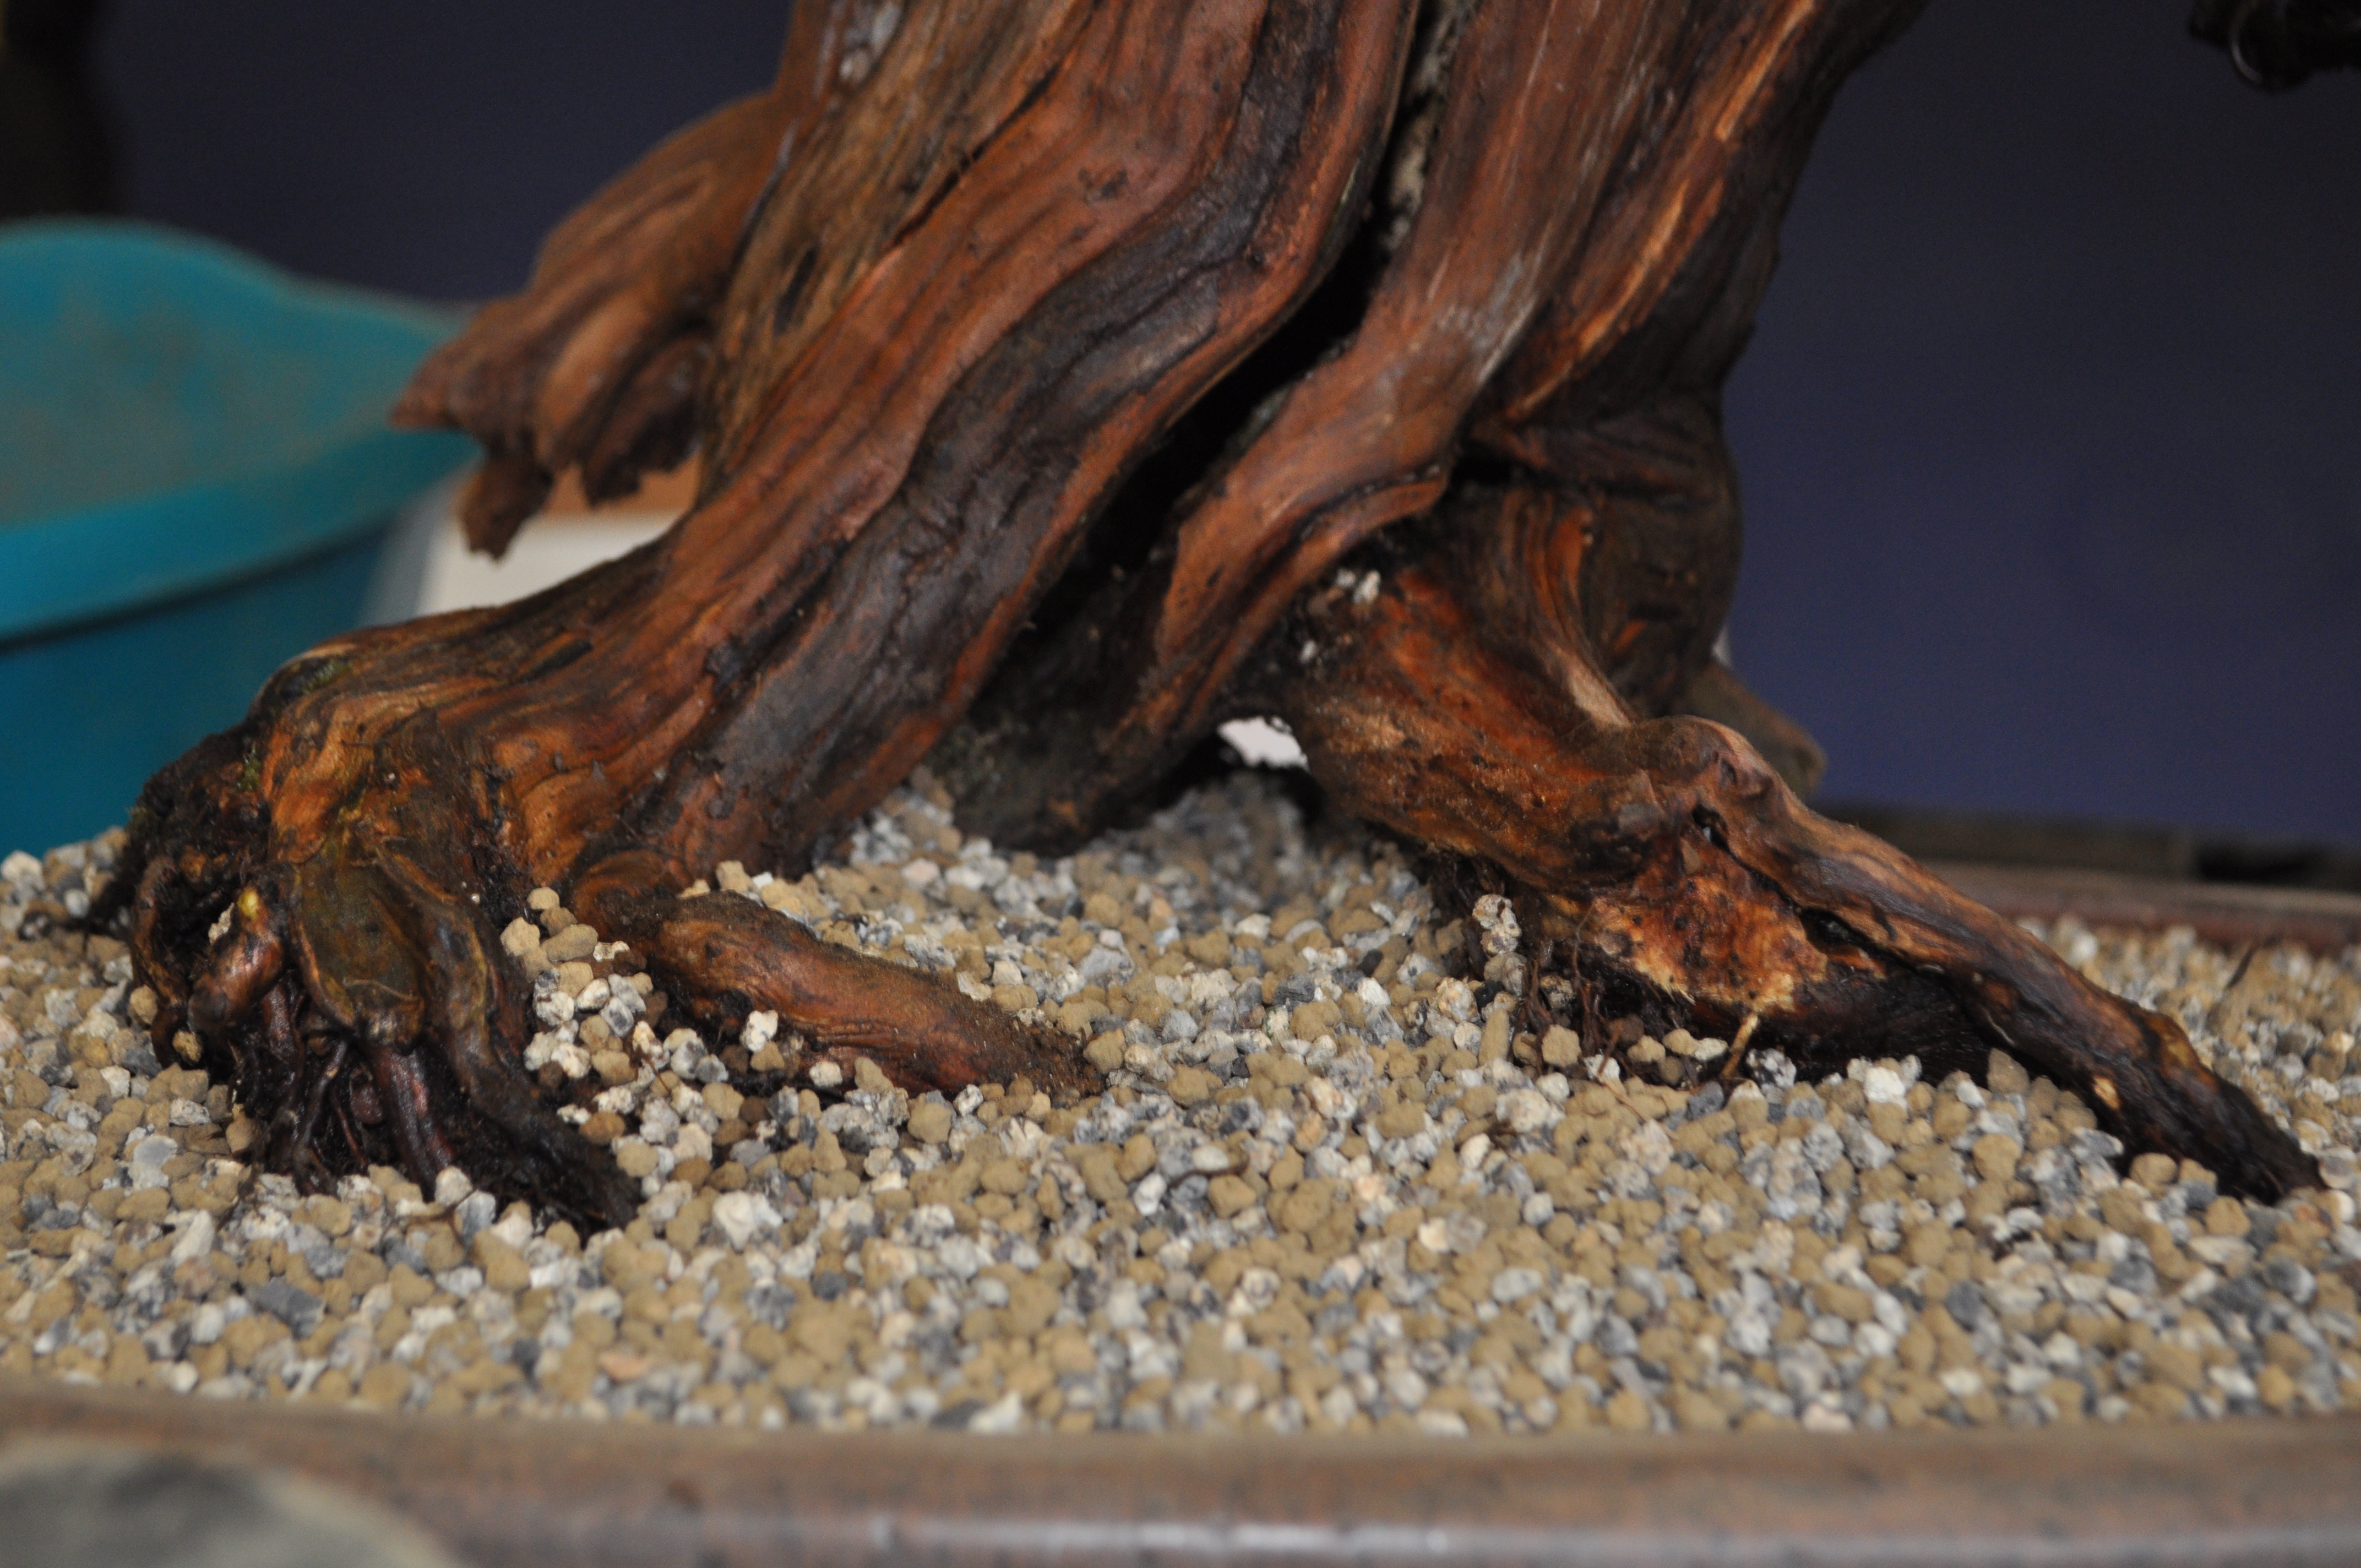
Next step will be the treatment of the deadwood. Tricky with the tree as the wood rots fast if wet , but also hard to get the right colouring as jin seal looks too harsh. You’ll see how I get on with this here of course.
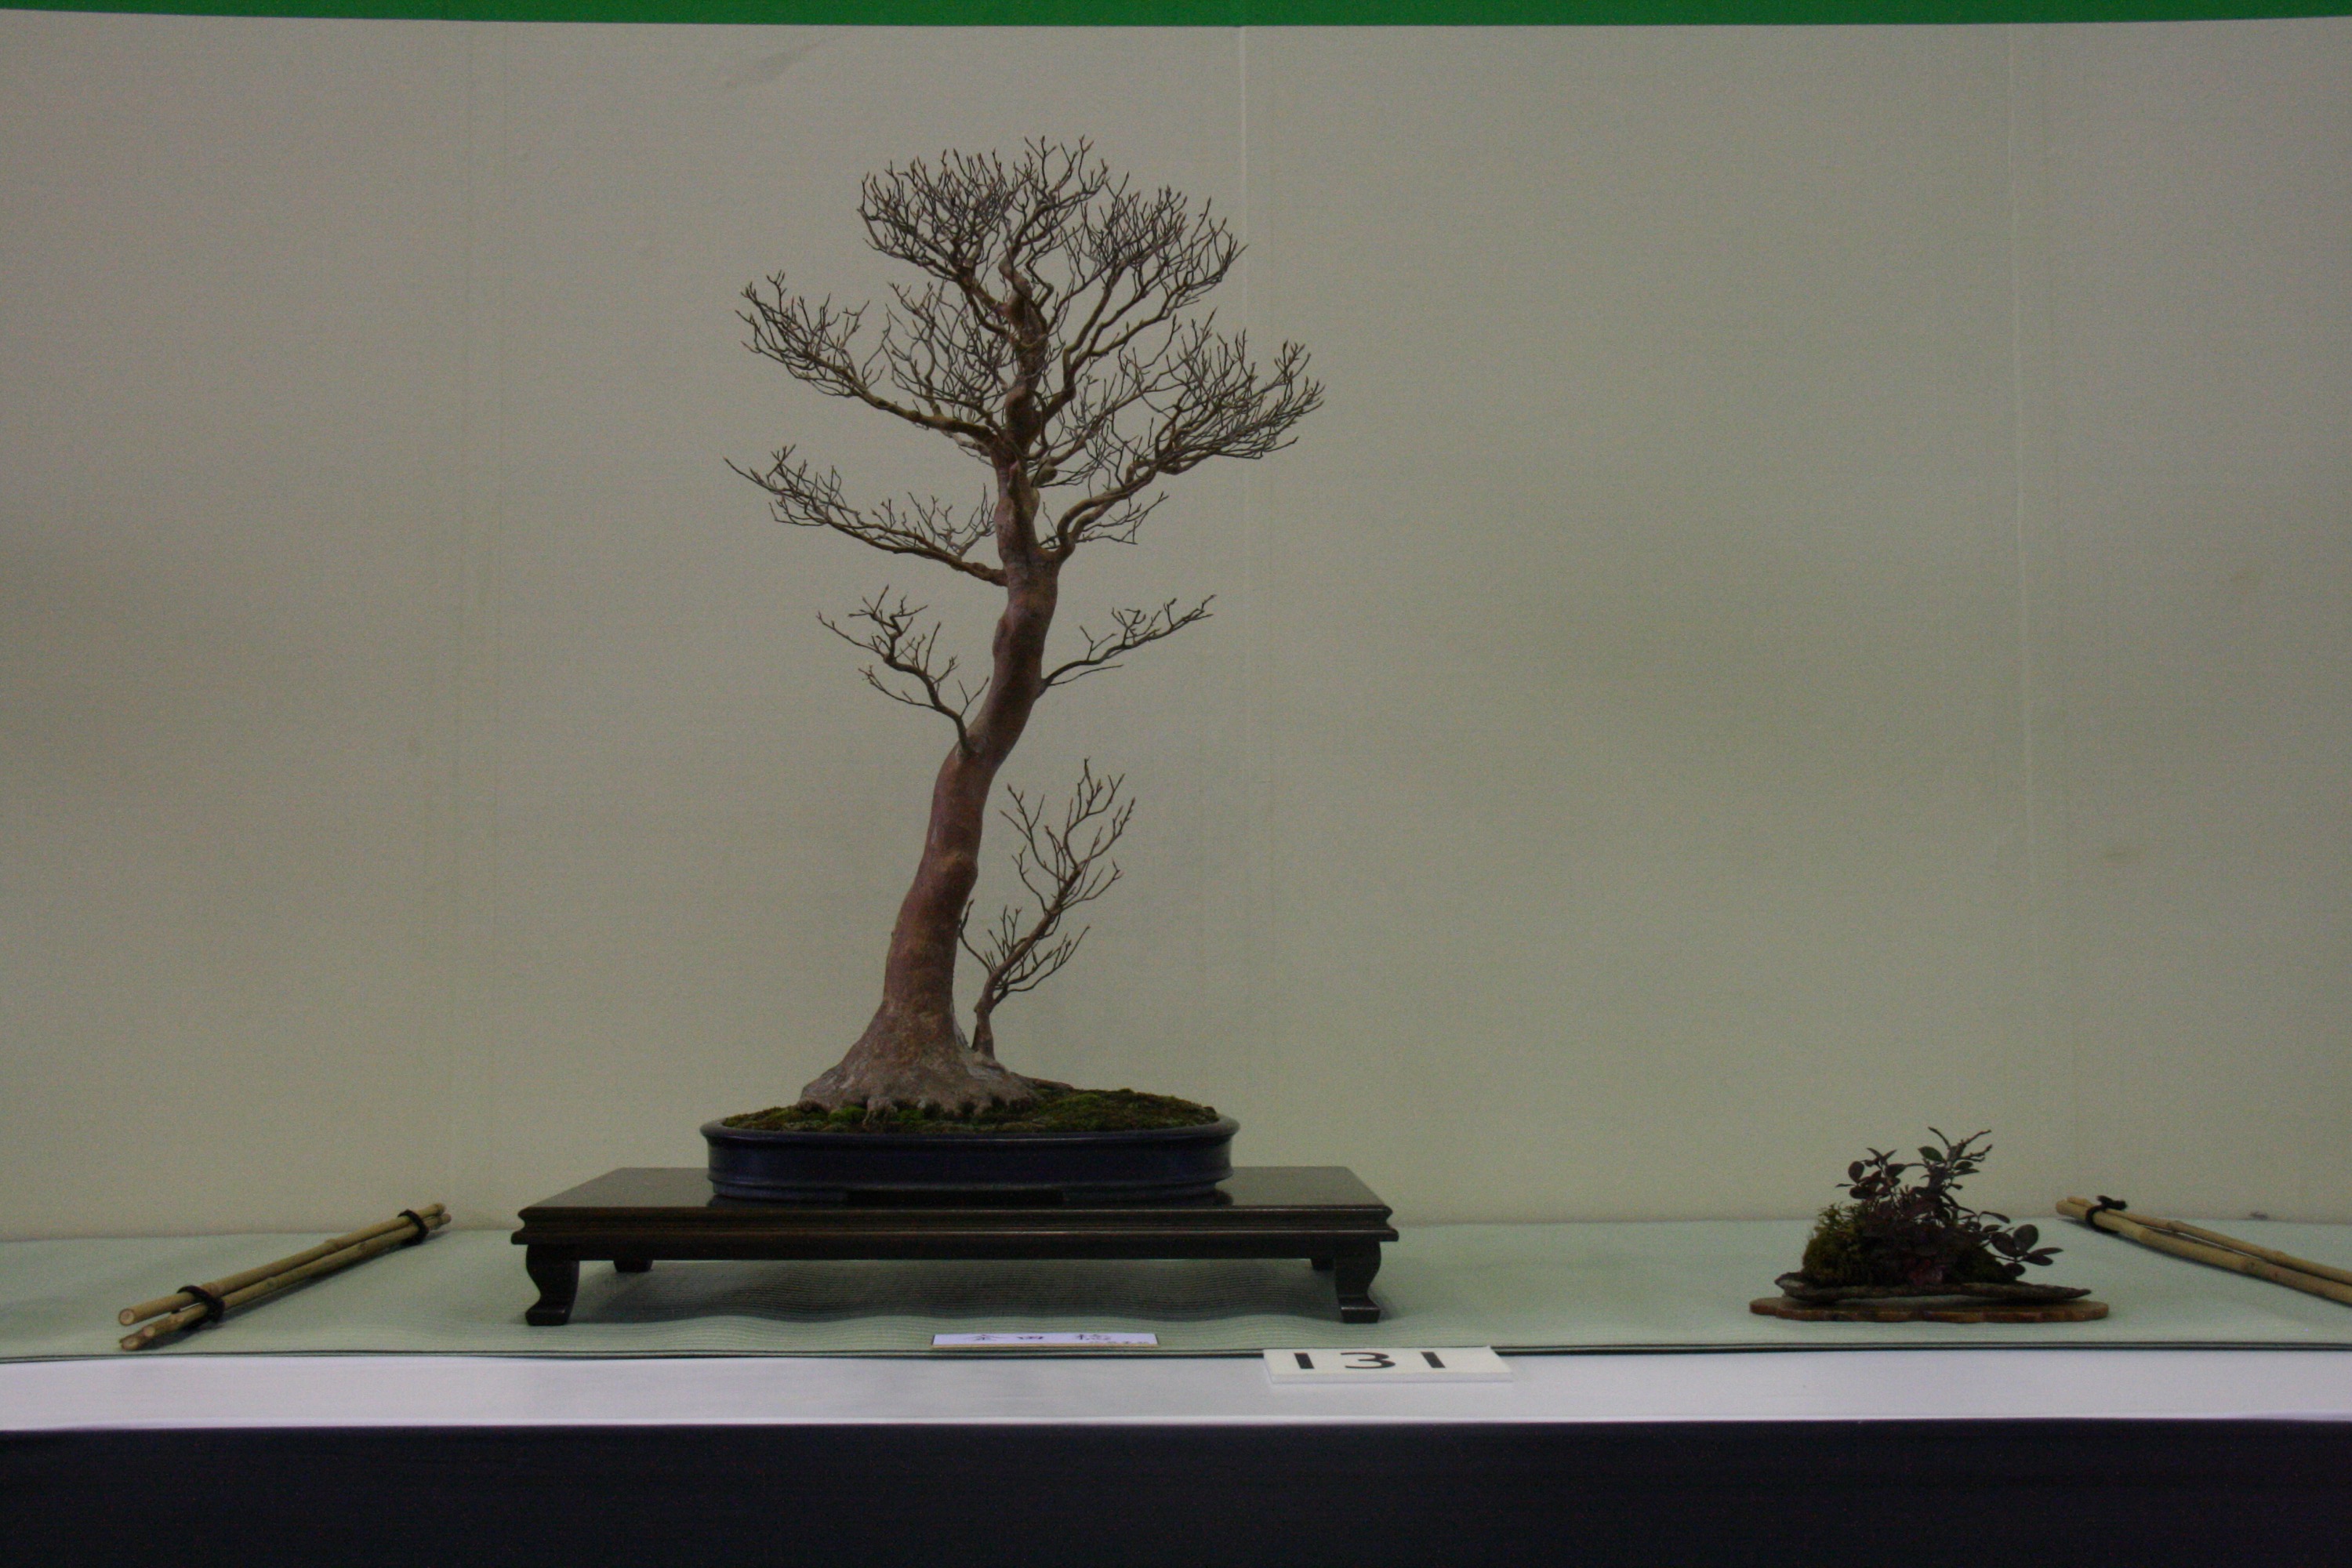
One to One : Japanese Maple Clump

This really nice Japanese Maple Clump came to my place on Saturday for a little work. Already a great tree, it needed a little work to keep the foliage under control and to help improve ramification.

DSC_0088

One of the issues with this tree was the trunk on the far right which is a lot stronger than the other. This was going to need a heavier pruning.

DSC_0093

We started with the other trunks to build a better structure. This is something that needs to be kept on top of with a decent tree or thickening of branches on outer reaches will occur and years of work can be ruined. Afterwards we removed quite a bit from the fast growing trunk on the right and then sealed all the cuts to stop dessication.

DSC_0098

DSC_0102


The reduced strong trunk.

DSC_0138

Next step was to remove tree moss that was covering the nebari and starting to climb the tree. This was hiding one of the best features of this tree. Initial work done with a toothbrush and fingers but was finished off with a water jet.

DSC_0107

DSC_0110

DSC_0116

DSC_0119


The final change was to do with it’s position in the pot and the direction of movement of the tree. The tree was potted a year ago and sat centrally in the pot. However looking at the movement of the main trunk and the nice flow of those to the left of it, we decided that by potting the tree slightly further to the right and giving more negative space to the left would add more interest to the image. This will require the strong growing tree on the right to be kept under tight control. The tree was taken out of the pot and a little root pruning allowed us to reposition it without the requirement for a full blown repot. The roots were fantastic for a years growth.

IMAG0270

IMAG0273


The tree before and after work. The plan is for the lower left branches to be extended further to help create a more dynamic image over the next few years. Pot is slightly big for this Winter image but perfect for the development that’s required to take it to the next level.

DSC_0088 IMAG0270


Local Walk to Scrabo Tower

Had my usual walk to Scrabo Tower this morning with my brother Philip and friend Stephen. Not many signs of Spring approaching as yet but I did spot some nice catkins on a willow.

DSC_0141

DSC_0142

Bumped into a fellow dog walker who suggested I look up a Youtube video of a drone flight over Scrabo Tower. I think he suggested it as he’s in it 🙂 Anyway I thought some of you might be interested in this birds eye view of a small part of our walk.

The 85th Mefu-ten

Not sure how I missed this post! Had to share. Thanks John.

johnmiltonbonsai's avatarJohn Milton Bonsai

The 85th Meifu-ten exhibit was on earlier this month and I’ve just got round to sorting through the Photo’s. It is a local show but, is one of the biggest in Japan and it is on at the same time as Gafu-ten so often people will visit both in the weekend. I didn’t take pictures of all the tree’s but, the one’s I thought were worth taking a picture of.

2015/01/img_4849.jpg

2015/01/img_4861.jpg

2015/01/img_4864.jpg

2015/01/img_4876.jpg

2015/01/img_4882.jpg

2015/01/img_4886.jpg

2015/01/img_4897.jpg

2015/01/img_4891.jpg

2015/01/img_4898.jpg

2015/01/img_4901.jpg

2015/01/img_4906.jpg

2015/01/img_4910.jpg

2015/01/img_4912.jpg

2015/01/img_4914.jpg

2015/01/img_4925.jpg

2015/01/img_4917.jpg

2015/01/img_4928.jpg

2015/01/img_4931.jpg

2015/01/img_4937.jpg

2015/01/img_4940.jpg

2015/01/img_4944.jpg

2015/01/img_4948.jpg

2015/01/img_4953.jpg

2015/01/img_4957.jpg

2015/01/img_4959.jpg

2015/01/img_4962.jpg

2015/01/img_4970.jpg

2015/01/img_4972.jpg

2015/01/img_4975.jpg

2015/01/img_4979.jpg

2015/01/img_4983.jpg

2015/01/img_4984.jpg

2015/01/img_4987.jpg

2015/01/img_4995.jpg

2015/01/img_4997.jpg

2015/01/img_5000.jpg

2015/01/img_5005.jpg

2015/01/img_5011.jpg

2015/01/img_5012.jpg

2015/01/img_5019.jpg

2015/01/img_5022.jpg

2015/01/img_5025.jpg

2015/01/img_5031.jpg

2015/01/img_5035.jpg

2015/01/img_5039.jpg

2015/01/img_5045.jpg

2015/01/img_5048.jpg

2015/01/img_5053.jpg

2015/01/img_5055.jpg

2015/01/img_5057.jpg

2015/01/img_5062.jpg

2015/01/img_5066.jpg

2015/01/img_5069.jpg

2015/01/img_5070.jpg

2015/01/img_5075.jpg

2015/01/img_5076.jpg

2015/01/img_5081.jpg

2015/01/img_5089.jpg

2015/01/img_5093.jpg

2015/01/img_5100.jpg

2015/01/img_5102.jpg

2015/01/img_5104.jpg

2015/01/img_5111.jpg

2015/01/img_5126.jpg

2015/01/img_4869.jpg

View original post

Wiring

Brian VF's avatarNebari Bonsai

Some notes on wiring I prepared for a recent presentation.

Left to right: too small, too heavy, just right:

IMG_8341.JPG
With aluminum wire (use on deciduous trees and azaleas), use a wire that is 1/3-1/2 the diameter of the target branch.

Left to right: too tightly-coiled, too-loosely coiled, just right:

IMG_8342.JPG
When wiring a branch, 60-degree angle is the generally accepted, correct wiring spacing. Too tight, and the holding power is reduced, wire is wasted, and scarring is increased. Too loose, and the holding power is reduced, and branches tend to break with the diminished support provided by the wire. Just right, and the bend should hold. Added considerations to proper wiring include planing the wiring route so wire will be on the outside of bends, opposite side of buds, and always routed to pass consistently under or above secondary branches…more on that shortly.

Two techniques, and how to use them together:

View original post 253 more words

Ueno Green Club

William N. Valavanis's avatarValavanis Bonsai Blog

1

6P4A0310

The Ueno Green Club is the headquarters for the Nippon Bonsai Cooperative a long time professional bonsai organization organized in 1931. The organization is a business corporation and members must be approved and pay a hefty entry fee, plus annual dues. Twenty one years ago there were over 500 members. Today the membership is approximately 250.

6P4A0312

Nippon BonaI Association Building

6P4A0315Nippon Satsuki Association Office

Twenty one years ago the Nippon Bonsai Cooperative built a three story building in the center area and removed the long buildings. Then a more modern building was constructed on the left side. The building is owned by the Nippon Bonsai Cooperative, but the land is leased. There is a close relationship with the Nippon Bonsai Association, a non-profit organization established in the early 1960s which was first established as the Kokufu Bonsai Society in 1934. Their headquarter building is located diagonally across the street from the Ueno Green Club. About a…

View original post 381 more words

Omiya Bonsai Village, Masahiko Kimura & S-Cube

William N. Valavanis's avatarValavanis Bonsai Blog

1

Each of our exciting bonsai tours to Japan includes a private tour to S-Cube, Masahiko Kimura’s studio, Omiya Bonsai Art Museum and the bonsai gardens in Omiya Bonsai Village. There are always new bonsai and other interesting things to see and study.

S-Cube
Seiji Morimae
Hanyu City
23456
7891011
 
Masahiko Kimrura
Saitama City
121314151617
6P4A9562
9561
6P4A95636P4A9569
 
Omiya Bonsai Art Museum
Omiya
6P4A9582
6P4A95806P4A95796P4A9585
Mnsei-en Bonsai Garden
Hatsuji & Takahiro Kato
Omiya Bonsai Village
IMG_9534
6P4A95866P4A9587
 
 
Seiko-en Bonsai Garden
Tomio & Kaori Yamada
Omiya Bonsai Village
000
 
Kyuka-en Bonsai Garden
Isamu & Yukio Murata
Omiya Bonsai Village
SONY DSC
IMG_9560
Fuyo-en Bonsai Garden
Hiroshi Takeyama
Omiya Bonsai Village
IMG_9571IMG_9562
IMG_9558  IMG_9571IMG_9562
IMG_9573

View original post

Shunka-en Bonsai Museum

William N. Valavanis's avatarValavanis Bonsai Blog

1

Shunka-en Bonsai Museum in Tokyo is the home of Kunio Kobayashi who is one of the top bonsai artists in Japan and the world. His garden is a mecca for many, including me because of the high quality bonsai and especially his distinctive formal bonsai displays.

2

Winter flowering cherry, Prunus campanulata

3

Japanese five-needle pine, Pinus parviflora

4

Chinese quince, Pseudocydonia sinensis

5

Apprentice Jin explaining the magnificent display of a Japanese black pine

6

Japanese flowering apricot, Prunus mume

7

Japanese black pine, Pinus thunbergii

His museum has 15 display alcoves, all different styles. Apprentice Jin toured our group around and explained many of the small details most people miss and answered our questions as well in good English.
8910

View original post 156 more words

Bonsai Eejit is 4!

Today marks four years of blogging as Bonsai eejit.  Hard to believe to be honest.

That’s 2327 posts and over 1,320,000 visits. I’ve been a bit quiet lately, mostly due to real work getting in the way, but as the season warms up I’ll have more to post.

Thanks to everyone for showing an interest in what I share here. Looking forward to meeting more bonsai friends before the 5th Anniversary.

Revisiting a Raised-Root Cascade White Pine-

crataegus's avatarMichael Hagedorn

This tree has developed quite a bit in the last few years. The exposed roots have grown in size, and the development of the branches made our re-tweaking a bit more complete.

Konnor is a client who tosses a few trees in a car and drives across several state lines to spend a few days in my studio. I always look forward to his visits.

Enjoy our re-tweaking…!

June 2006 This was the original front in 2006…

April 2006 …and here’s the other side, also in 2006, beginning to toy with it as a new front.

DSC_0938 This is in January 2015, before we did anything.

DSC_0943 After branch-shortening pruning and needle thinning.

DSC_0946 Konnor sporting a ‘Telperion Farms’ sweatshirt…

DSC_0960 This pine was grown in a tub of pumice surrounding the akadama/pumice rootball for a couple of years, to give the tree a bit of ‘umph’.

DSC_0970 With the branches nearly set…only a few at the apex left…

View original post 168 more words