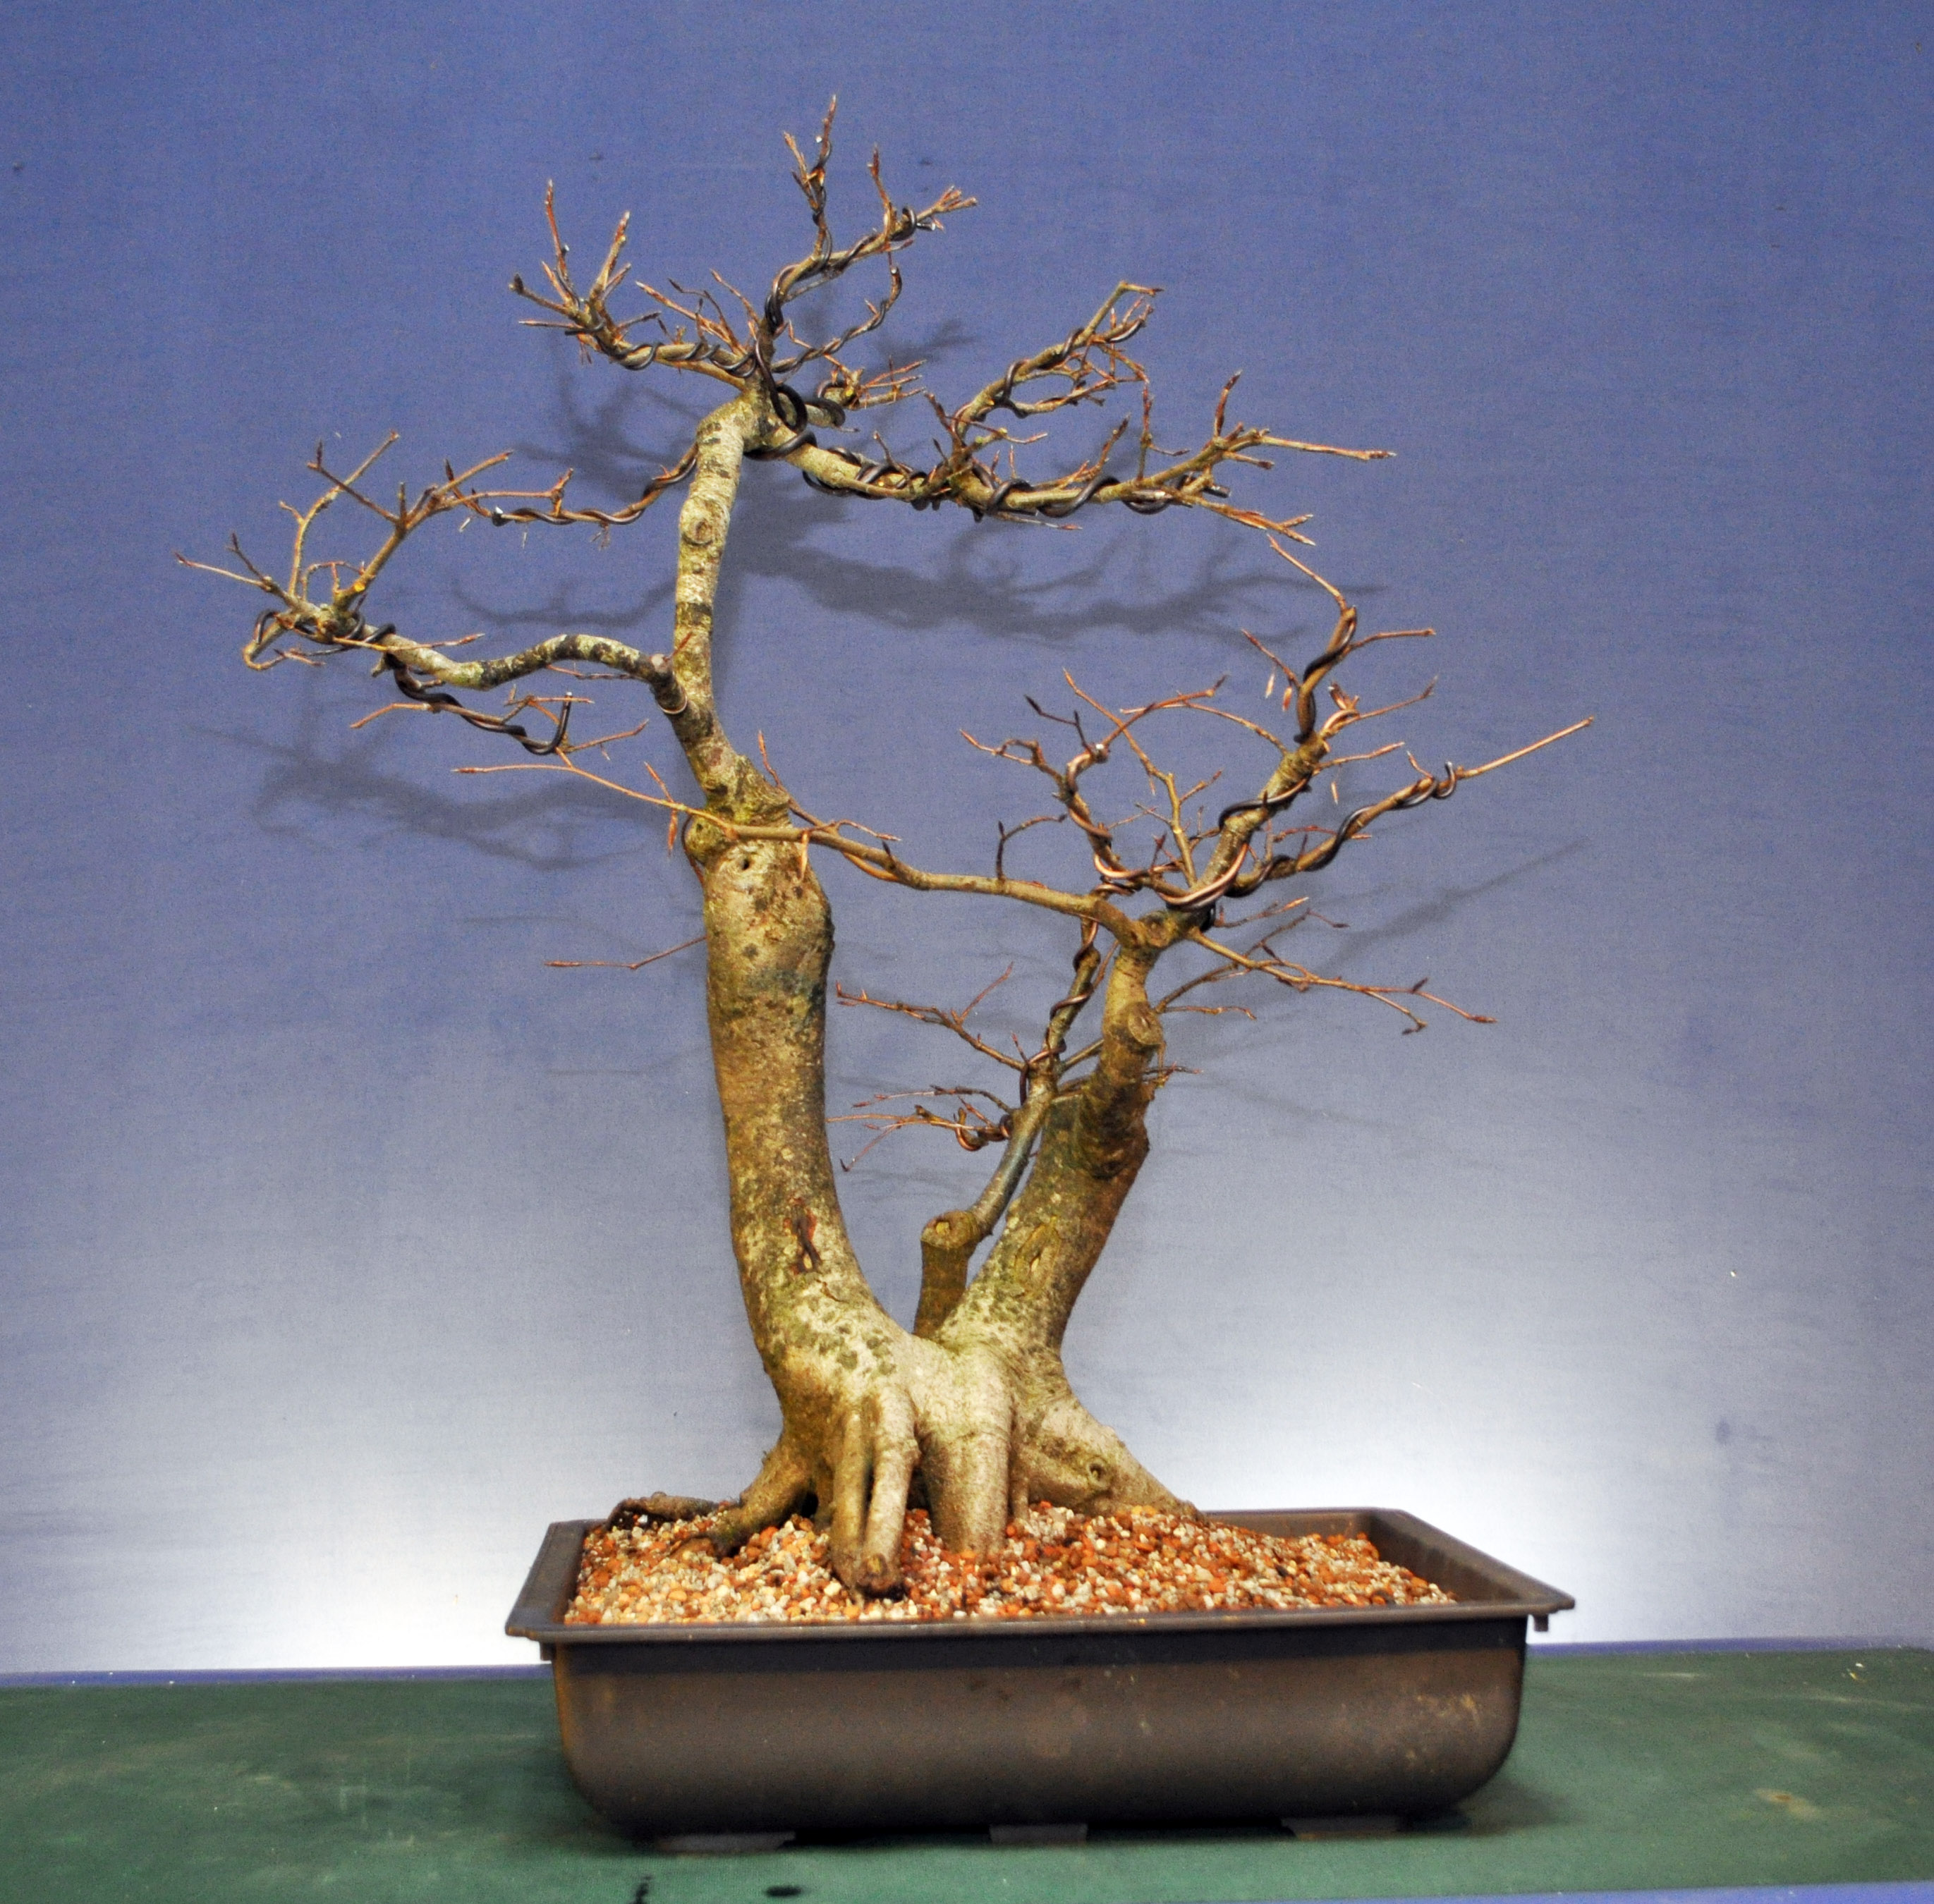
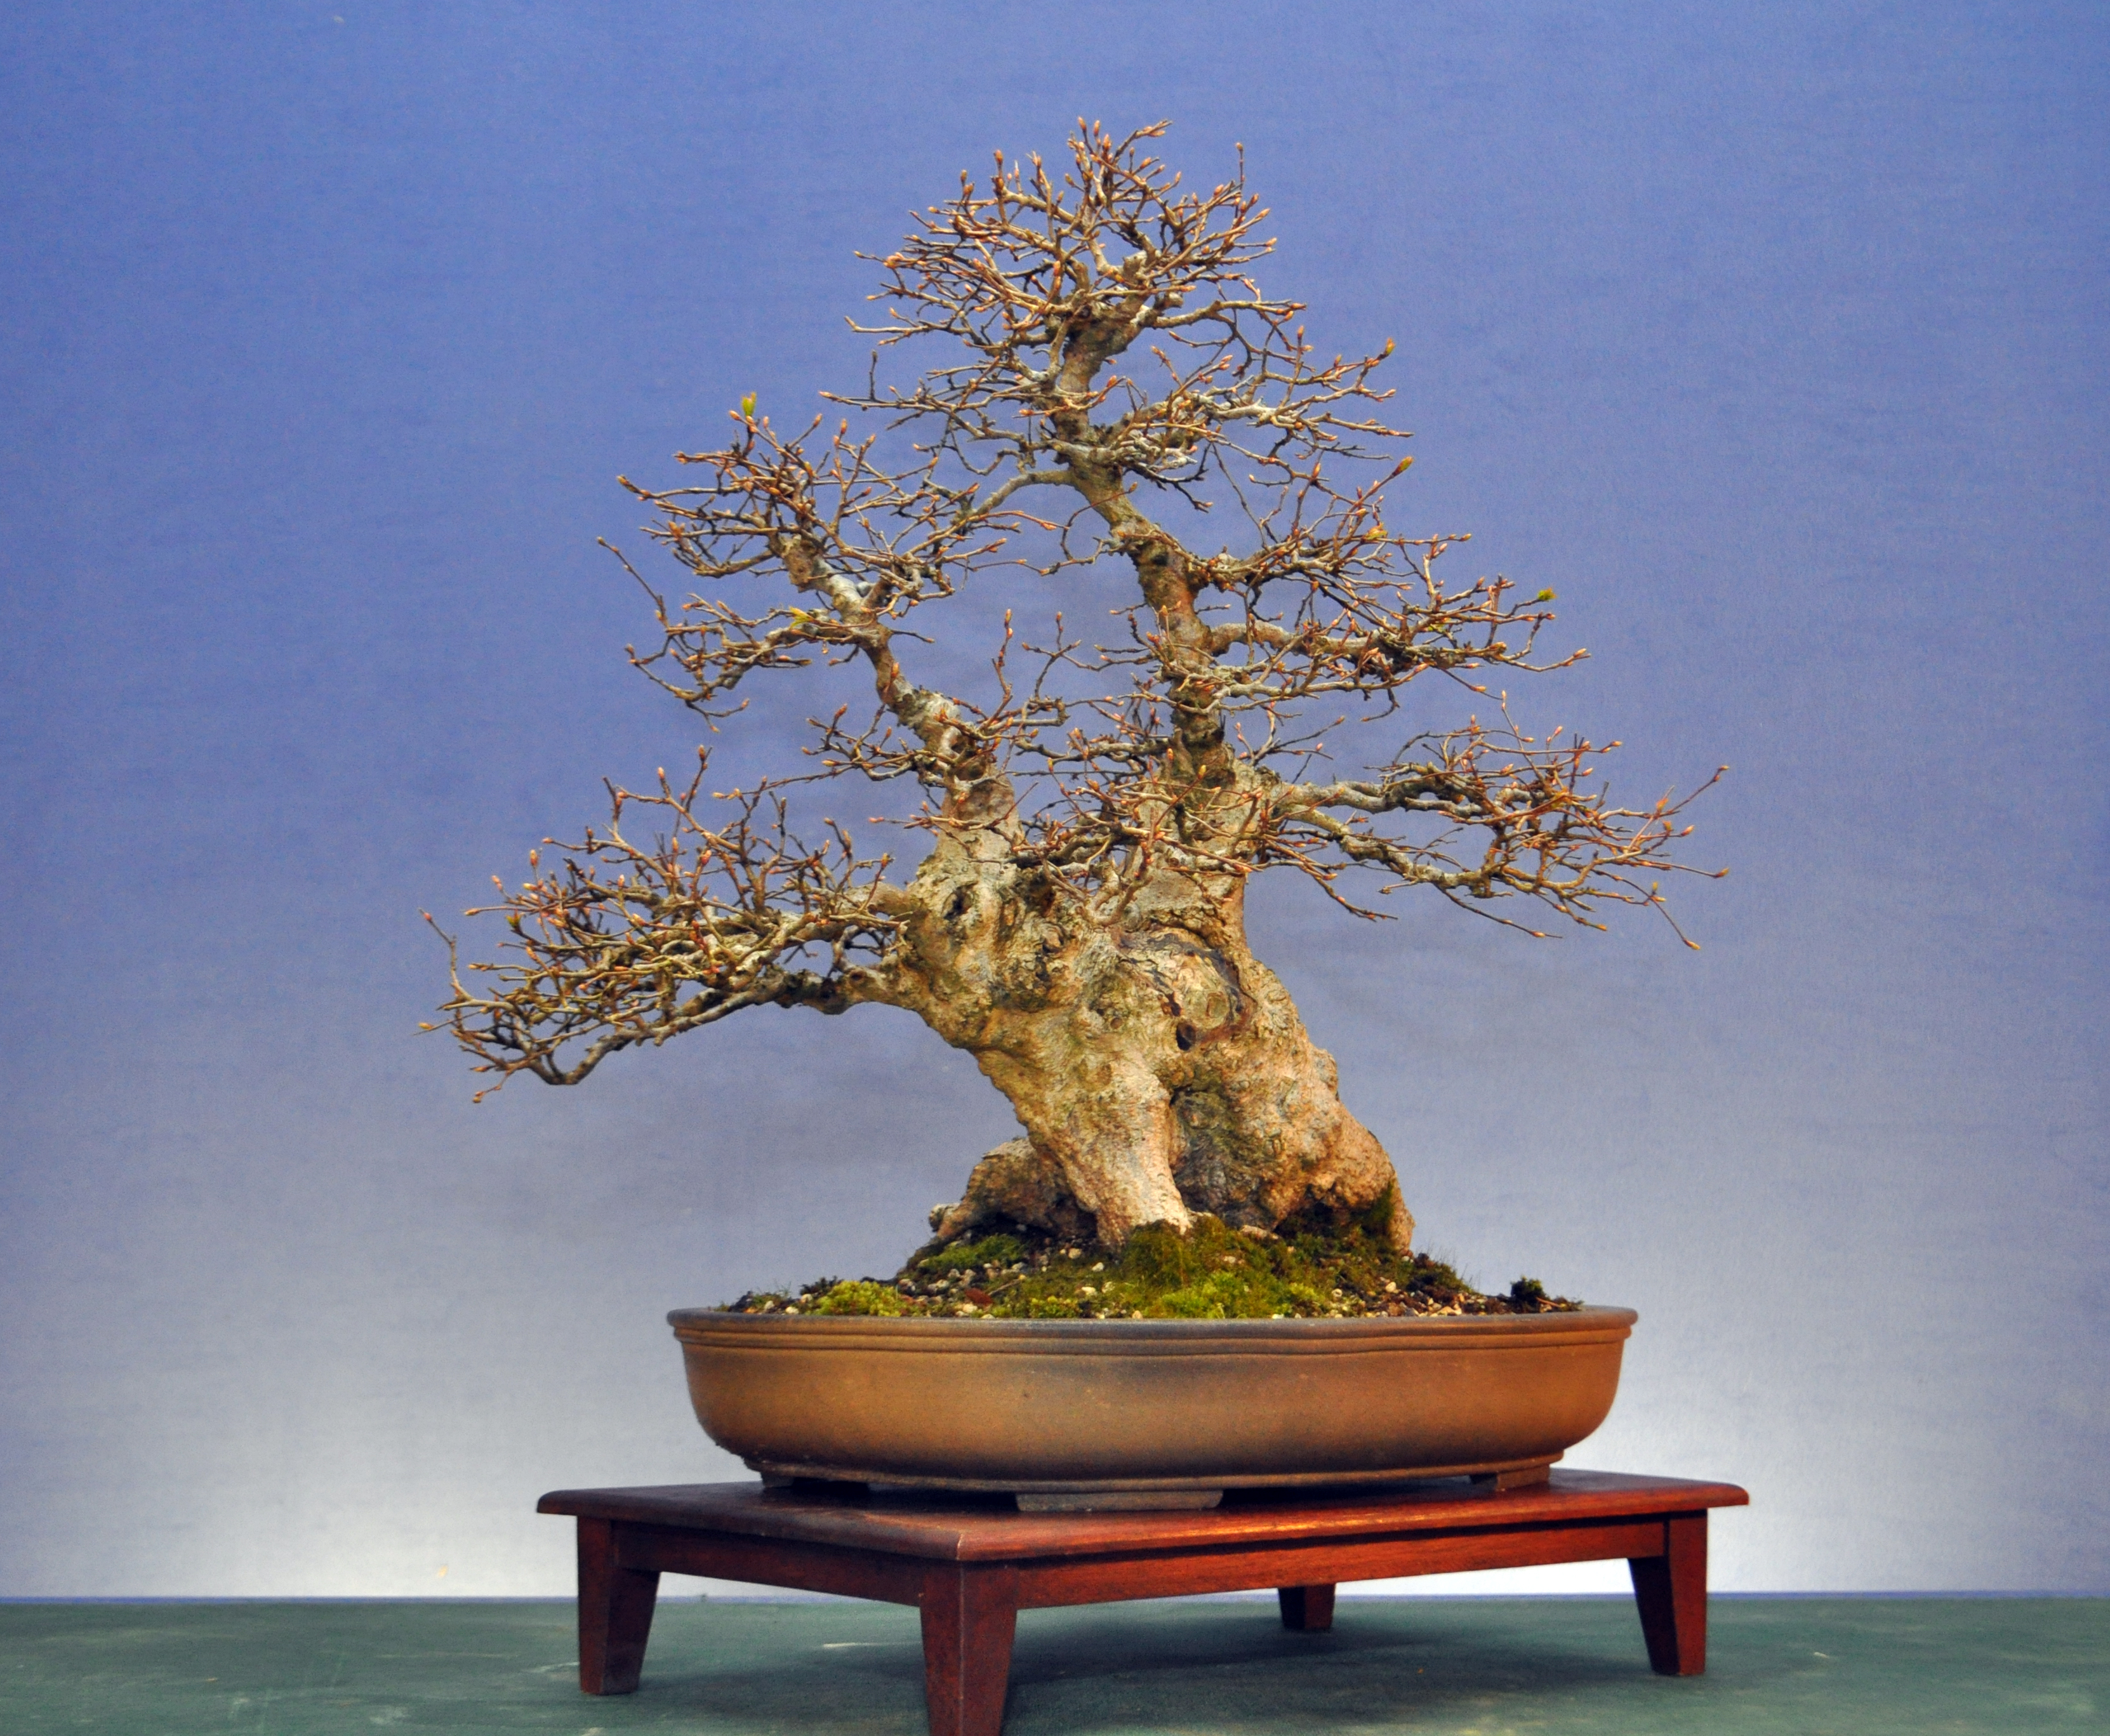
I had planned to rewire my taller Larch this Spring but I missed my window of opportunity, and as a result it’s springing out of shape. Still looks pretty good but prefer it in the second photo after wiring a few years ago.


2013


I had planned to rewire my taller Larch this Spring but I missed my window of opportunity, and as a result it’s springing out of shape. Still looks pretty good but prefer it in the second photo after wiring a few years ago.
2013
Lifted this one in for a slight trim. Bit of a history with this one.
Before tidy up

After Tidy up

This was it in 2010
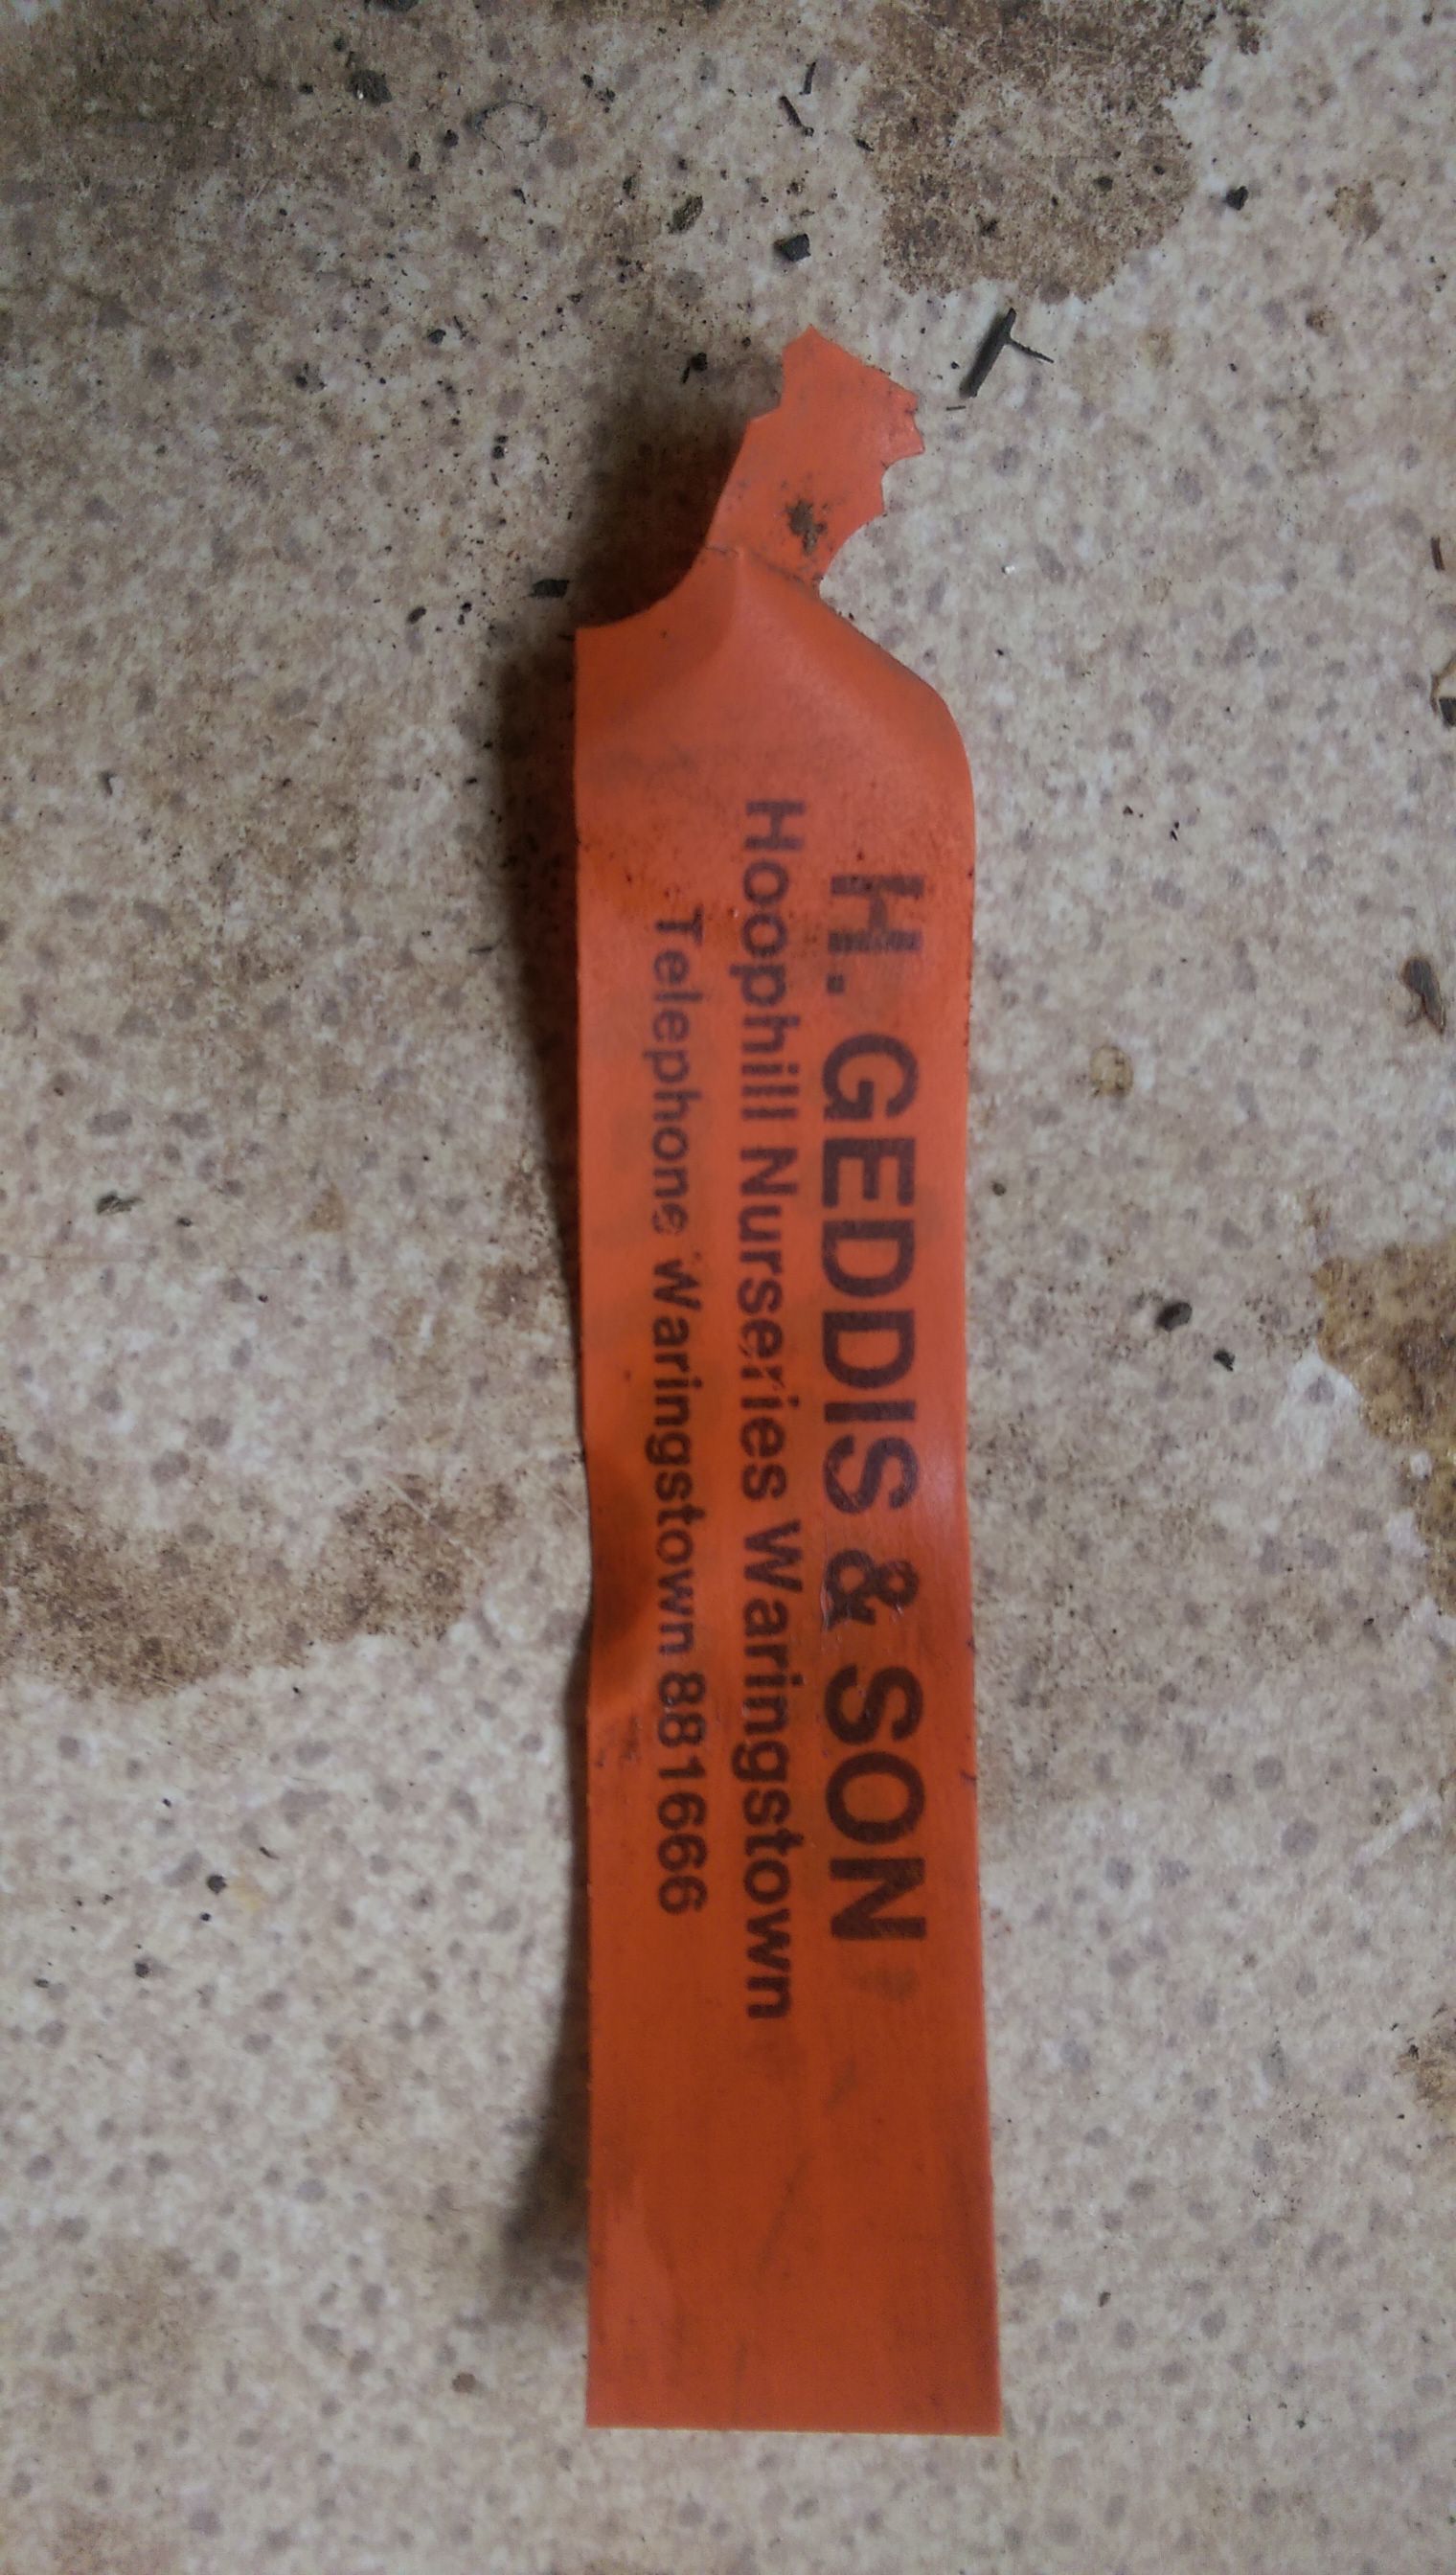
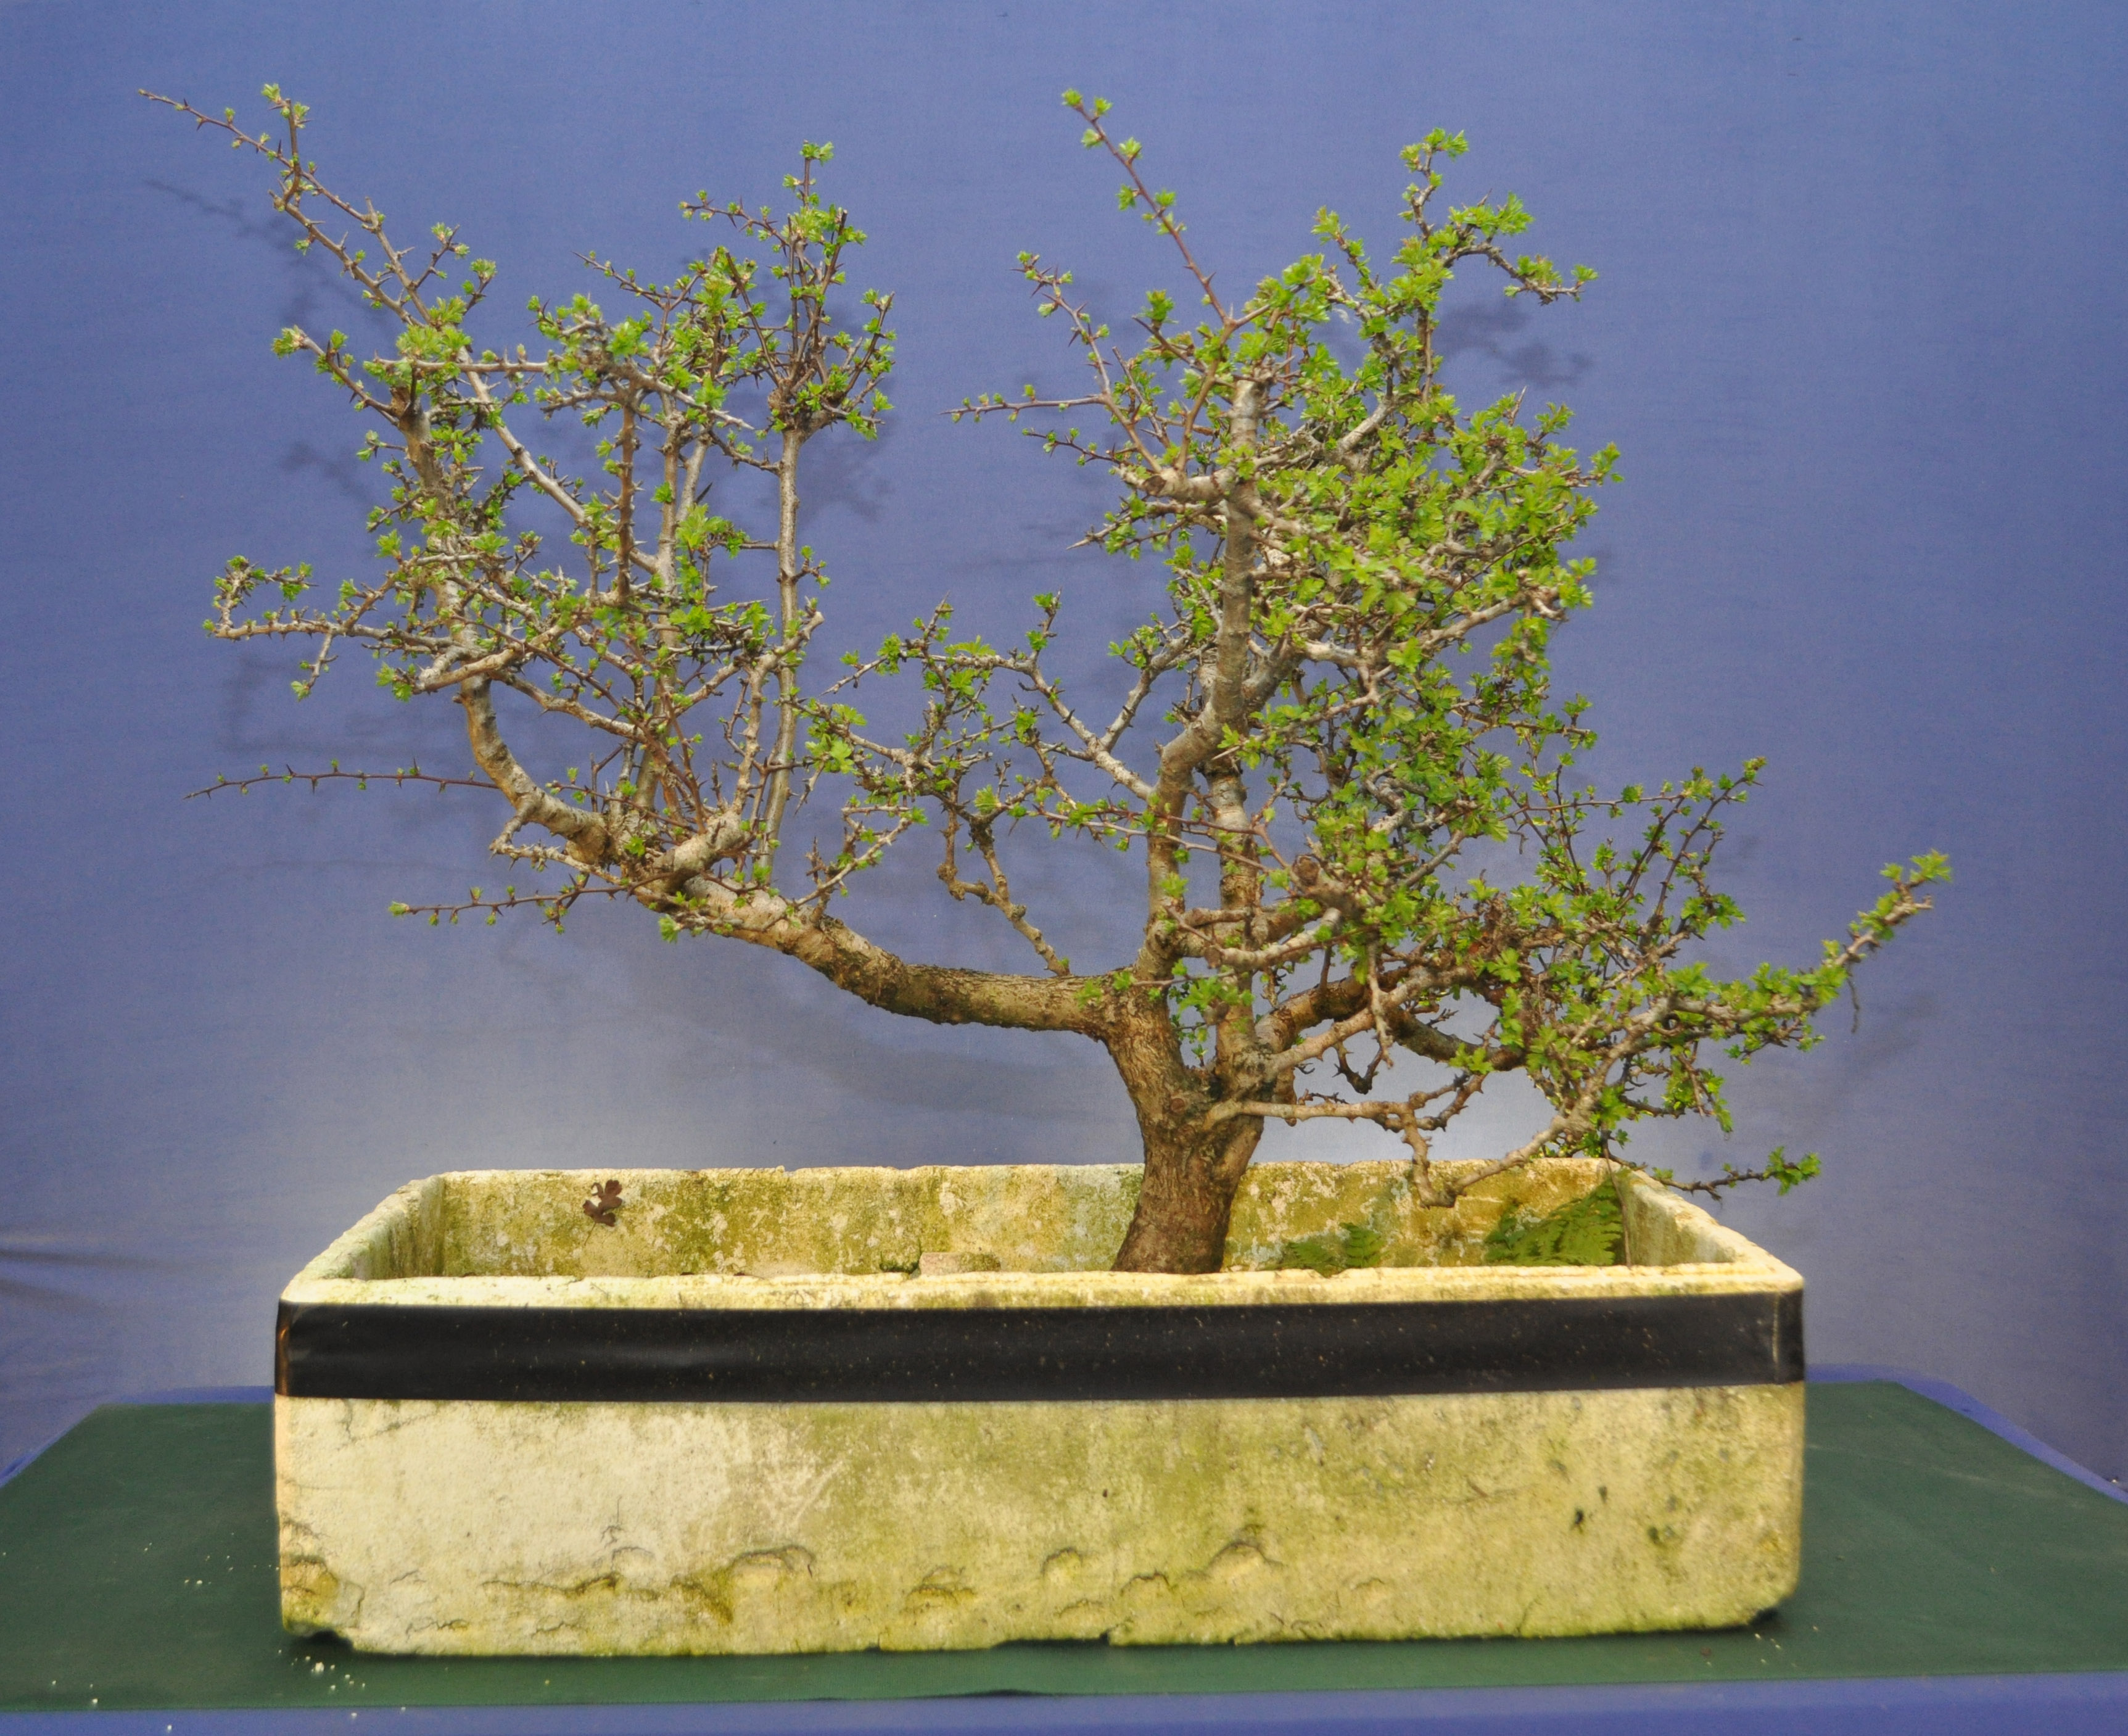
I now know the exact name of this Berberis Clump, I found the original label buried in the root mass when I was giving it a clear out a few days ago.
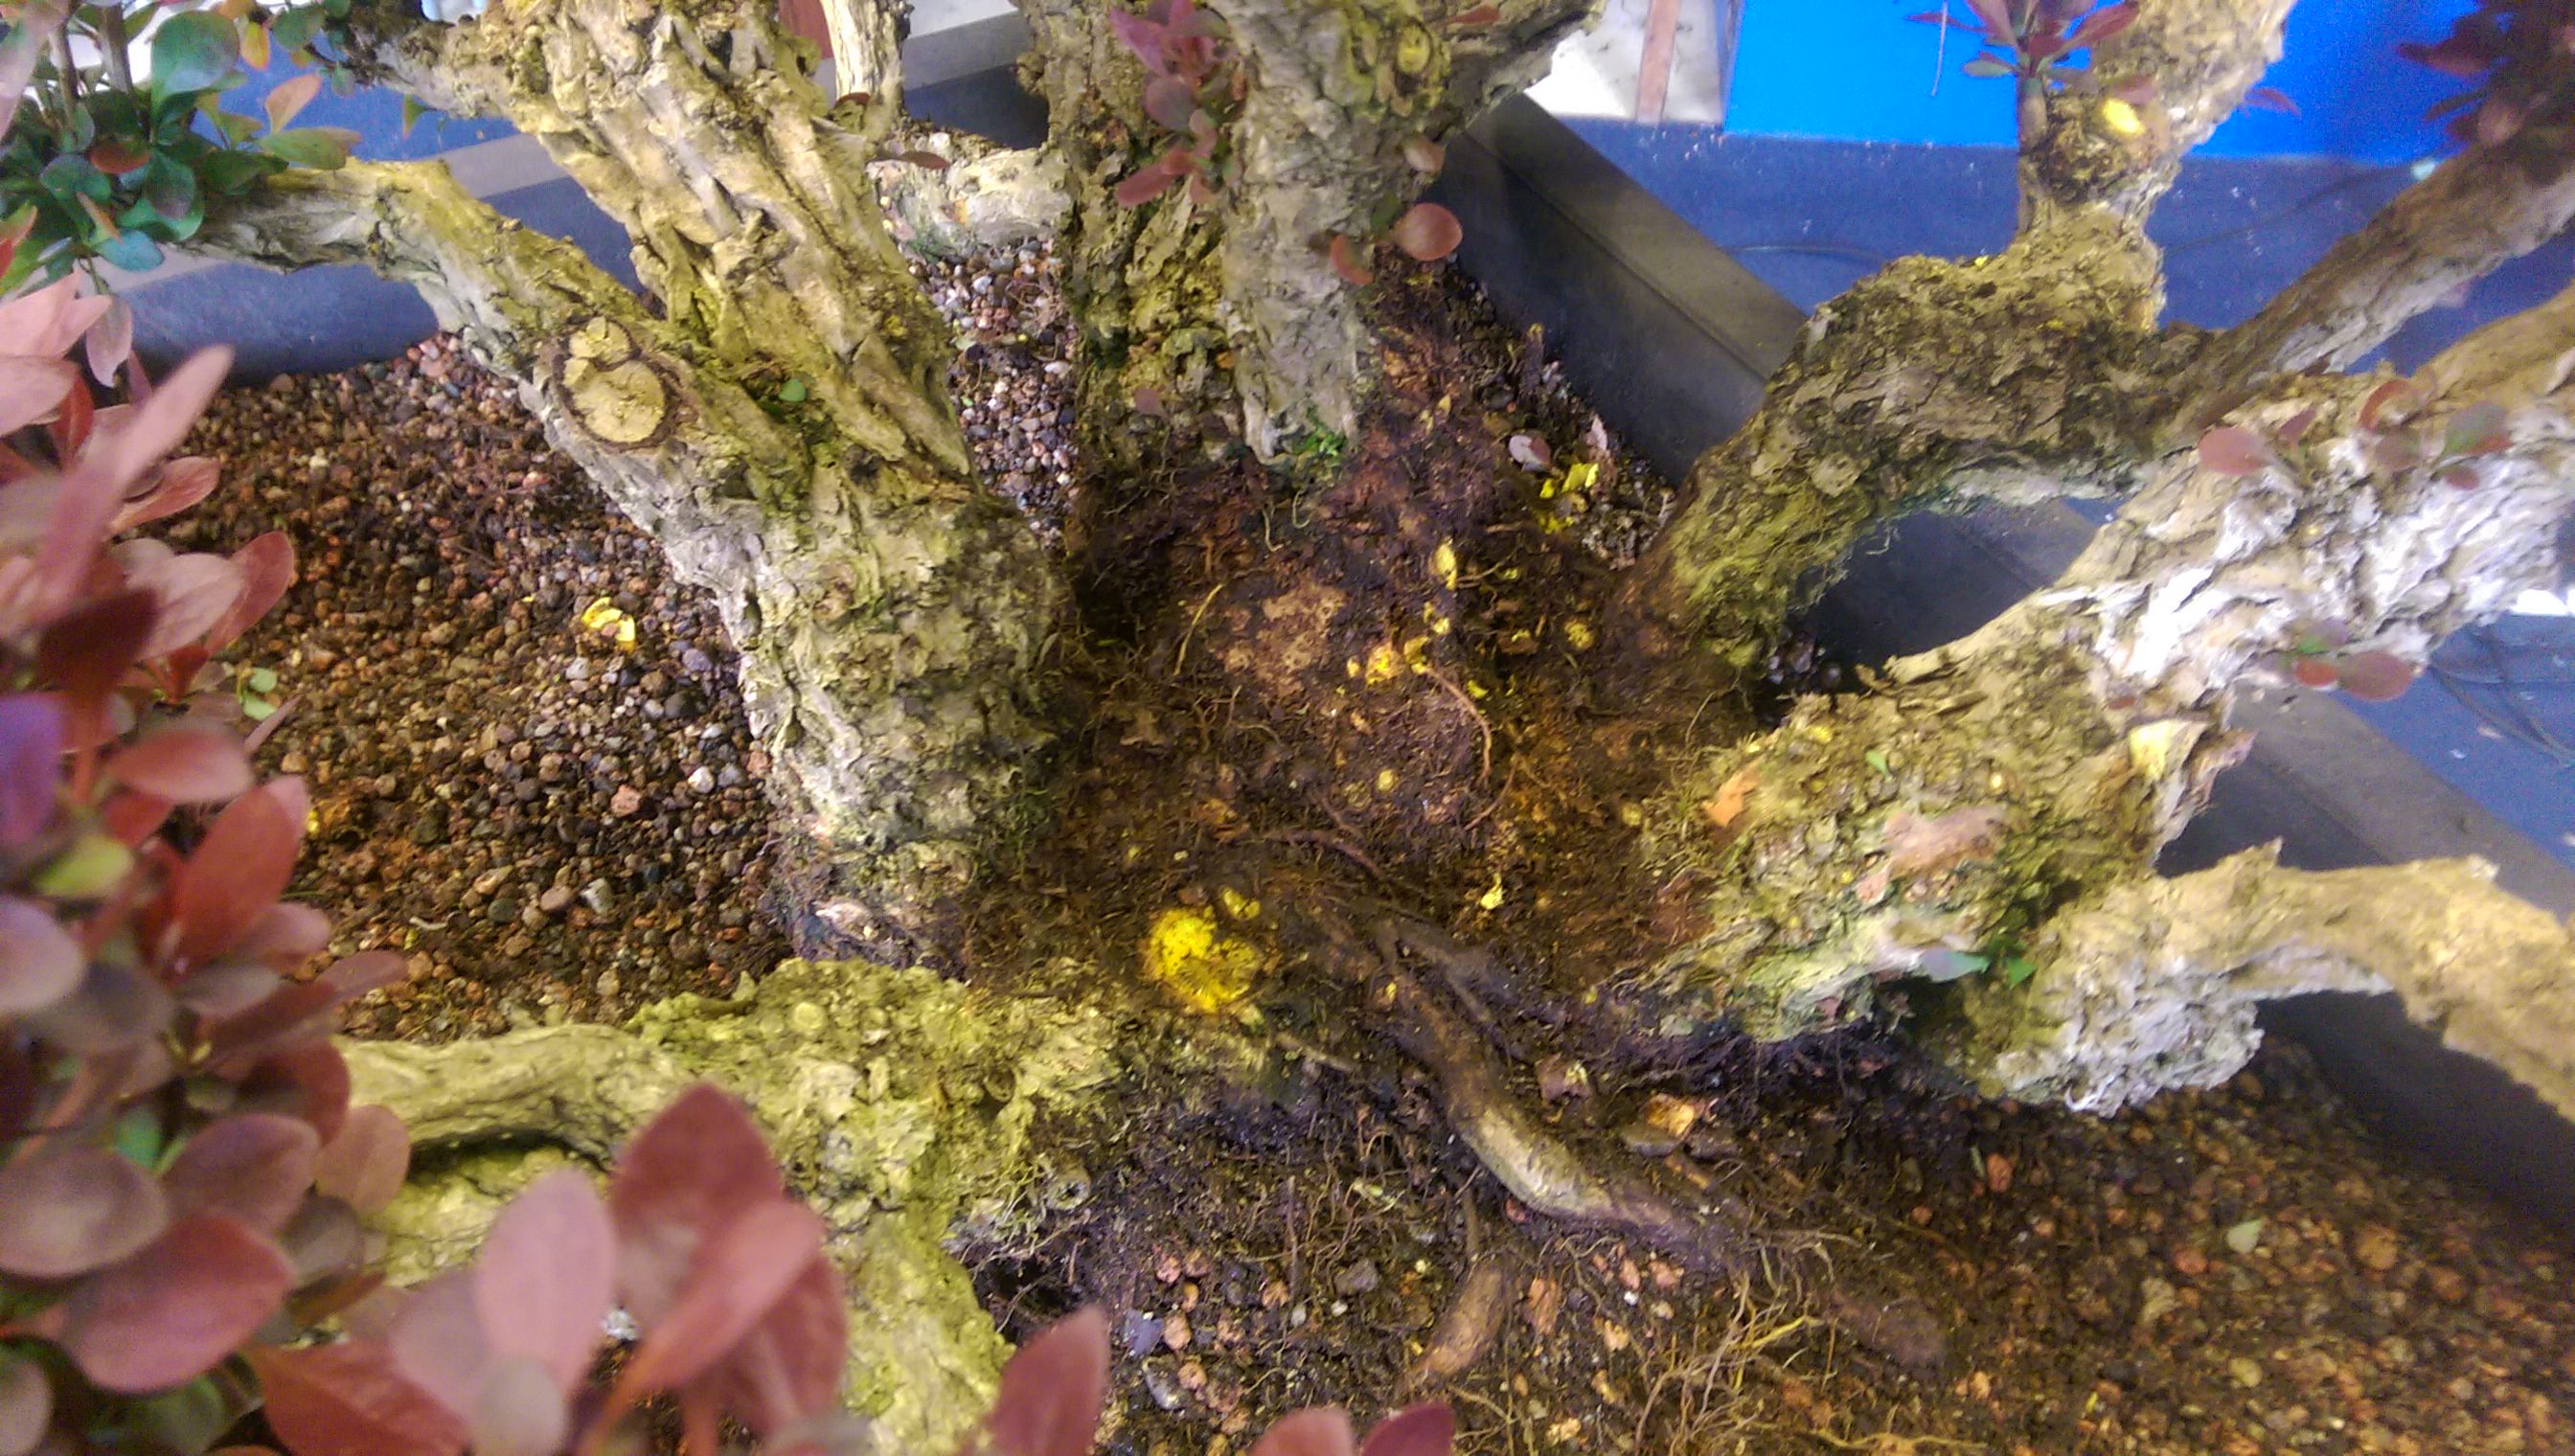
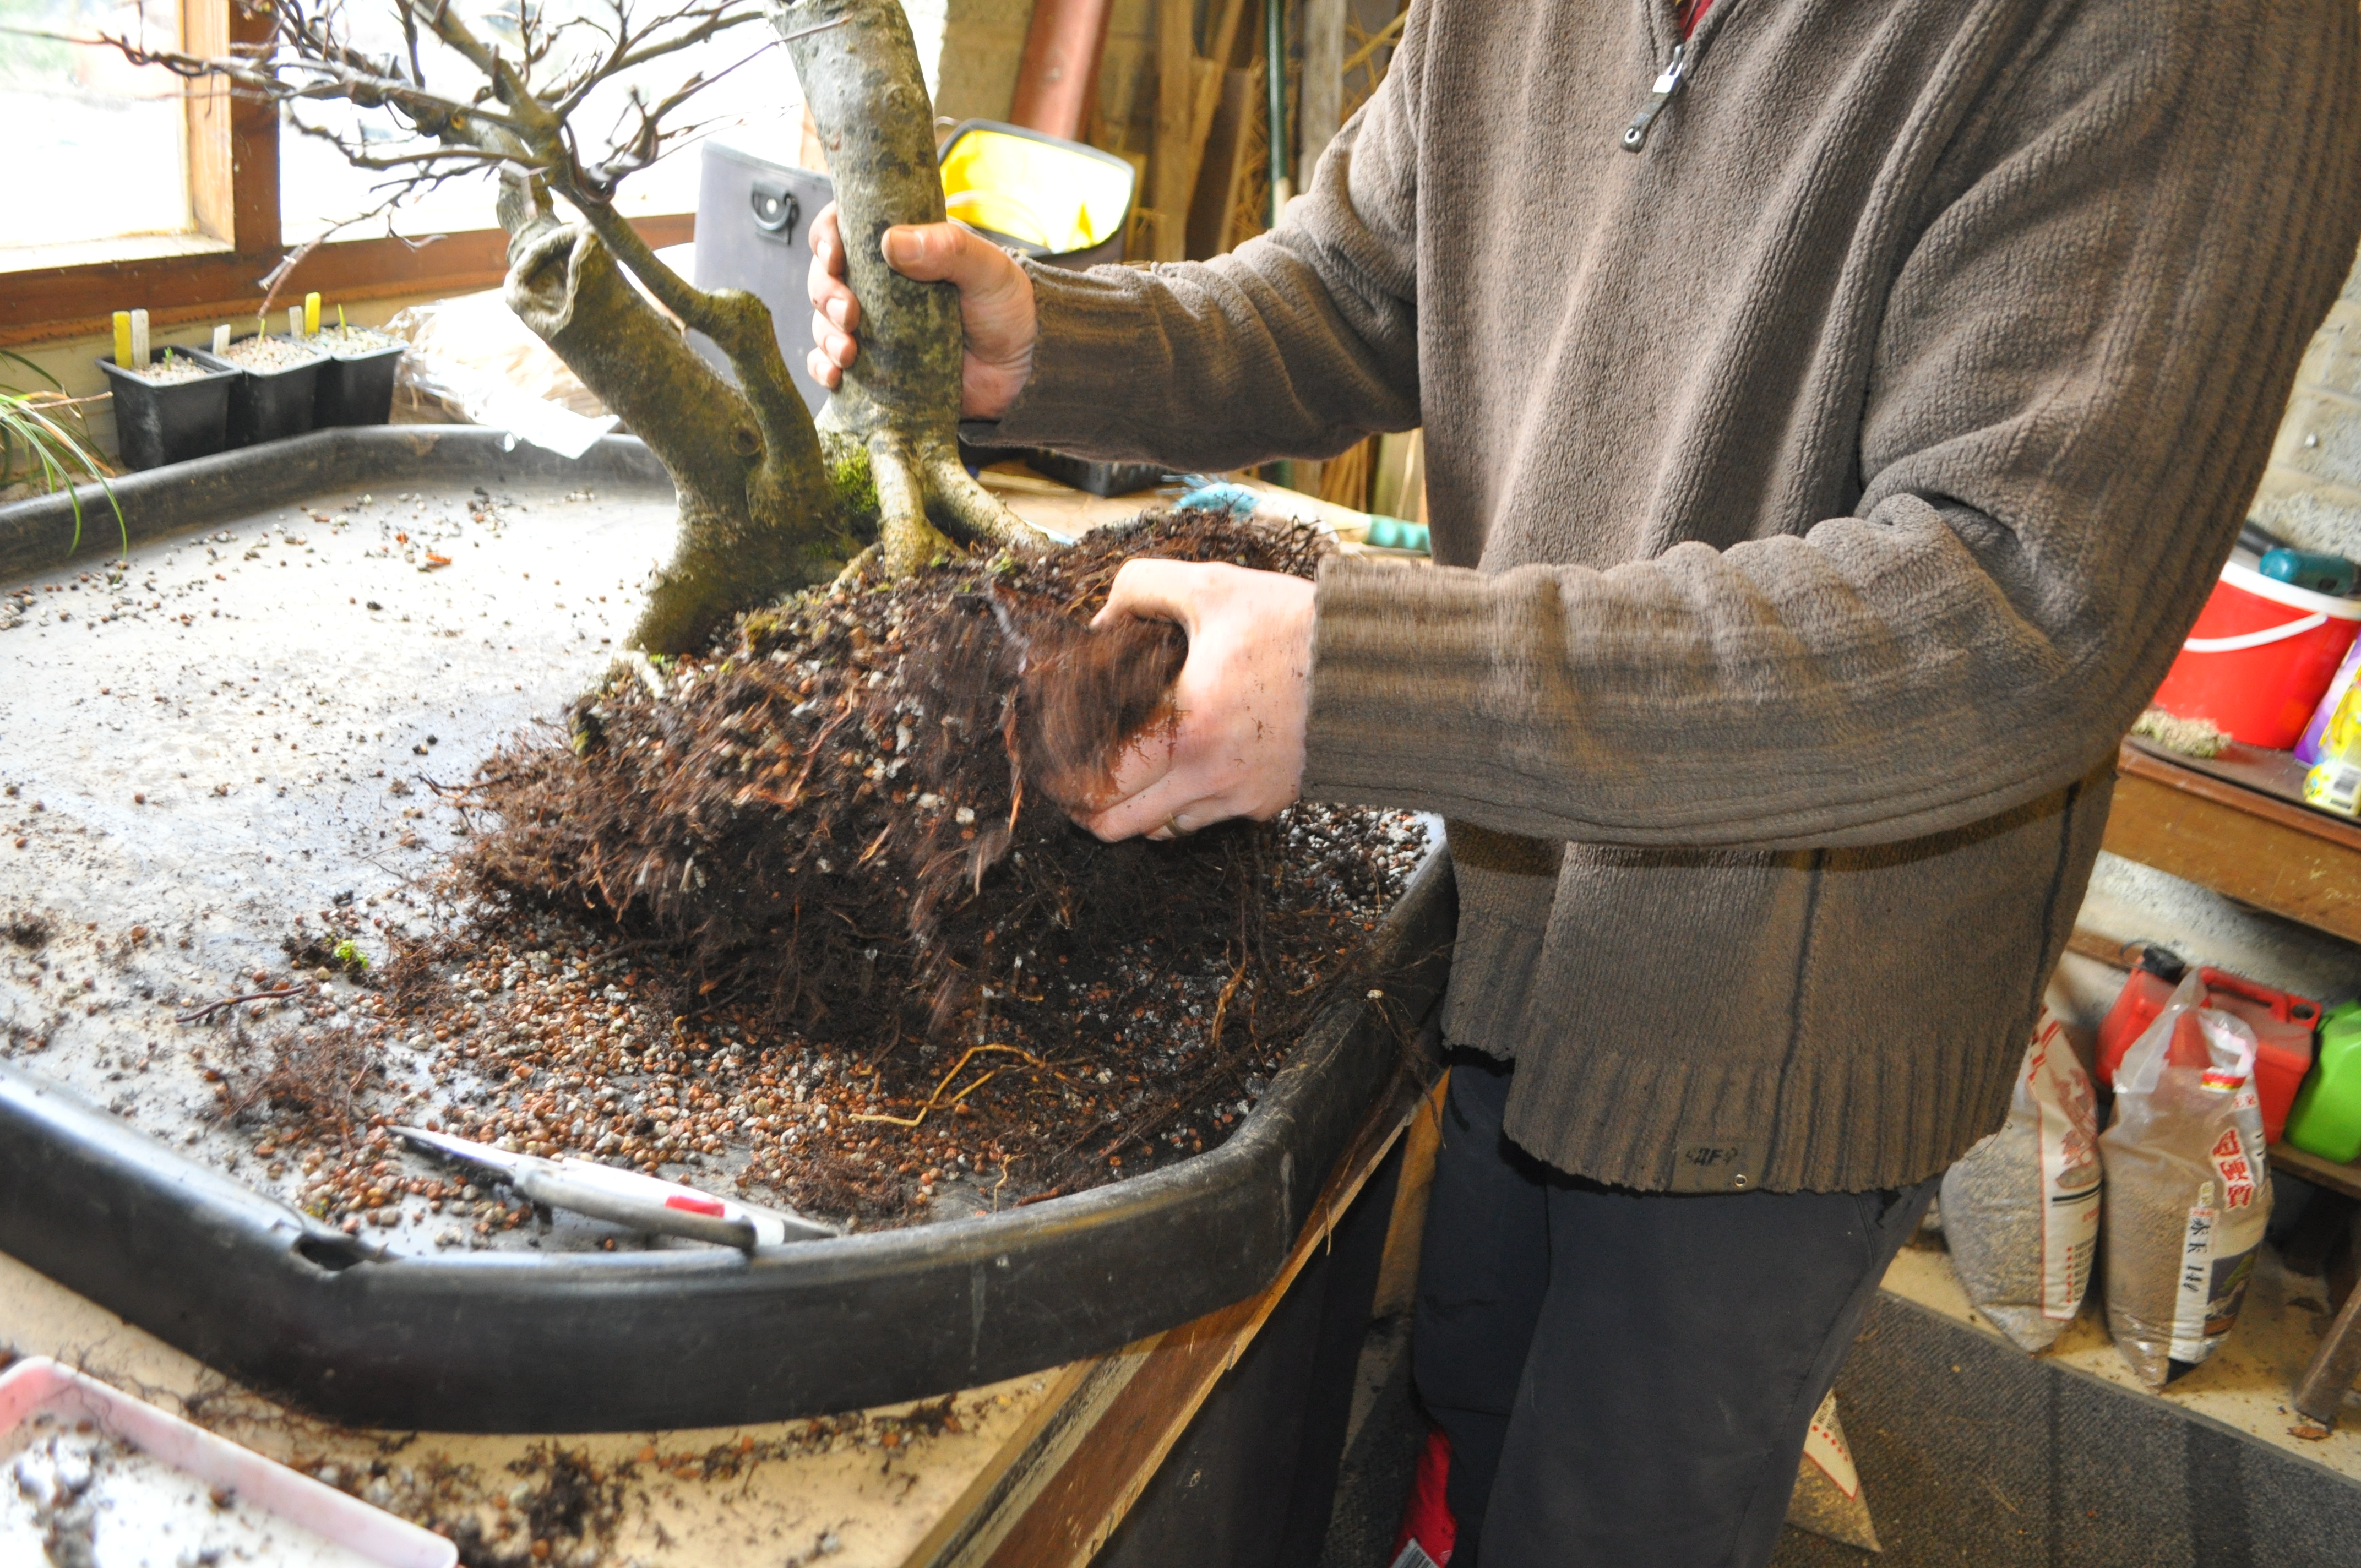
This was it before clearing. I just wanted to remove excess mix from the pot and some of the old garden soil and aerial roots from around the base.


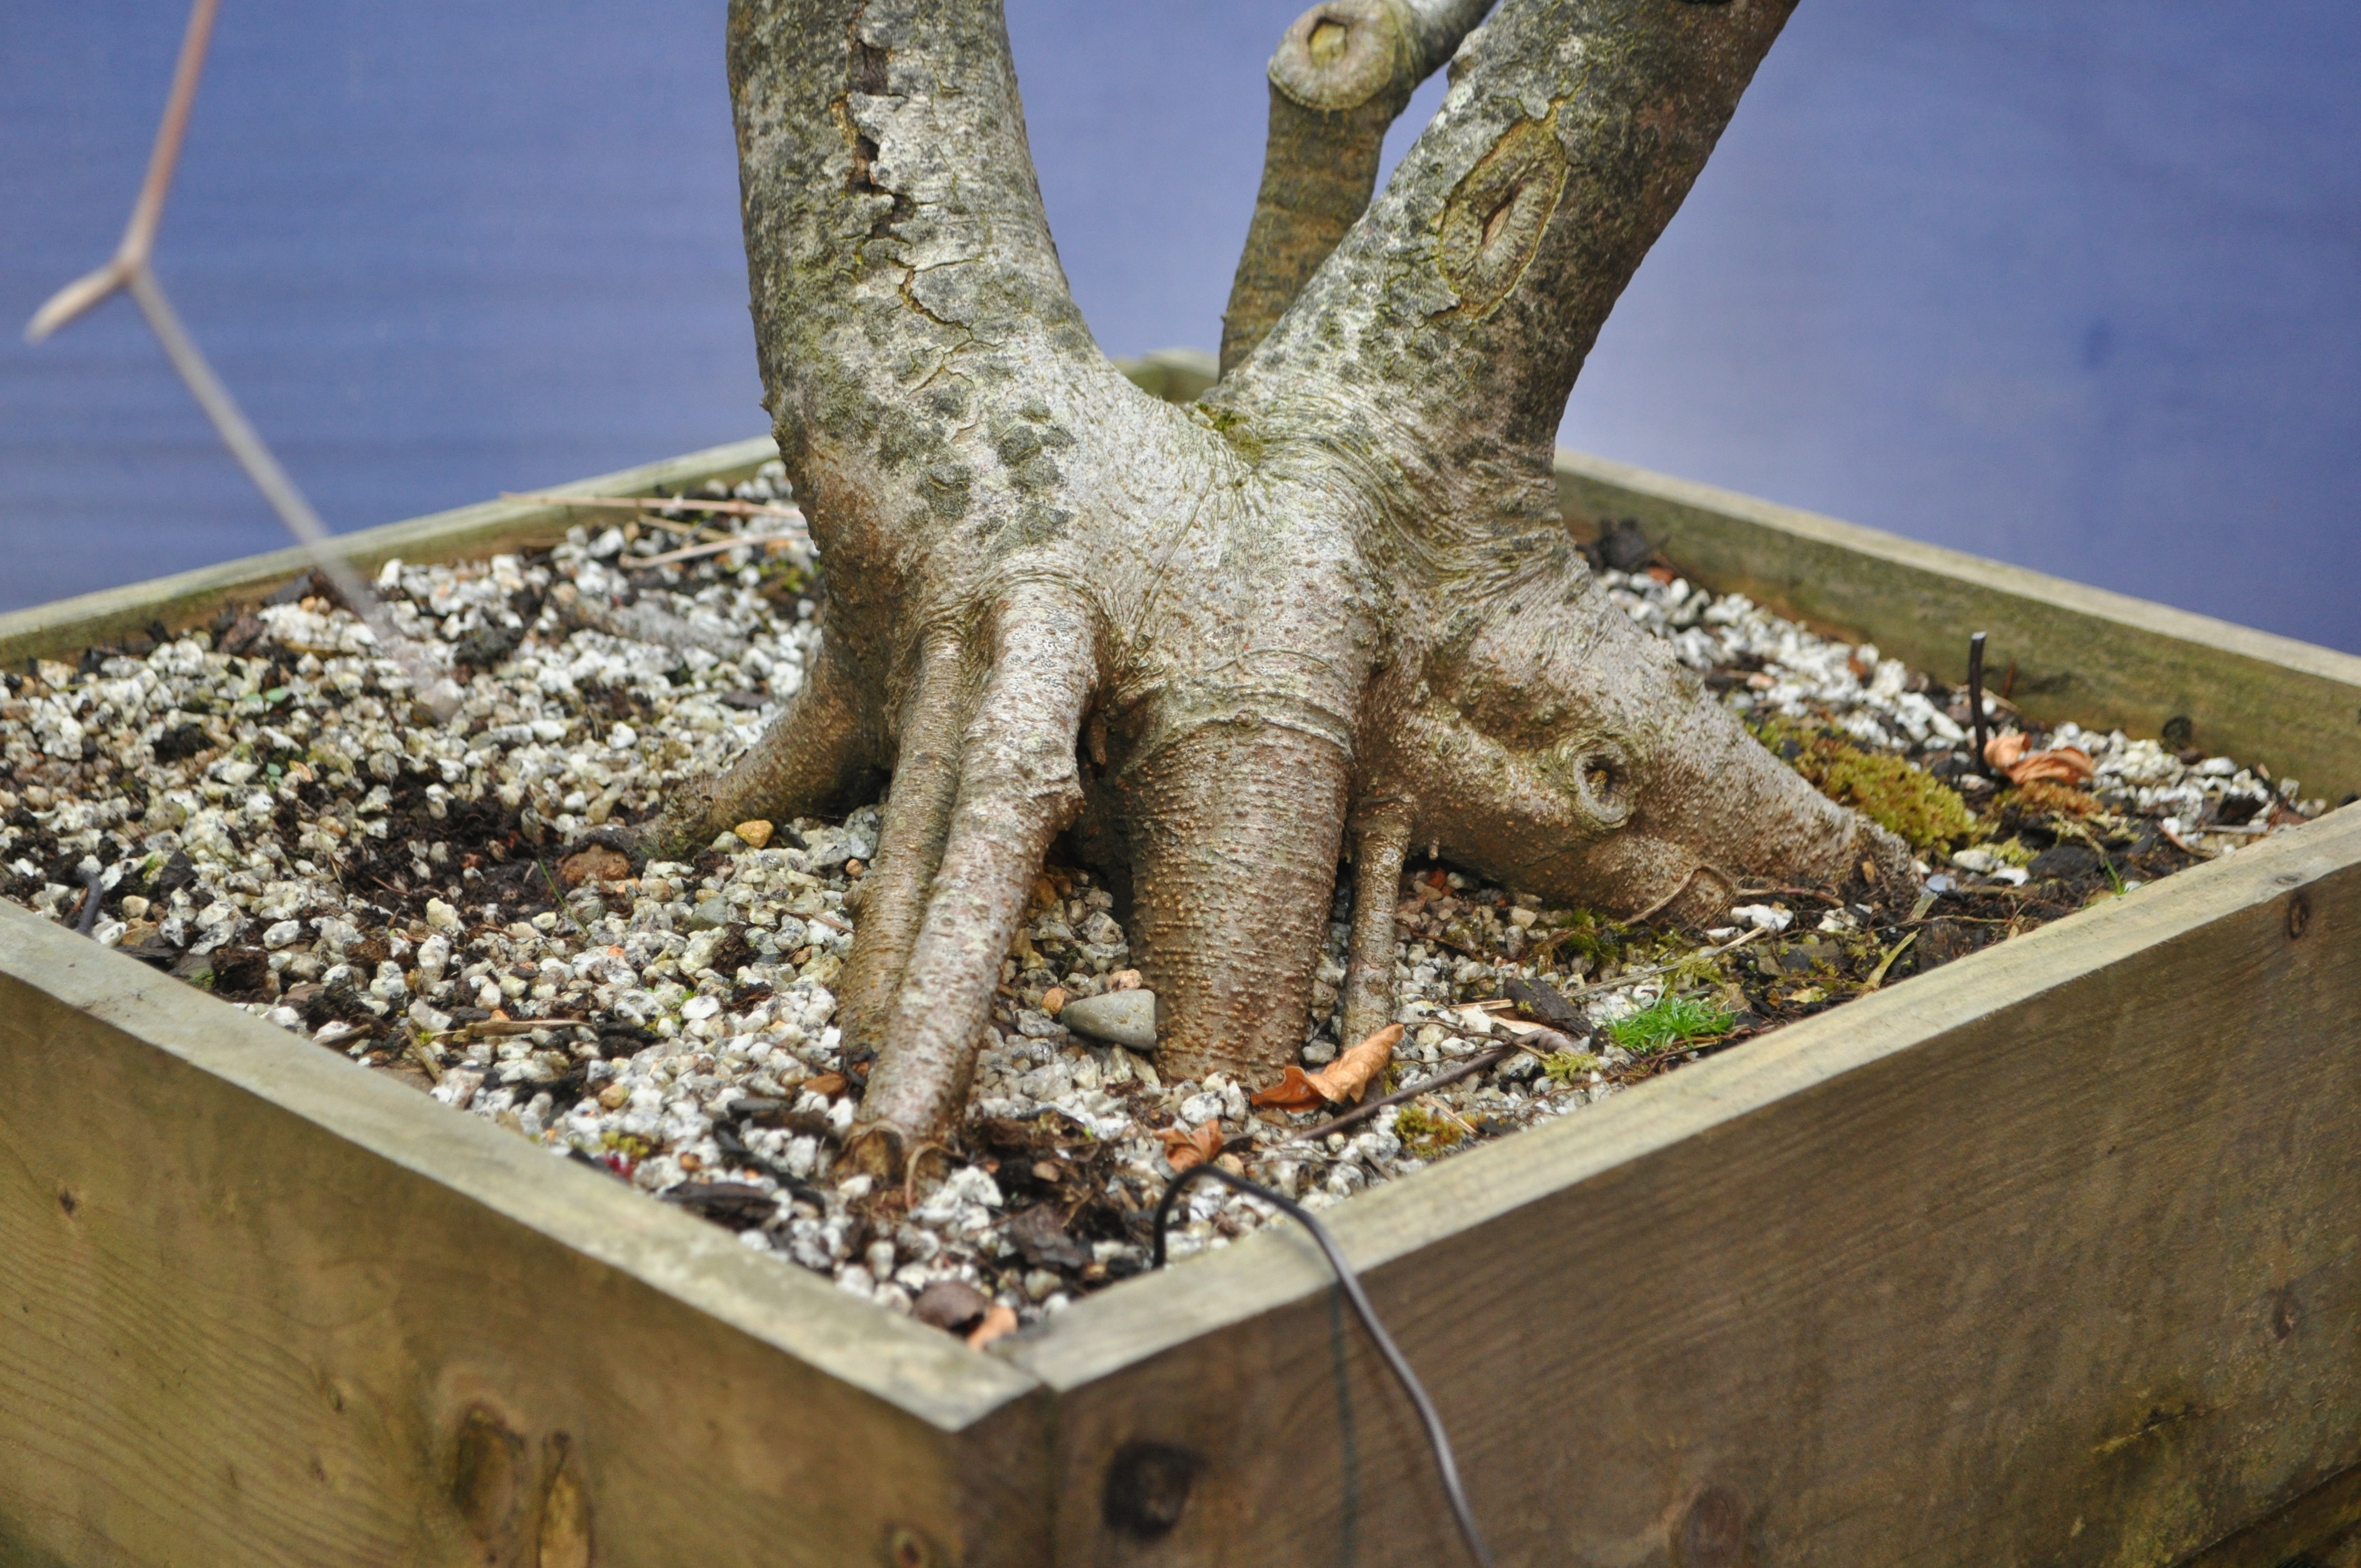
After the clean up I have uncovered about an extra inch worth of base.


Look forward to getting this one into a smaller more manageable pot next year.
I had Ben over for a one to one last Saturday with a van load of trees to discuss and work on, always an enjoyable session with Ben.
These are a few of the trees covered on the day. First up a beech that got a pruning, thread grafting and a repot.


This Beech group on a slate had a few adjustment made to the slate so it didn’t look like it had just been stolen off a roof!


And finally a Yamadori Hawthorn getting it’s first shaping. A strange one to do but we opted to try and recreate an actual Hawthorn image that can be seen throughout Ireland. Typically seen growing the in the middle of a field with cattle lying under it. I suggested this to Ben as a possible accent feature but thankfully he’s wise enough to know that this would be tacky 🙂


During a shower of rain last Sunday I had a flock of Sparrows visit my benches looking for insects, oh, and the usual Blackbird looking to remove every bit of moss it could find!


Some snaps taken after a shower of rain a few days ago. Spring, my favourite time of year.


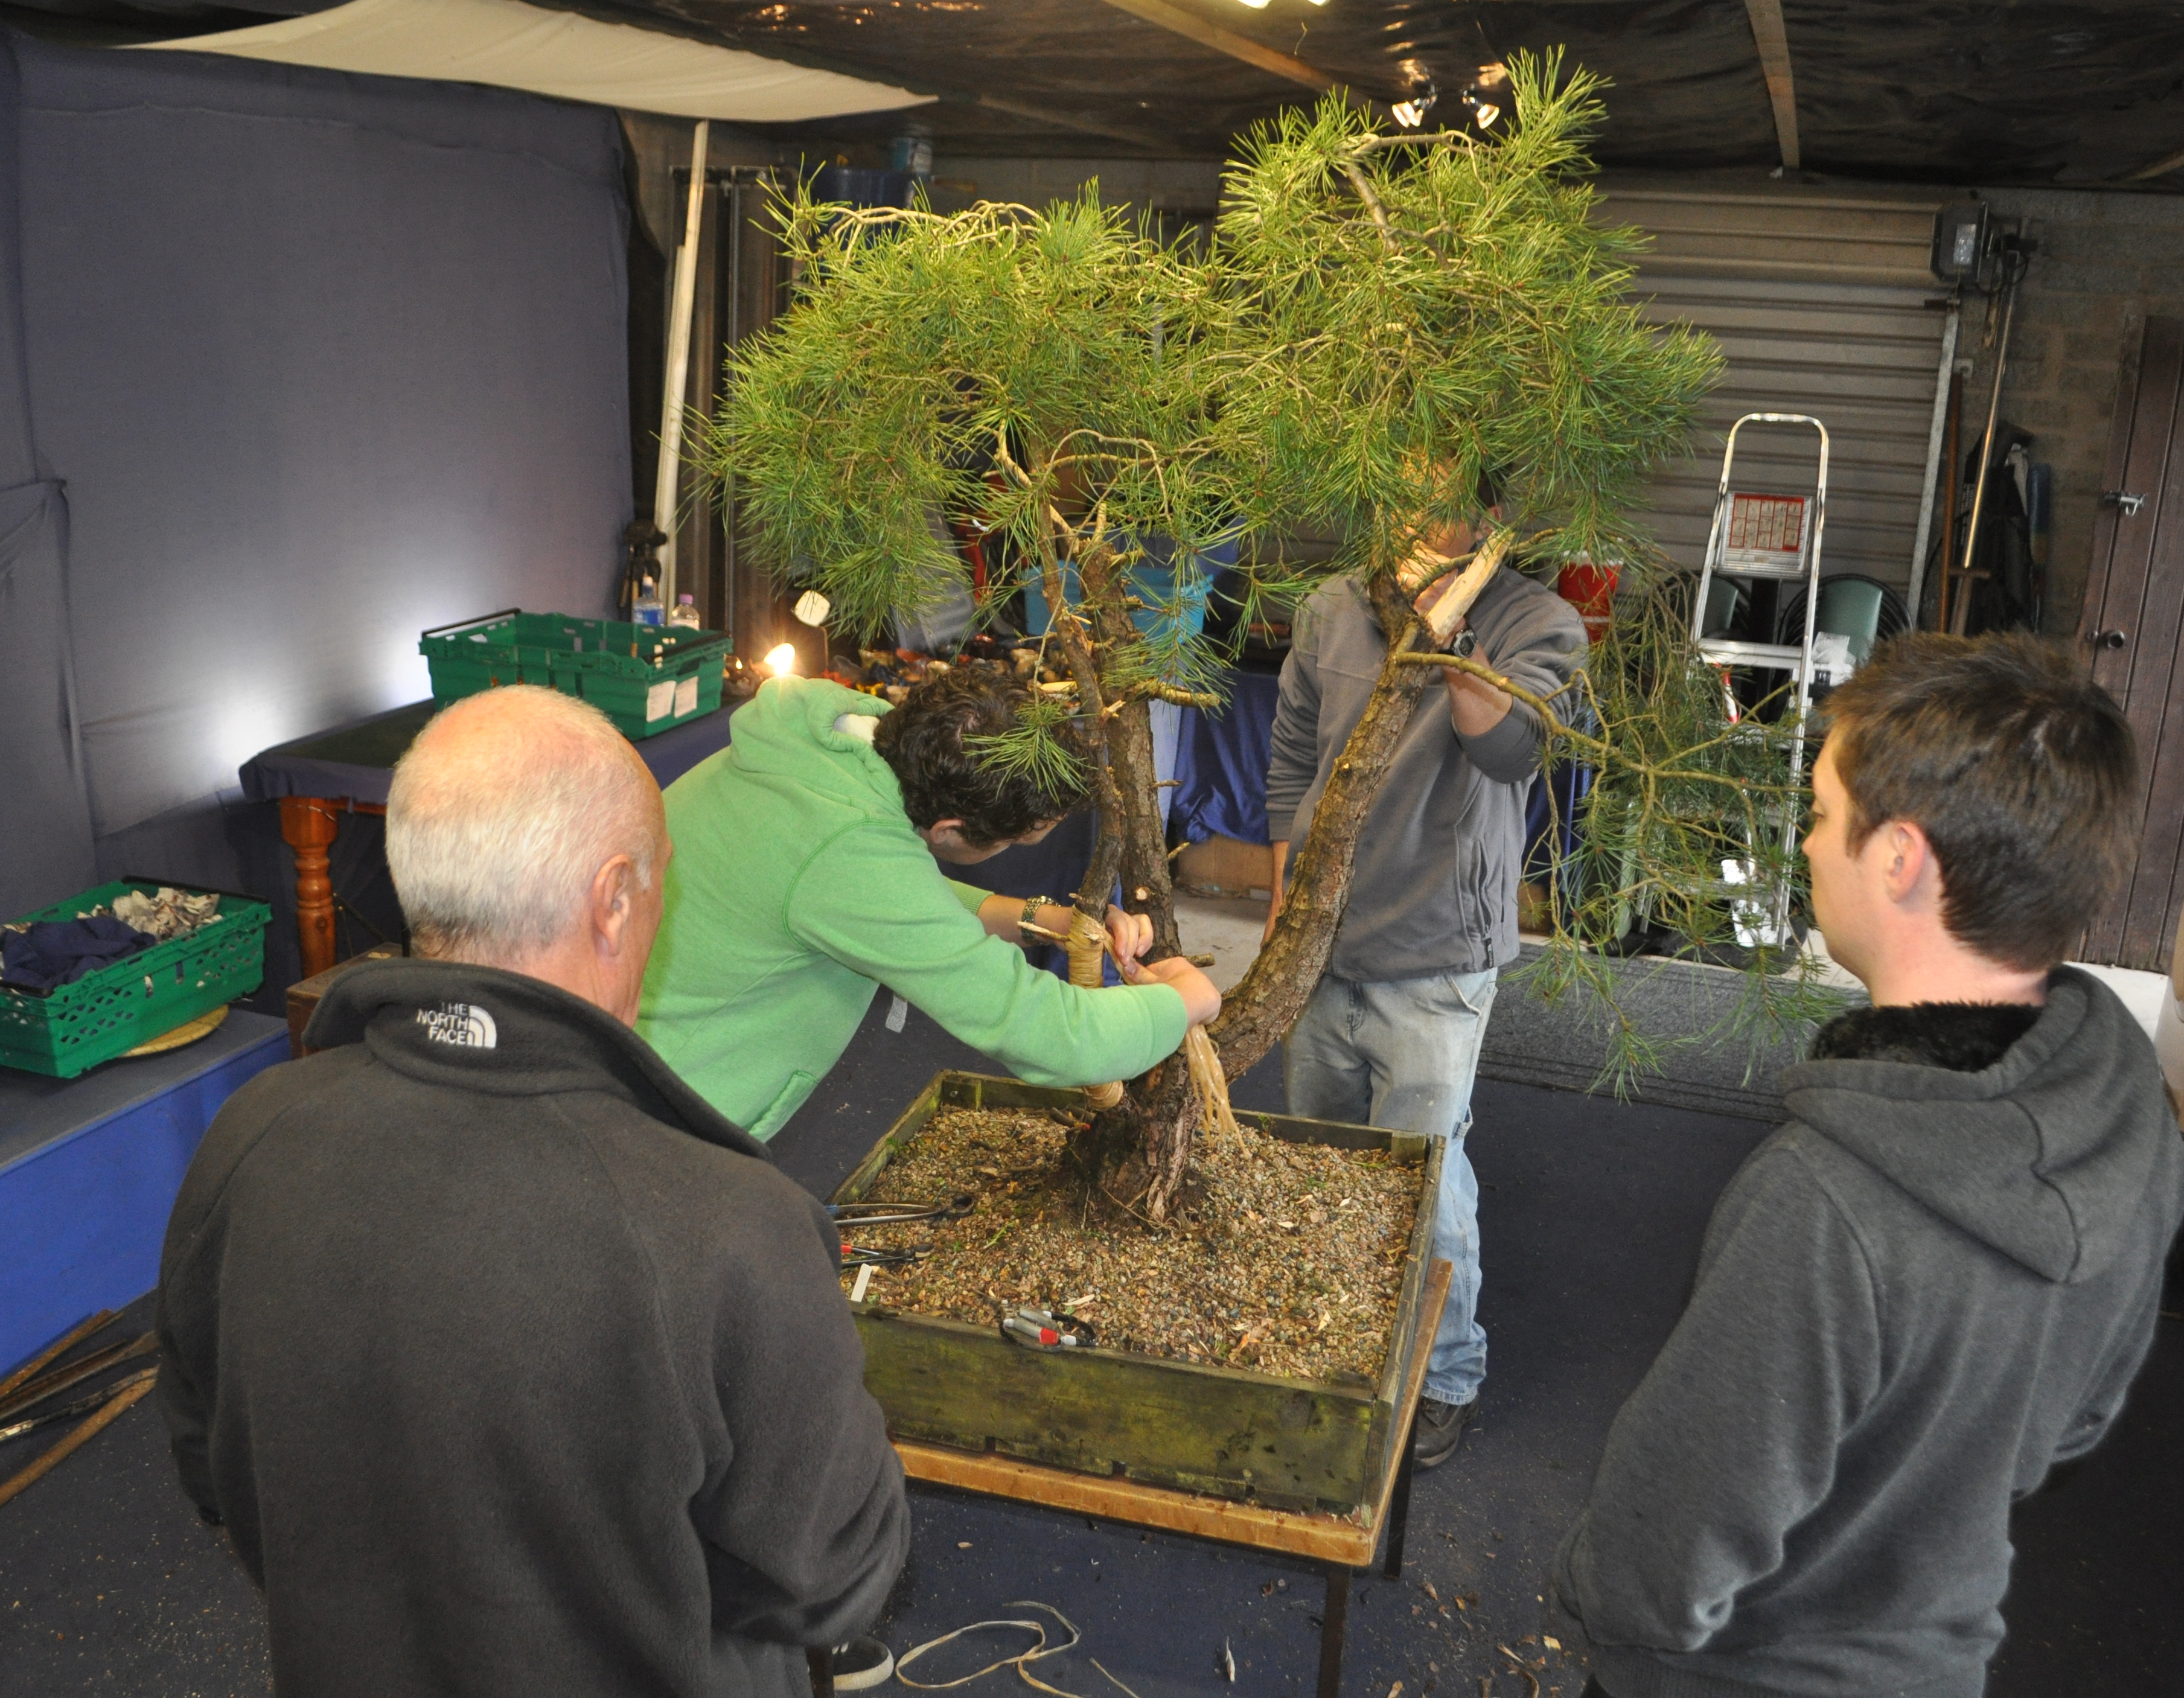
Last week I had a night at my garage for the guys who do one to ones with me. I needed a hand getting a large Scots pine bent into shape. This was an old tree collected from a bog back in 2012. This is the tree at the time of collection.


This was it a few weeks ago, sitting outside where it’s been for the last 3 years. It’s been chopped back a few times to remove unwanted trunks and branches and to help chase back the foliage.

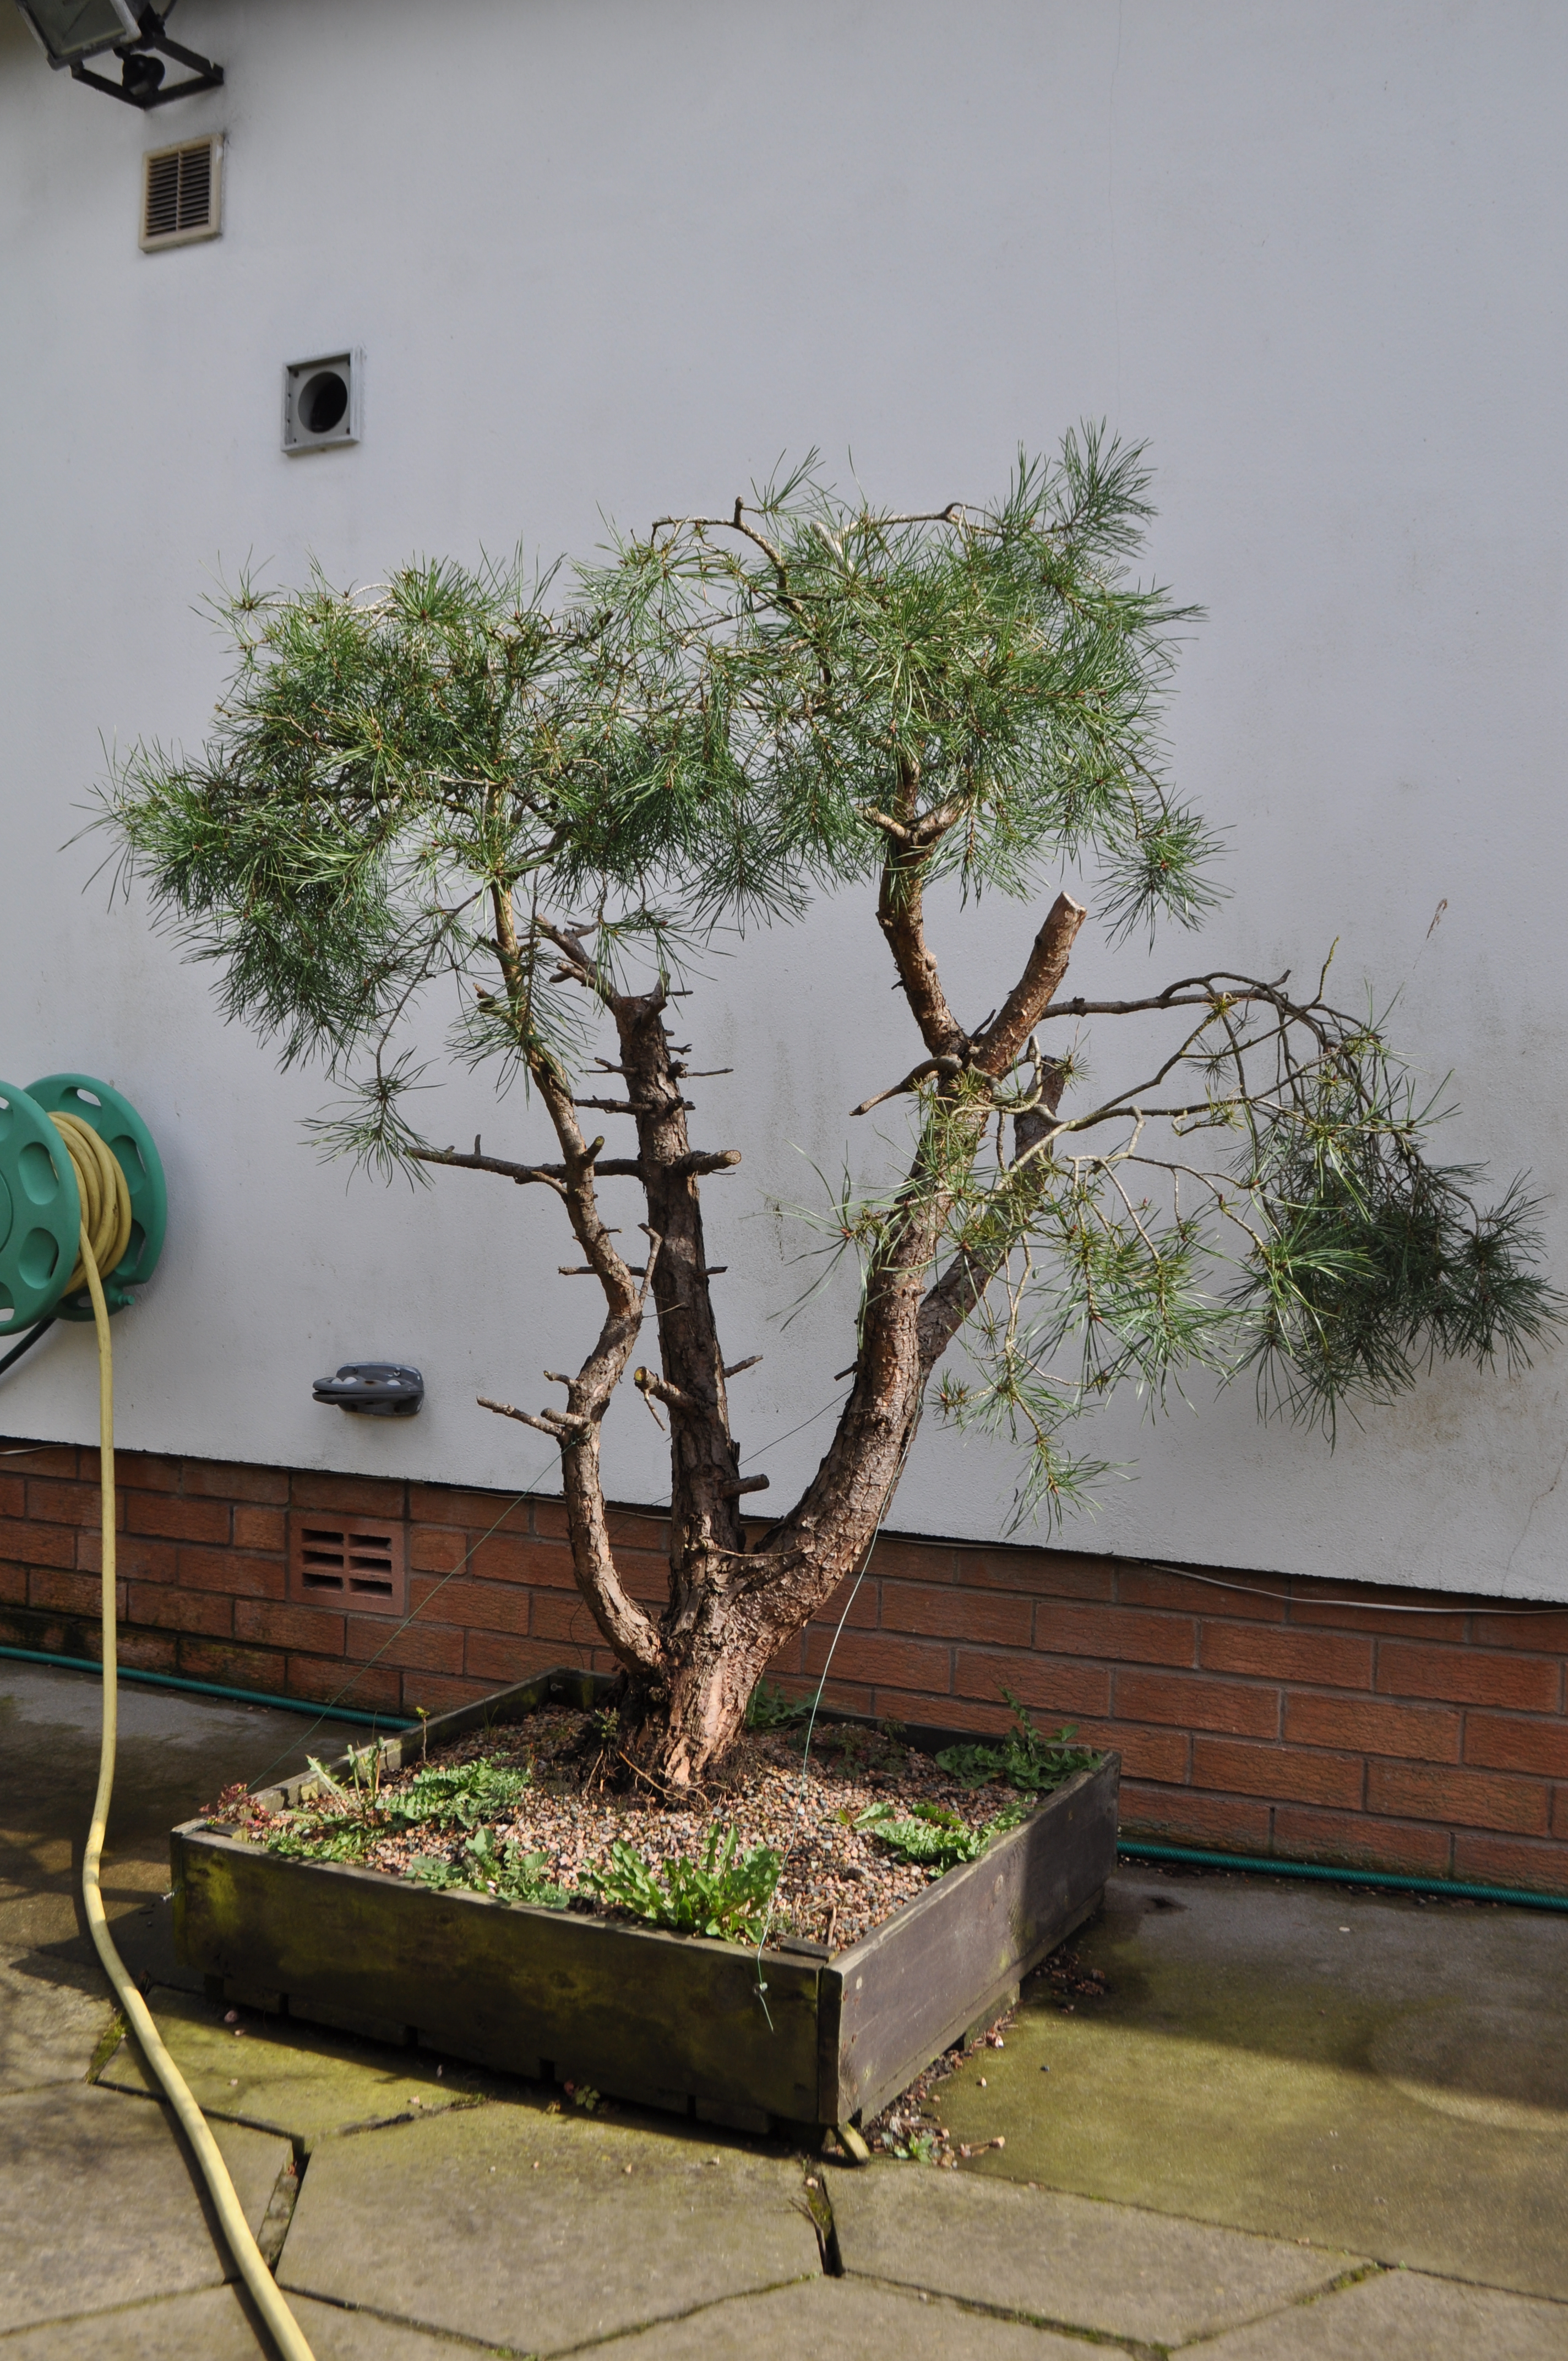
The idea was to create a twin trunk image from the remaining foliage. However it’s always good to have a Plan B!!
Here we have the tree placed into the workshop after a 4 man lift. Took a coat of paint off the door on the way in!

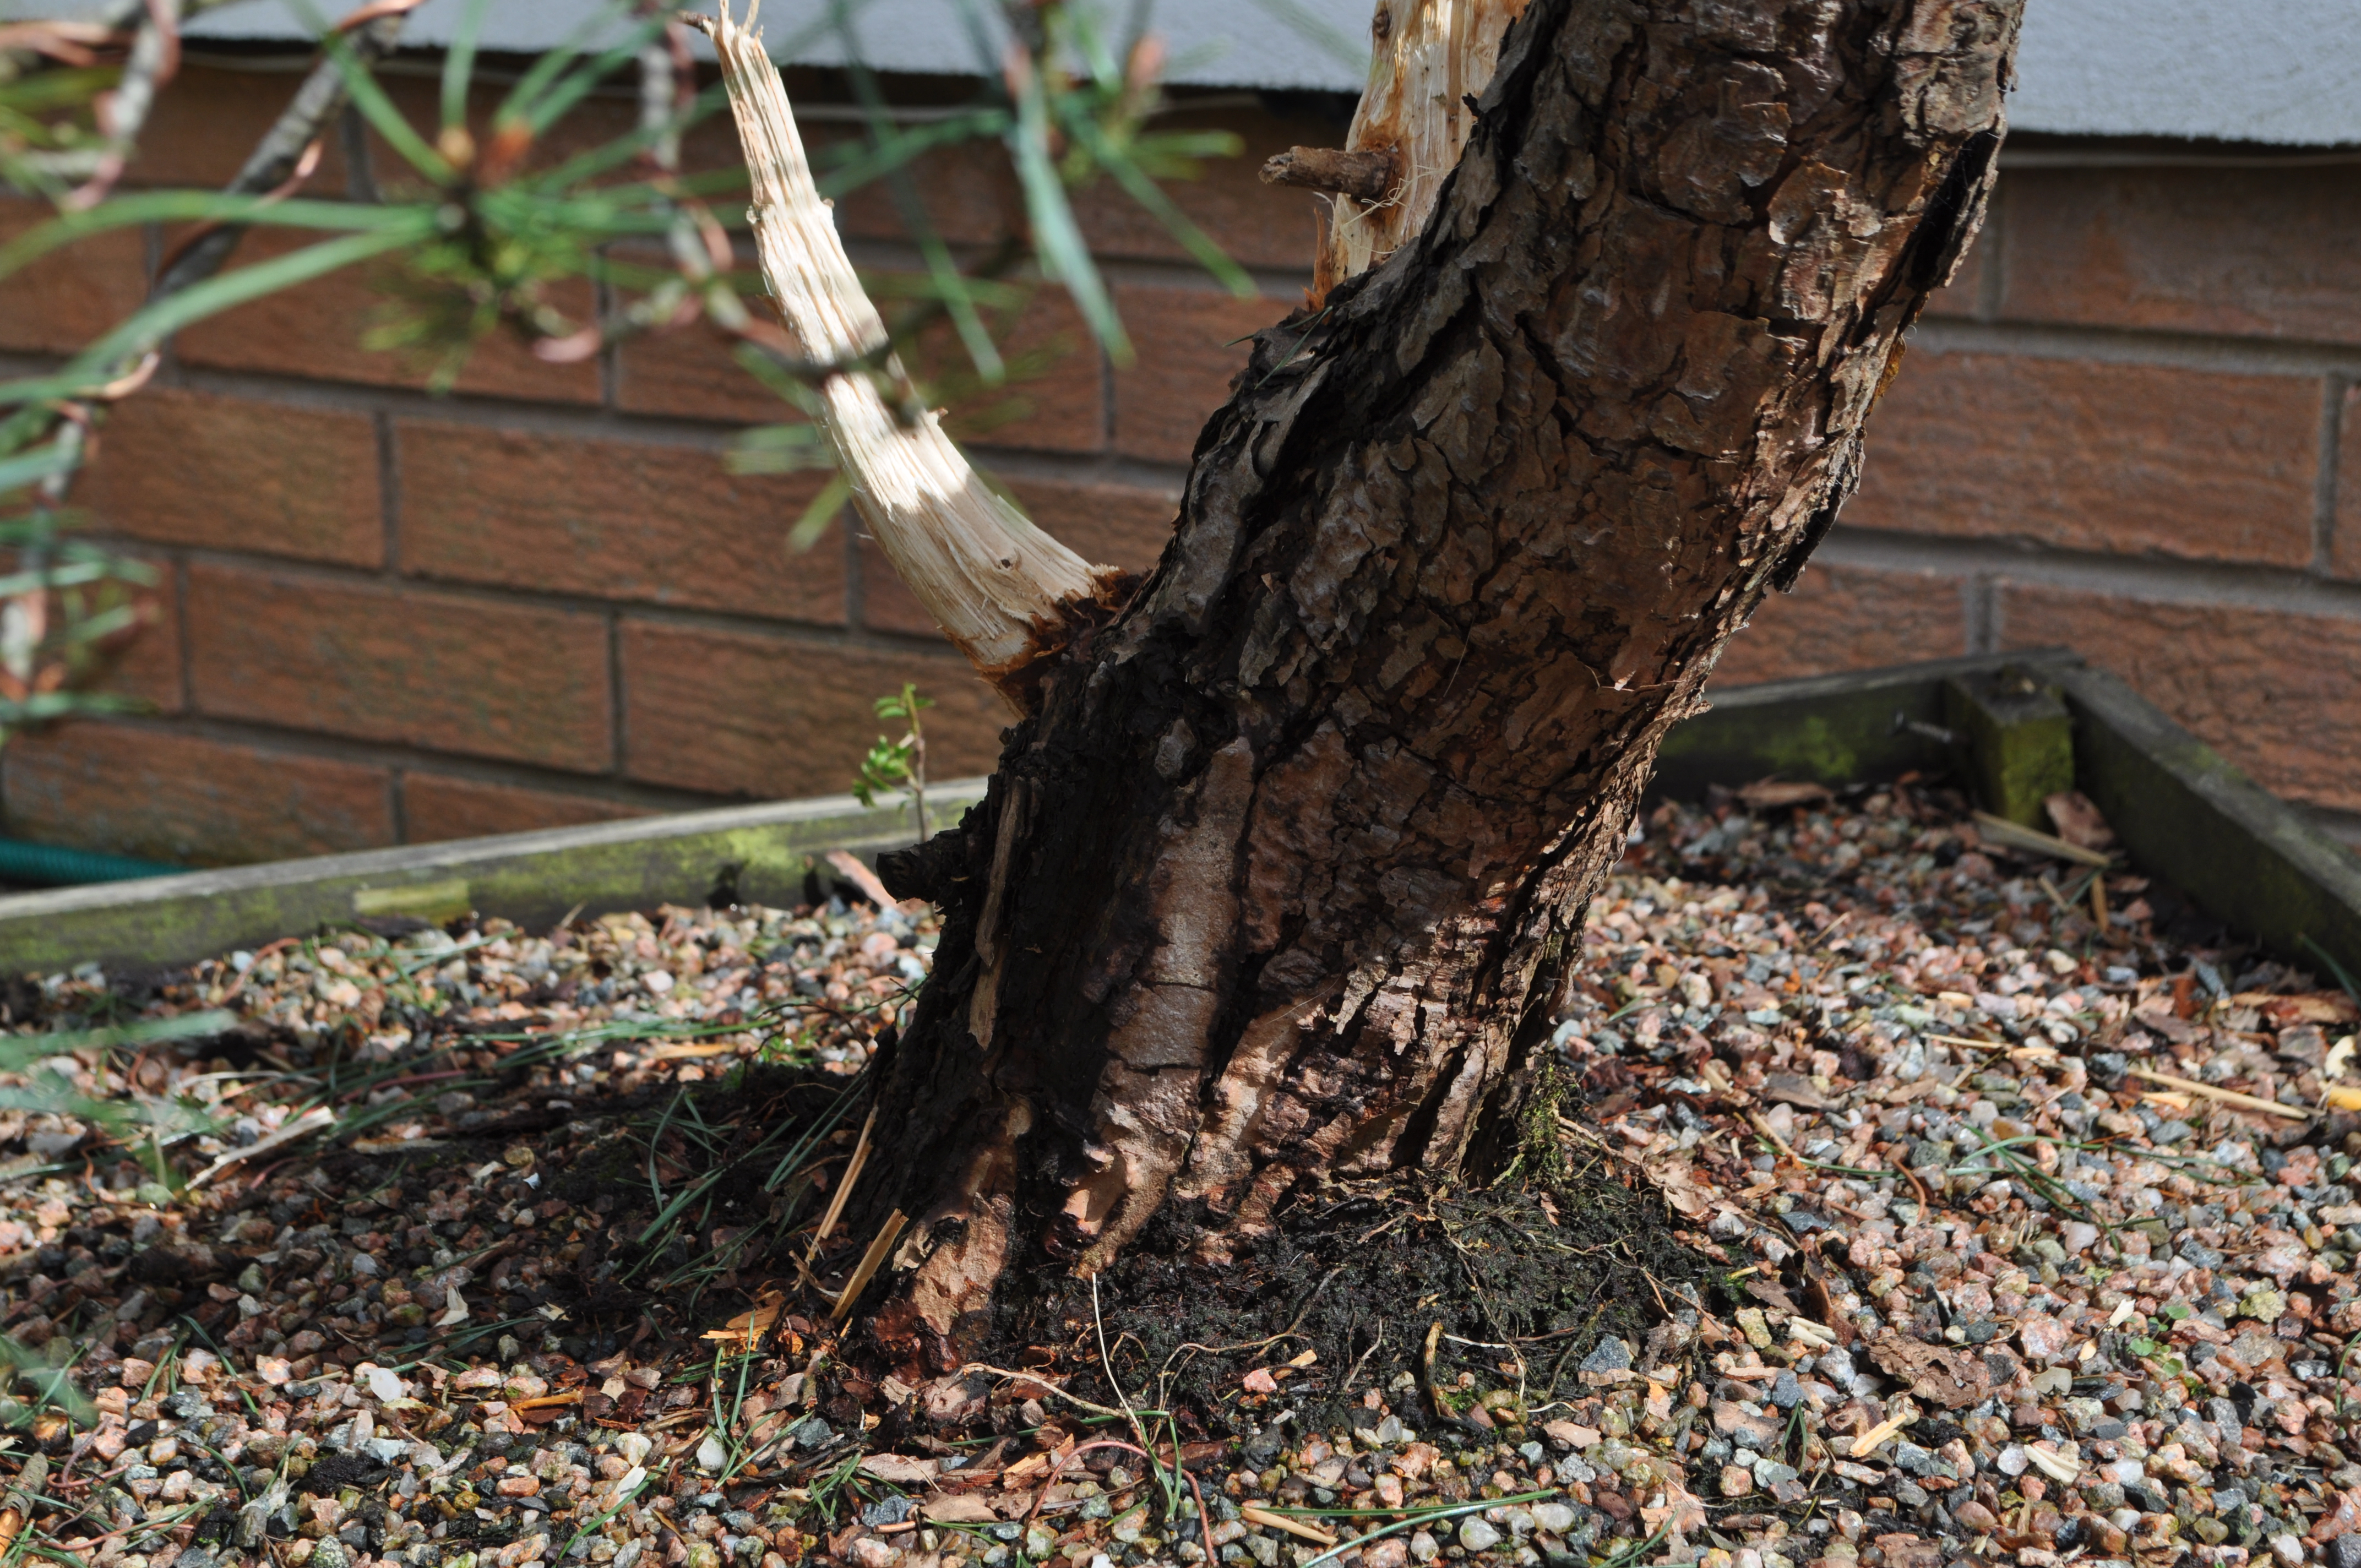
Some deadwood will need to be worked.

Help from the chaps in getting the raffia applied.
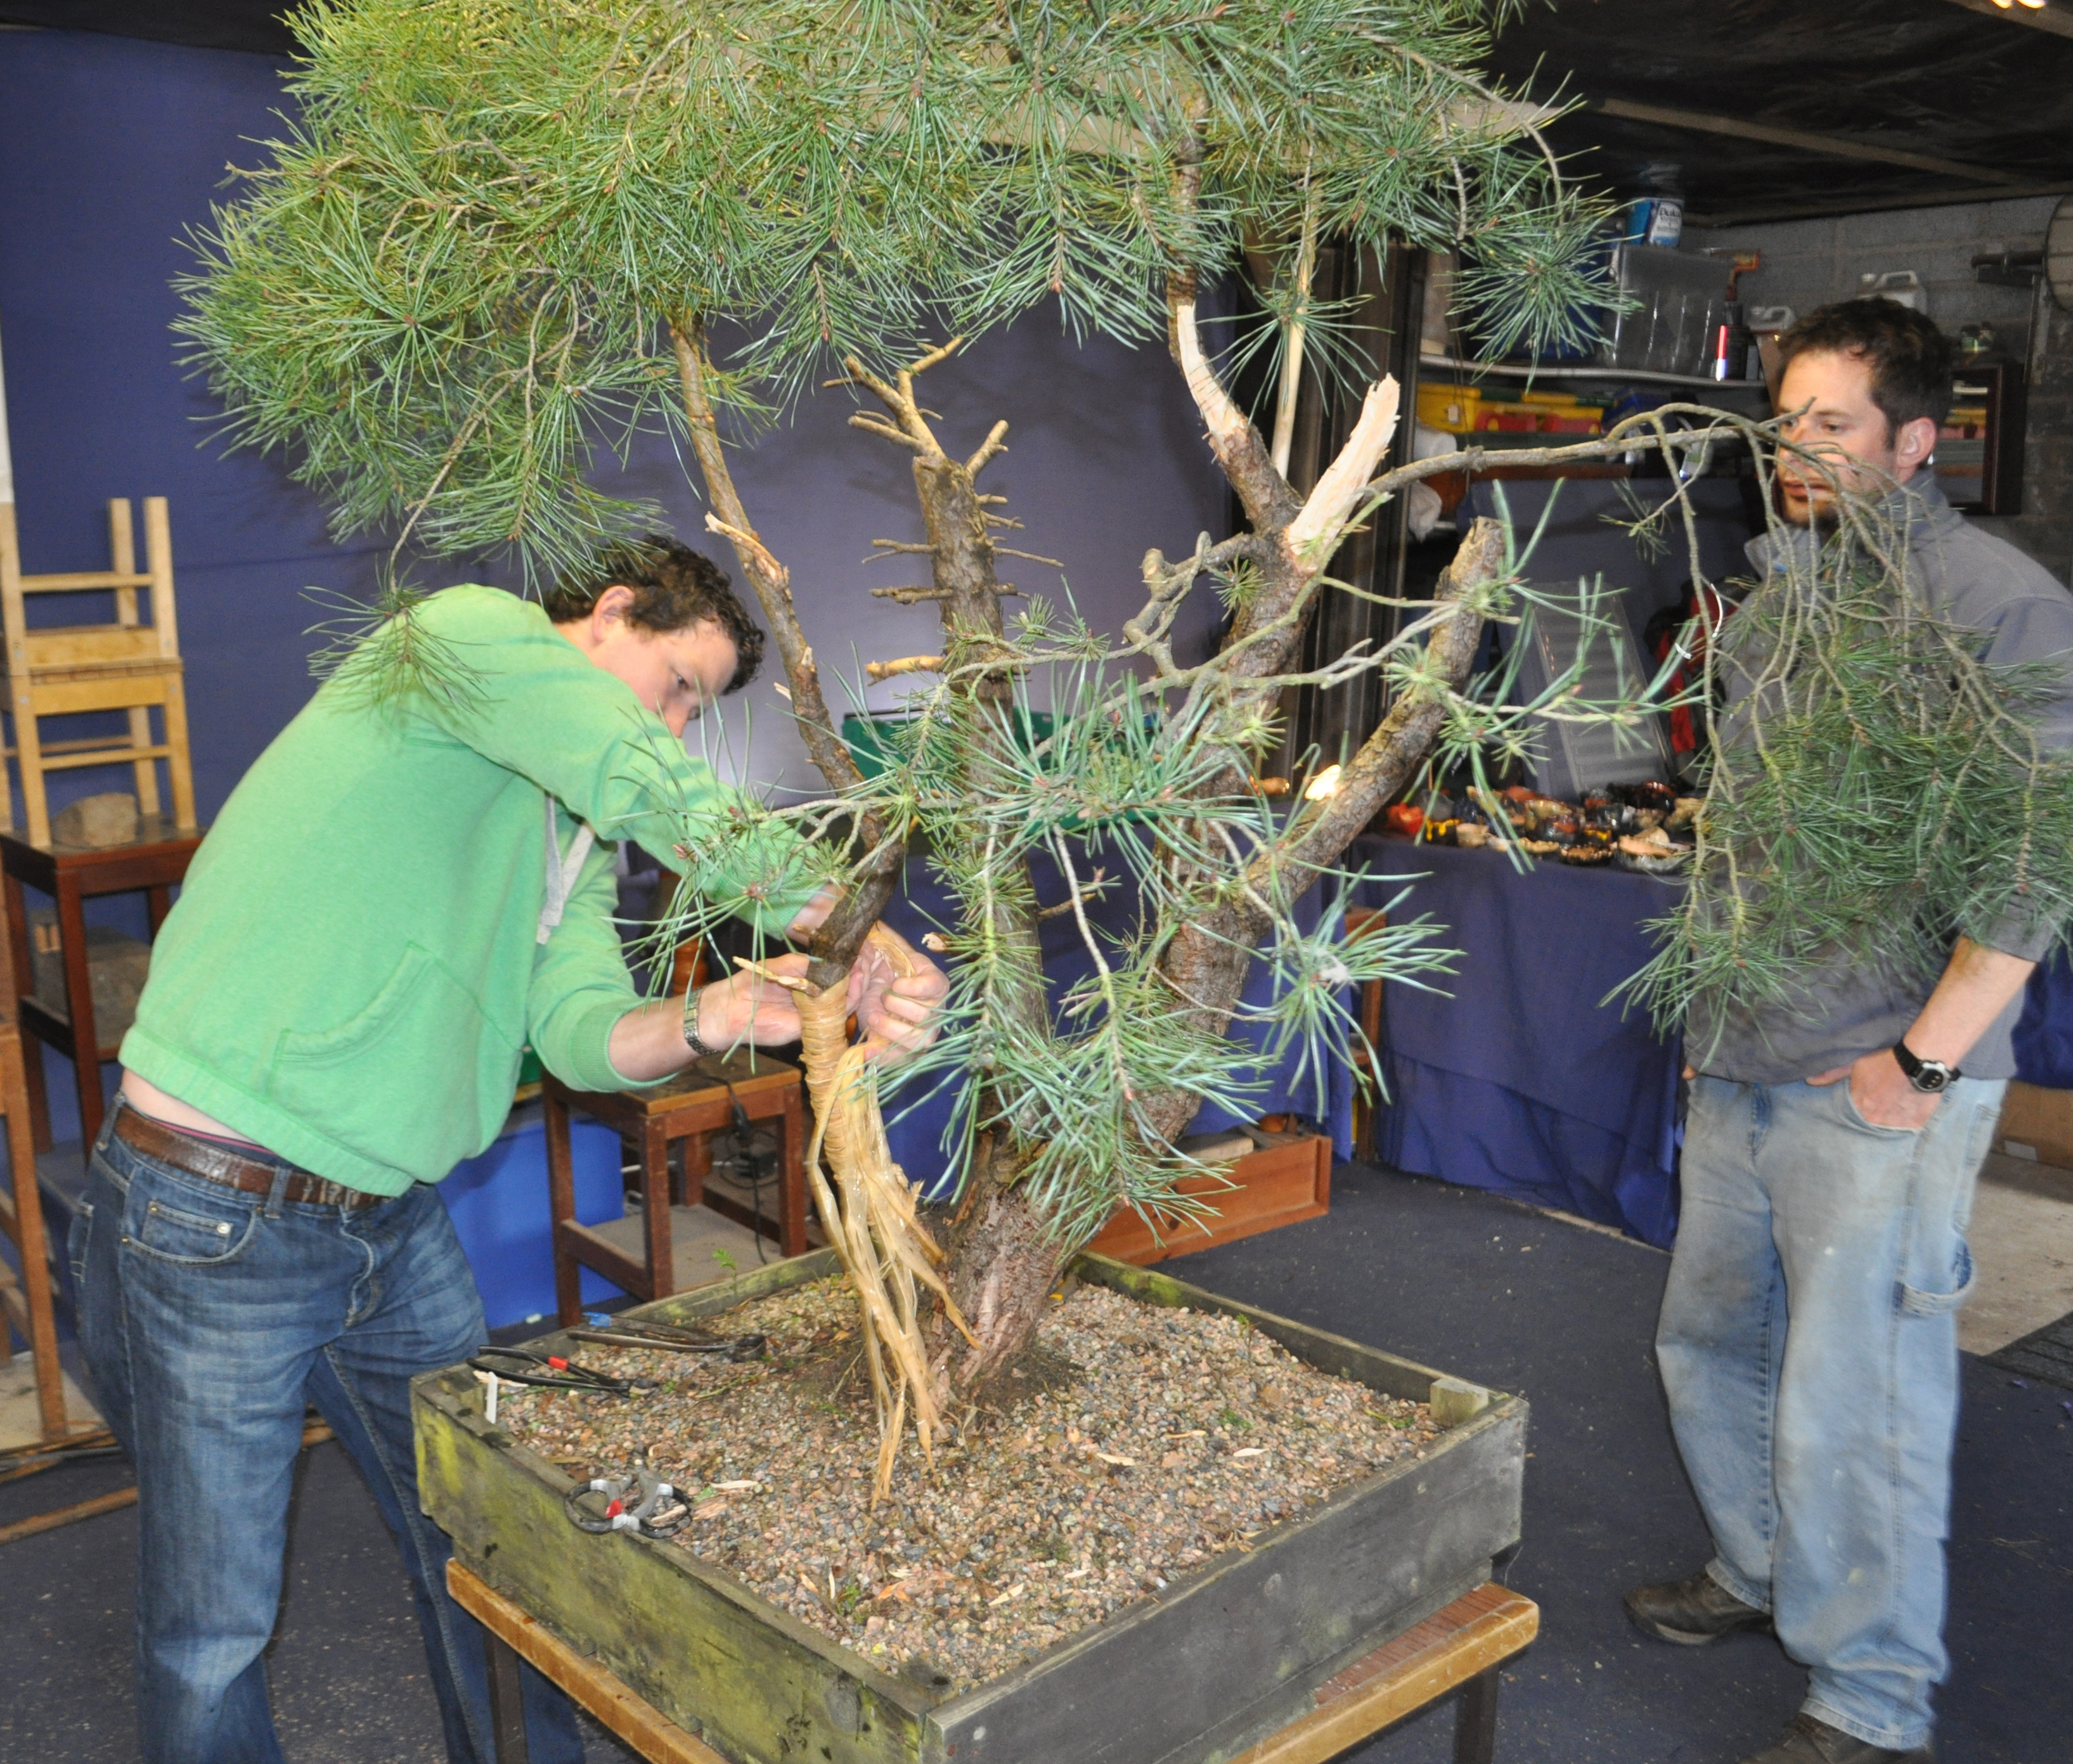
And then my Plan A went out the window lol. When bending the lighter of the two trunks I managed to snap it beyond the point of repair/survival. I was a bit amazed at the time to be honest as I hadn’t applied that much pressure and the trunk had been raffia’d, taped, and cable-tied. On closer inspection later I noticed a weak point where a branch had died previously, but still…

I was quite pleased with how calm I remained. Nothing I could do to change what had occurred, all I could do was look for options within the remaining trunk to create a tree. The original plans for this trunk had to be dropped and the whole tree evaluated to select another styling option. Once done we again got to work and did a little more bending, this time with no mishaps.
This is how the tree finished before the guys had to head home.

As the branches where all hanging at weird angle with buds pointing towards straight down, I felt that it would be better to fire on and get the tree fully wired so all buds were facing up to help with vigour. In some cases this was exaggerated on the weaker buds. This is how the tree turned out. I actually had another smaller branch break, again with hardly any pressure applied. Some trees just seem to be a pain in the arse!

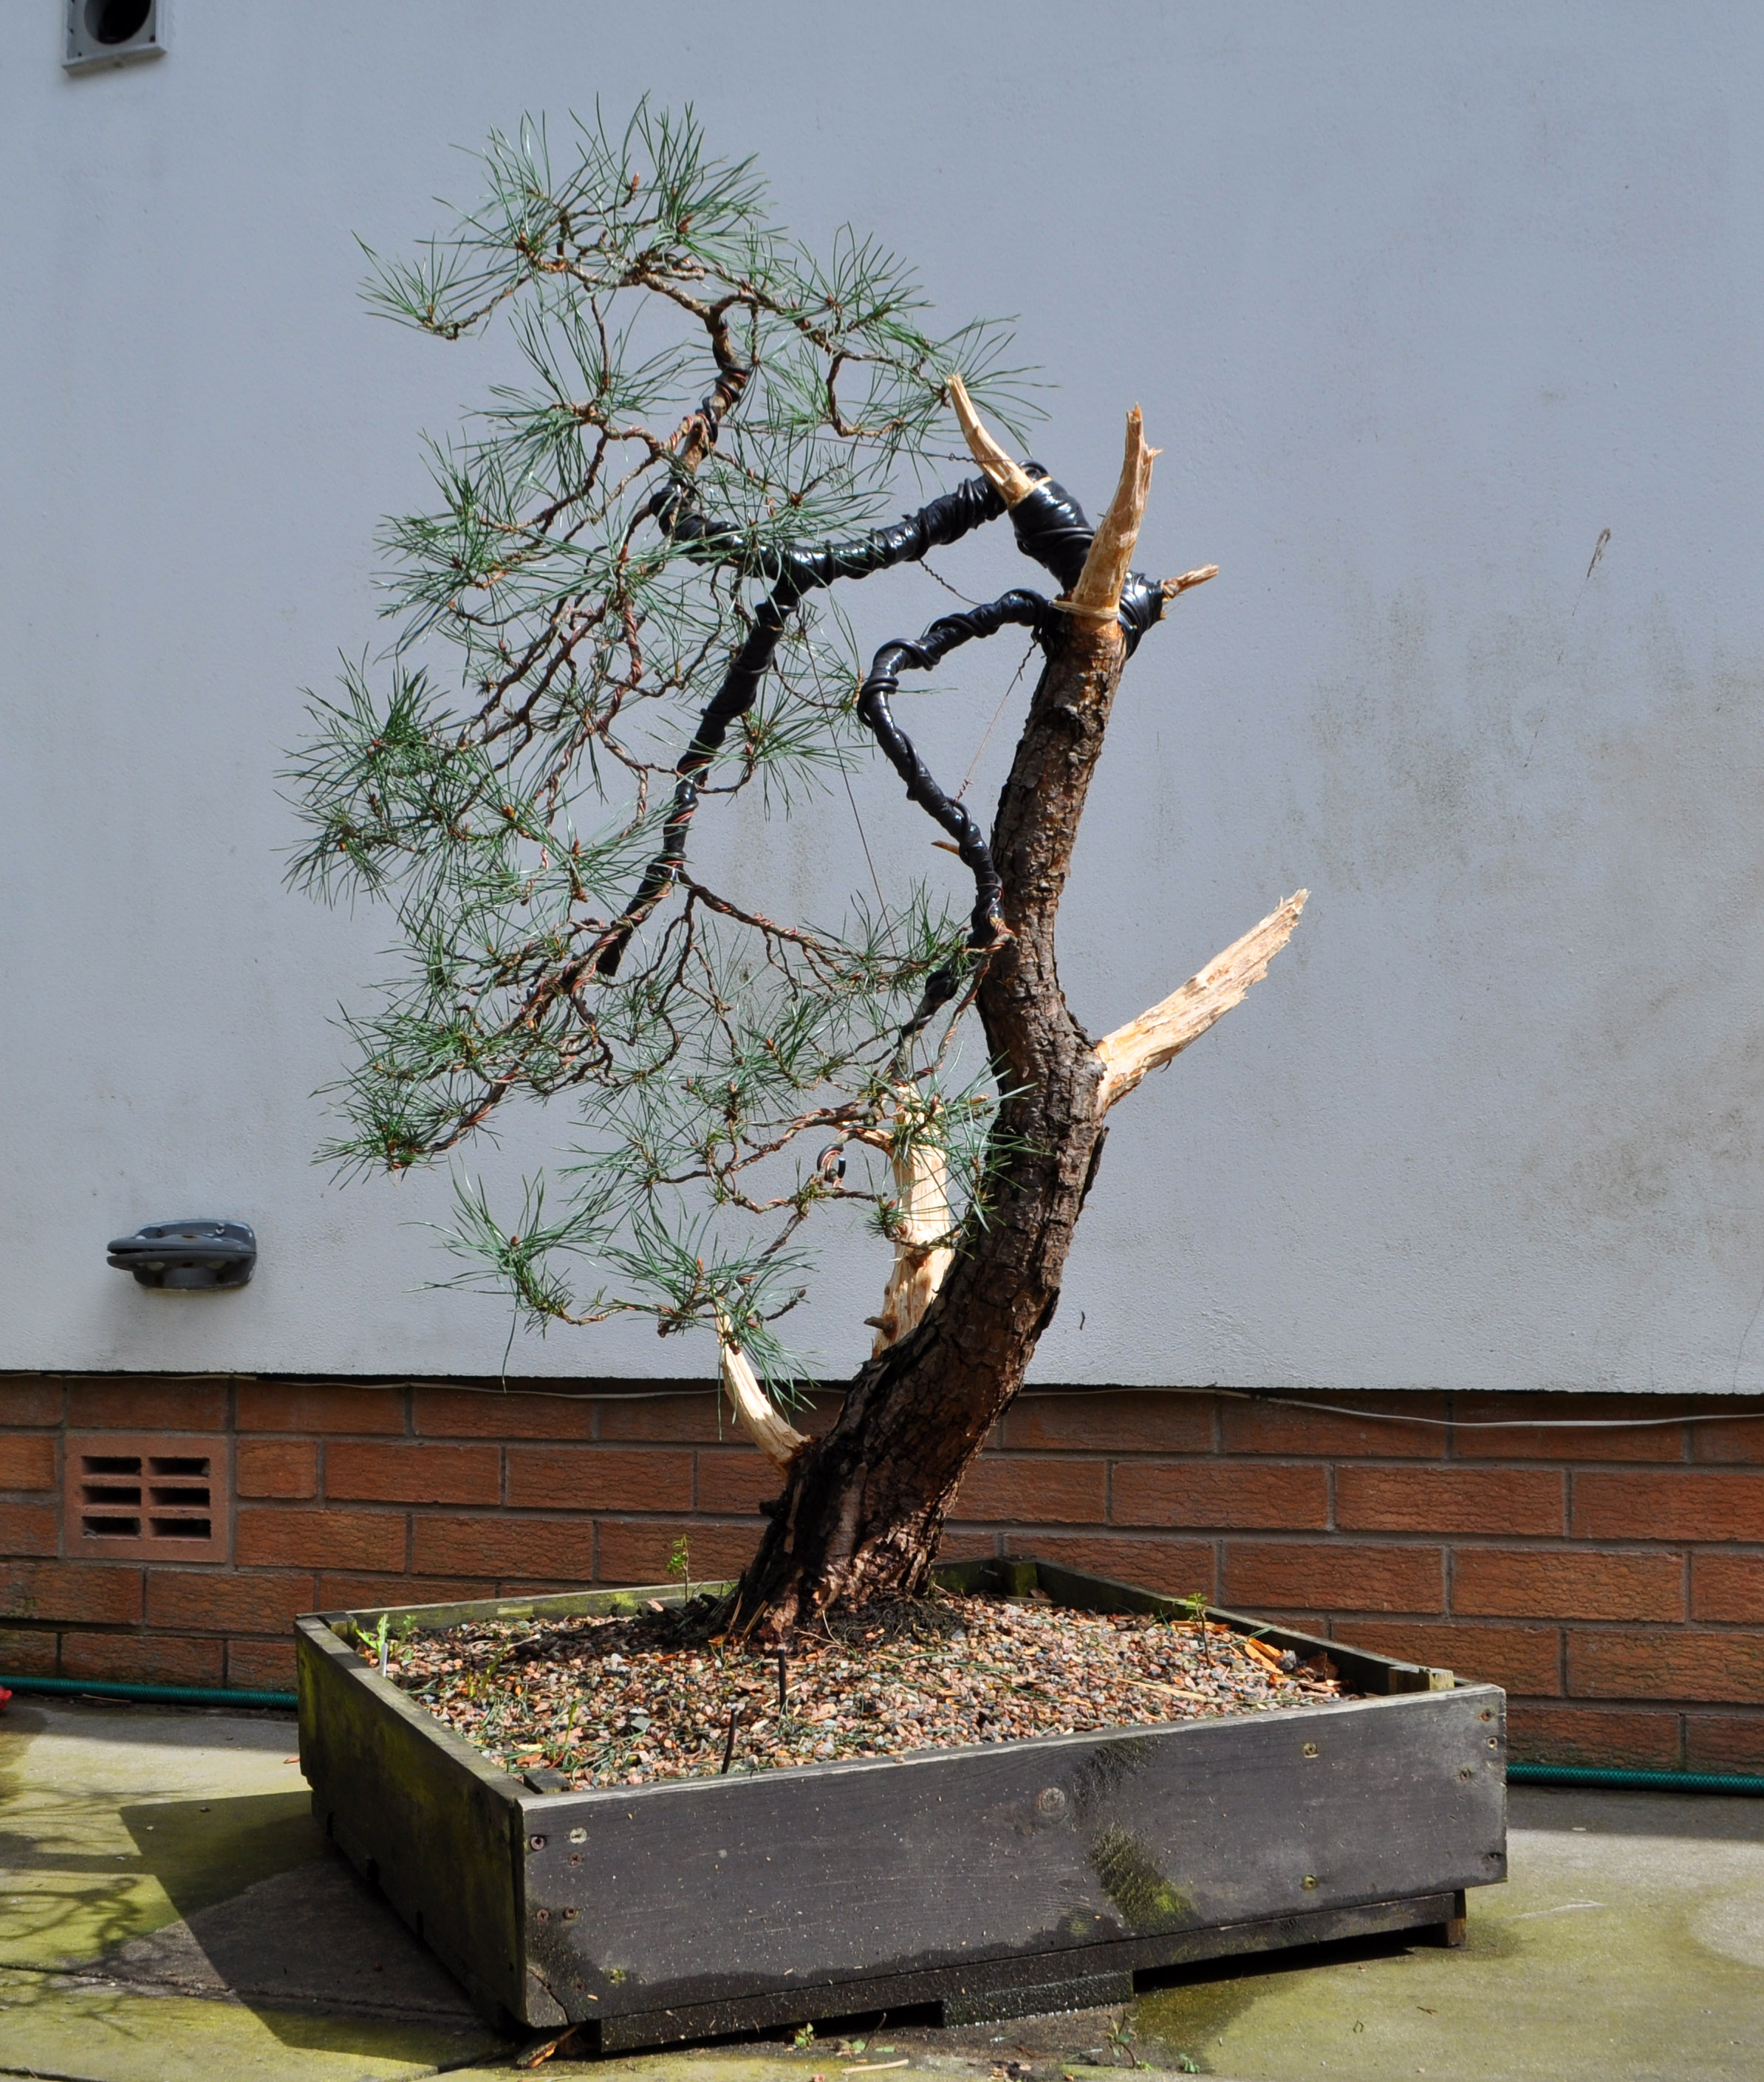
A first step on a long journey, a lot of back budding will be required but the tree is budding strongly this year. I’m pretty pleased with the result, possibly a better image that I was aiming for with the twin trunk image.
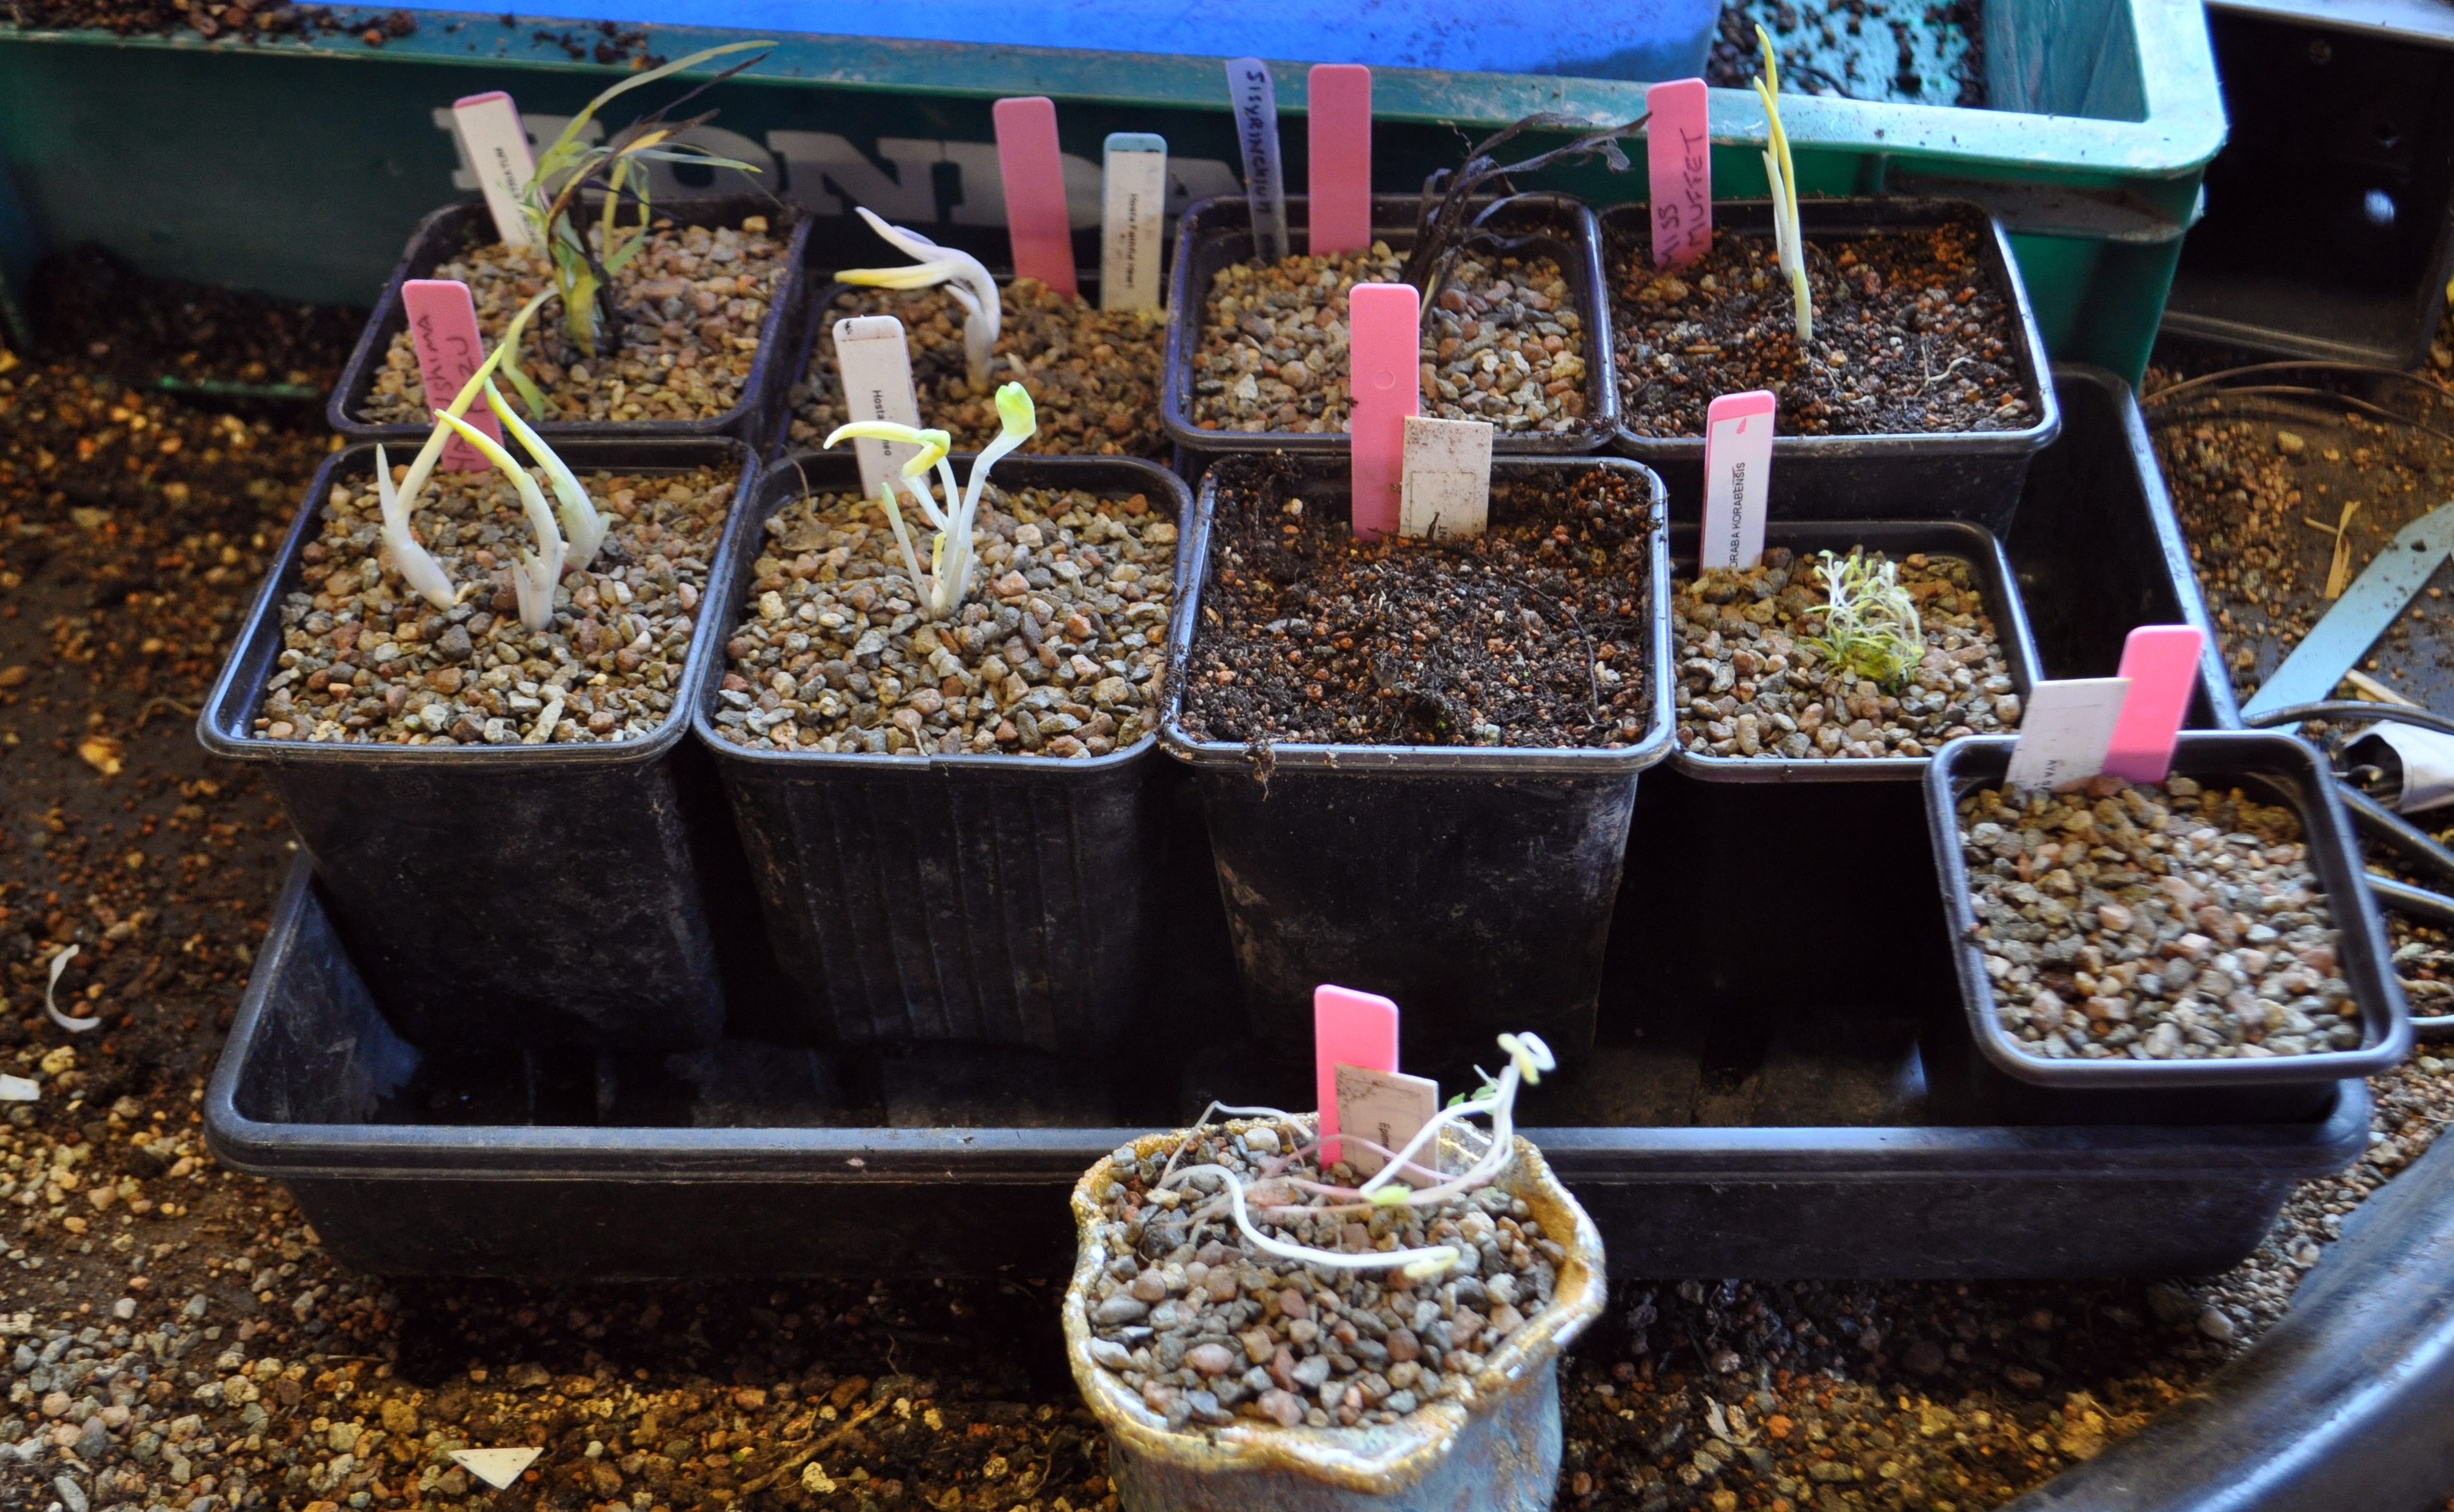
Another swap session with a like minded accent lover, this time in Belgium and I now have some new varieties in the collection. It did a while for them to get here, post can be really hit and miss these days, some get here in days and others in weeks. It seems to work like that on the return journey too. Be patient, Xavier, Peter and Robyn, your plants are on route 😉
You can see from the potted up pics that the plants have grown whilst in transit and are a little yellow due to lack of light. Given a few weeks, this will sort itself out.

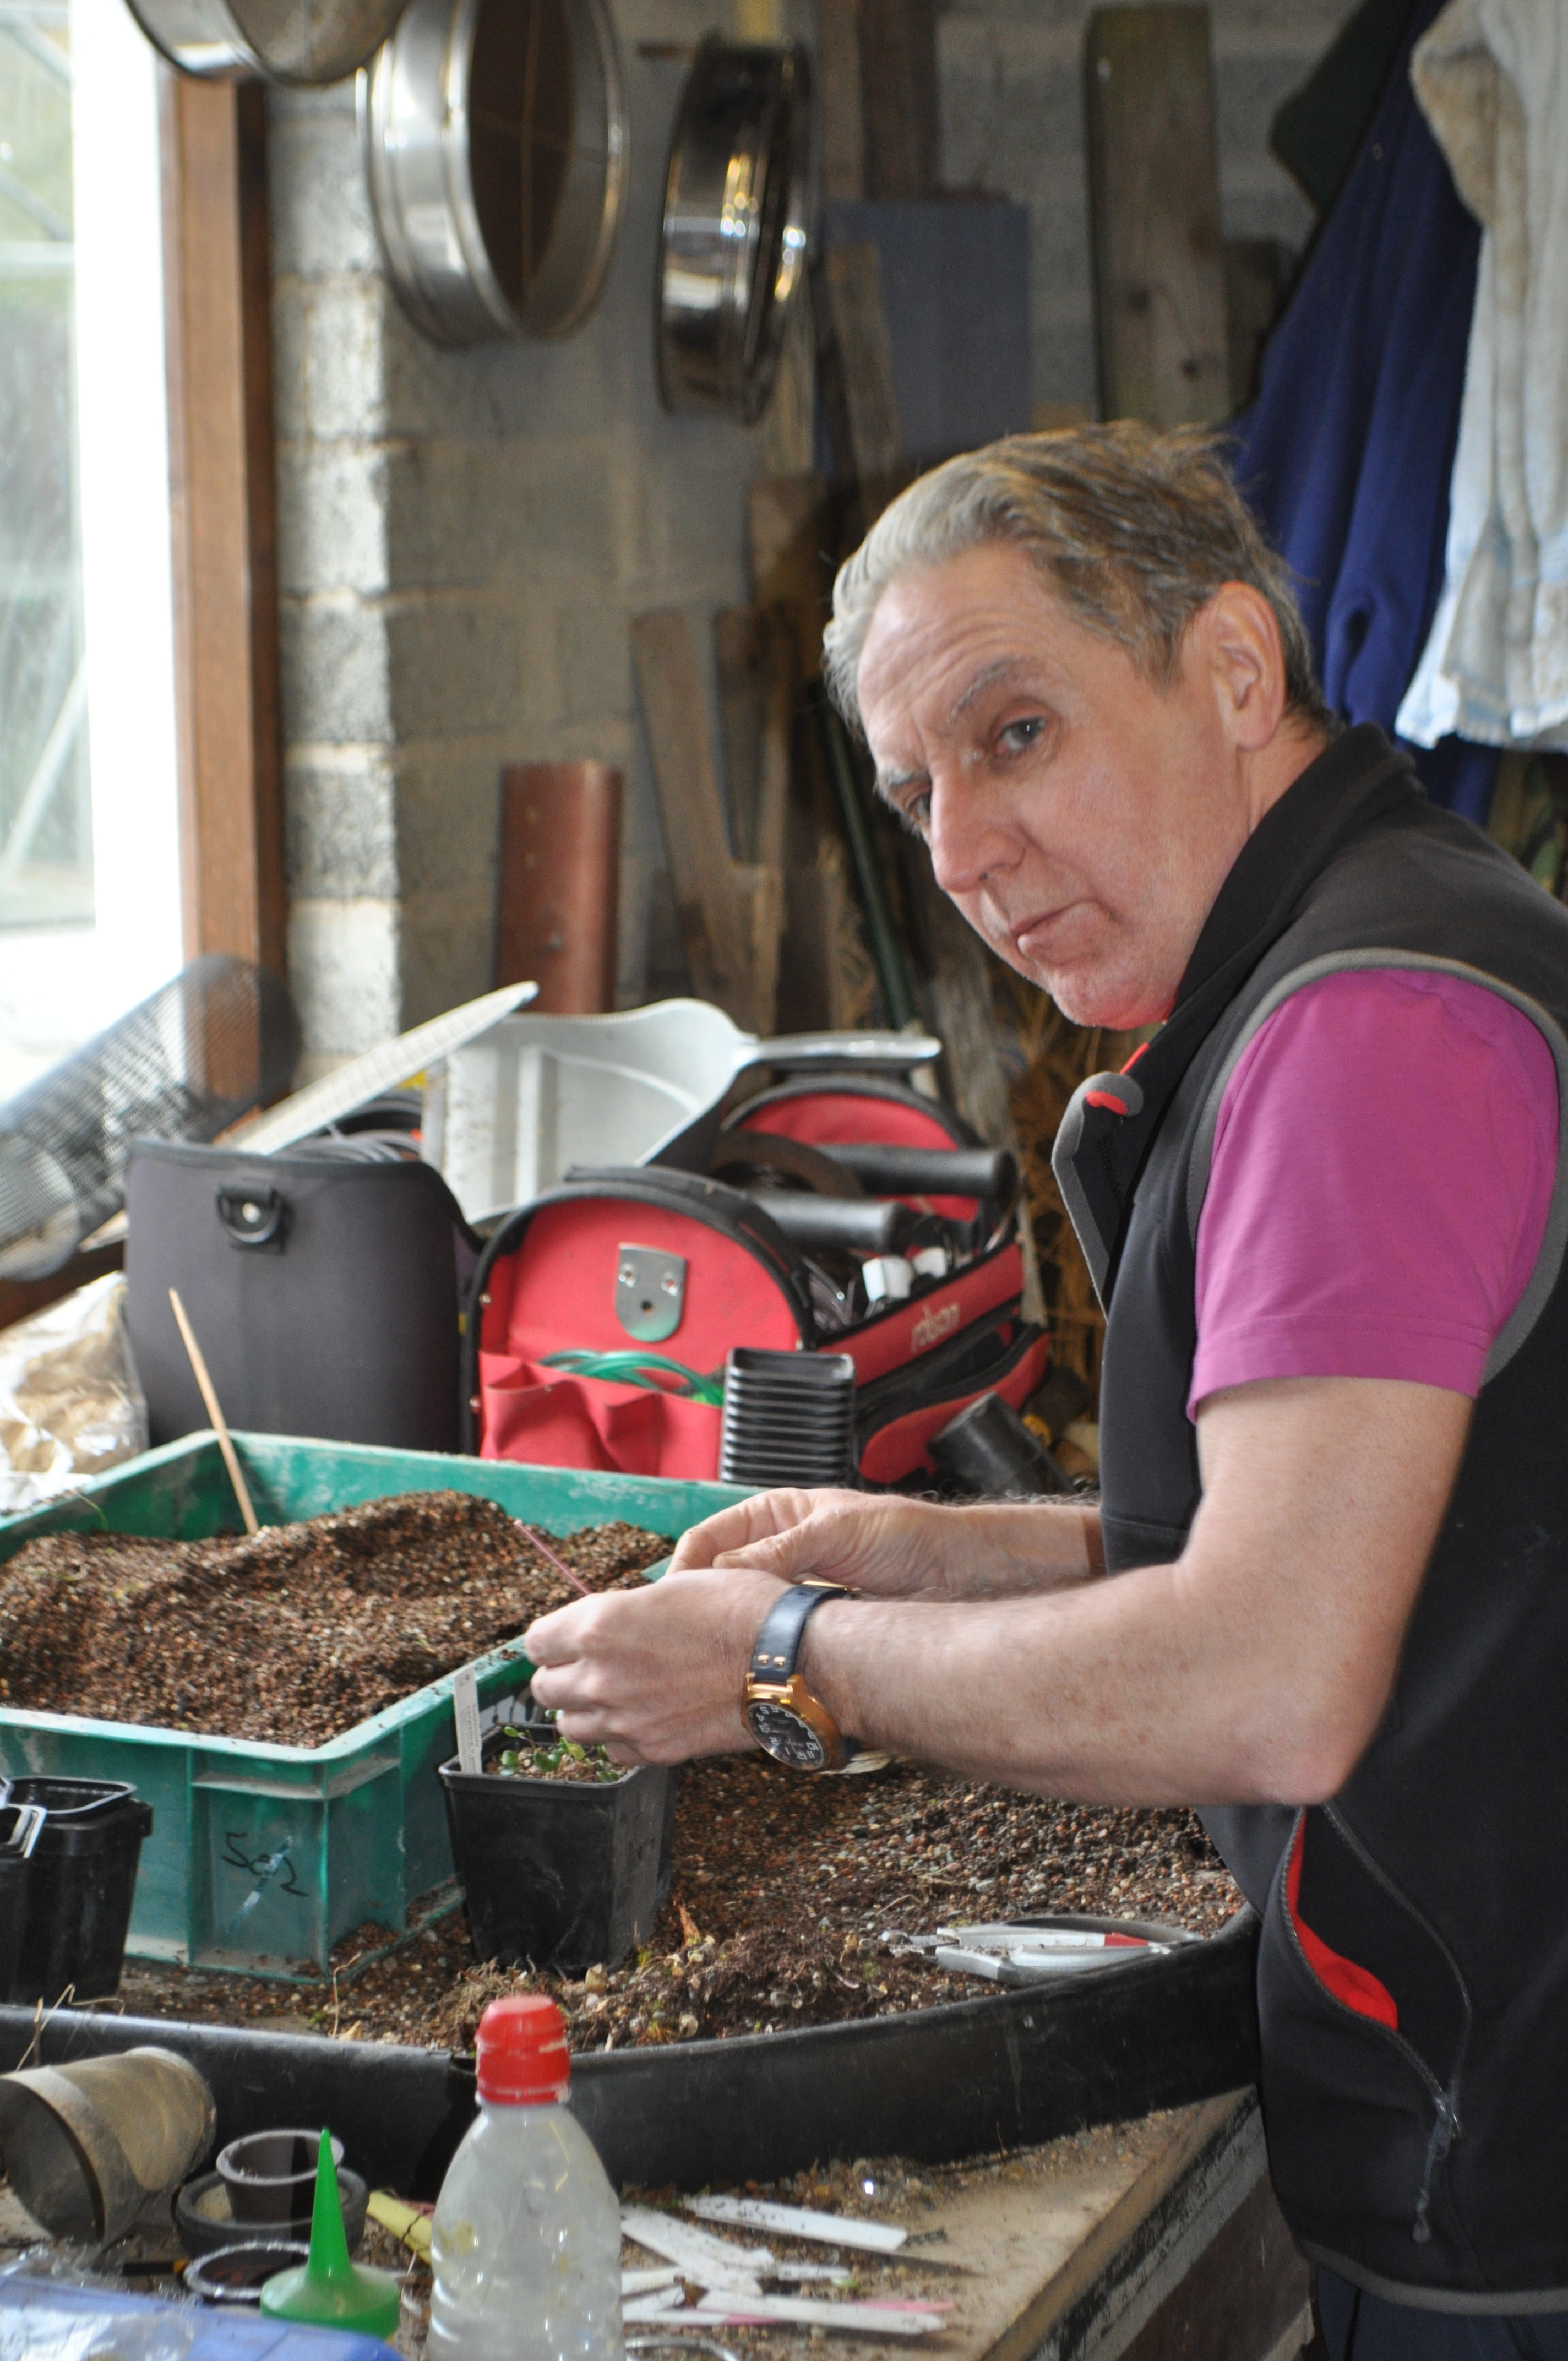
On Tuesday Stephen came to my garage to help me wade through my usual Spring splitting of accents plants. I’m trying to build a nice collection and always like to have spares to sell and swap. A few weeks back I posted about hostas and a blog follower requested that I cover how I split them. This is it 🙂
Stephen hard at work.
A tray full of Soldanella ready for a tidy up.

Some of the recently potted accents.

This one clump of hosta yielded seven plants.
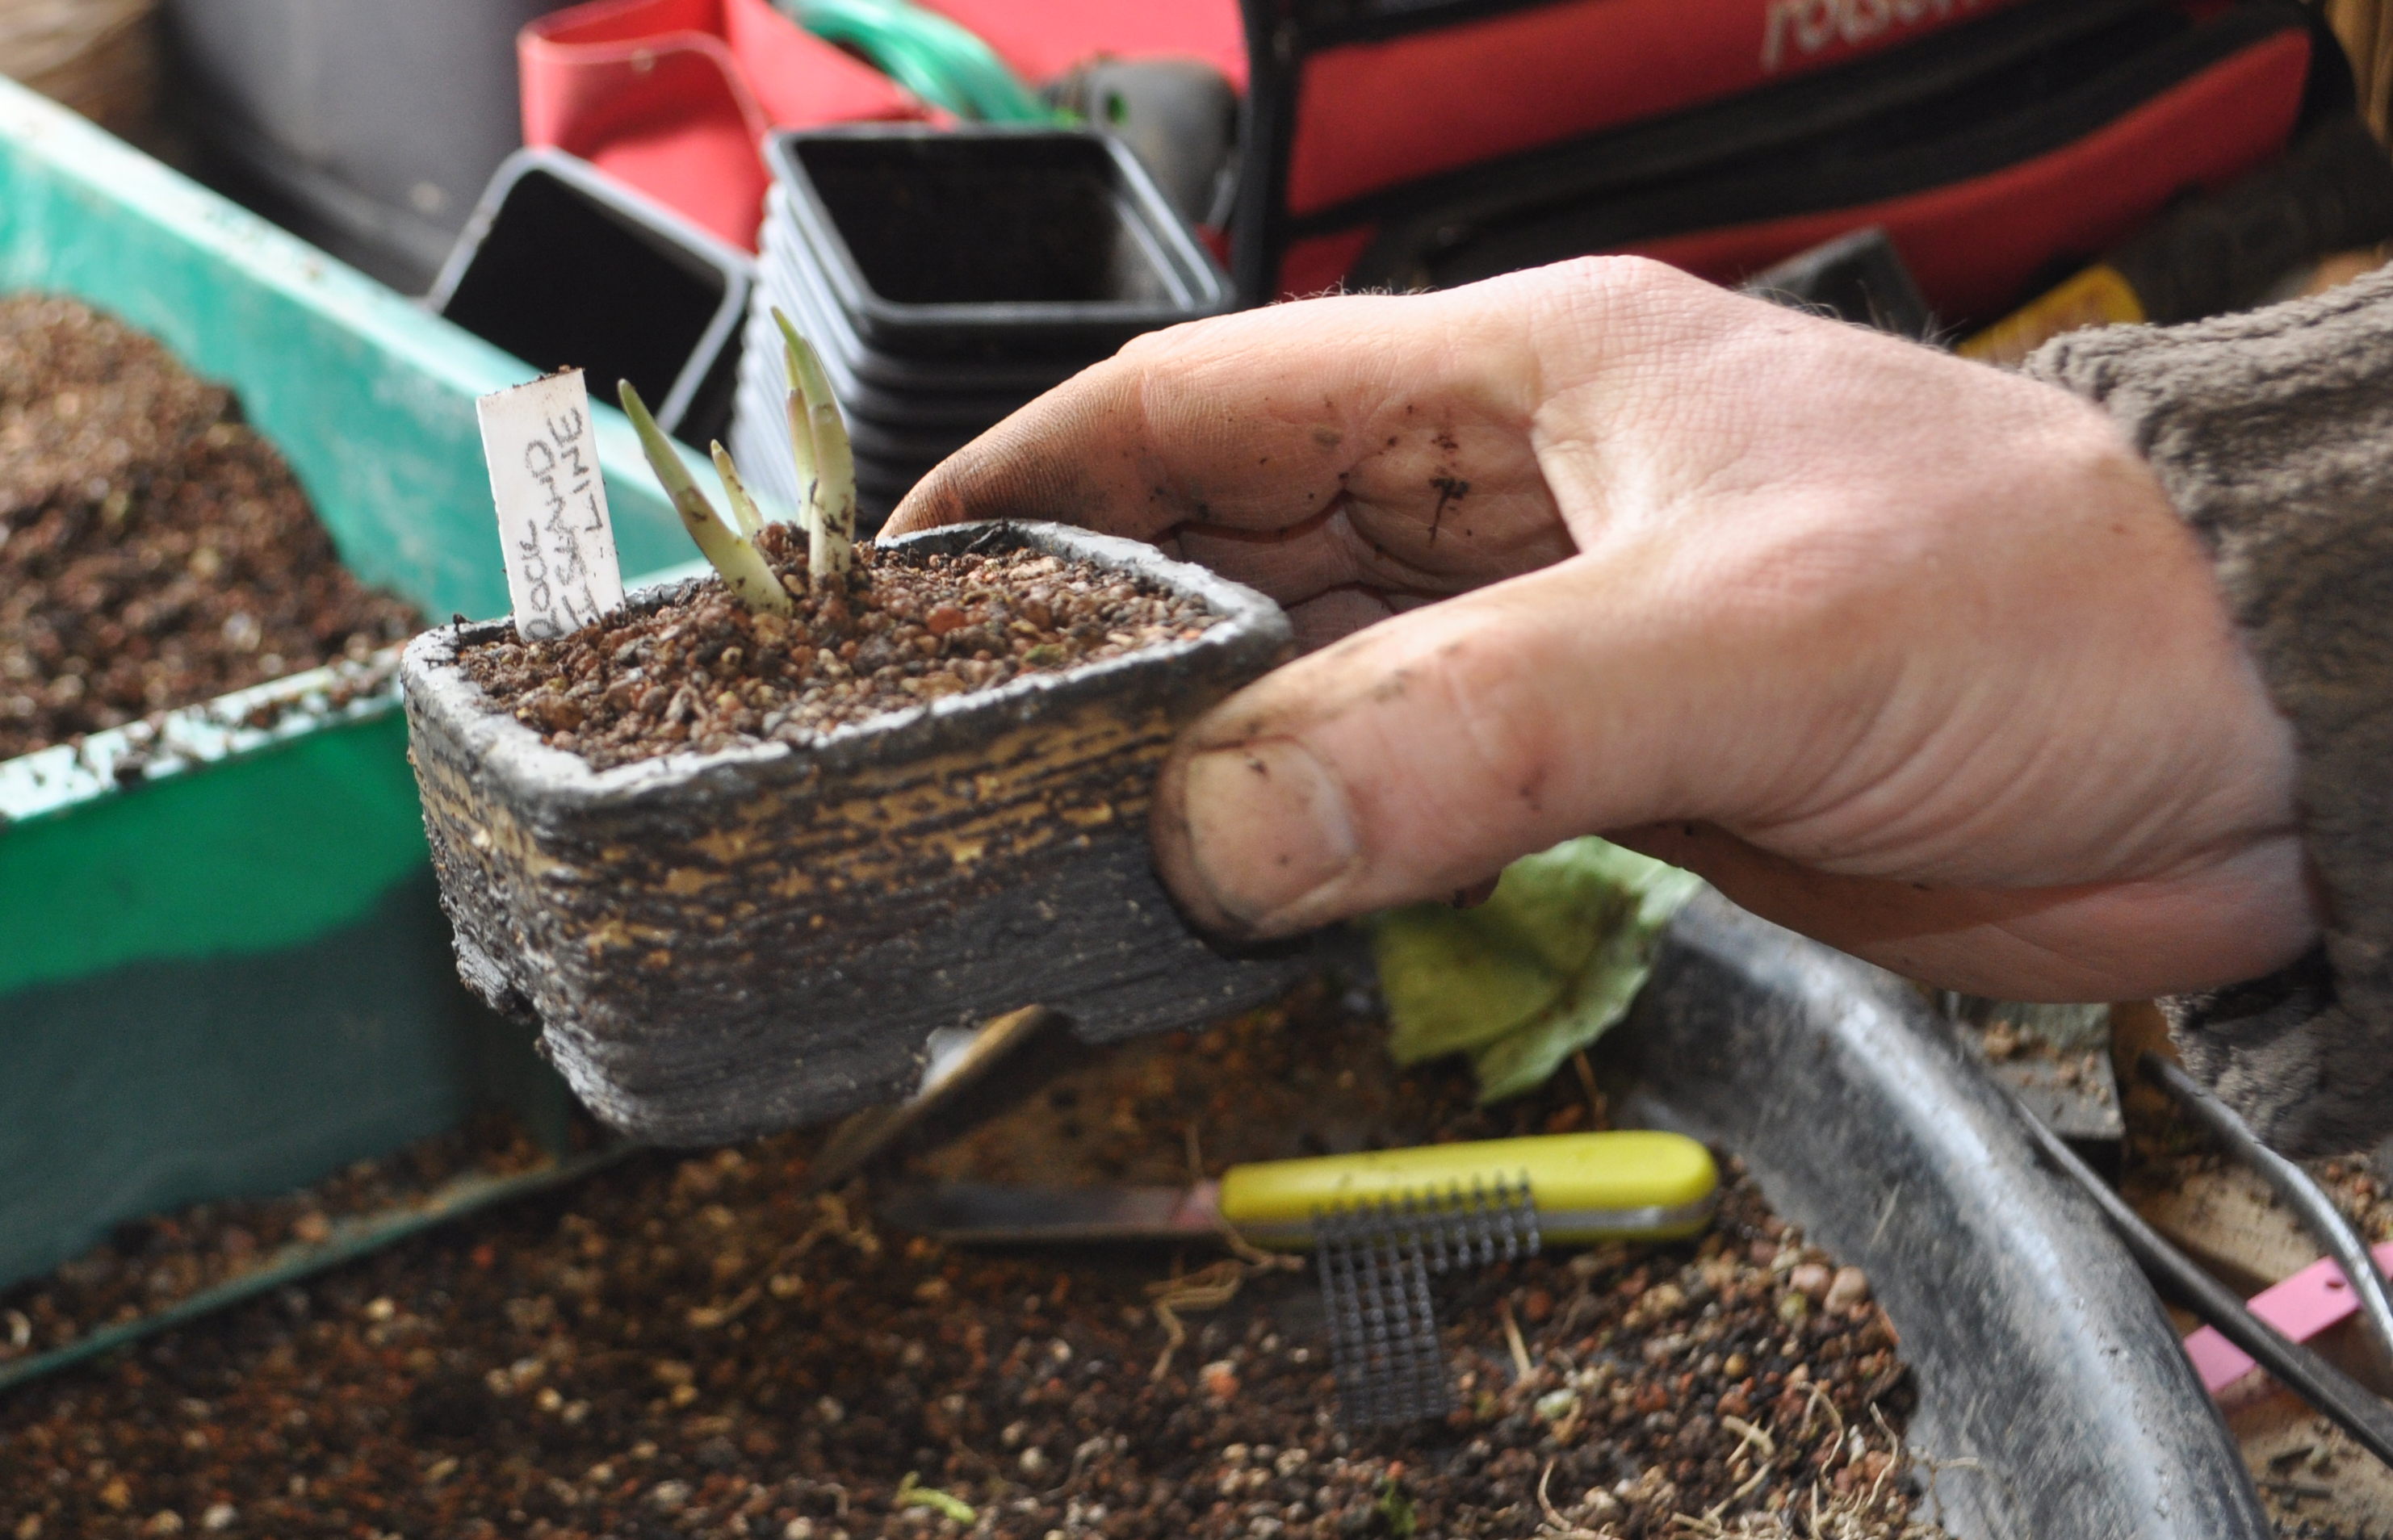
This one was next, ‘Rock Island Line’, originally purchased at Bali Hai Nursery here in Northern Ireland. I have a marking system, white name label, pink label if it’s my stock plant and blue if I reckon it’s ready to split.

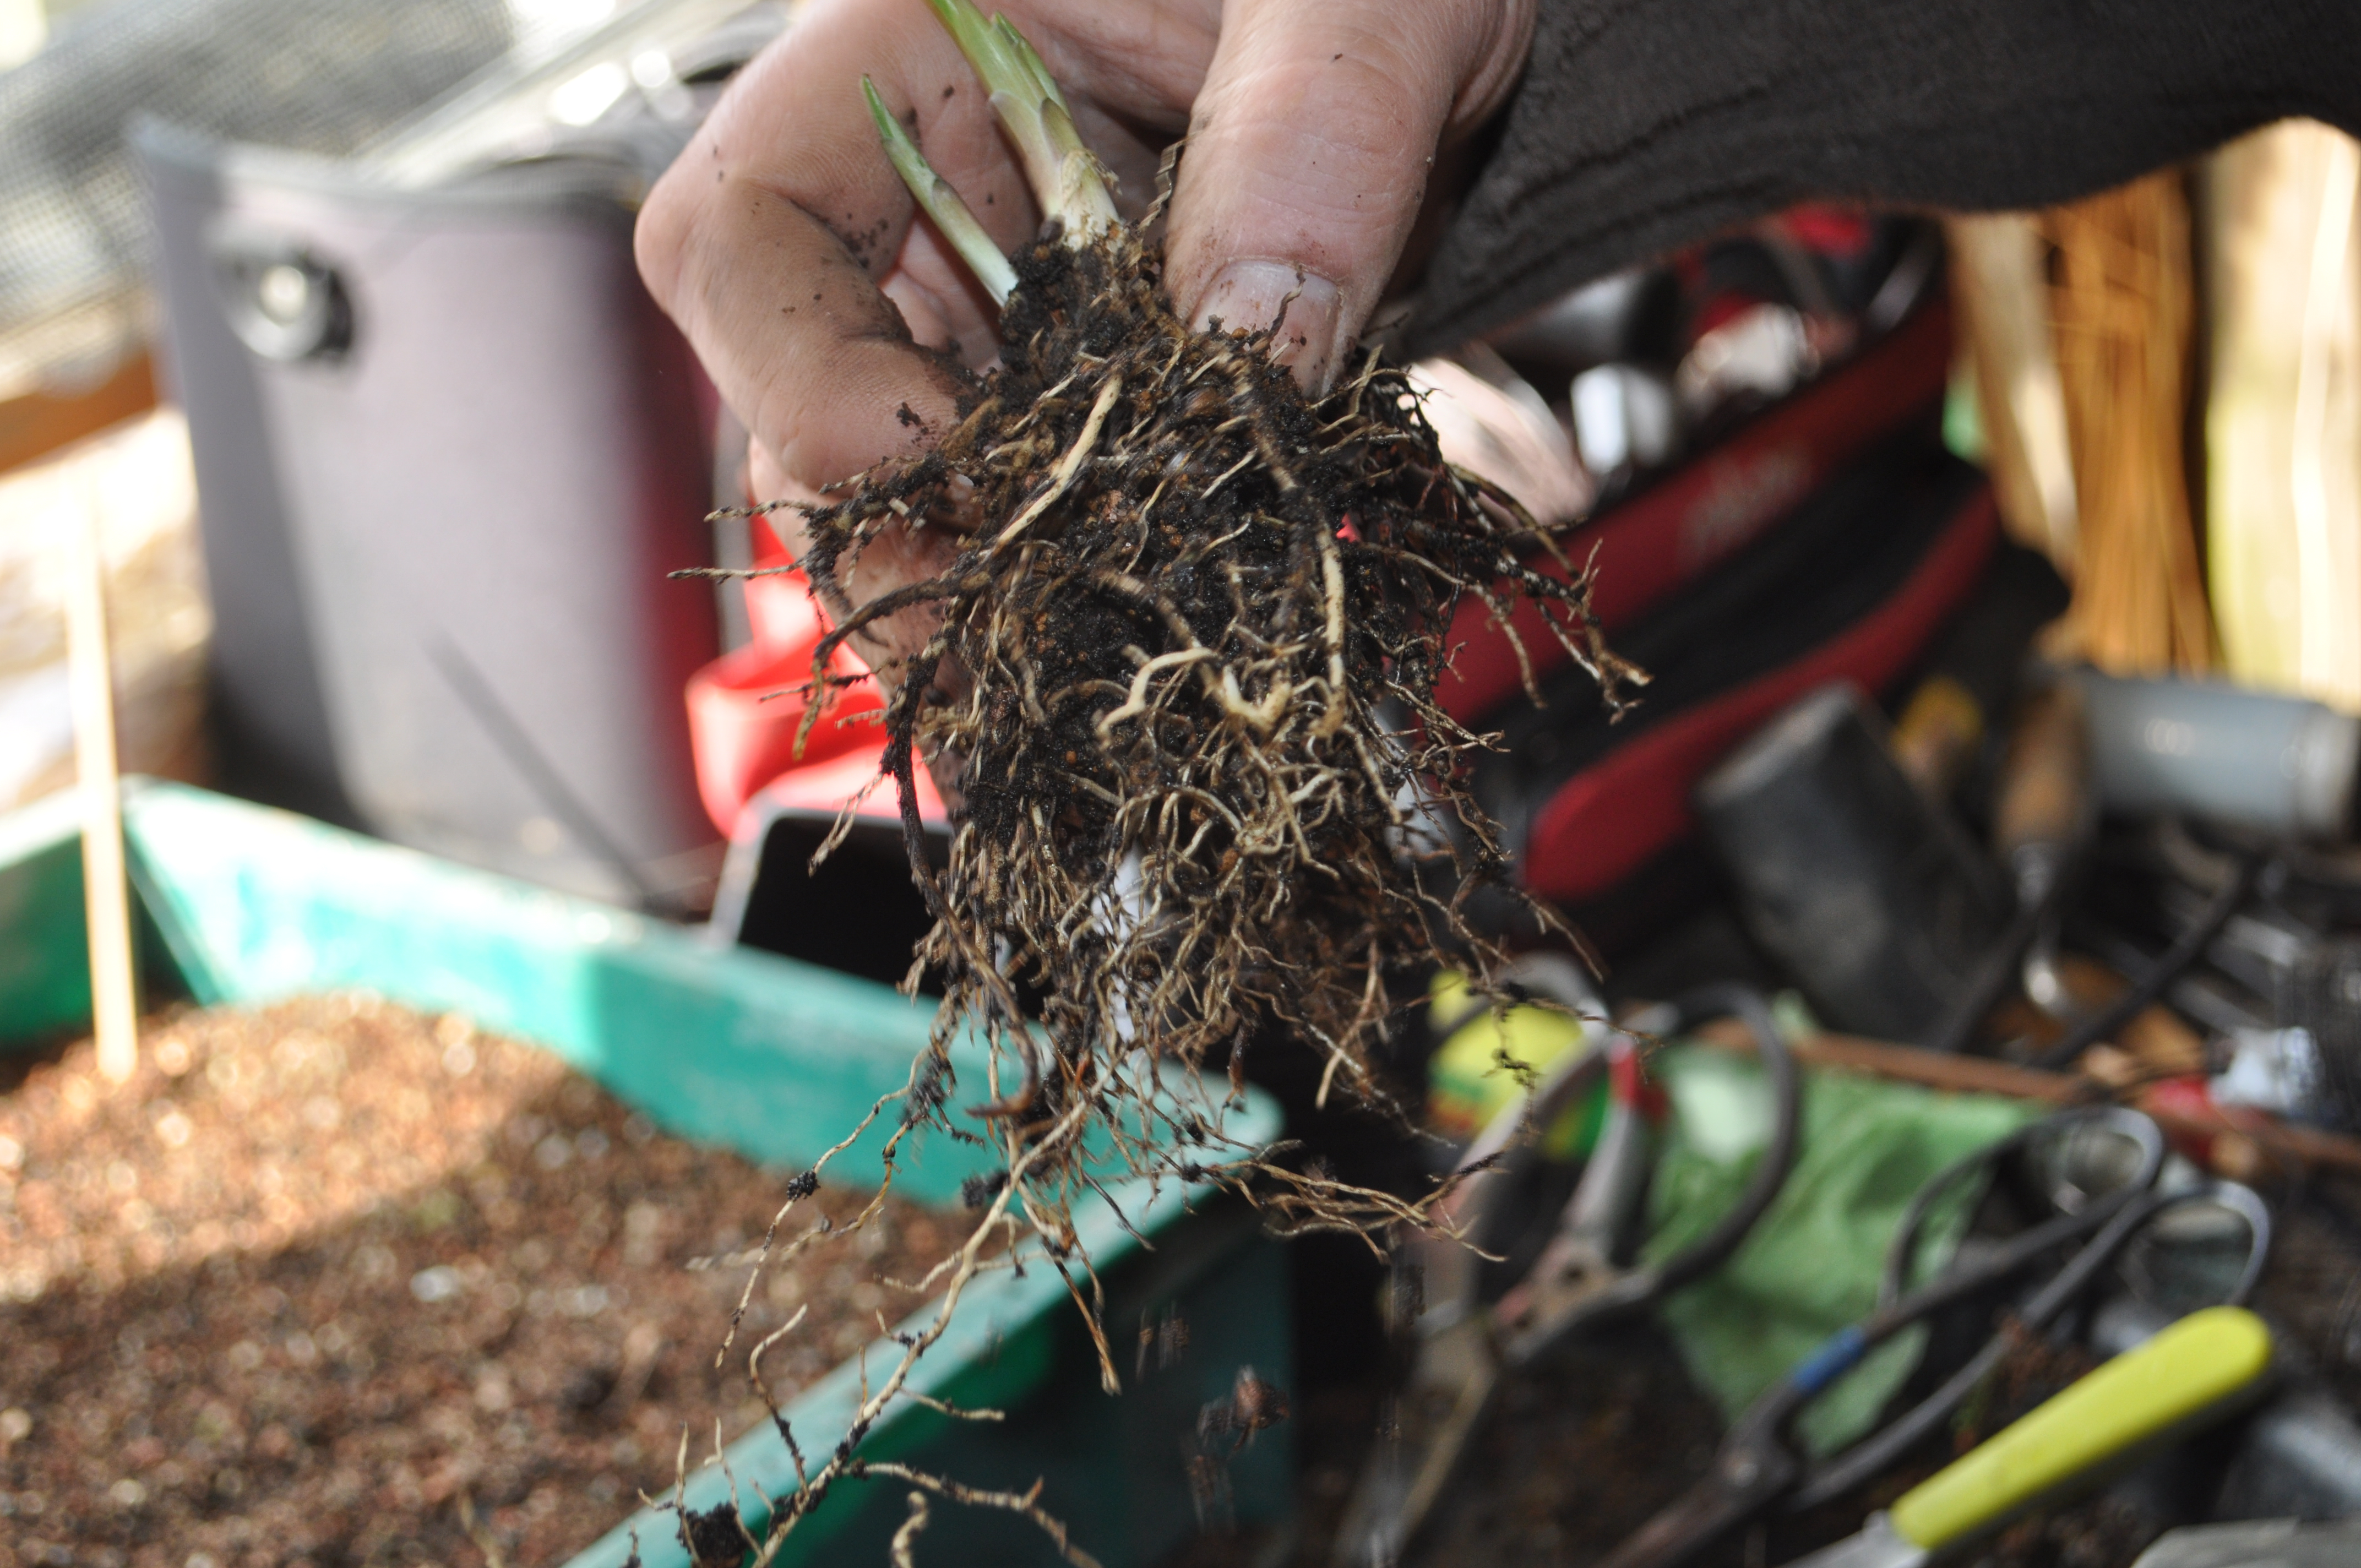
Shake off the top dressing of grit. and pop it out of the pot.

A shake out can get rid of most of the lose potting mix.

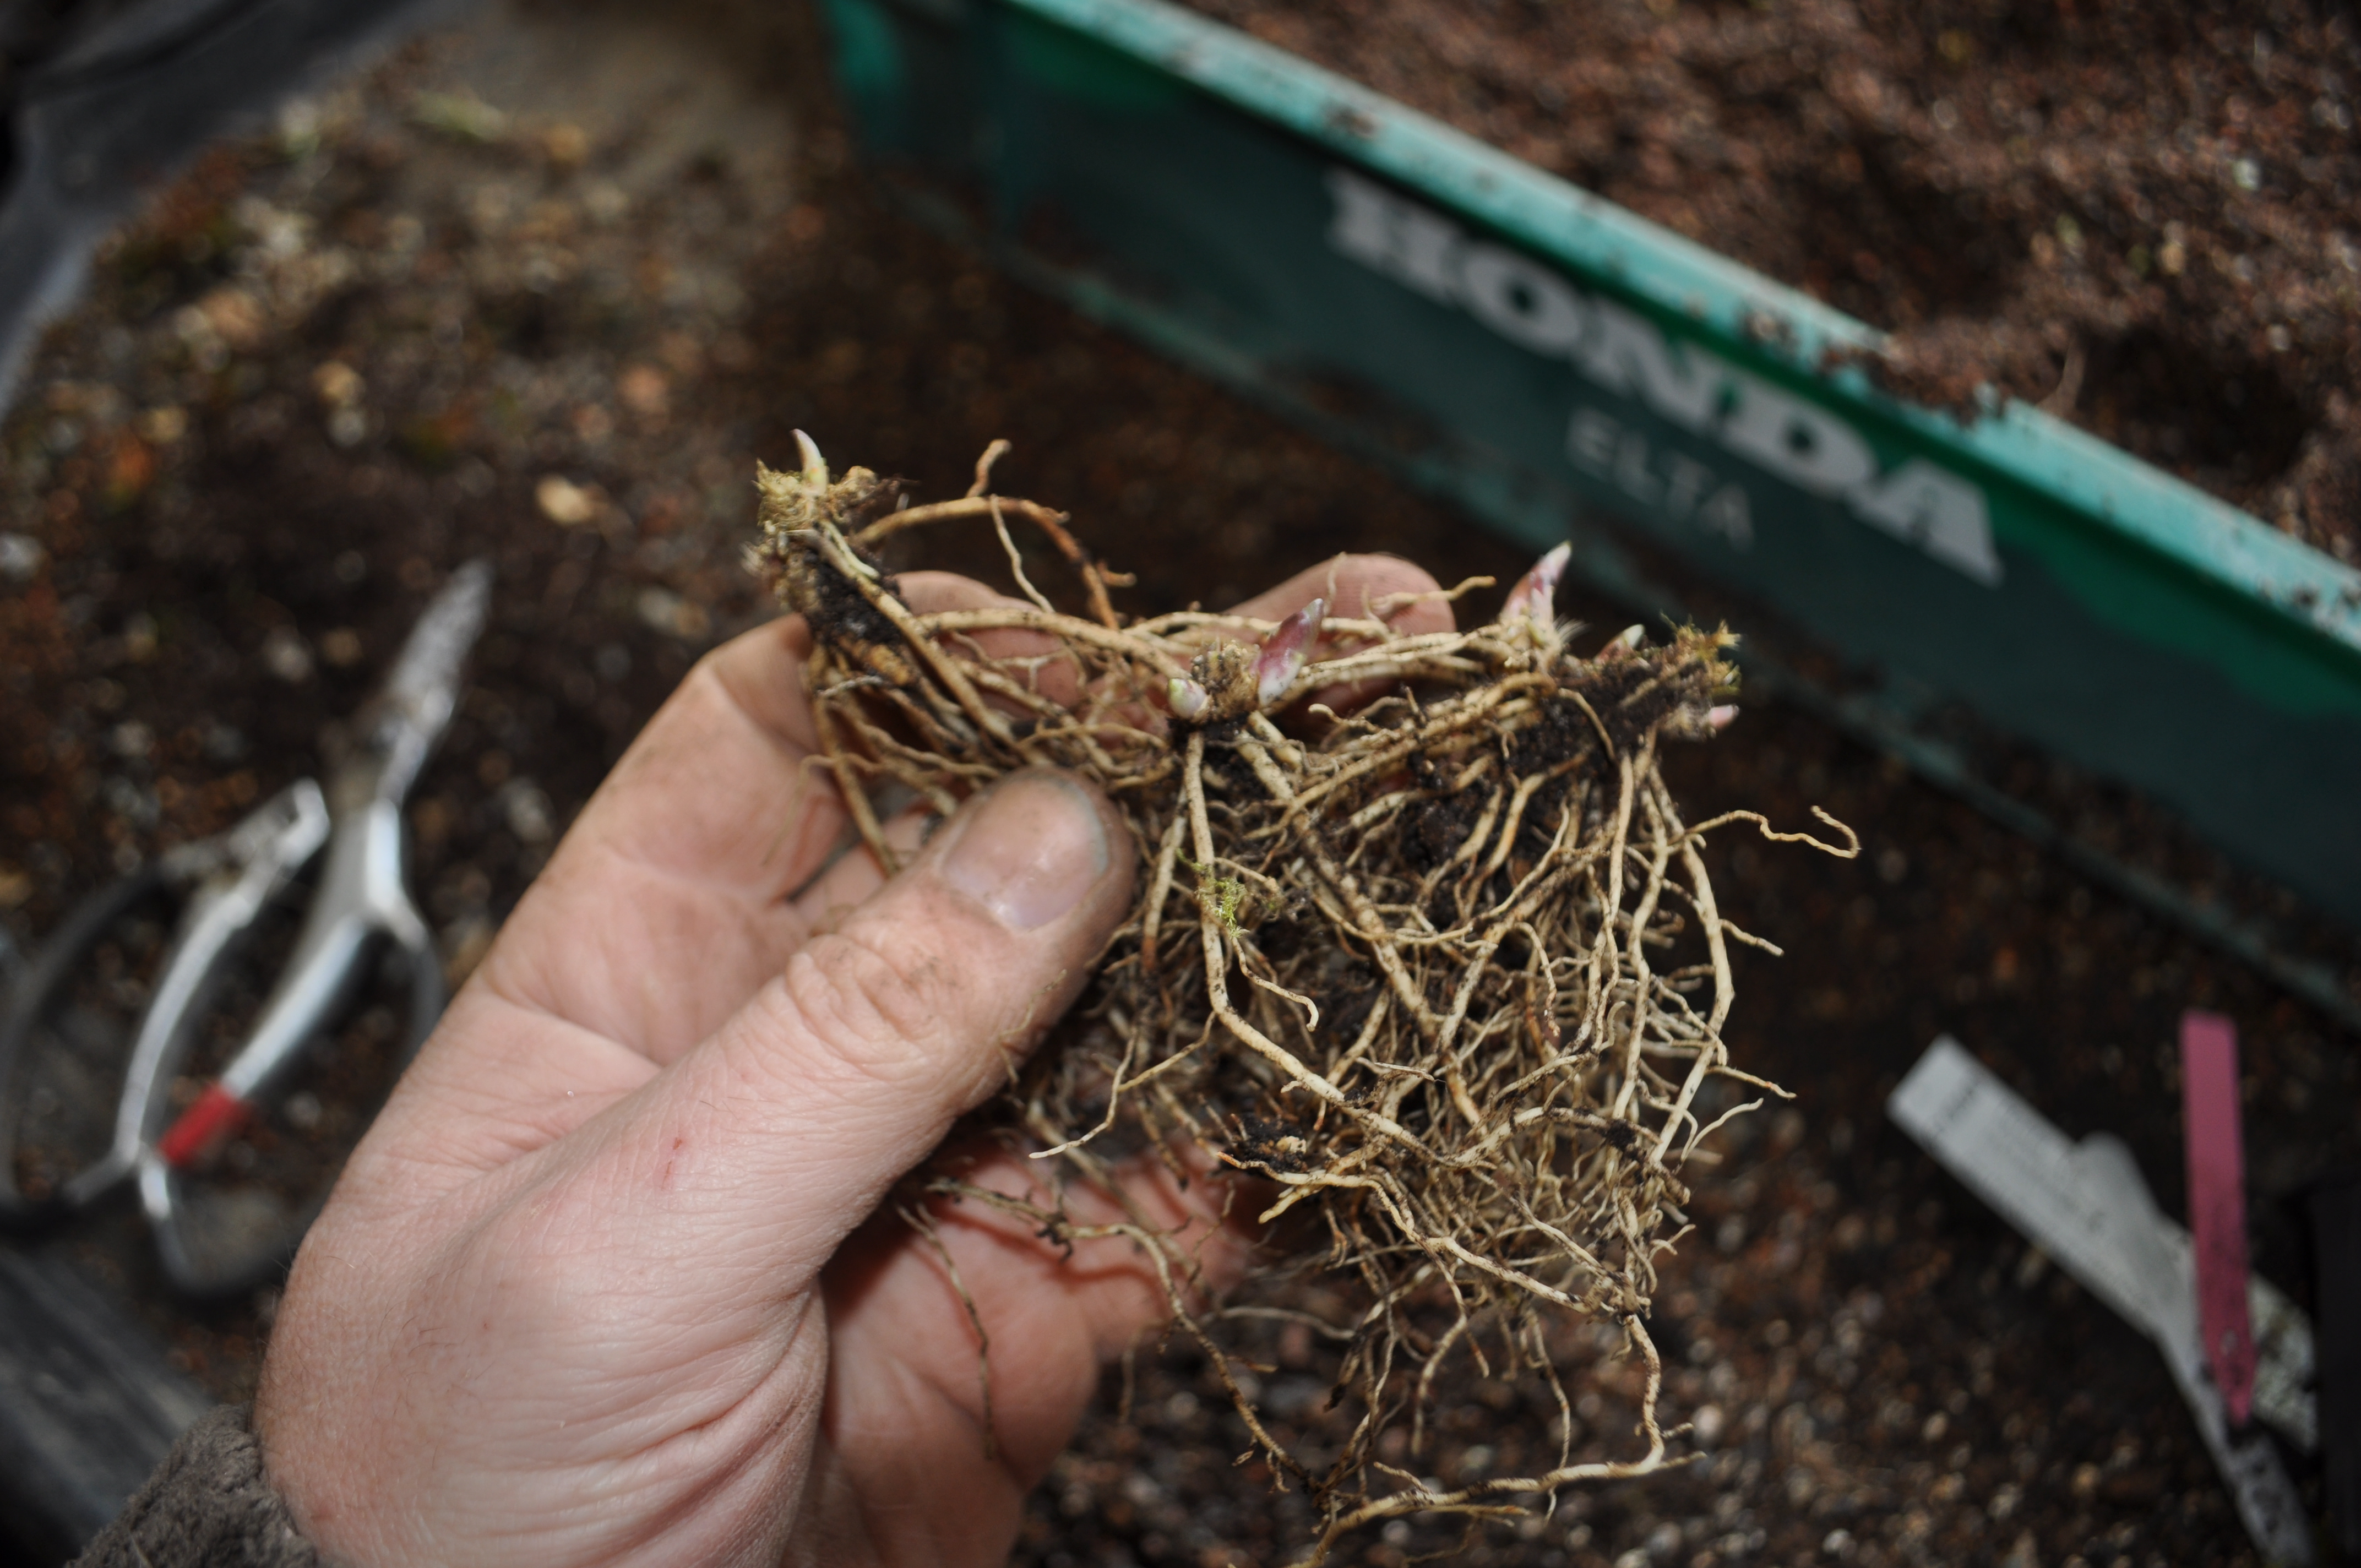
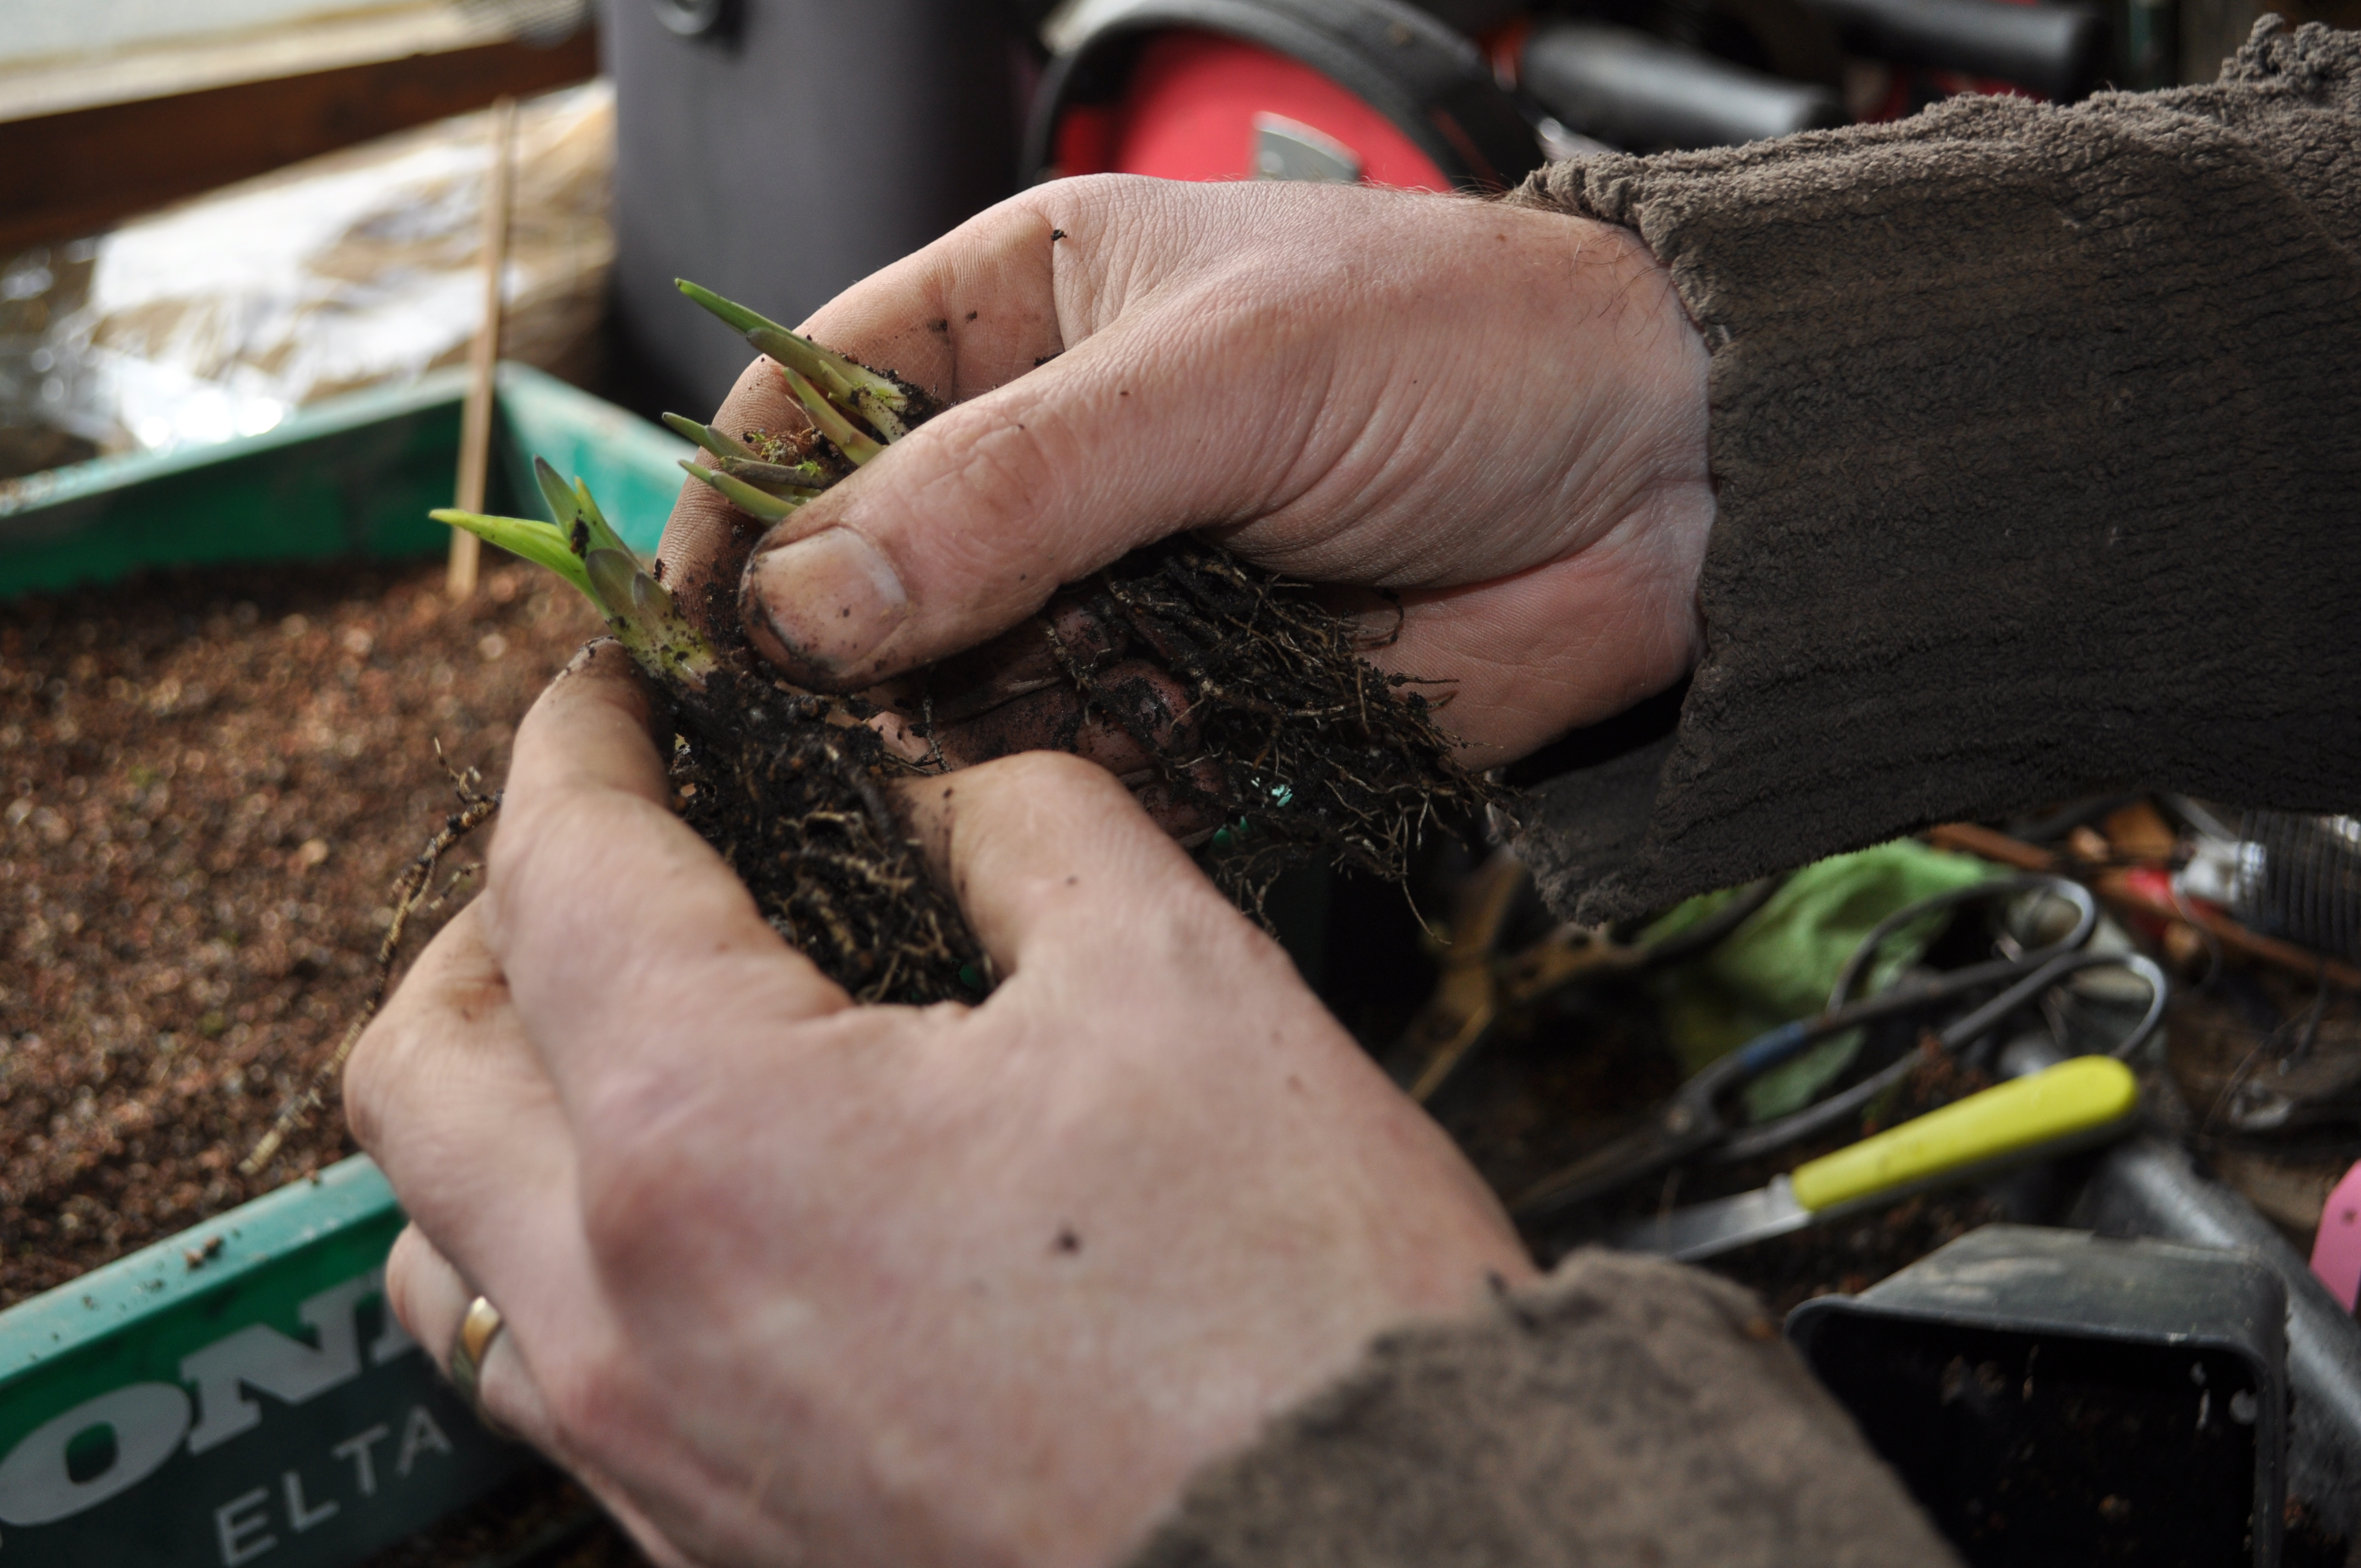
Then carefully start to tease apart the root mass, in some cases a sharp knife can be used to split down between two shoots.

Split in half, but not finished yet.
Split further…

and again…
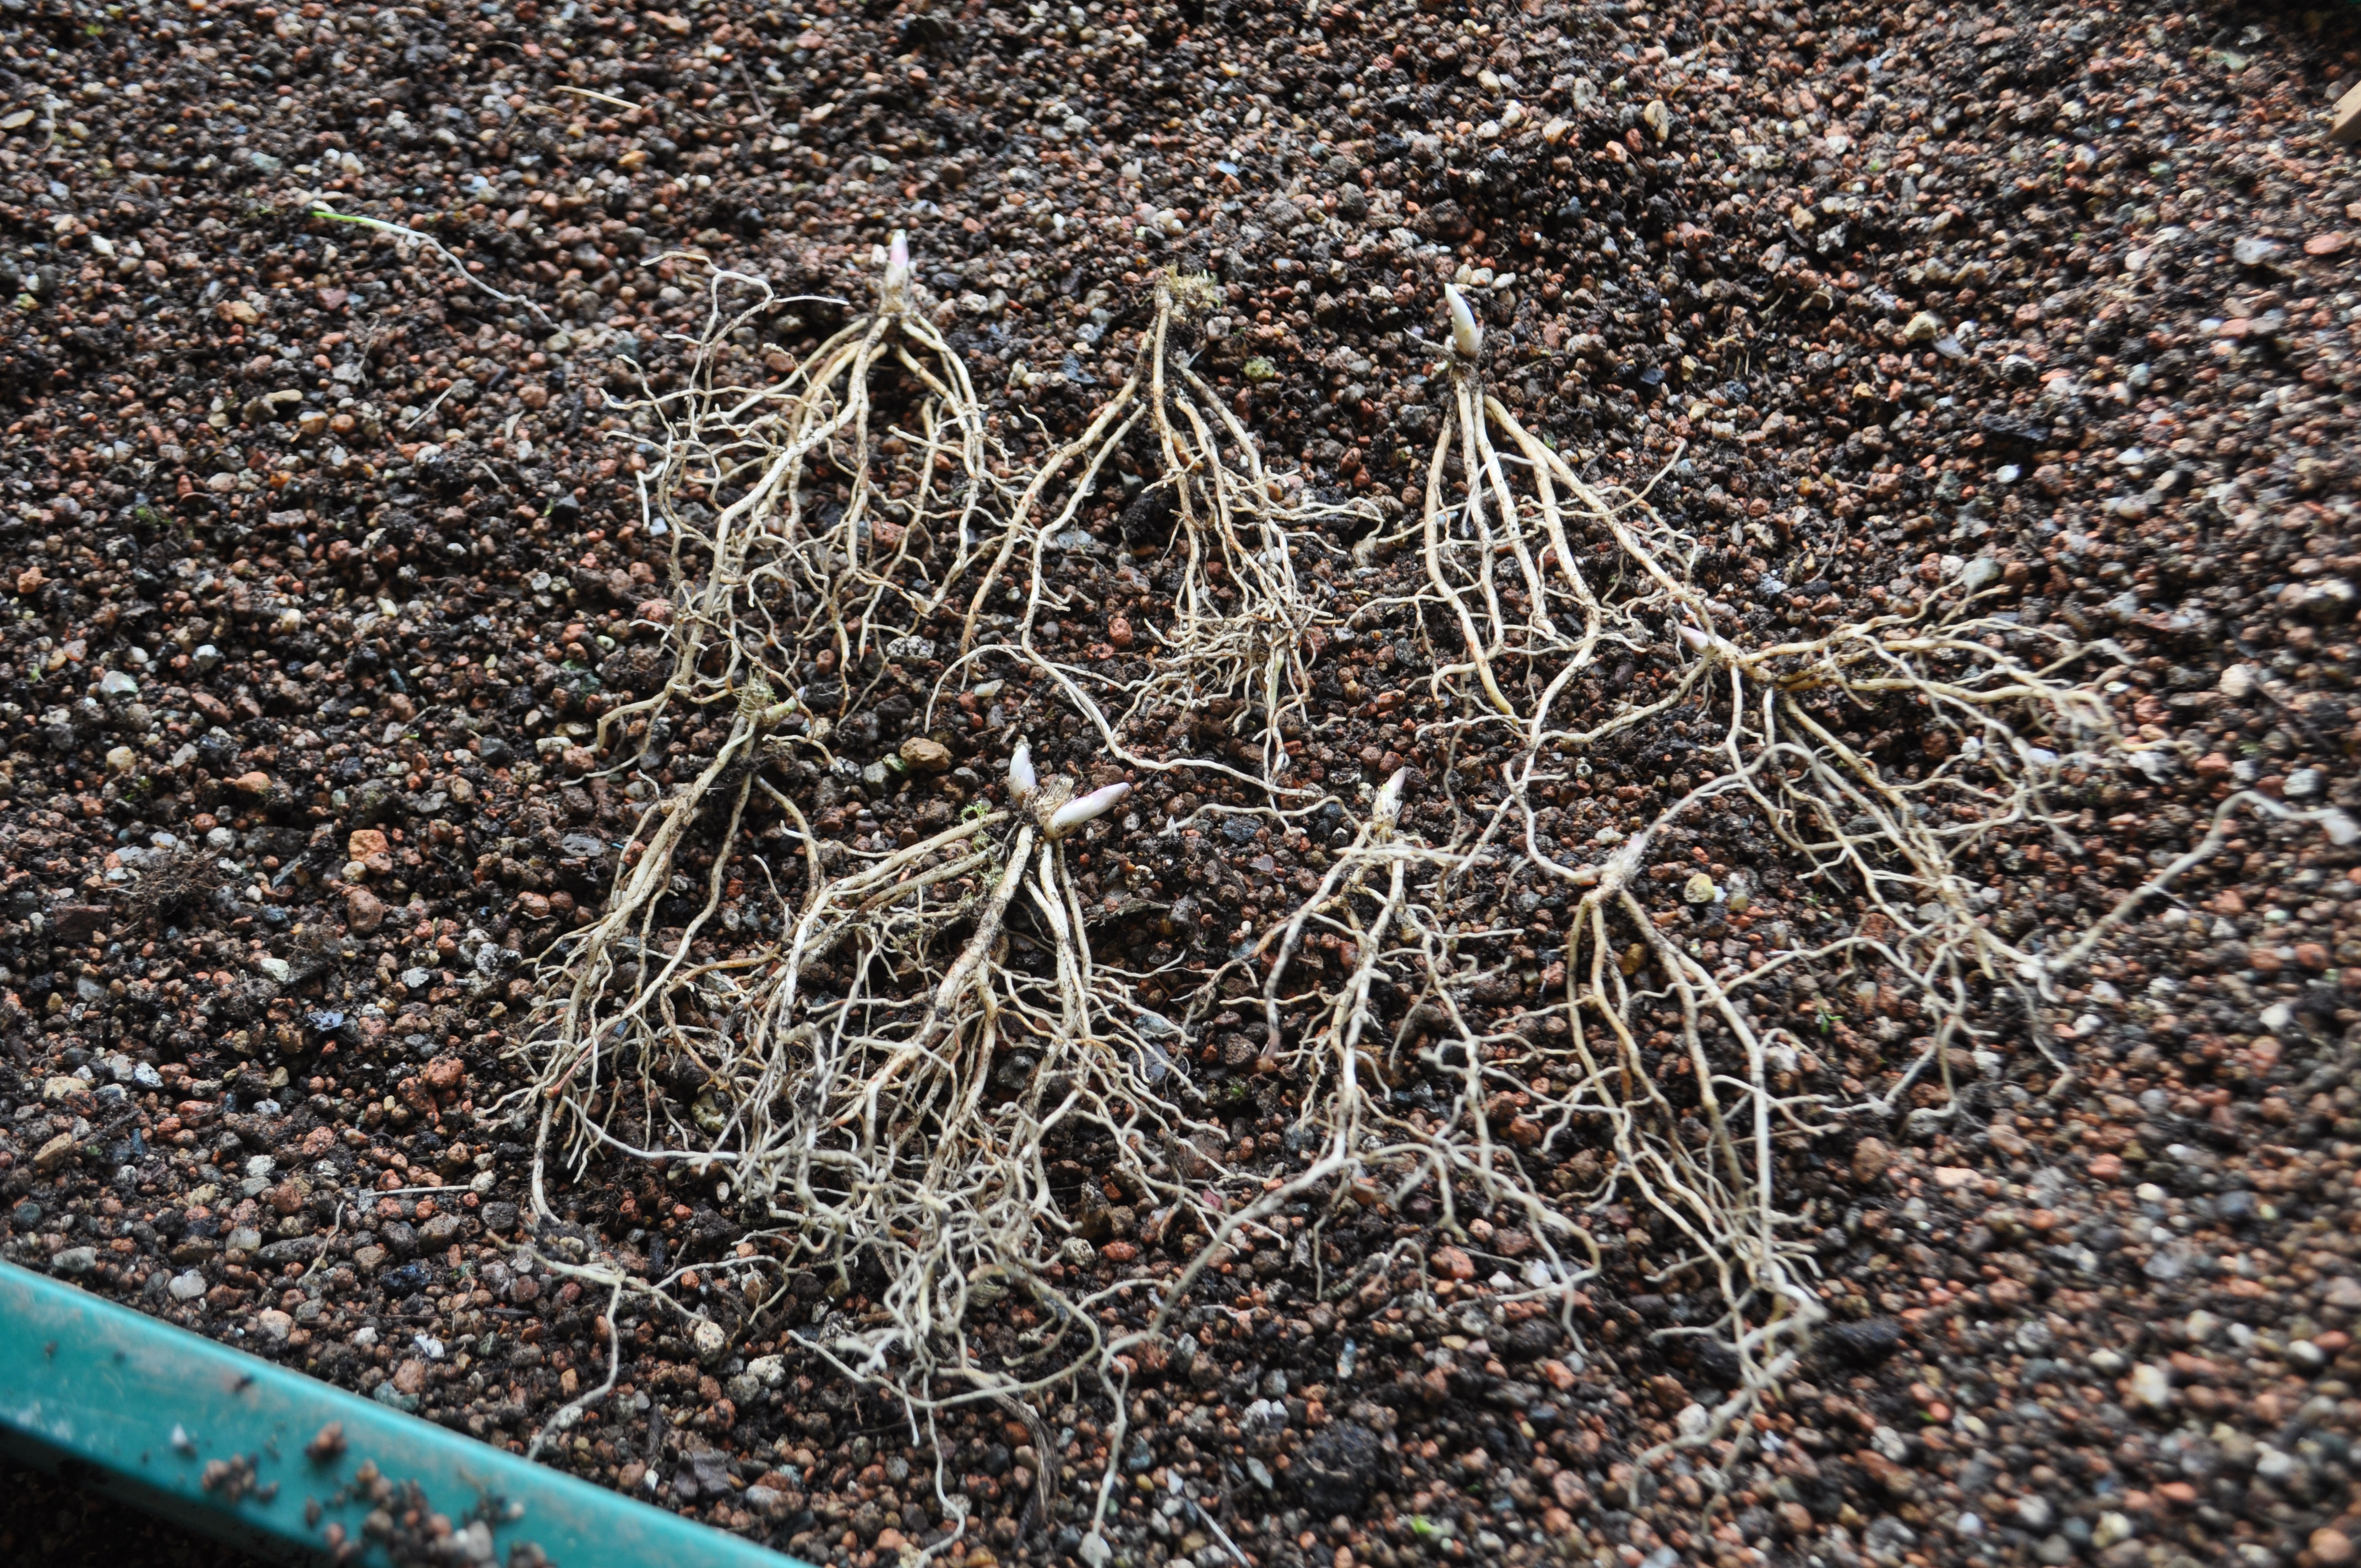
and the five plants separated..

potted up in fresh mix

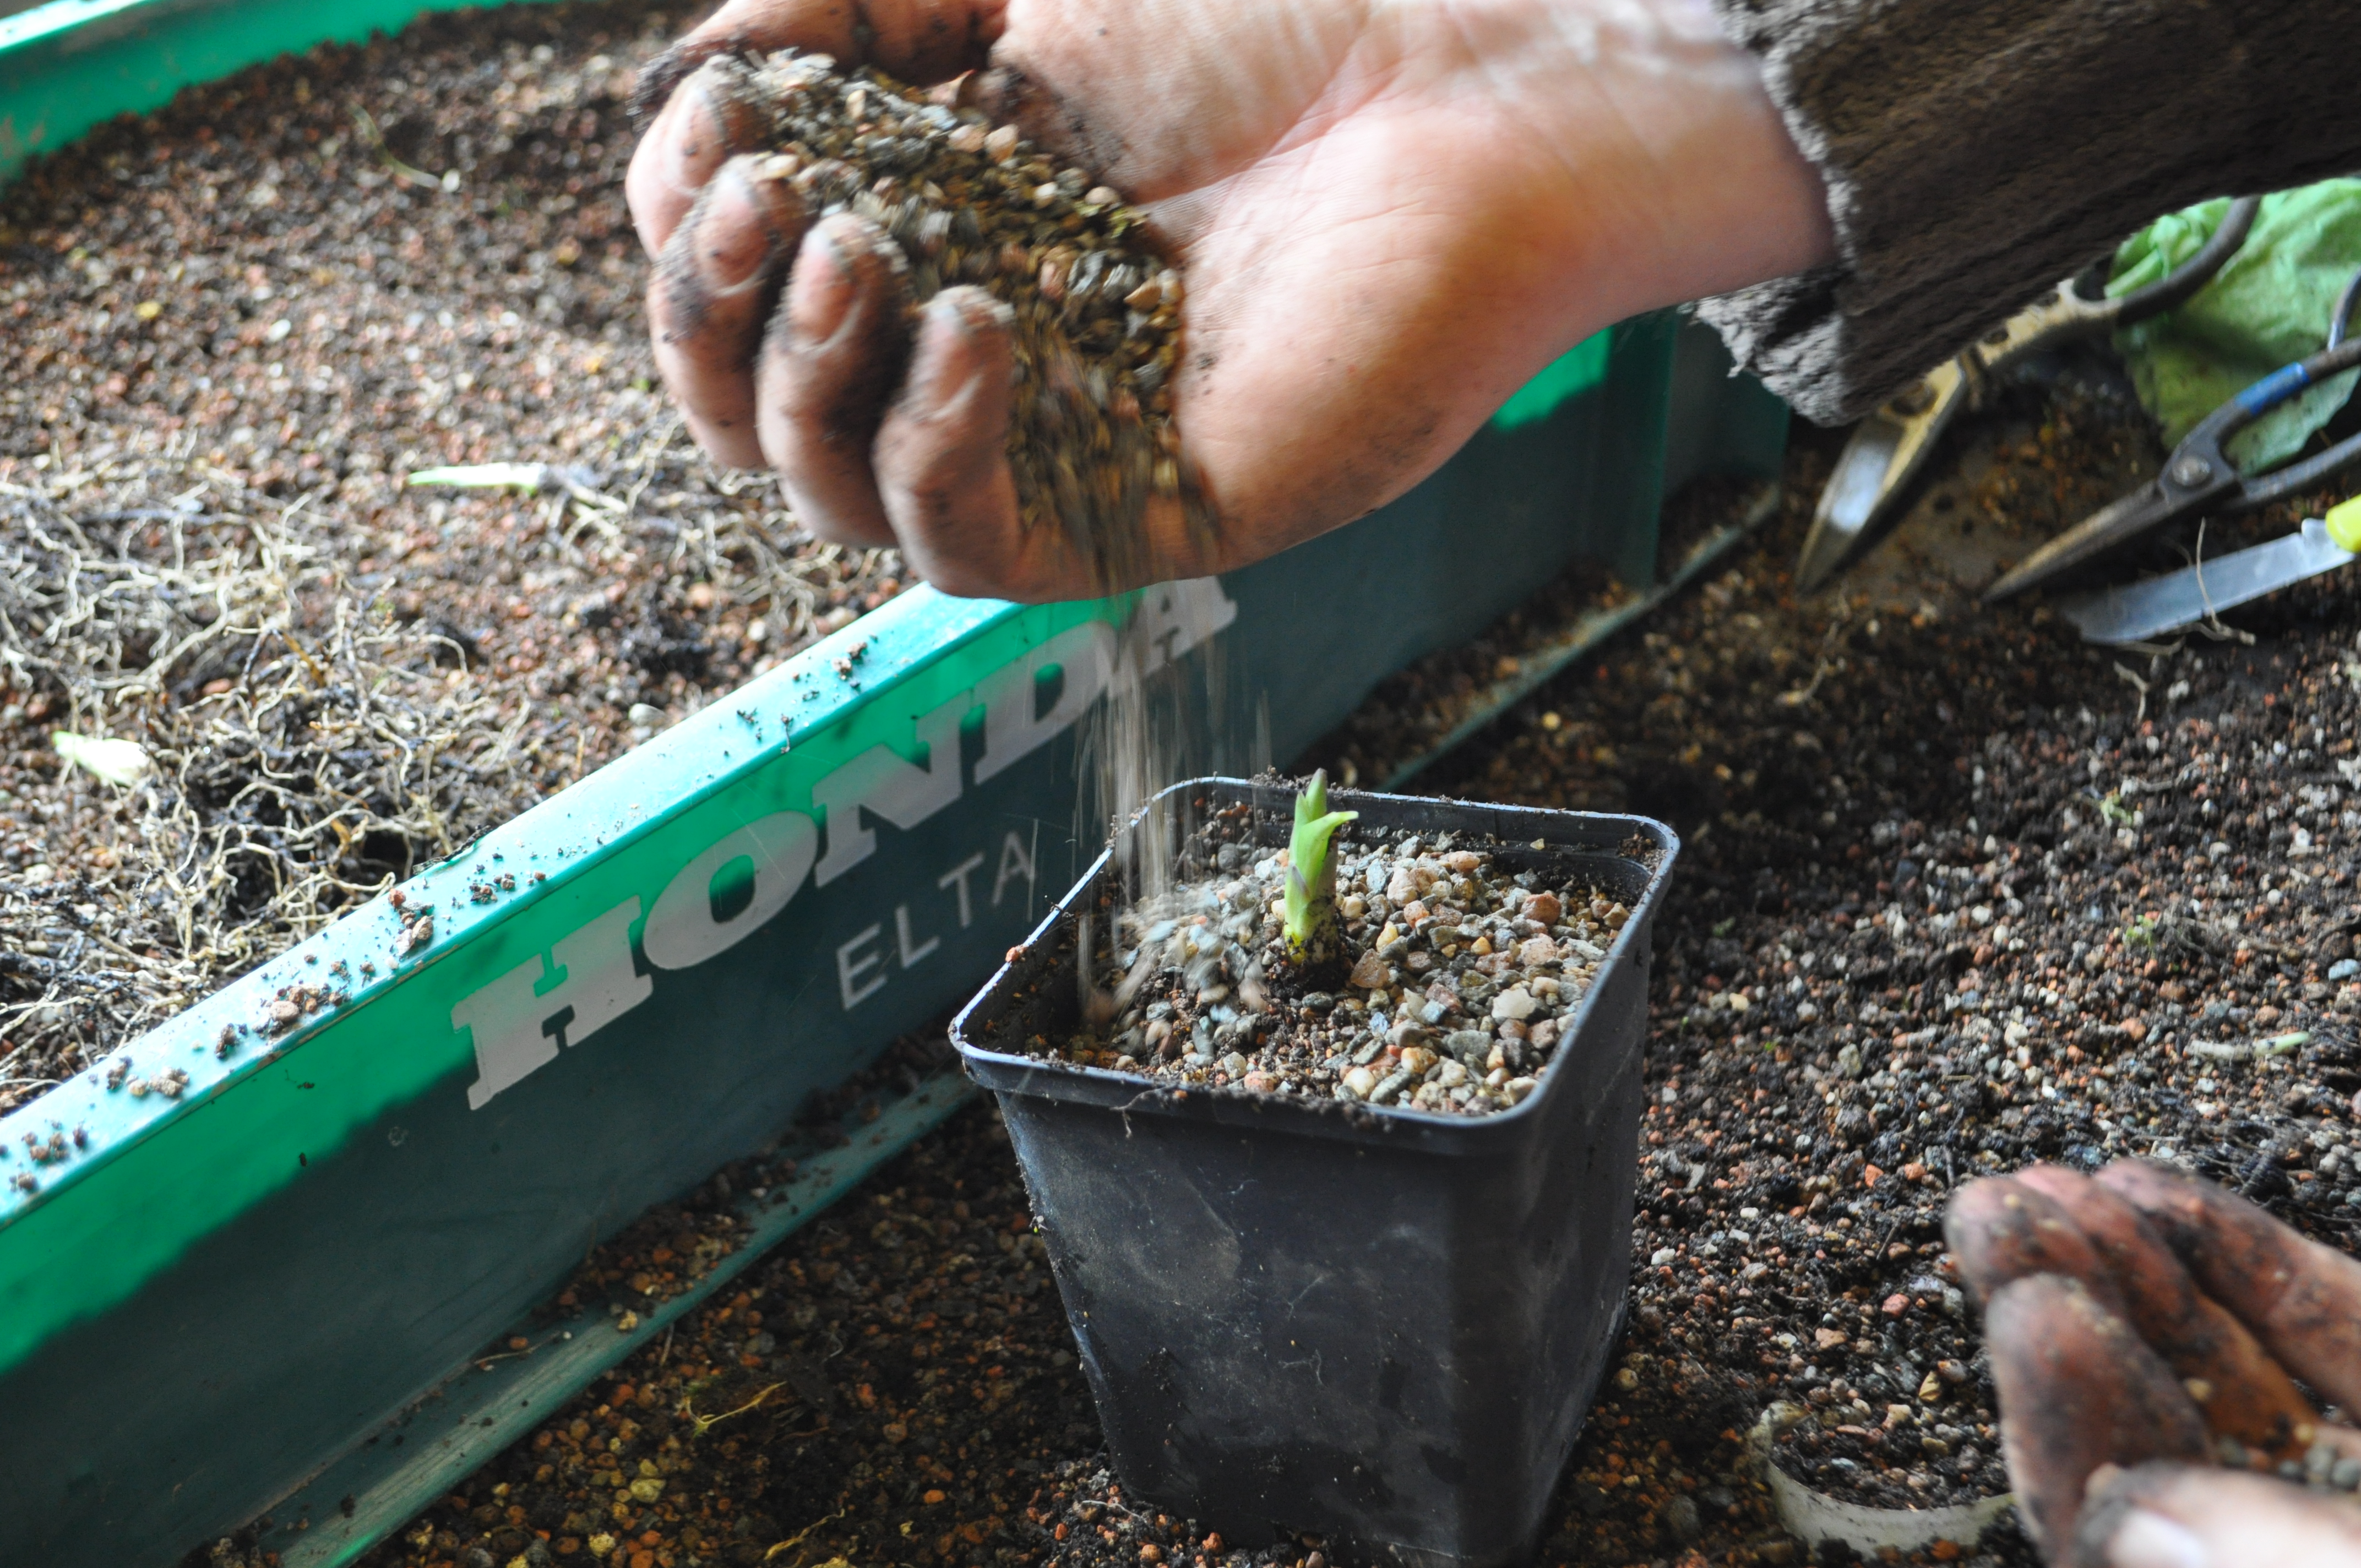
and top dressed with a layer of grit to keep the weeds at bay.
This one is back as stock plant.

This one was selected as worthy of being potted up as an accent. The three shoots will allow for it to bulk out quickly.

A little root pruning can be done, just as in bonsai. This can help reduce the leaf size of the plant compared to being grown in open ground.

A little mix in the bottom of the pot.

Placed in pot and filled around the edges with mix.

And the finished result, label added so I can keep track of what varieties I have potted up. Like the pot, this one by Will Baddelely, obtained as part of a swap with Chris Royal. Cheers Chris 😉
This is a great time to split, however I have had great success splitting in July as well with absolutely no issues with the plants being in leaf.
Anyone interesting in swapping, or even buying a few, drop me an email via the Contact Me tab at the top.
Finally got around to sorting a few air layers this week.
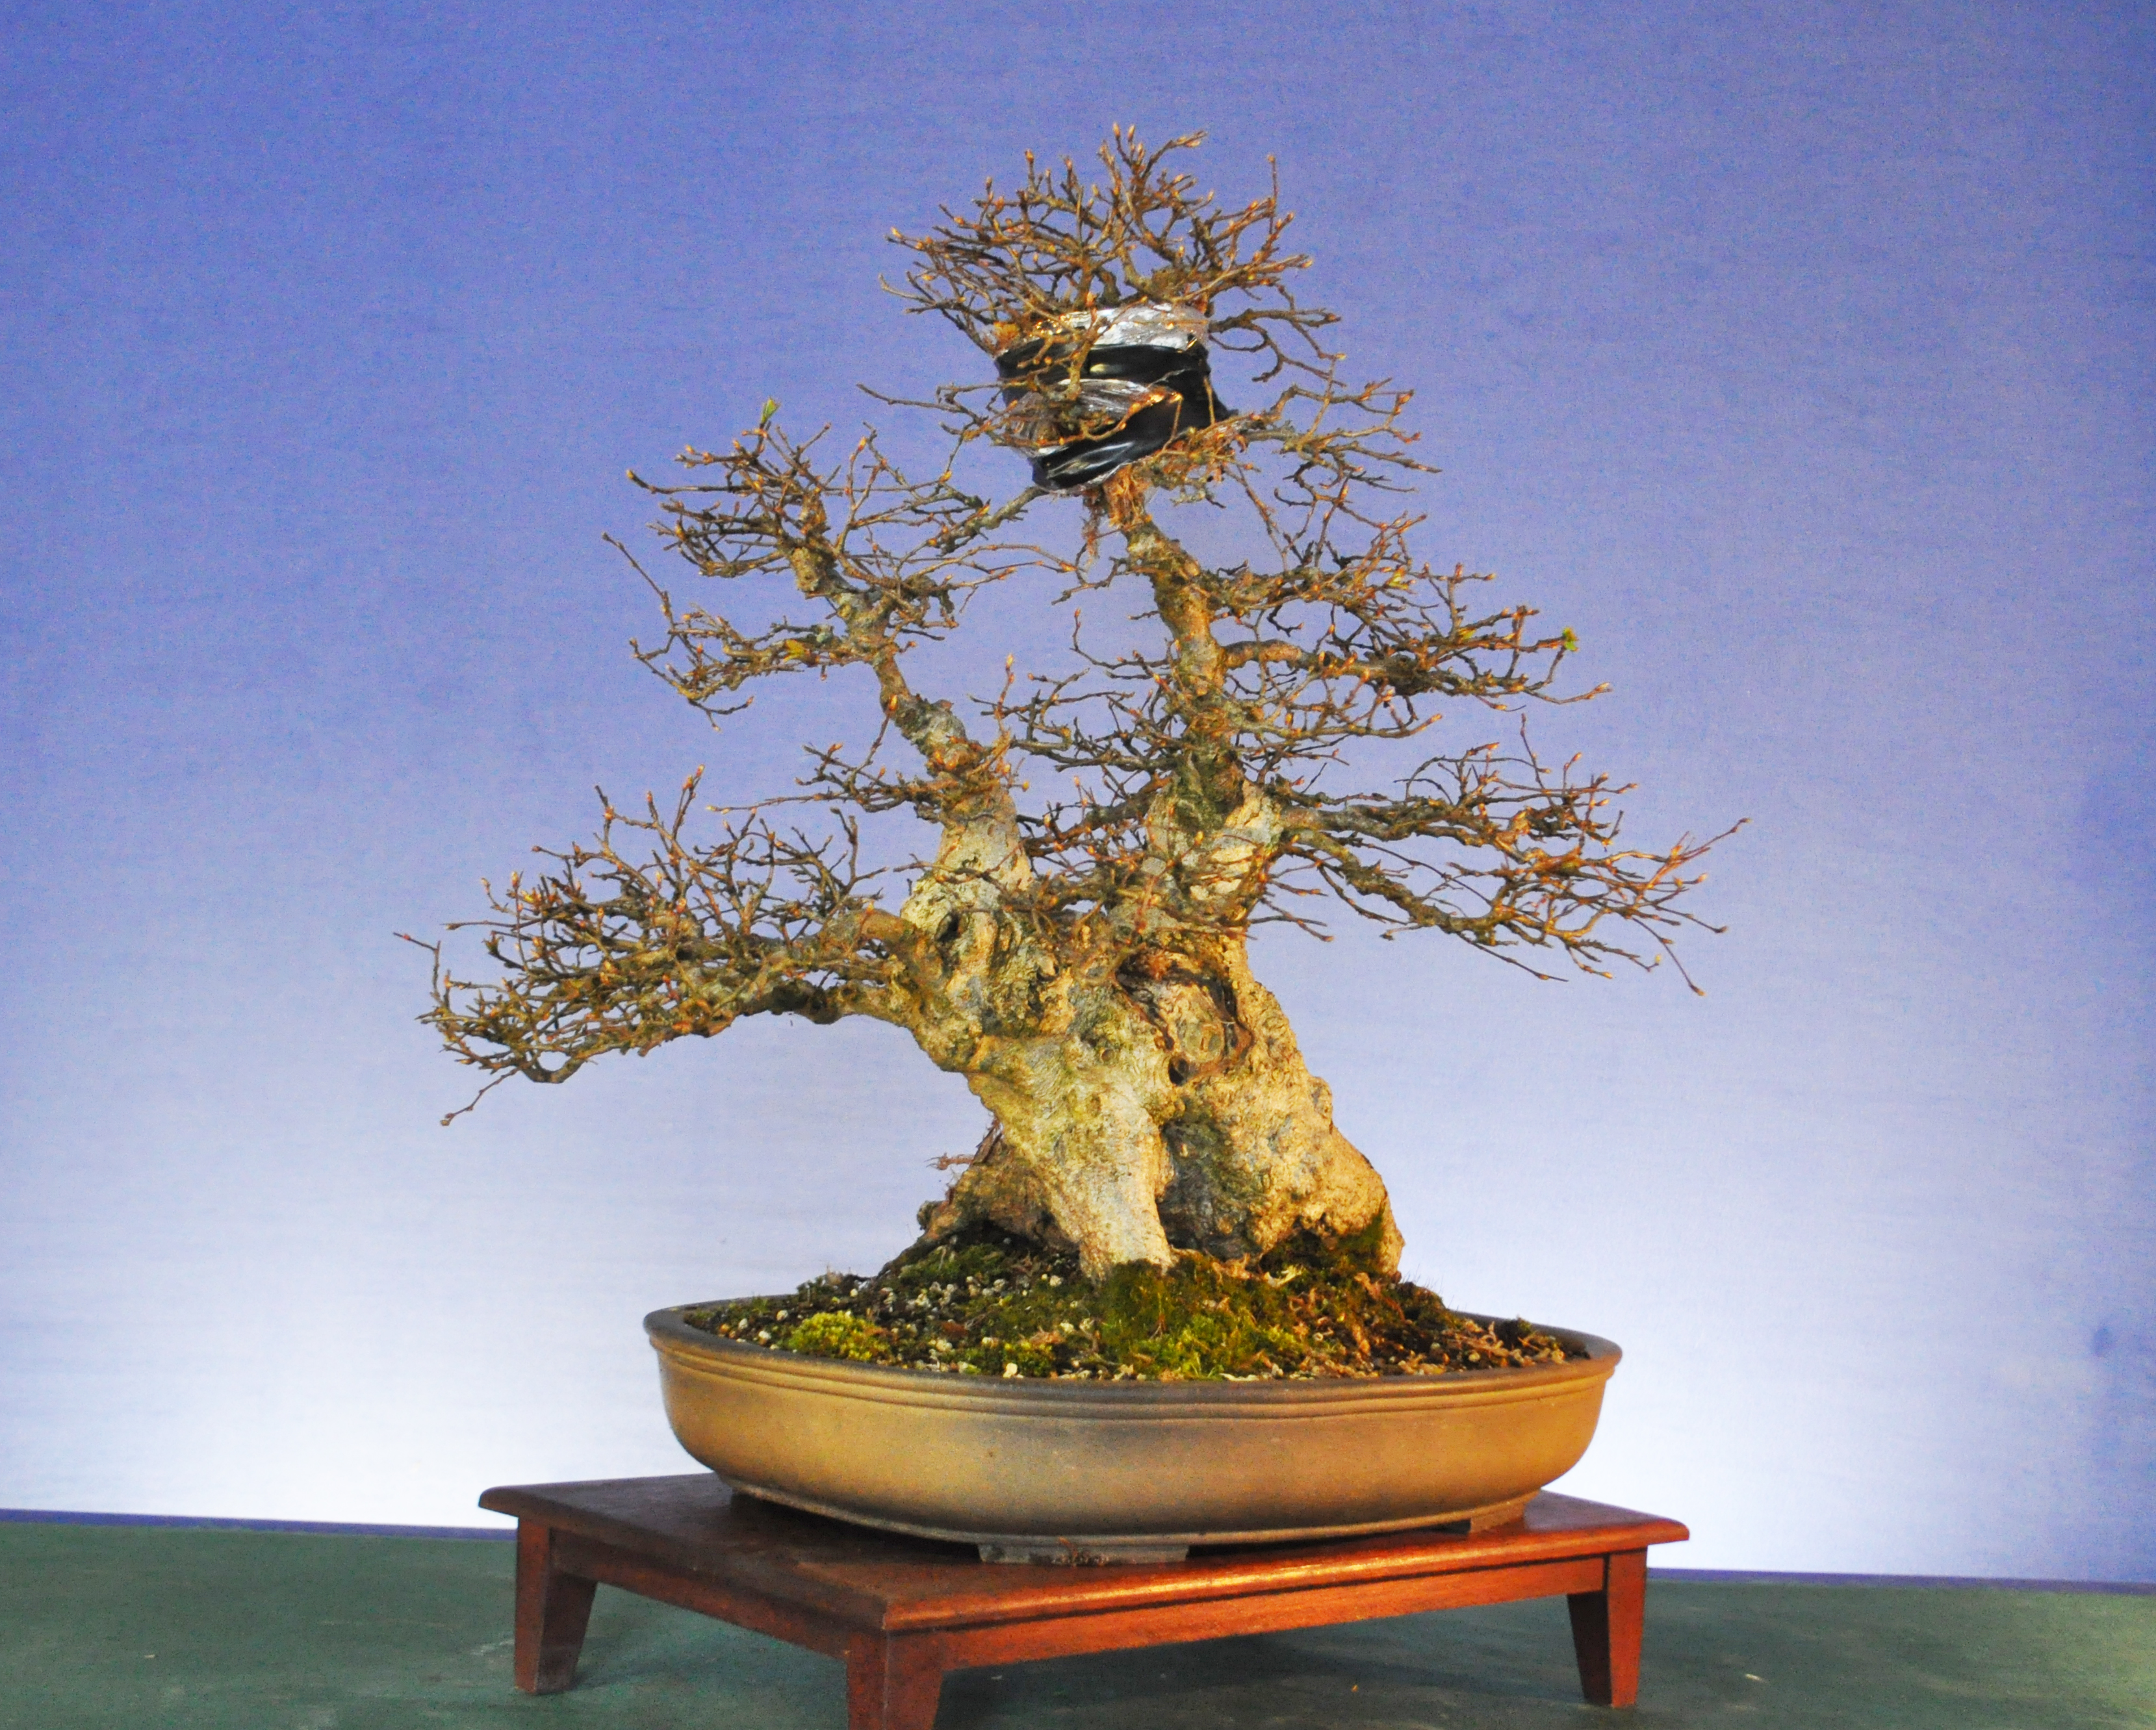
First up was this Korean Hornbeam. This is the front as it sits now.

This will be the new front. However the top of the taller trunk is heavy and needs removed. It will make a nice little shohin clump if layered off.
Layer point marked.

Cambium layer removed.
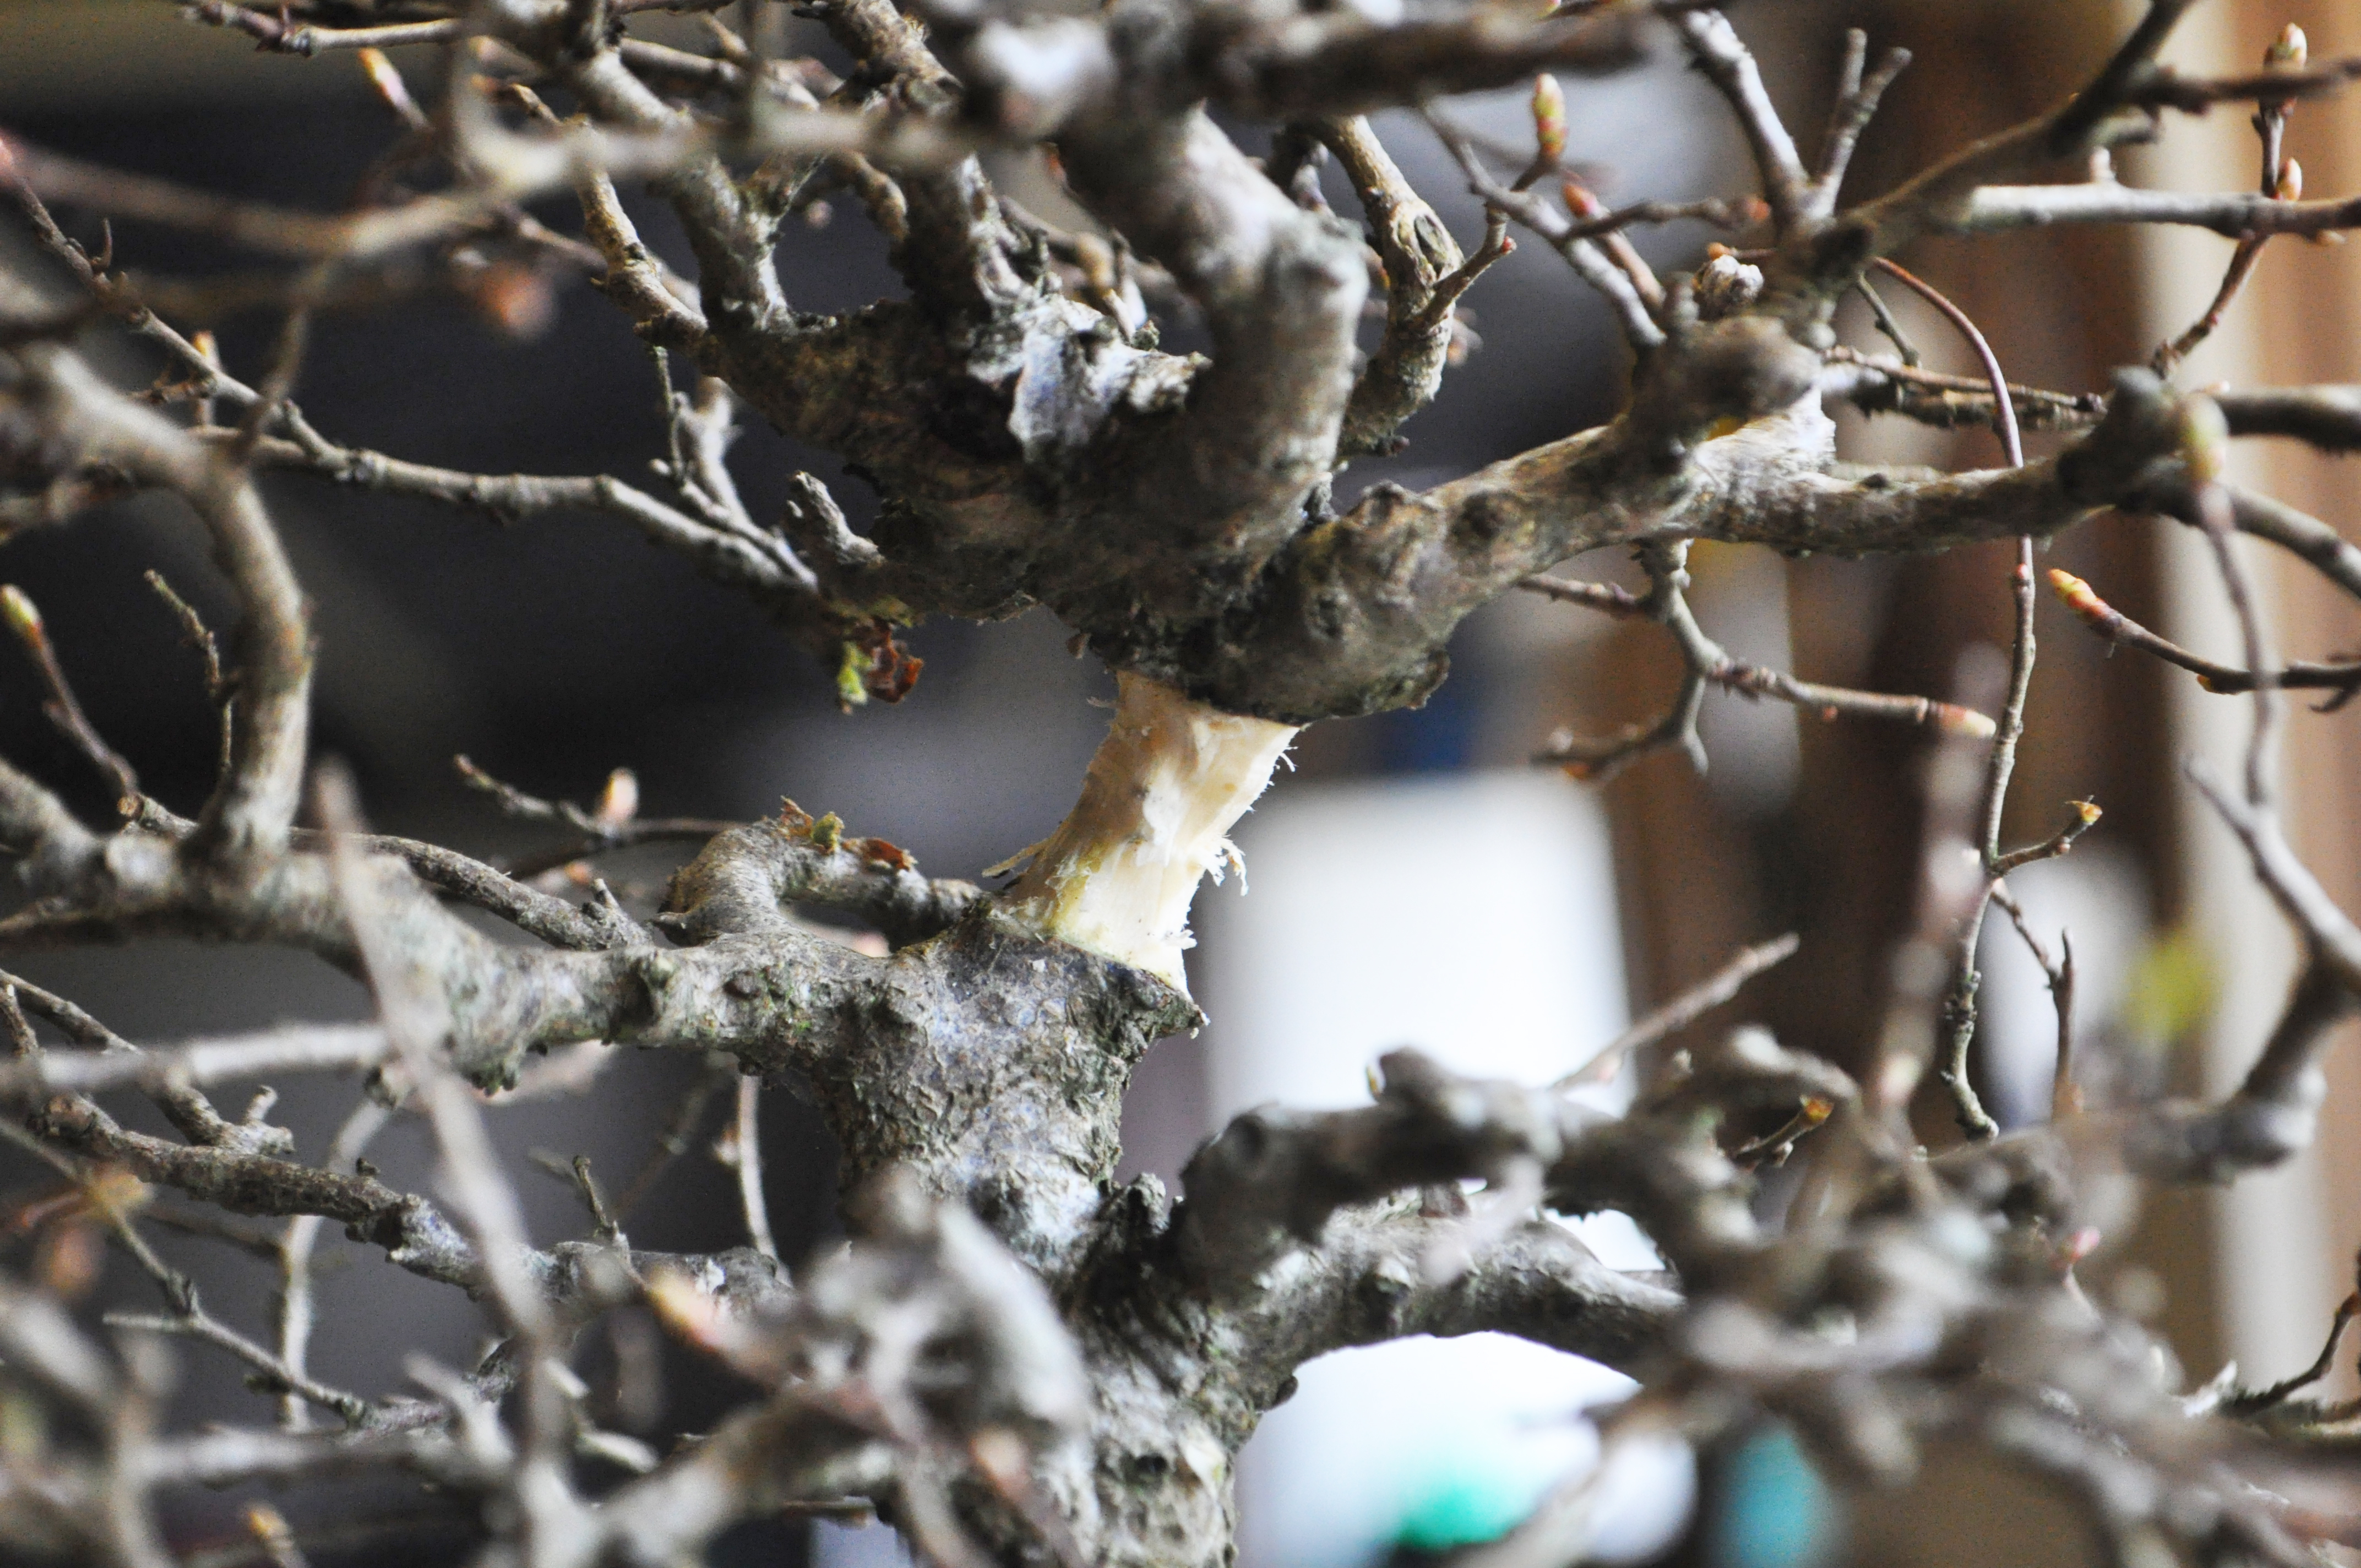
Layer in pace.
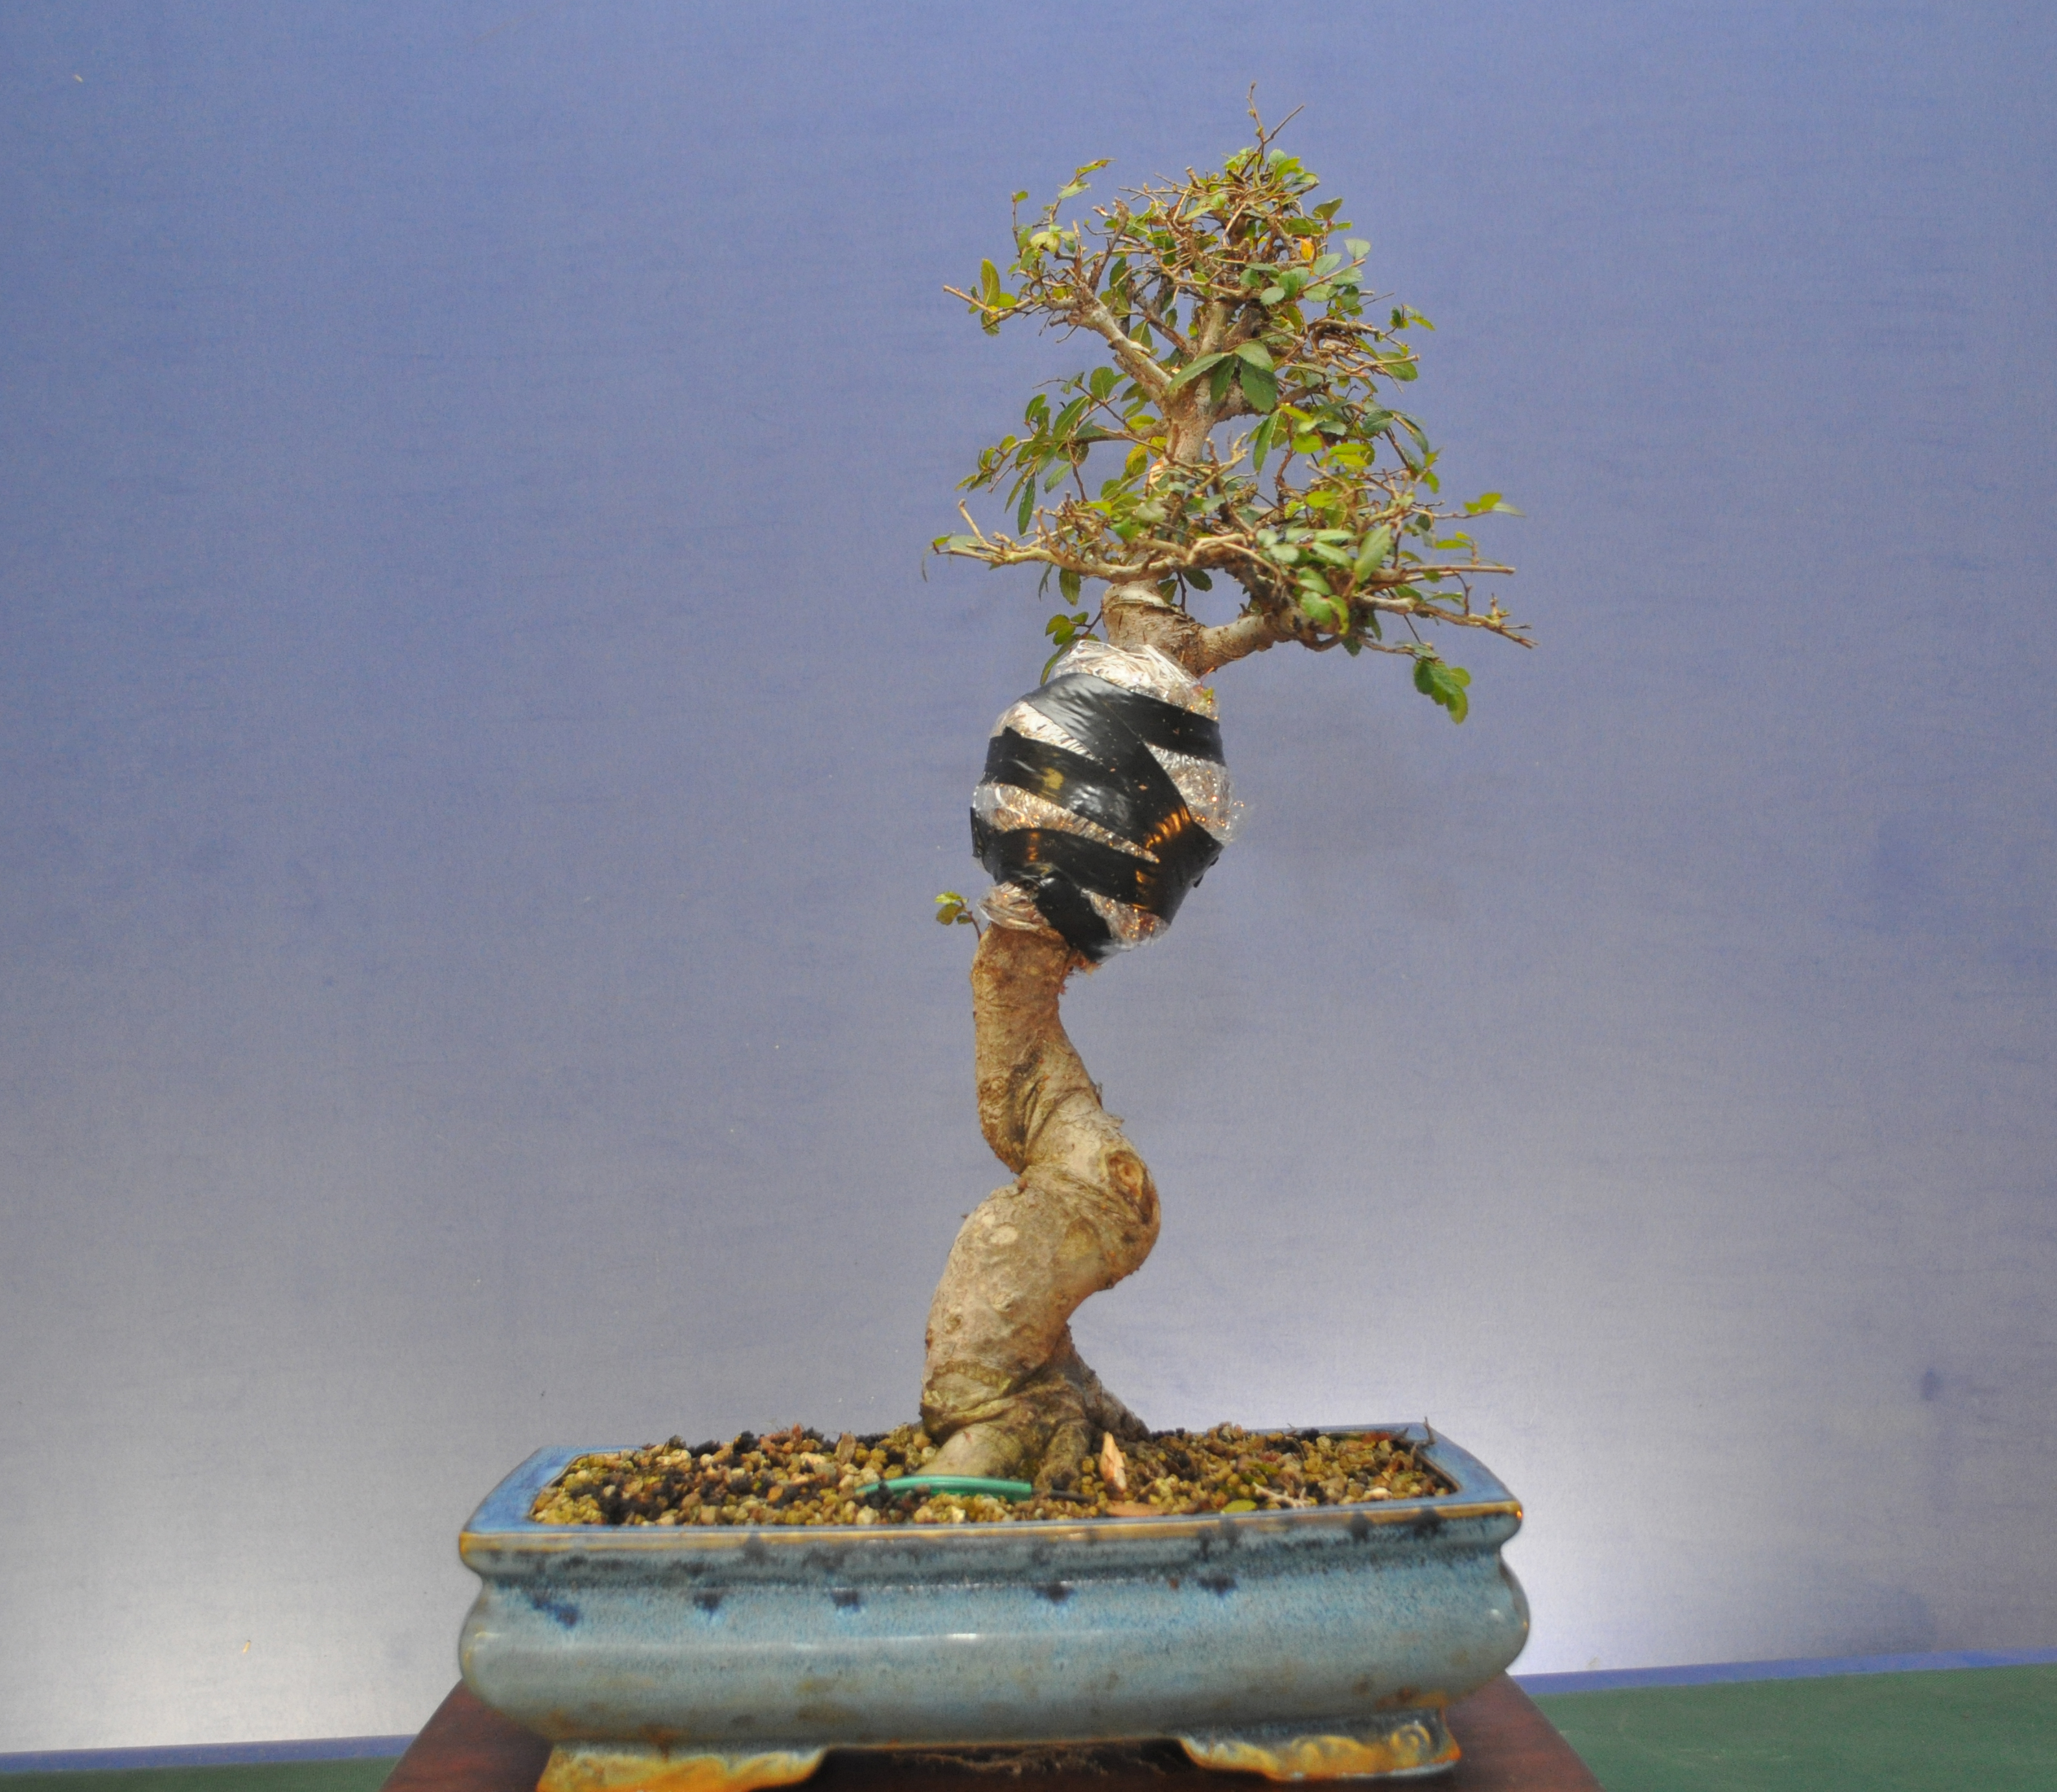
And this Cork bark Elm with poor nebari.


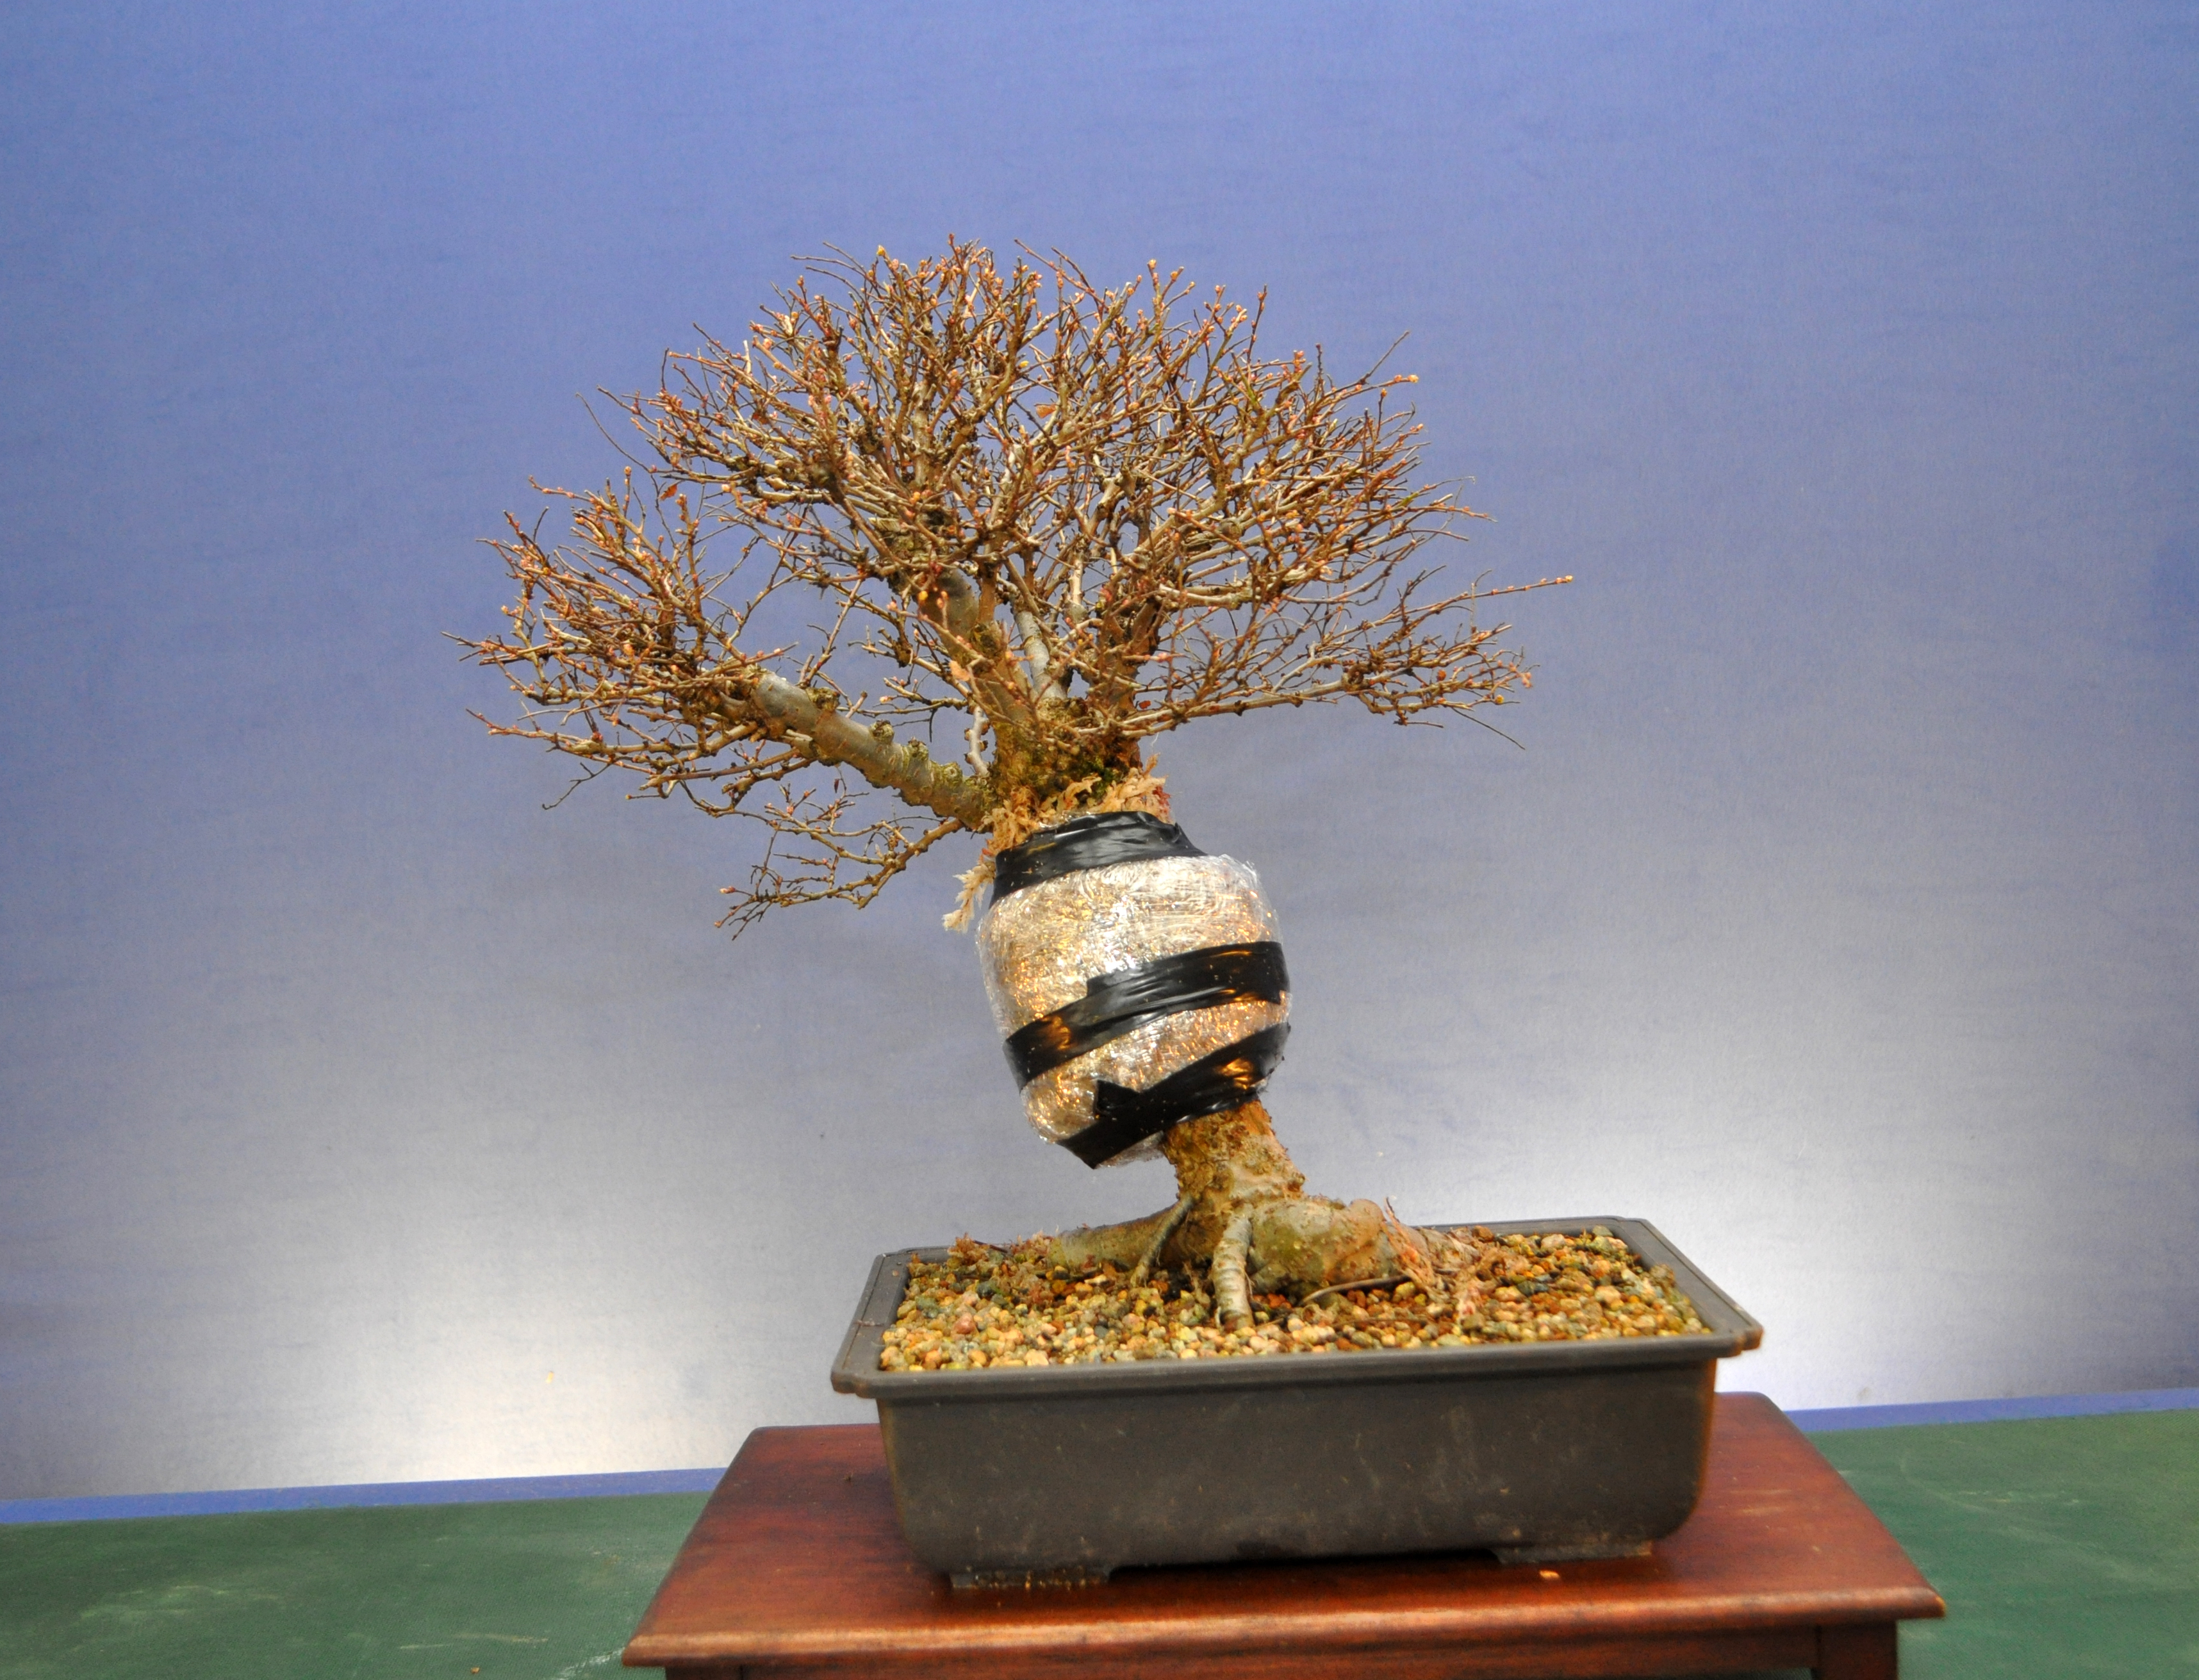
And this Zelkova which will make a nicer broom having removed all the tall leaders.

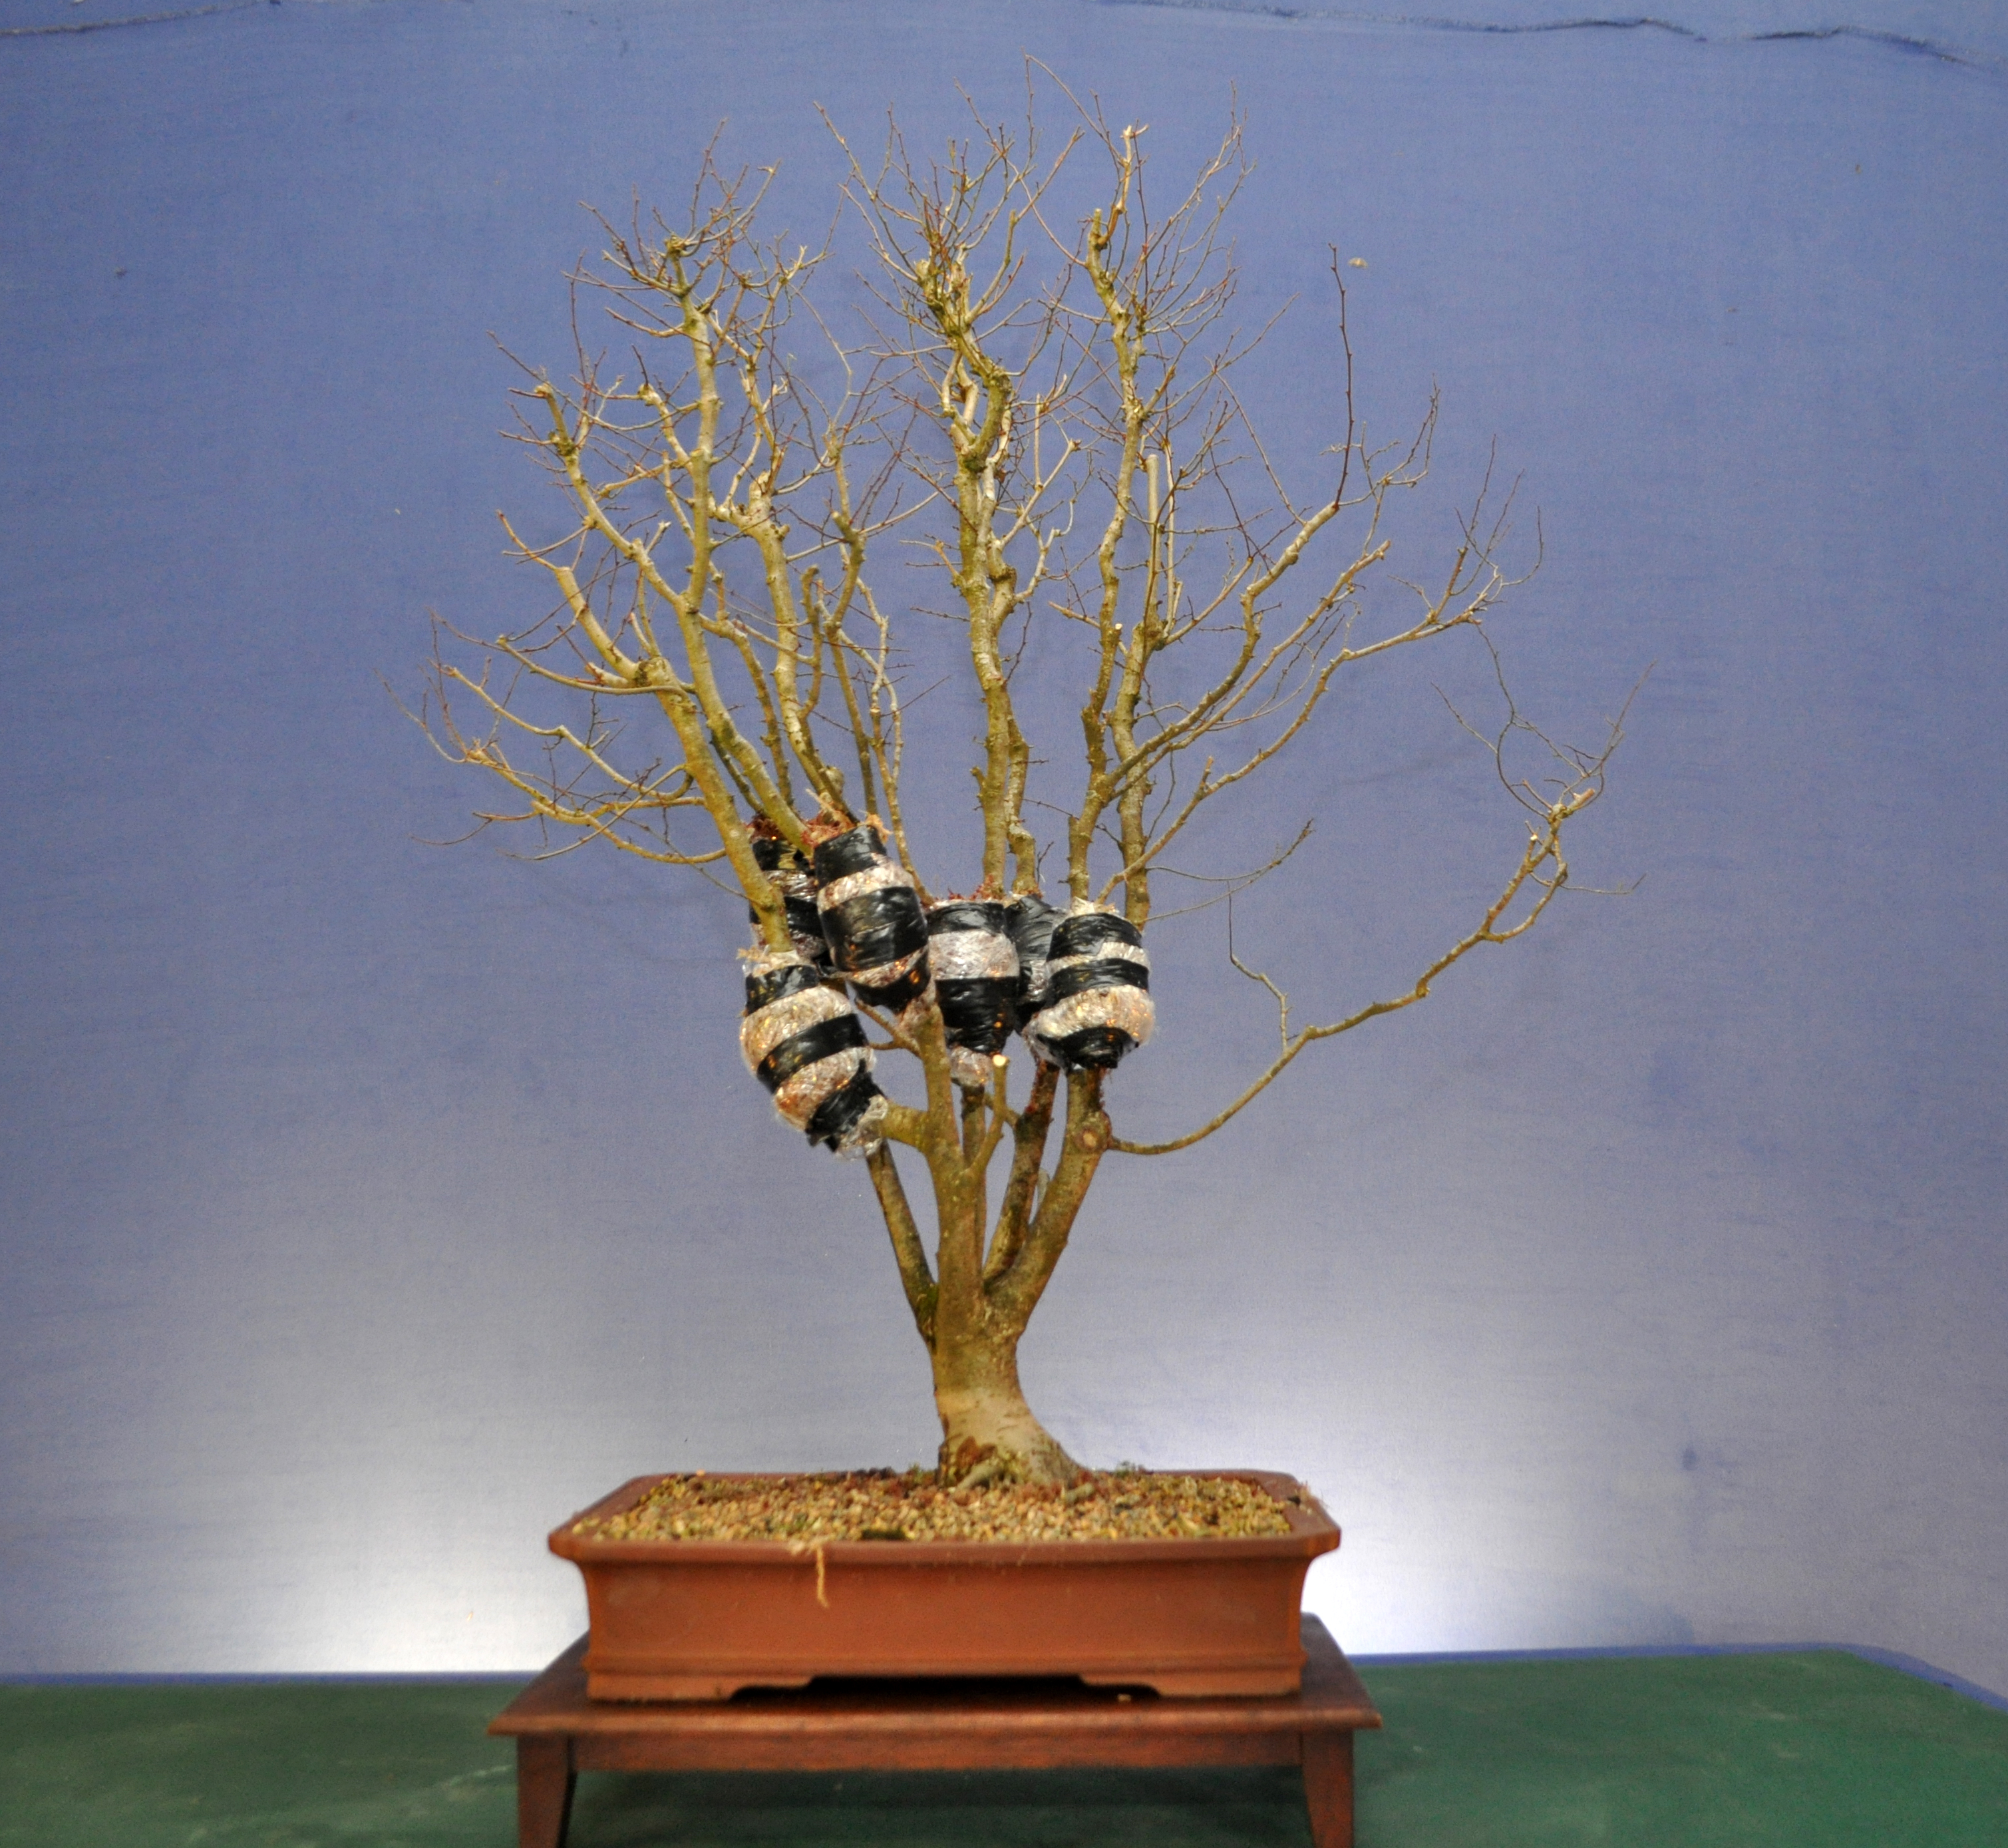

A Chinese Elm that I’m layering for a customer. The tree came to me in poor health and had lost a lot of lower branches. Best option is to layer off the top and use the nice base as a new tree.

Dis a few more but was on a roll and forgot the camera 🙂
Shop for quality bonsai
bonsai and garden
The Kaizen Bonsai Blog
Teaching, Learning, Enjoying Bonsai
The ramblings of an old artist and someone who would like to grow better bonsais trees
my bonsai
My wood creations
Hand Crafted Furniture
Creativity Through Bonsai
dirt leaves flowers
bonsaï | vidéo | Japon - ActuBonsaï
Japan's aesthetic, craftsmanship and spirit
Bonsai with a hint of madness...
"Tibolar-RS. your soil needs it, your plants will love it"
