One to One : Zelkova Group

Had another one to one session on Tuesday night, this time helping to get this Zelkova group planting on the right track. This is a very natural looking group put together last year after the trees had been field grown for a number of years by a previous owner. The group needed a serious working through planning for the best approach for each tree and branch. We had some die back to deal with and a few straight branches to sort out.

This was it last April after putting it together.

This was it on Tuesday night. Extension growth has been cut back a few times over the last growing season.

DSC_0059

This is it after pruning last night with it’s new owner. Still some branches in need of work but care needs to be taken not to lose the naturalness of this image. Another year in the training box gaining vigour will allow for more detailed work next Spring and perhaps a pot.

DSC_0065

Signs of Spring

Some signs that Spring is reaching my trees.

Trident Maple

DSC_0018

Japanese Larch

DSC_0019

Hawthorn

DSC_0021

Malus

DSC_0023

Berberis

DSC_0024

Mud Walk

Sunday was our regular walk in the local countryside, this time from the Lead mines in Ards along the Clandeboye Way to Helen’s Bay, about 7 miles. I rarely do the first bit of this walk as it’s mucky, but memories fade regarding this issue and we gave it another go. You guessed it, a mud hole! This is one of the old chimneys from the Lead mines.

DSC_0001

This is the state of the paths due to scramblers cutting the shite out of the whole place!!

DSC_0003

Helen’s Tower below. An exact replica of this is at Thiepval in Northern France at the site where local men fighting in the 36th Ulster division lost their lives in the battle of the Somme. They training on this hillside before being sent to War.

DSC_0005

DSC_0008

Some signs of Spring.

DSC_0009
Local trees, an old wood.

DSC_0011

DSC_0013

A laid Hedge, done the old way.

DSC_0014

Skinny Beech, but nice.

DSC_0016

Some Recent Viewings

Some videos I have watched recently on Youtube. It’s Saturday night now. Pop open a bottle of beer and relax.

2015 89th Kokufu Bonsai Exhibition– Part 2

William N. Valavanis's avatarValavanis Bonsai Blog

1

Part 2 of Kokufu Bonsai Exhibition was held on February 10-13, 2015 at the Tokyo Metropolitan Art Museum in Tokyo, Japan, following a day closed where 181 bonsai displays were replaced with all new bonsai, except for the four special displays. The Japan Suiseki Exhibition opened on the closed day and the Ueno Green Club sales area was also open for visitors.

3

4

These two views may quickly seem similar to Part 1, however all the trees are new. However under close examination a few of the companion plantings were identical, but slightly rotated. I’m not certain because my personal study of Part 2 has not been completed yet, but I think I remember seeing a few display tables from Part 1.

2

Japanese five-needle pine, Pinus parviflora

19

Gardenia, Gardenia jasmoindes

17

Zuisho Japanese five-needle pine, Pinus parviflora ‘Zuisjo.’ Perhaps the reason for the increased number of this choice cultivar is because most…

View original post 654 more words

One to One: Repotting Session

Saturday was another one to one session for me this time helping to repot some tricky trees.

This Hawthorn collected from a garden by Ben a few years back was one of the first trees tackled. A decision had to be made about a heavy long root that would dictate what pot it would fit into.

DSC_0291

First this tree moss covering the lower trunk had to be removed. I hate this stuff. It gets in under rough bark and can cause it to lift off.

DSC_0292

We then had to wash out the old mix and any original field soil. This allowed us to see exactly what had to be reduced and allowed us to see that the heavy root could be removed without putting too much stress on the tree. It had done well under Ben’s care and plenty of fine root was in evidence.

DSC_0297

My handy root washing system 🙂

DSC_0301

And this is the tree potted up at it’s new angle.

DSC_0314

Next is a Shohin Cotoneaster. The current pot is too heavy and clunky for the tree.

DSC_0302

Ben has this little Epimedium accent in a nice Erin pot and he thought it was a better option for the Cotoneaster.

DSC_0305

I think he was right, works for me, especially as the tree fills out further. DSC_0308

This little pine was moved from a flower pot over into this new home. Early days but interesting project.DSC_0315

This Larch from a previous one to one styling was brought along to be repotted at it’s new angle.

DSC_0320

DSC_0323

DSC_0326

DSC_0348

This big Juniper was actually first one repotted. It’s a real odd ball of a tree but has been fun to play around with.

DSC_0338

DSC_0344

DSC_0329

This literati Pine also got a move from a flower pot. Early days again for it but going to be really nice in a few years.

DSC_0334

A busy but very productive session.

Our visit to Jean-Paul Polmans garden.

andysshohin's avatarAndys shohin bonsai

After the fun of the Noelanders weekend we left on the Monday morning for Jean-Paul Polmans garden just a 15 minute drive from Gent. Not knowing what to expect from the garden we entered through the car port and faced with a bueautiful garden layout very much in the japanese theme. The whole layout and attention to detail is so well done.


The garden is divided in half and the display benches are in the second half along with a huge work room and a covered section with large pot rack behind.


So many outstanding trees that I would love to have taken home. A huge thank…

View original post 22 more words

One to One: Zelkova

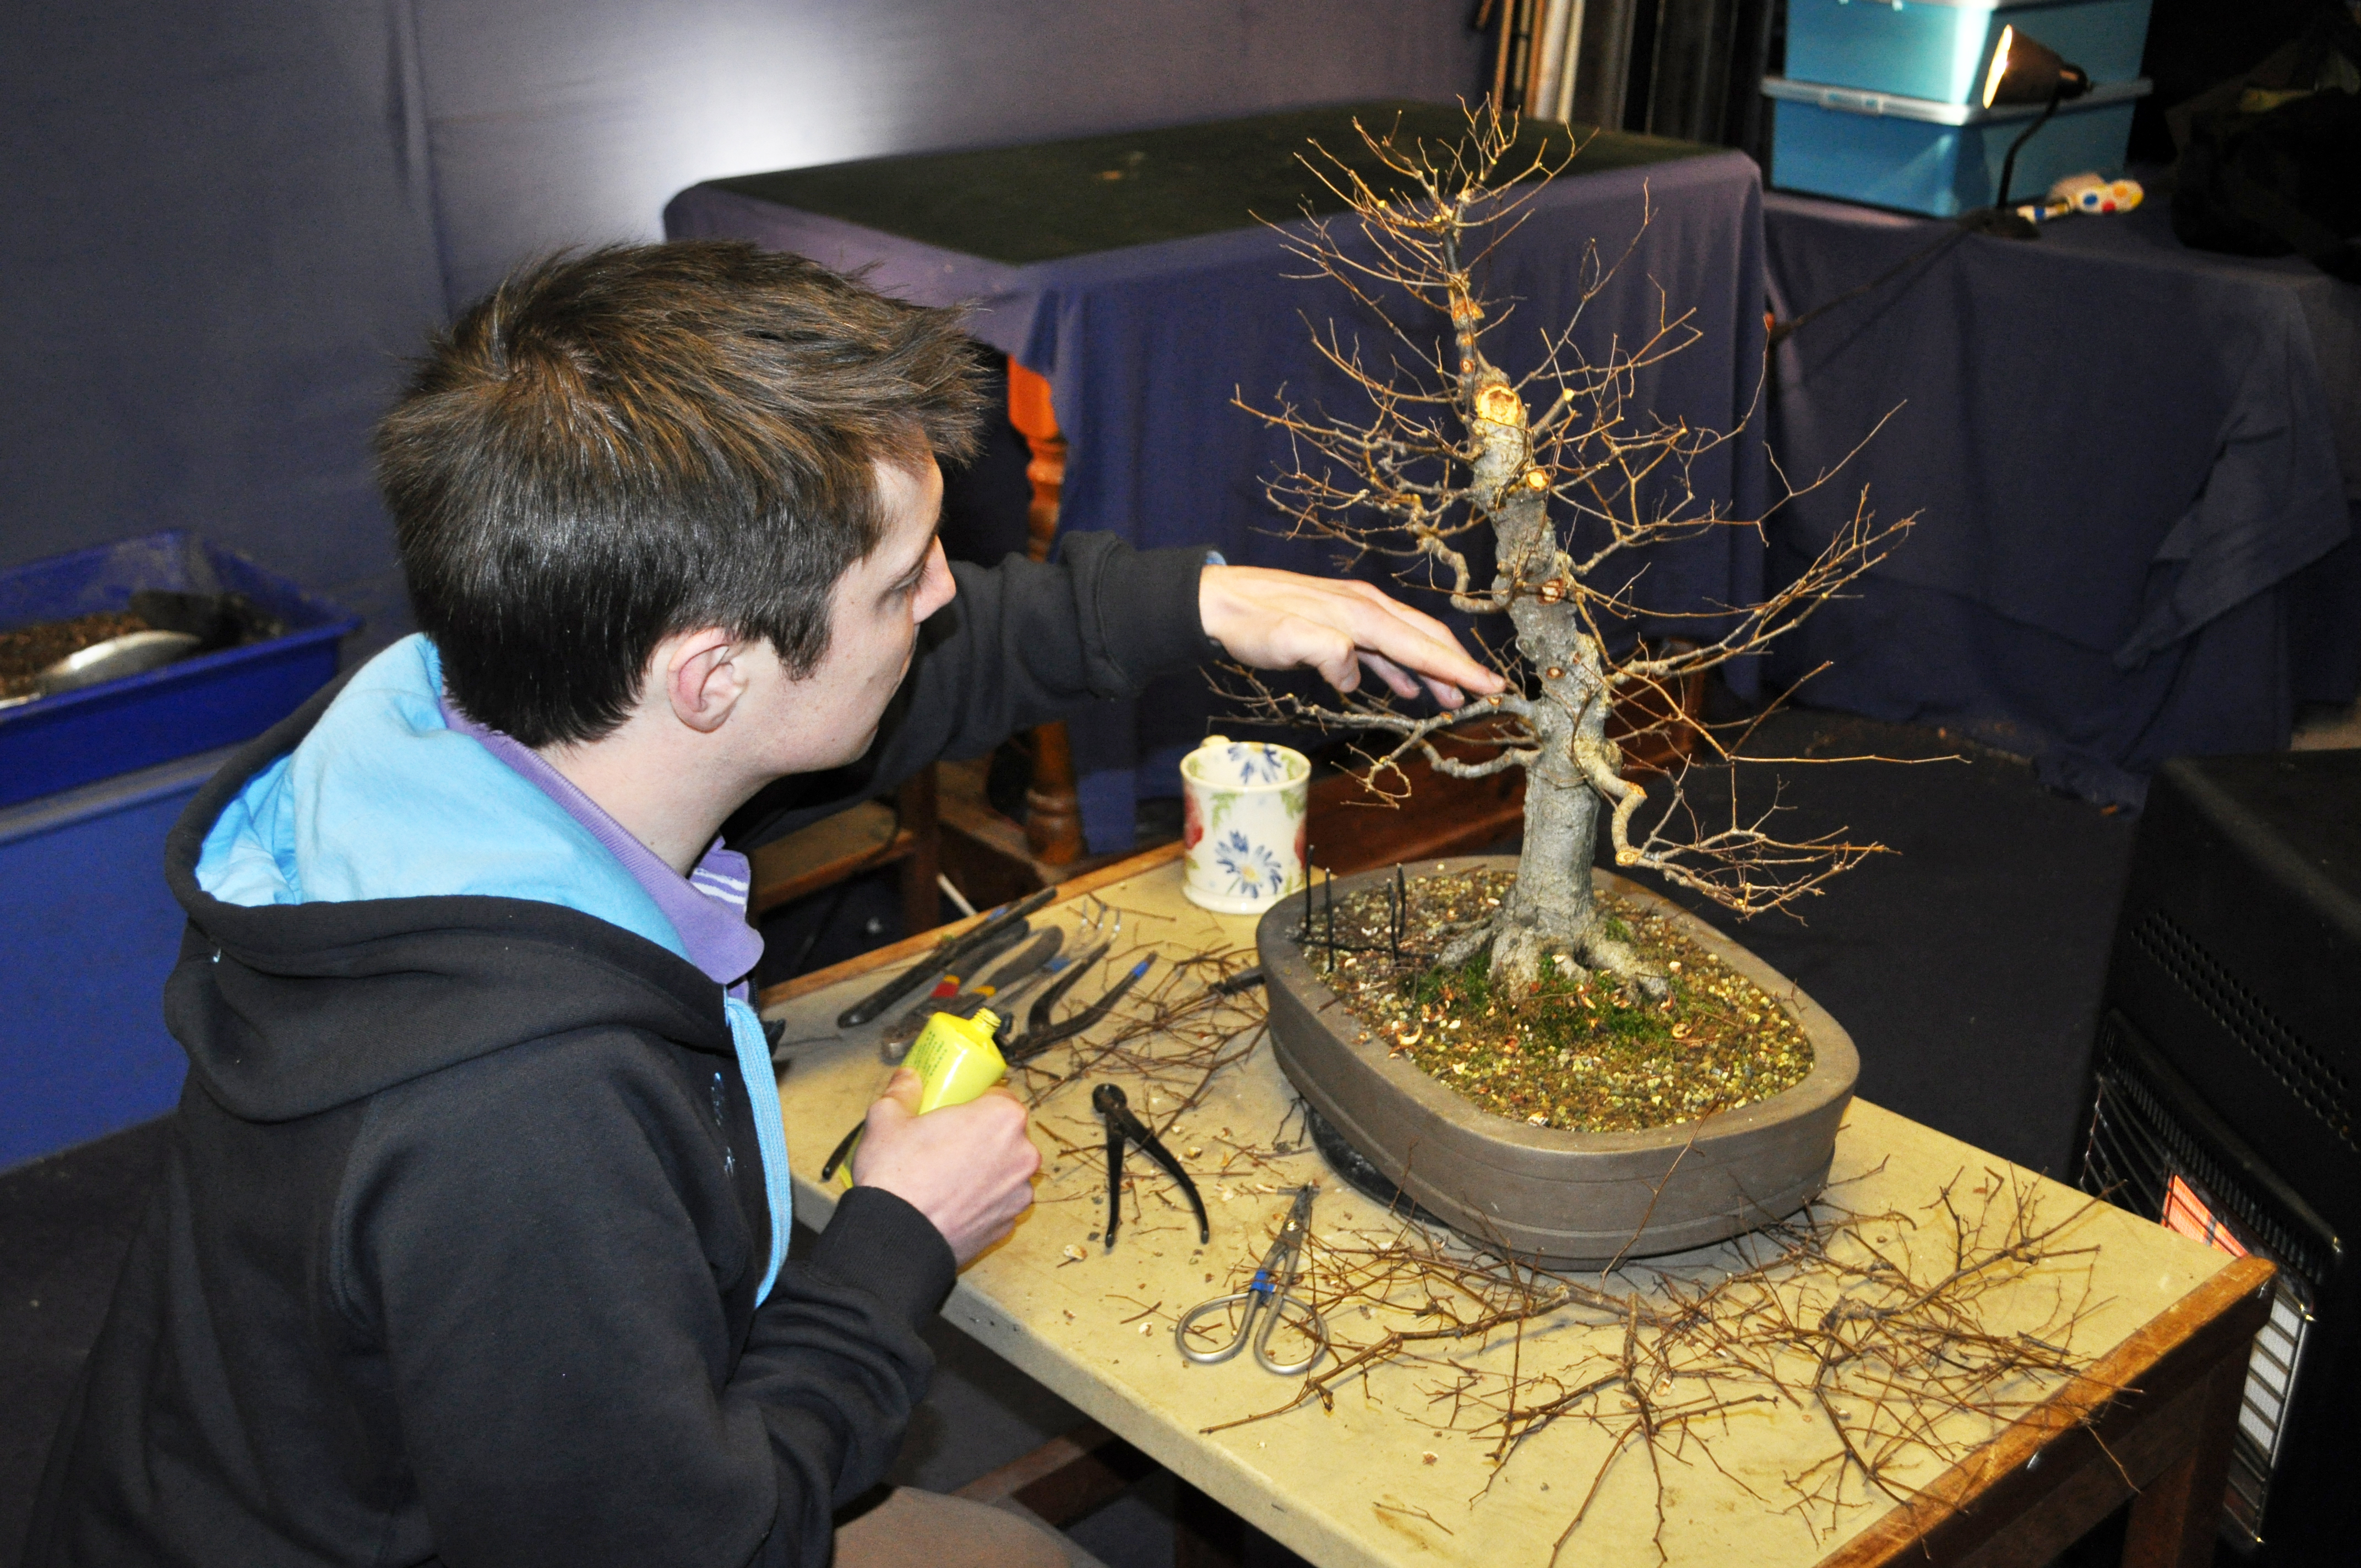
I helped out with the development of this Zelkova on Friday night. The owner has just bought the tree and wanted to get it moving in the right direction. I know this tree well and have seen it pass through the hands of 2 other club members over the years. It originally came into Northern Ireland from Japan back in 2002 I think. Below is it when it can in and also sitting on the bench in the background in the nursery in Japan.

Dscf0111

zelkova 2


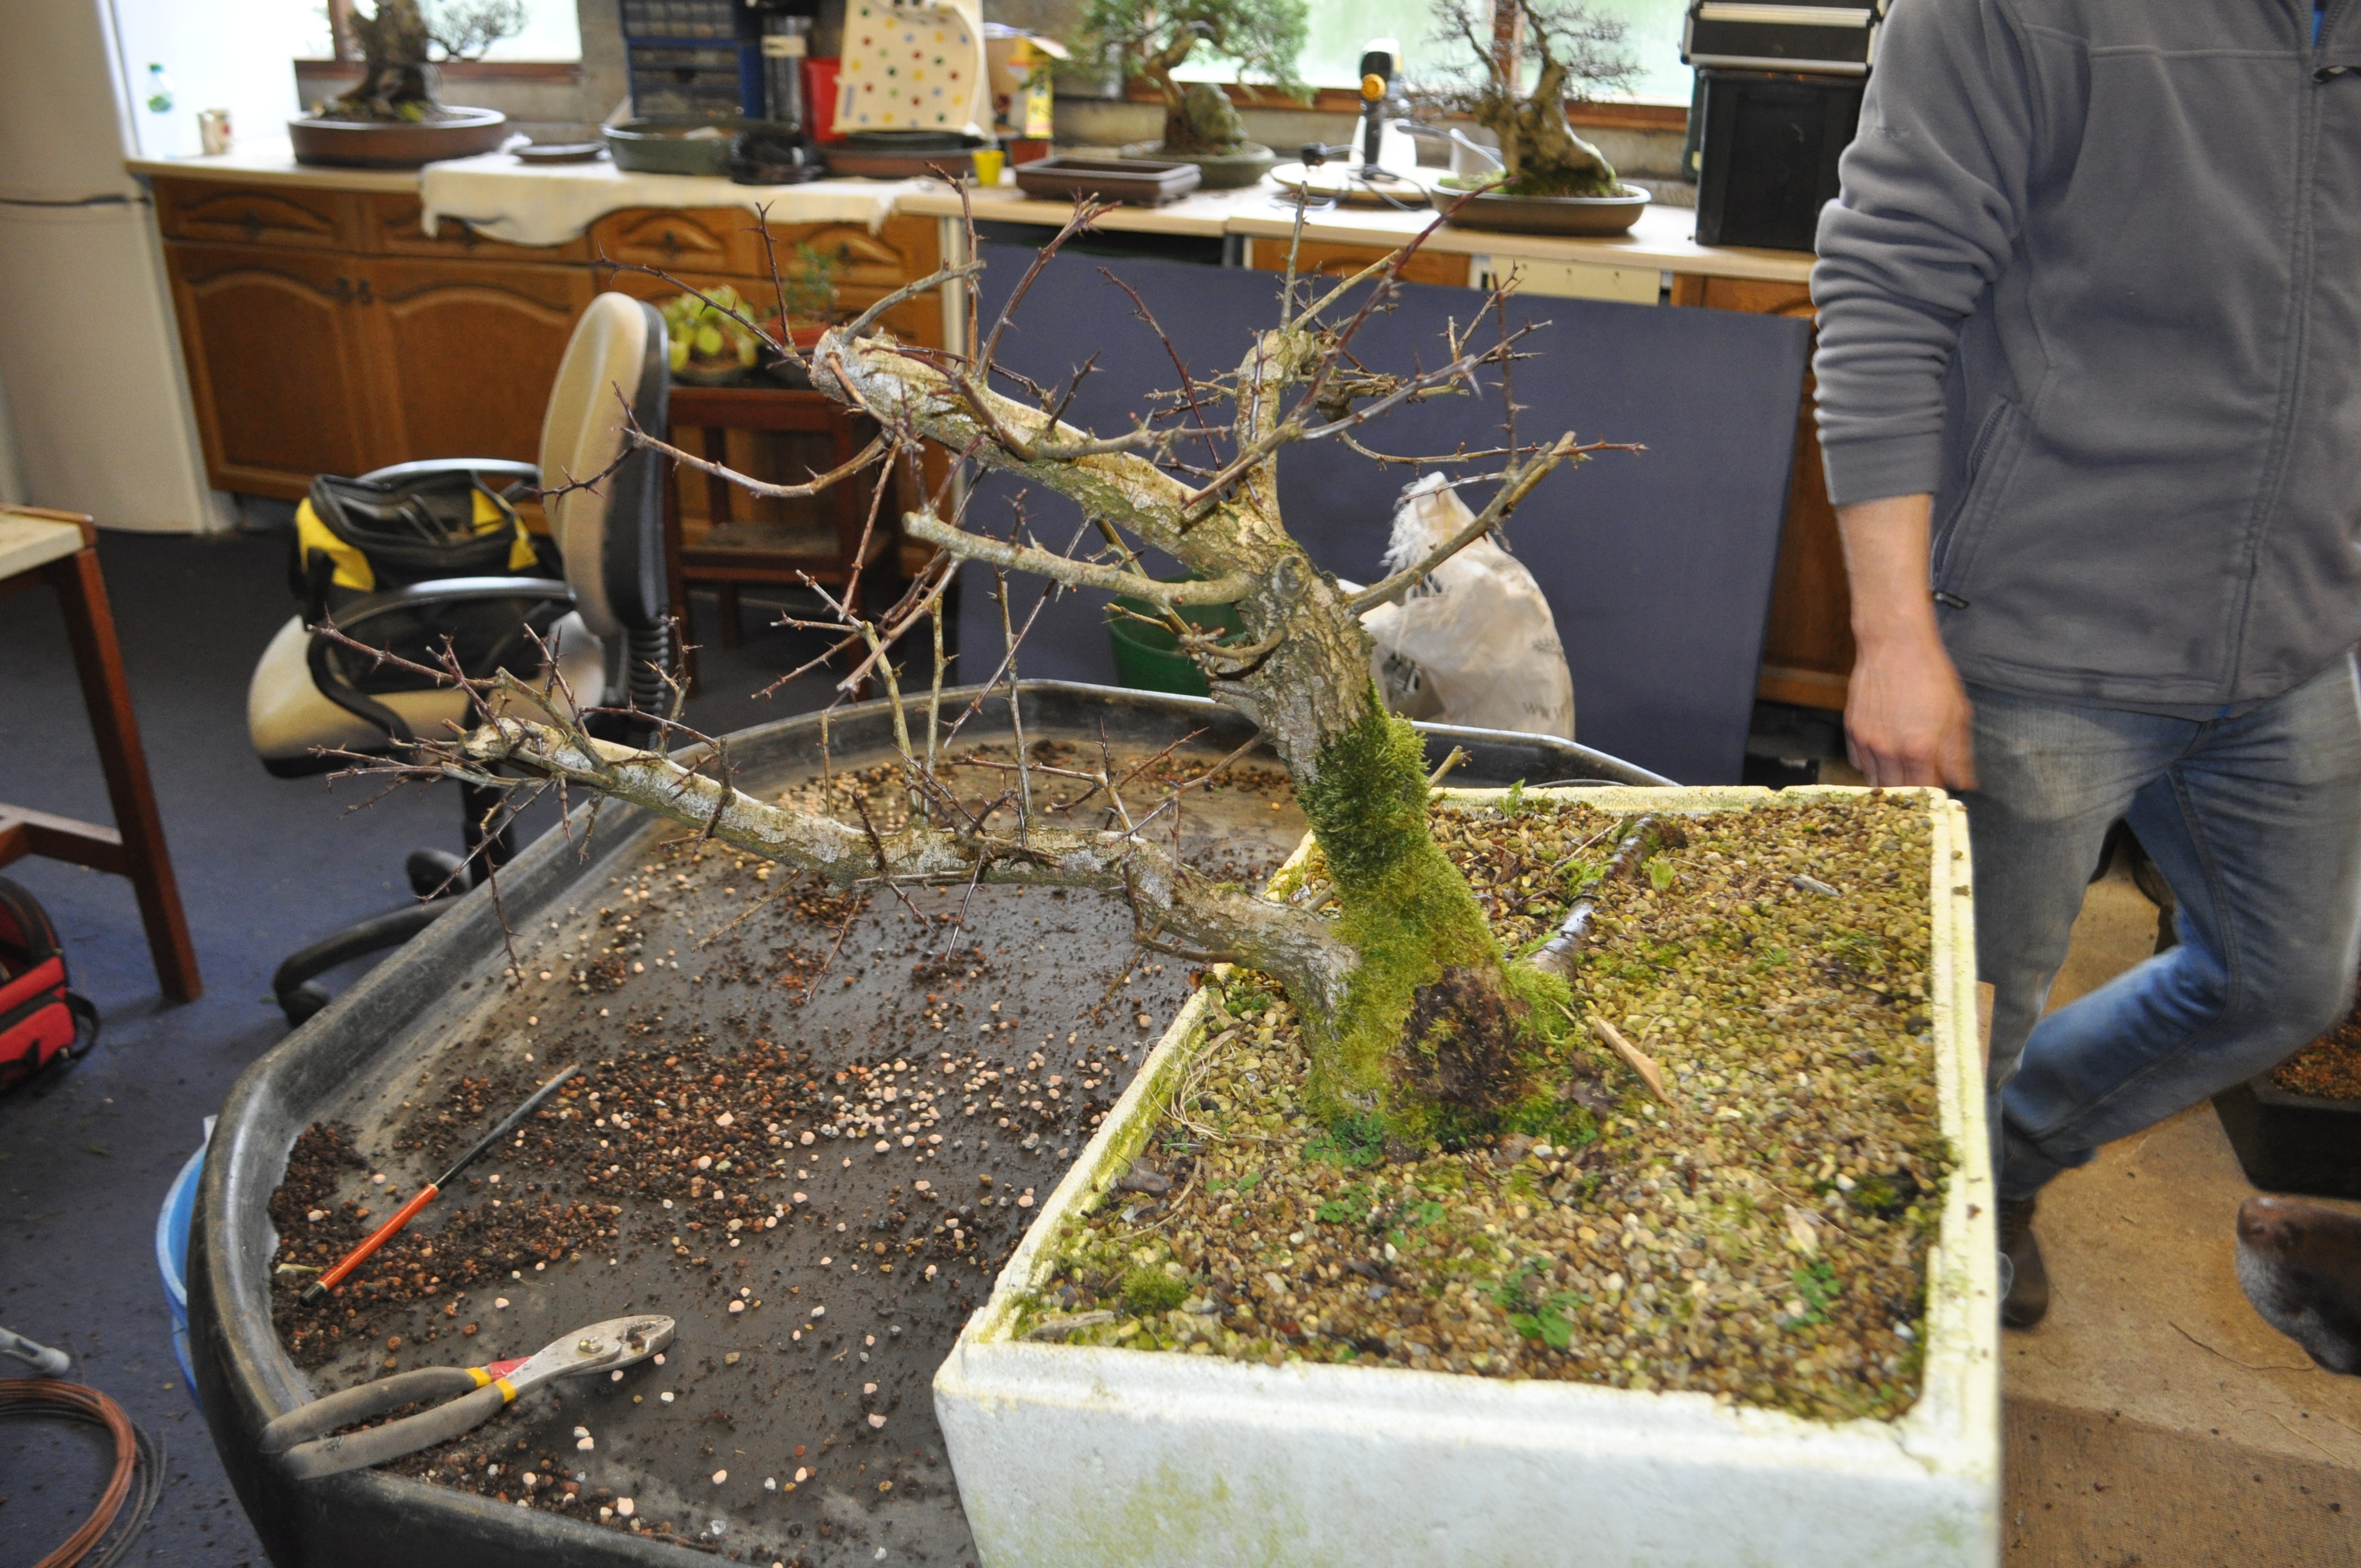
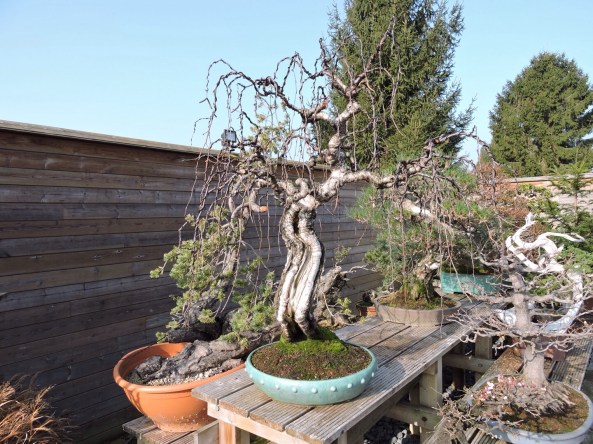
This is the tree now. It’s had an up and down life here. After some great work early on it went through a period of neglect due to the owners personal circumstances. At one point near death, it was bought by another friend of mine who did a great job of getting it back to full health. Many of the original branches had died and in some places new branches have started to develope.

DSC_0260

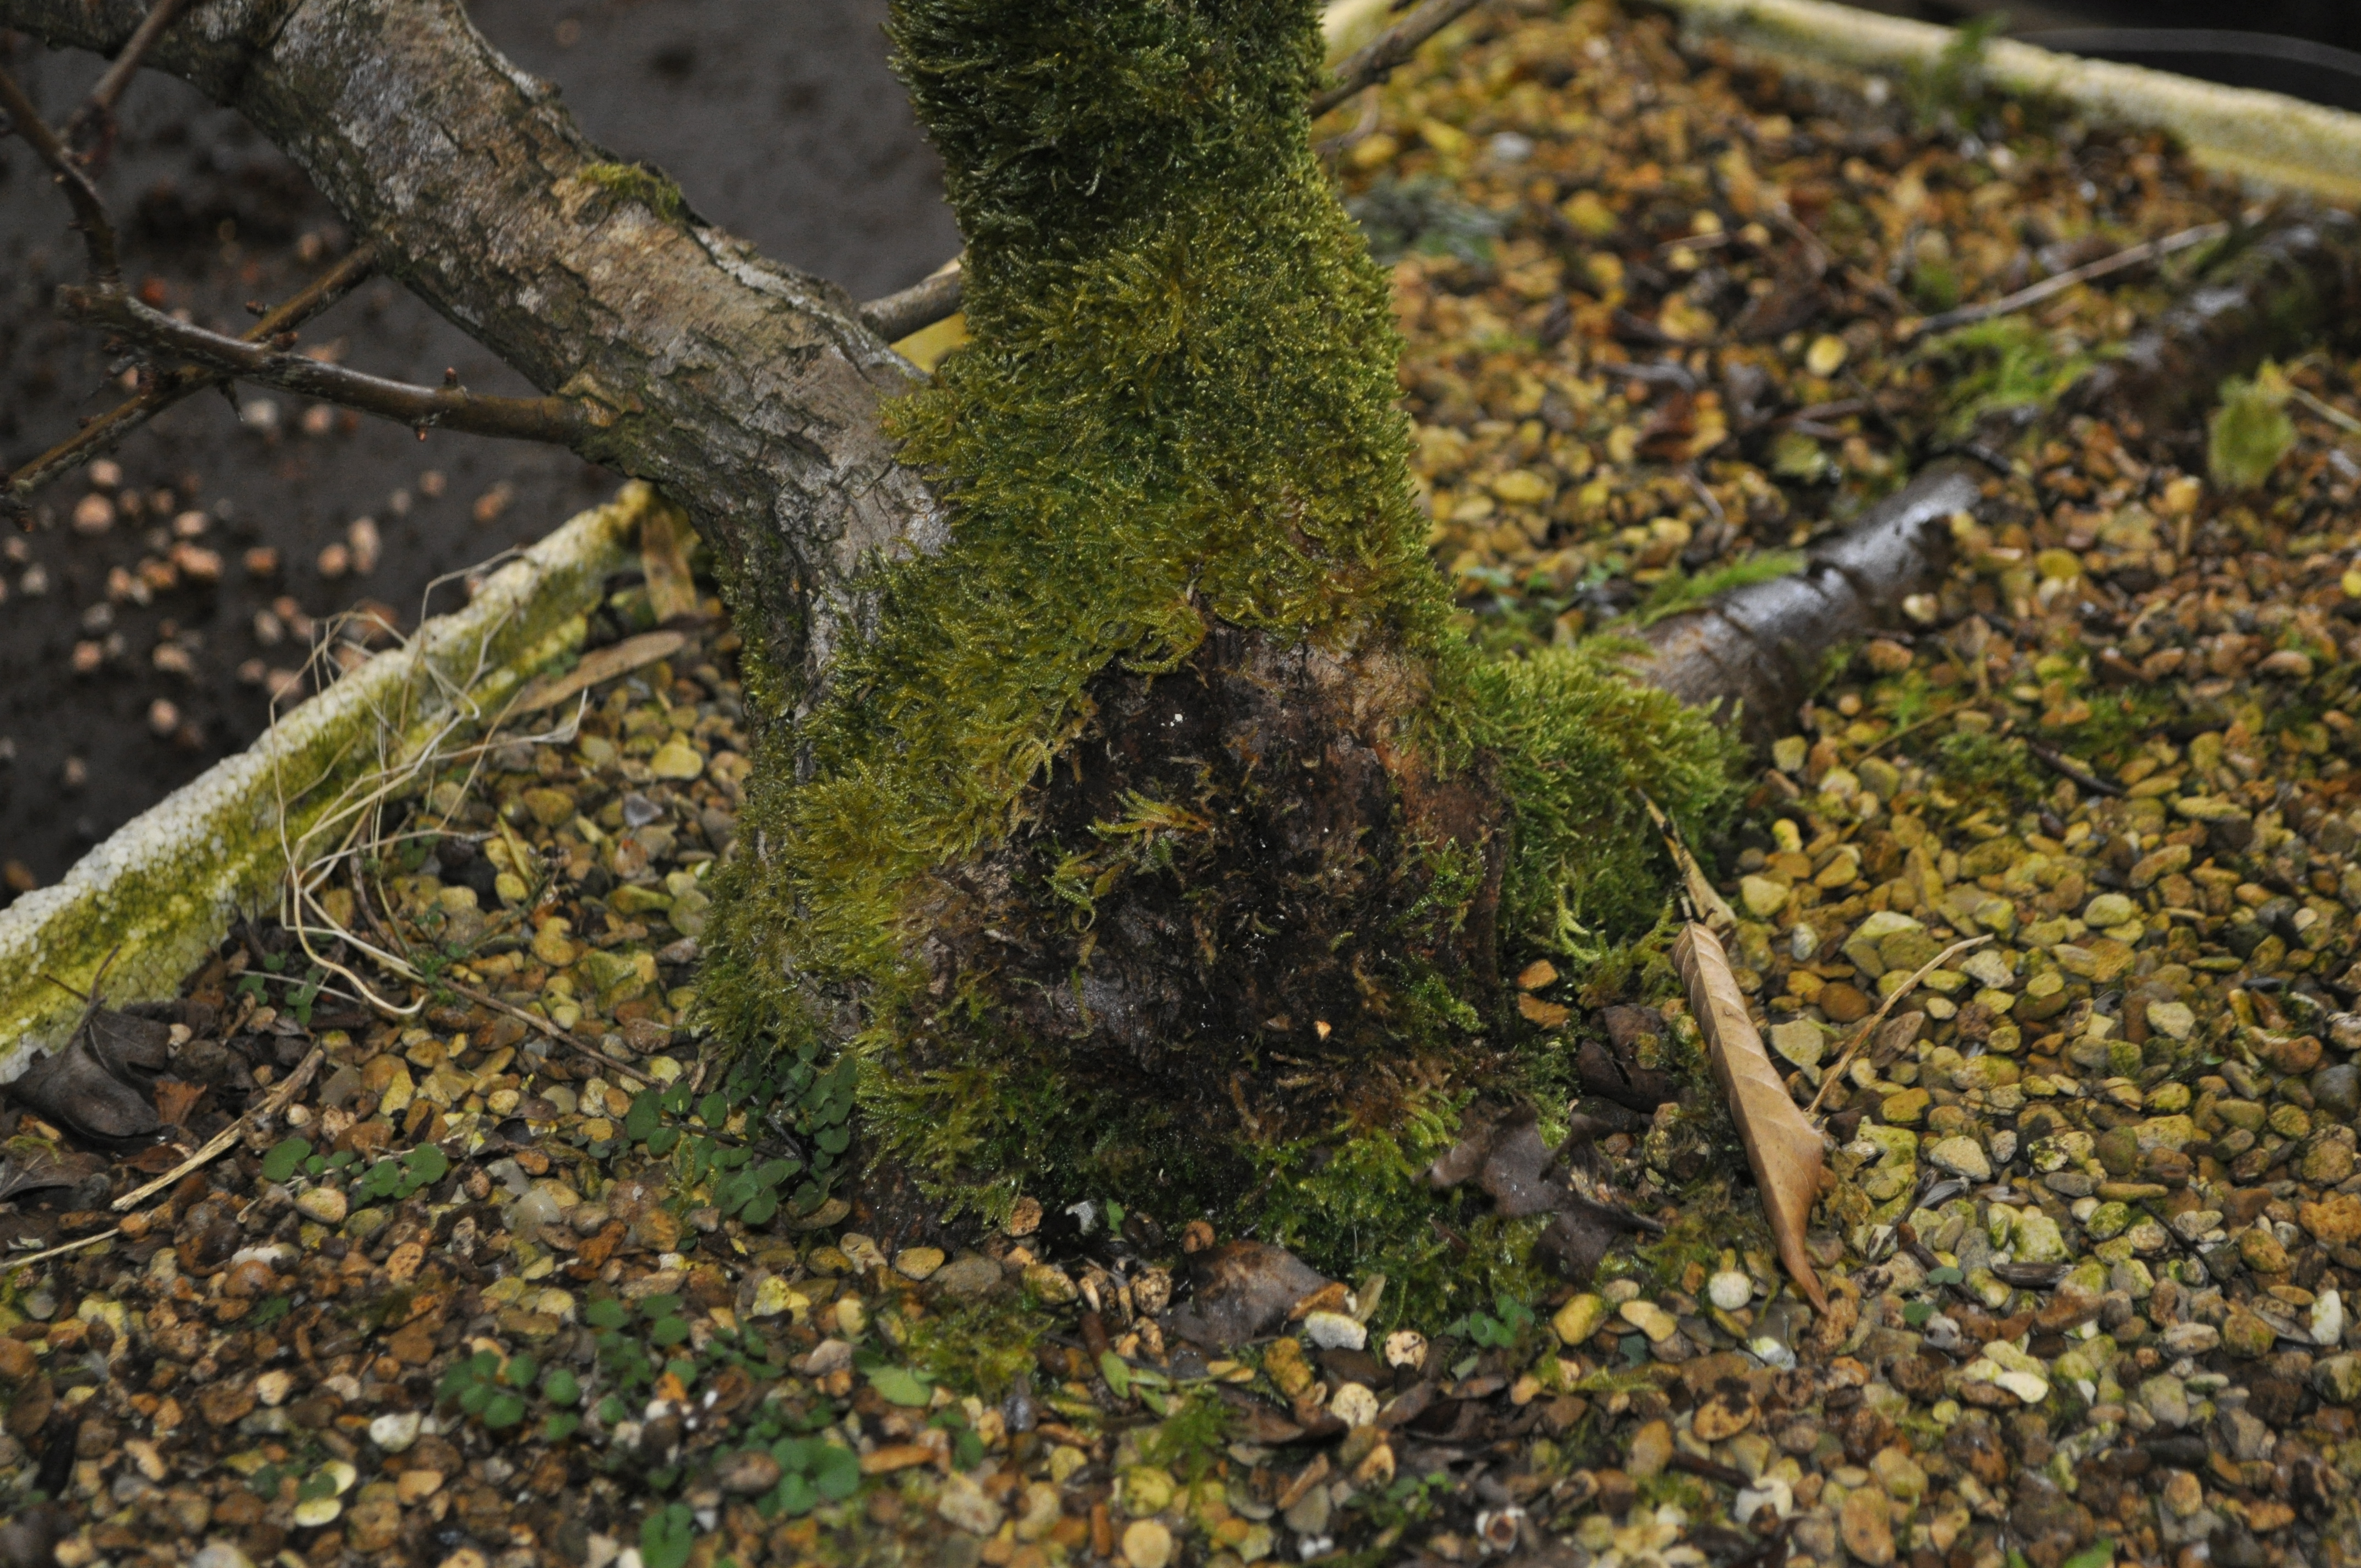
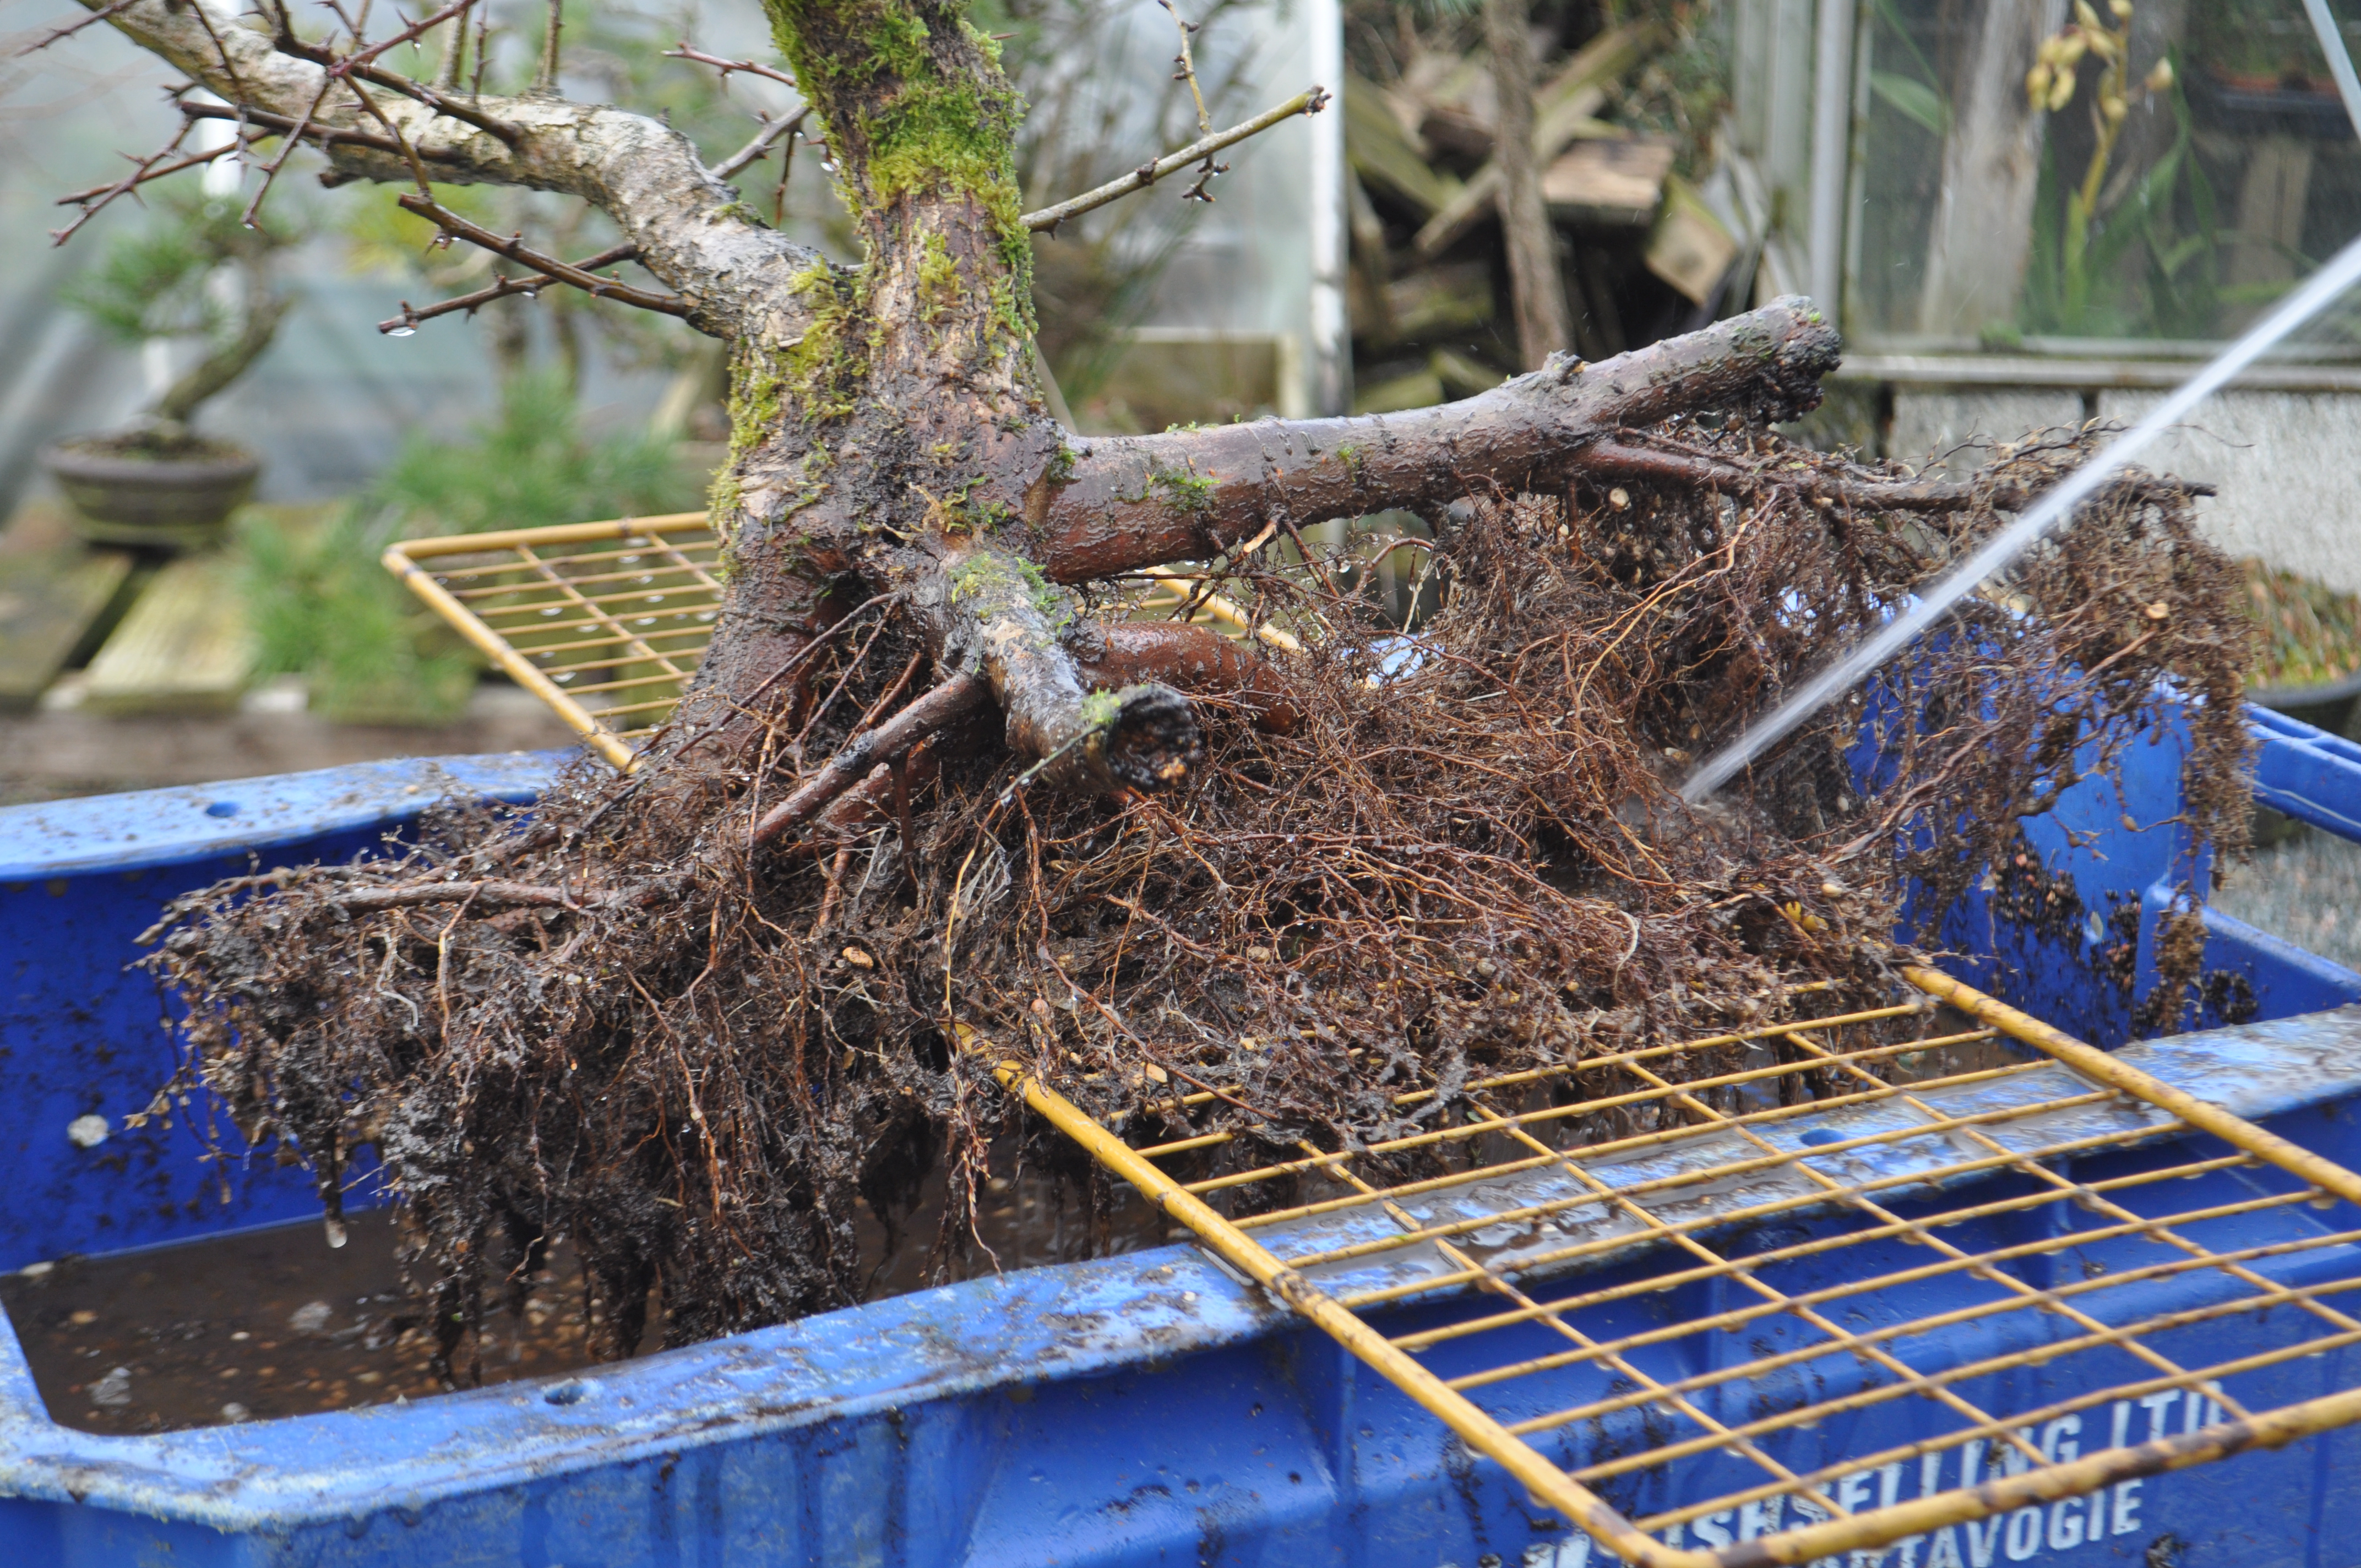
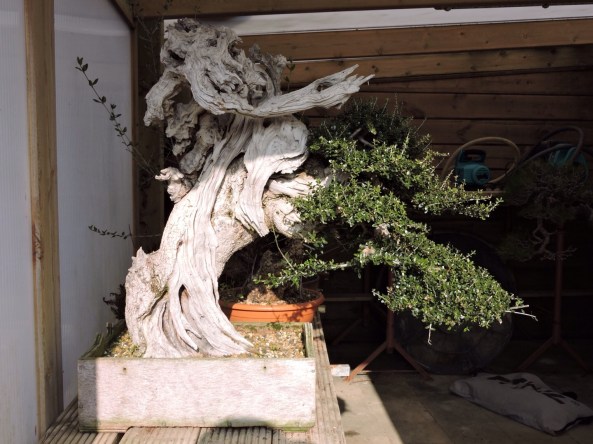
It has a great nebari, probably the best feature of the tree, and some very old bark on the trunk showing the age of the tree.

DSC_0264

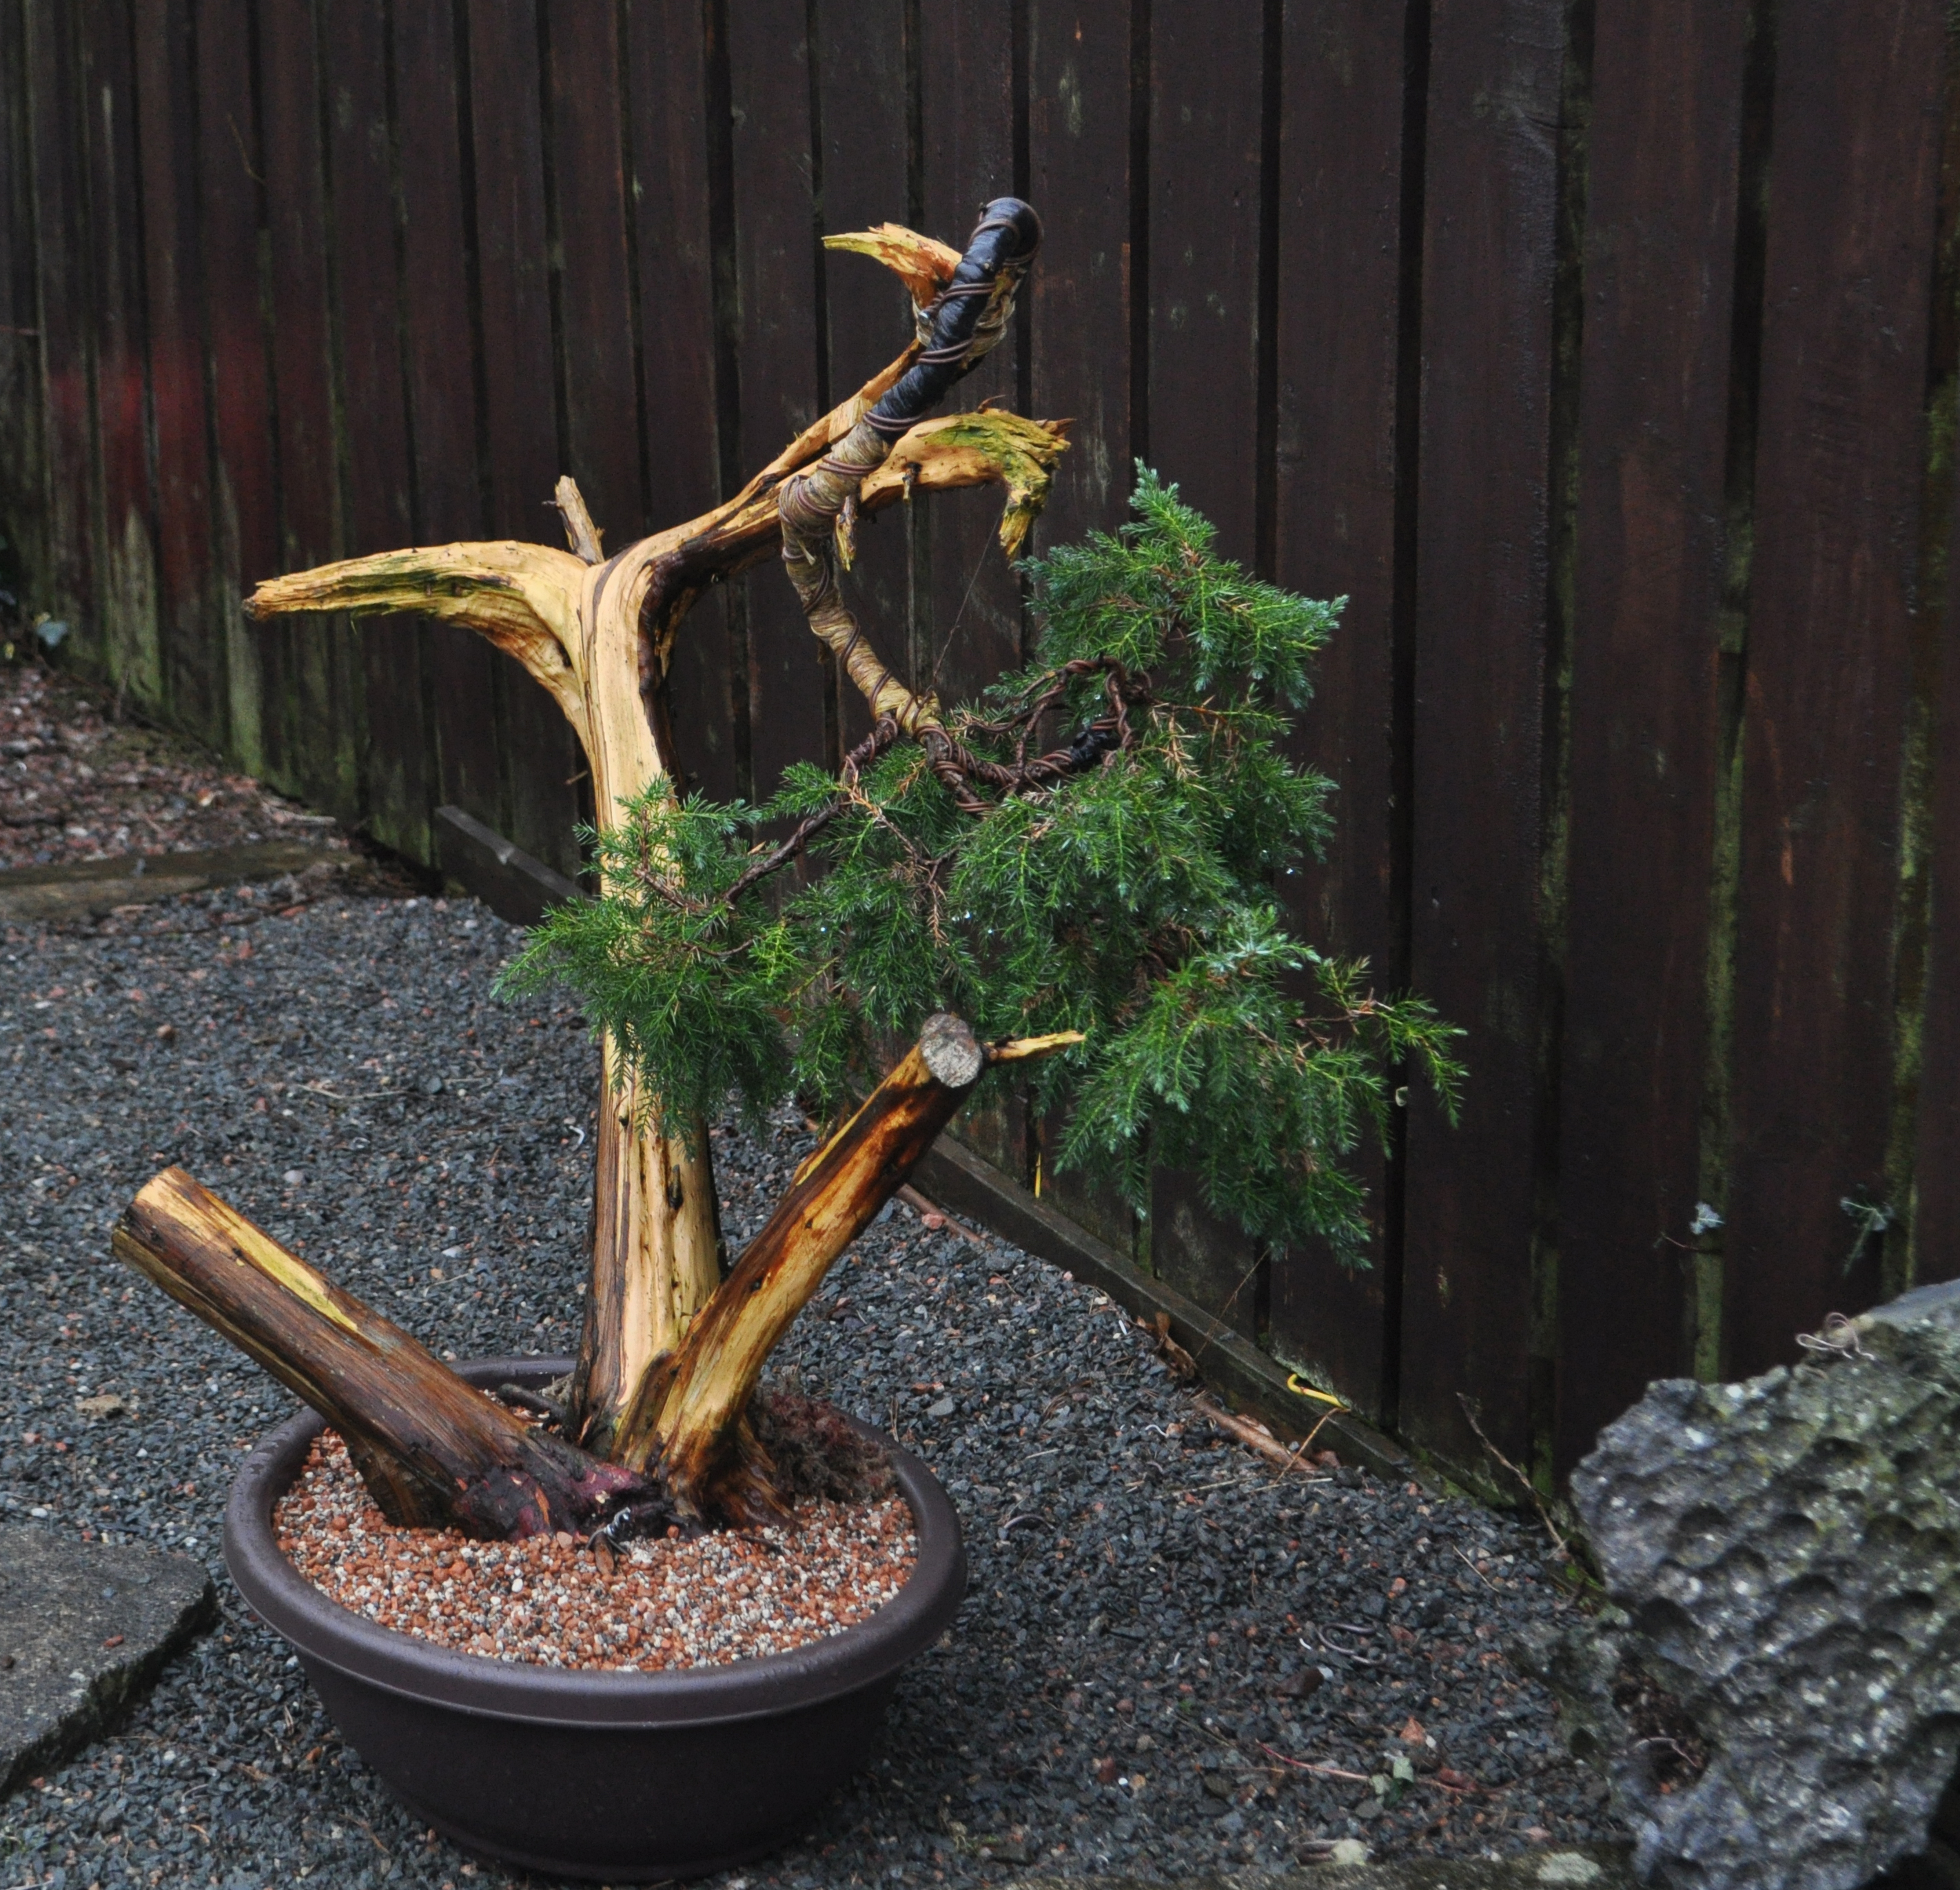
Although the image as it sits now looked good from a distance, there was a lot of issues with heavy branches high up the tree, new thin branches lower down that need to be grown on to fatten, and some ugly pruning wounds that need reduced now. We picked a slightly different front that the last owner to improve the trunk line and taper.

DSC_0265

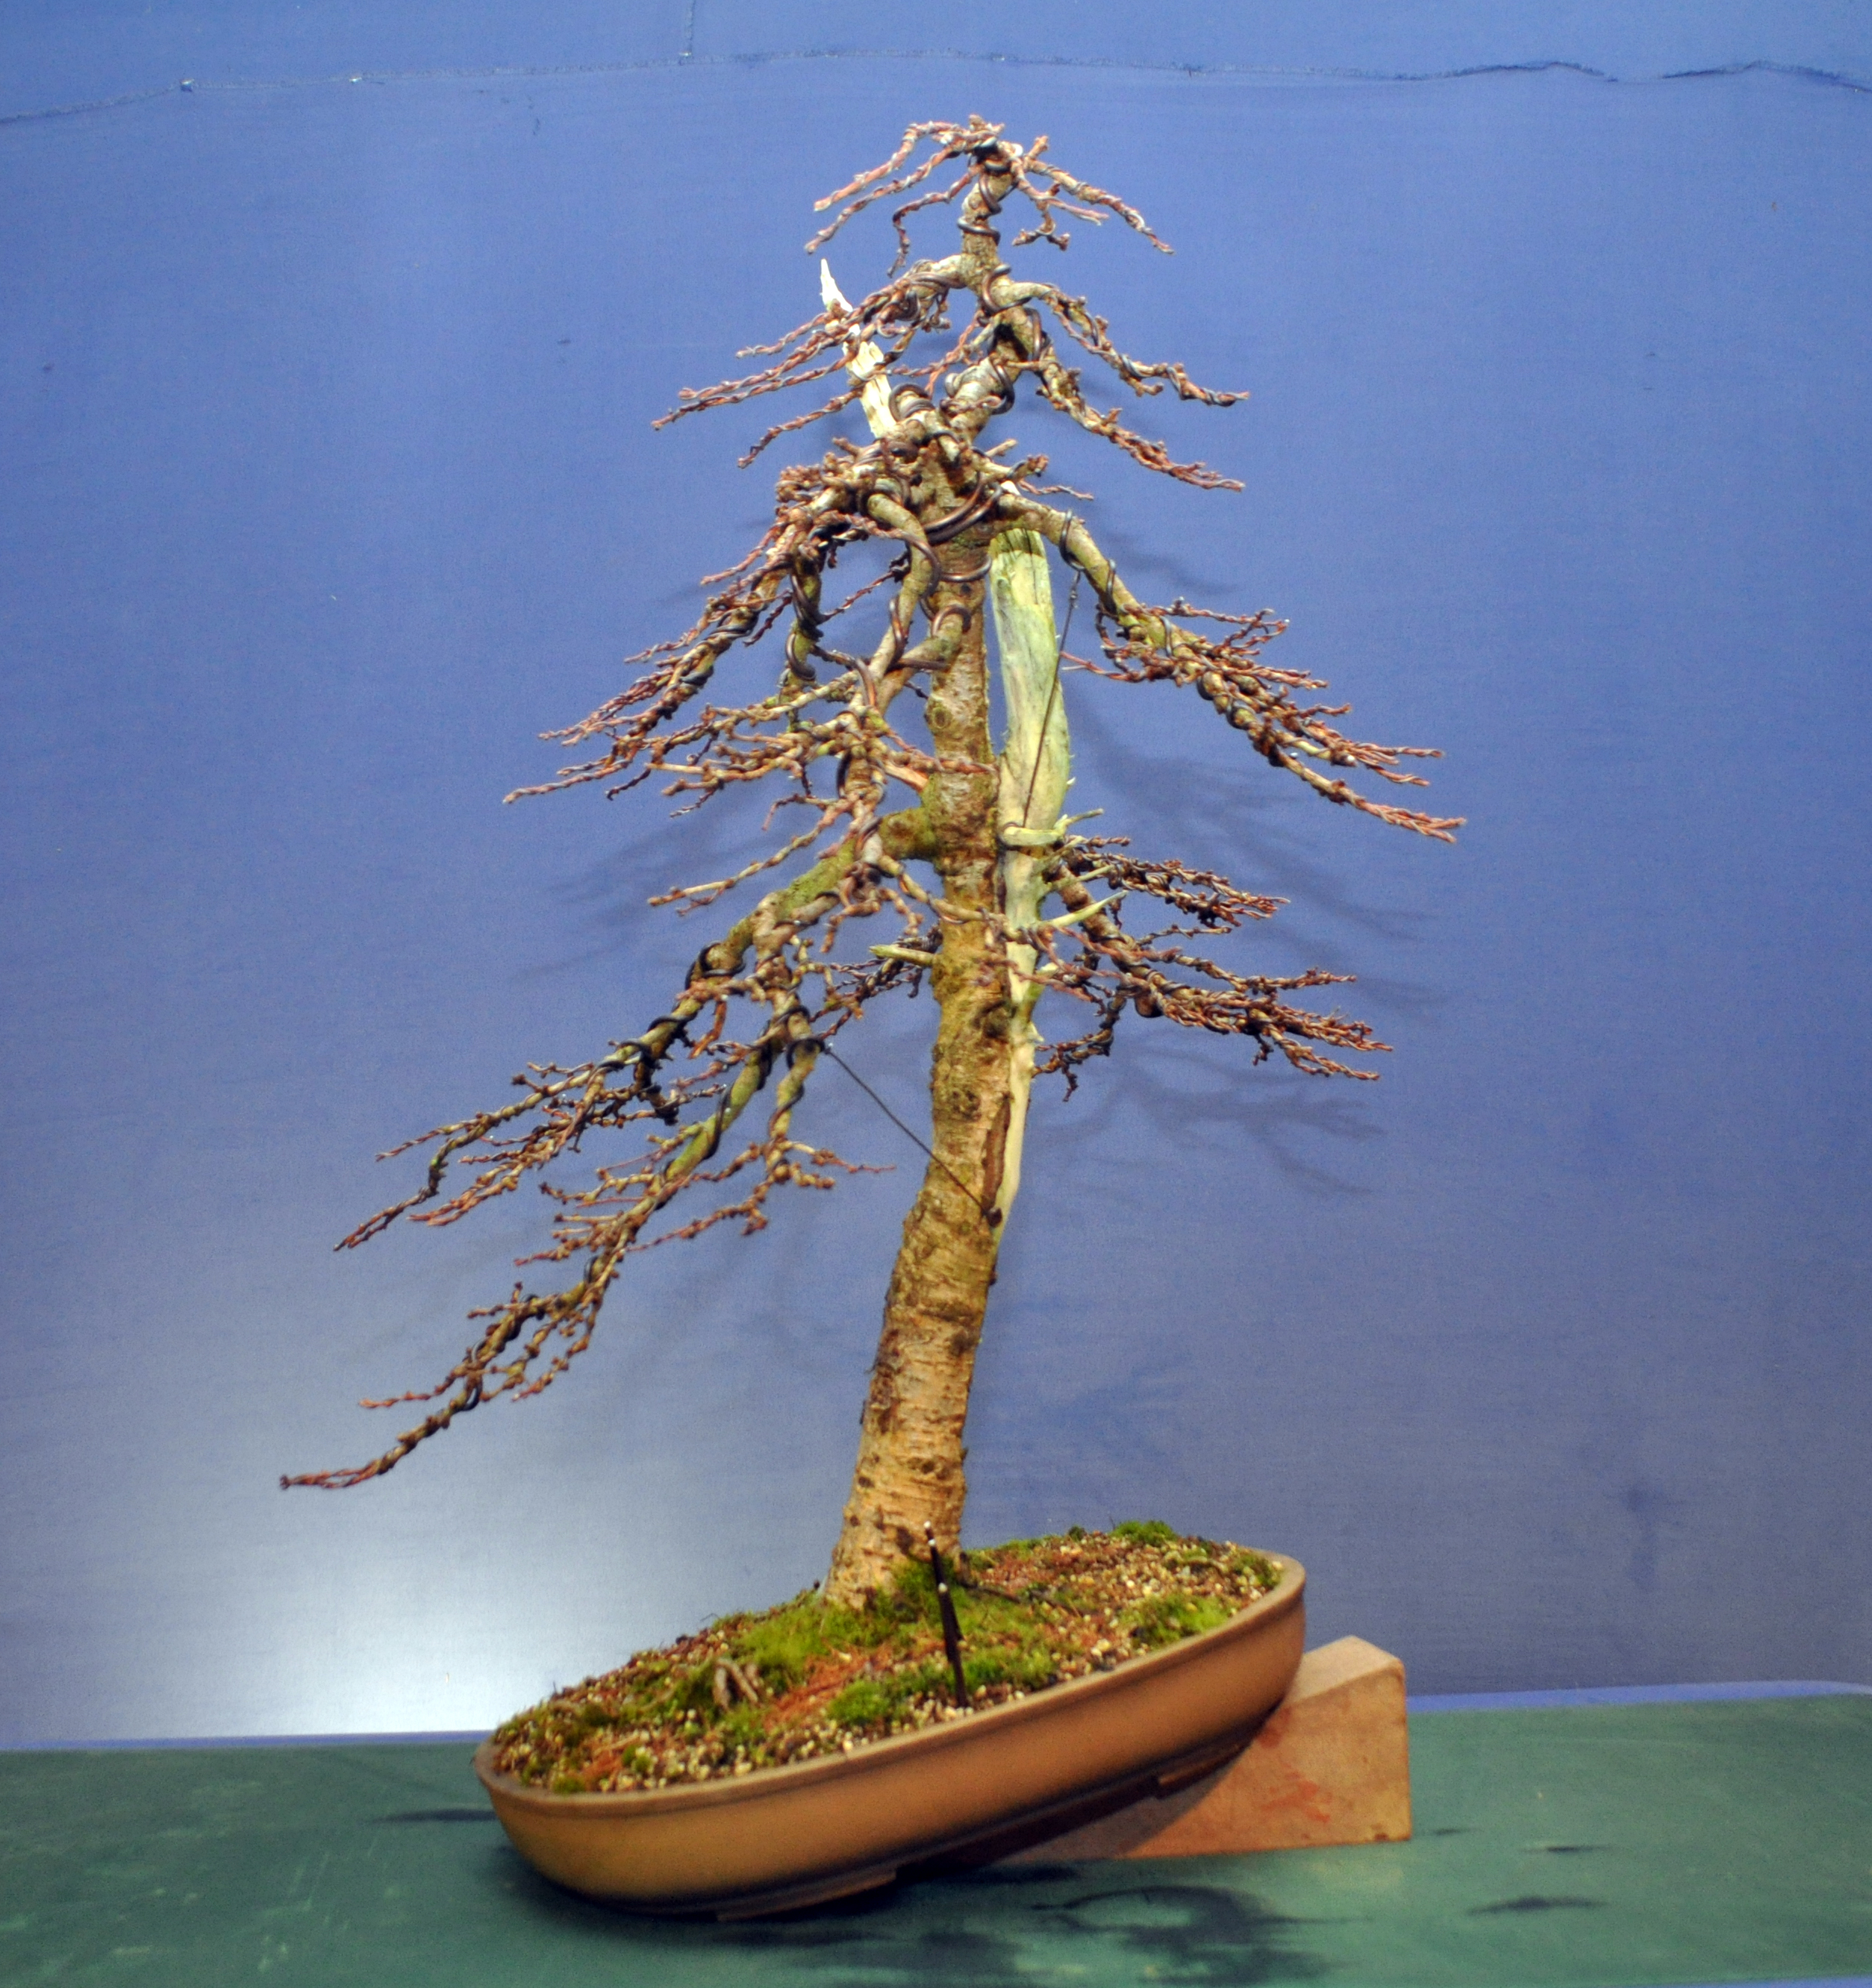
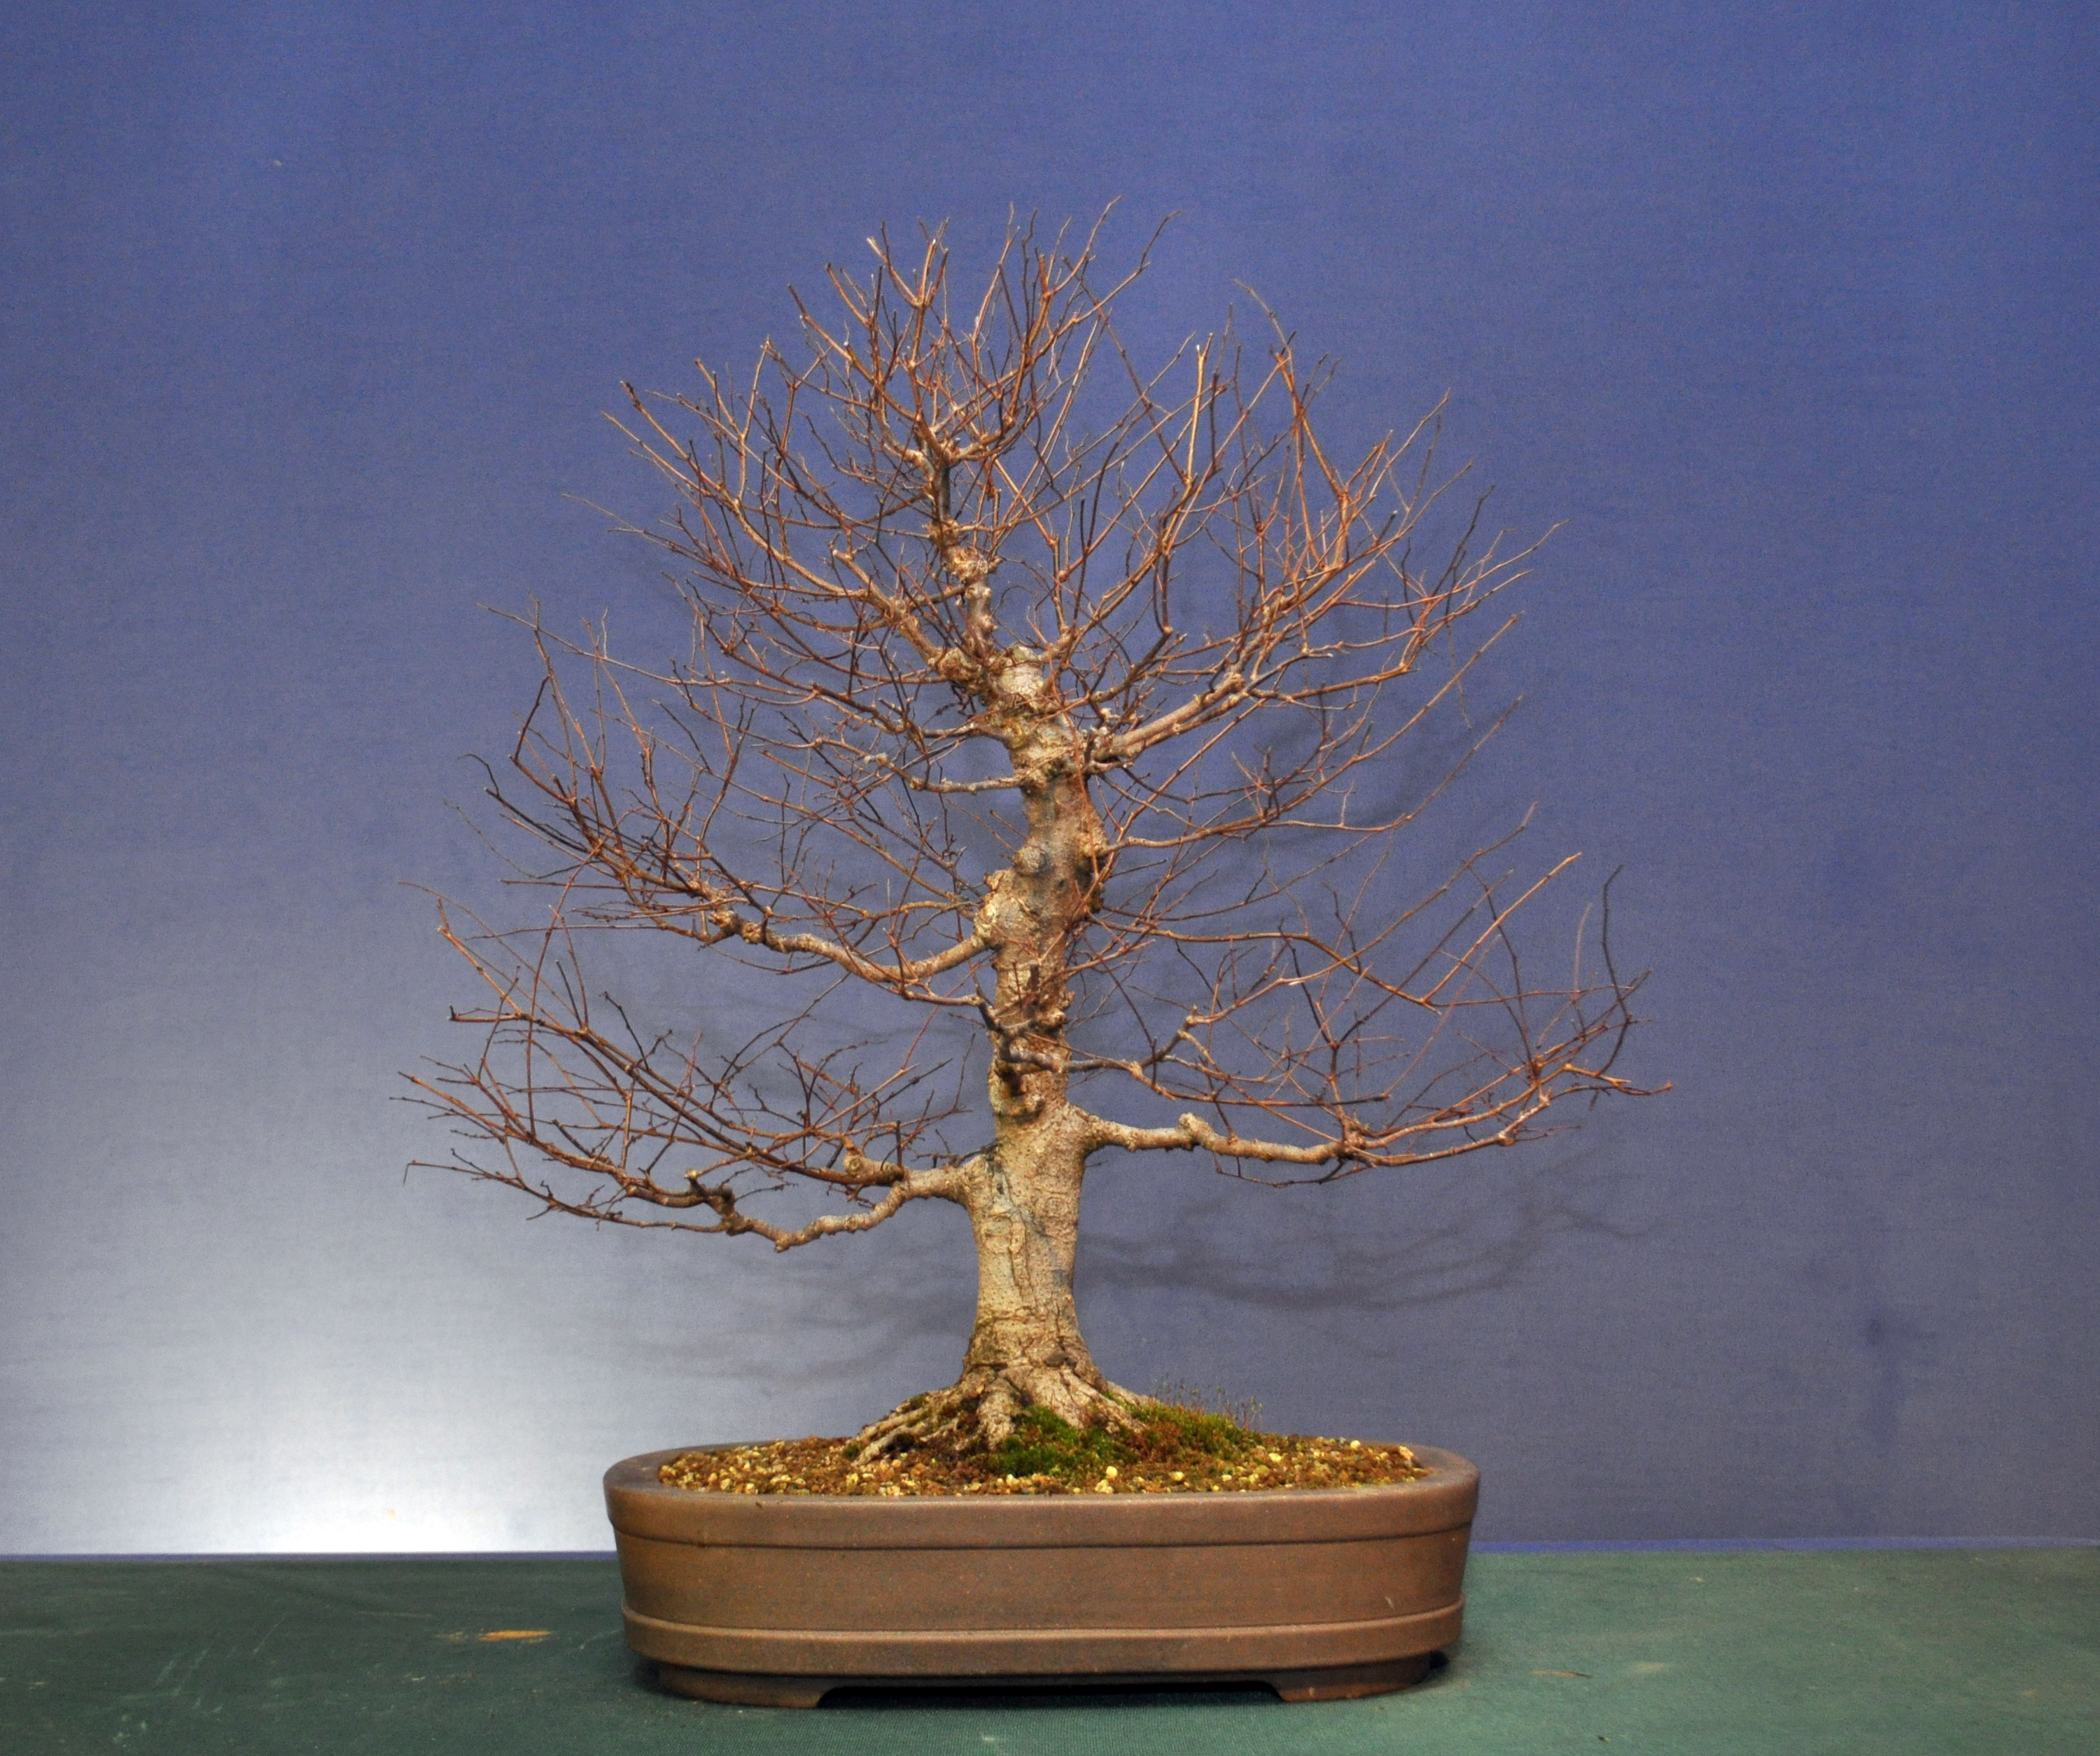
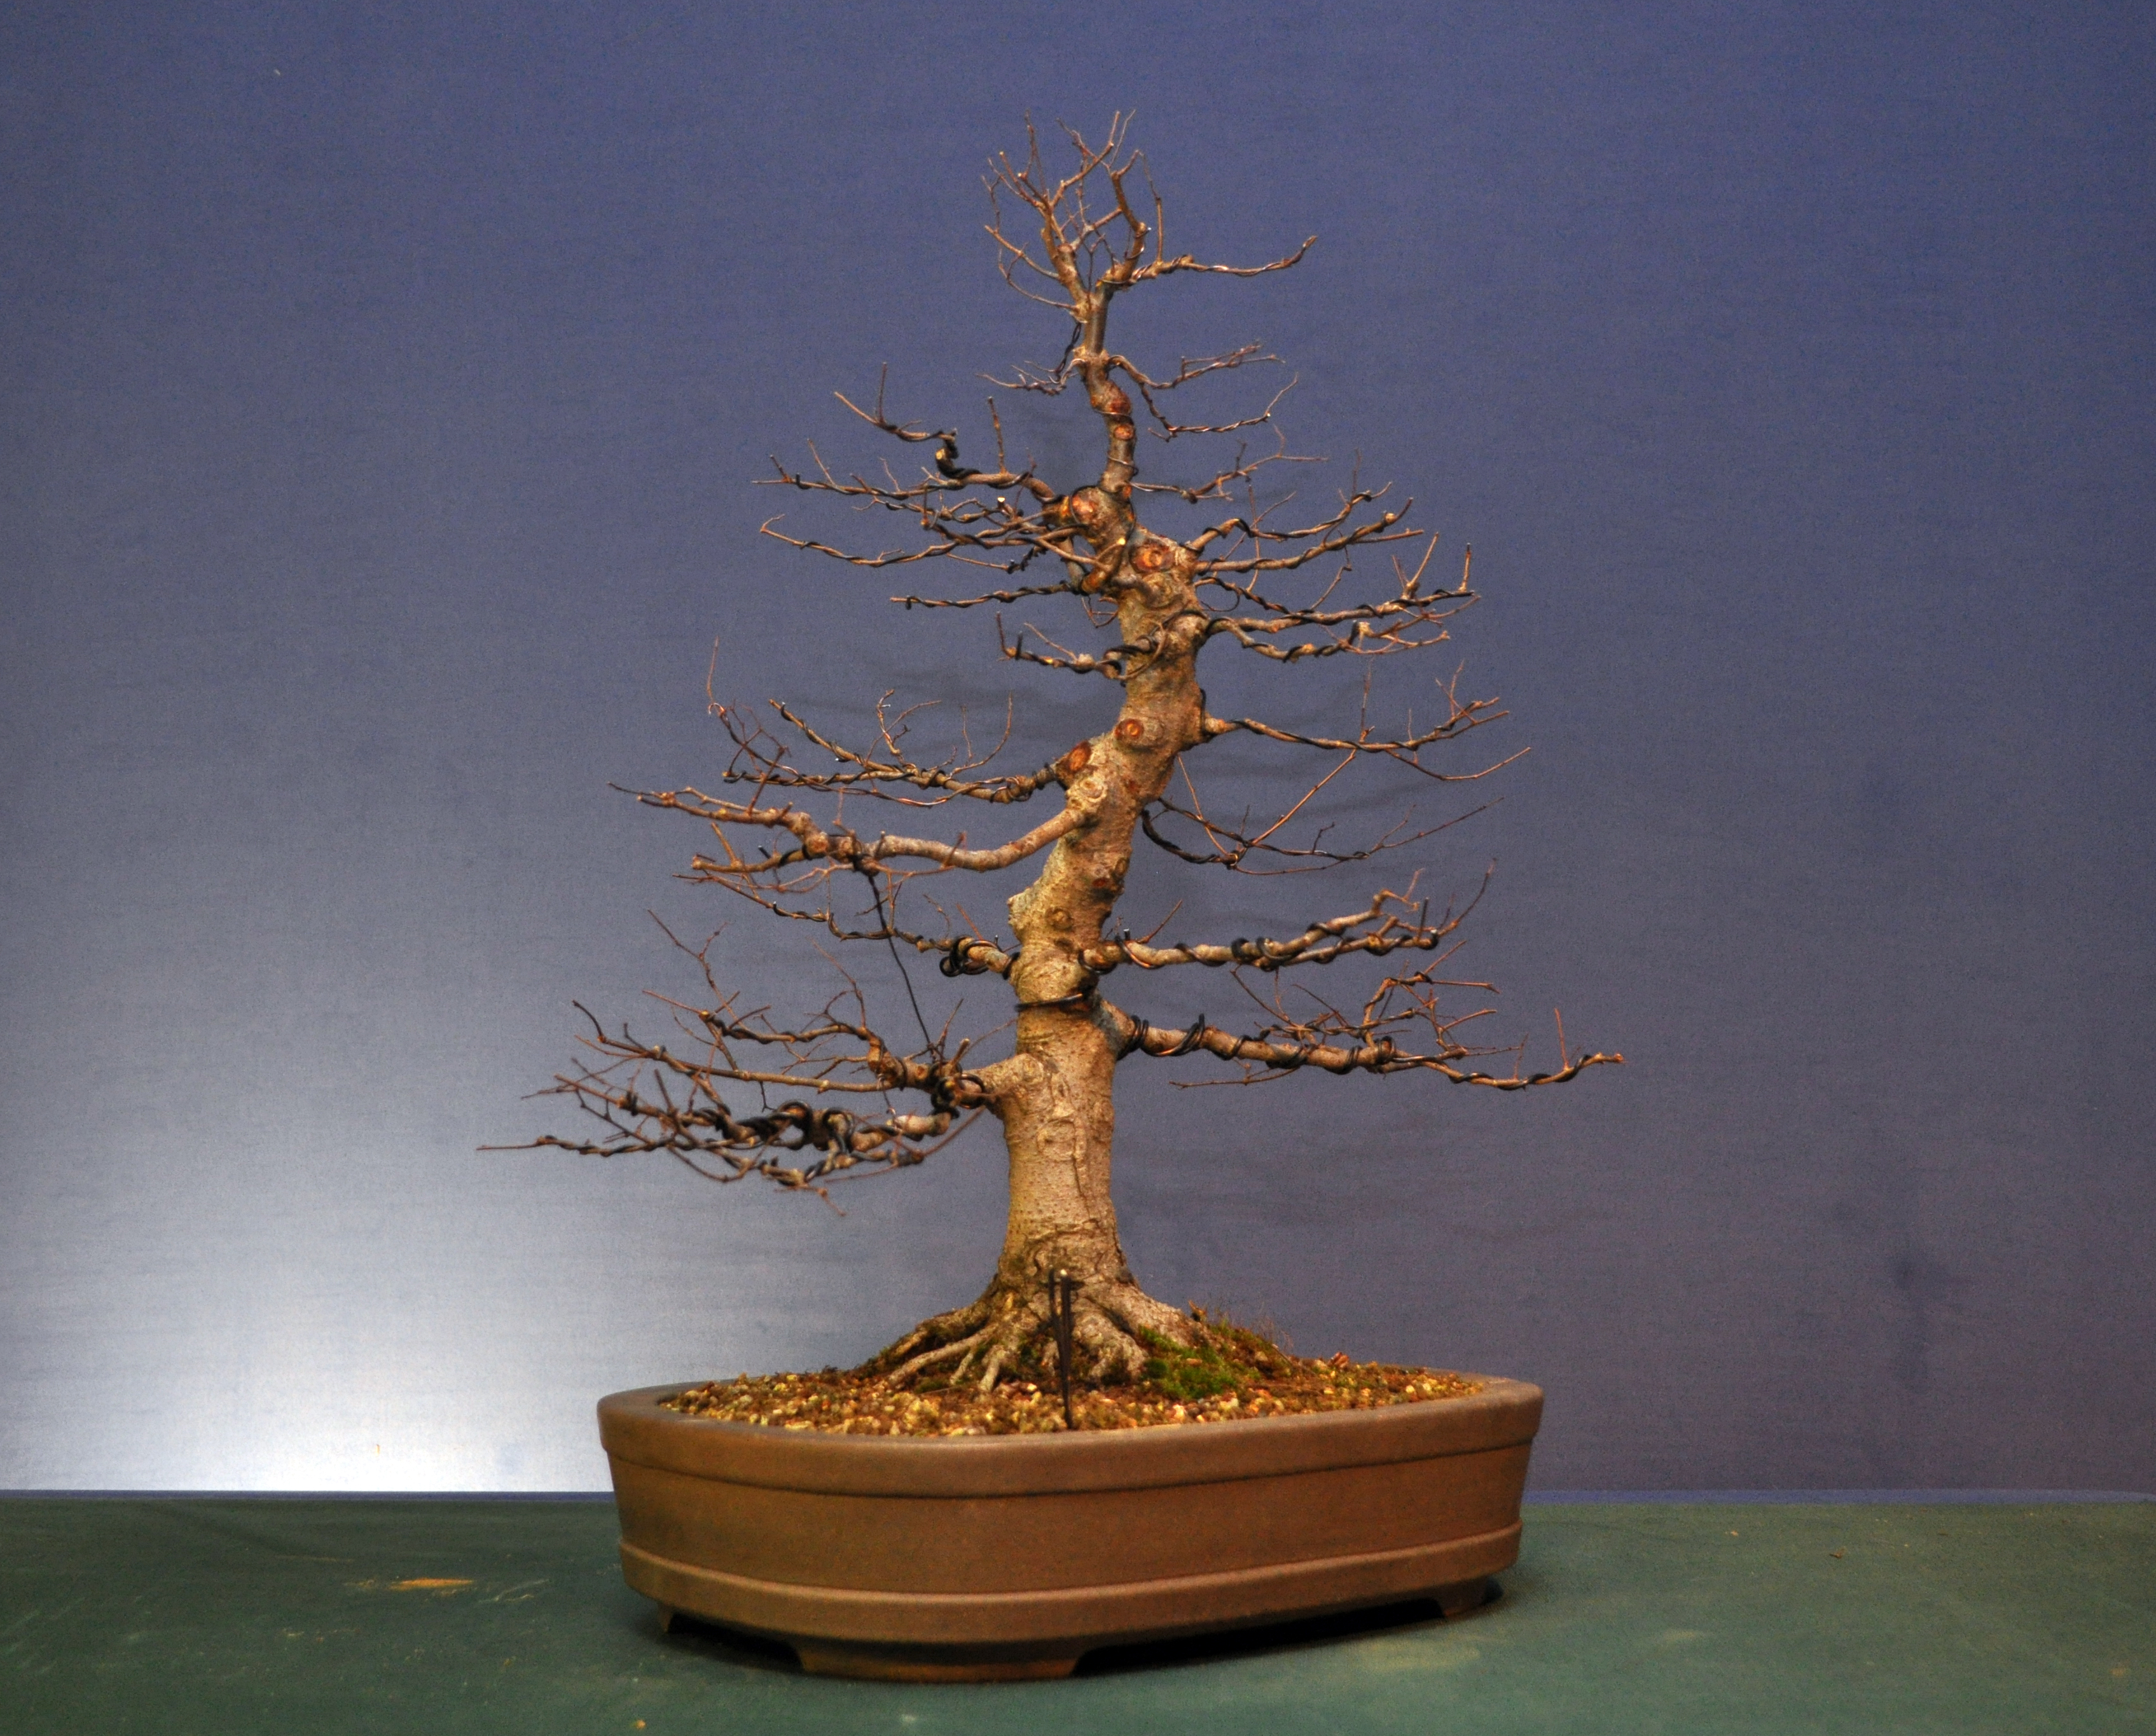
This is it after pruning and reduction of wounds, Some branches have been left uncut to allow extension and thickening.

DSC_0270

And this it it after some wiring to reposition branches. Still a way to go with this one but give it 5 years of good care and it will be a very nice tree.

DSC_0275

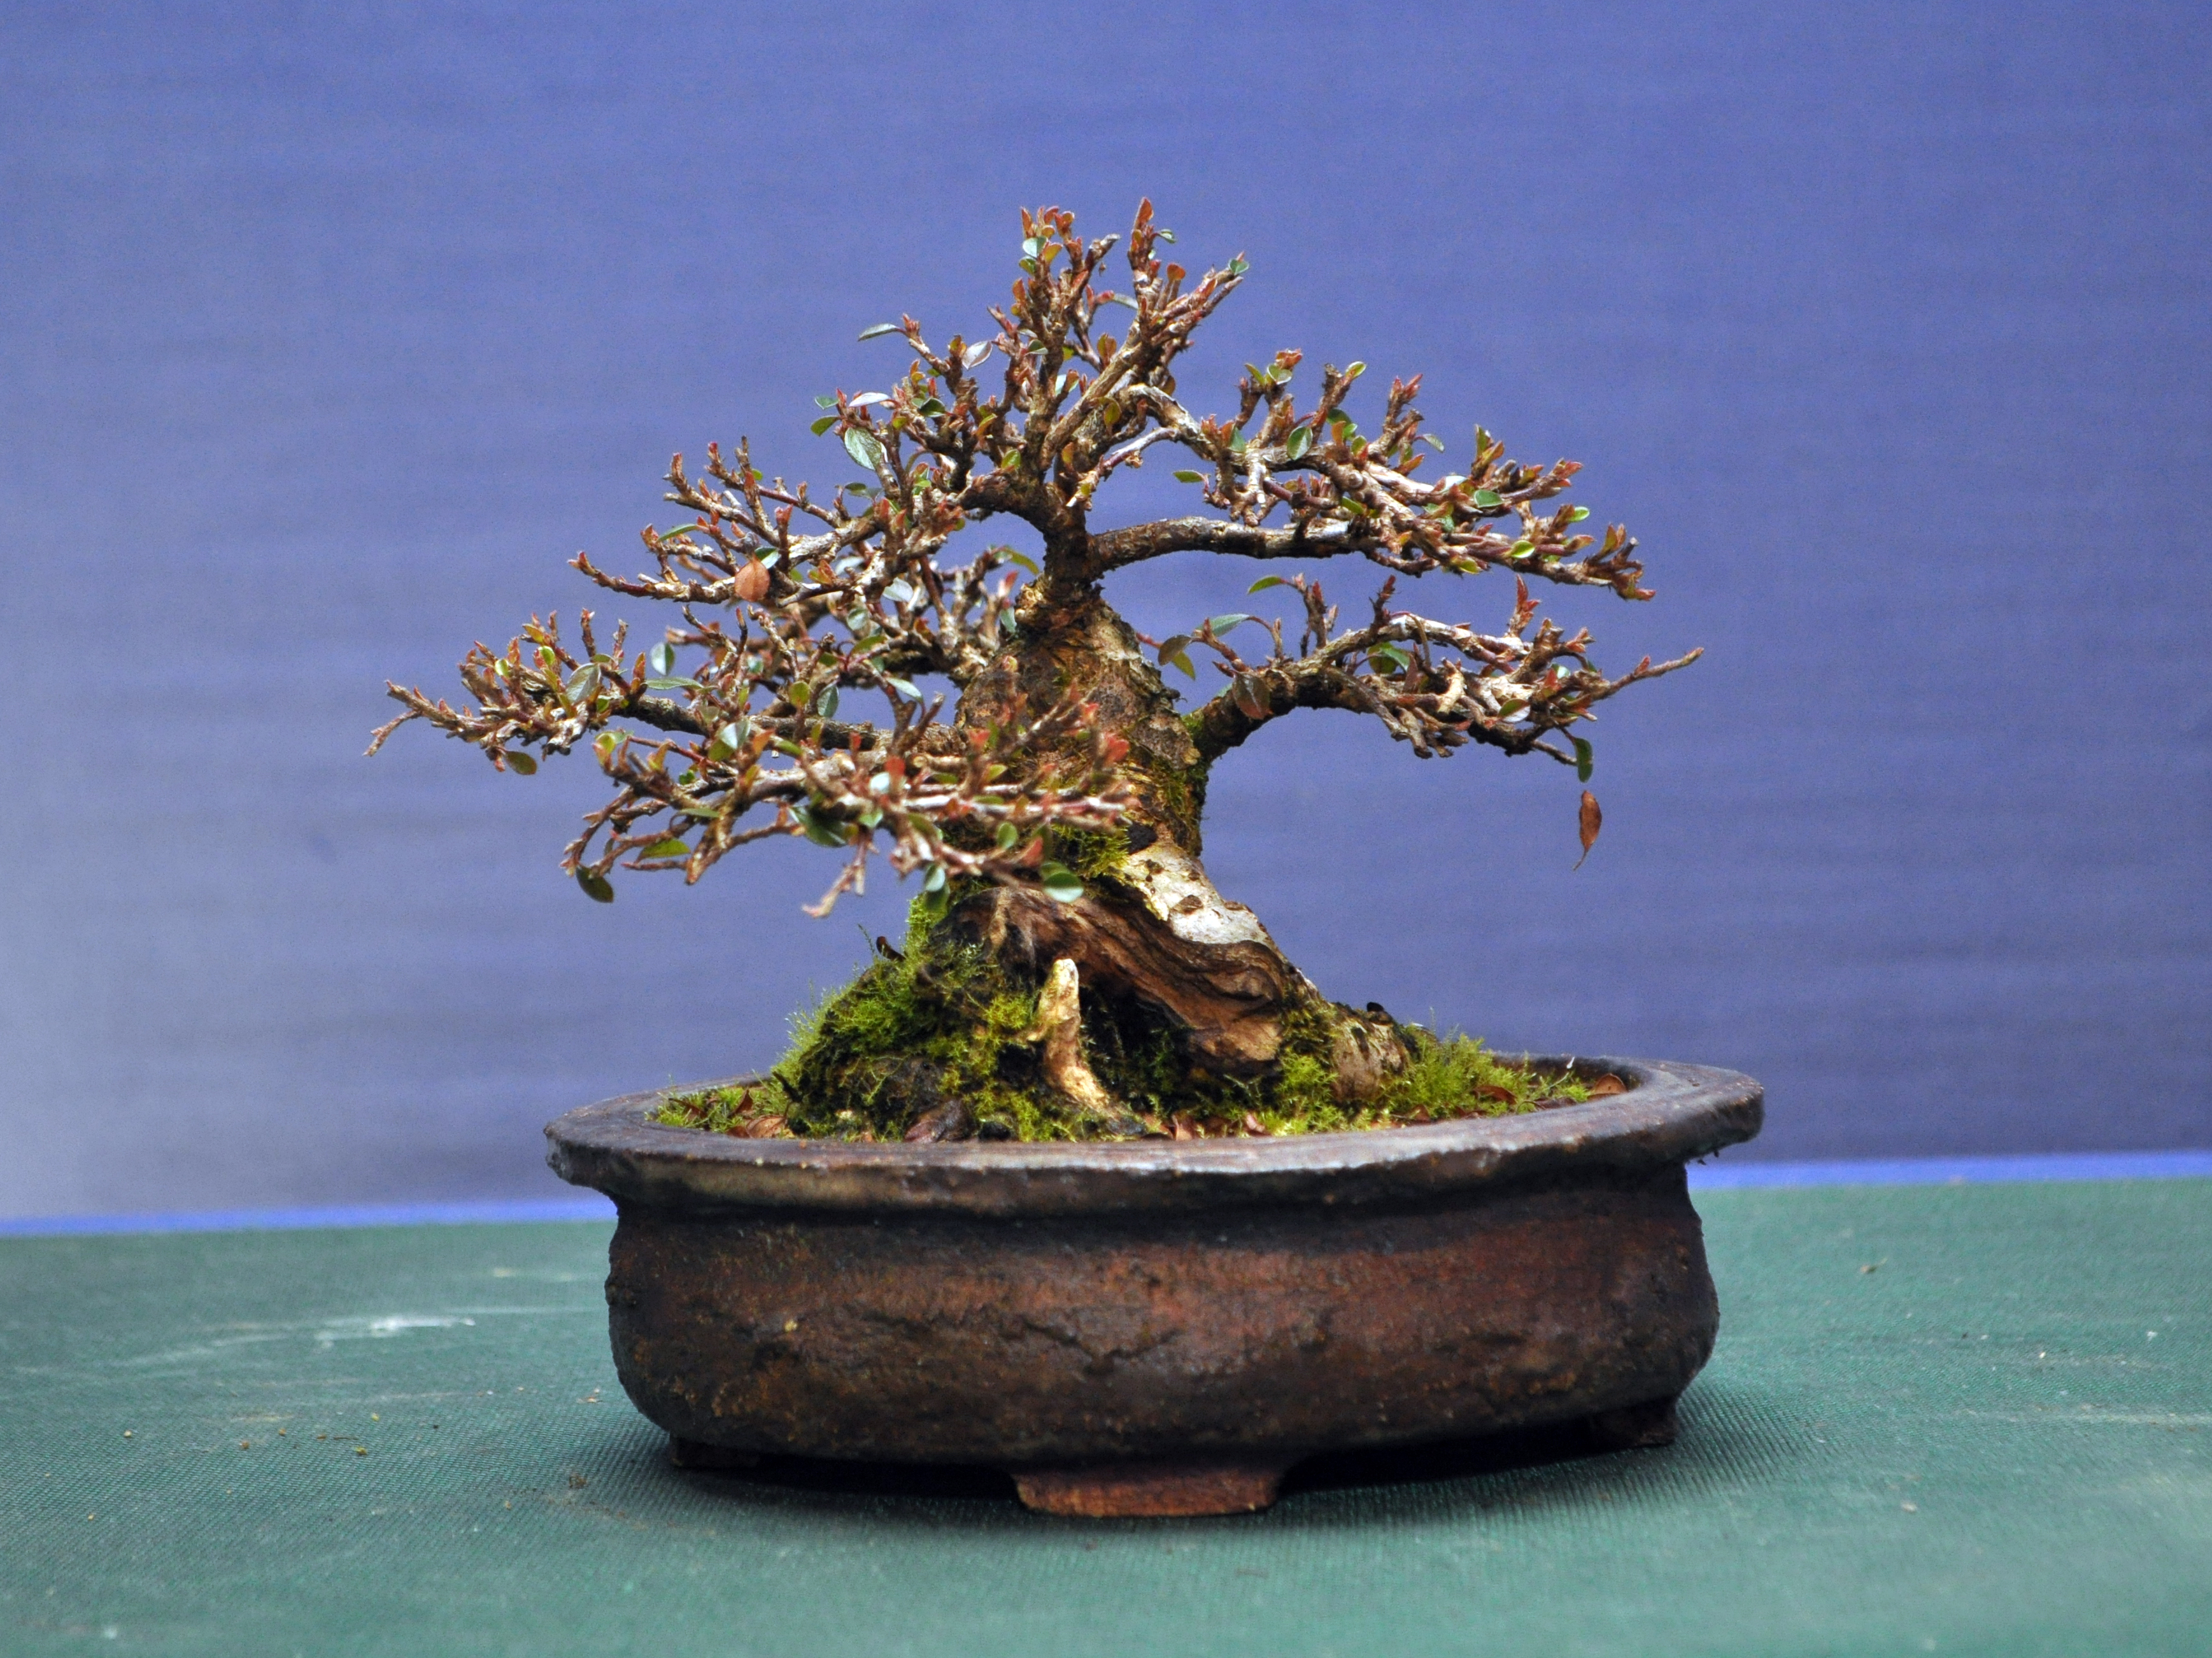
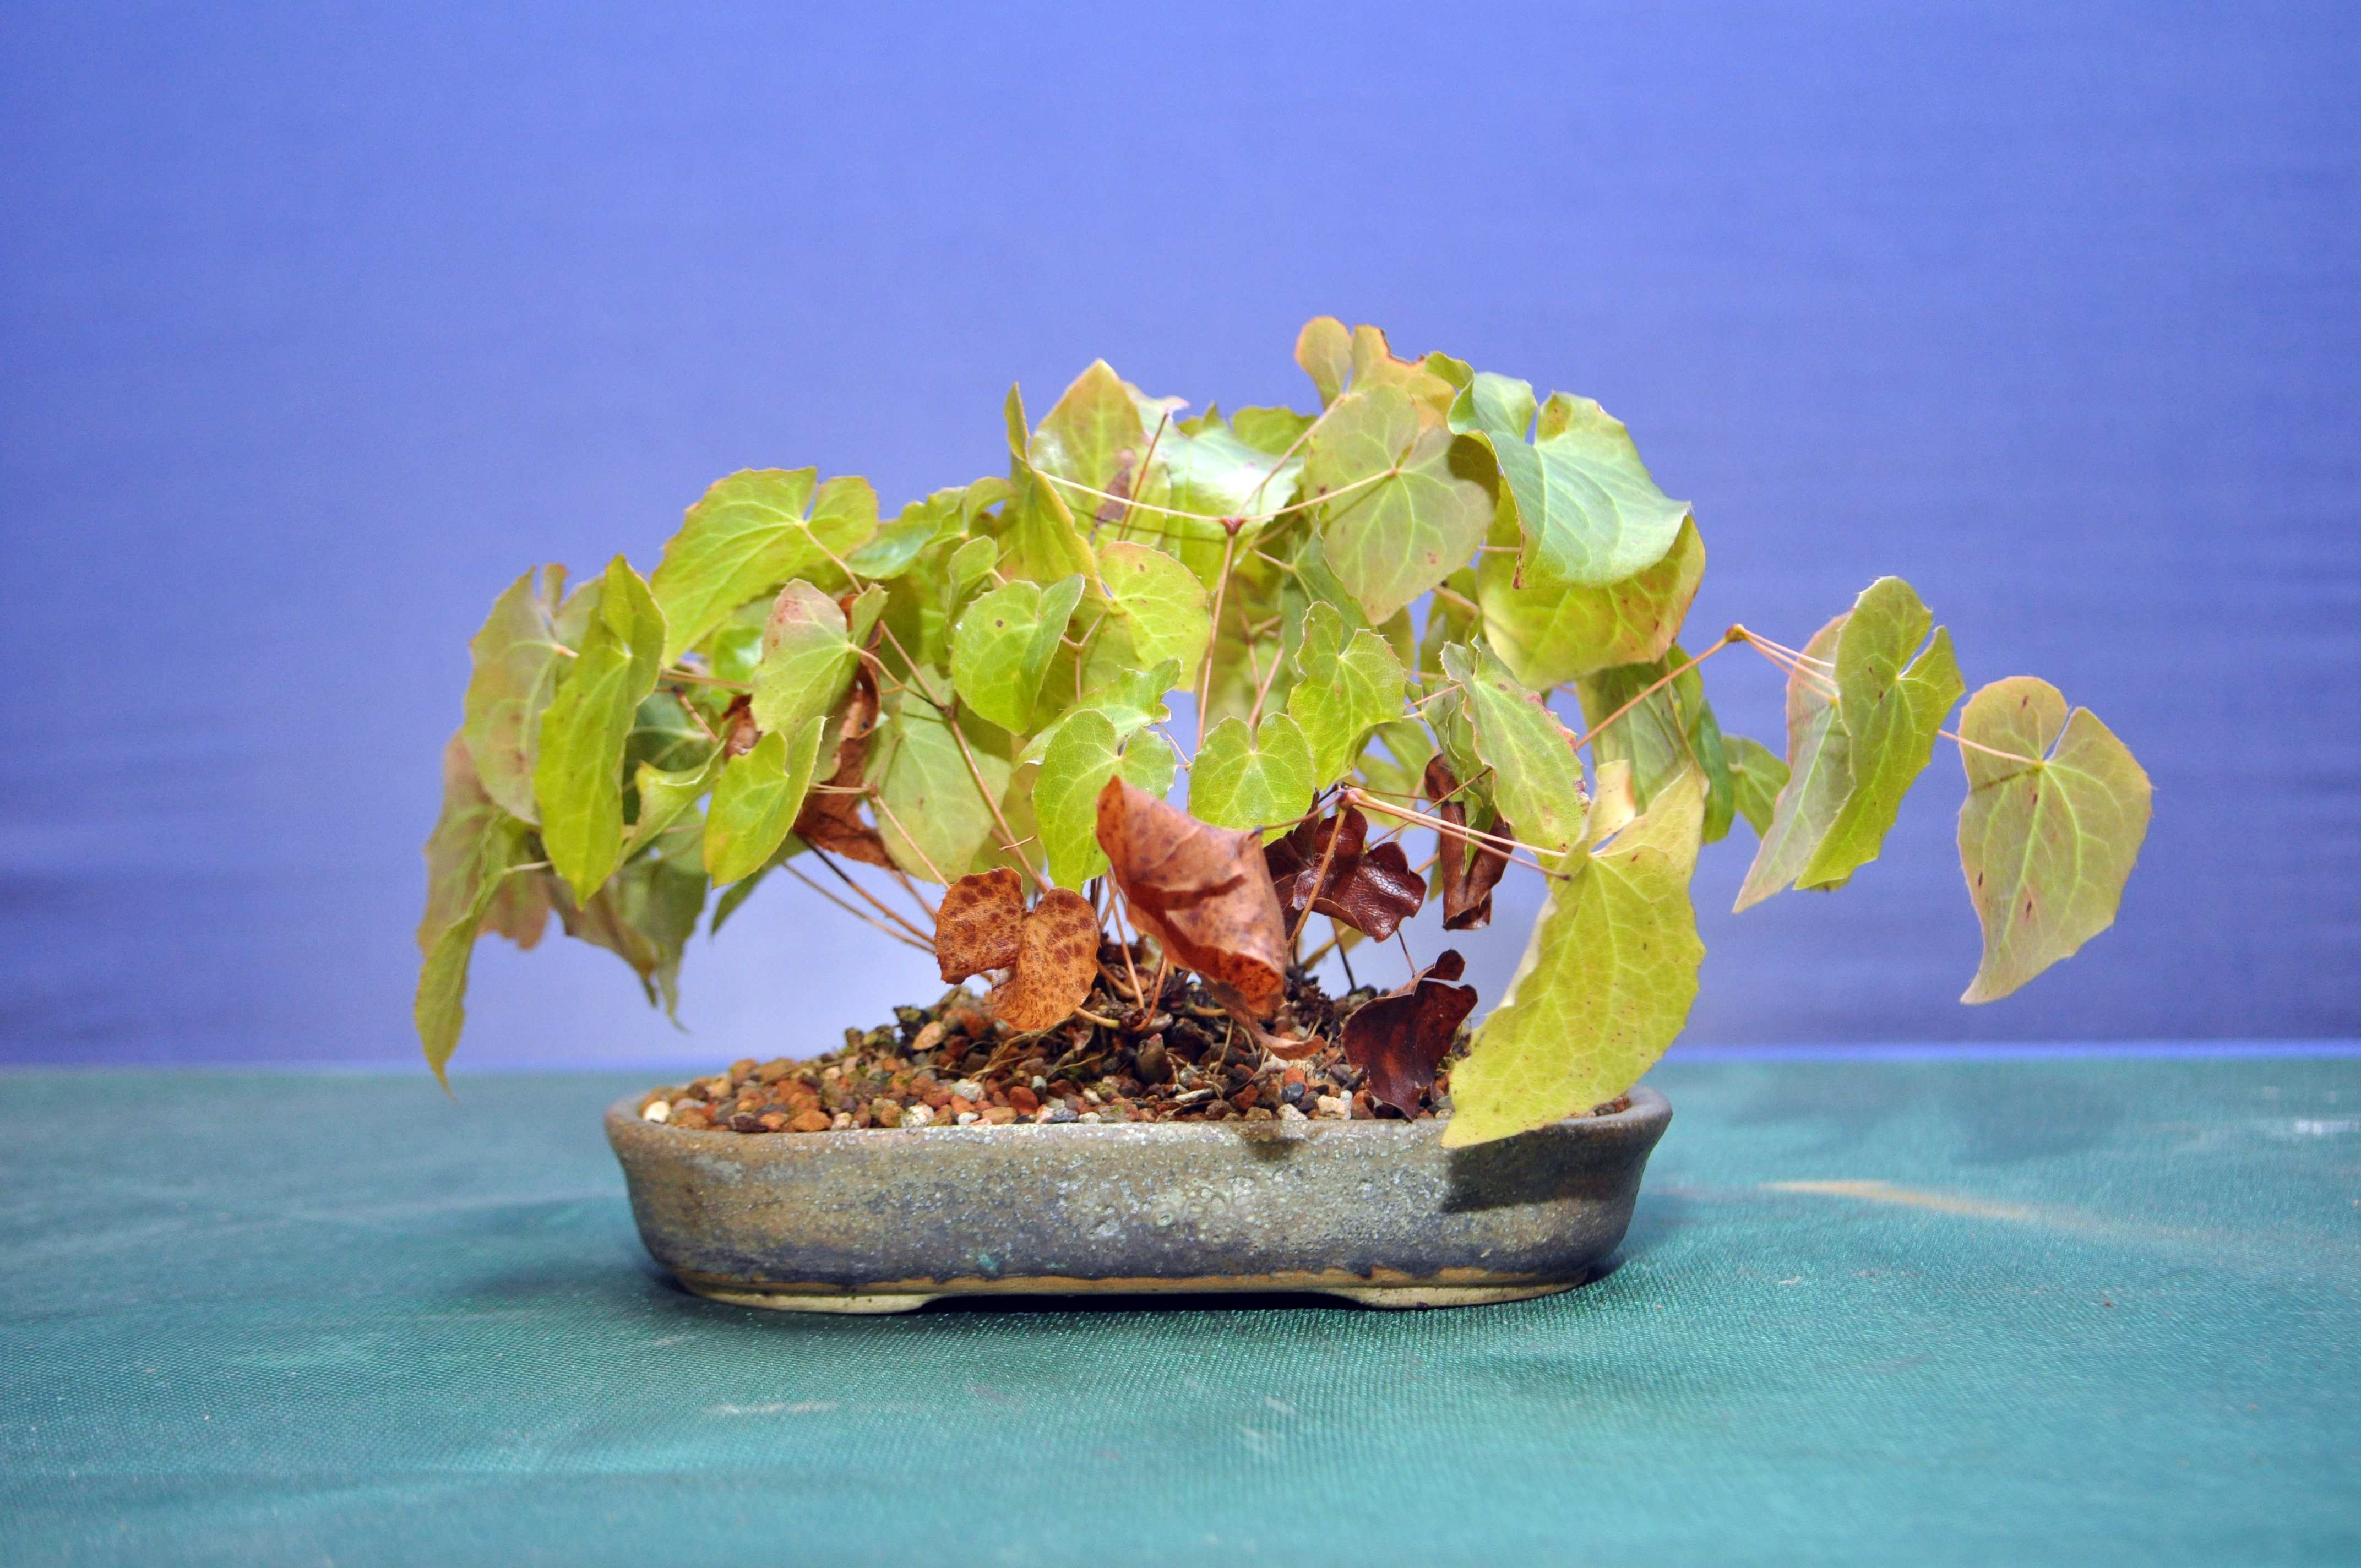
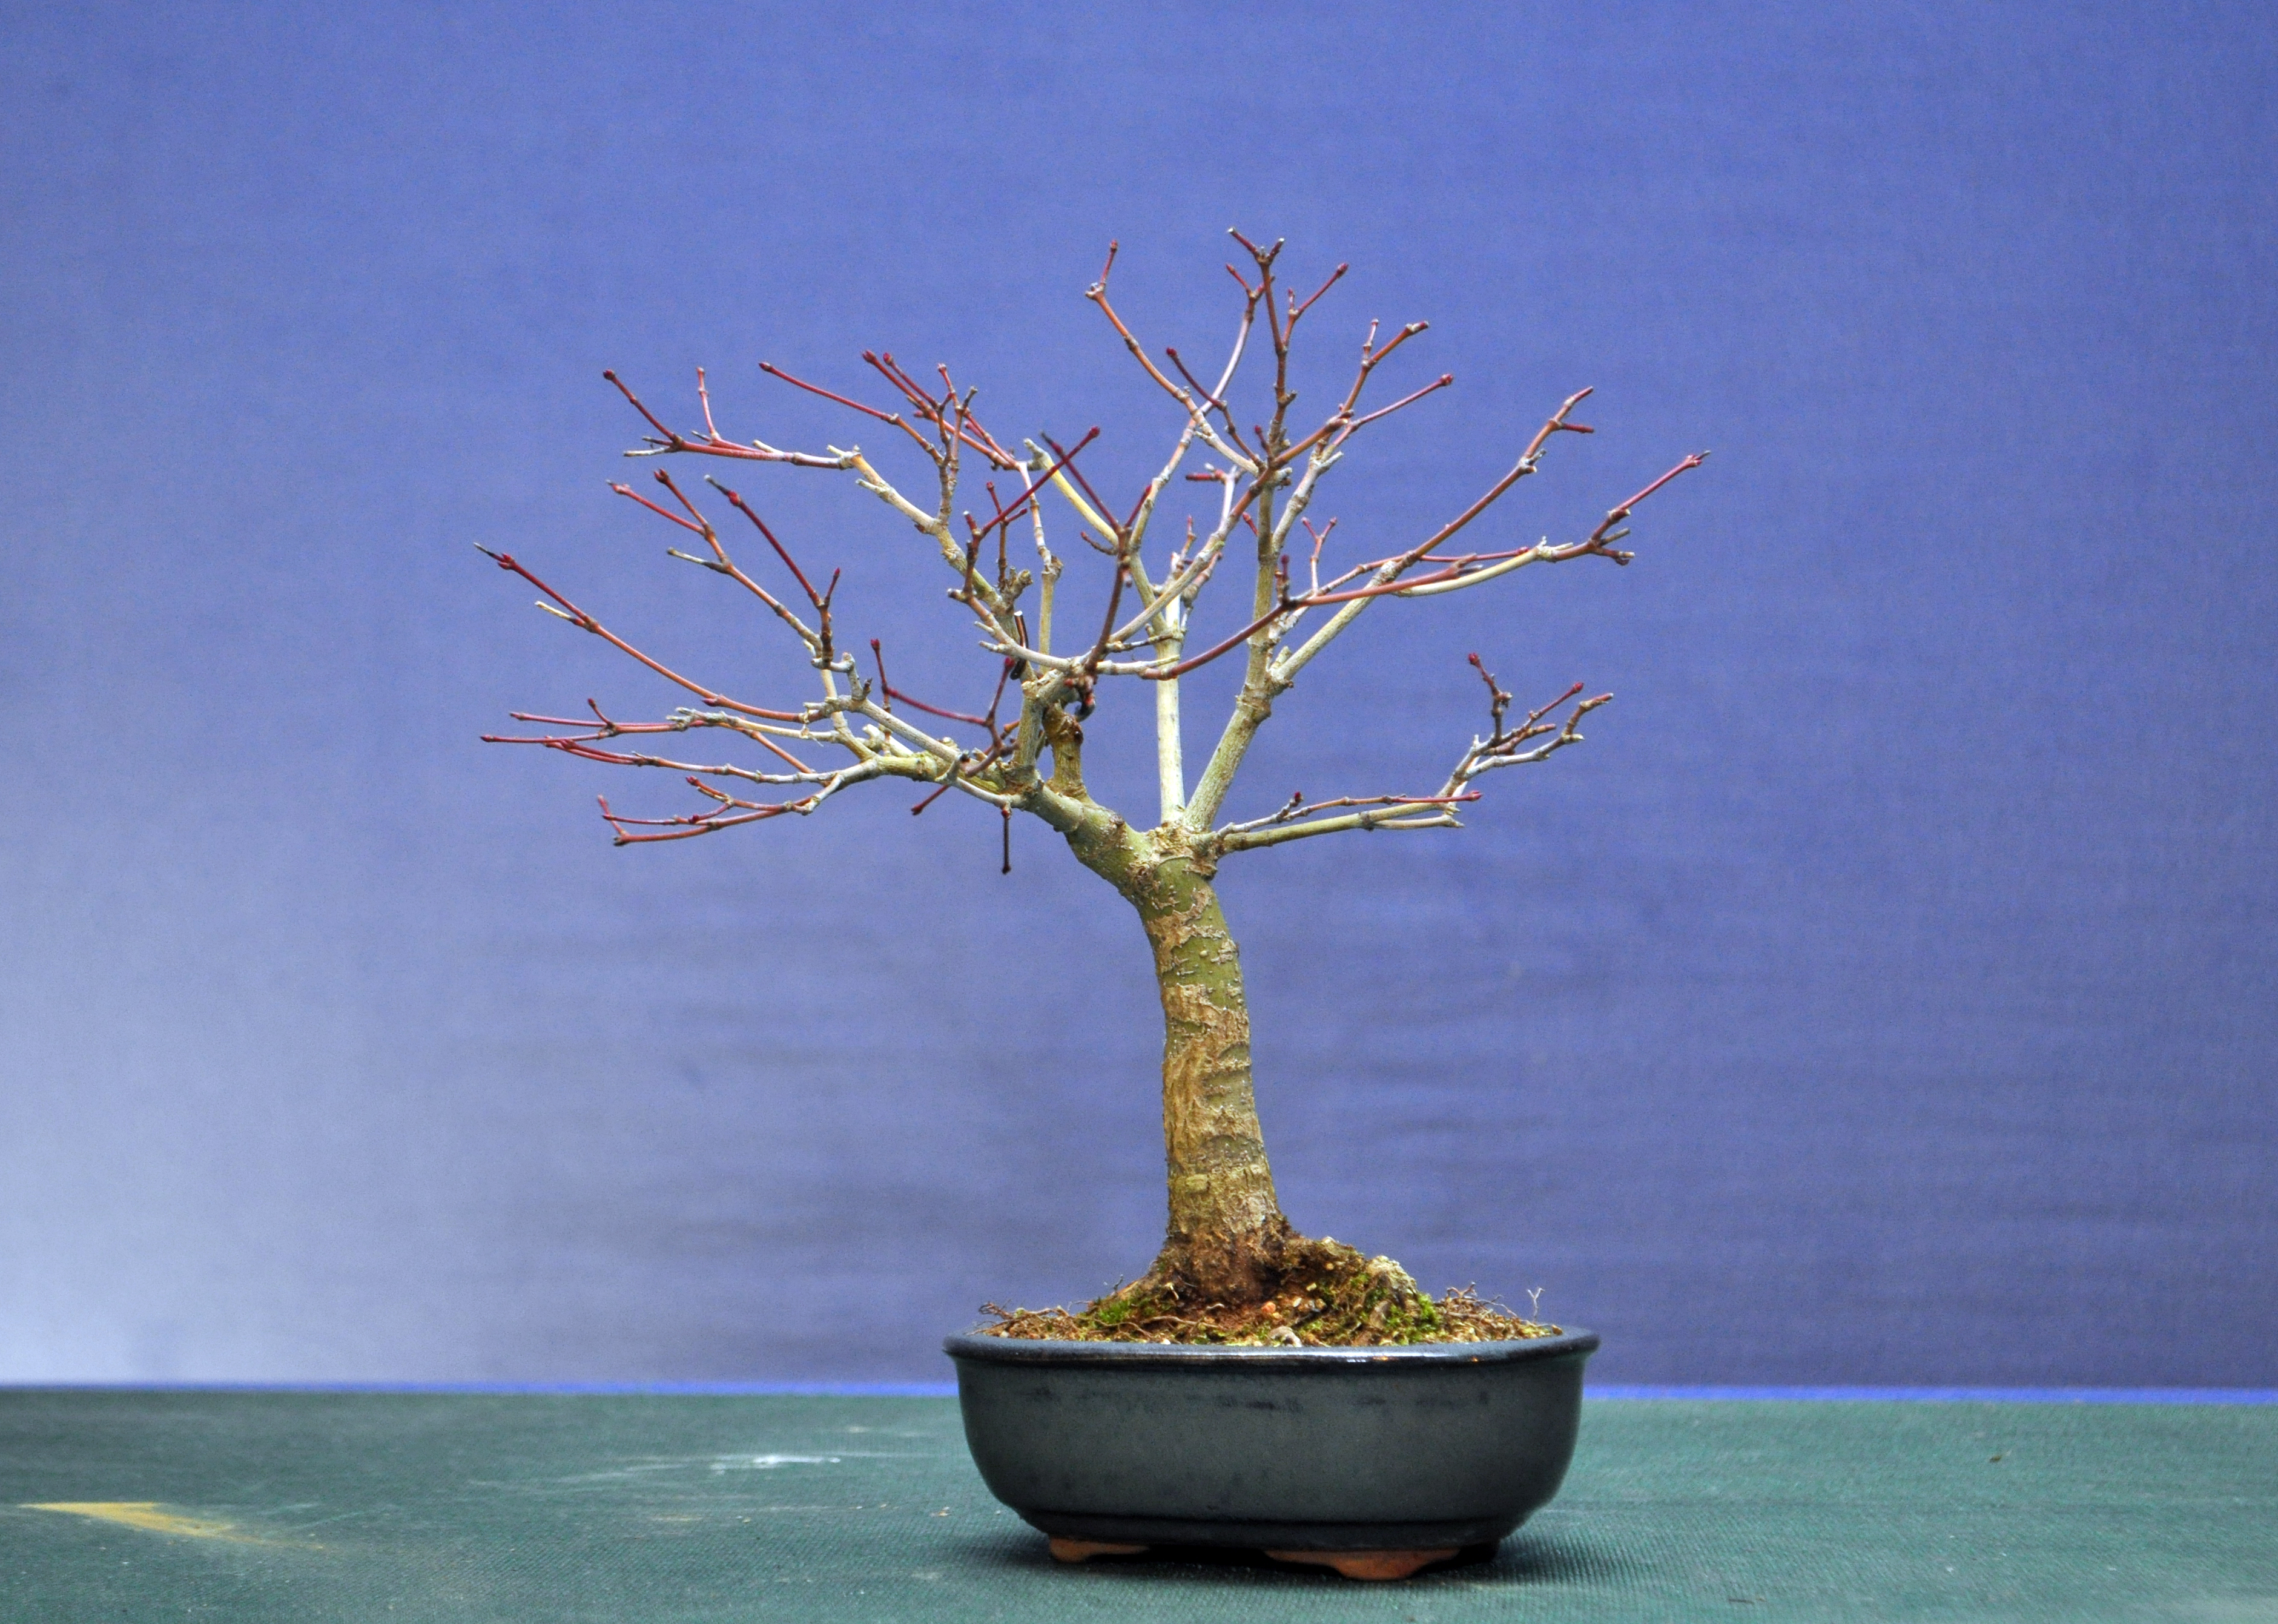
Also done in the same session was this little Shohin Japanese Maple. It needed a repot and into something a little larger to allow for development.

DSC_0279

DSC_0283

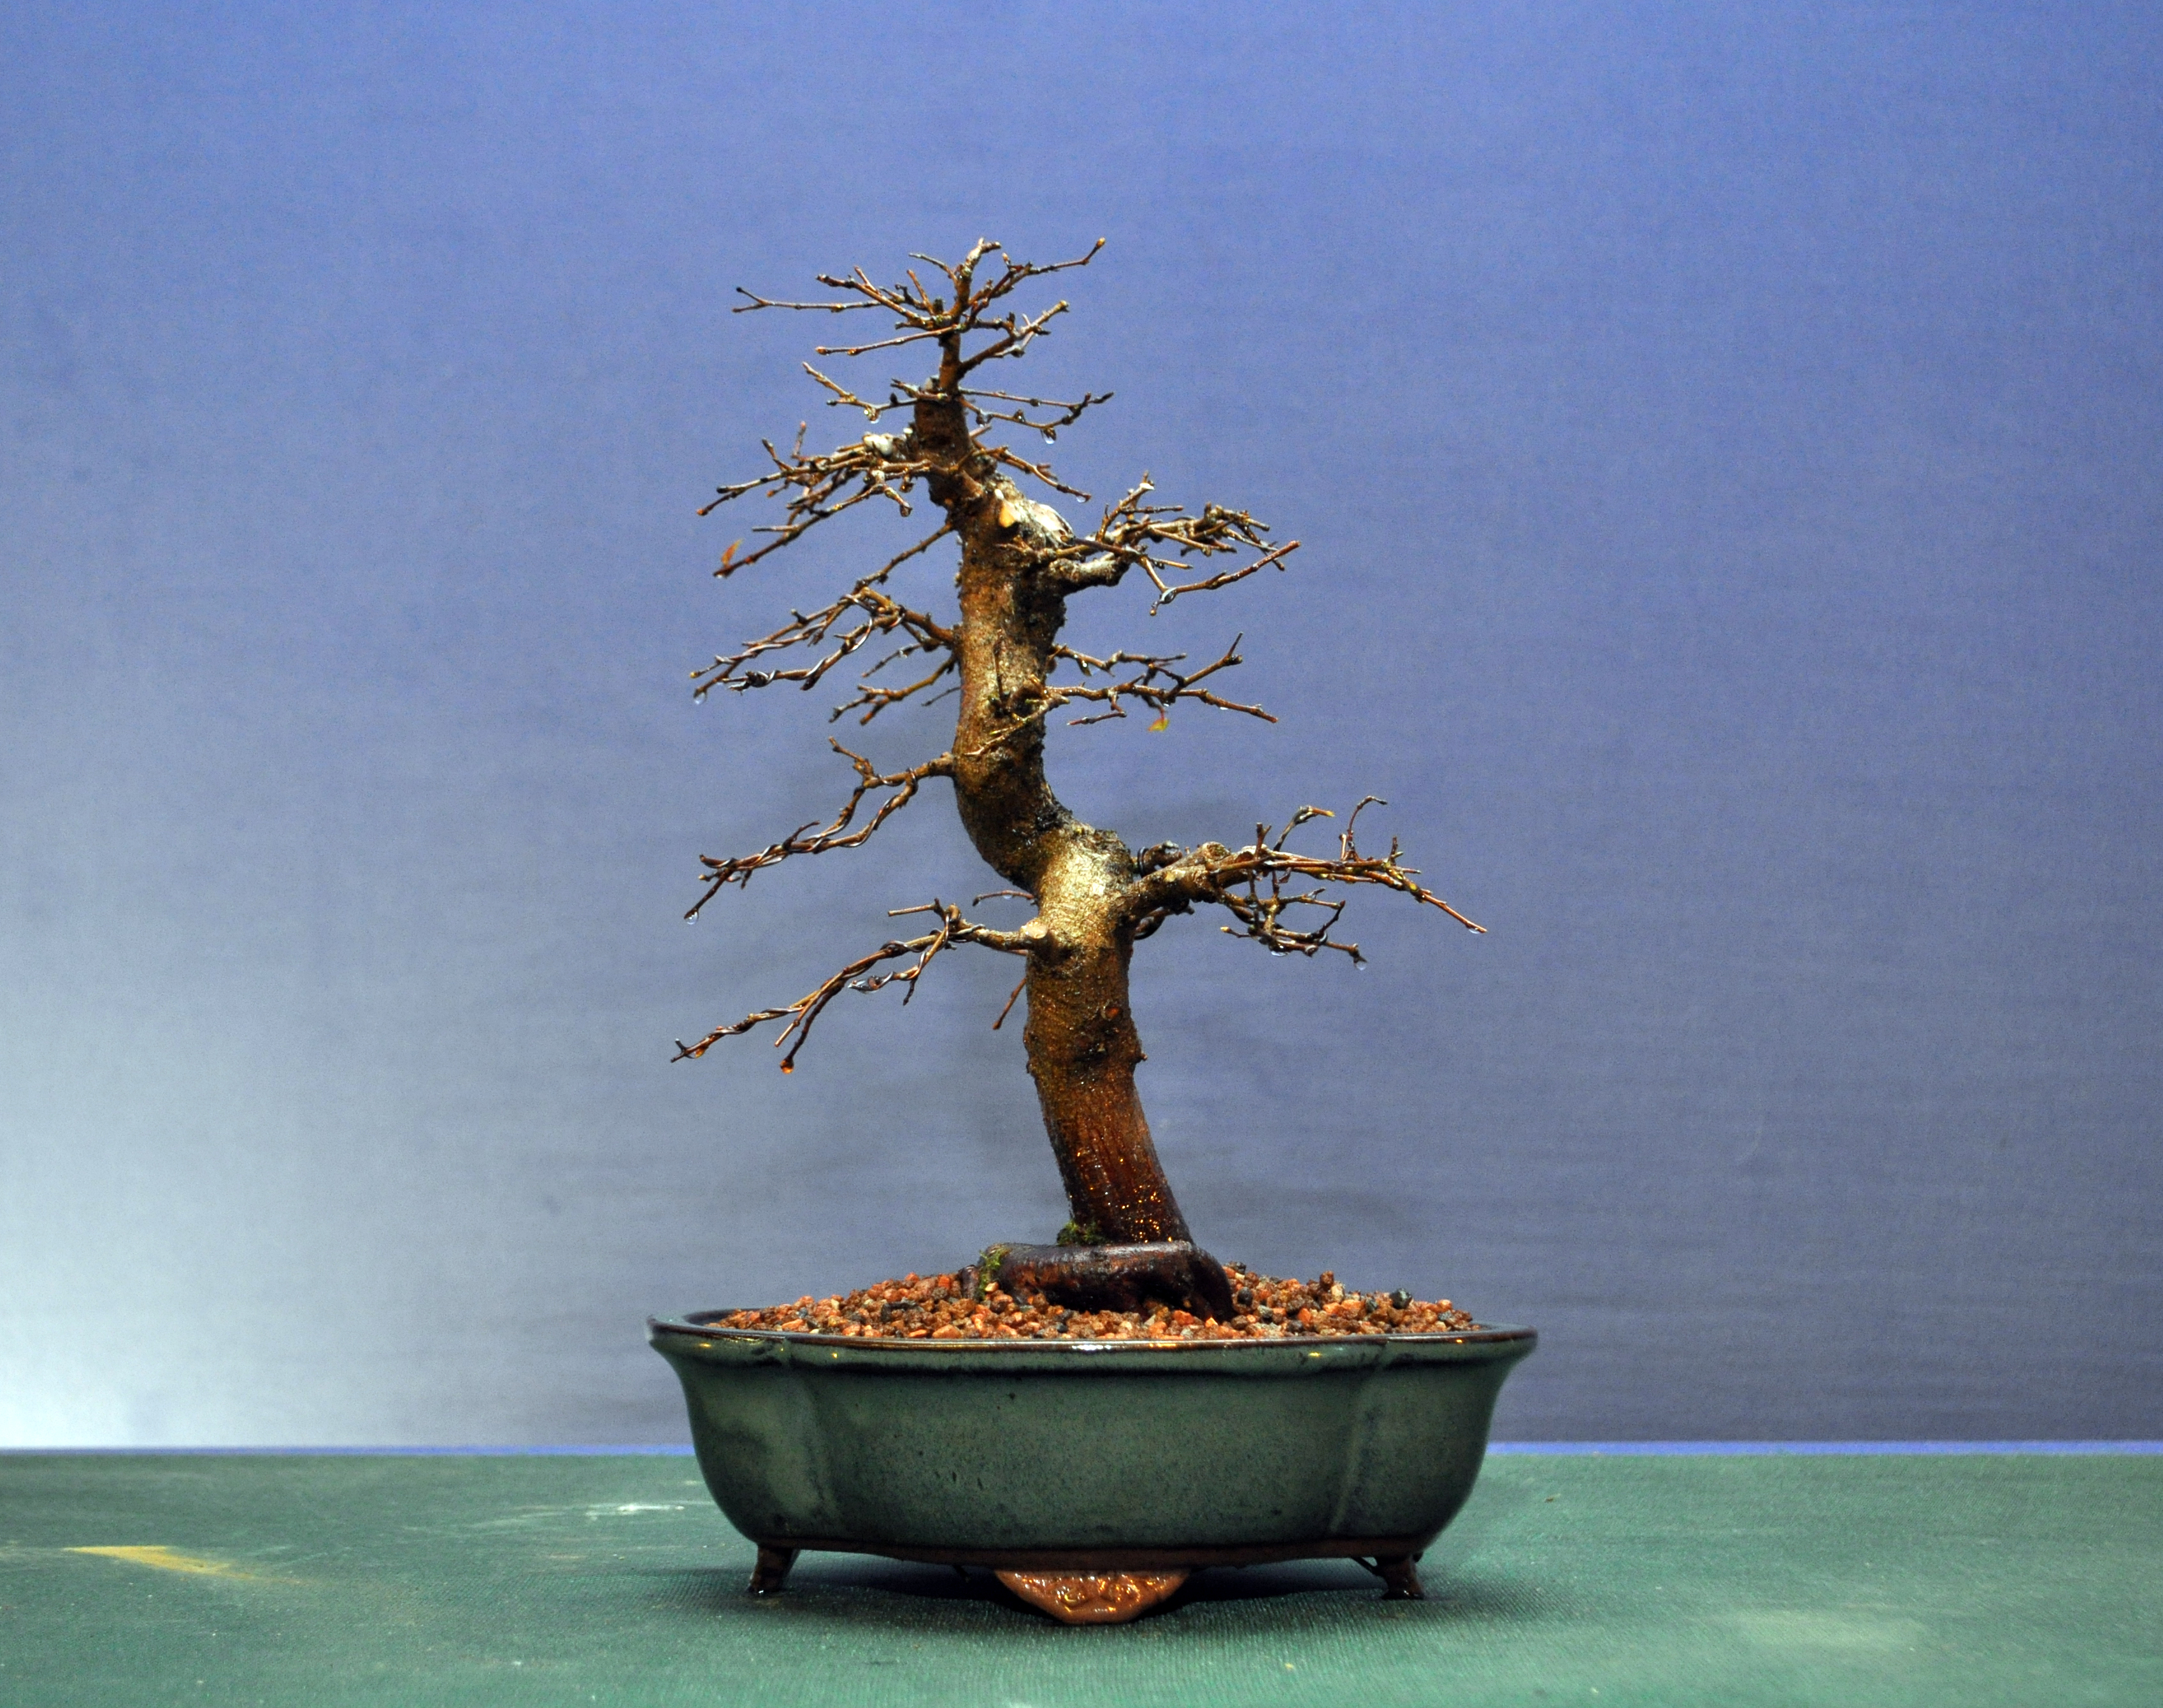
This Shohin Korean Hornbeam also got a repot and a serious thinning out of the foliage too. Sorry no before photo. Typical of mass produced imported material but with some effort I think it can make a nice image.

DSC_0287

For anyone interested in a one to one, click on the tab at the top.

Rusty Bonsai Tools and Tiger Stripes

adamaskwhy's avatarAdam's Art and Bonsai Blog

Do you guys remember the tool from this post?IMG_0869
Well, I got some advice as to how to get rid of the rust on it from a reddit reader (/u/TotaLibertarian) using an uncommon (and when I say that I mean totally common) substance.
It is suffice to say that my curiosity was piqued.
I did some investerating and research.
I combed over blogs and forums.
I wiki’d and googled until my eyes were crossed.

Then I experimented. First I sanded all the rust….


…. Both off the knife and also on a pair of root cutters.


Knife above, cutters below.

The rust on the cutters wasn’t too bad, it just kept coming back no matter how much I oiled it.


Next, the chemical….


After making a salad (with a little oil, salt and pepper) I put the two tools into a…

View original post 1,189 more words