A Cracking Night!

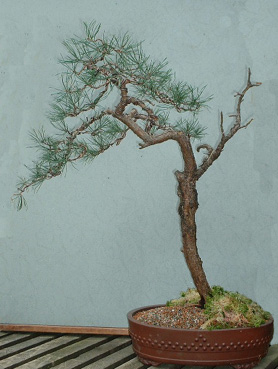
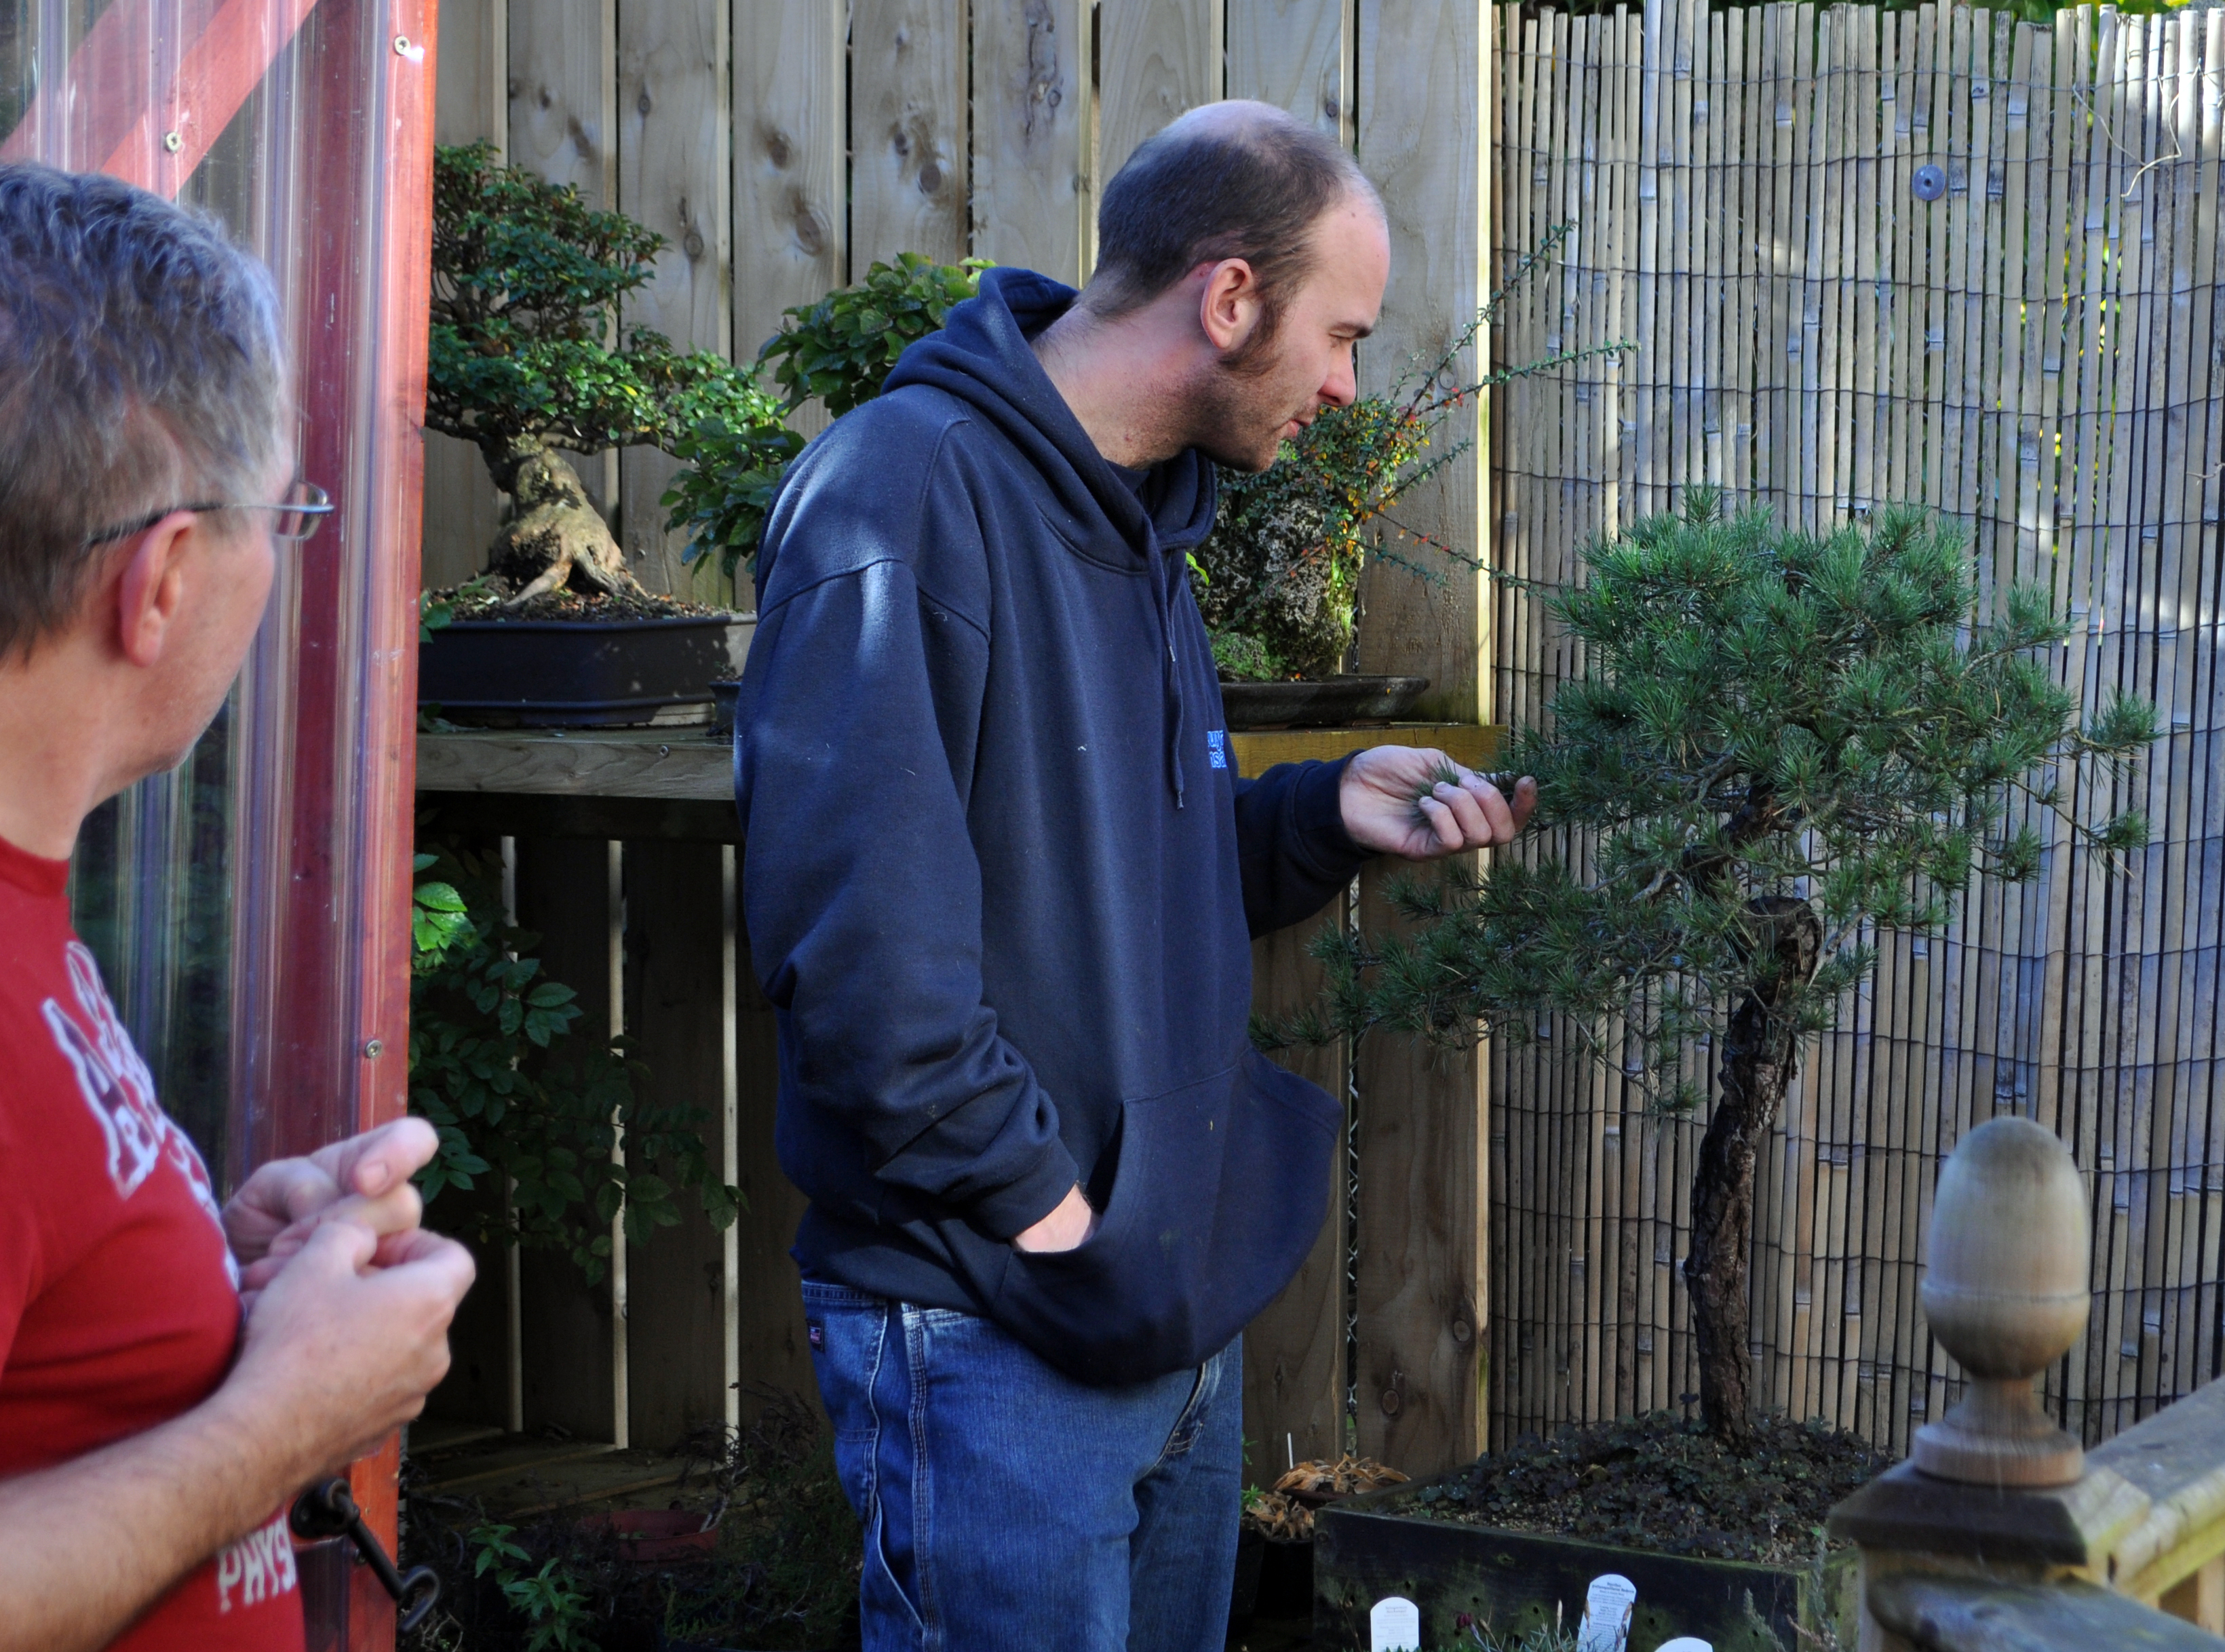
Last week I had a night at my garage for the guys who do one to ones with me. I needed a hand getting a large Scots pine bent into shape. This was an old tree collected from a bog back in 2012. This is the tree at the time of collection.

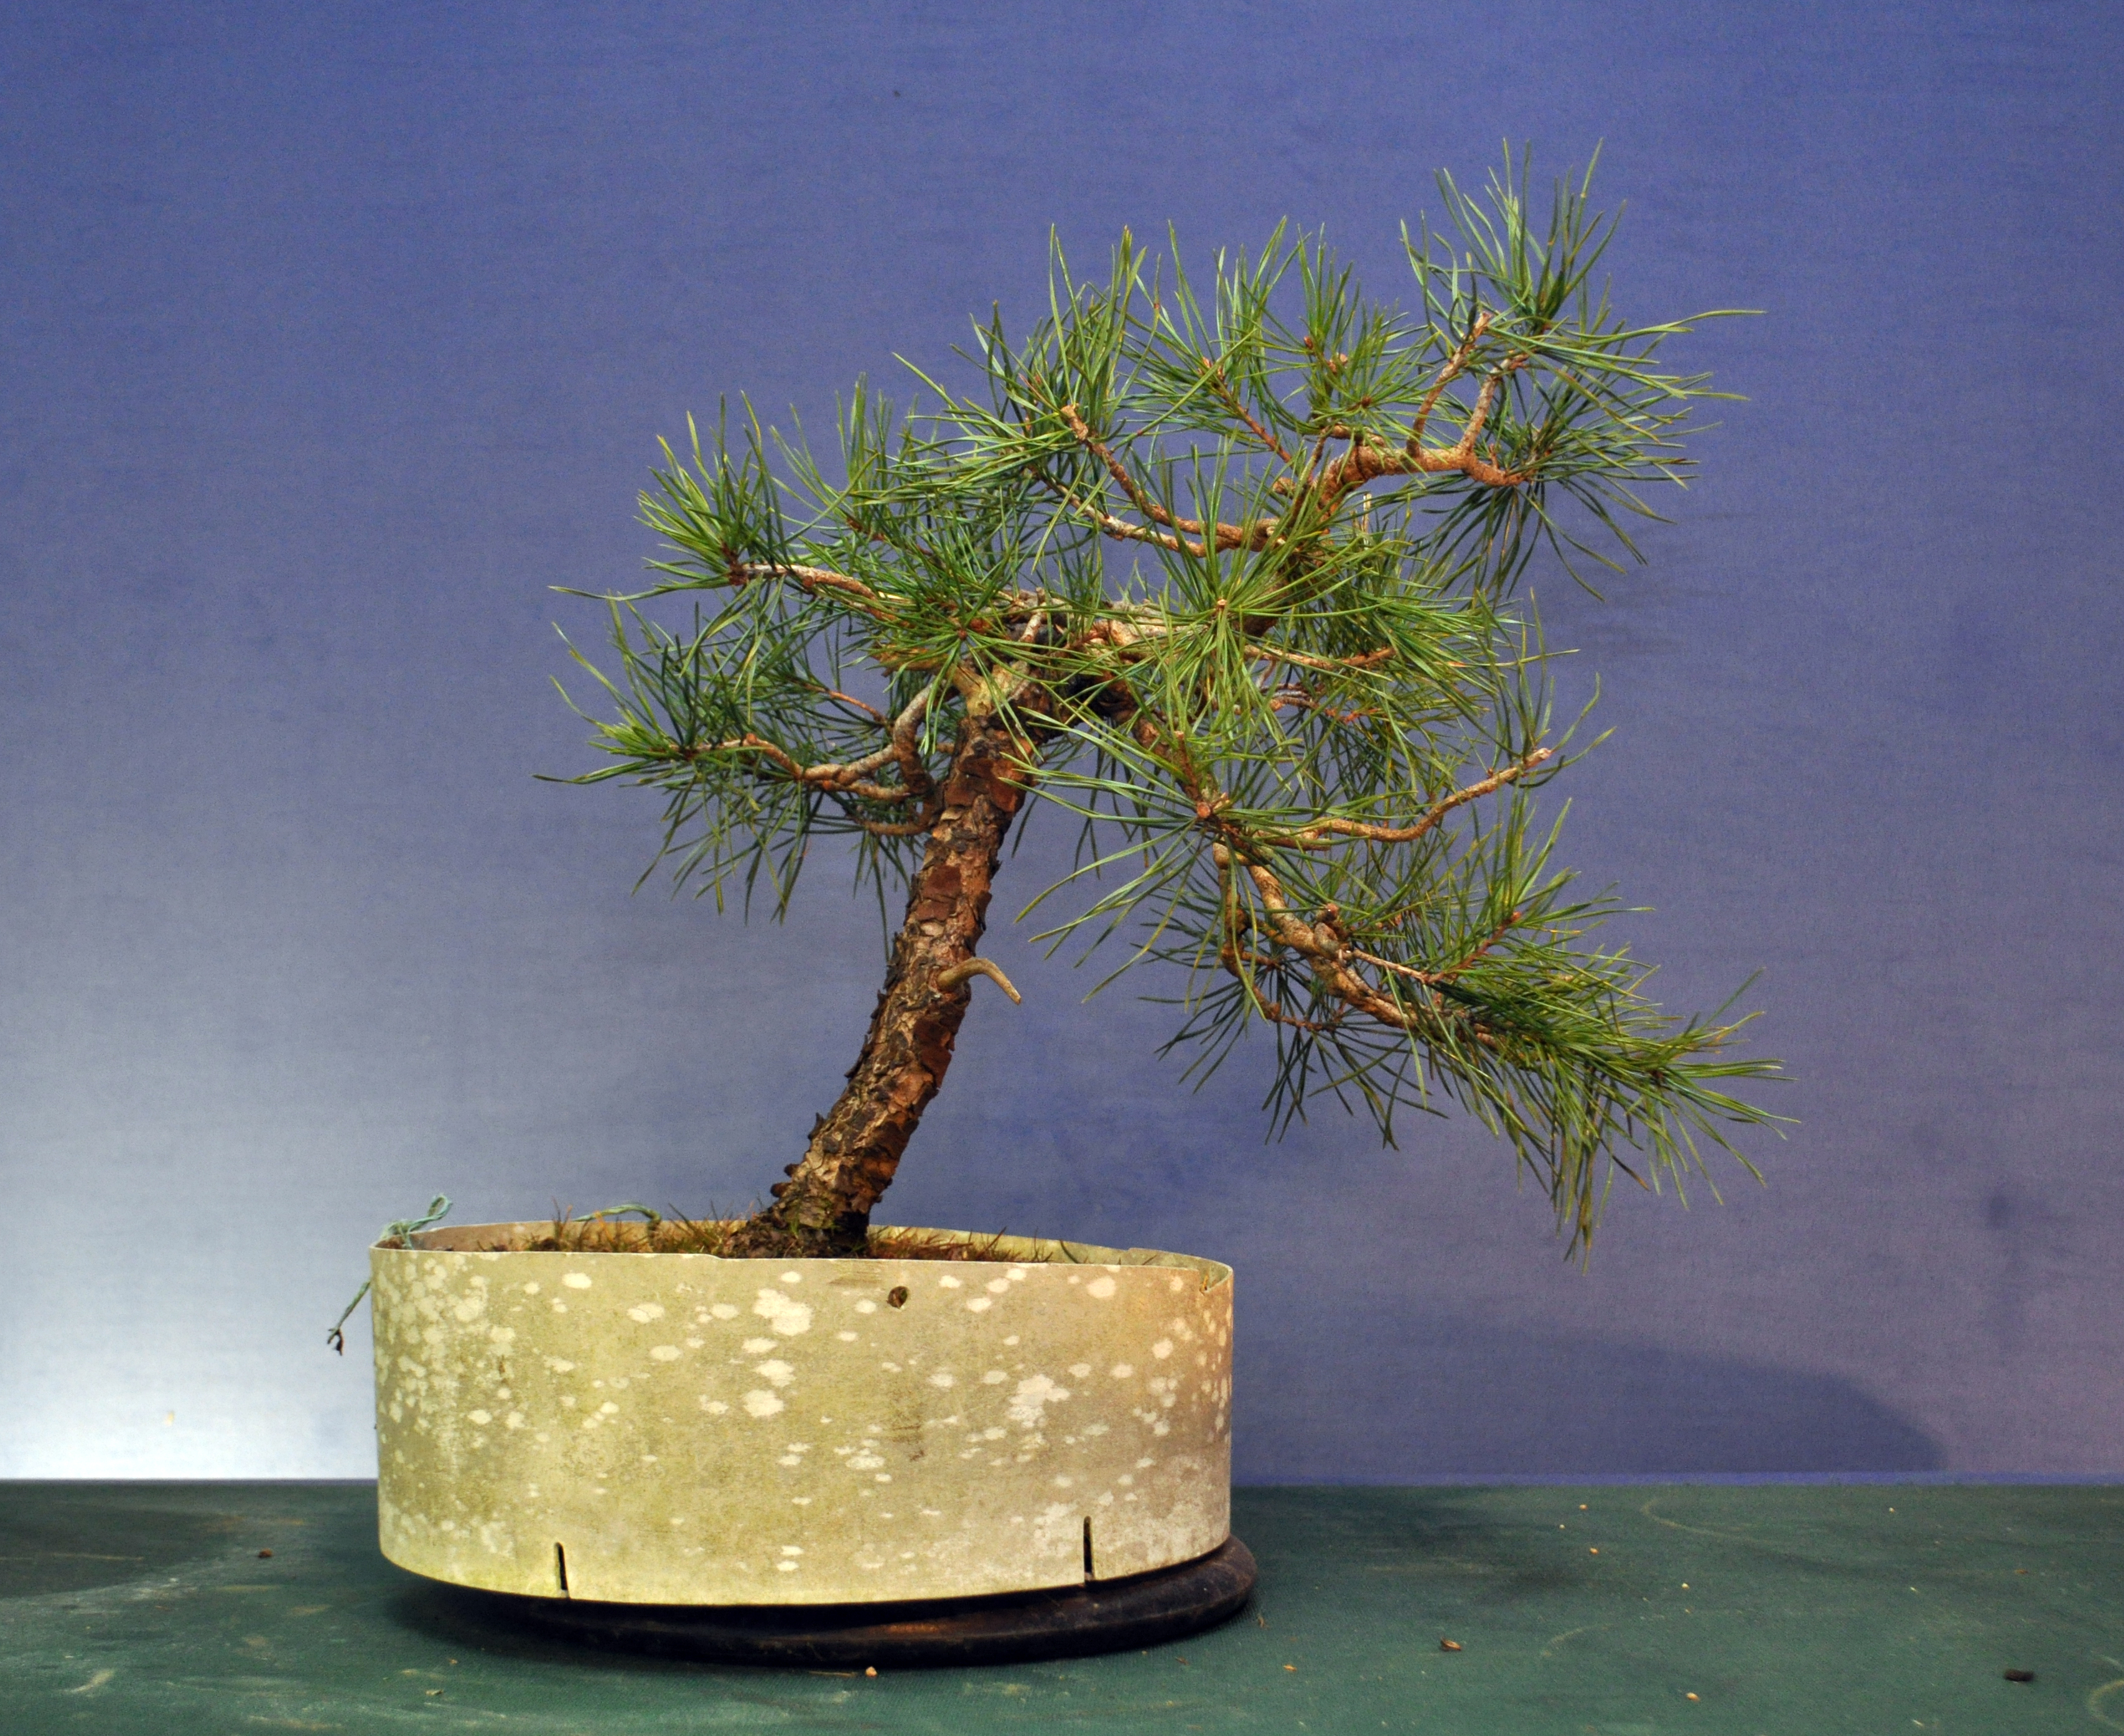
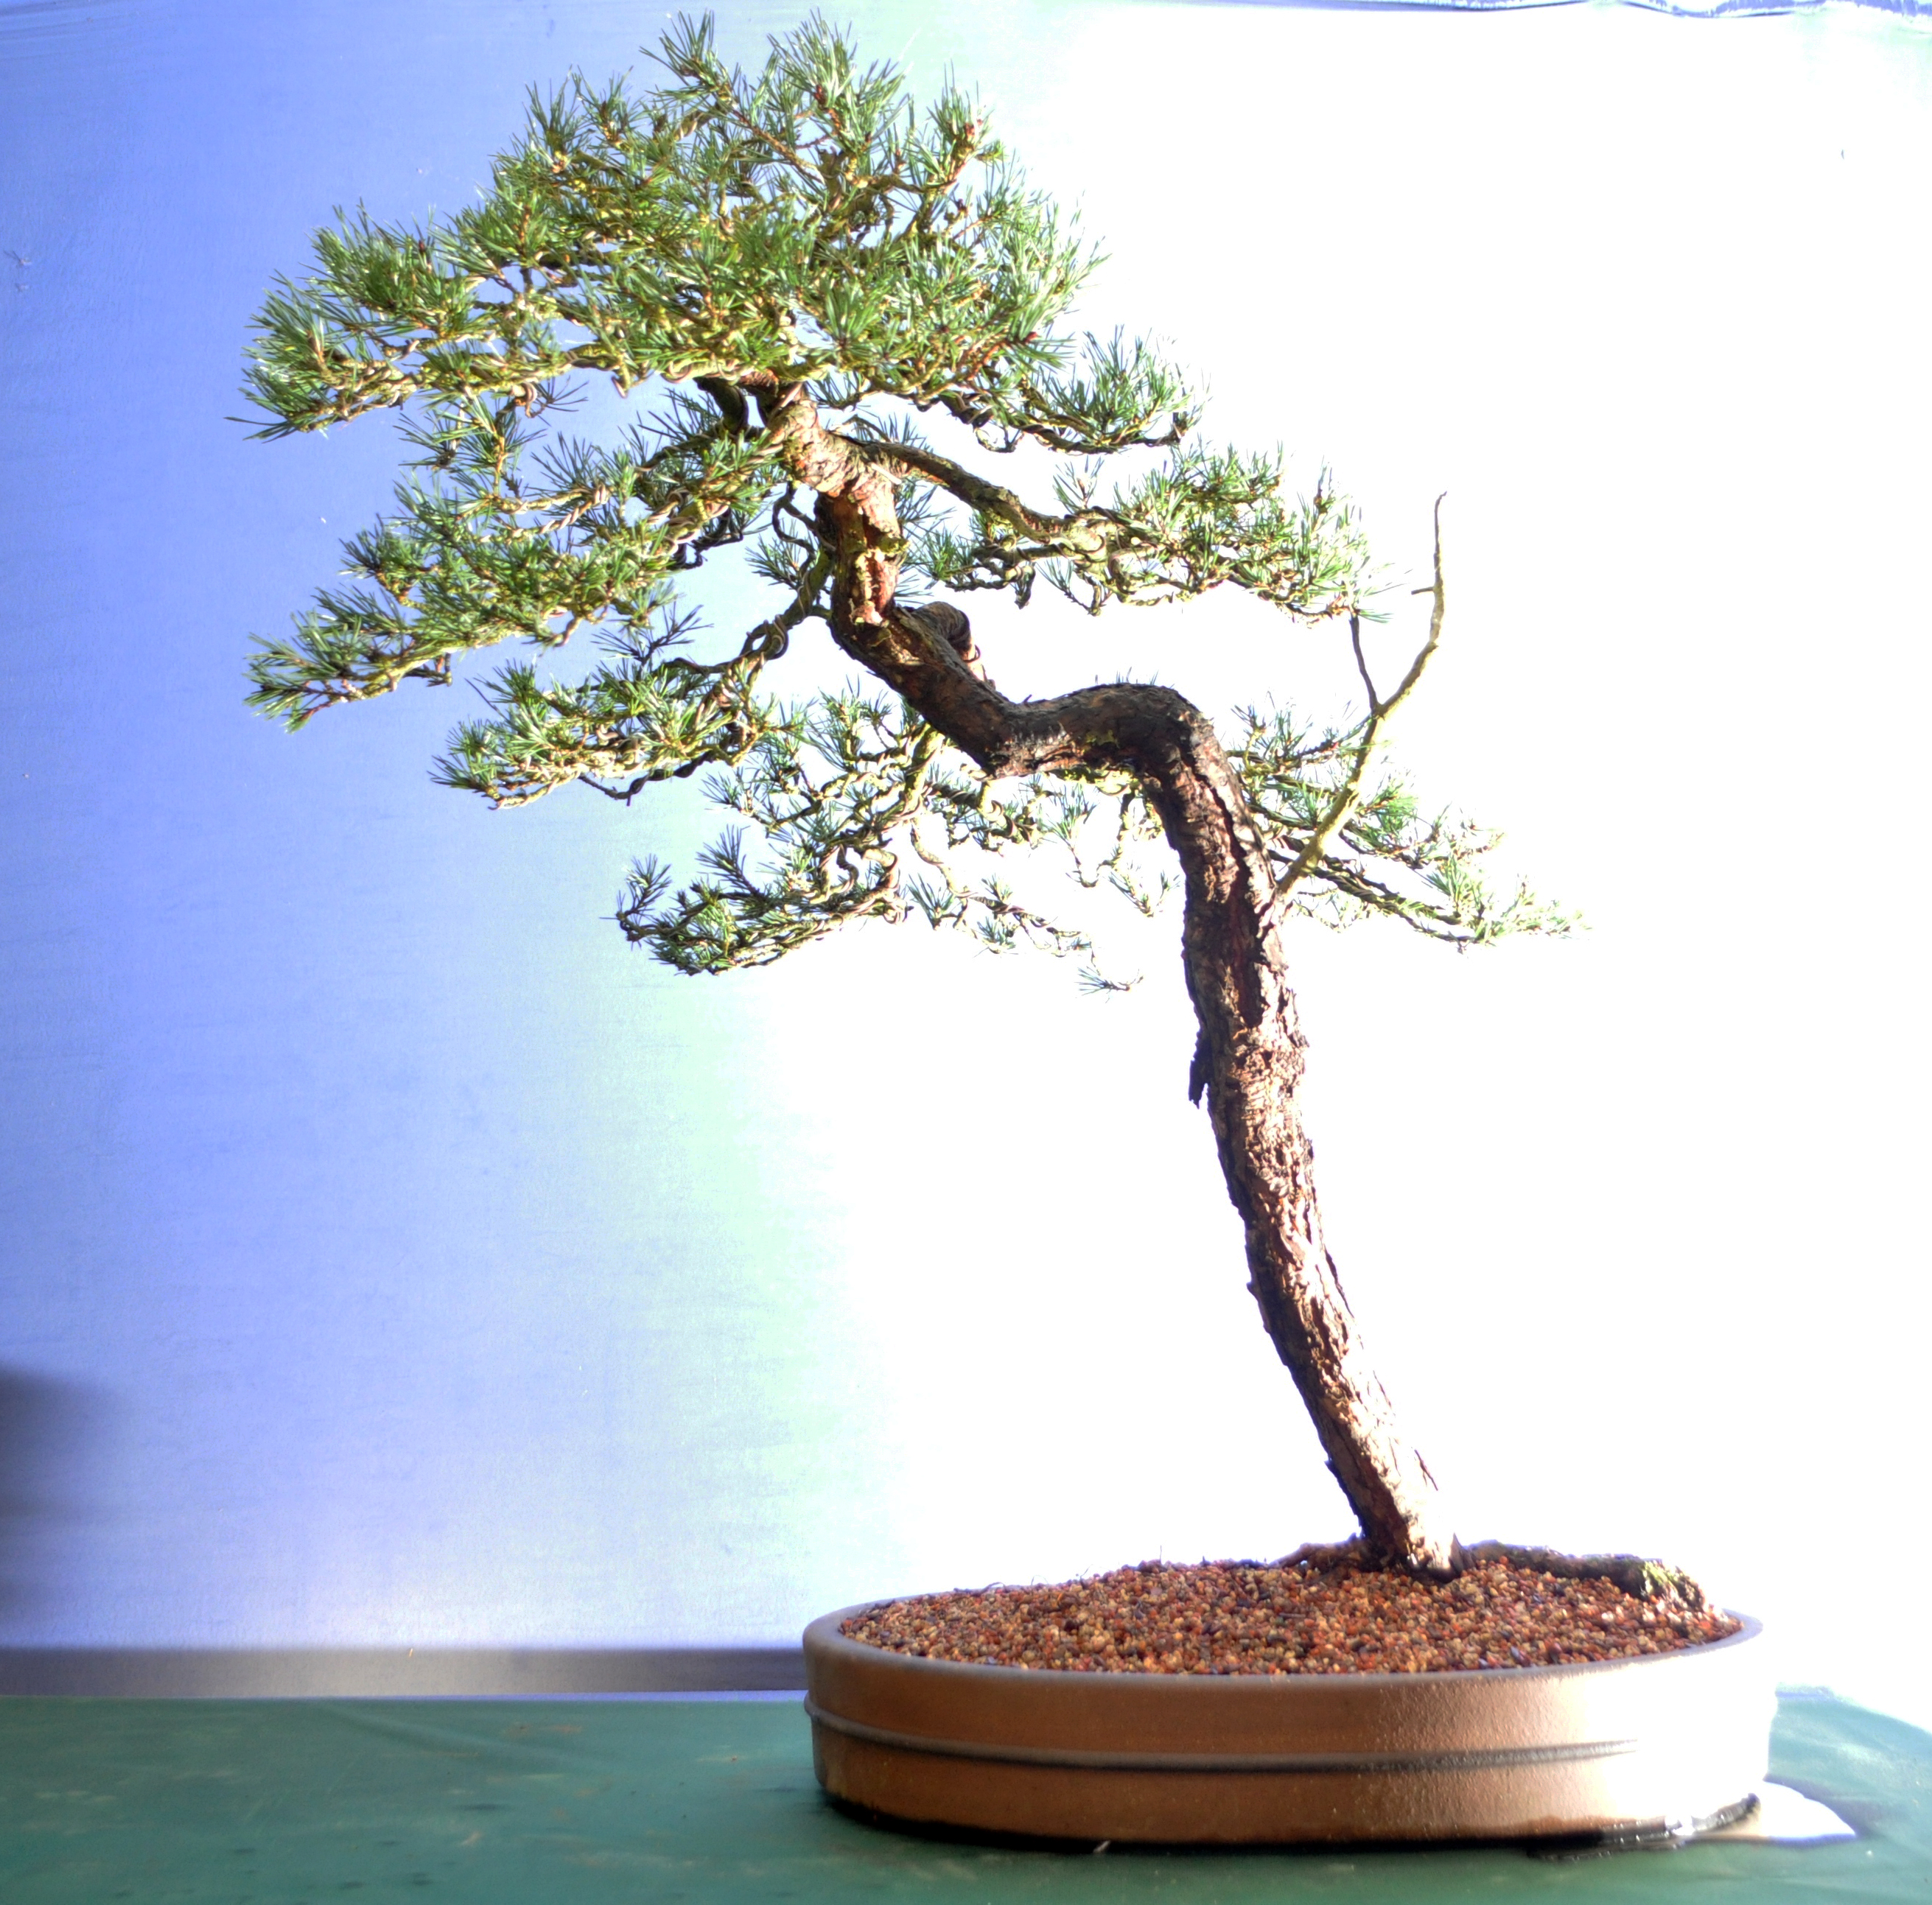
This was it a few weeks ago, sitting outside where it’s been for the last 3 years. It’s been chopped back a few times to remove unwanted trunks and branches and to help chase back the foliage.

DSC_0025

DSC_0027

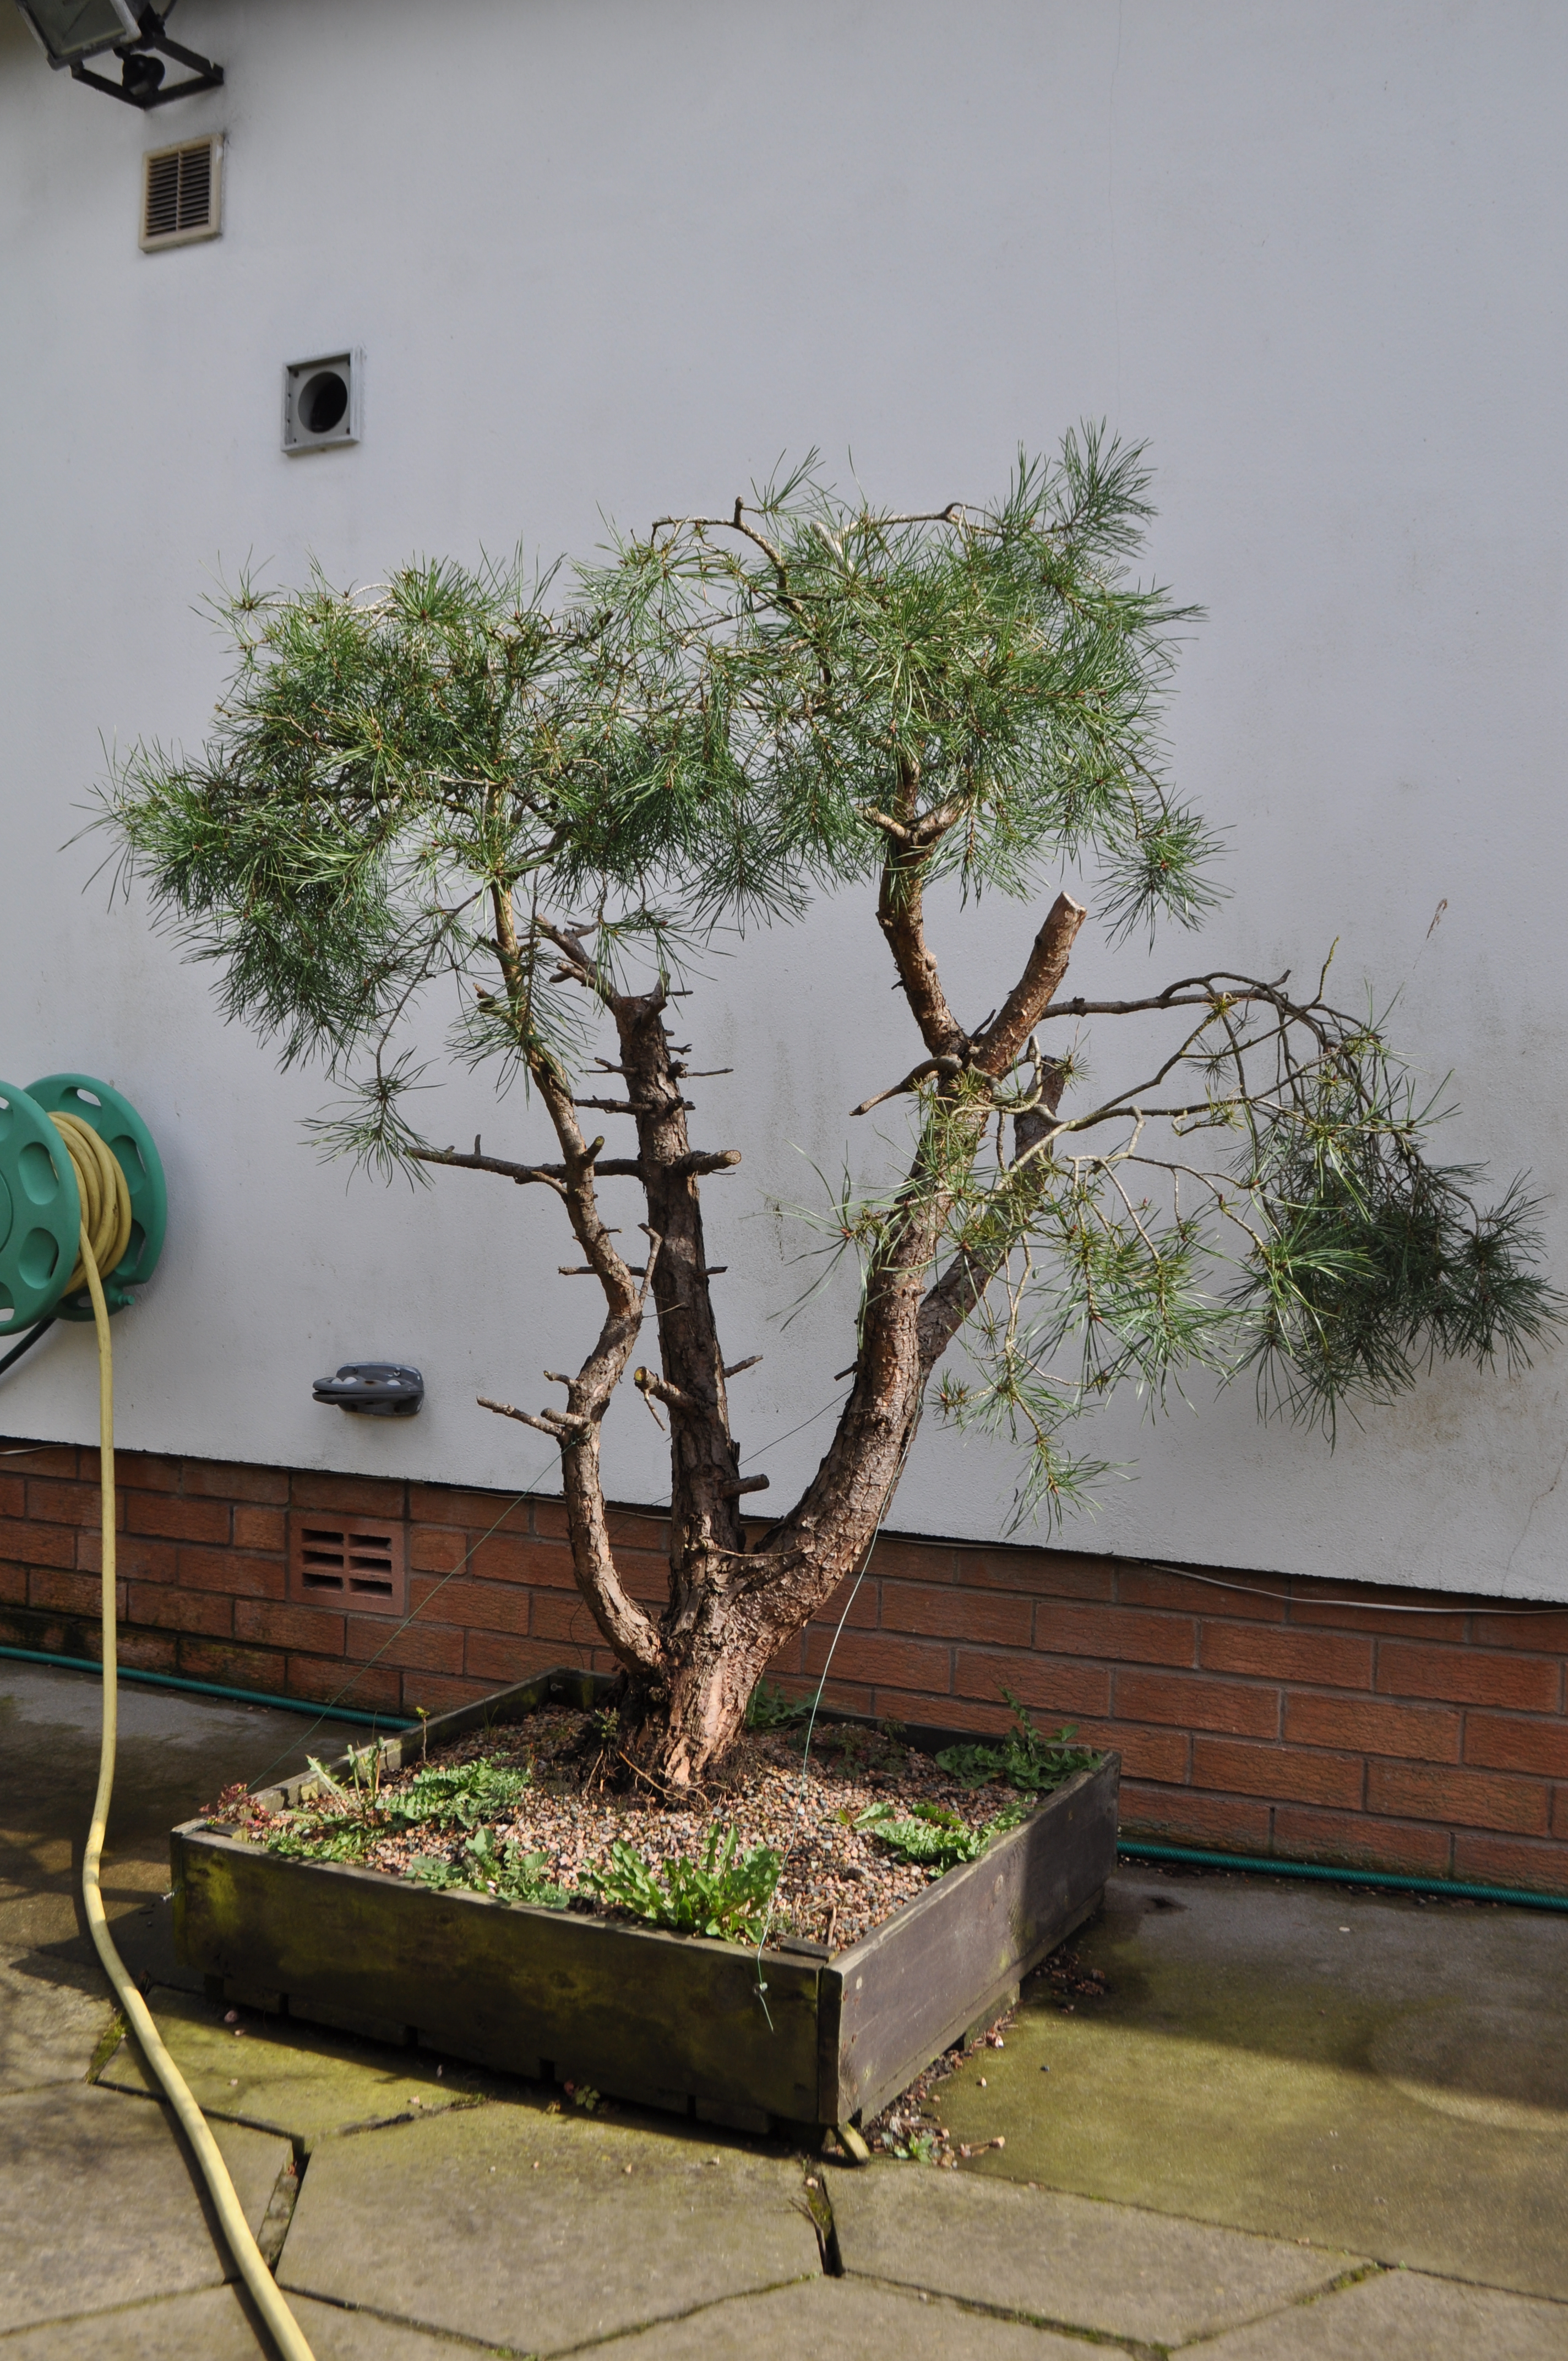
The idea was to create a twin trunk image from the remaining foliage. However it’s always good to have a Plan B!!

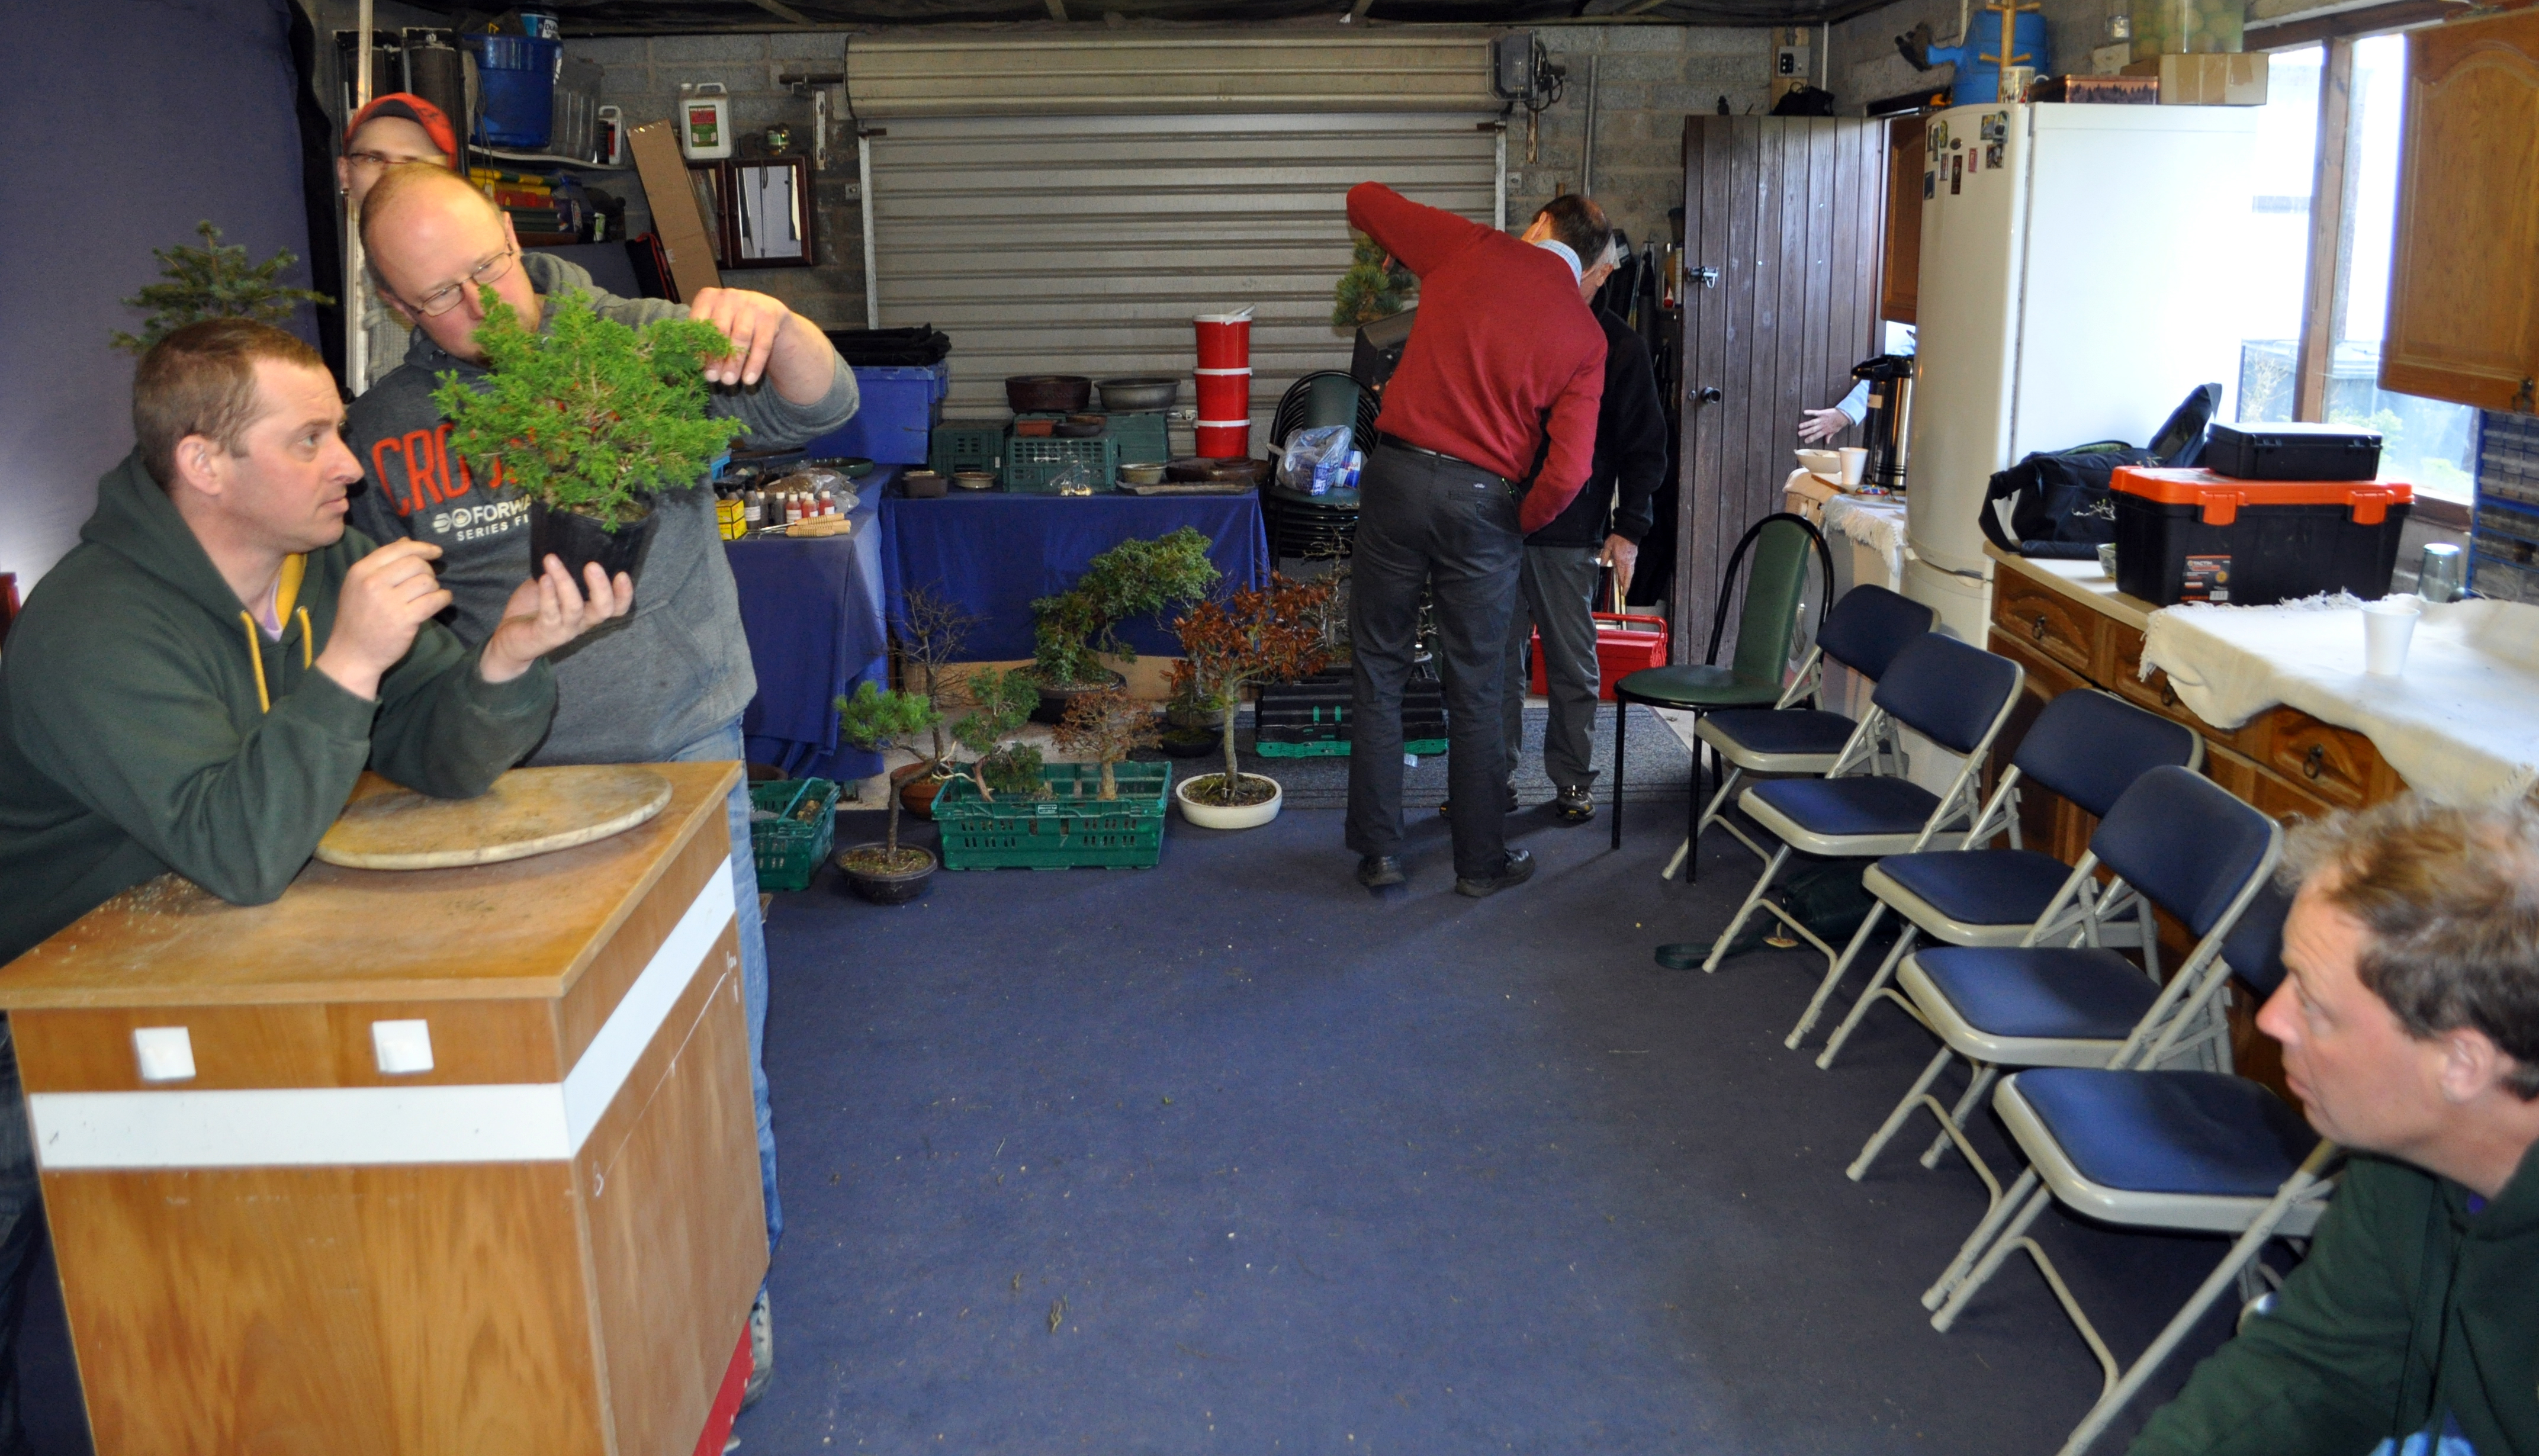
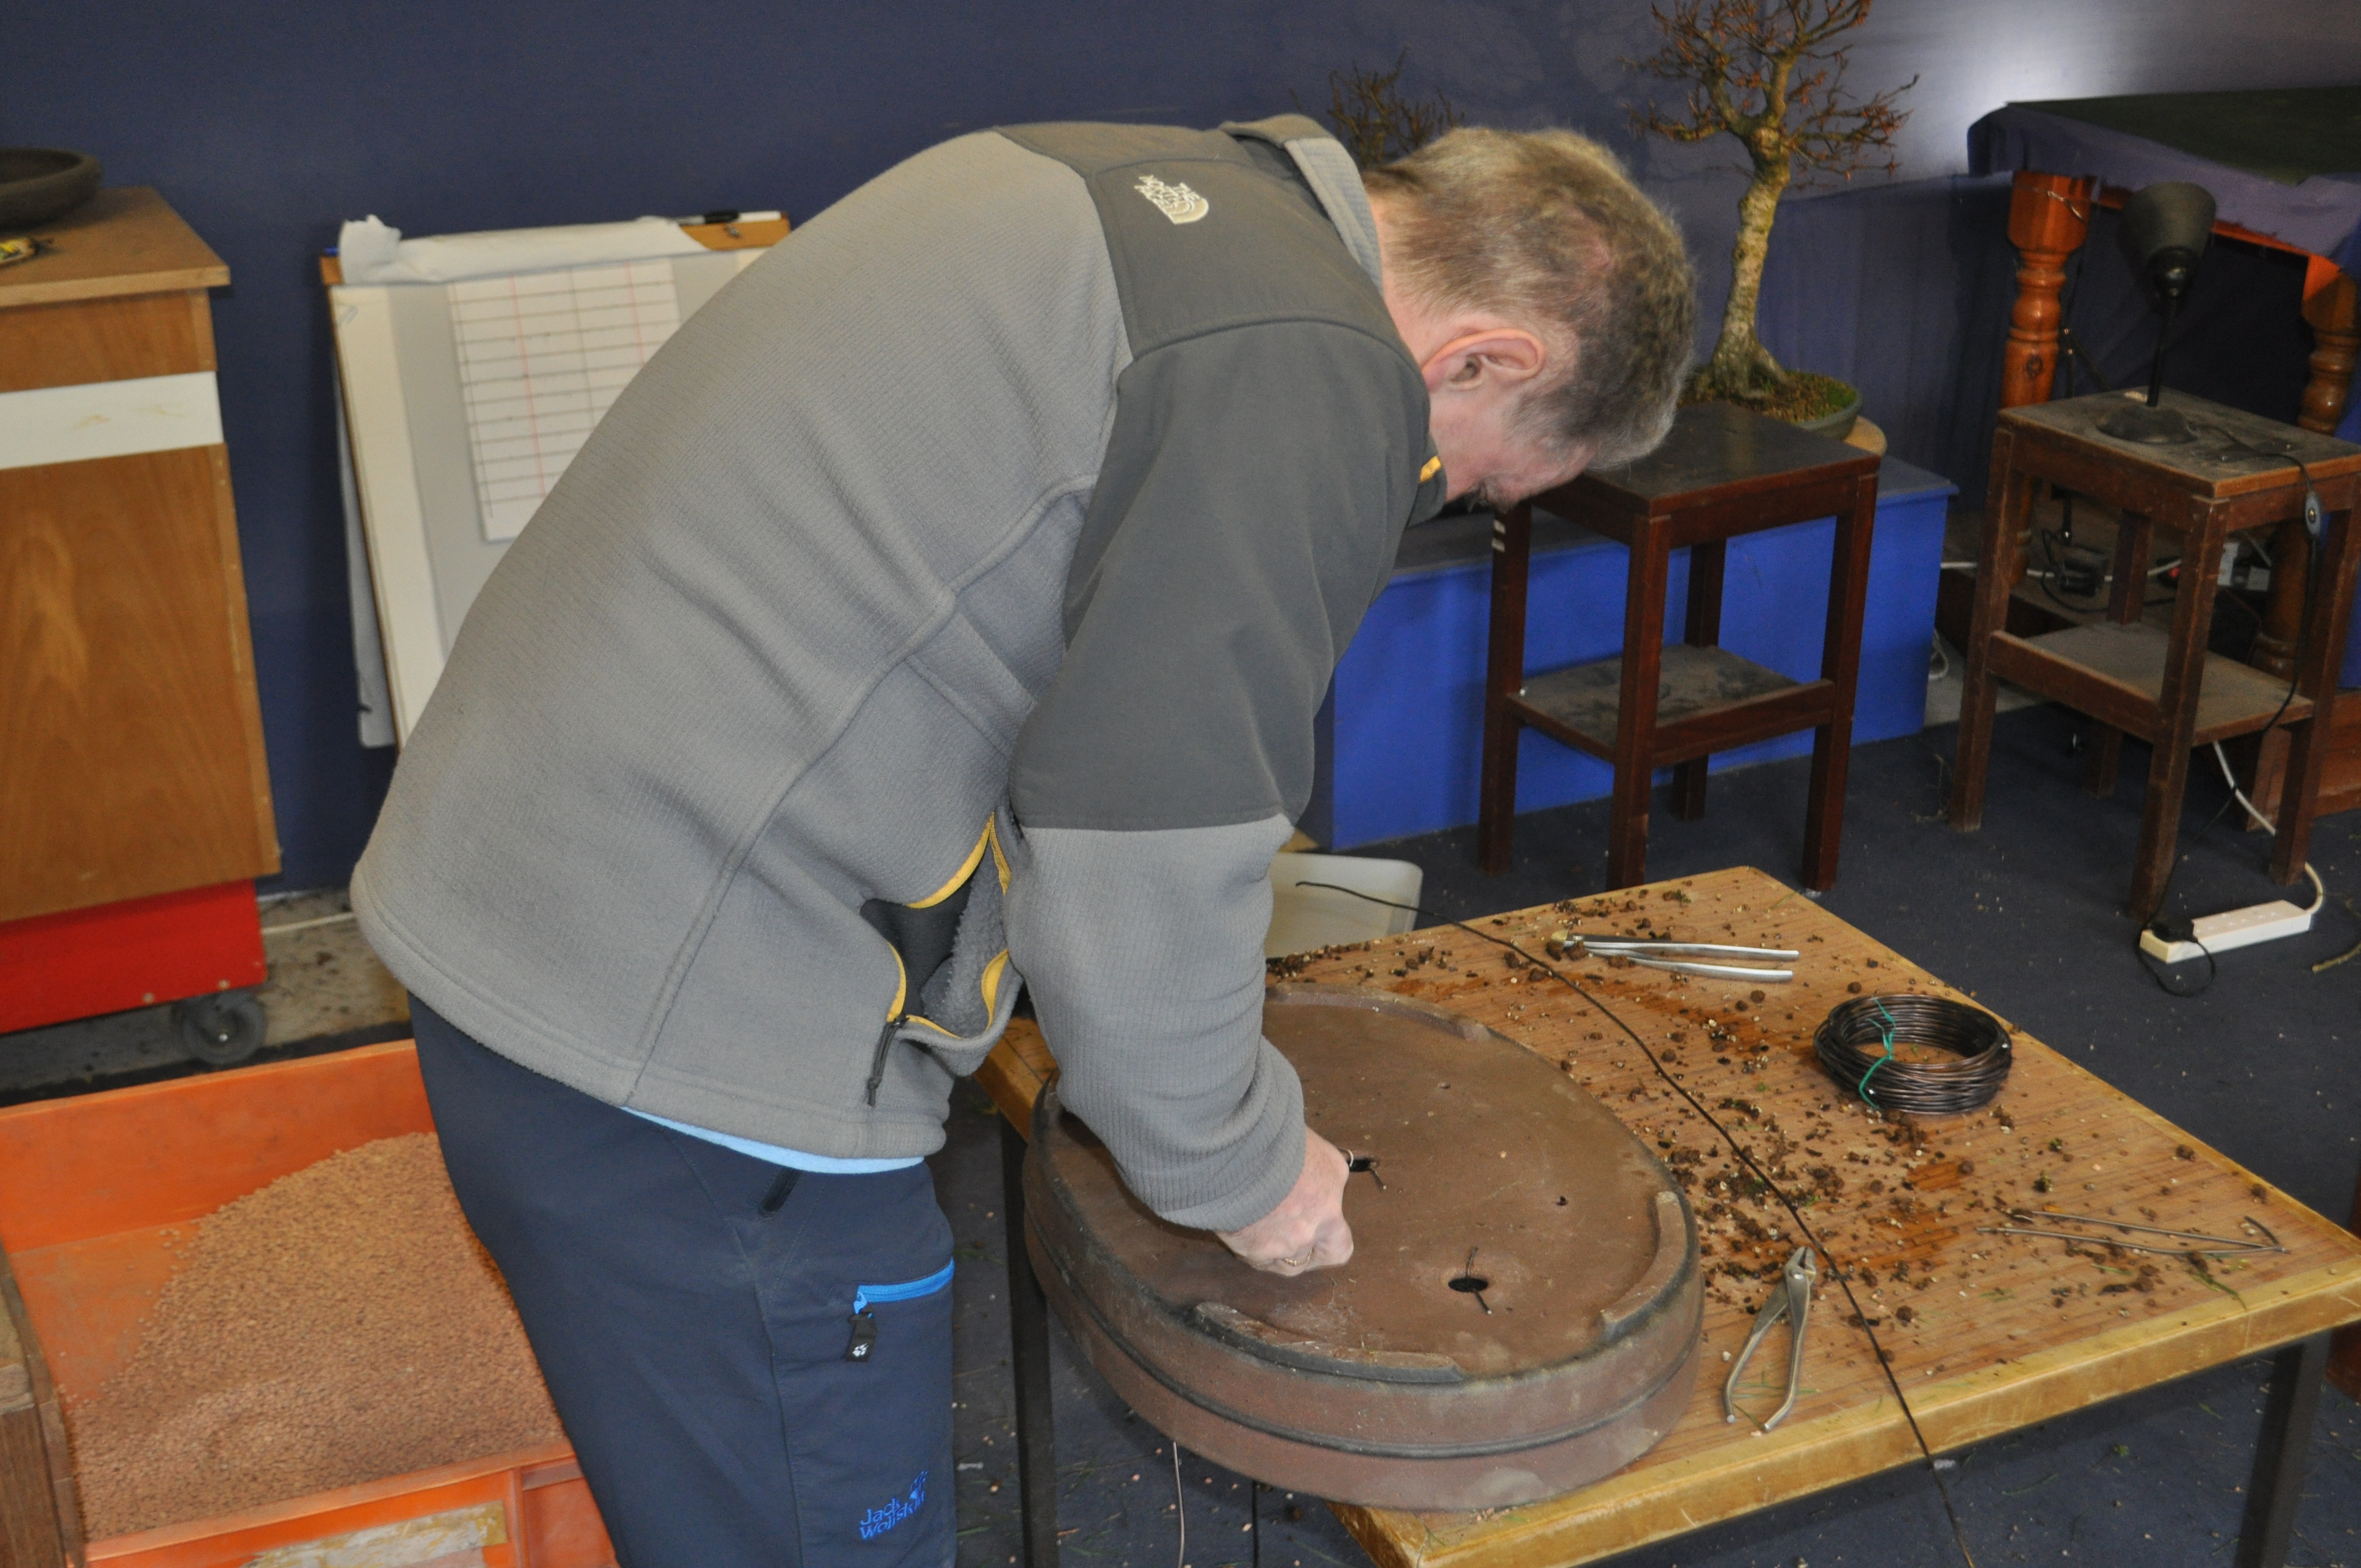
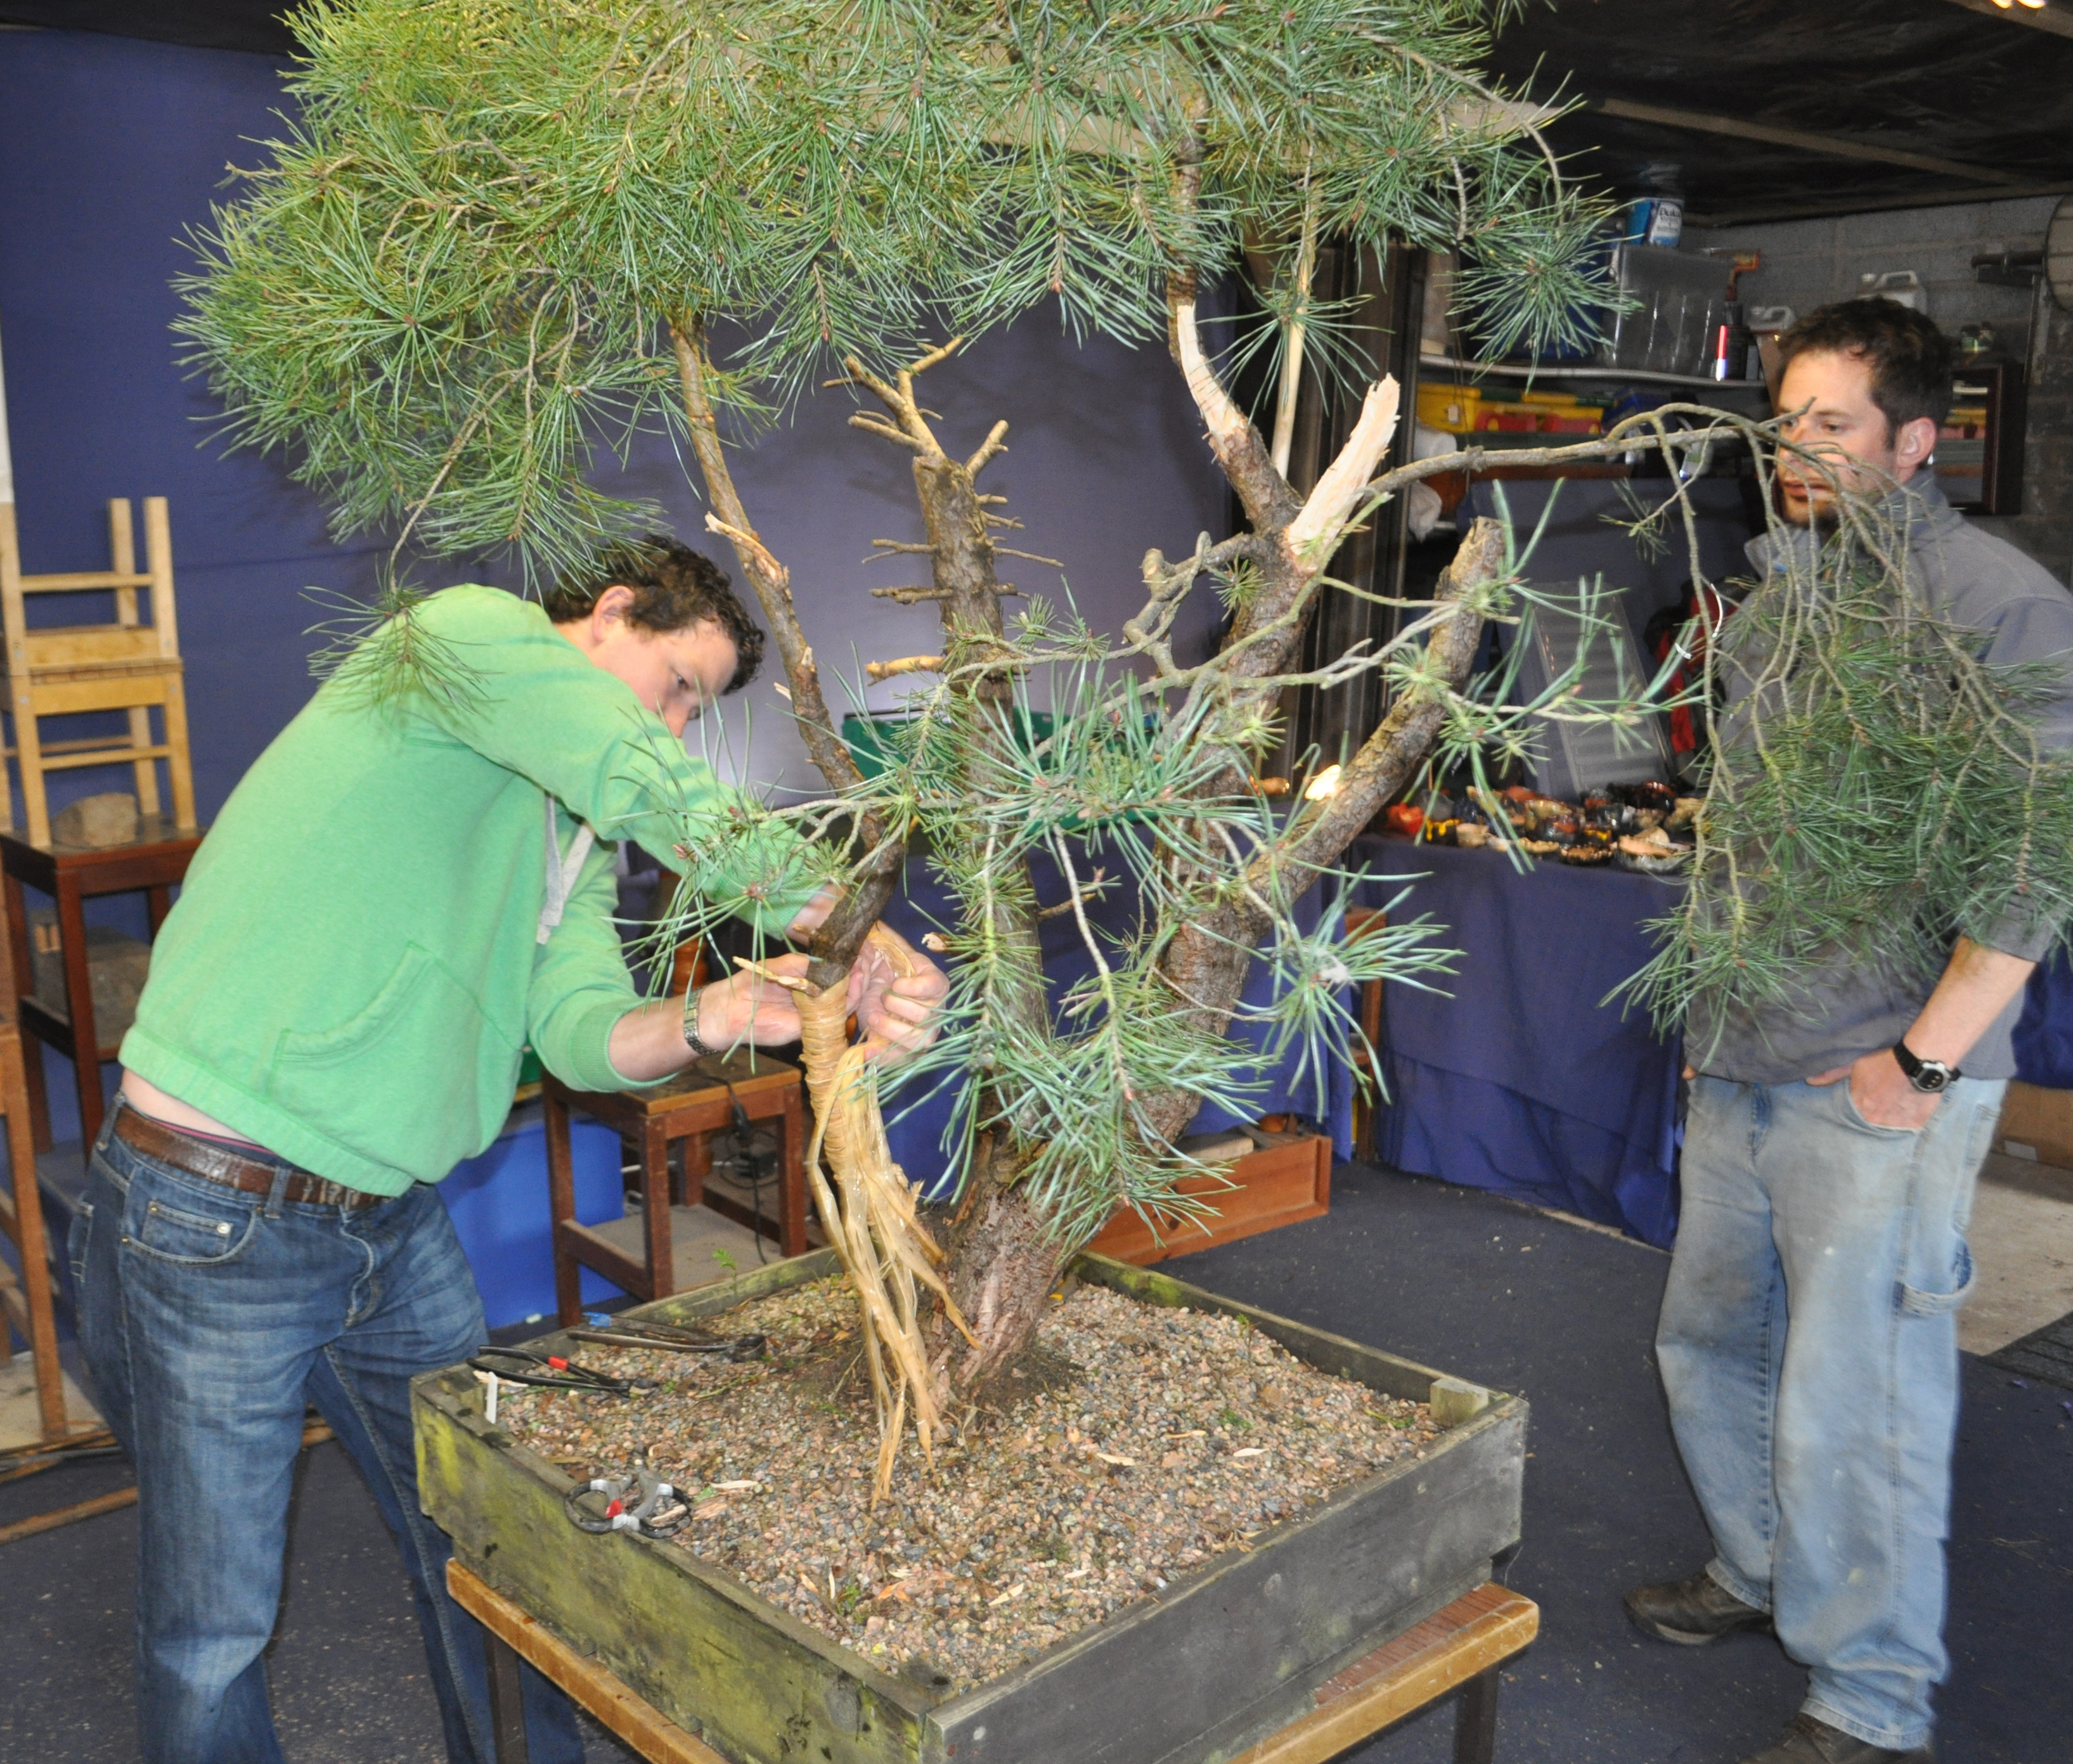
Here we have the tree placed into the workshop after a 4 man lift. Took a coat of paint off the door on the way in!

DSC_0237

Some deadwood will need to be worked.

DSC_0238

Help from the chaps in getting the raffia applied.

DSC_0241

DSC_0242

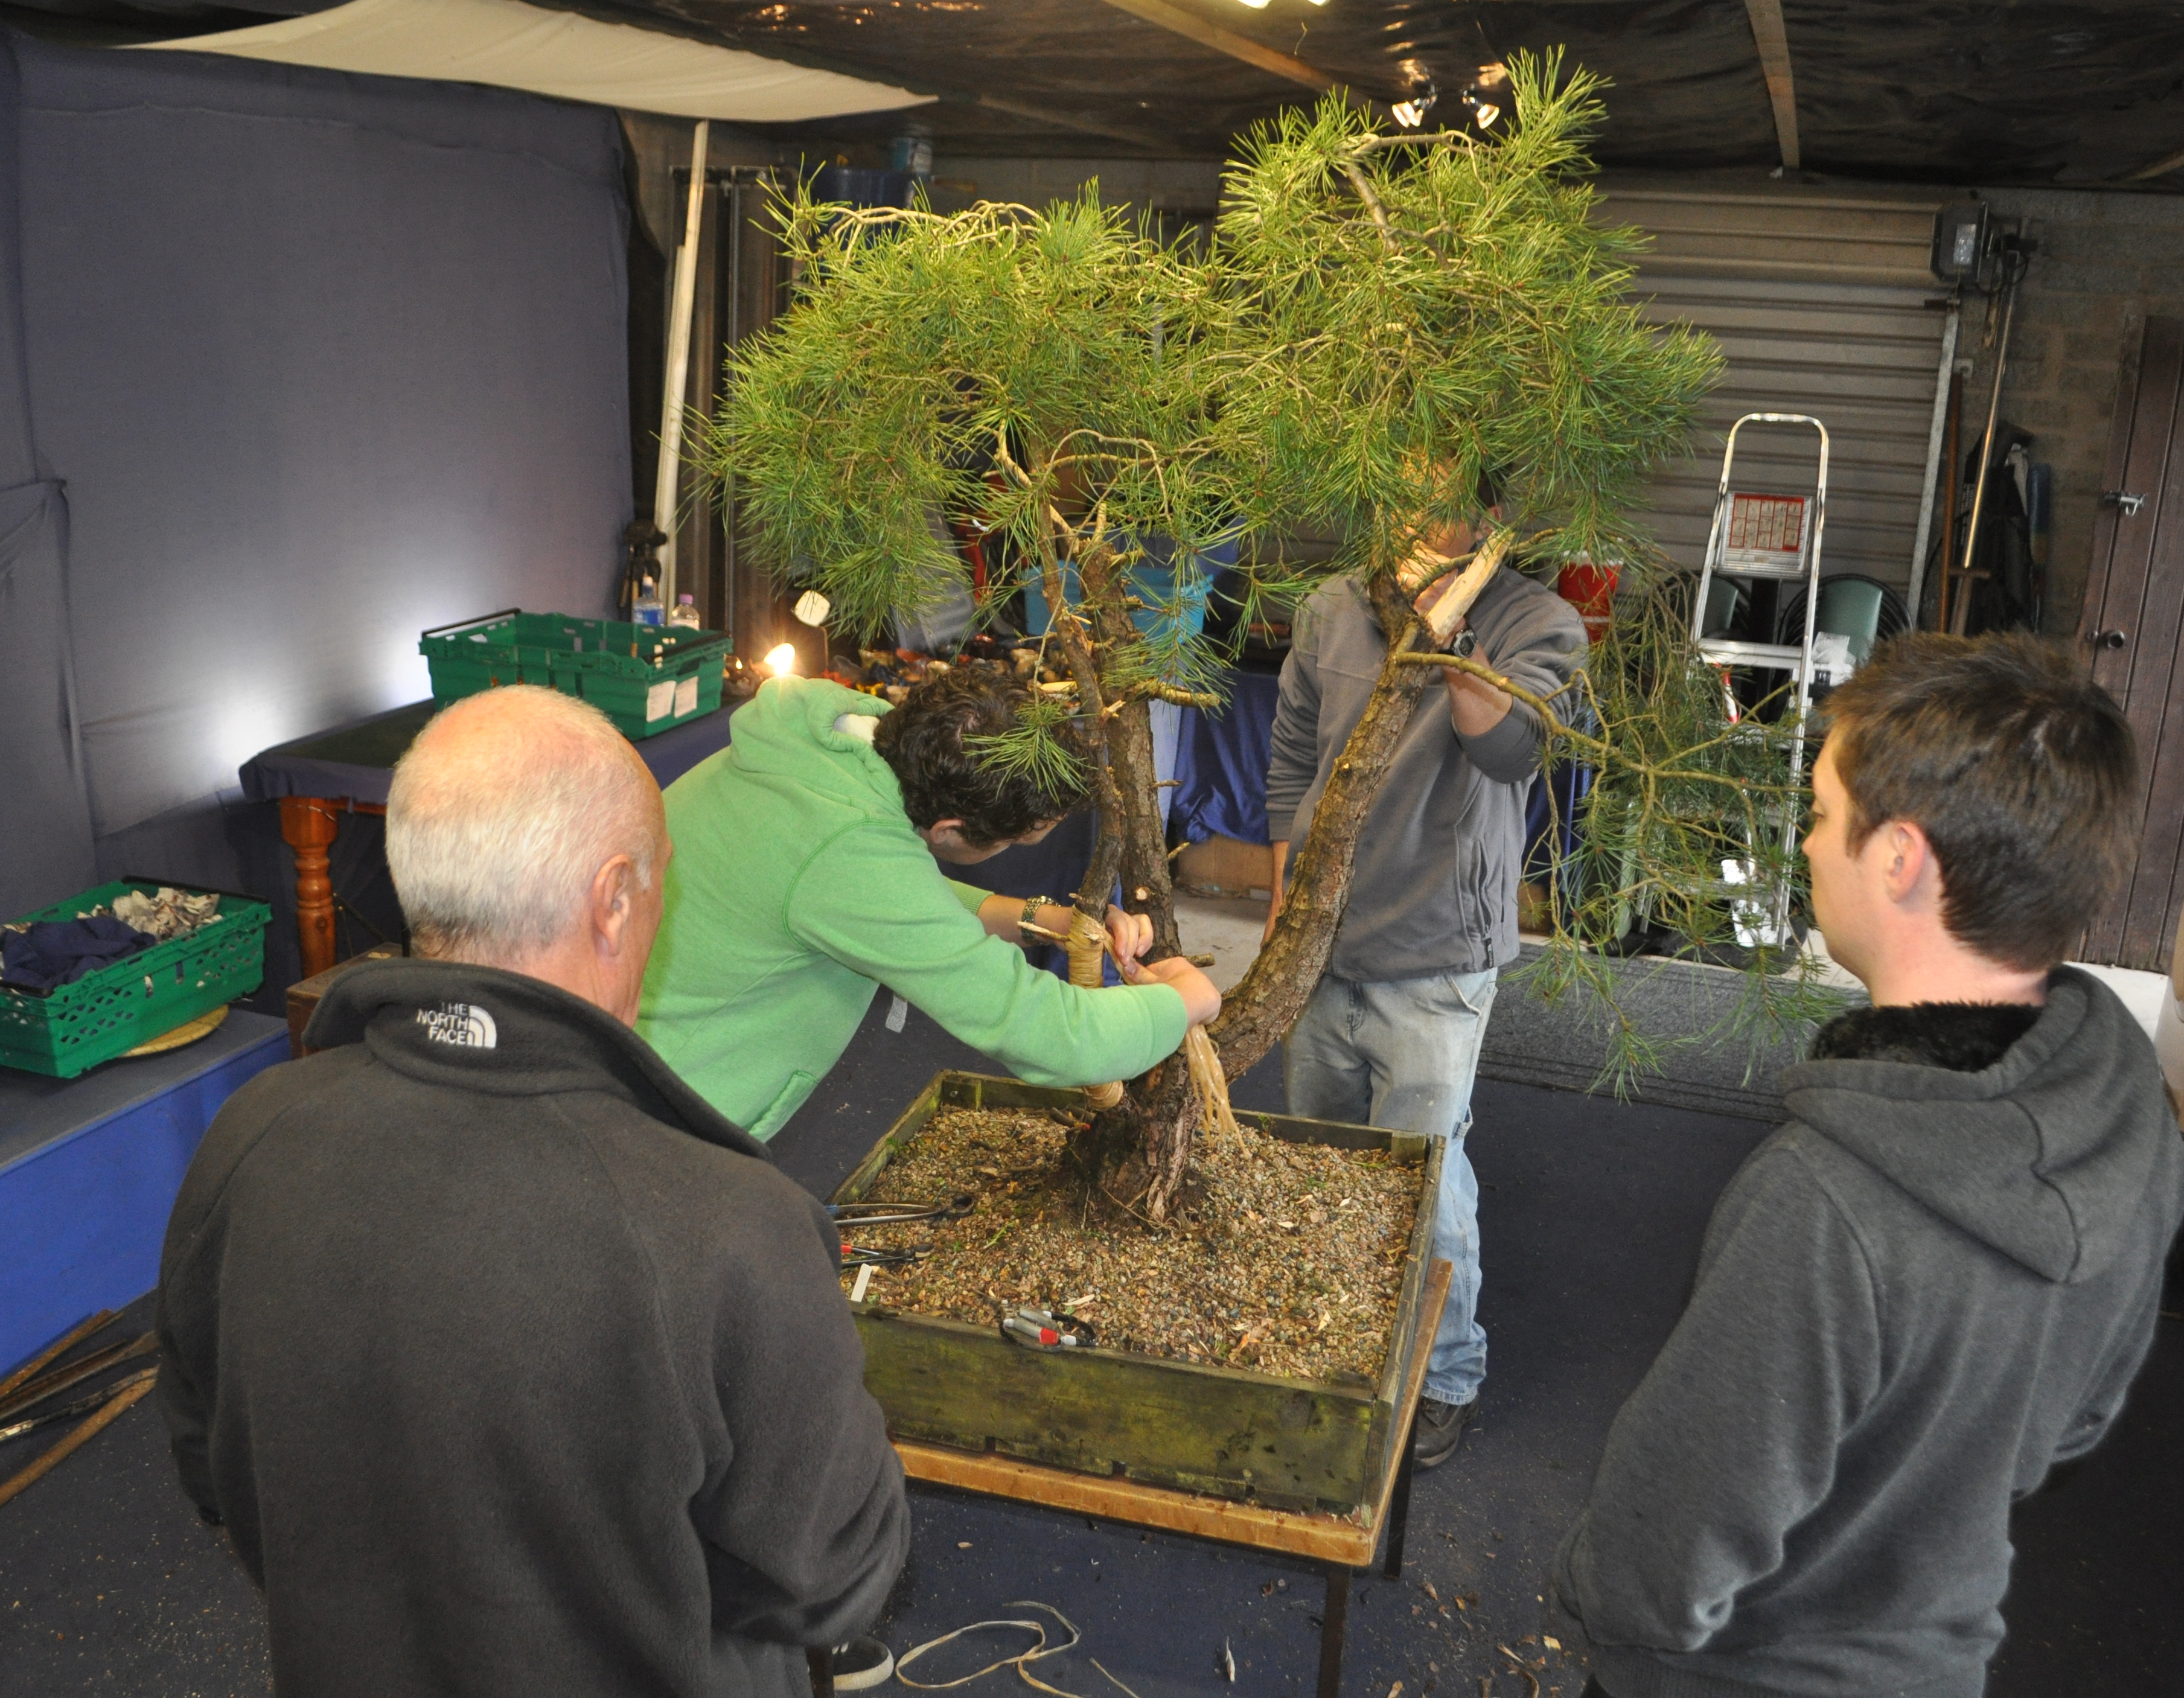
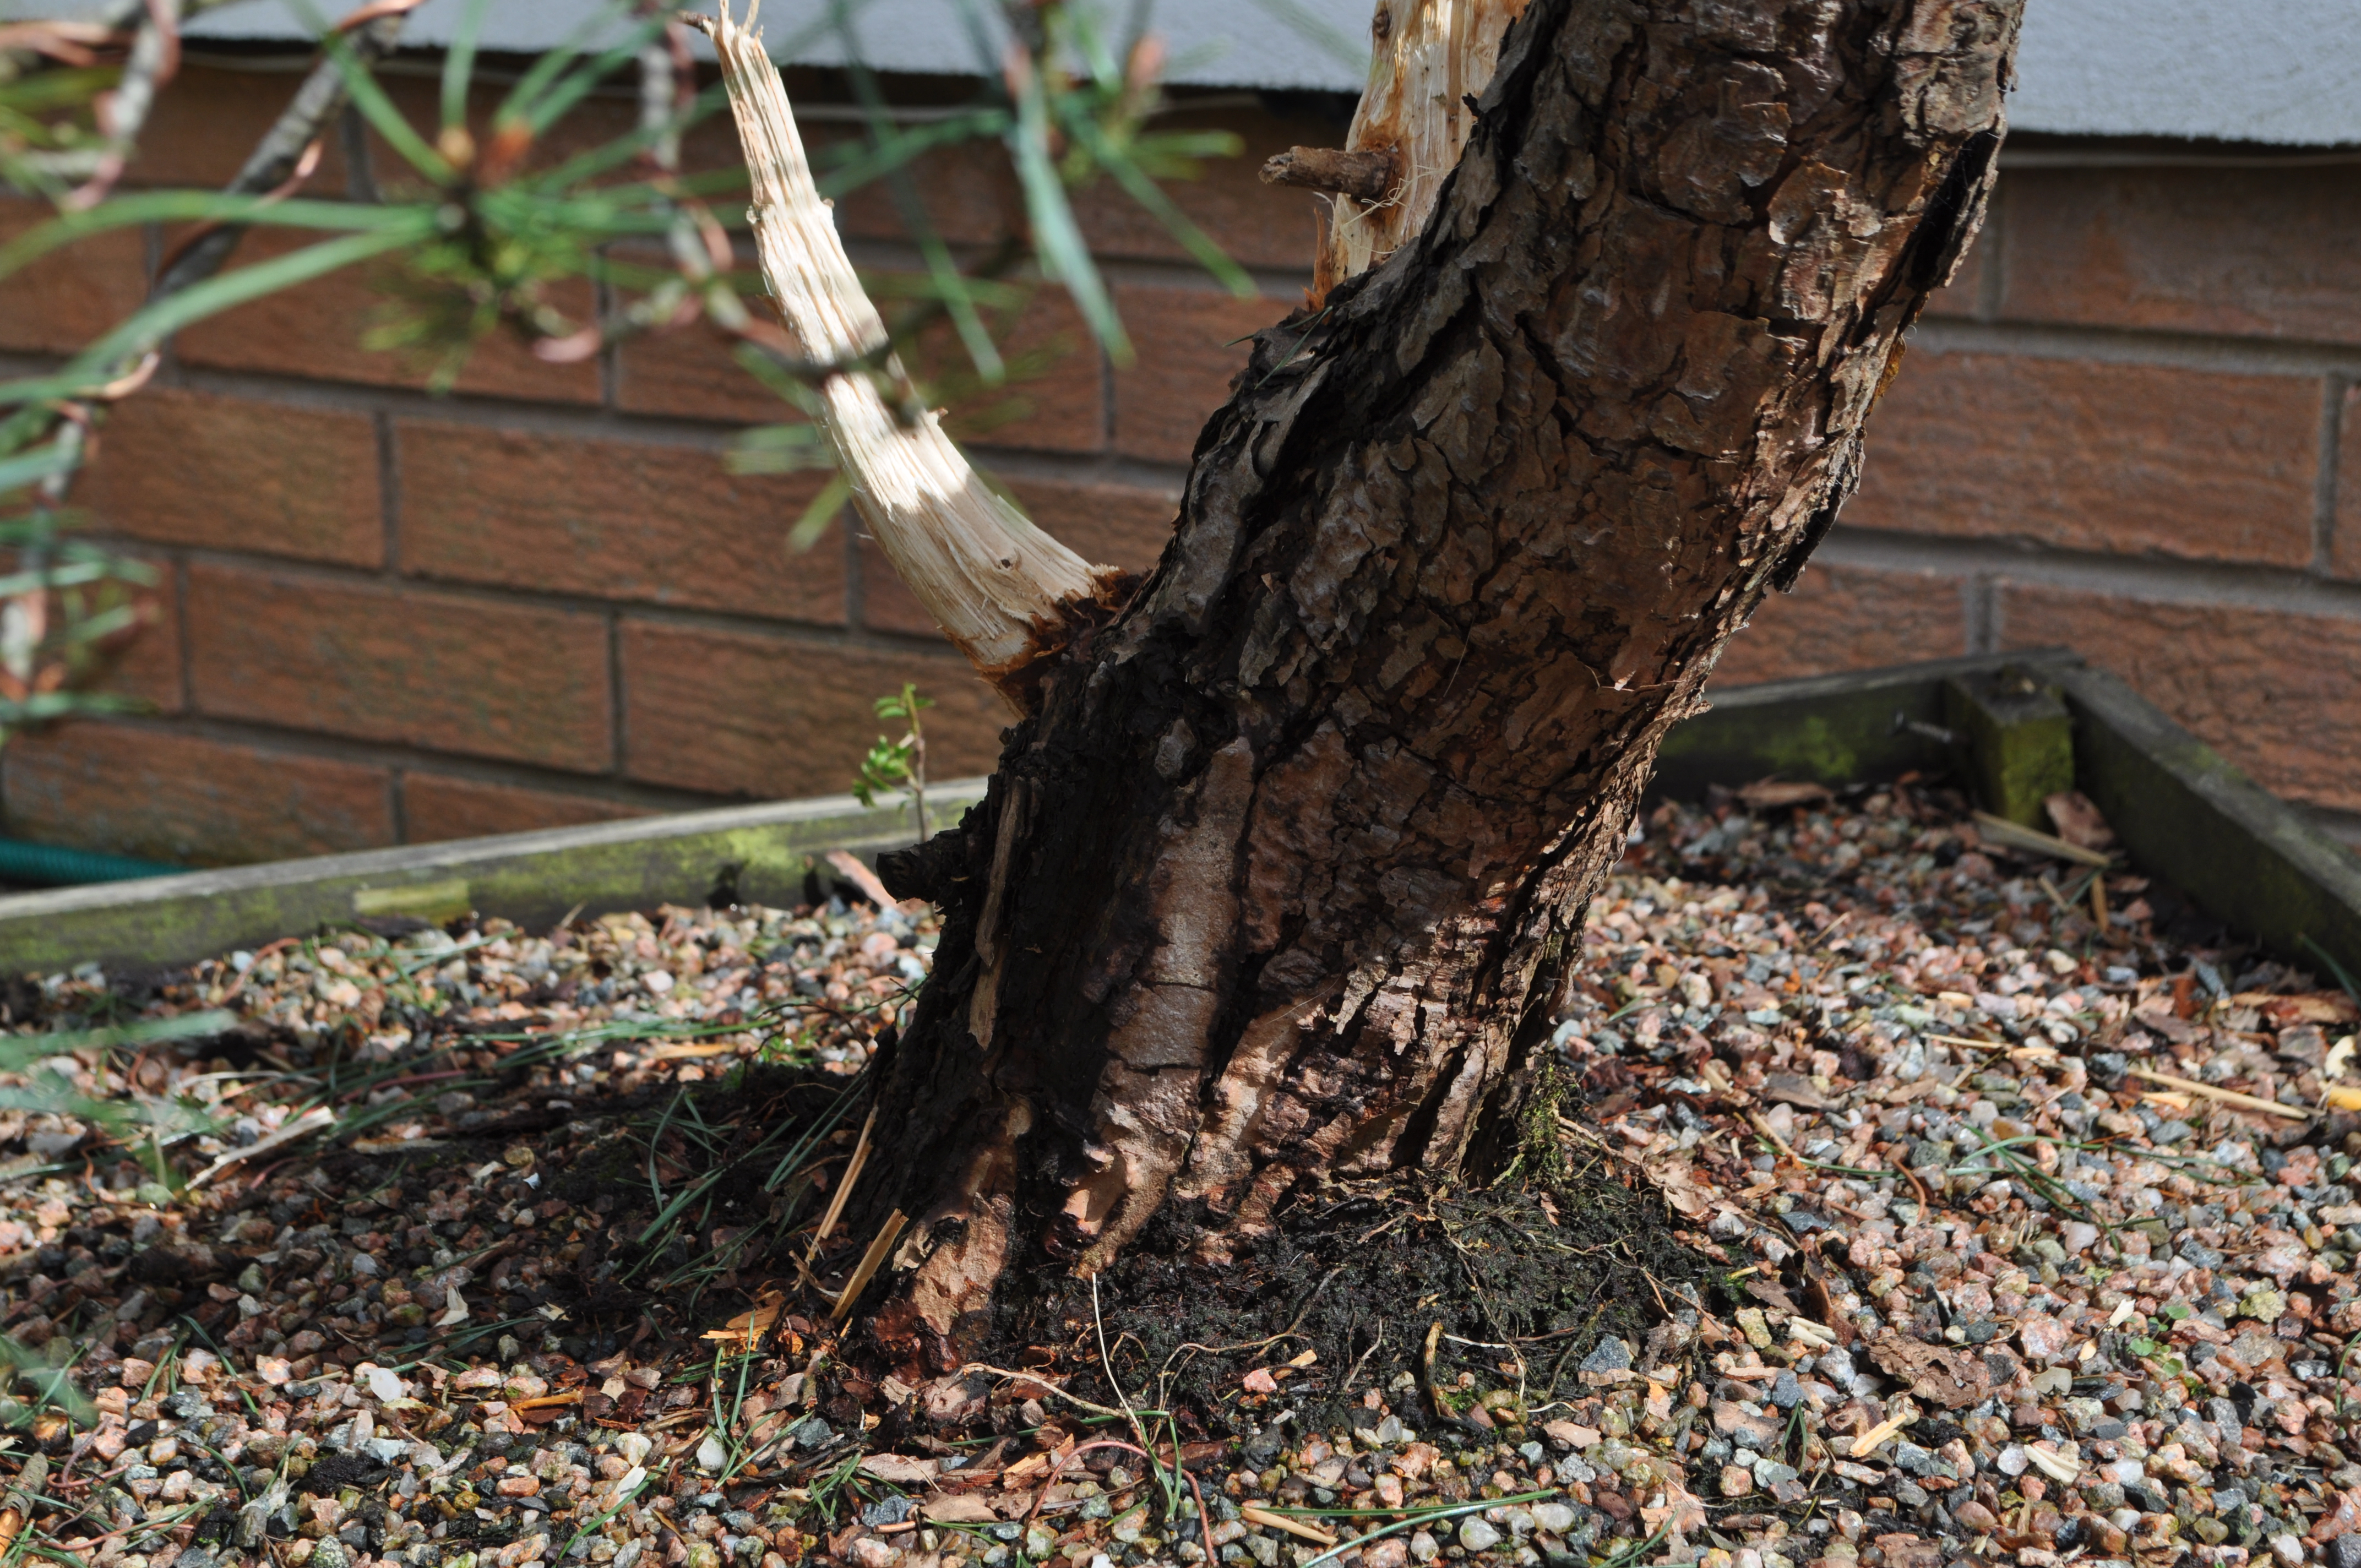
And then my Plan A went out the window lol. When bending the lighter of the two trunks I managed to snap it beyond the point of repair/survival. I was a bit amazed at the time to be honest as I hadn’t applied that much pressure and the trunk had been raffia’d, taped, and cable-tied. On closer inspection later I noticed a weak point where a branch had died previously, but still…

DSC_0247

I was quite pleased with how calm I remained. Nothing I could do to change what had occurred, all I could do was look for options within the remaining trunk to create a tree. The original plans for this trunk had to be dropped and the whole tree evaluated to select another styling option. Once done we again got to work and did a little more bending, this time with no mishaps.

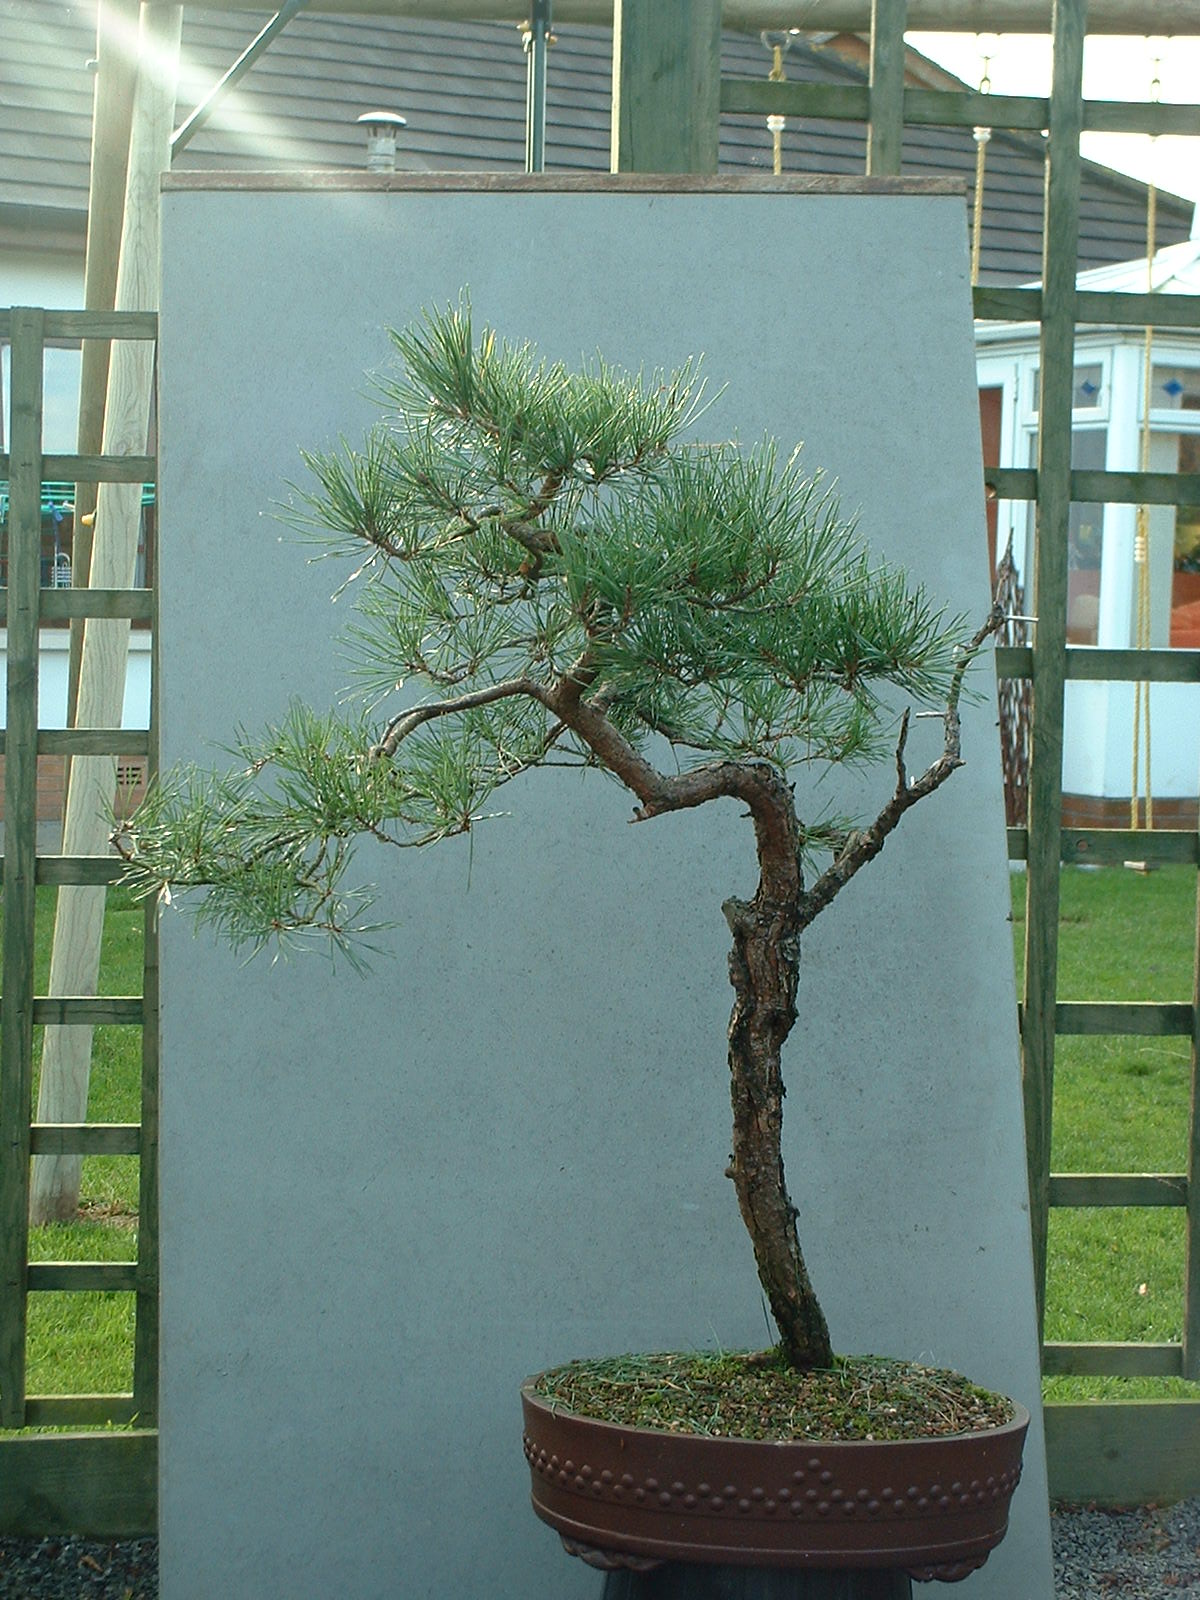
This is how the tree finished before the guys had to head home.

DSC_0251

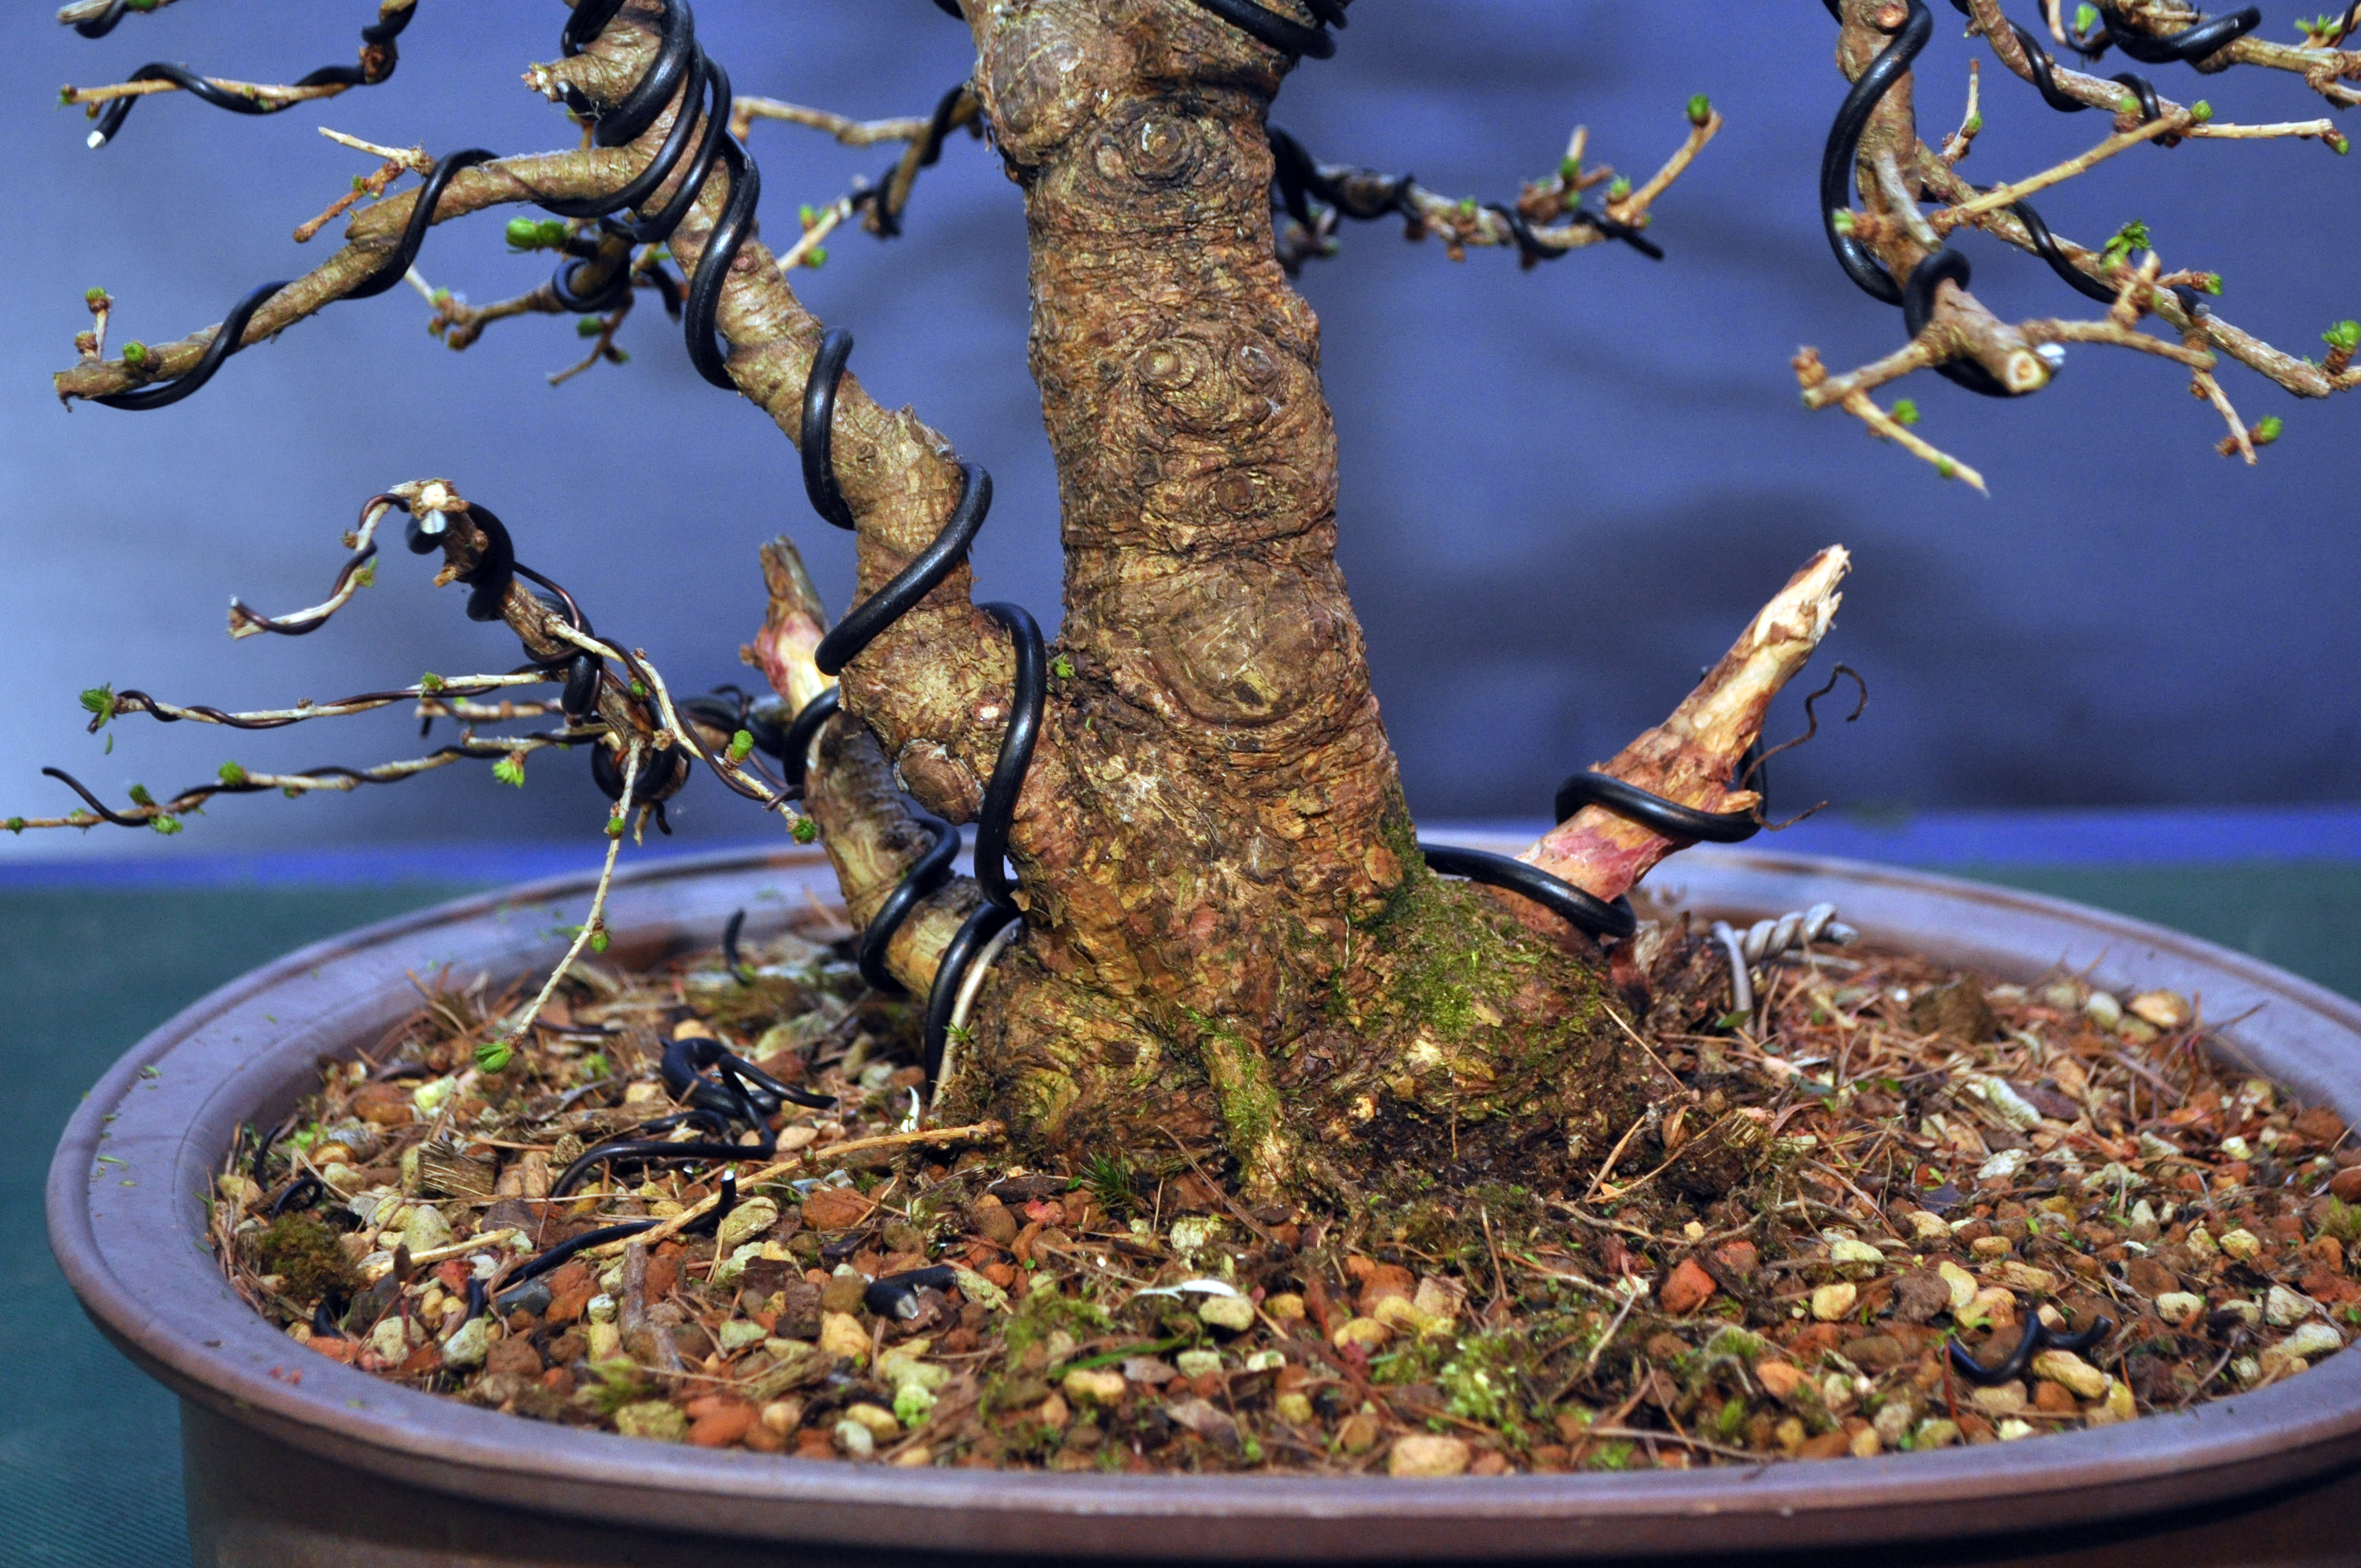
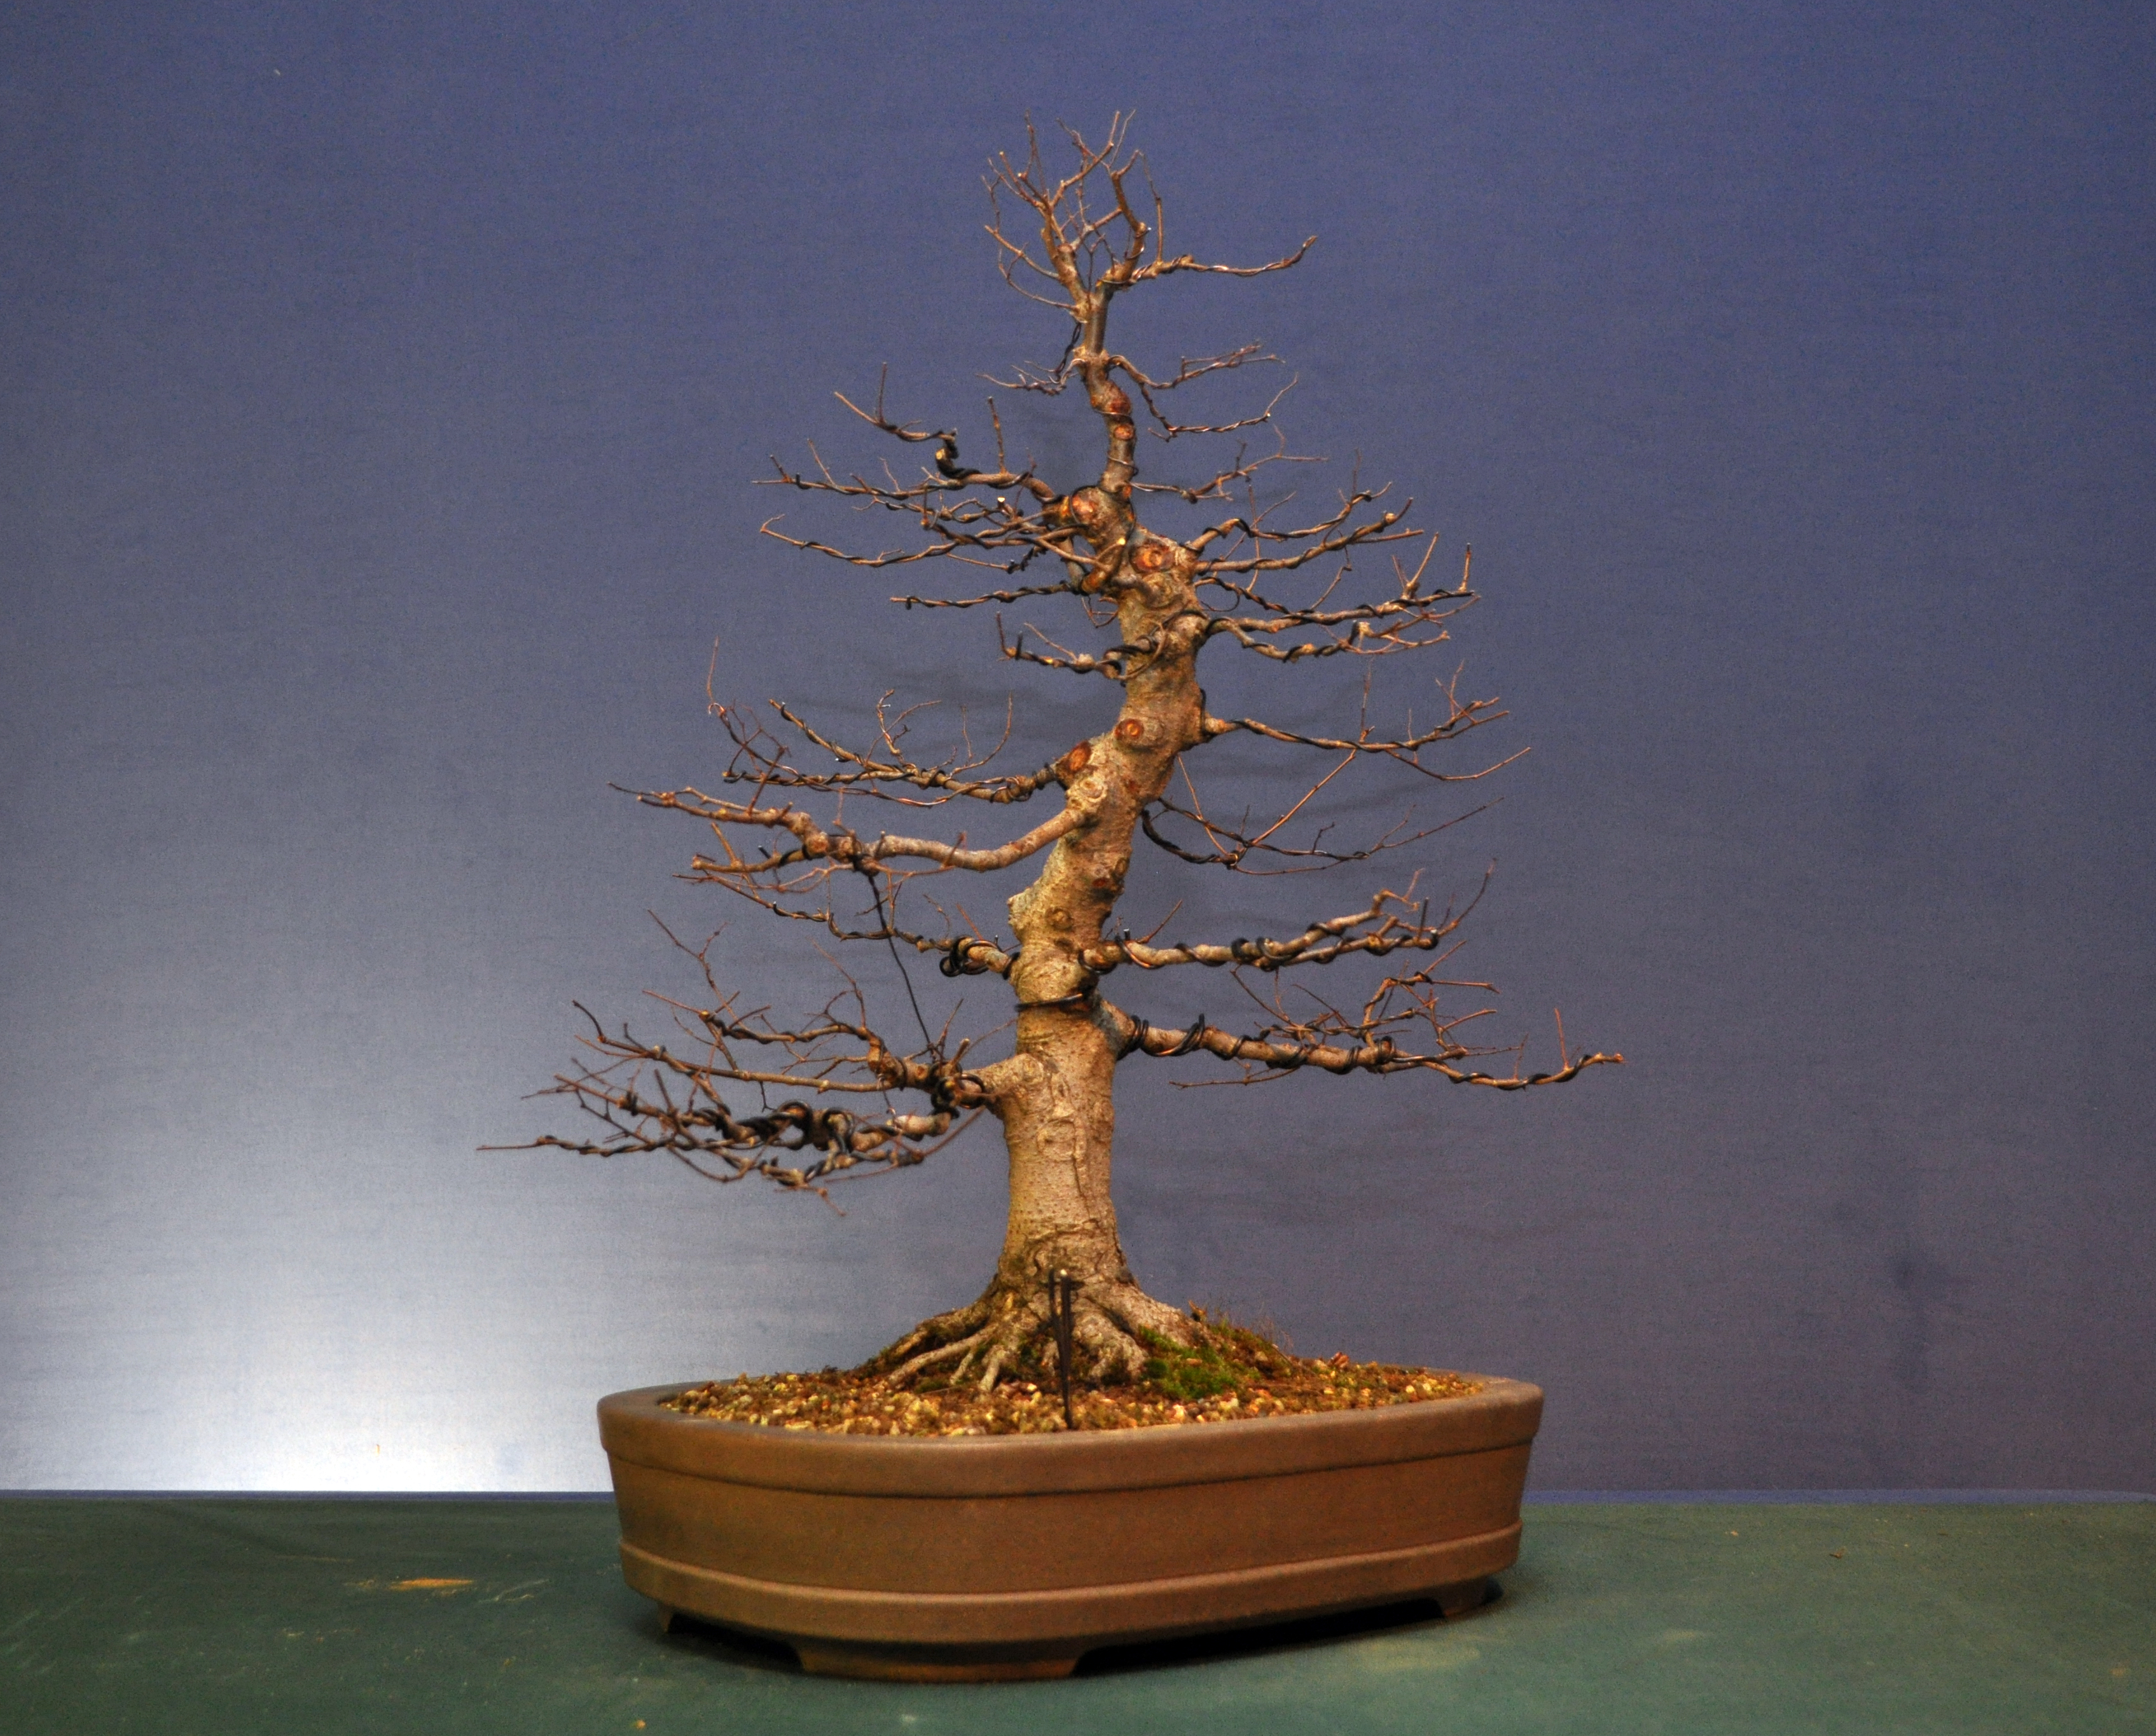
As the branches where all hanging at weird angle with buds pointing towards straight down, I felt that it would be better to fire on and get the tree fully wired so all buds were facing up to help with vigour. In some cases this was exaggerated on the weaker buds. This is how the tree turned out. I actually had another smaller branch break, again with hardly any pressure applied. Some trees just seem to be a pain in the arse!

DSC_0503

DSC_0511

DSC_0512

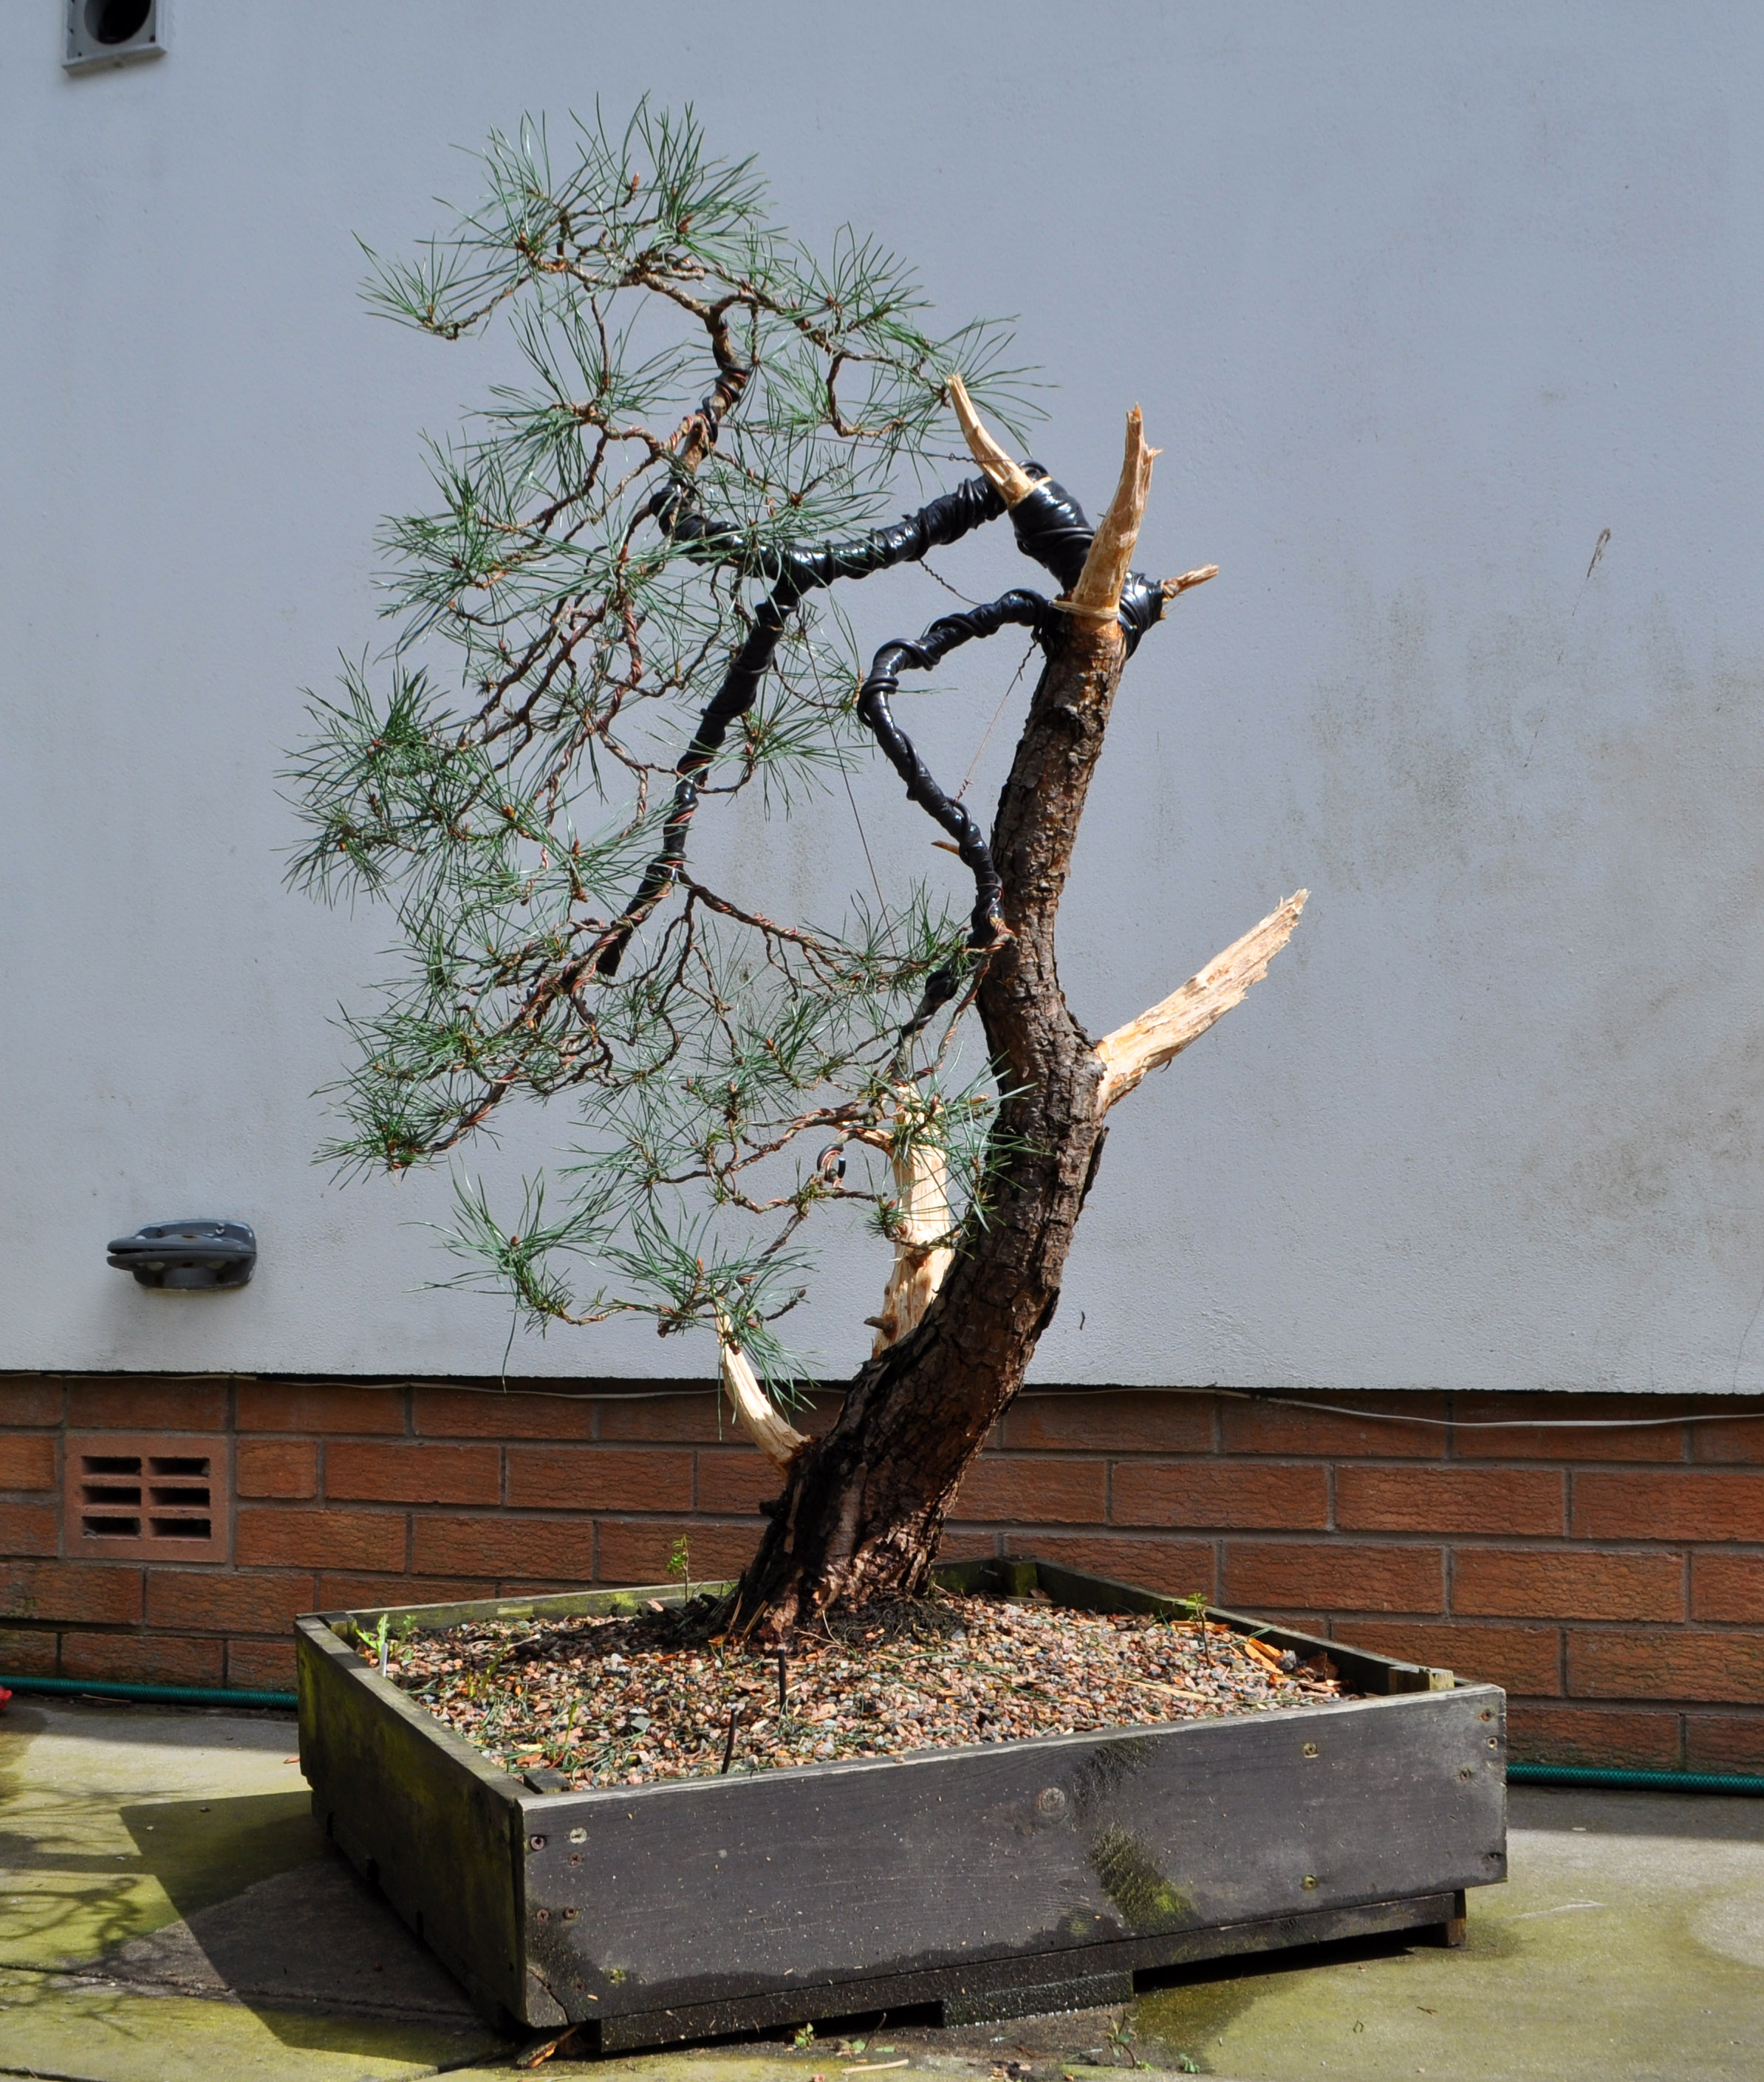
A first step on a long journey, a lot of back budding will be required but the tree is budding strongly this year. I’m pretty pleased with the result, possibly a better image that I was aiming for with the twin trunk image.


Group Workshop

Saturday was a group workshop hosted by myself and Phil. Eight people signed up for the day and you can see one is hiding his identity for employment reasons 🙂

The usual talk though of workshop trees at the start of the session.

DSC_0125


DSC_0129

Jamie’s Scots Pine before.

DSC_0131

Ian B’s Scots Pine before, sadly no after shot.

DSC_0132

Mark’s chunky Elm before.

DSC_0134

Everyone getting busy.

DSC_0142

Maciej’s Larch before.

DSC_0144

Alan’s White Pine Before.

DSC_0145

and After

DSC_0151

Maciej’s Larch Afterwards.

DSC_0158

DSC_0160

Jamie’s Juniper there for advice and a cut back. This is now going to be a squat heavy trunked tree as we opted to removed the straight section which lacked taper.

DSC_0166

Ian B’s Larch after some detailed wiring.

DSC_0172

A possible new front.DSC_0178

Piotr’s Juniper afterwards. Should have taken a back shot as I think that’s a better option showing off more of the deadwood.

Owen’s Juniper before

DSC_0141

Piotr’s Juniper before.

ScreenHunter_97 Mar. 22 09.21

DSC_0182

Mark’s Elm after some branch placement and a repot.

DSC_0185

No where near enough photos taken, but in our defence, we were busy! Apologies to those whose trees missed out on photos especially the after shots.

Everyone seemed to enjoy their day with some great work carried out by all.

One to One : Scot’s Pine

Another one to one today, this time helping out with a tricky repot of a Scots Pine. I love this tree! It’s been in a wooden box for a few years to increase vigour after a few years dealing with Needle Cast. I helped with the first styling of this tree back on 11th September 2001, an easy date to remember due to the tragedy that unfolded as we finished the tree.

This was the tree today.

DSC_0053

And after a tidy up and old needle removal…

DSC_0086

Then the repot

DSC_0092

DSC_0095

and the result

DSC_0106

Over exposure but kinda cool all the same …

DSC_0107

DSC_0113

DSC_0115

DSC_0116

It’s been nice to keep a connection with this tree over the years. I even looked back in my files and found some older photos.

September 2001

Scots Pine 2001

March 2002

Scots pine 6 Mar 2002

And a virtual image I made back in 2002. Not too far off the mark.

Scots pine virtual

Stephen reworking the tree back in 2004

October 2003 to January 2004 091

October 2003 to January 2004 078

2011 with Stephen for scale. The tree isn’t really that big, Stephen is tiny!

DSC_0327 (2)

Being inspected by Peter Warren in 2012

DSC_0211

One to One : Zelkova Group

Had another one to one session on Tuesday night, this time helping to get this Zelkova group planting on the right track. This is a very natural looking group put together last year after the trees had been field grown for a number of years by a previous owner. The group needed a serious working through planning for the best approach for each tree and branch. We had some die back to deal with and a few straight branches to sort out.

This was it last April after putting it together.

This was it on Tuesday night. Extension growth has been cut back a few times over the last growing season.

DSC_0059

This is it after pruning last night with it’s new owner. Still some branches in need of work but care needs to be taken not to lose the naturalness of this image. Another year in the training box gaining vigour will allow for more detailed work next Spring and perhaps a pot.

DSC_0065

One to One: Zelkova

I helped out with the development of this Zelkova on Friday night. The owner has just bought the tree and wanted to get it moving in the right direction. I know this tree well and have seen it pass through the hands of 2 other club members over the years. It originally came into Northern Ireland from Japan back in 2002 I think. Below is it when it can in and also sitting on the bench in the background in the nursery in Japan.

Dscf0111

zelkova 2


This is the tree now. It’s had an up and down life here. After some great work early on it went through a period of neglect due to the owners personal circumstances. At one point near death, it was bought by another friend of mine who did a great job of getting it back to full health. Many of the original branches had died and in some places new branches have started to develope.

DSC_0260

It has a great nebari, probably the best feature of the tree, and some very old bark on the trunk showing the age of the tree.

DSC_0264

Although the image as it sits now looked good from a distance, there was a lot of issues with heavy branches high up the tree, new thin branches lower down that need to be grown on to fatten, and some ugly pruning wounds that need reduced now. We picked a slightly different front that the last owner to improve the trunk line and taper.

DSC_0265

This is it after pruning and reduction of wounds, Some branches have been left uncut to allow extension and thickening.

DSC_0270

And this it it after some wiring to reposition branches. Still a way to go with this one but give it 5 years of good care and it will be a very nice tree.

DSC_0275

Also done in the same session was this little Shohin Japanese Maple. It needed a repot and into something a little larger to allow for development.

DSC_0279

DSC_0283

This Shohin Korean Hornbeam also got a repot and a serious thinning out of the foliage too. Sorry no before photo. Typical of mass produced imported material but with some effort I think it can make a nice image.

DSC_0287

For anyone interested in a one to one, click on the tab at the top.

One to One : Japanese Maple Clump

This really nice Japanese Maple Clump came to my place on Saturday for a little work. Already a great tree, it needed a little work to keep the foliage under control and to help improve ramification.

DSC_0088

One of the issues with this tree was the trunk on the far right which is a lot stronger than the other. This was going to need a heavier pruning.

DSC_0093

We started with the other trunks to build a better structure. This is something that needs to be kept on top of with a decent tree or thickening of branches on outer reaches will occur and years of work can be ruined. Afterwards we removed quite a bit from the fast growing trunk on the right and then sealed all the cuts to stop dessication.

DSC_0098

DSC_0102


The reduced strong trunk.

DSC_0138

Next step was to remove tree moss that was covering the nebari and starting to climb the tree. This was hiding one of the best features of this tree. Initial work done with a toothbrush and fingers but was finished off with a water jet.

DSC_0107

DSC_0110

DSC_0116

DSC_0119


The final change was to do with it’s position in the pot and the direction of movement of the tree. The tree was potted a year ago and sat centrally in the pot. However looking at the movement of the main trunk and the nice flow of those to the left of it, we decided that by potting the tree slightly further to the right and giving more negative space to the left would add more interest to the image. This will require the strong growing tree on the right to be kept under tight control. The tree was taken out of the pot and a little root pruning allowed us to reposition it without the requirement for a full blown repot. The roots were fantastic for a years growth.

IMAG0270

IMAG0273


The tree before and after work. The plan is for the lower left branches to be extended further to help create a more dynamic image over the next few years. Pot is slightly big for this Winter image but perfect for the development that’s required to take it to the next level.

DSC_0088 IMAG0270


Saturday Workshop

I’ve been taking the easy option and reblogging Munster Bonsai Clubs posts about the weekend but I do have a few photos of my own that help capture the great day we had. I’ve been back to what has been a hectic few days in work and am still trying to recover from the serious travelling and work that the guys down there had us doing 😉 Anyway, here’s a few of my shots.

Image

Burrs X in 2015

Avon Tyrrell Bonsai Workshop 2014 Video

Great video here that captures the moments from this years Avon Tyrrell Bonsai Workshop back in October.

If you are interested in next years workshop running October 16th to 18th then give Dean a shout via email: avontyrrell.bonsai@gmail.com

Ryan’s Back

It’s not looking good for me making it over to the Ryan Neil workshops at Willowbog Bonsai in April. I’m truly gutted about it.

I can’t see Ryan making it to the UK too often and this is a missed opportunity. Having done a workshop back in 2013 I know just what I’m going to be missing.

Here’s a taster from 2013, the videos from the demo day.