Sitka Spruce – Picea sitchensis

Just about recovered from the weekend of bonsai workshops, not just as a participant, but also a host, which has it added drawbacks but also benefits.

Great to hear the great feedback from club members, who are also friends, makes it all the more worthwhile. I didn’t get many photos on the day I worked with with Peter, a bit busy, but I do have some to share.

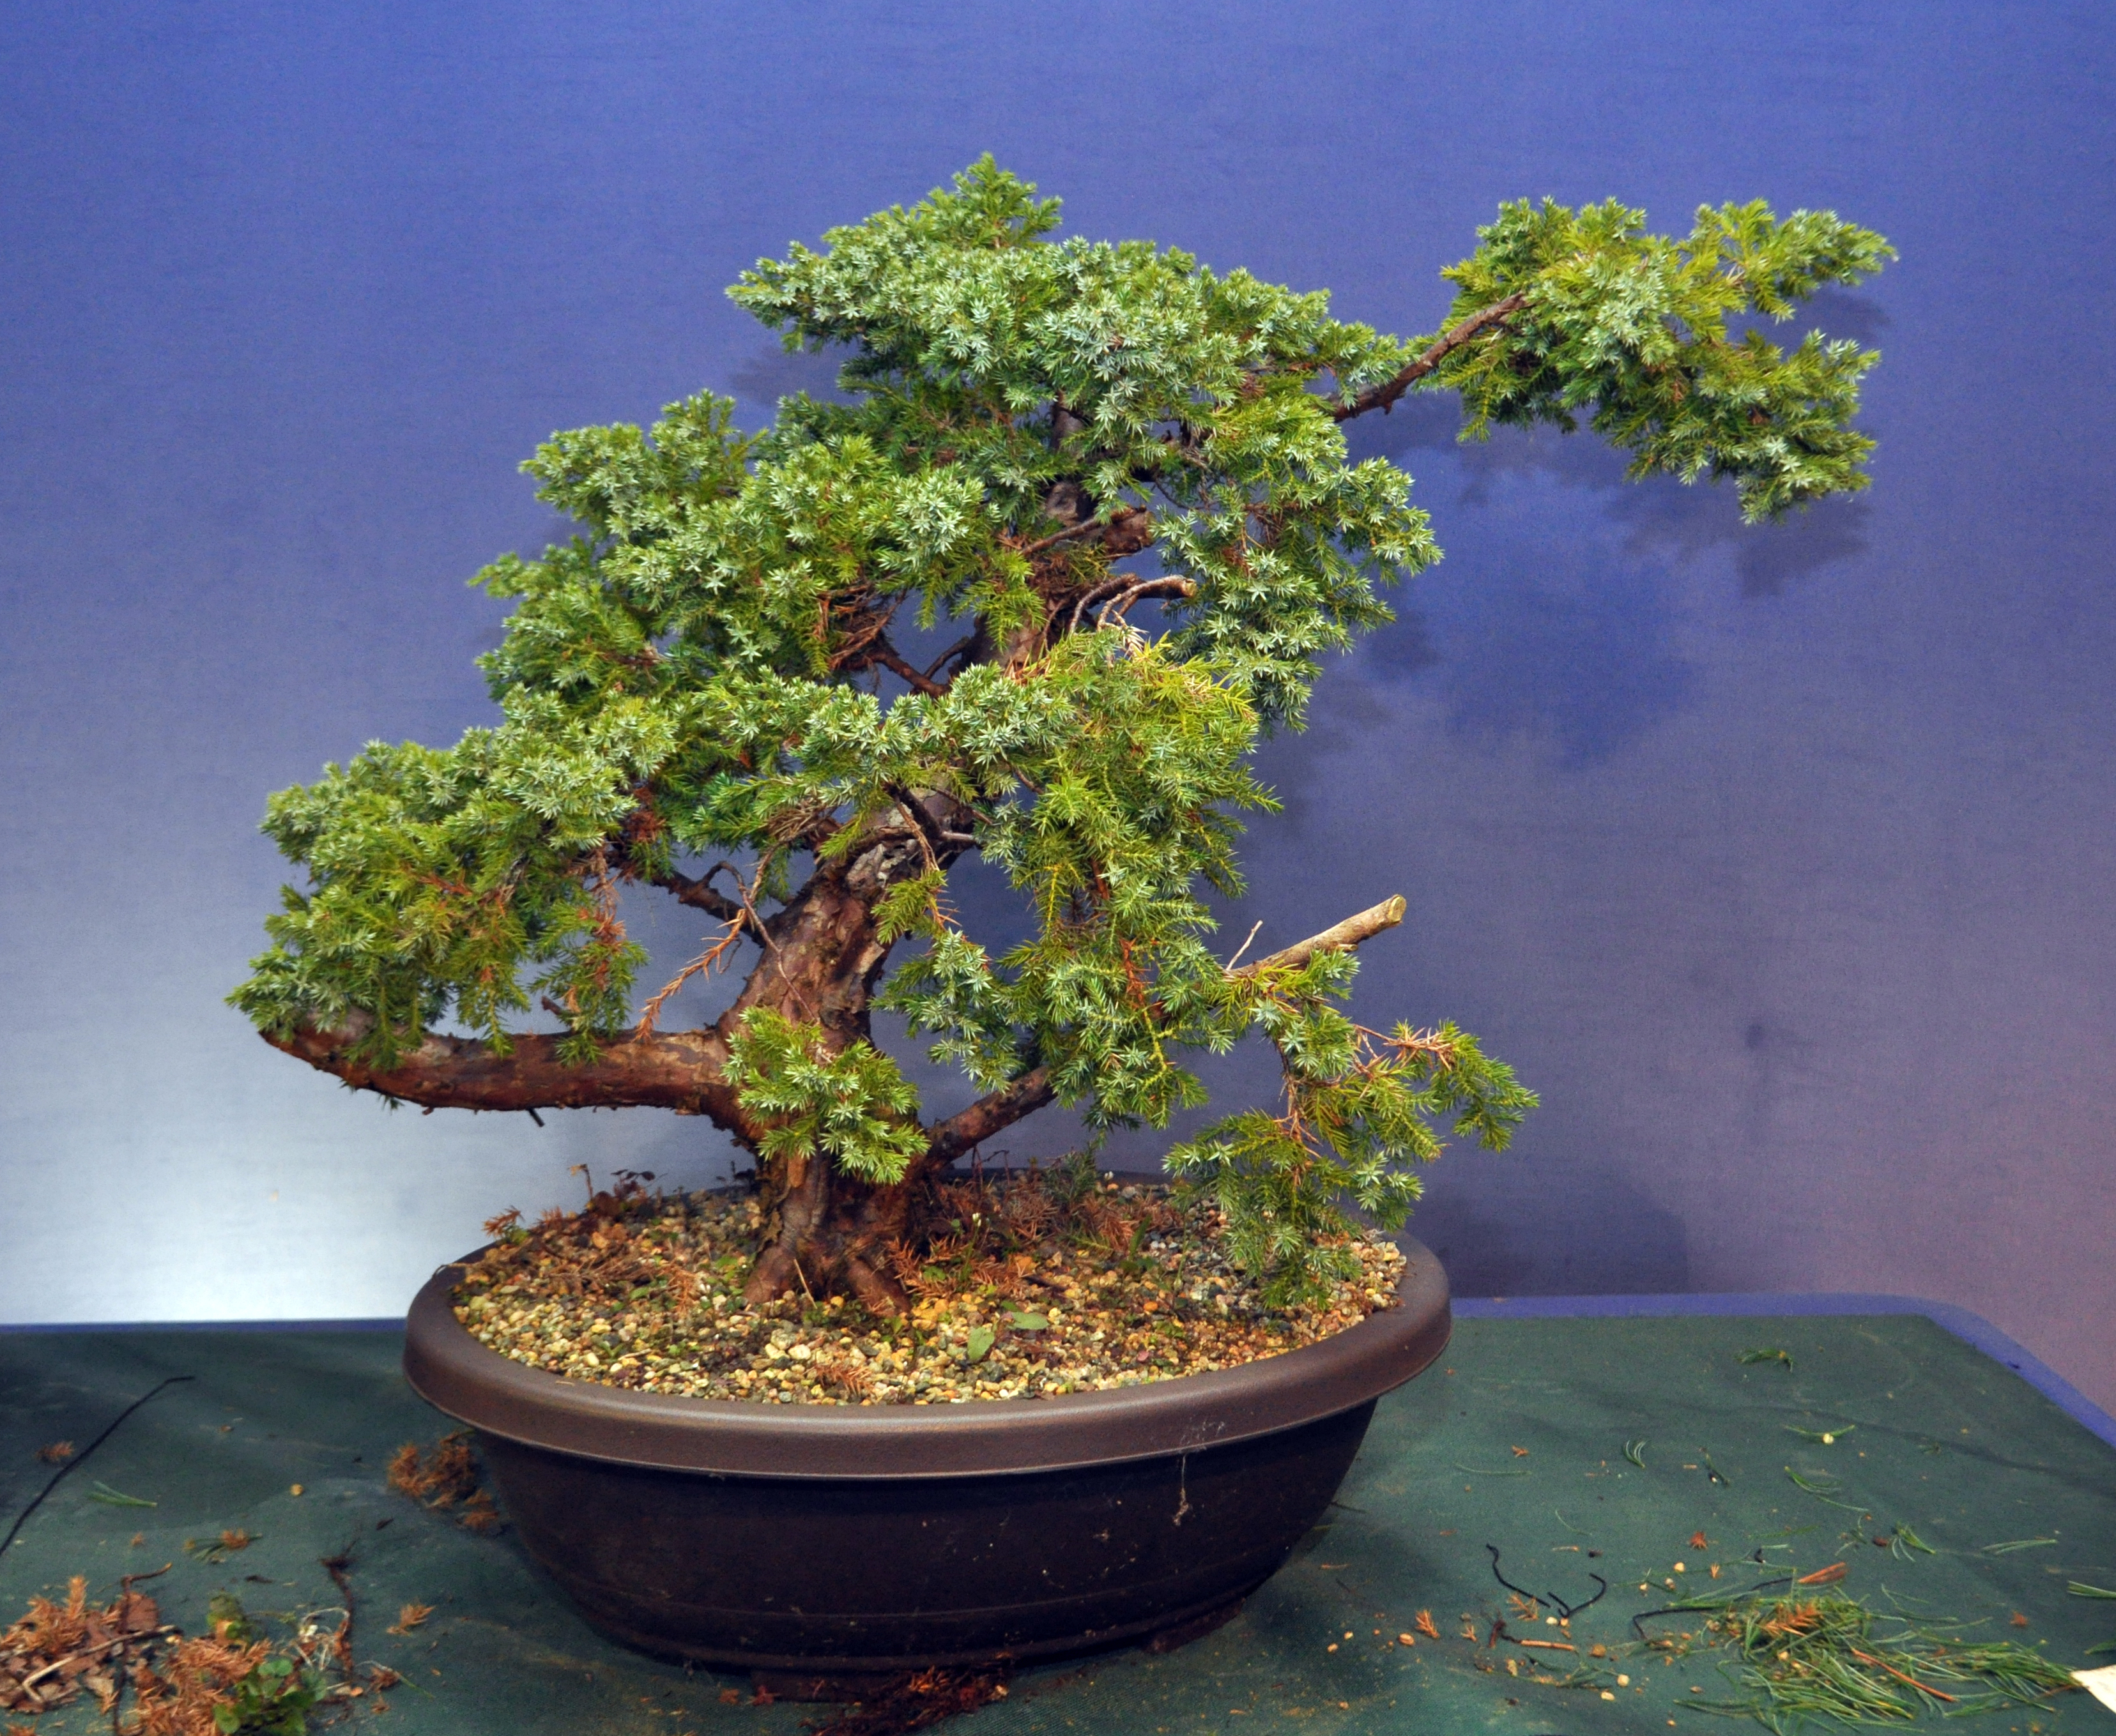
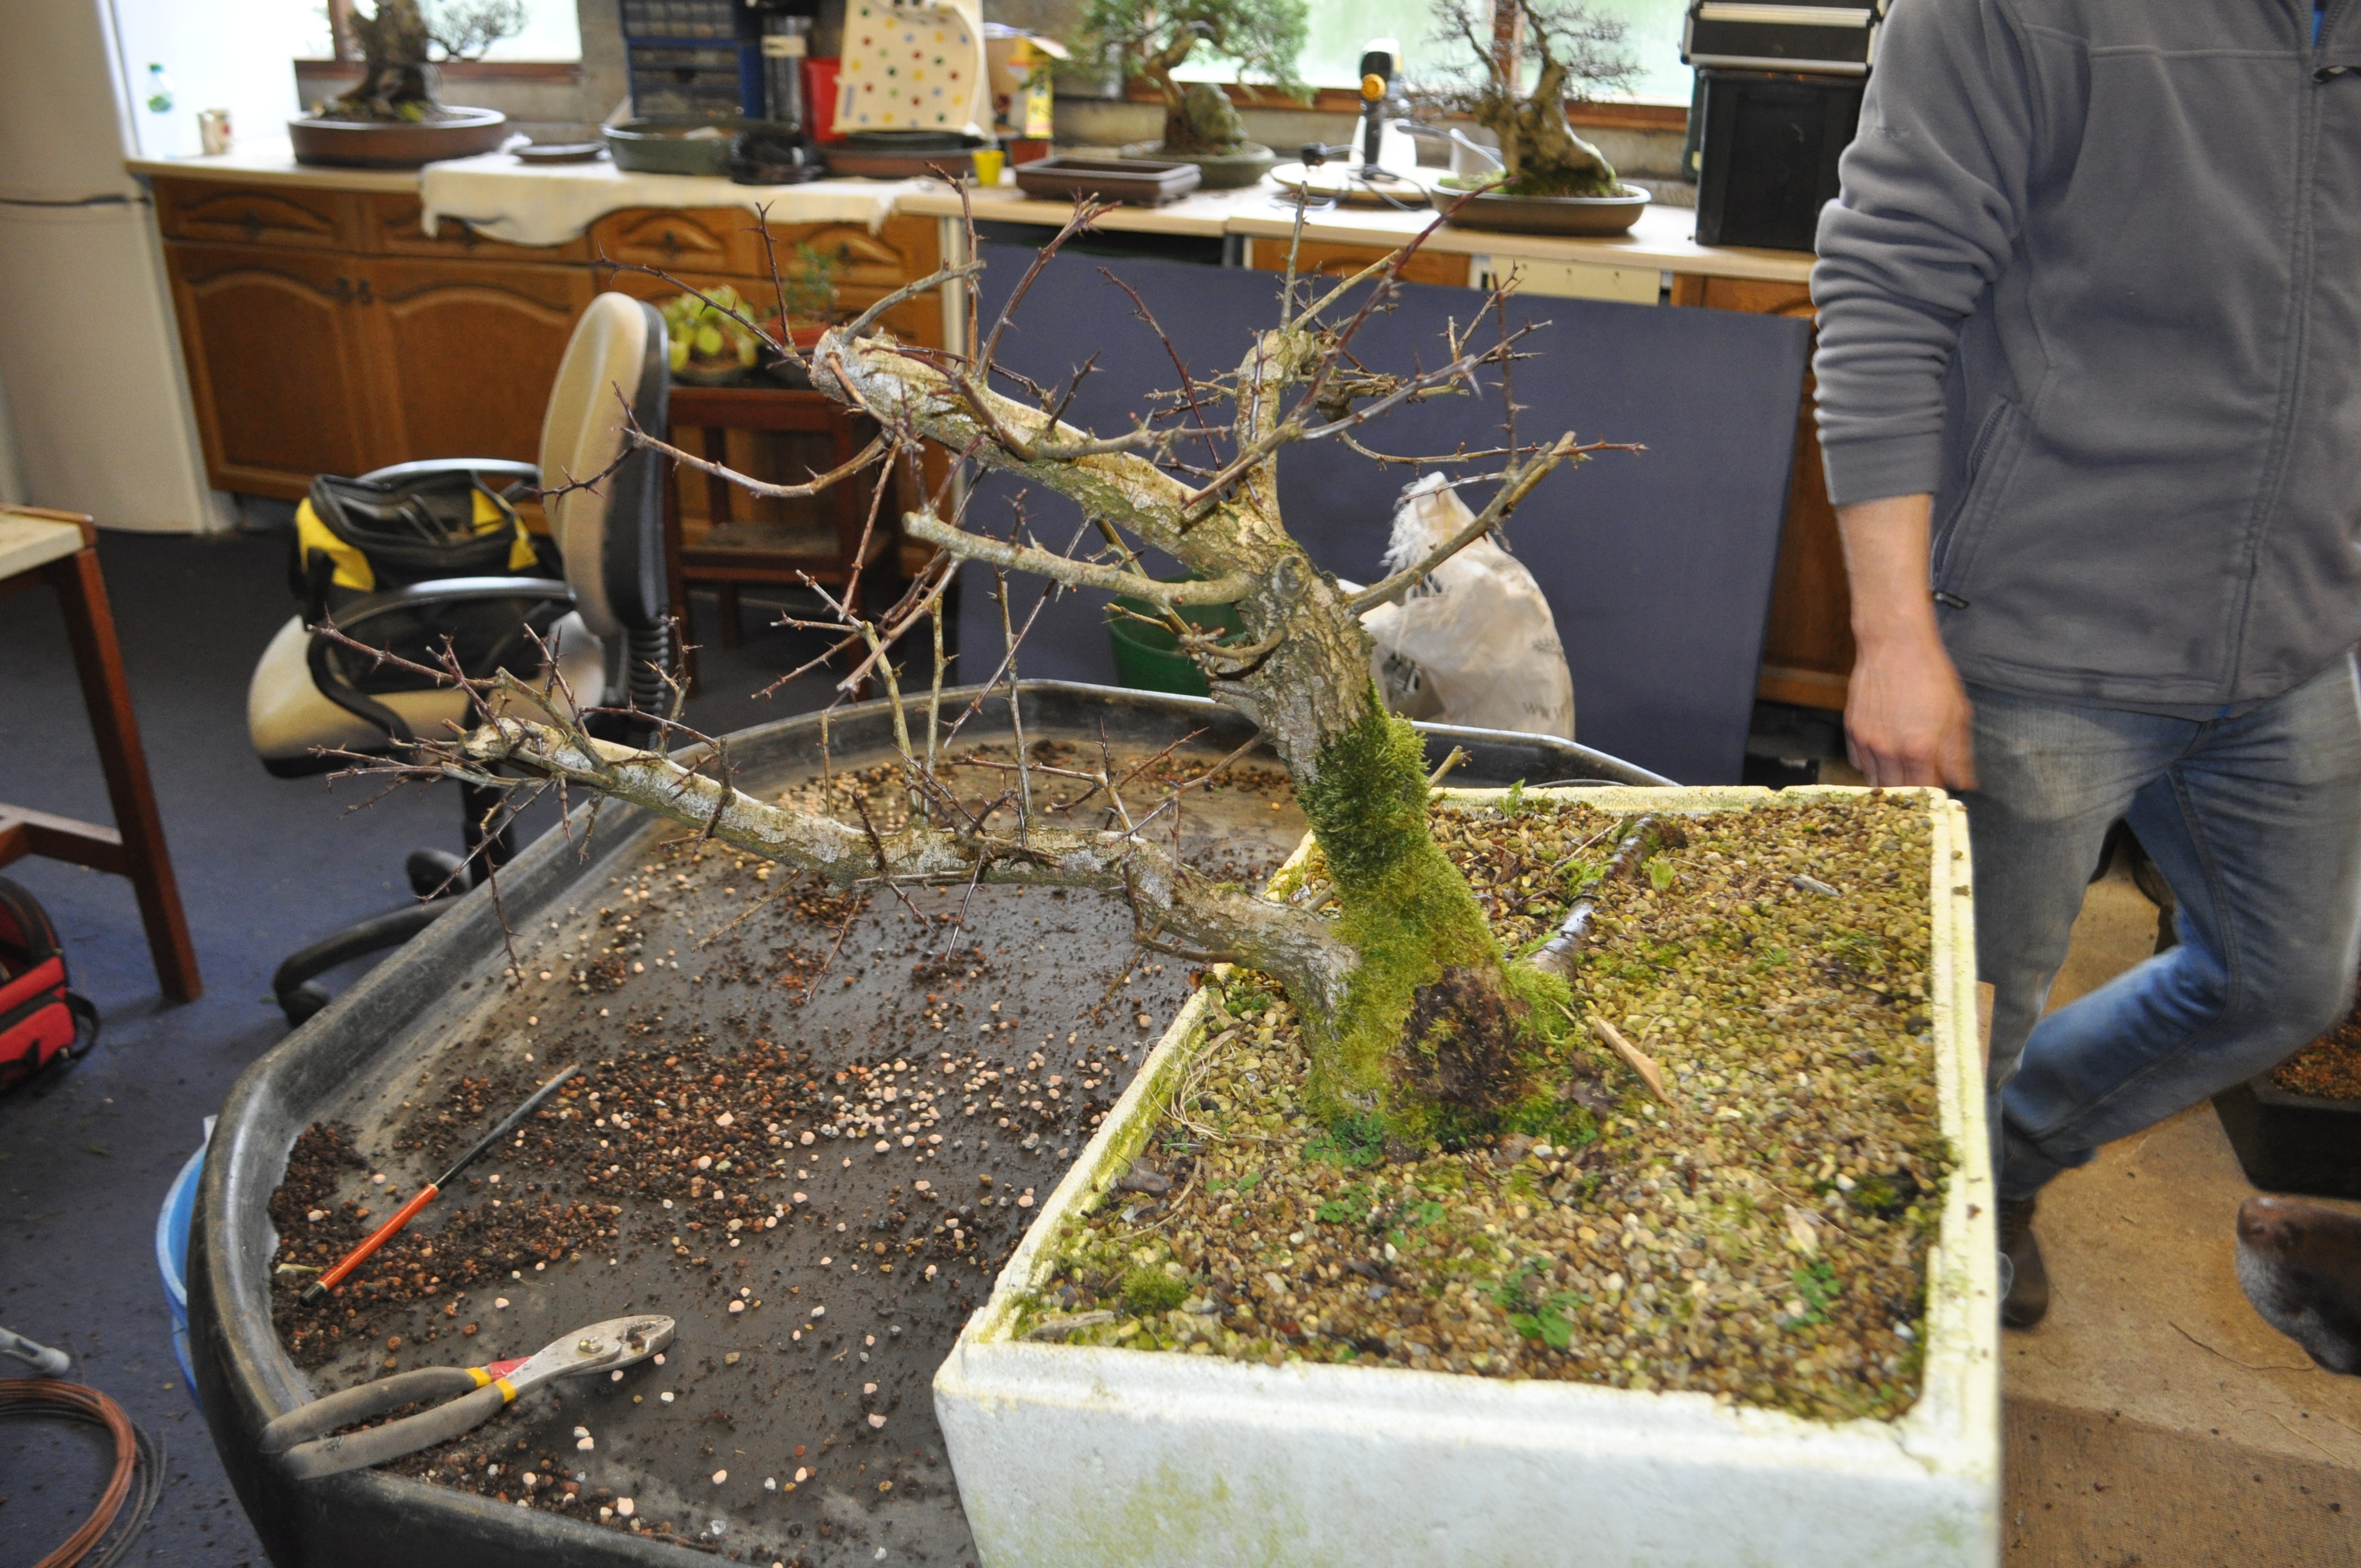
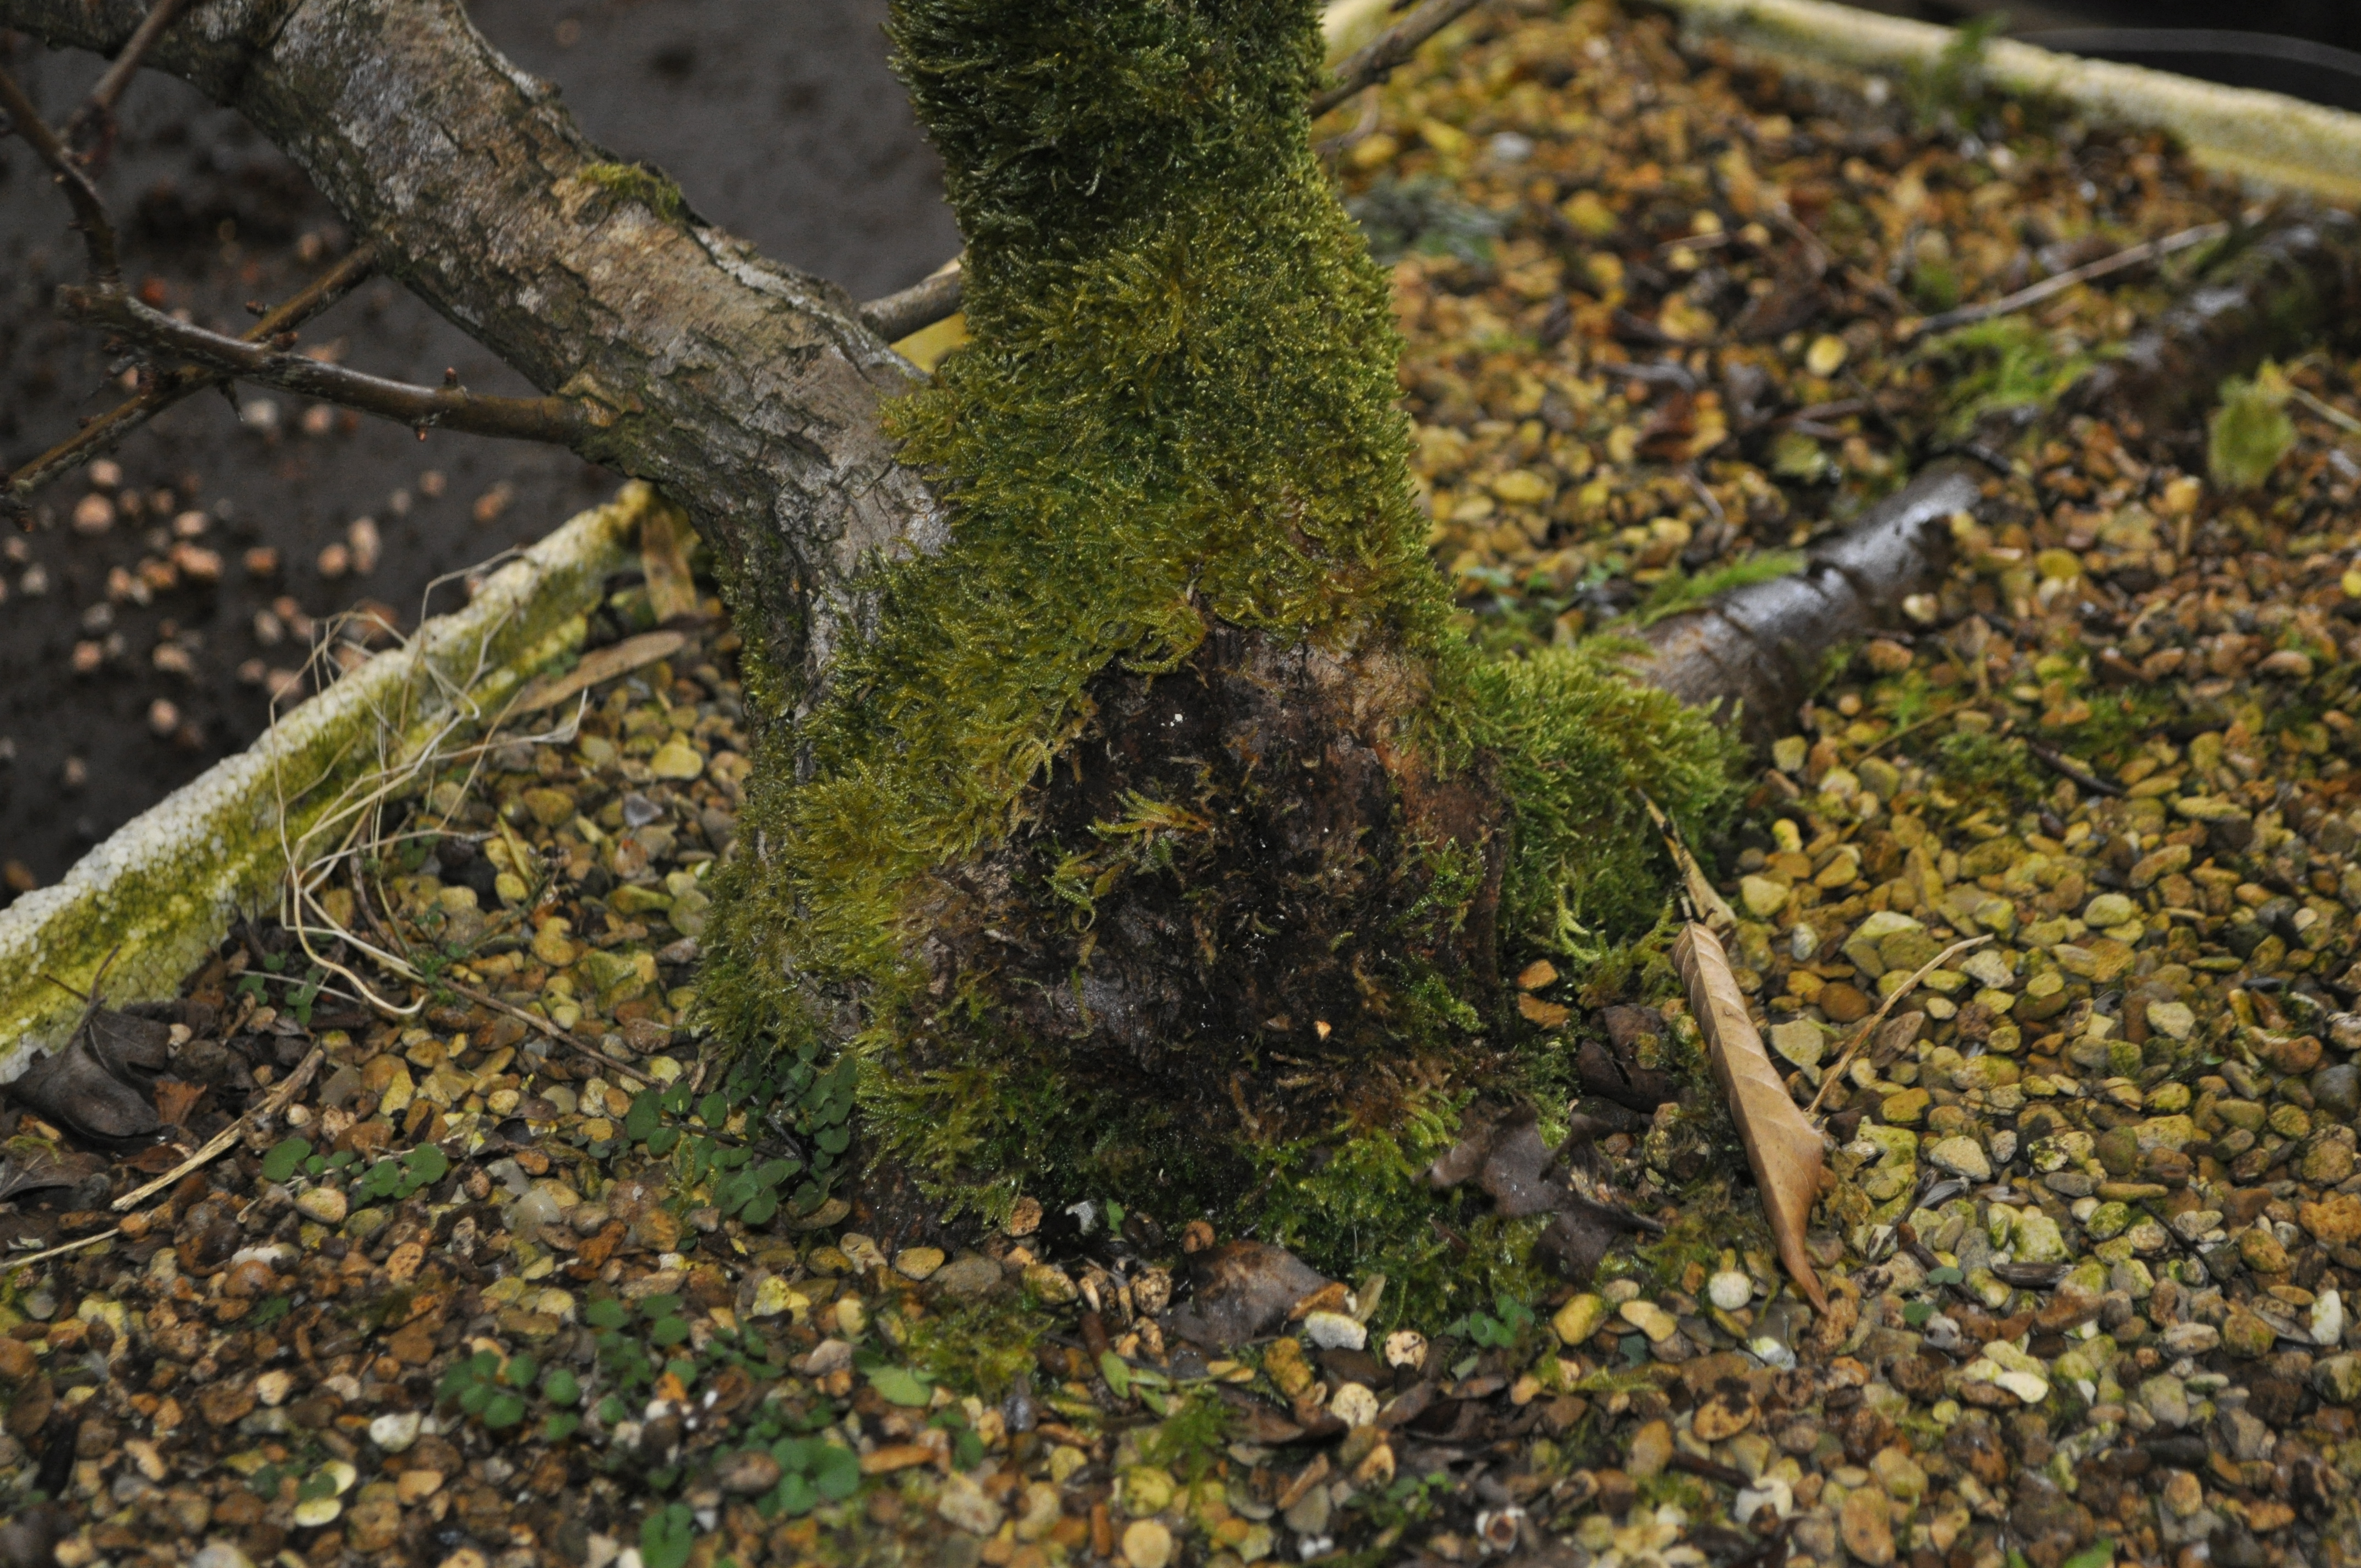
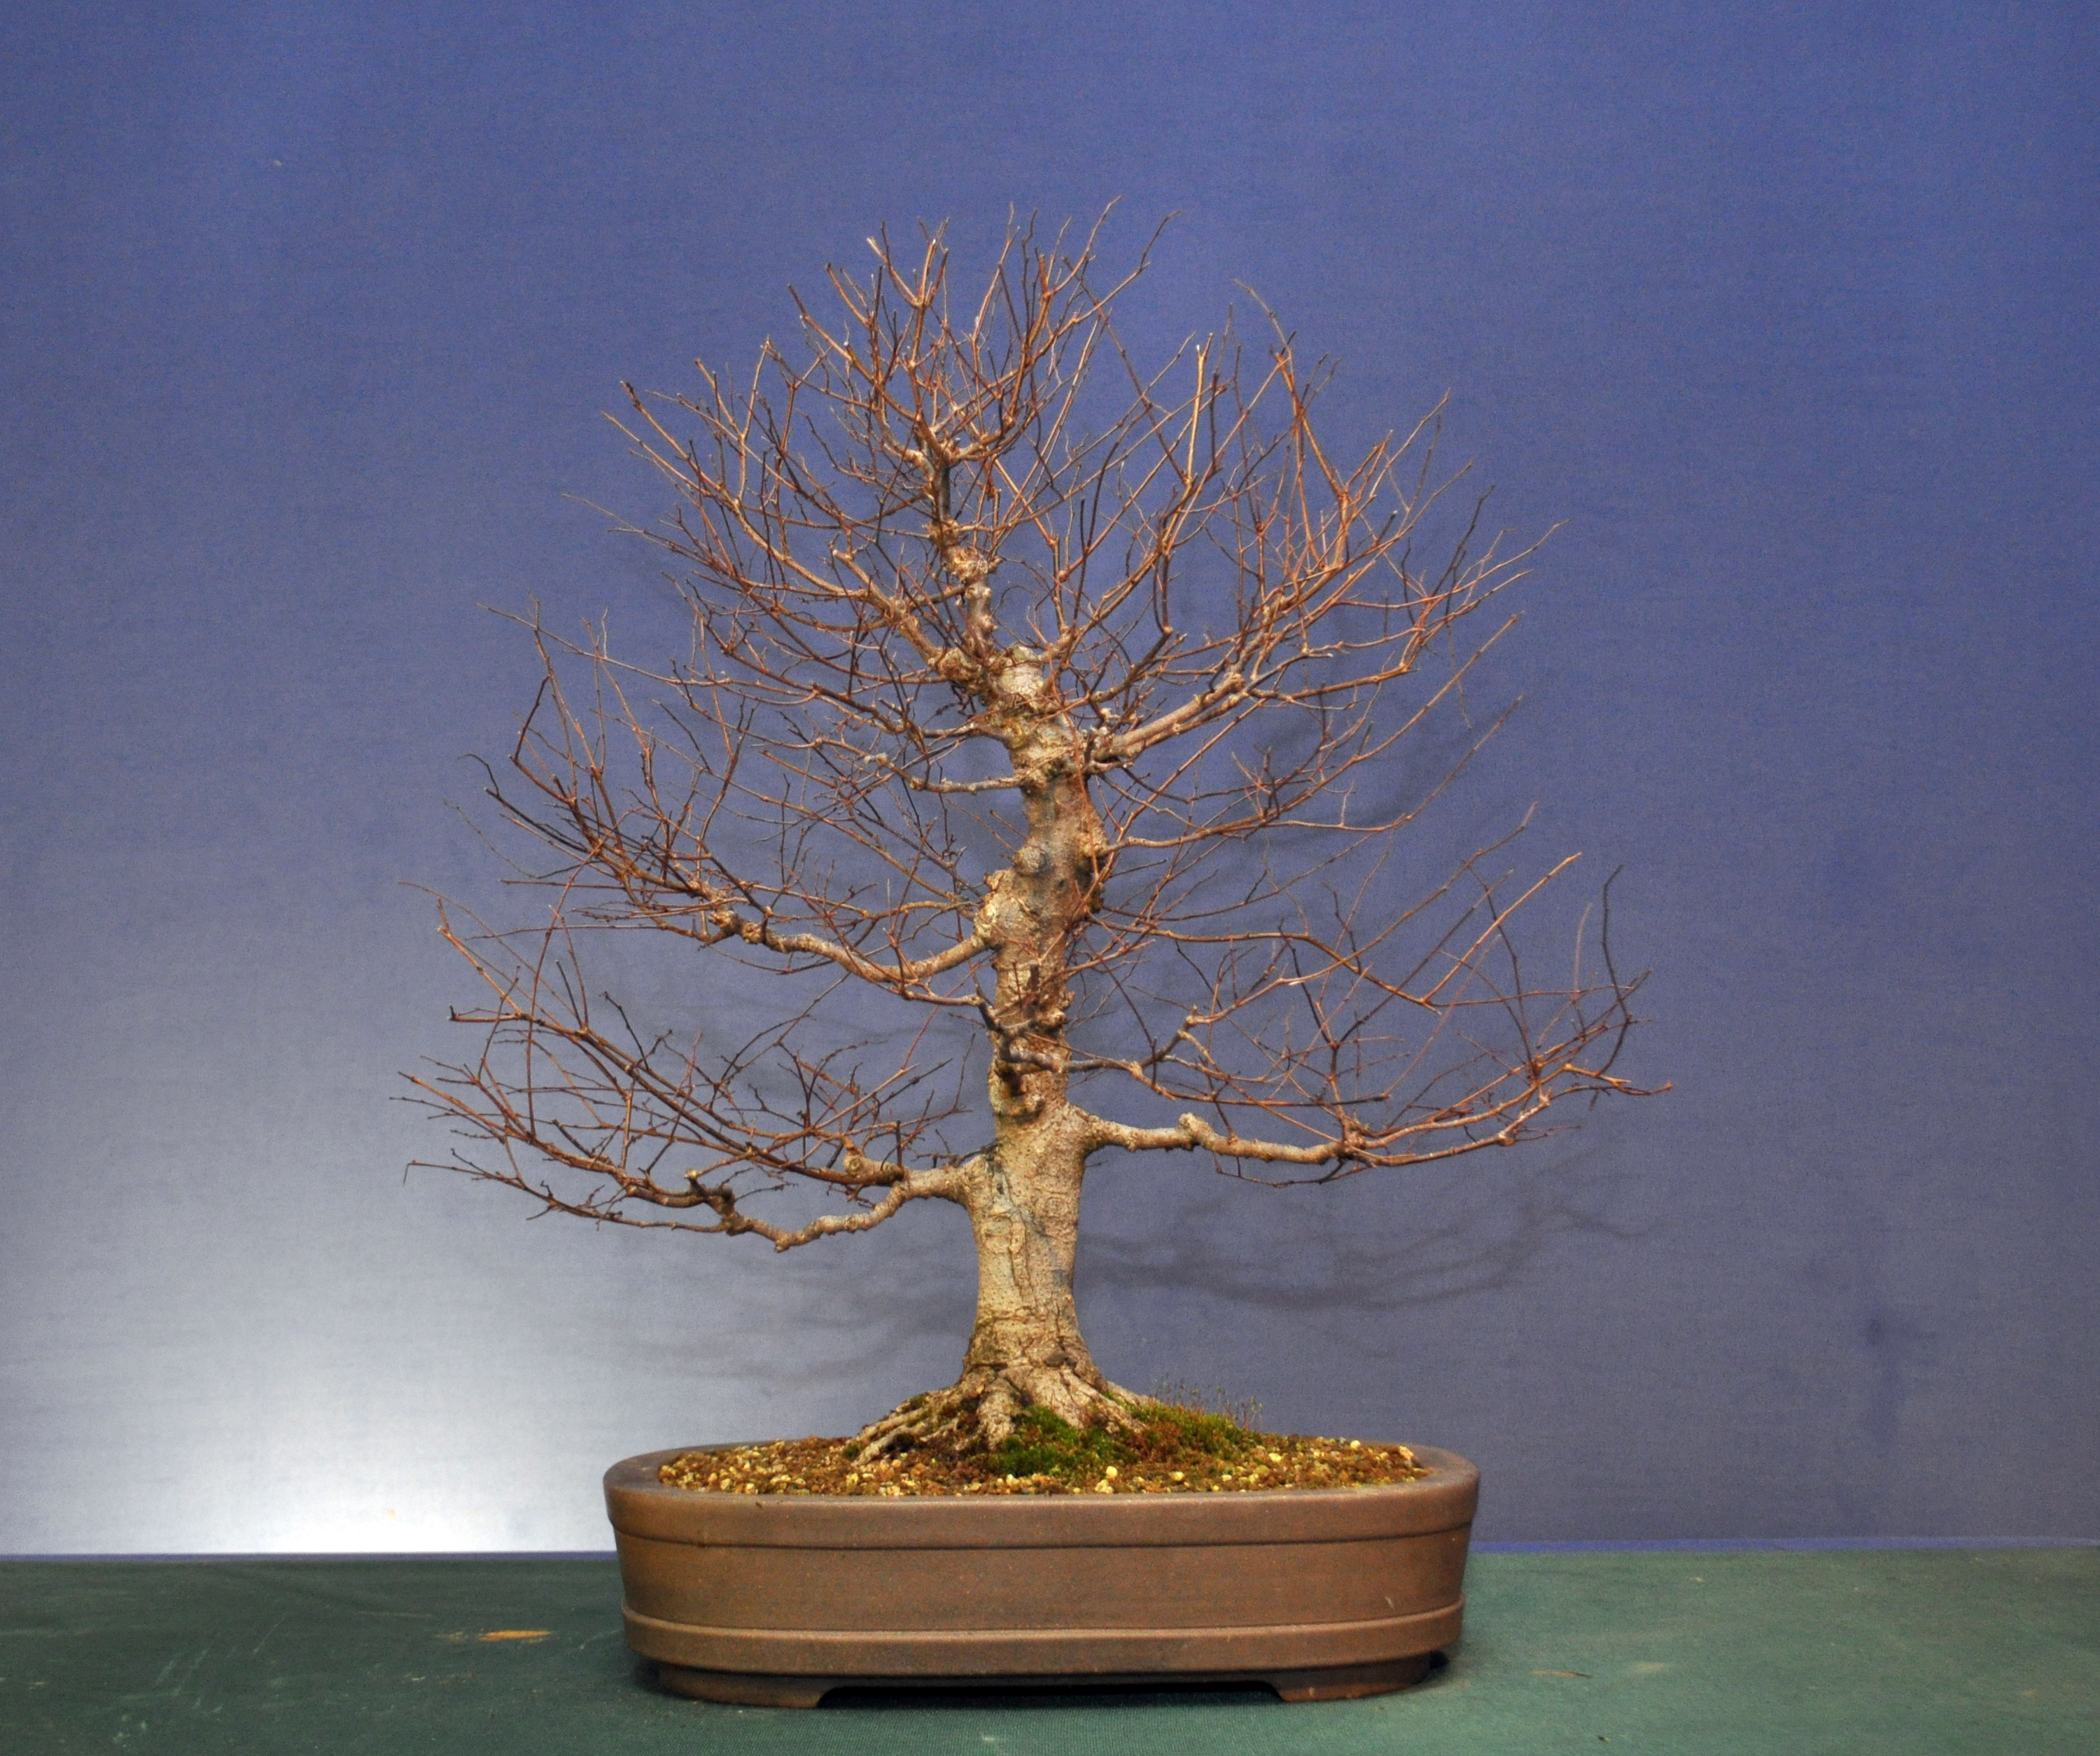
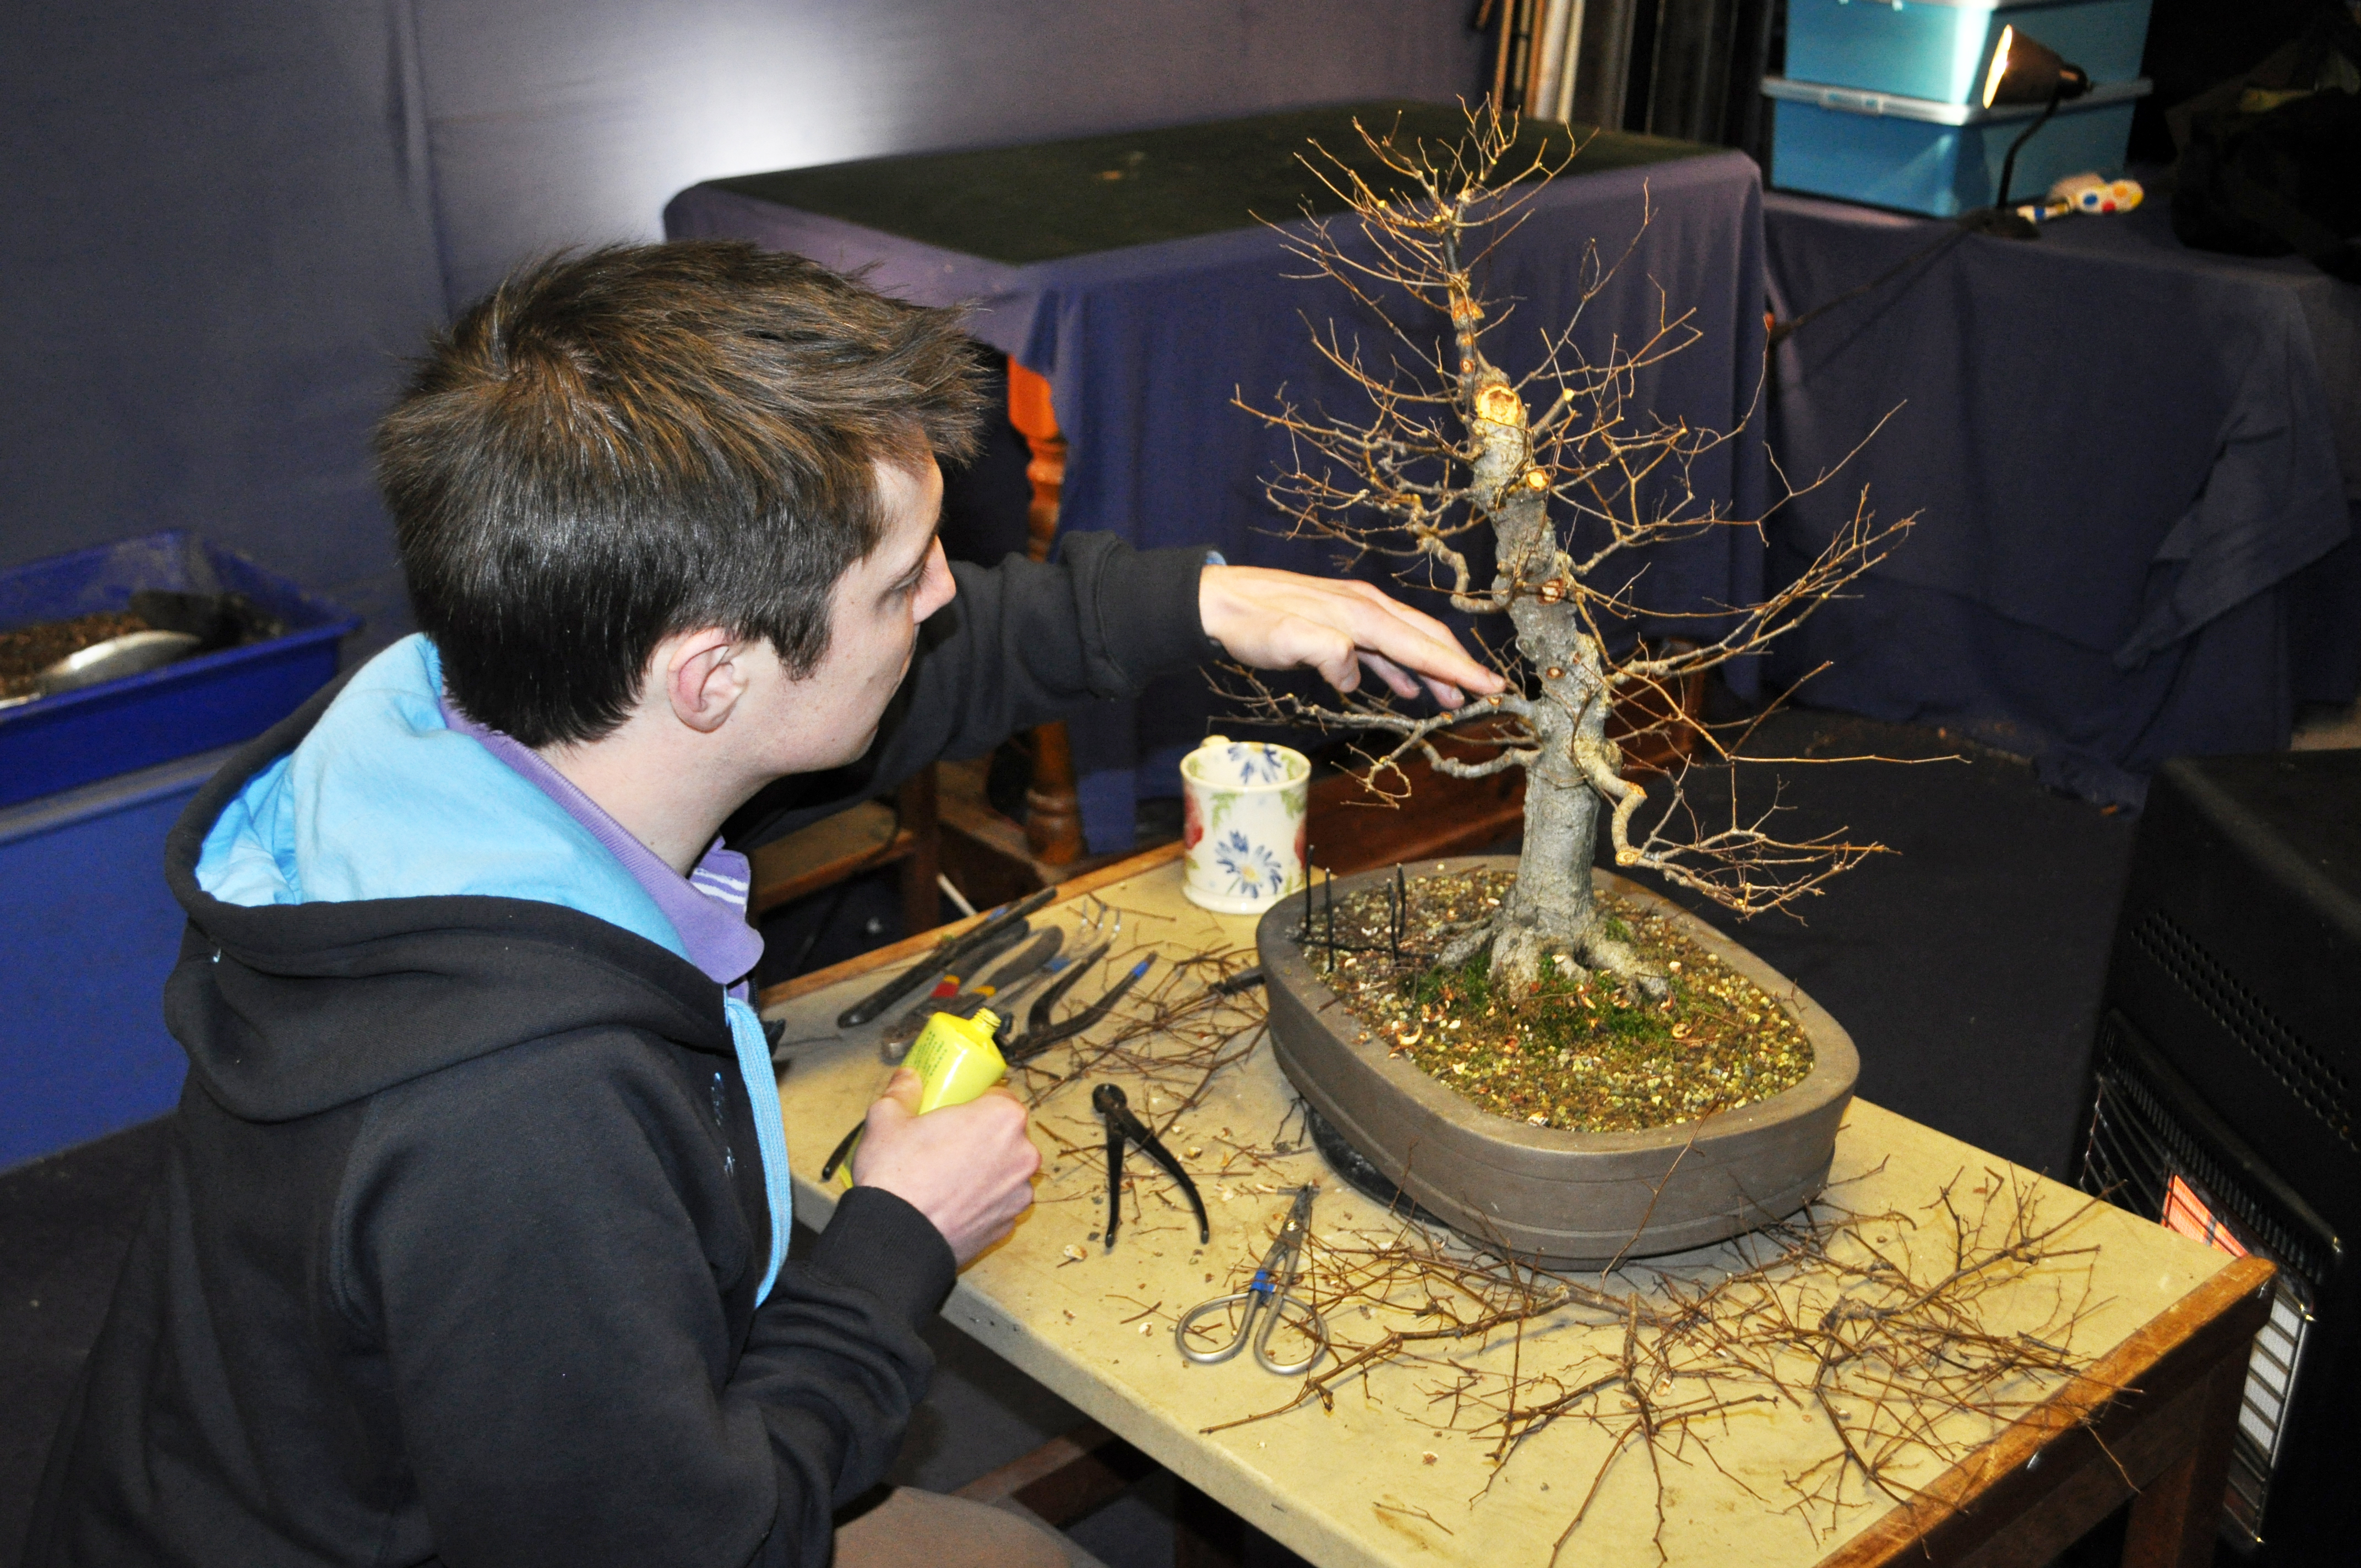
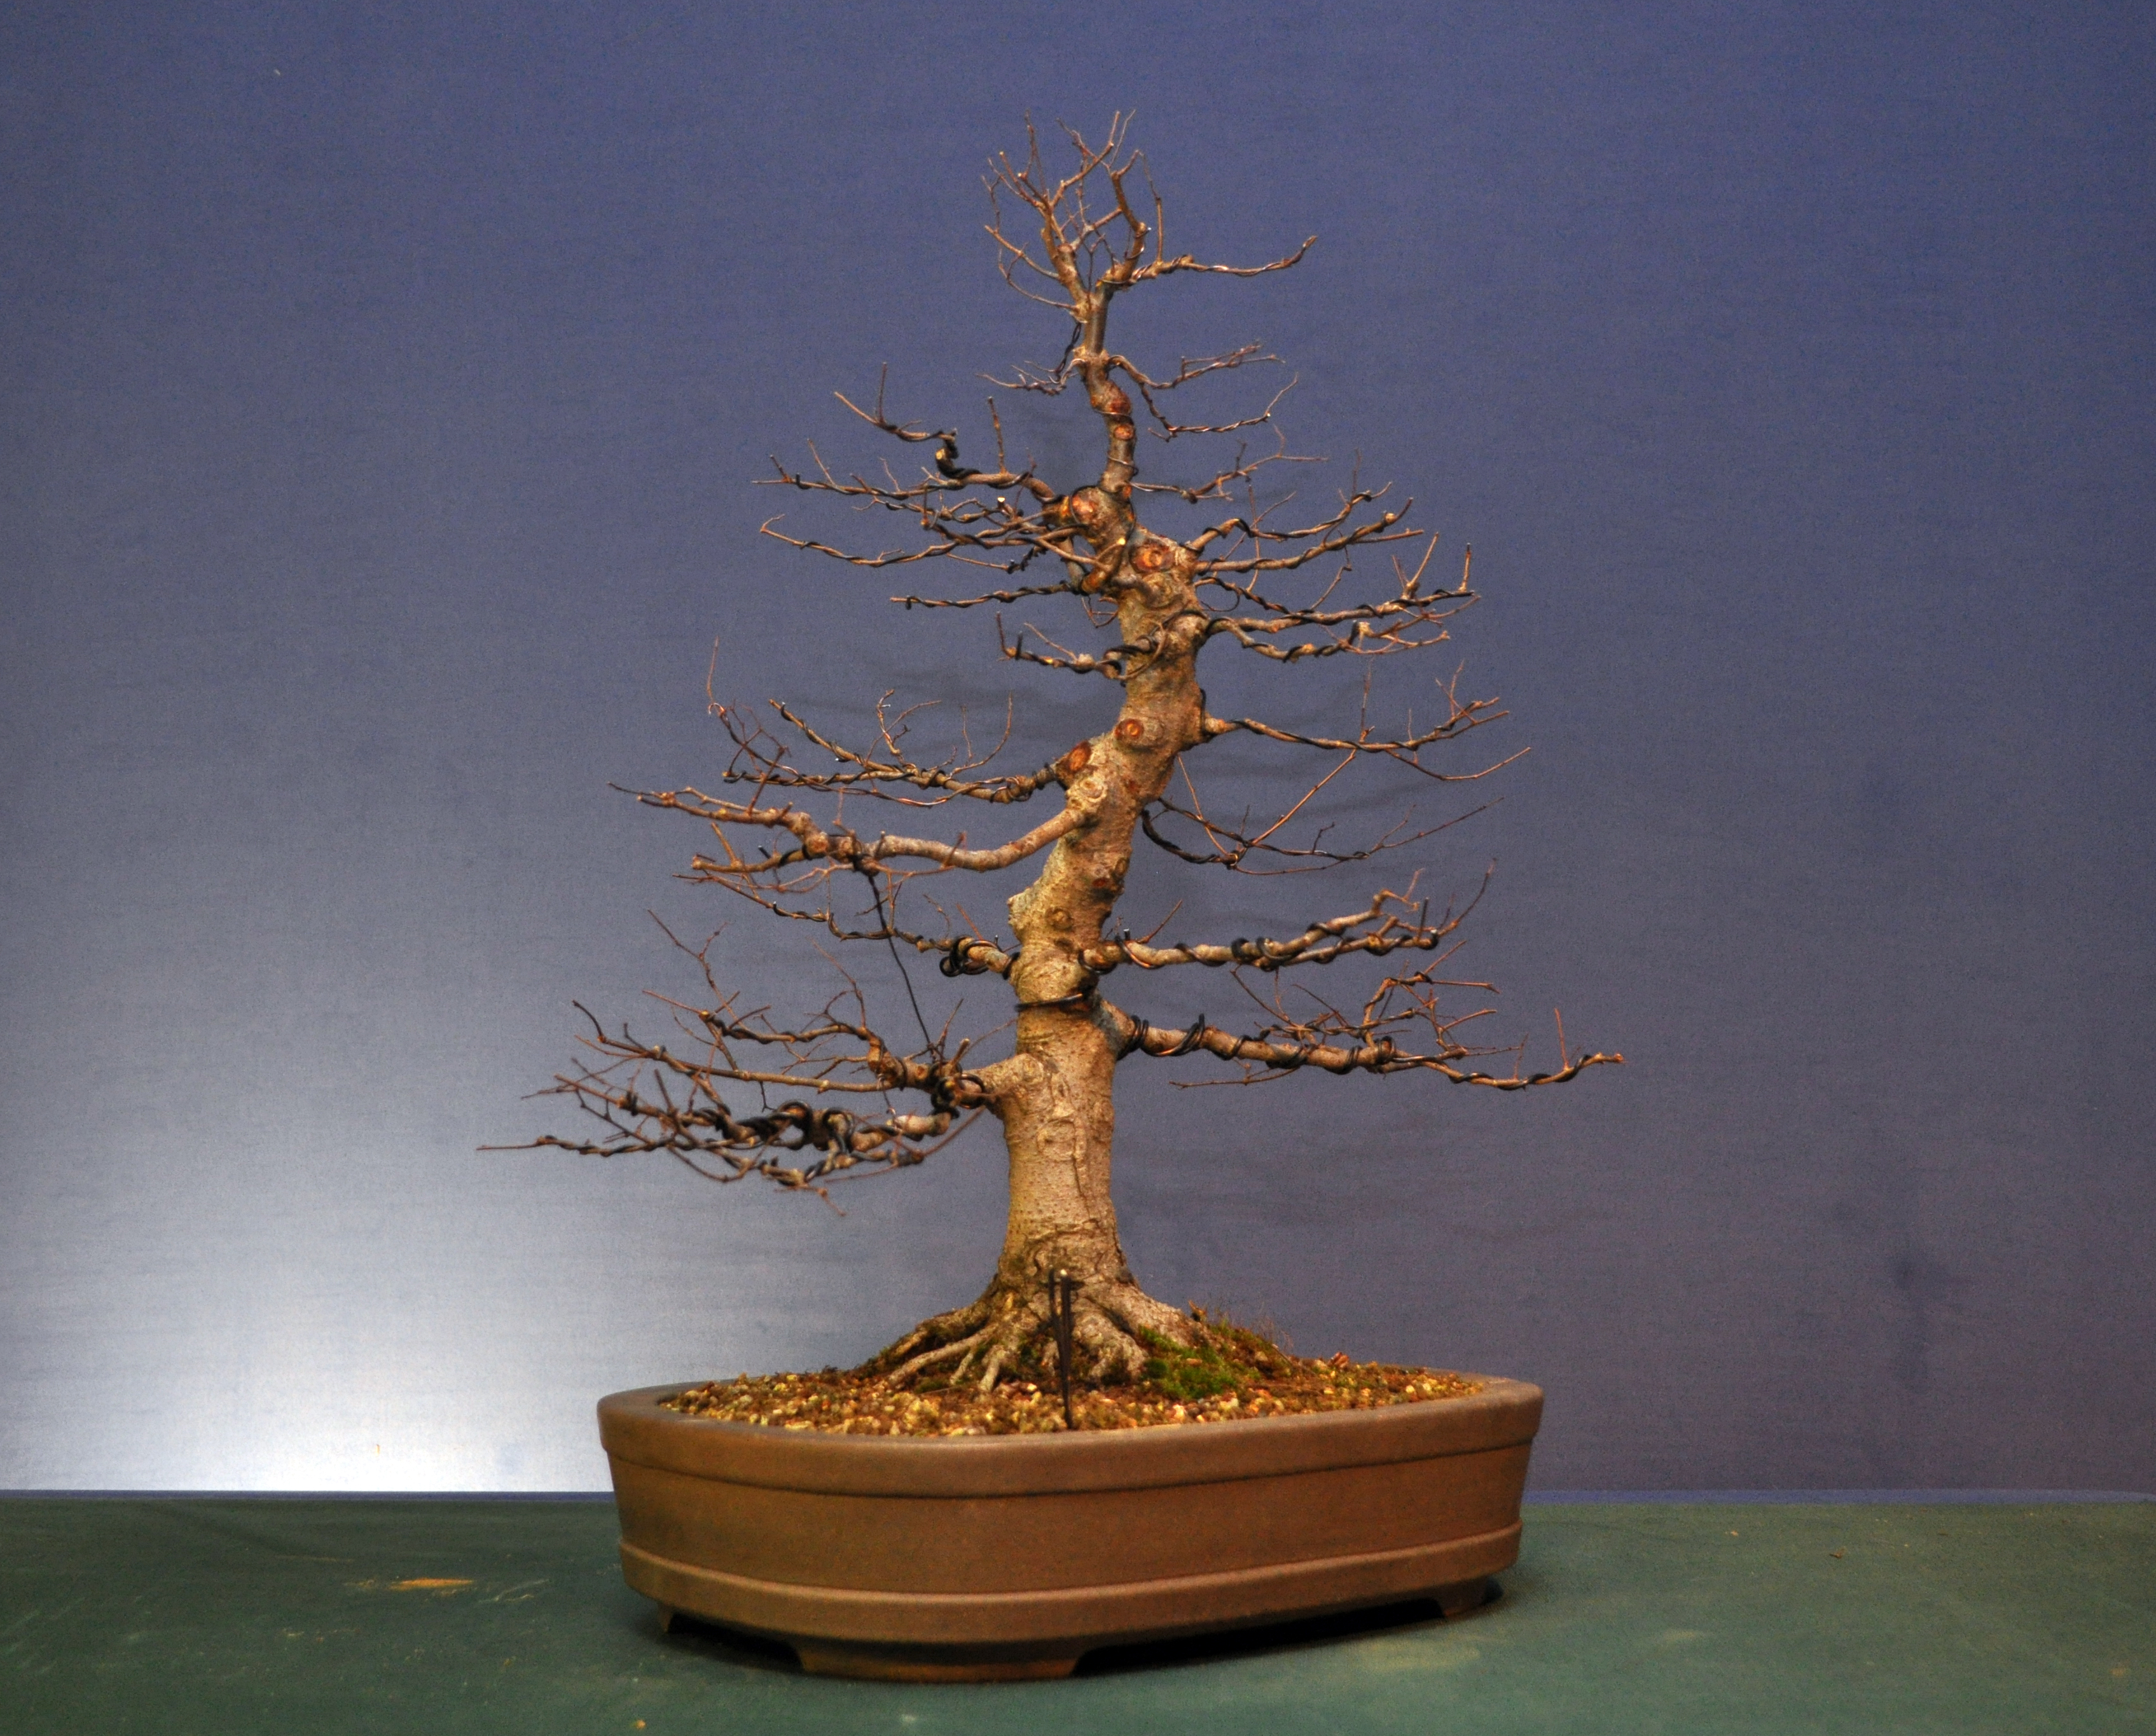
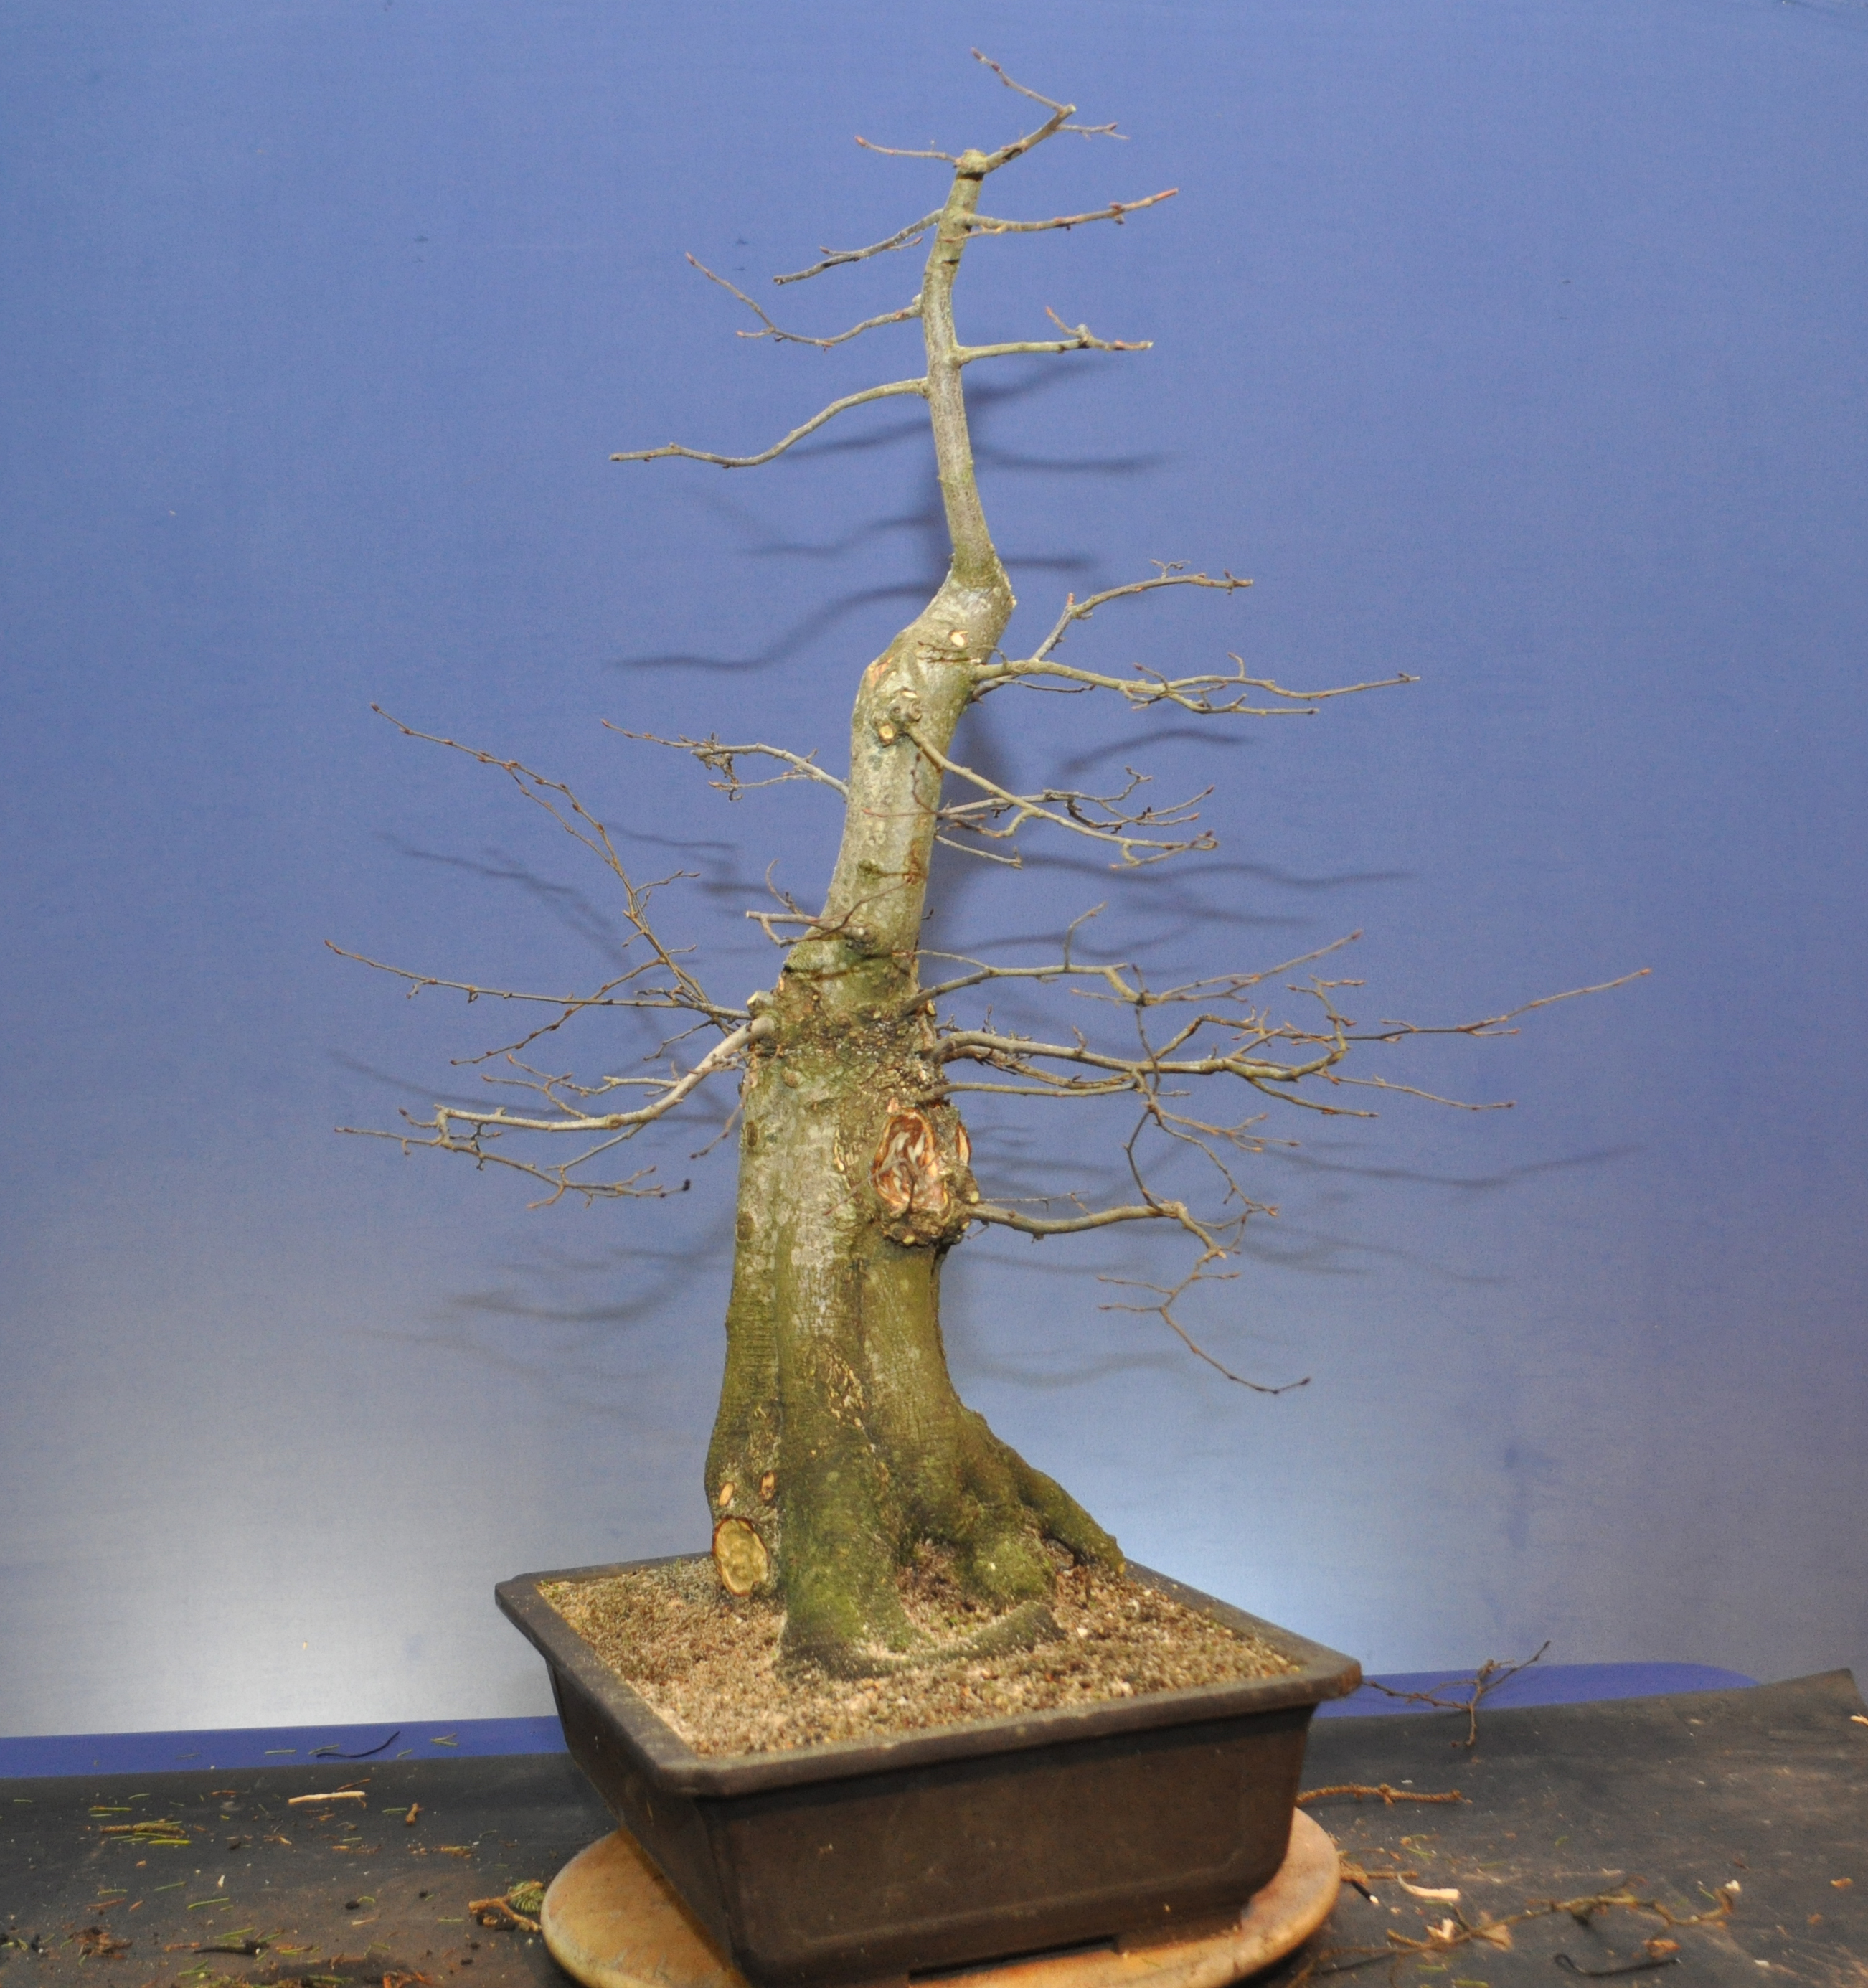
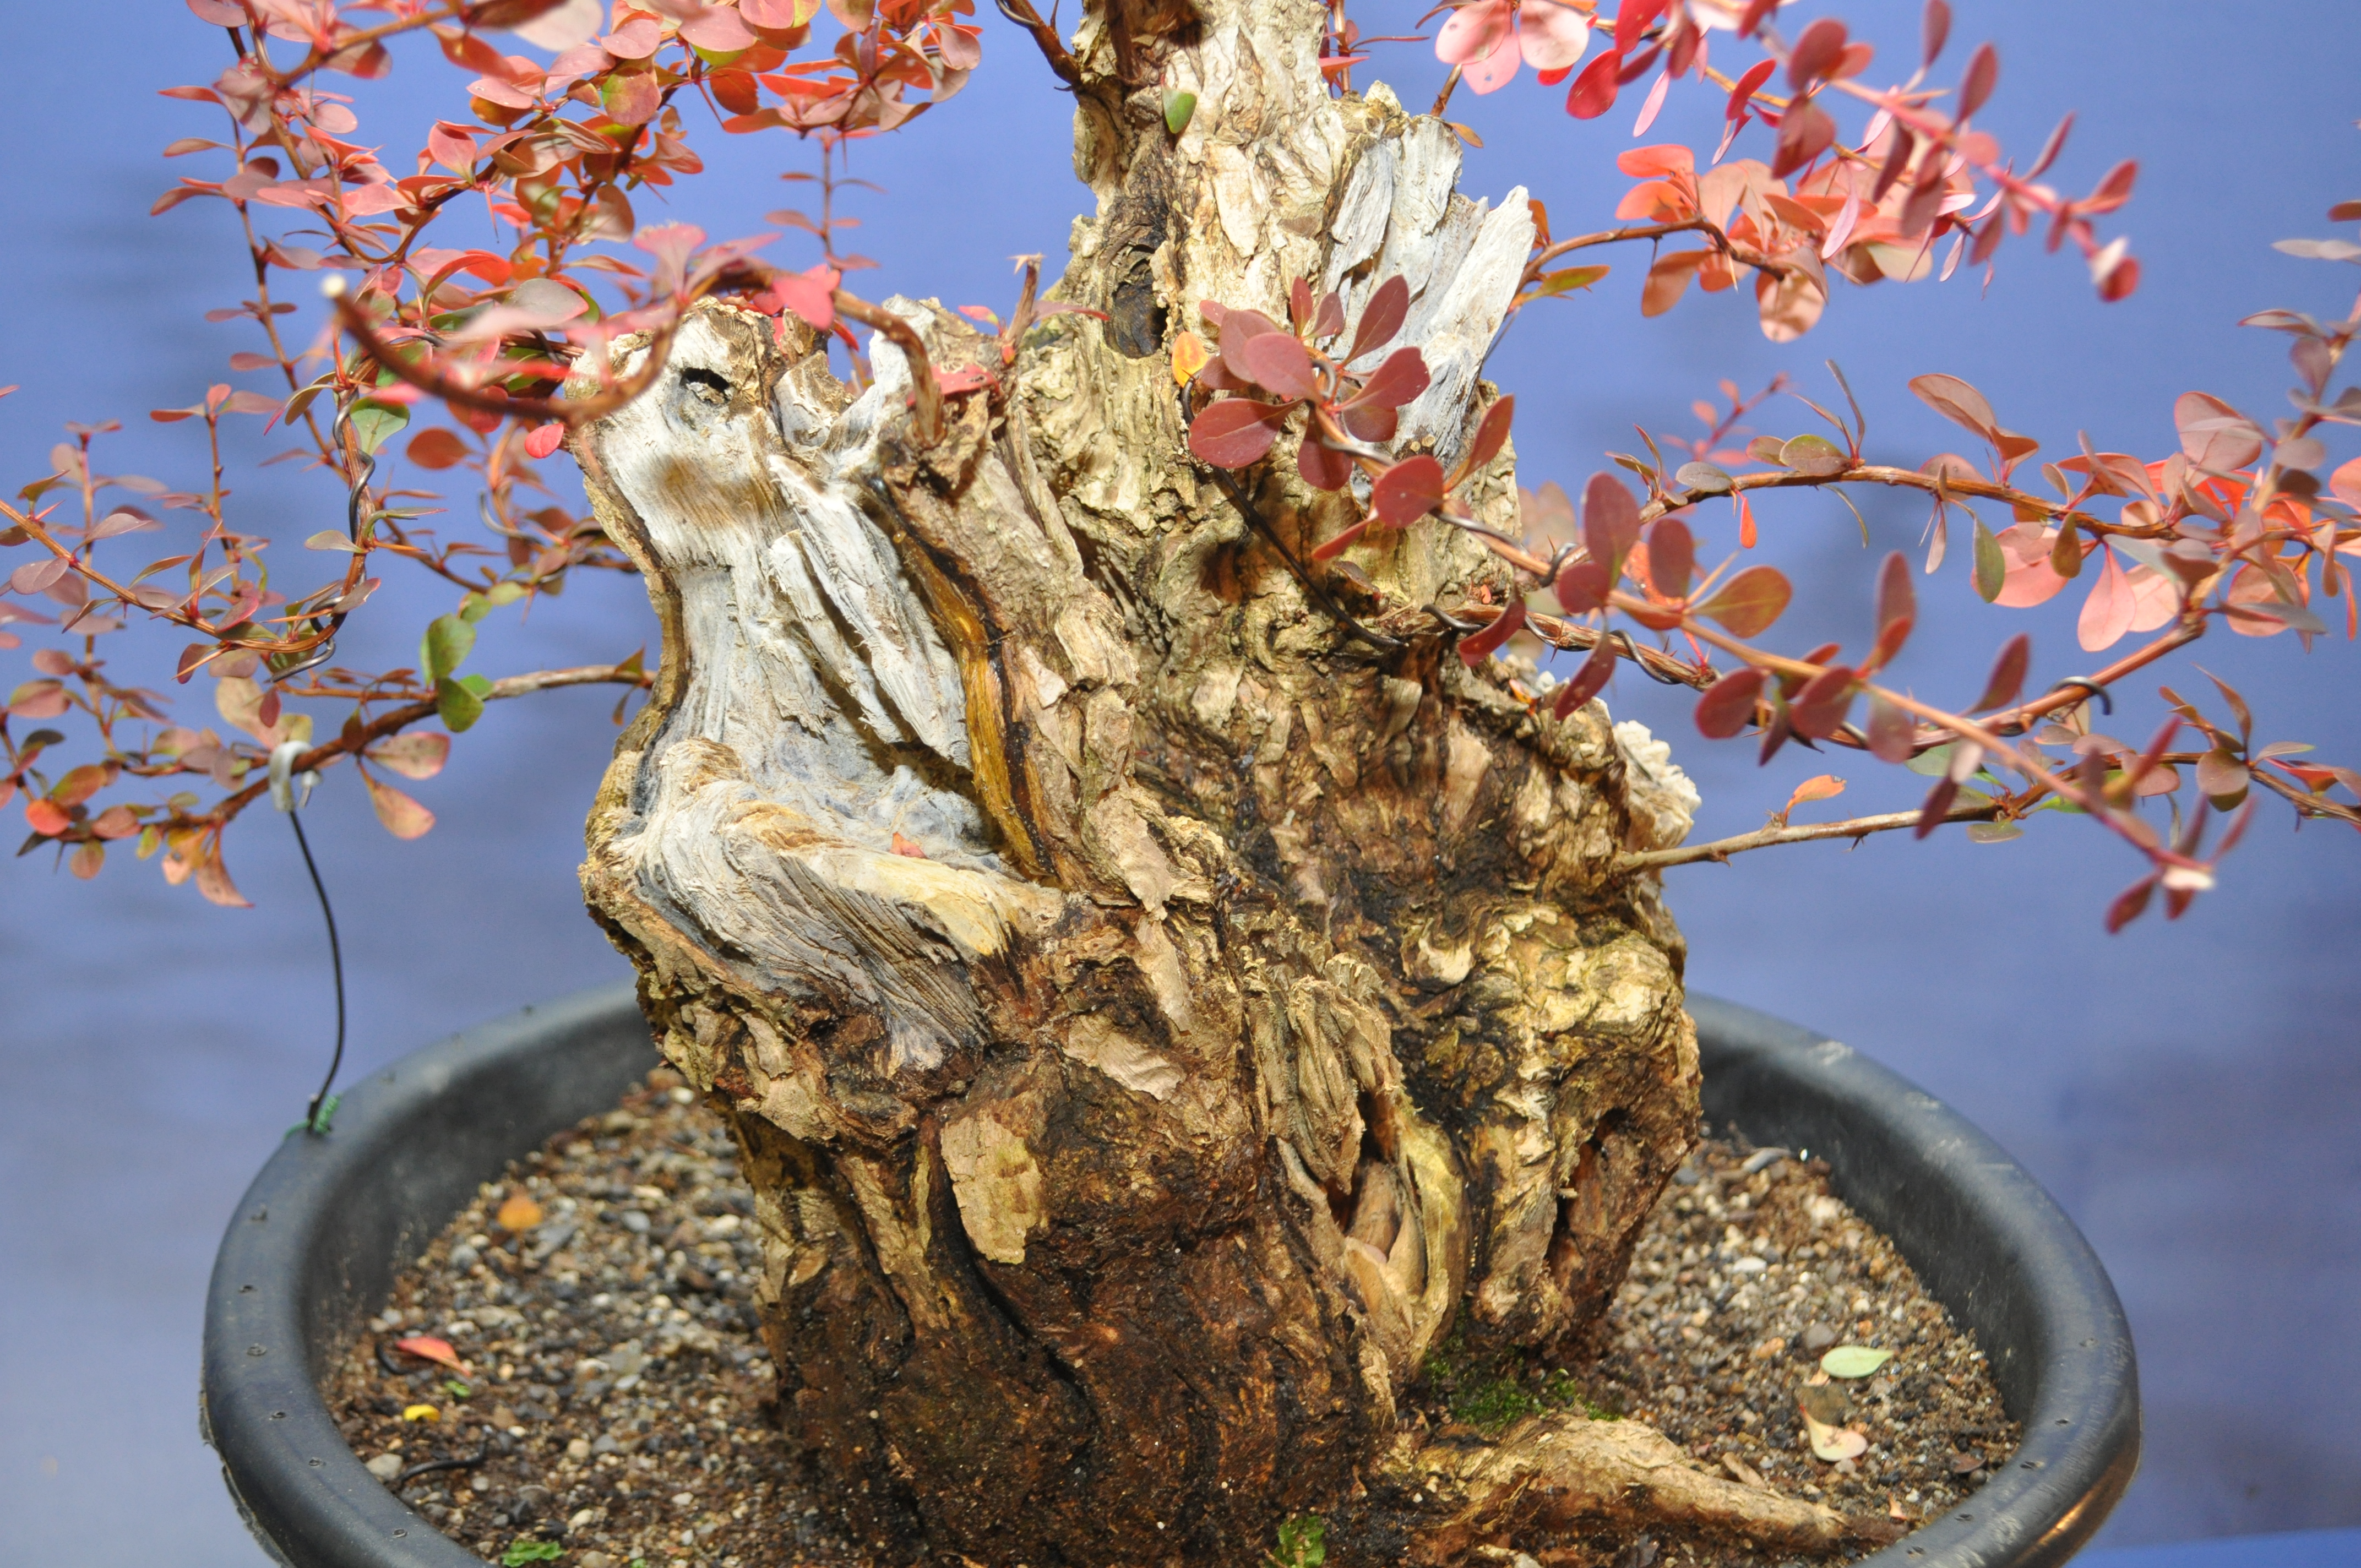
I opted to work on a Sitka Spruce collected a few years back. I have been clipping it back to induce back budding with pretty good success. I had left a few options for design but I wanted Peter’s direction as to the best course of action. This is the tree before.

DSC_0116

DSC_0122

DSC_0123

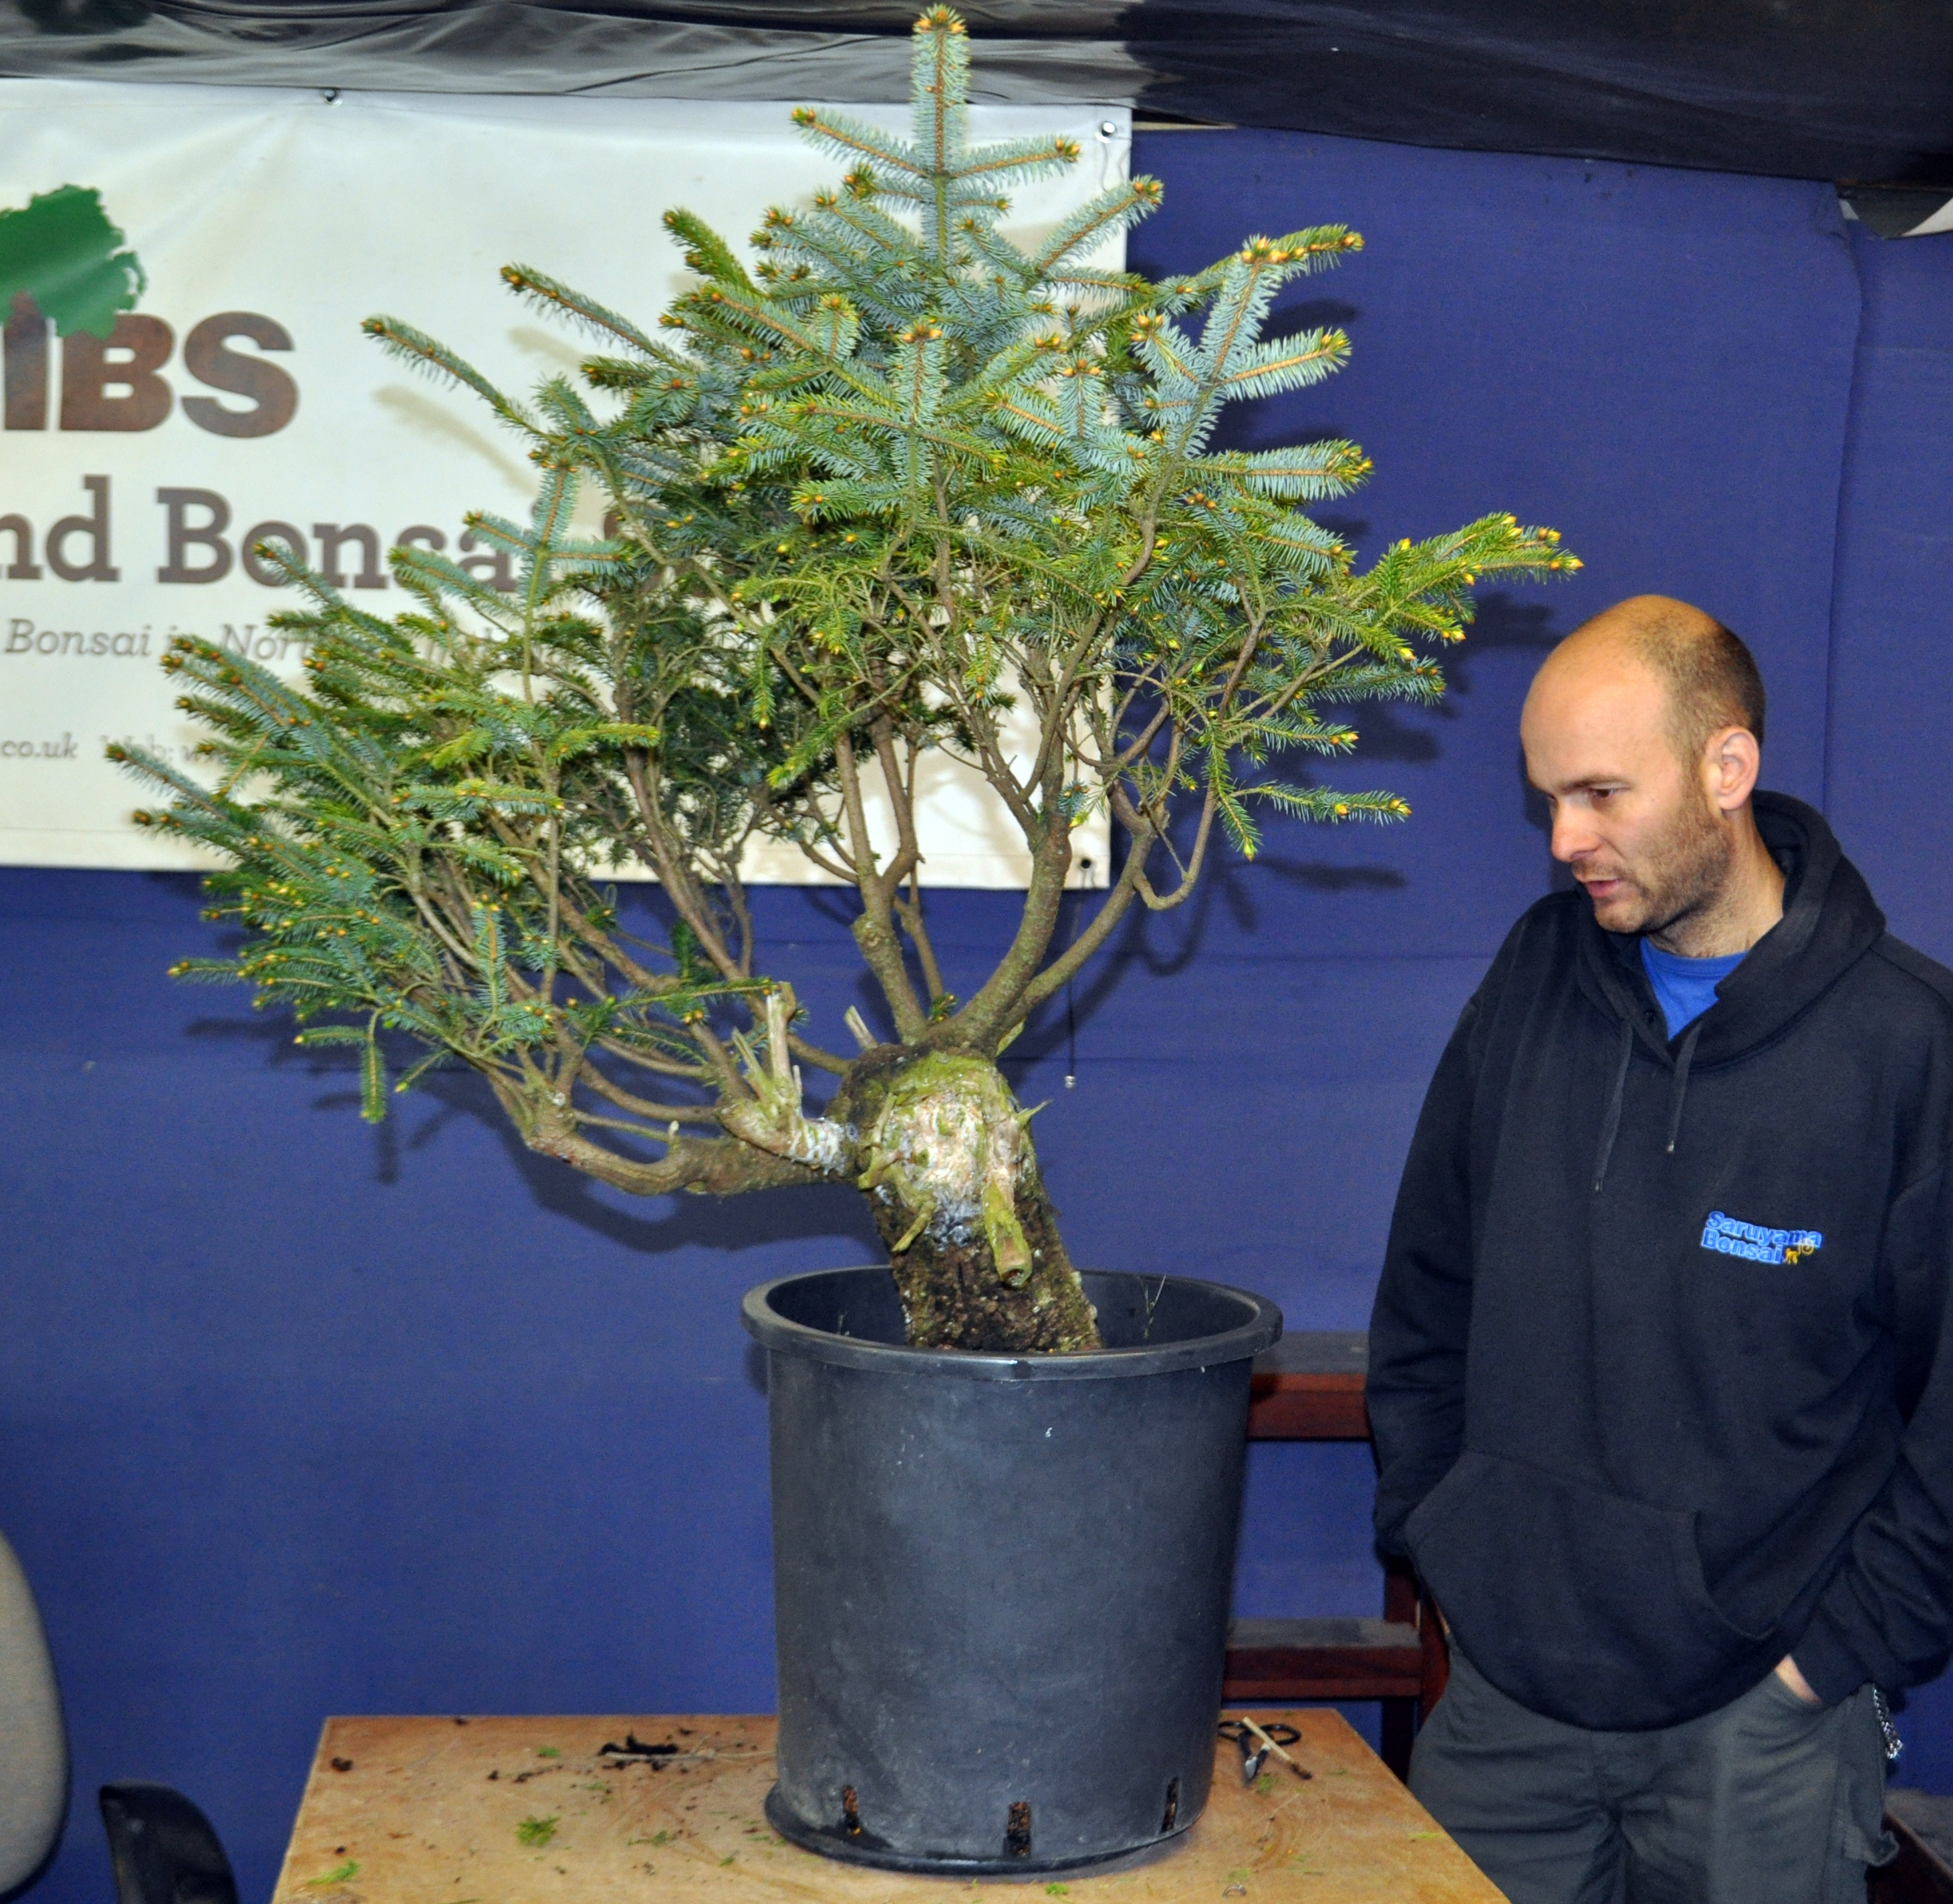
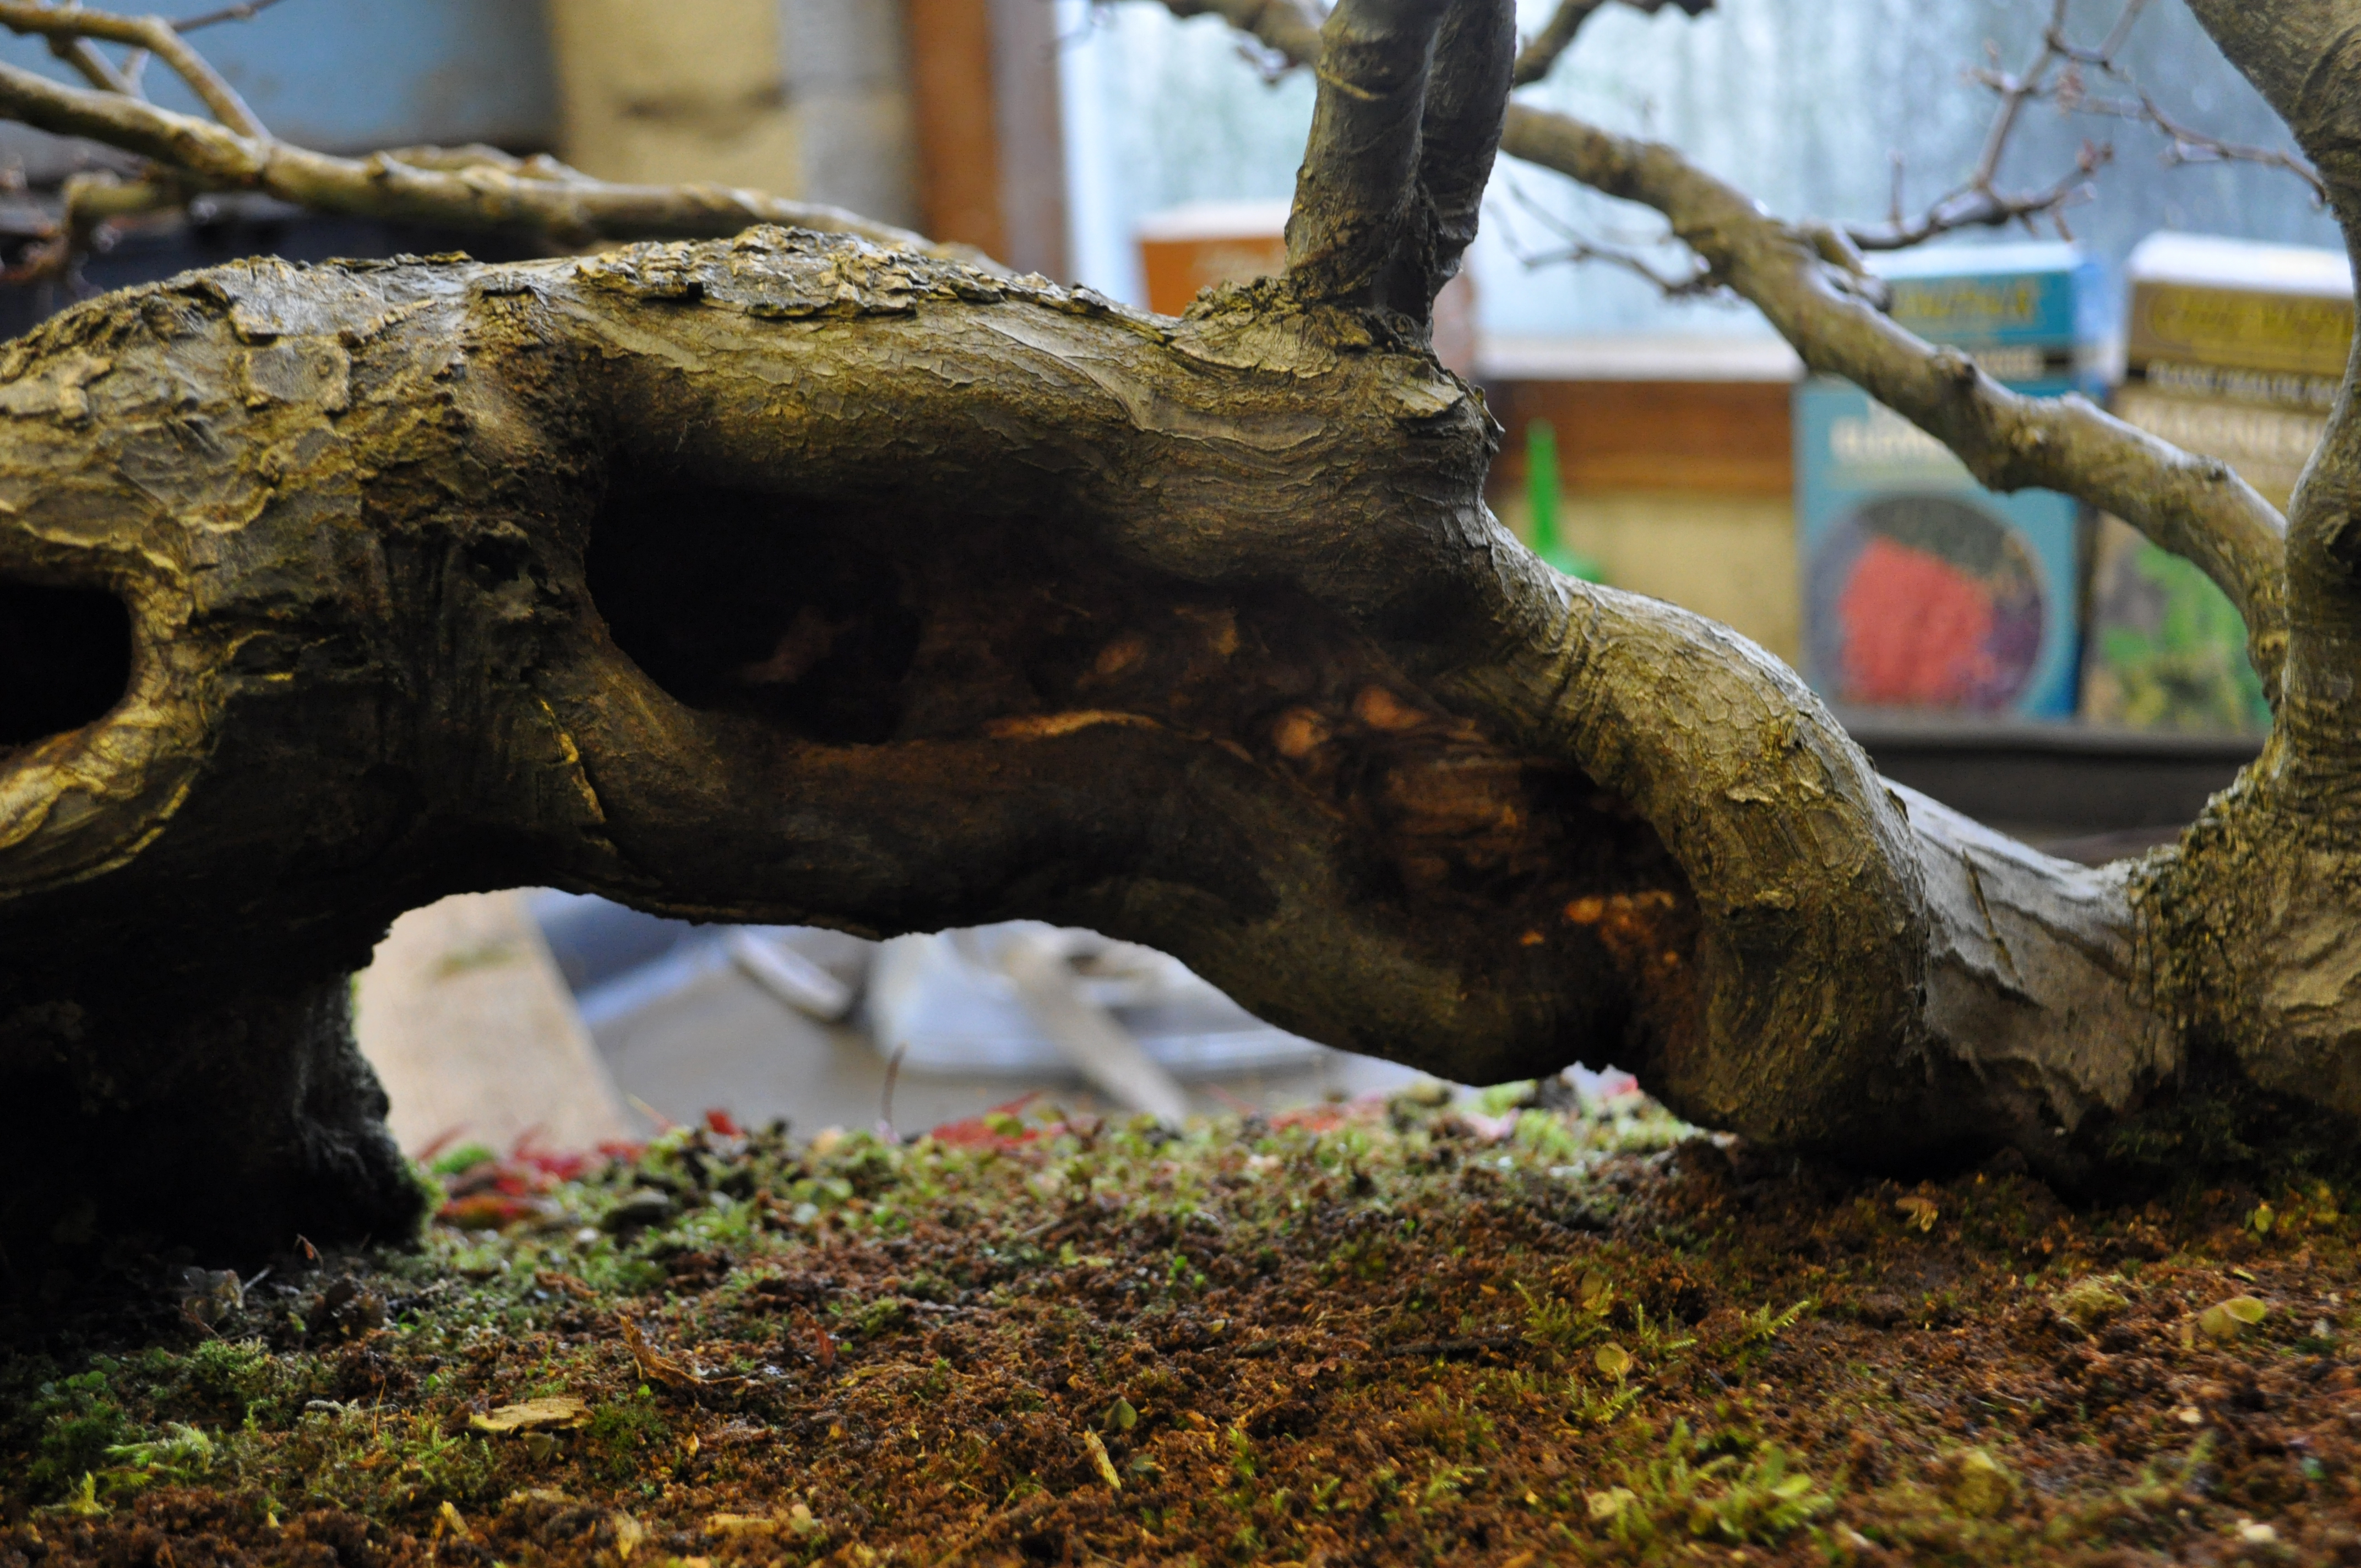
As you can see it has a heavy base with a decent root spread, however the branches are still long and further back budding will be required. Peter sees this as being a chuhin sized tree as an end game. The only work needed on Saturday was to get the primary branches placed and open to the light. The foliage on the tree will ultimately all be replaced with new inner growth.

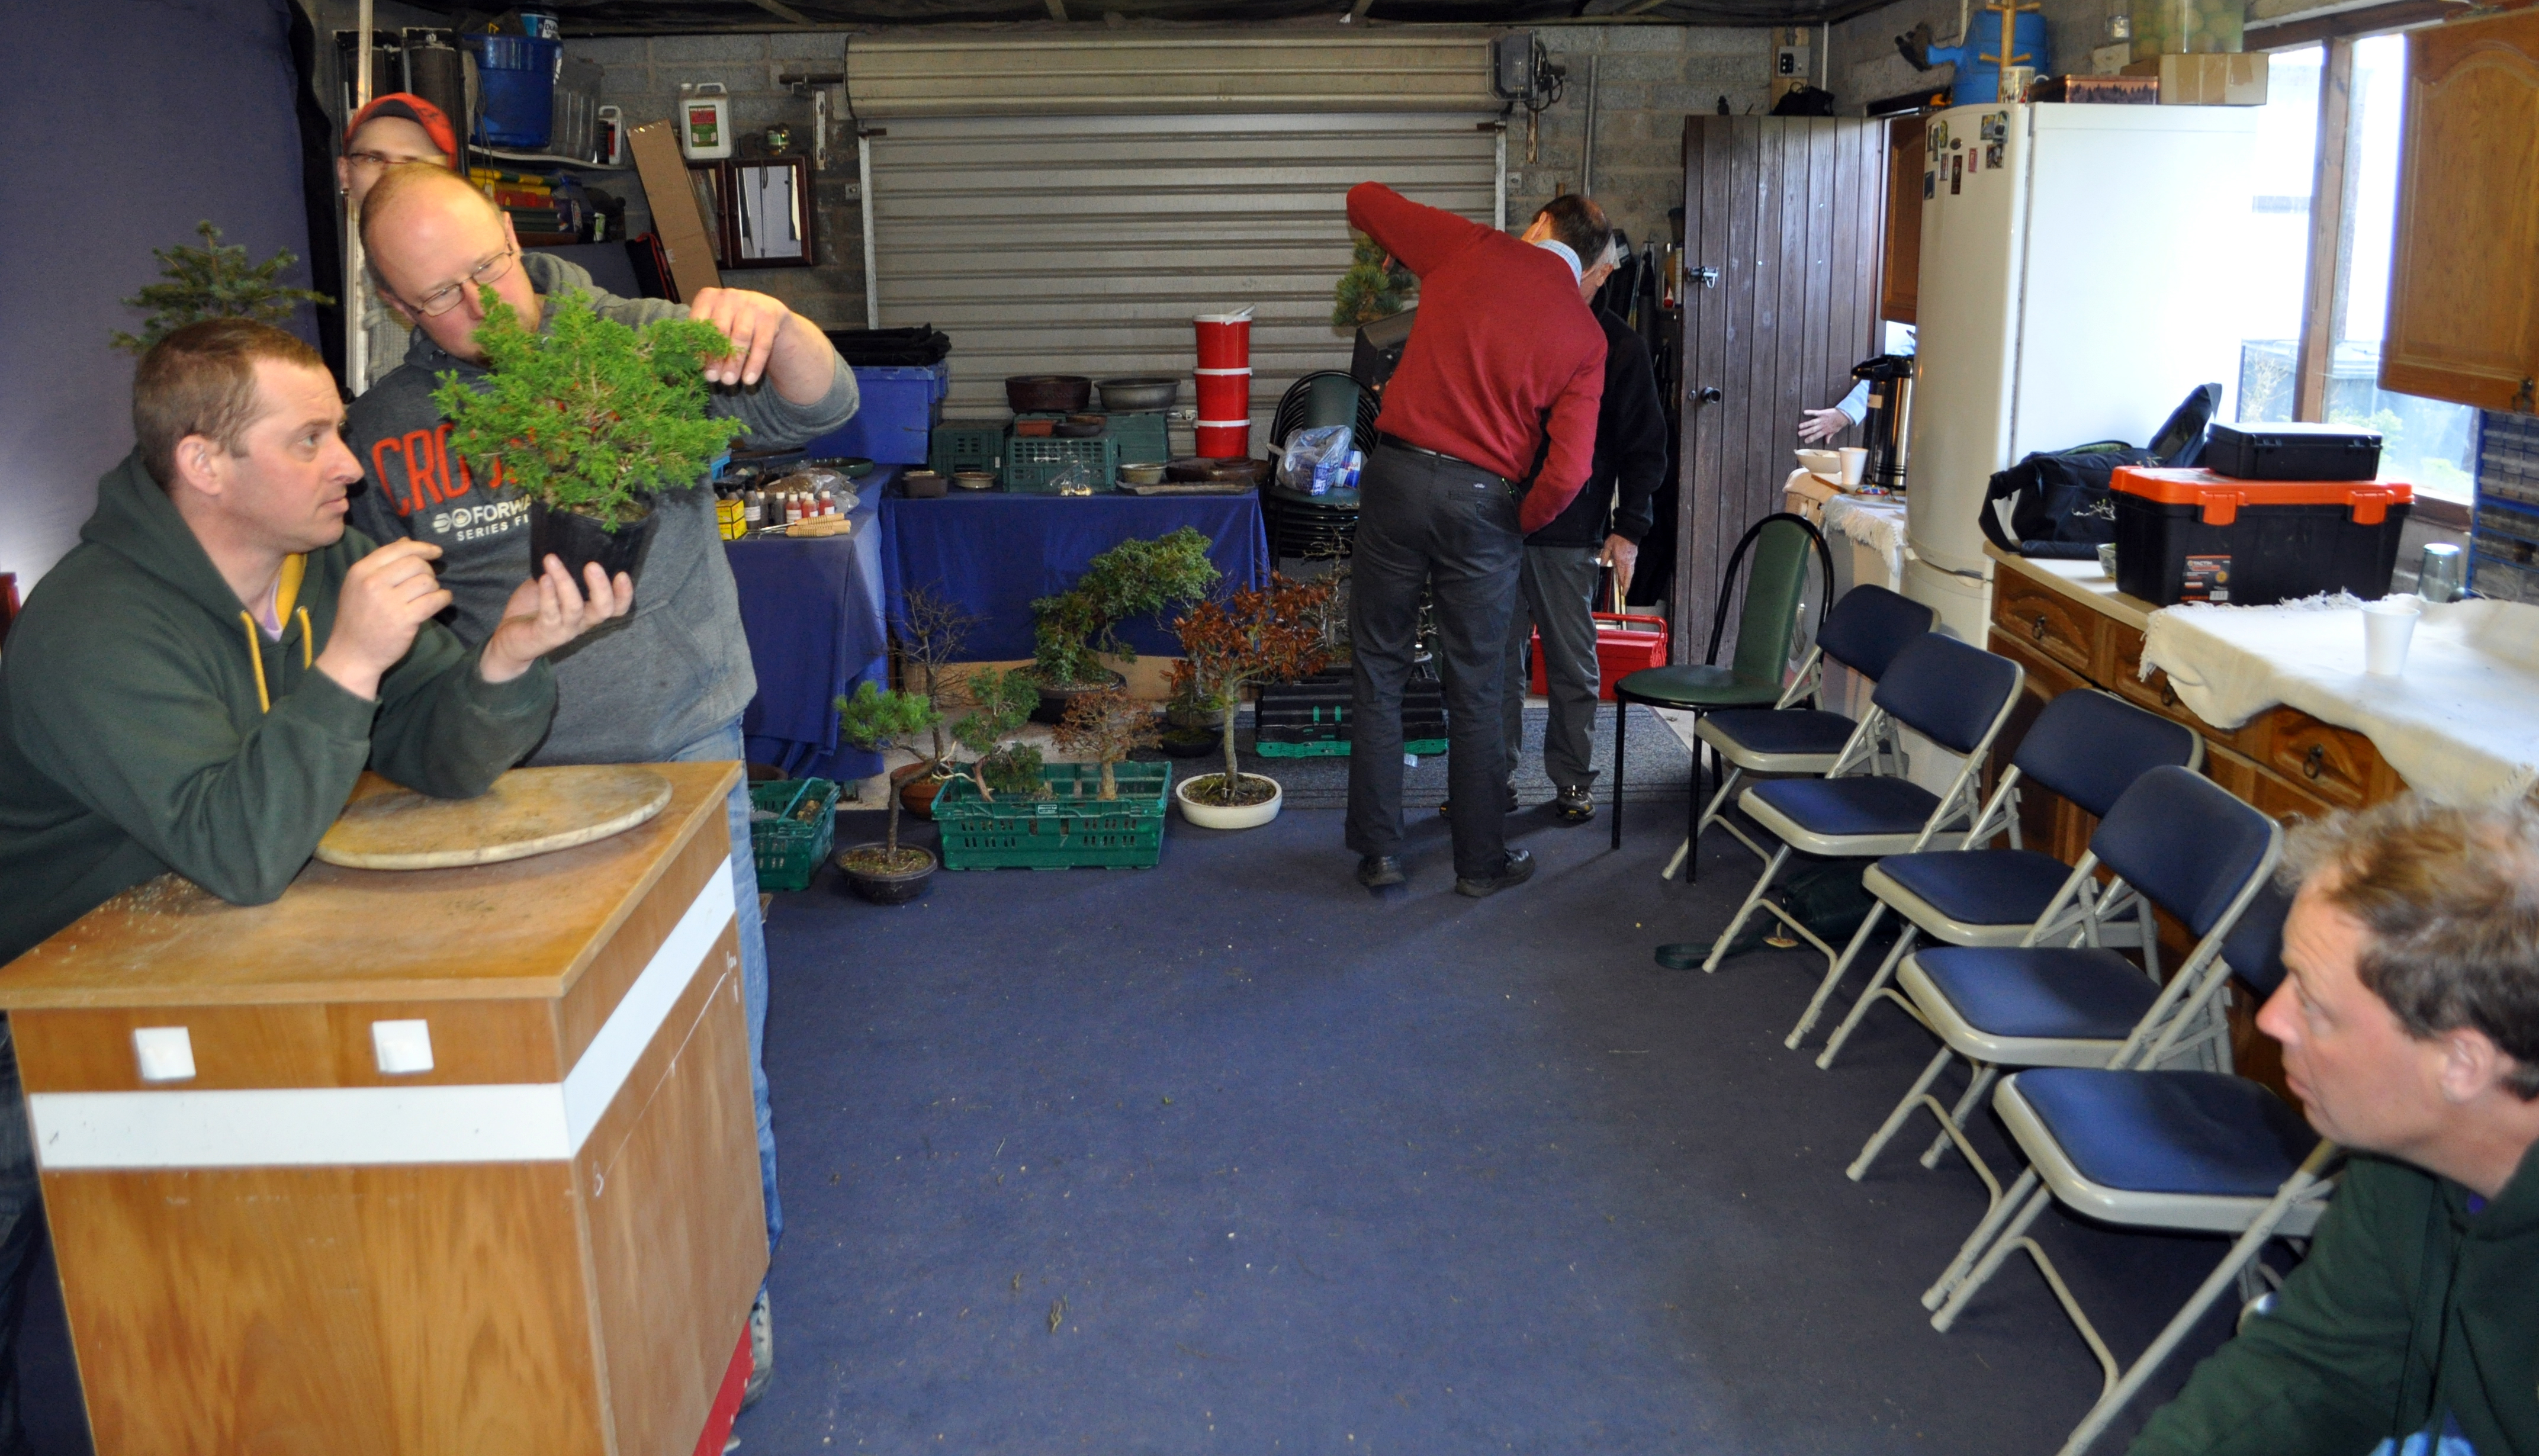
A rare photo of me in a workshop. Not sure who lifted my camera to take it but thank you 🙂

DSC_0125

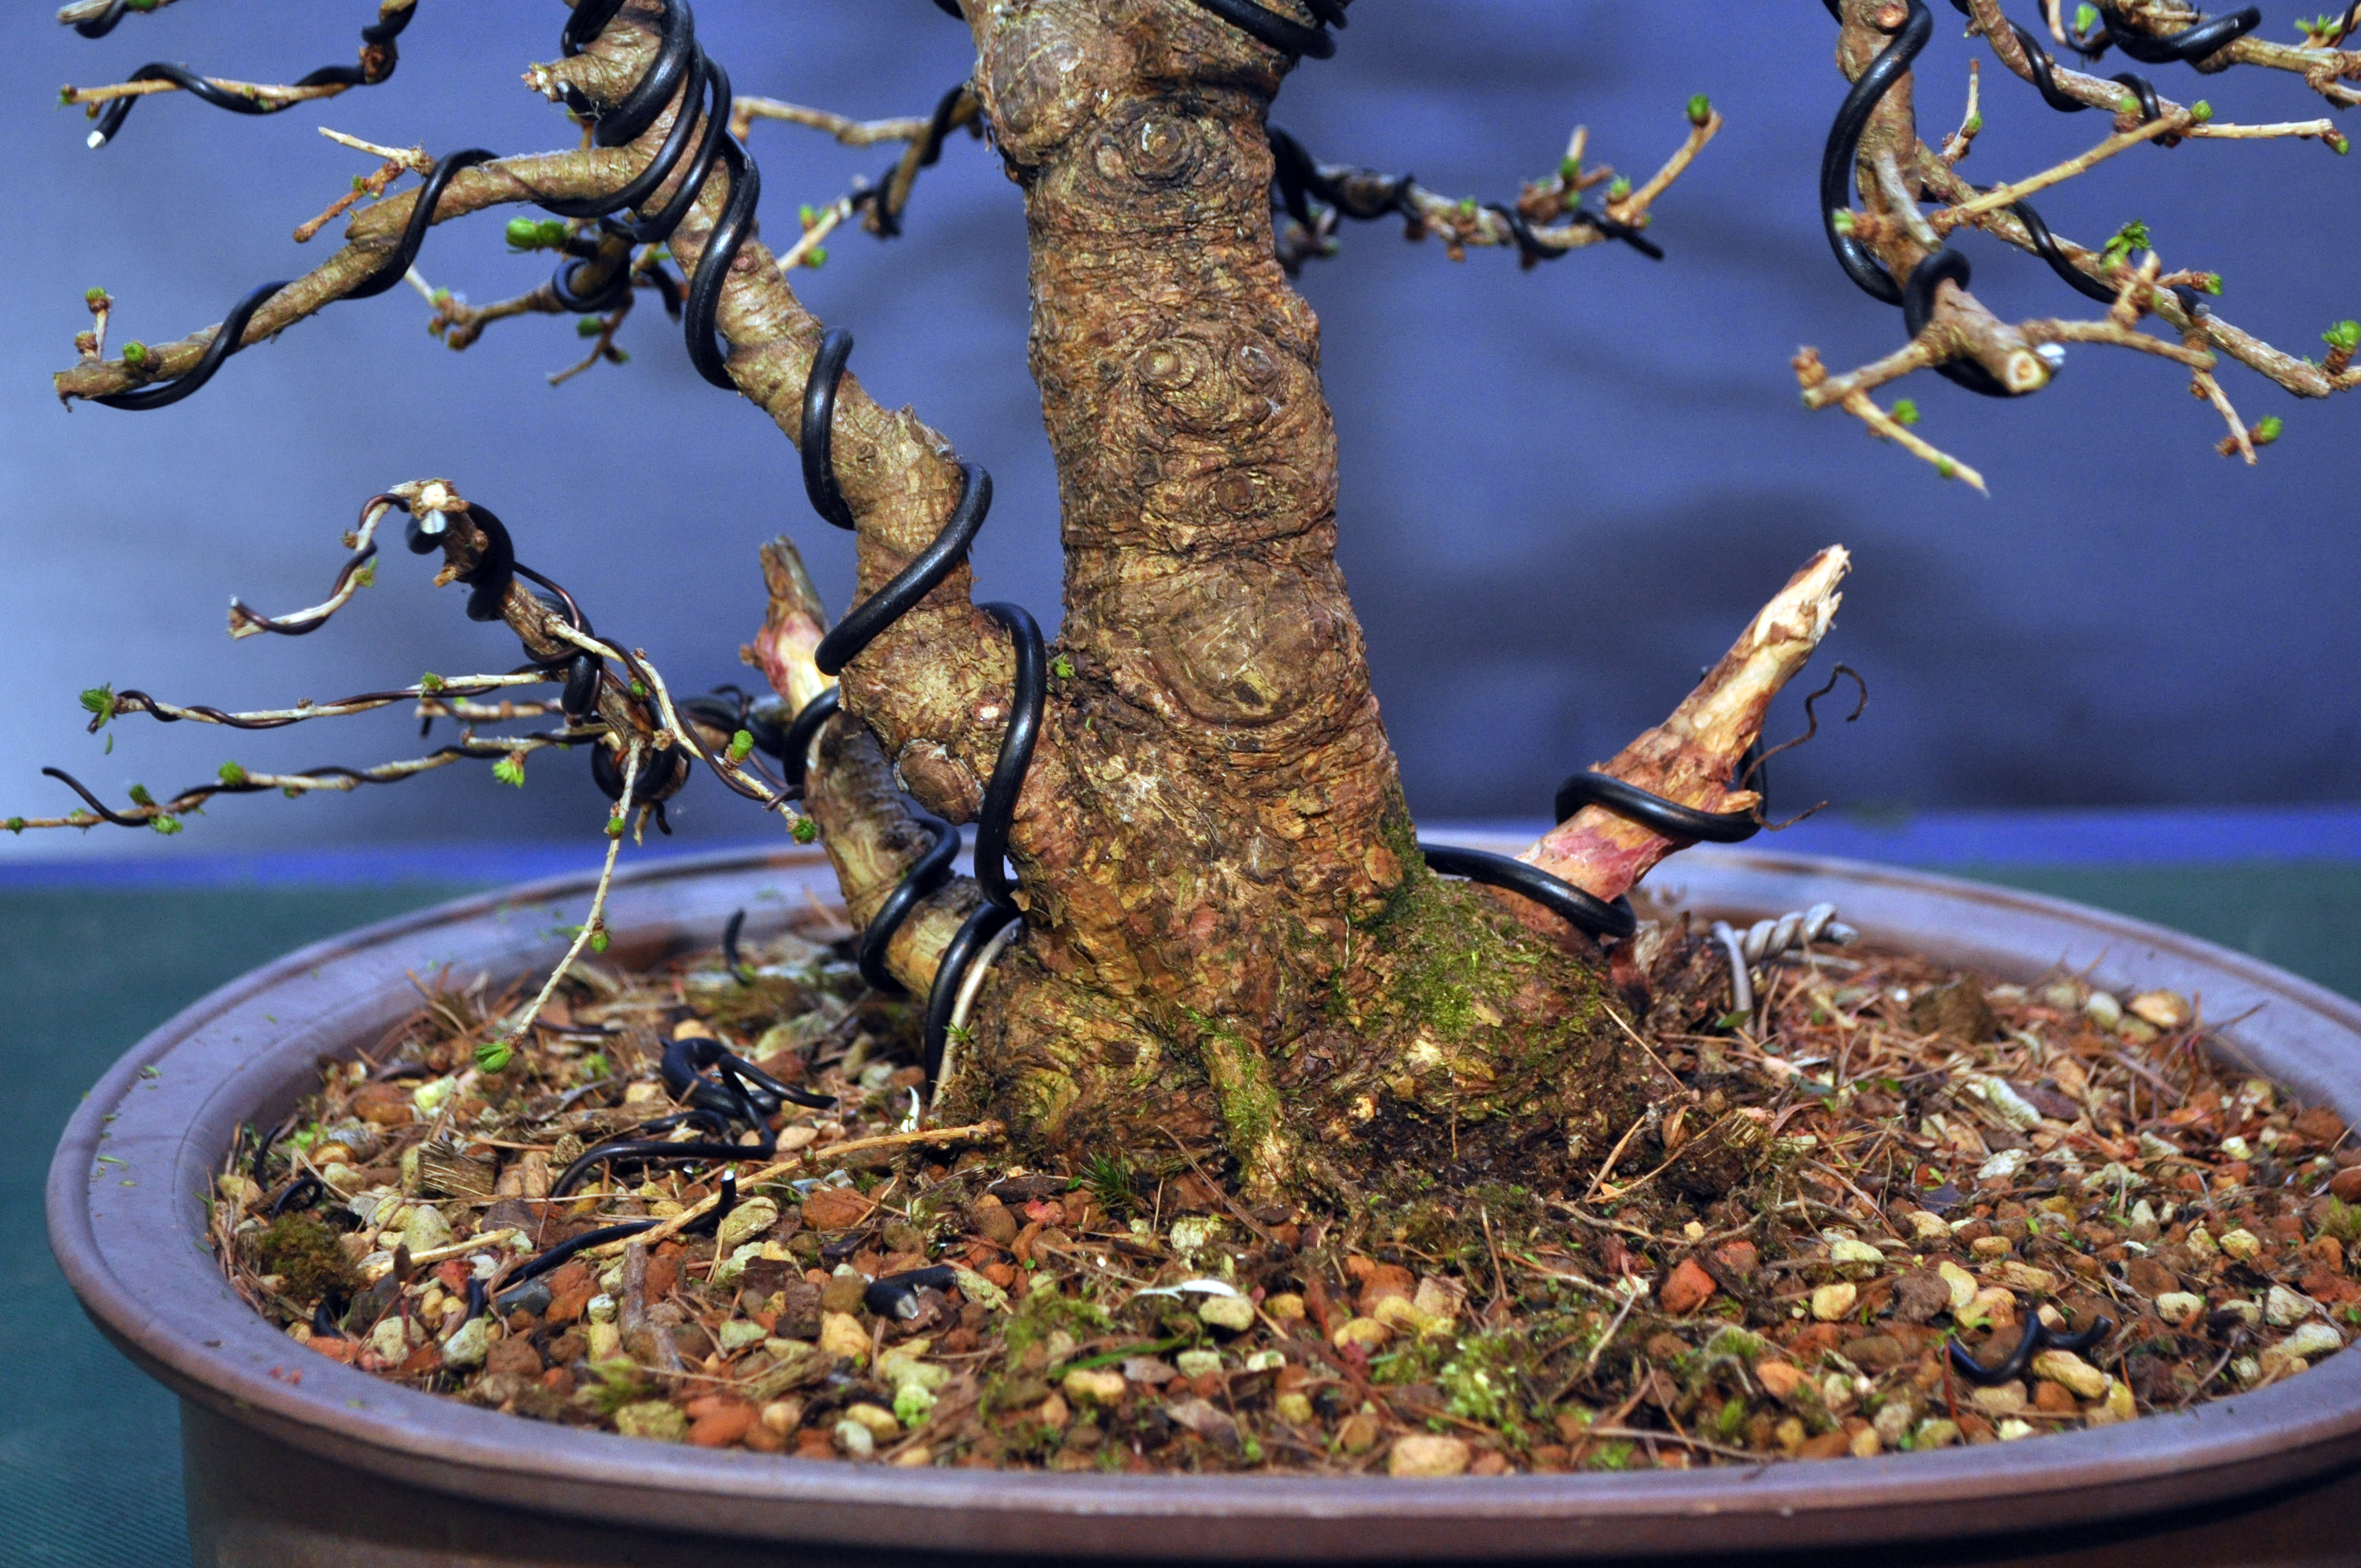
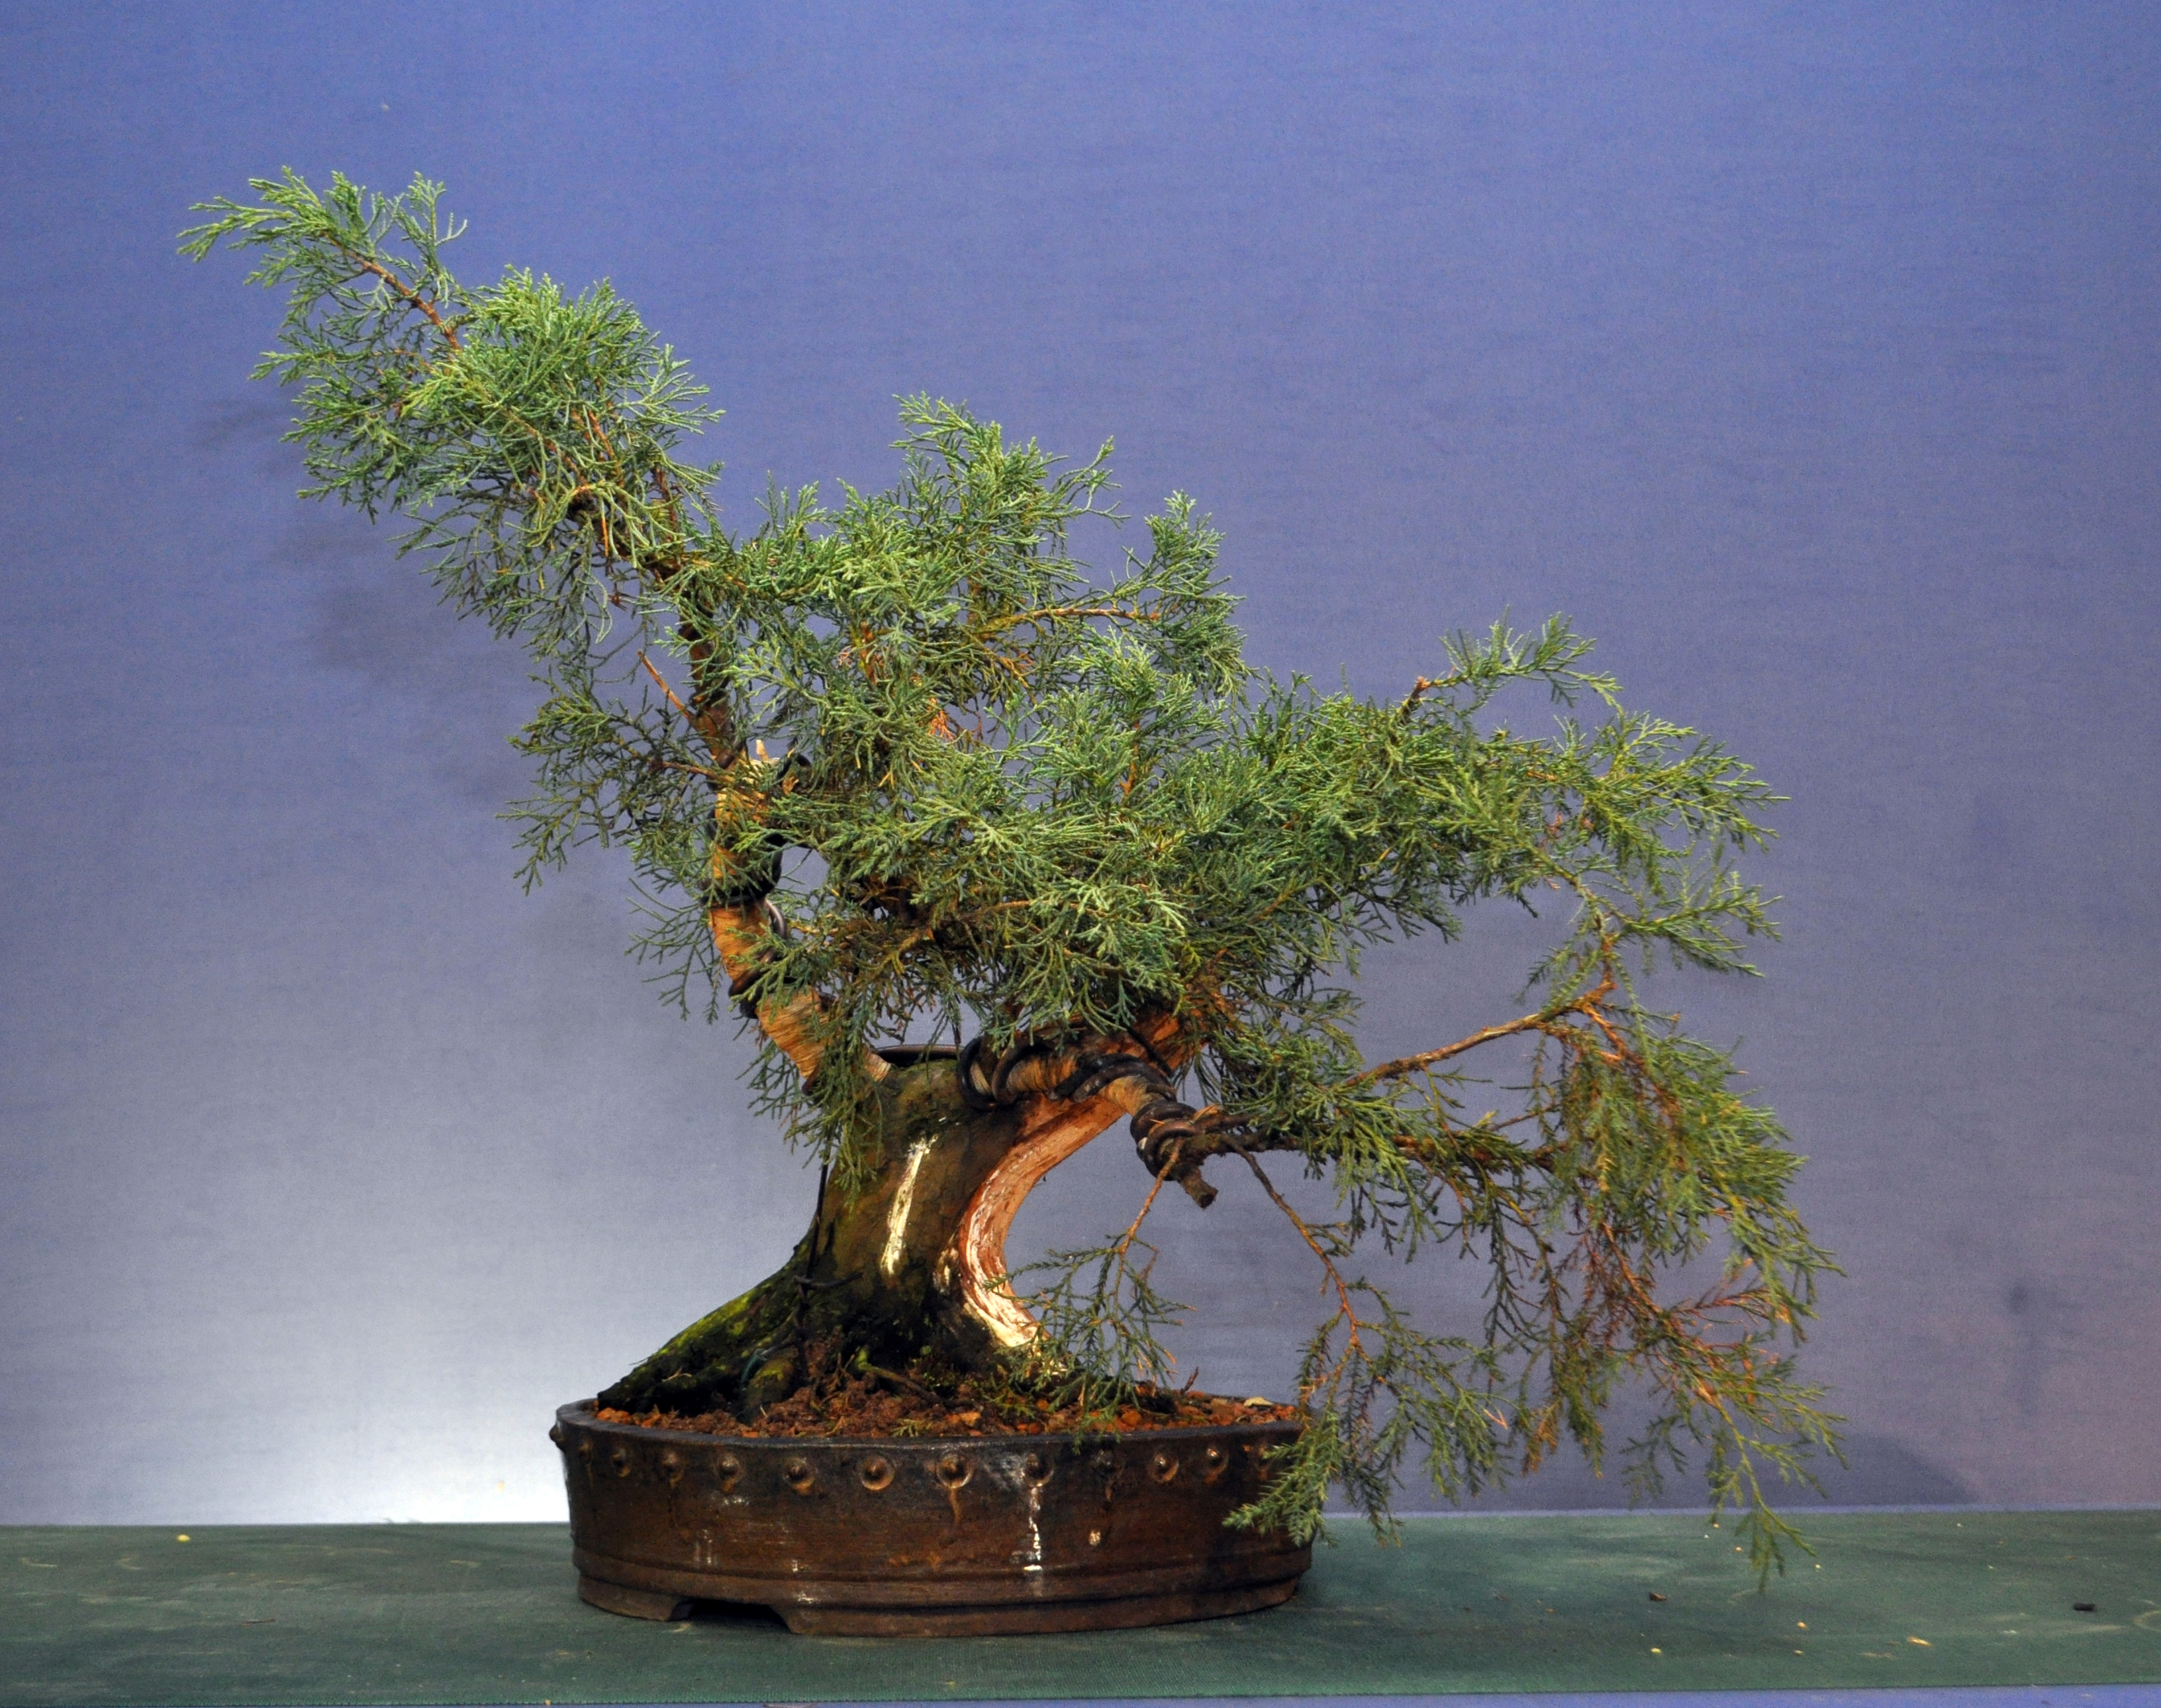
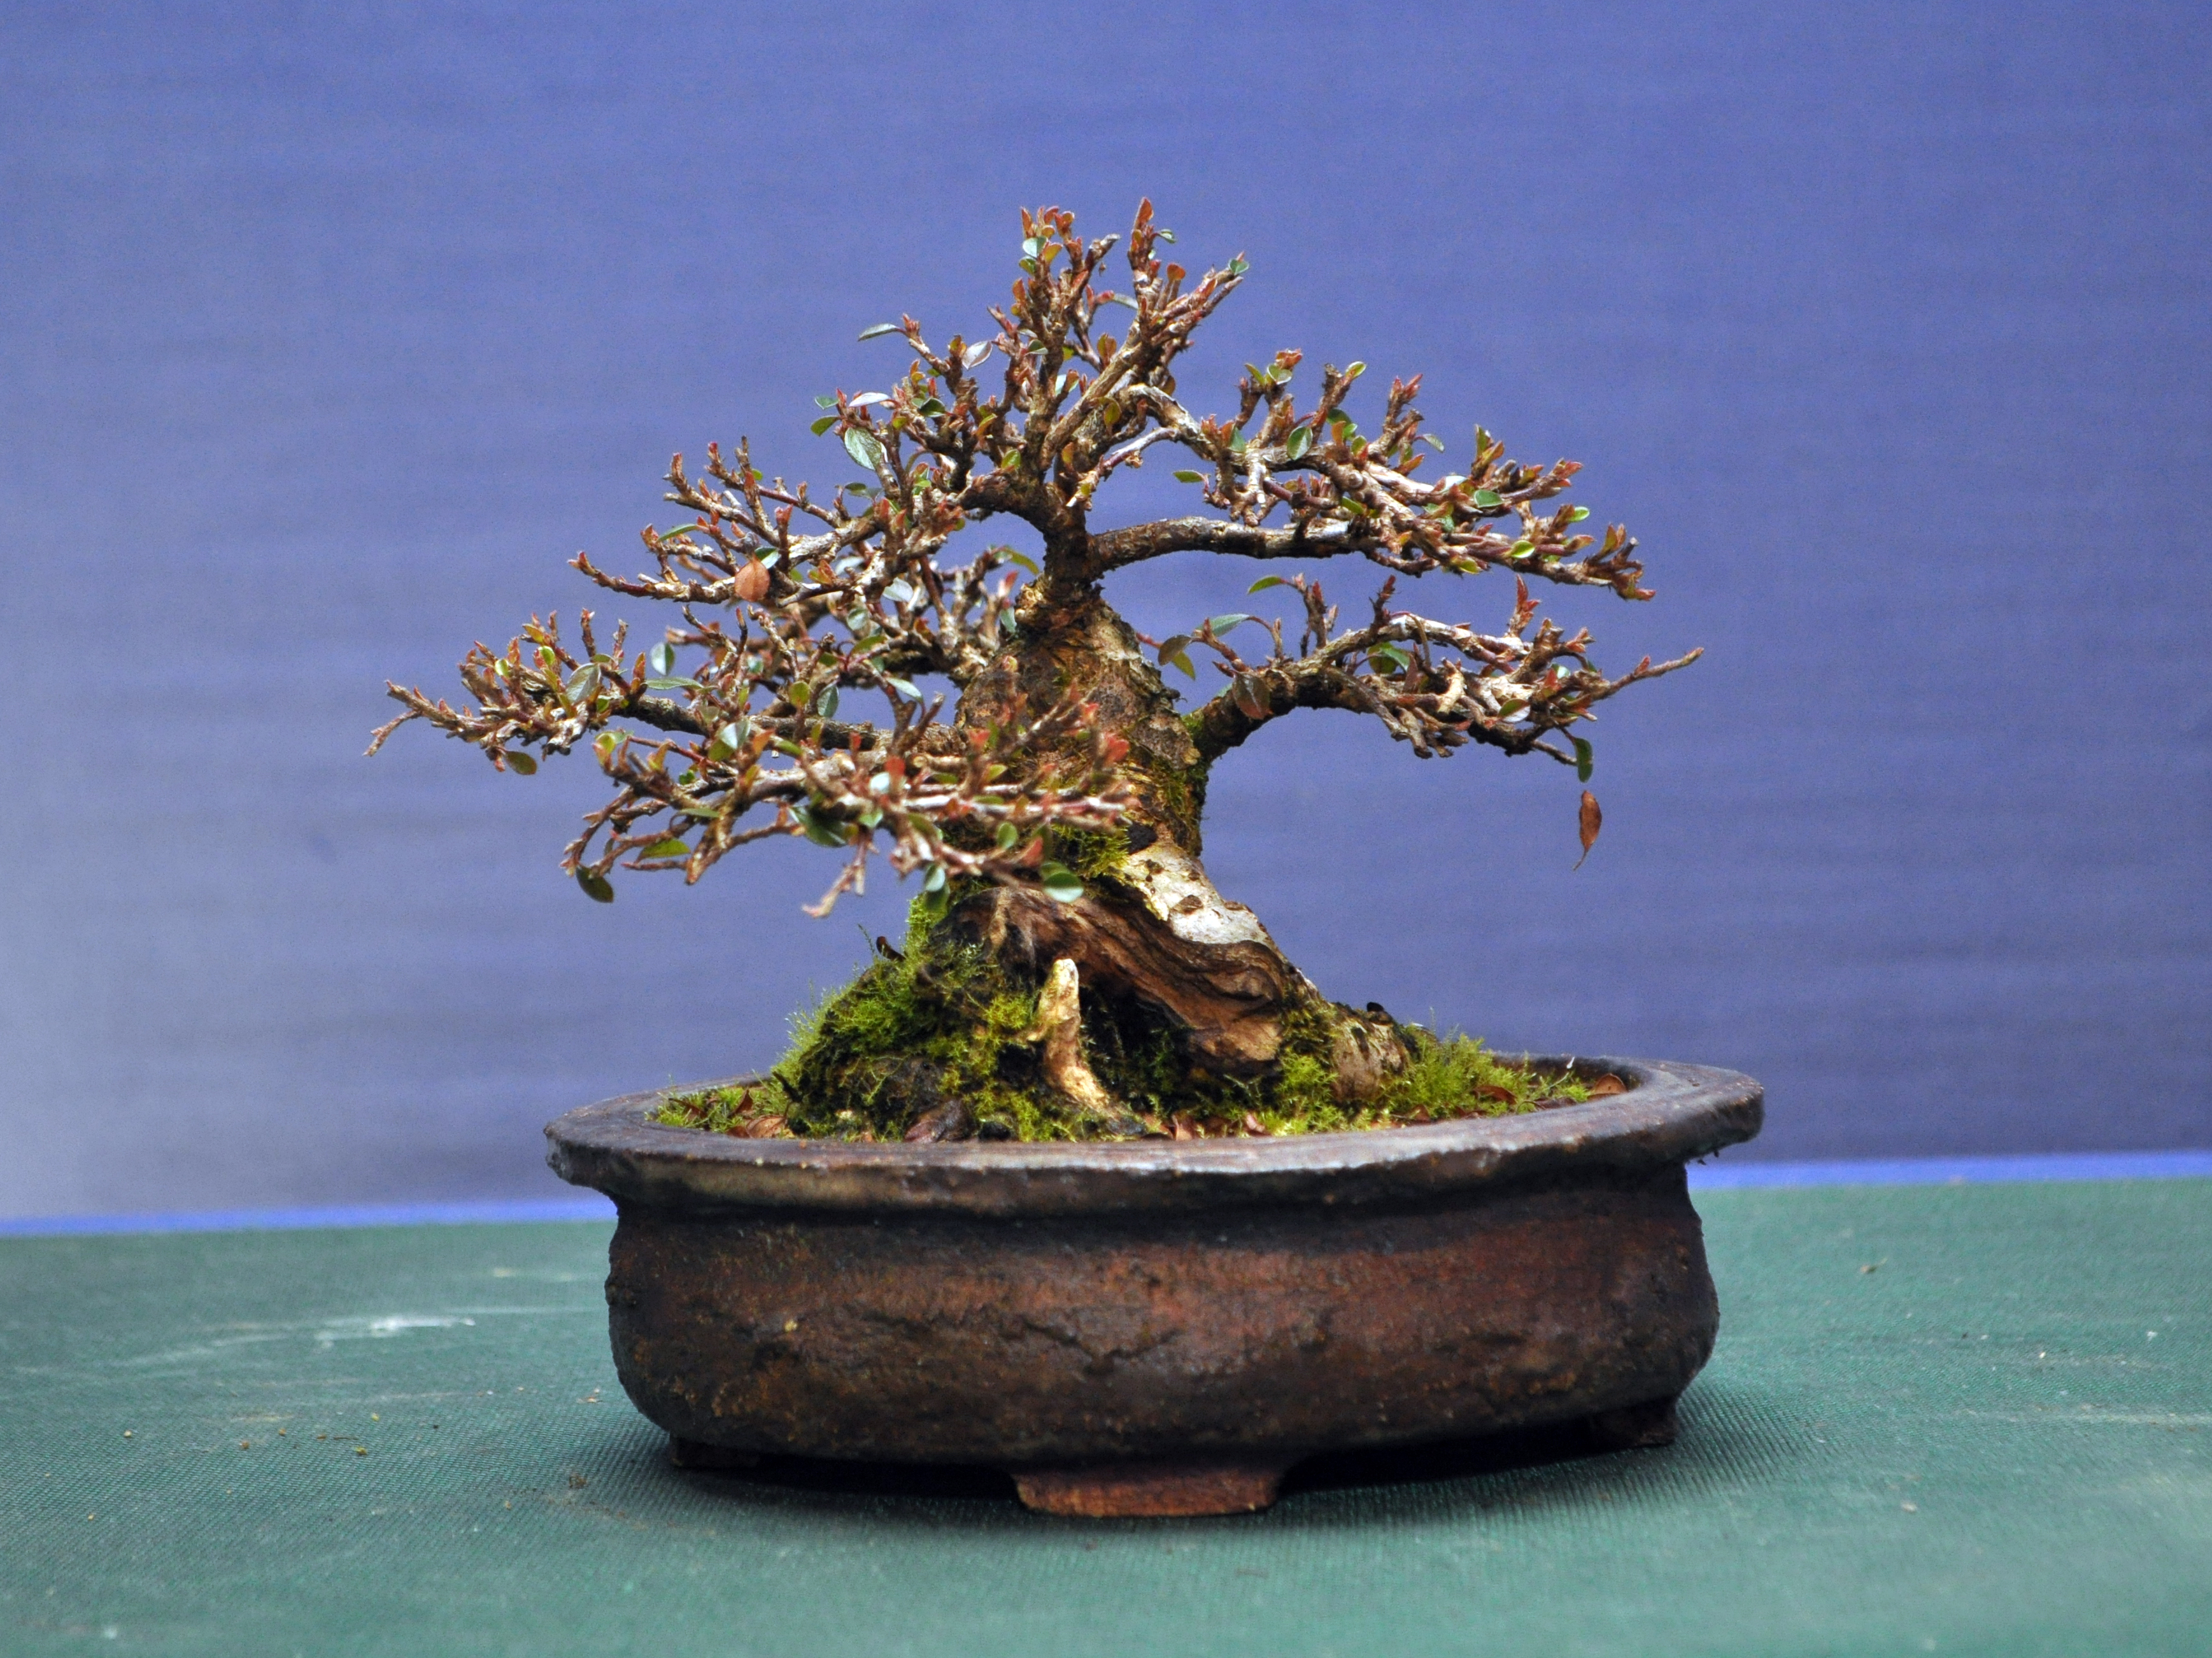
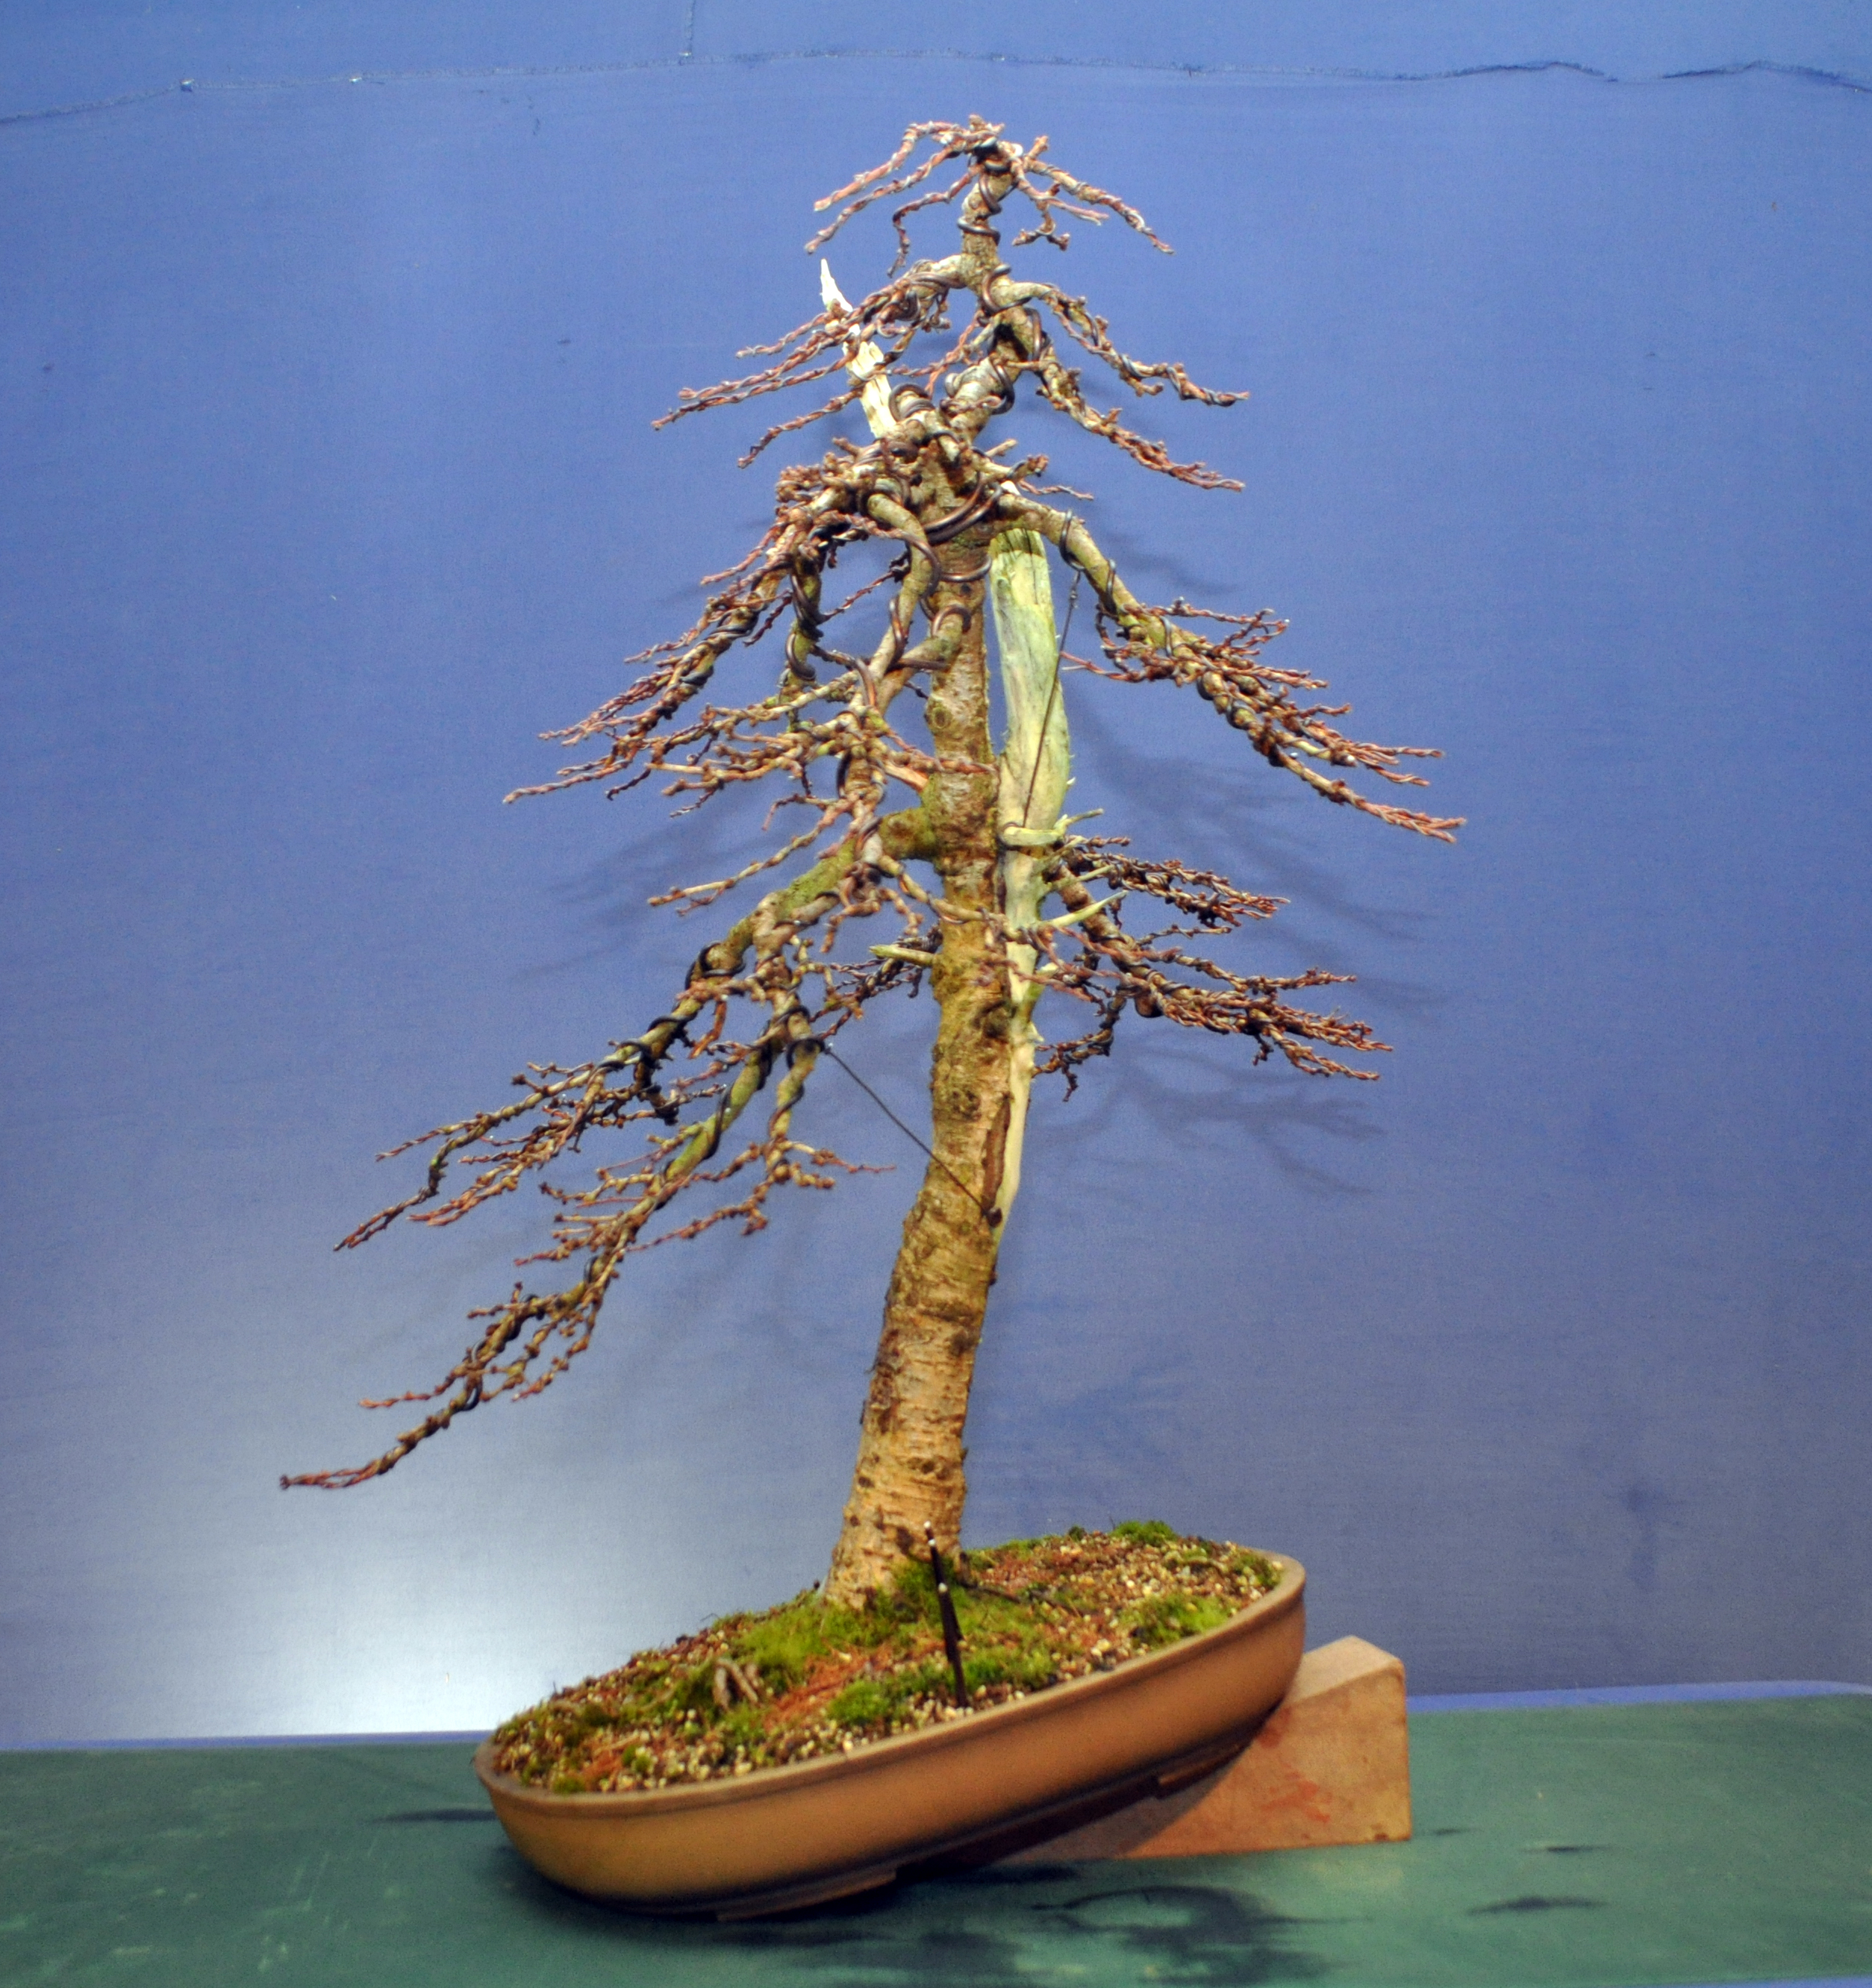
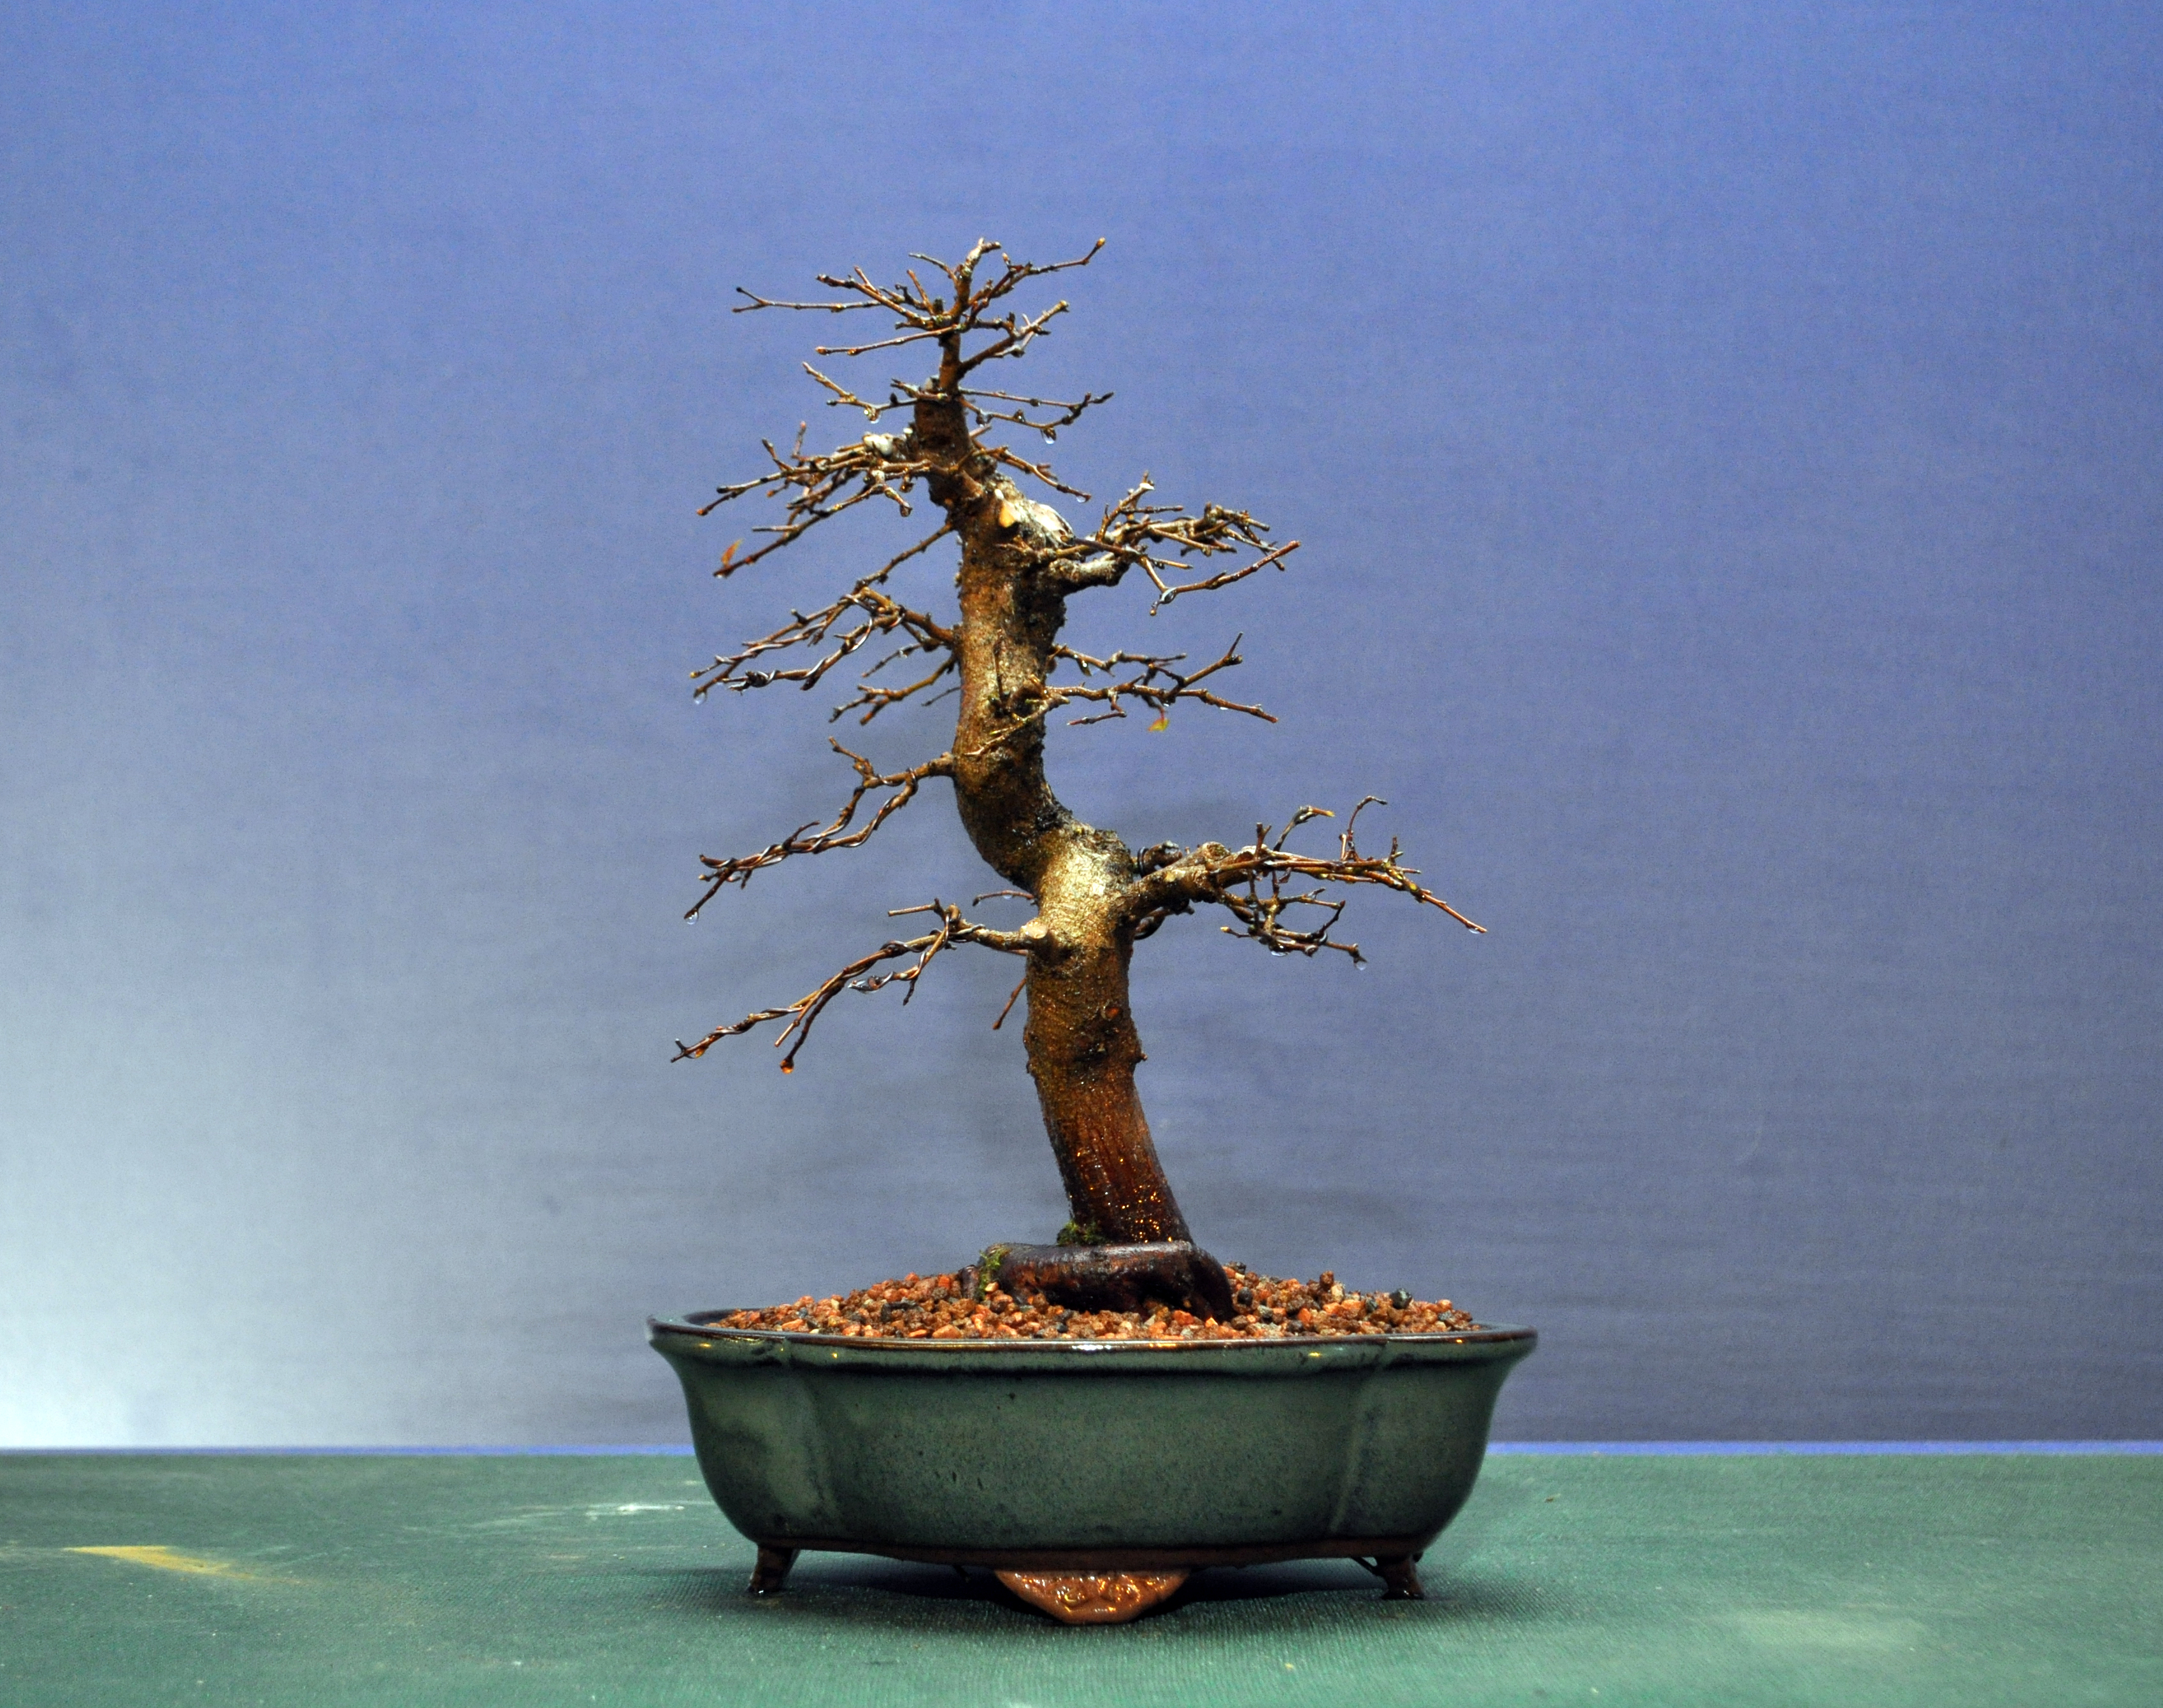
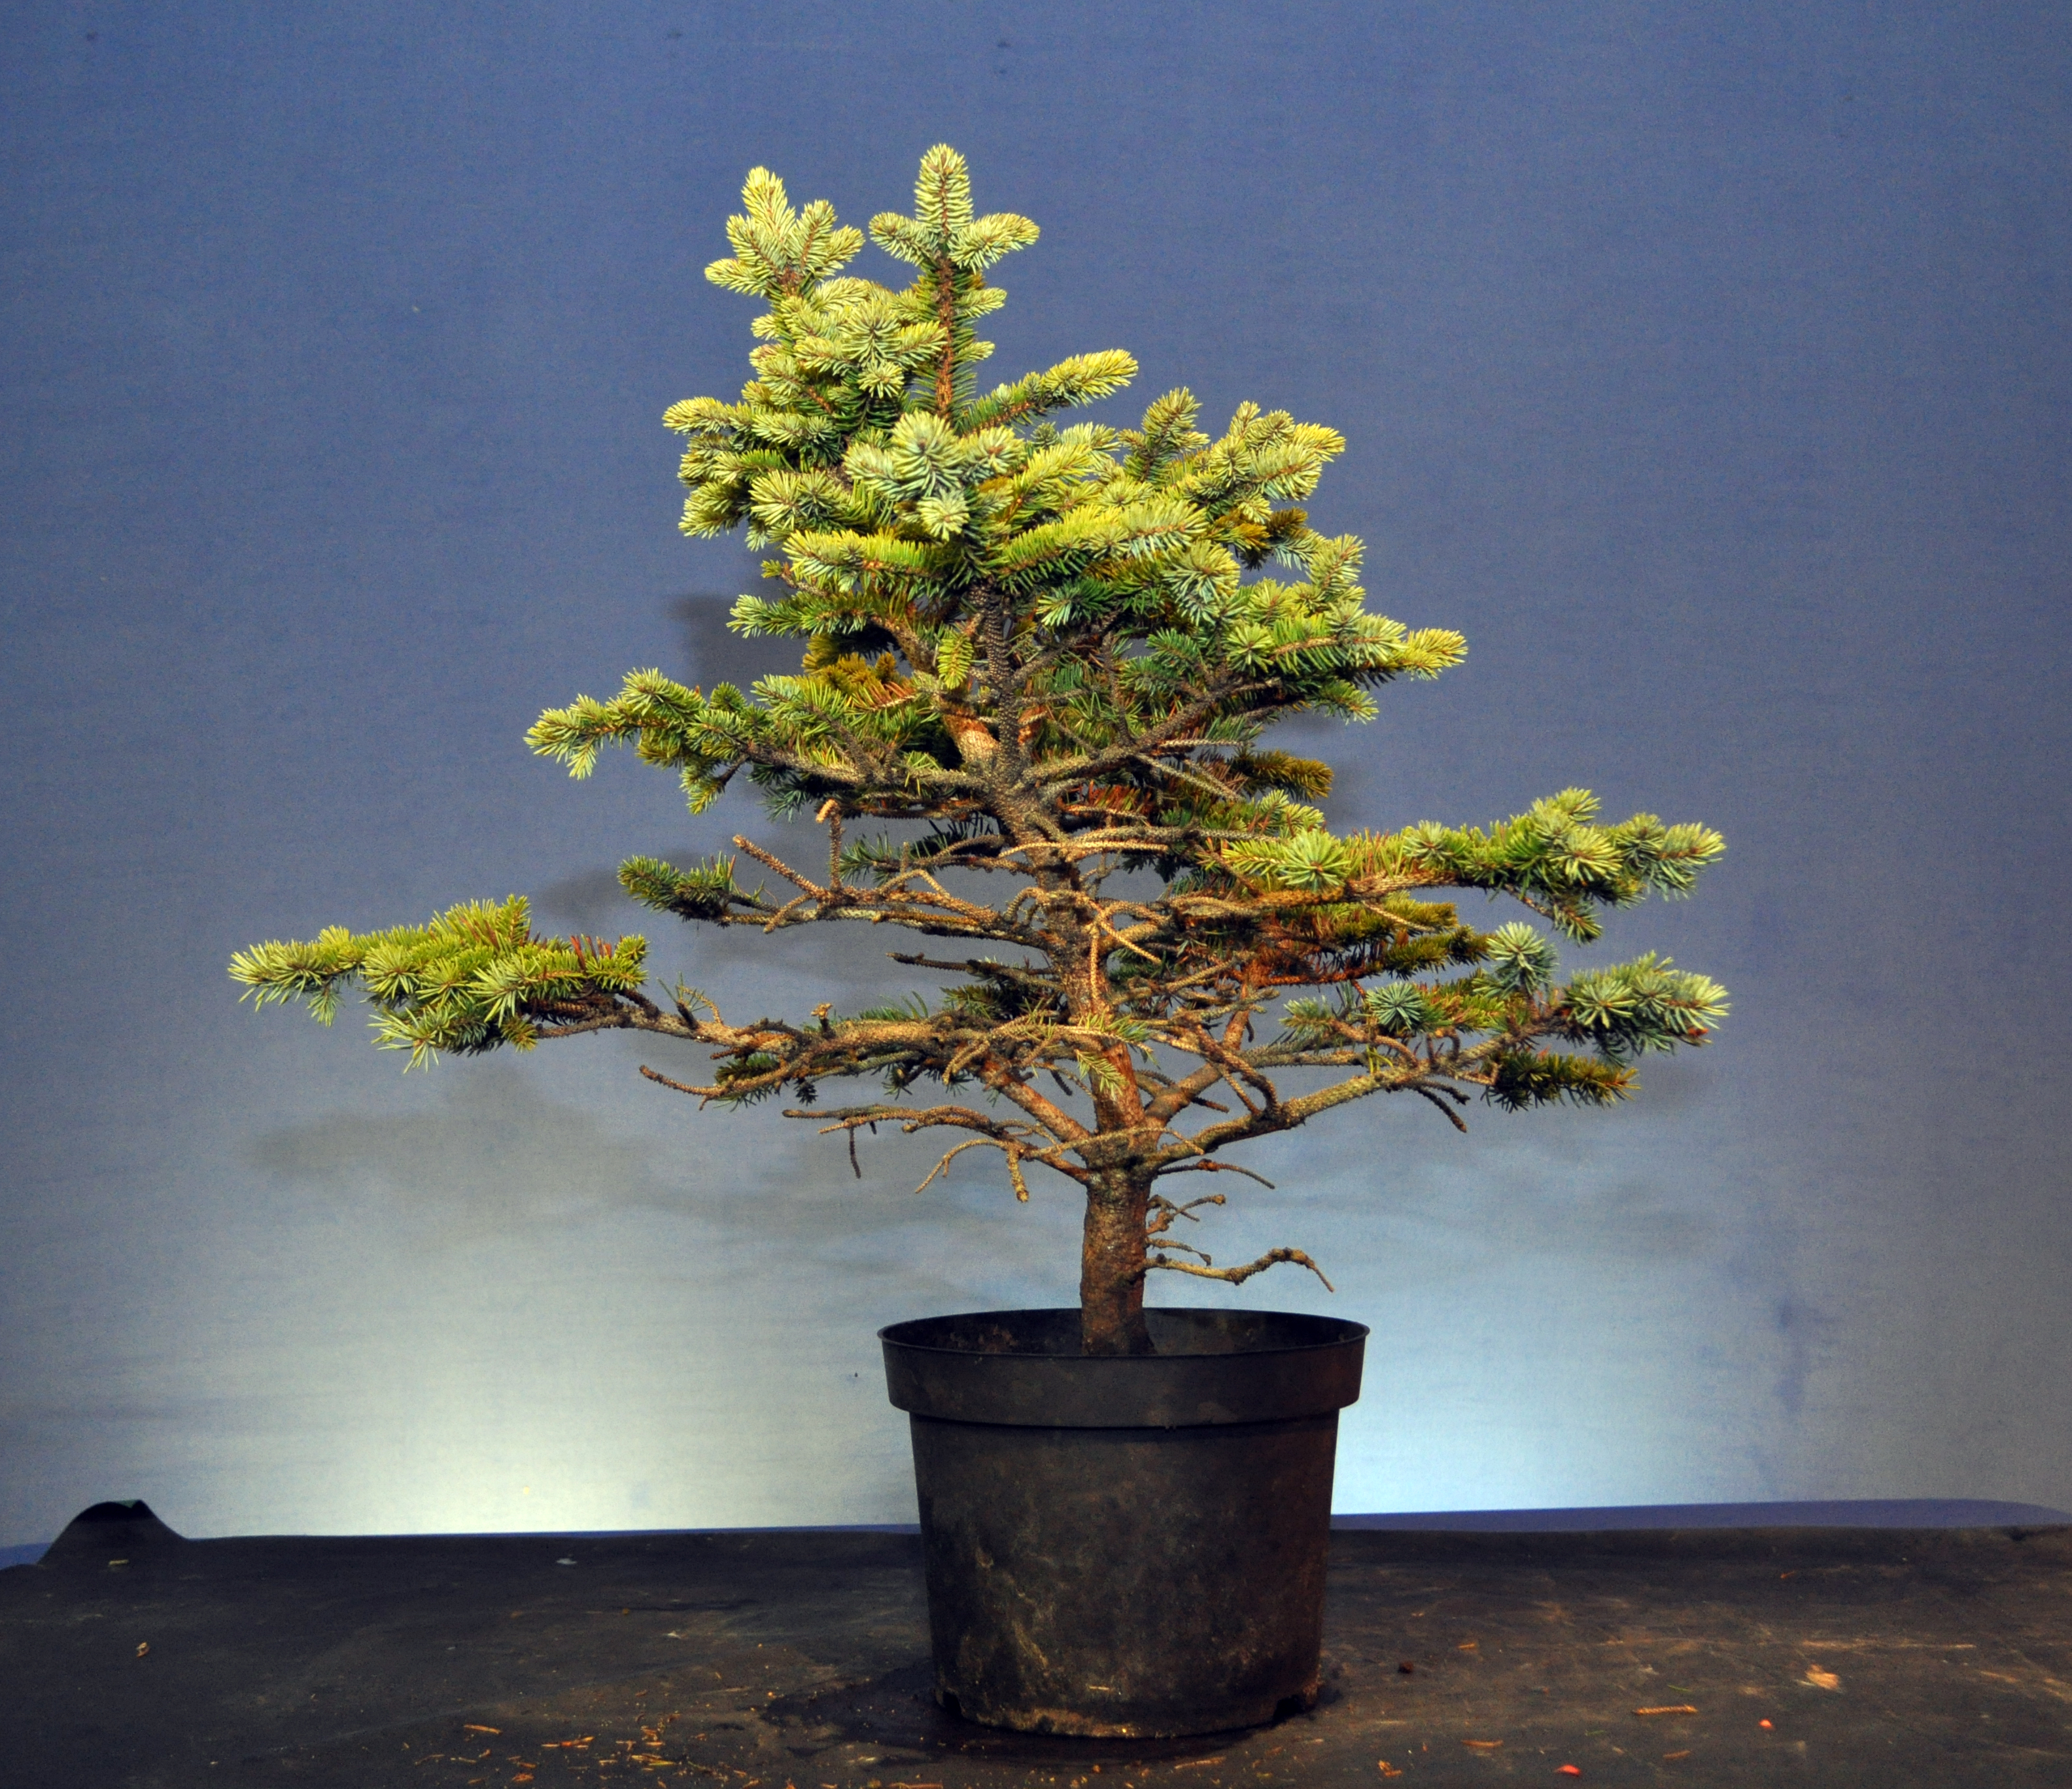
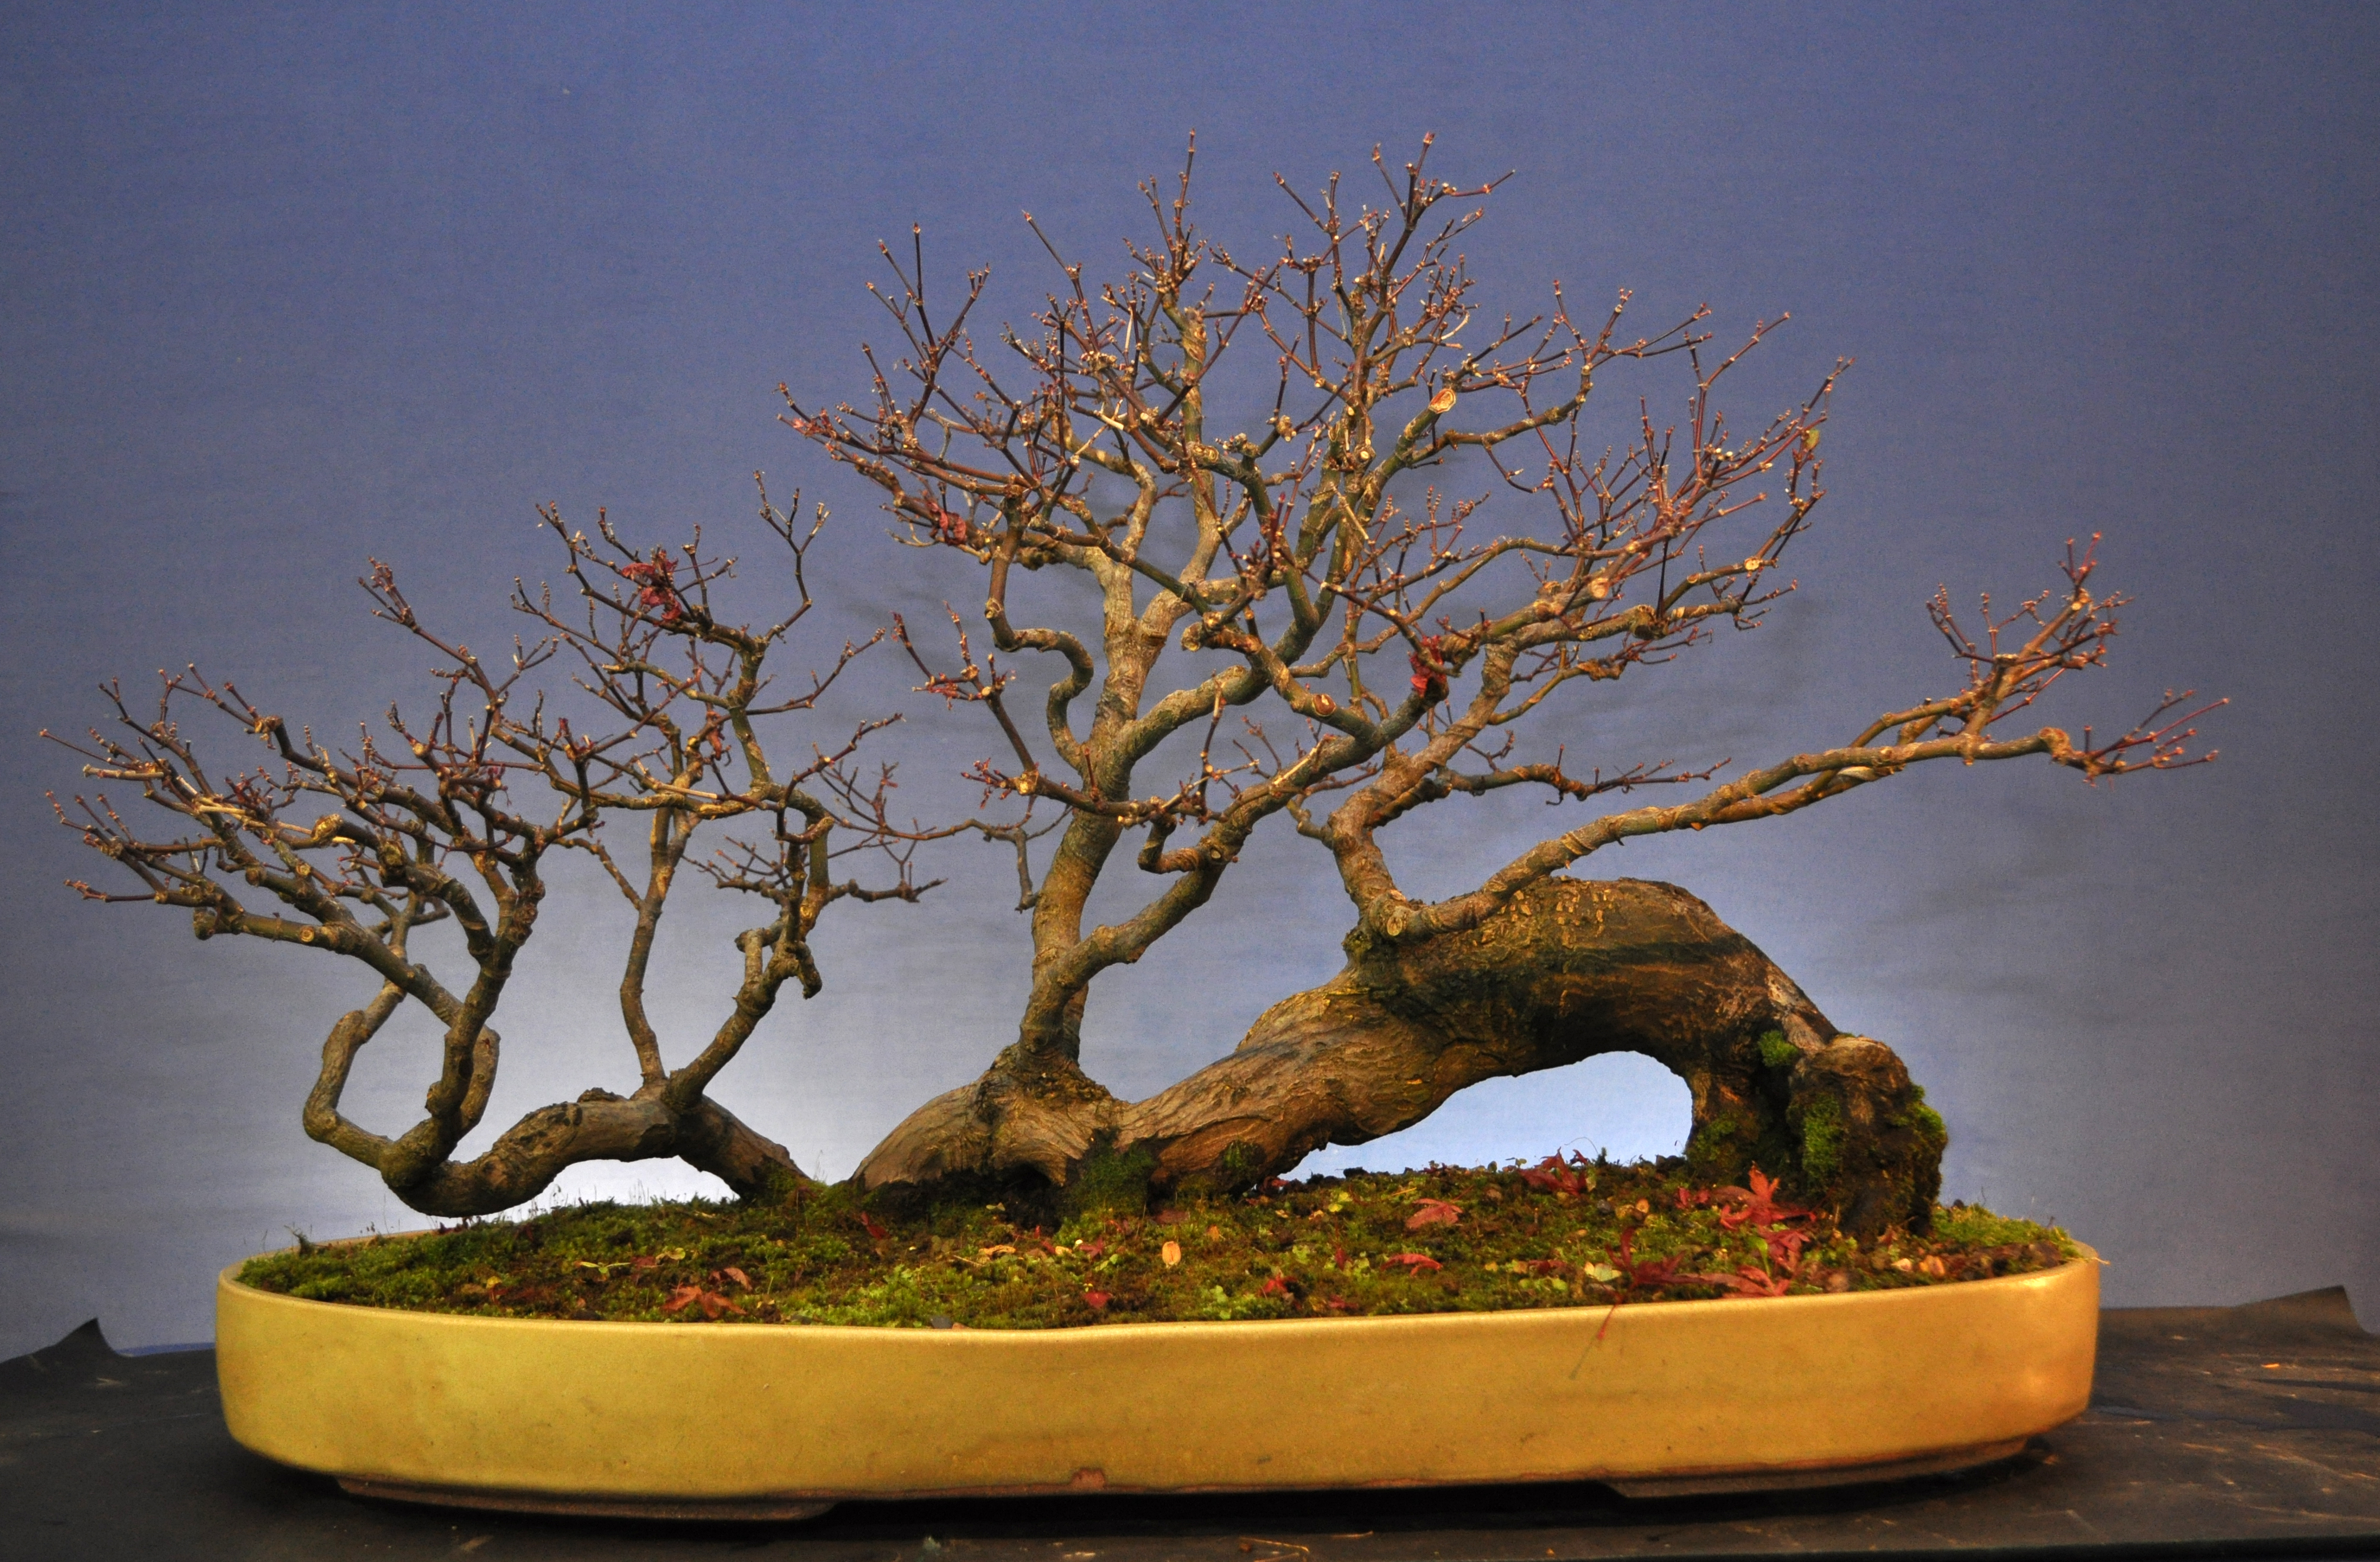
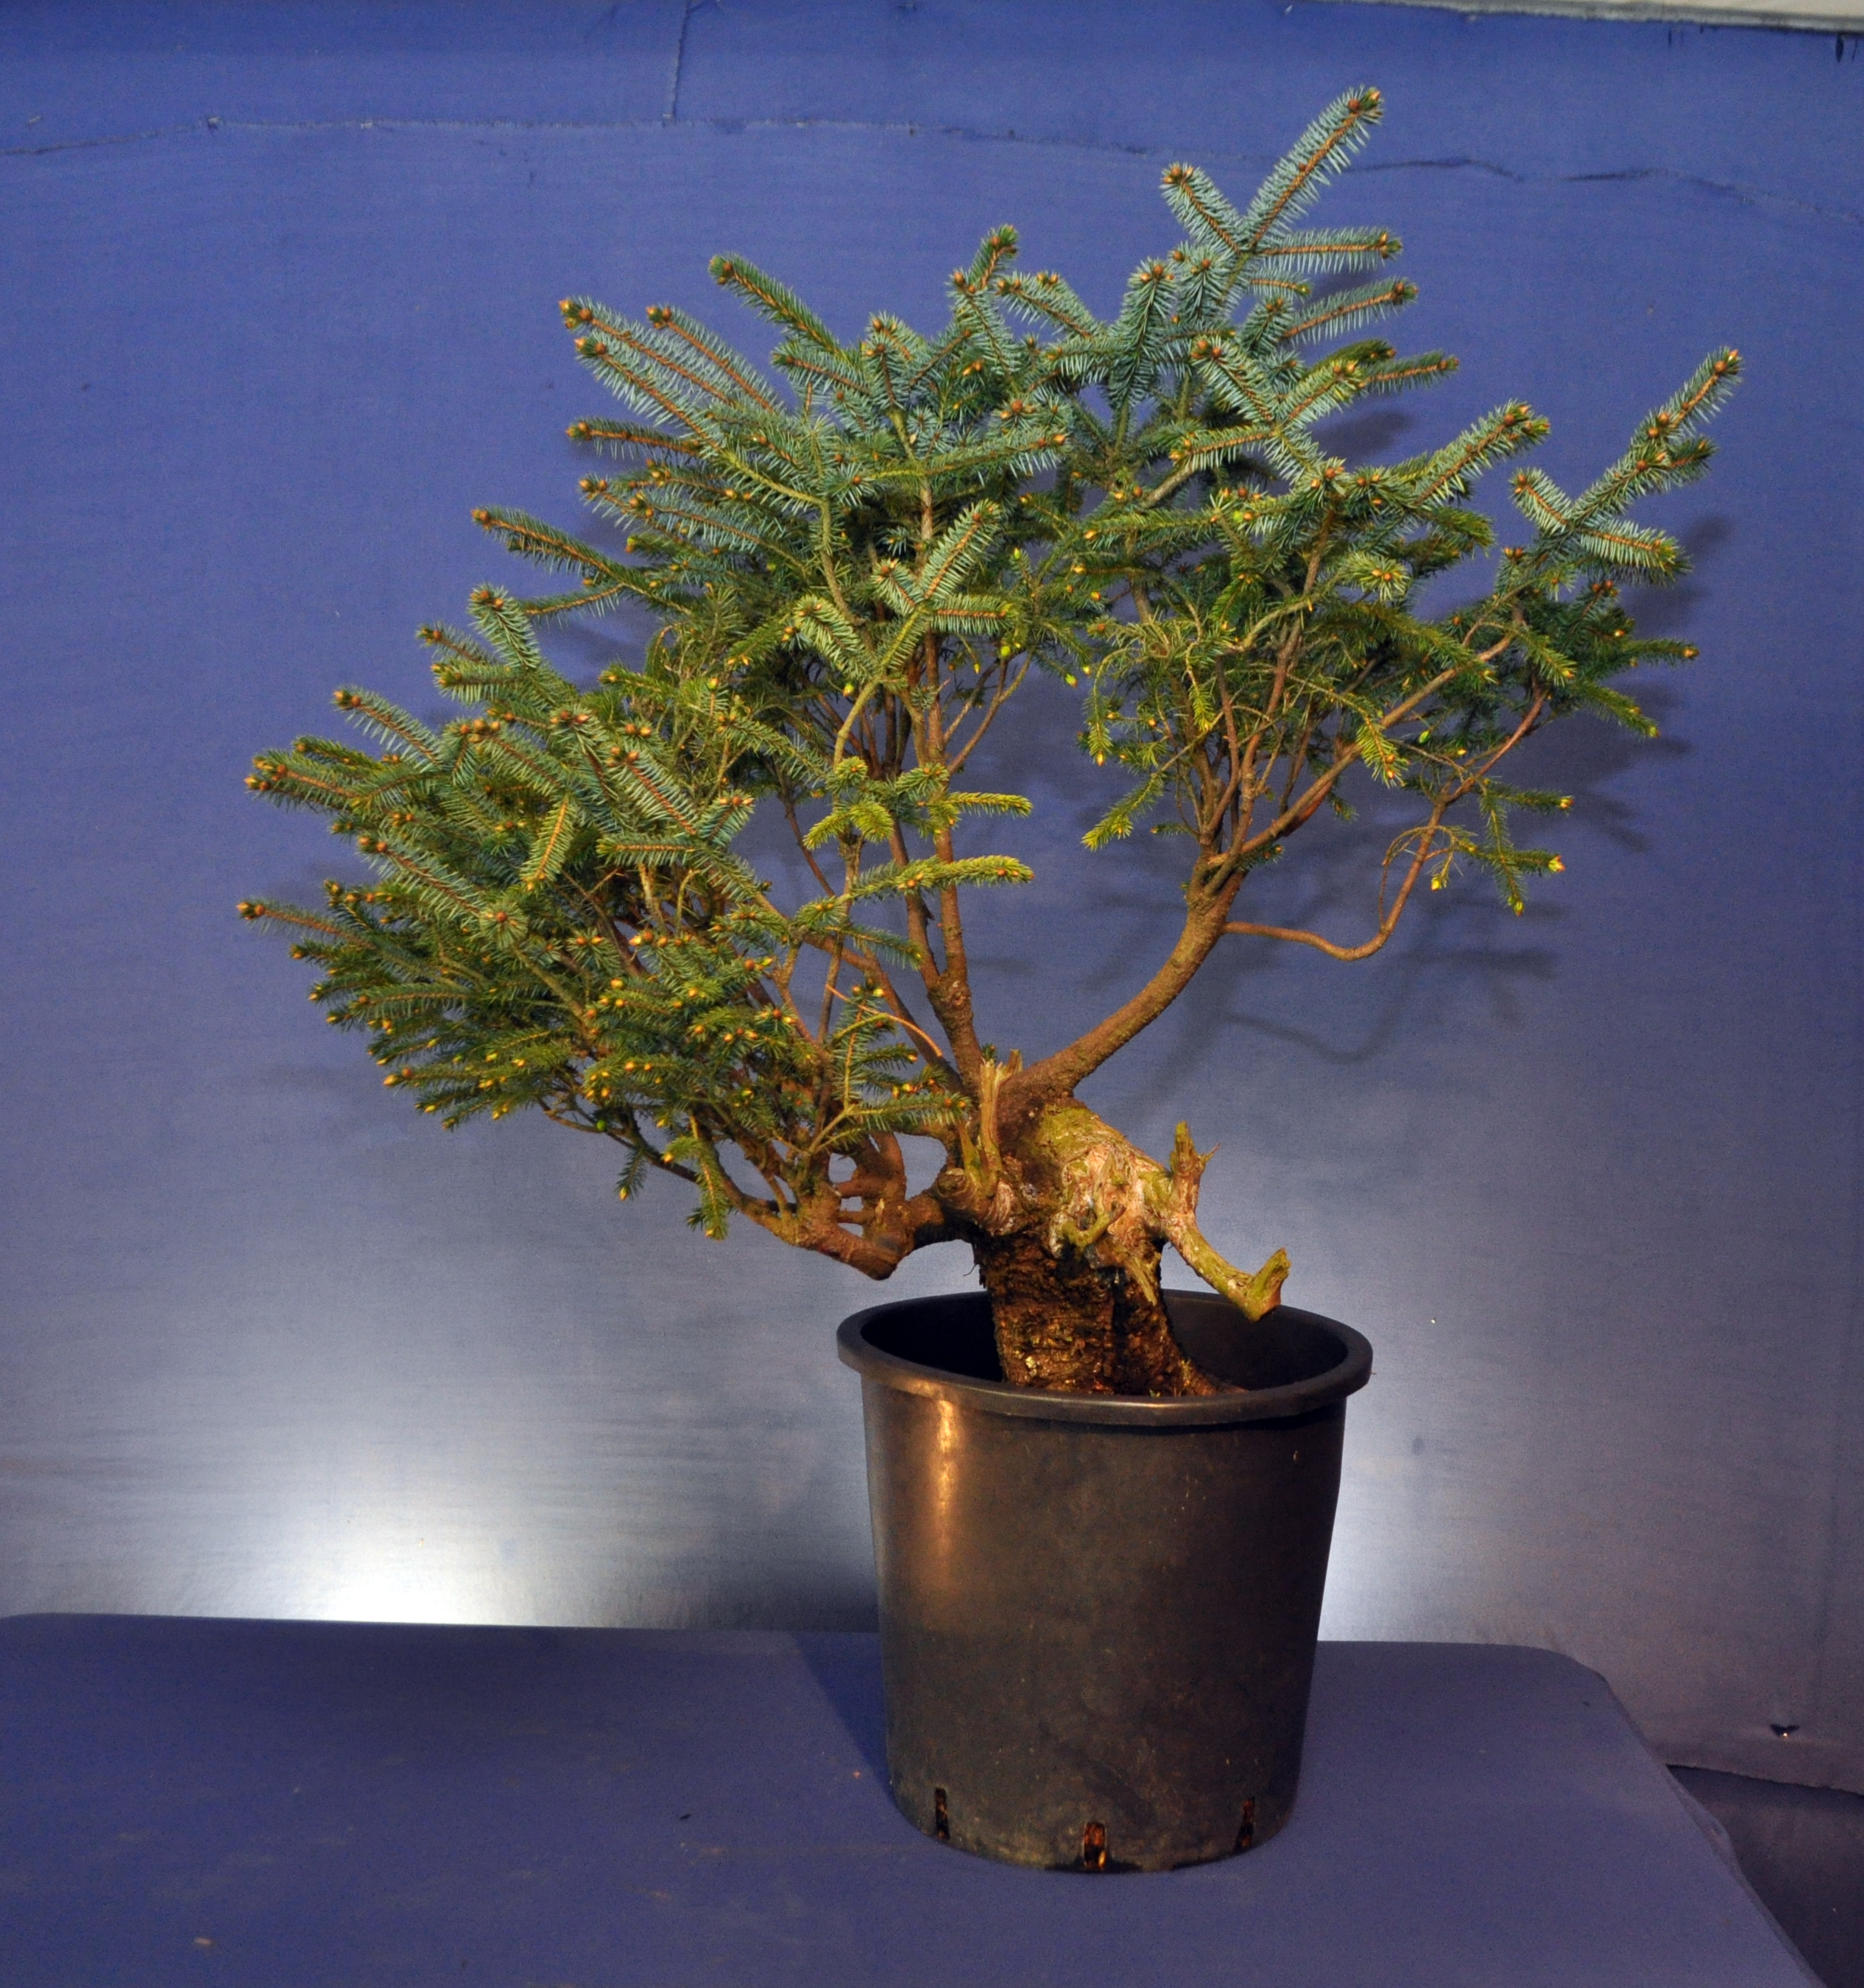
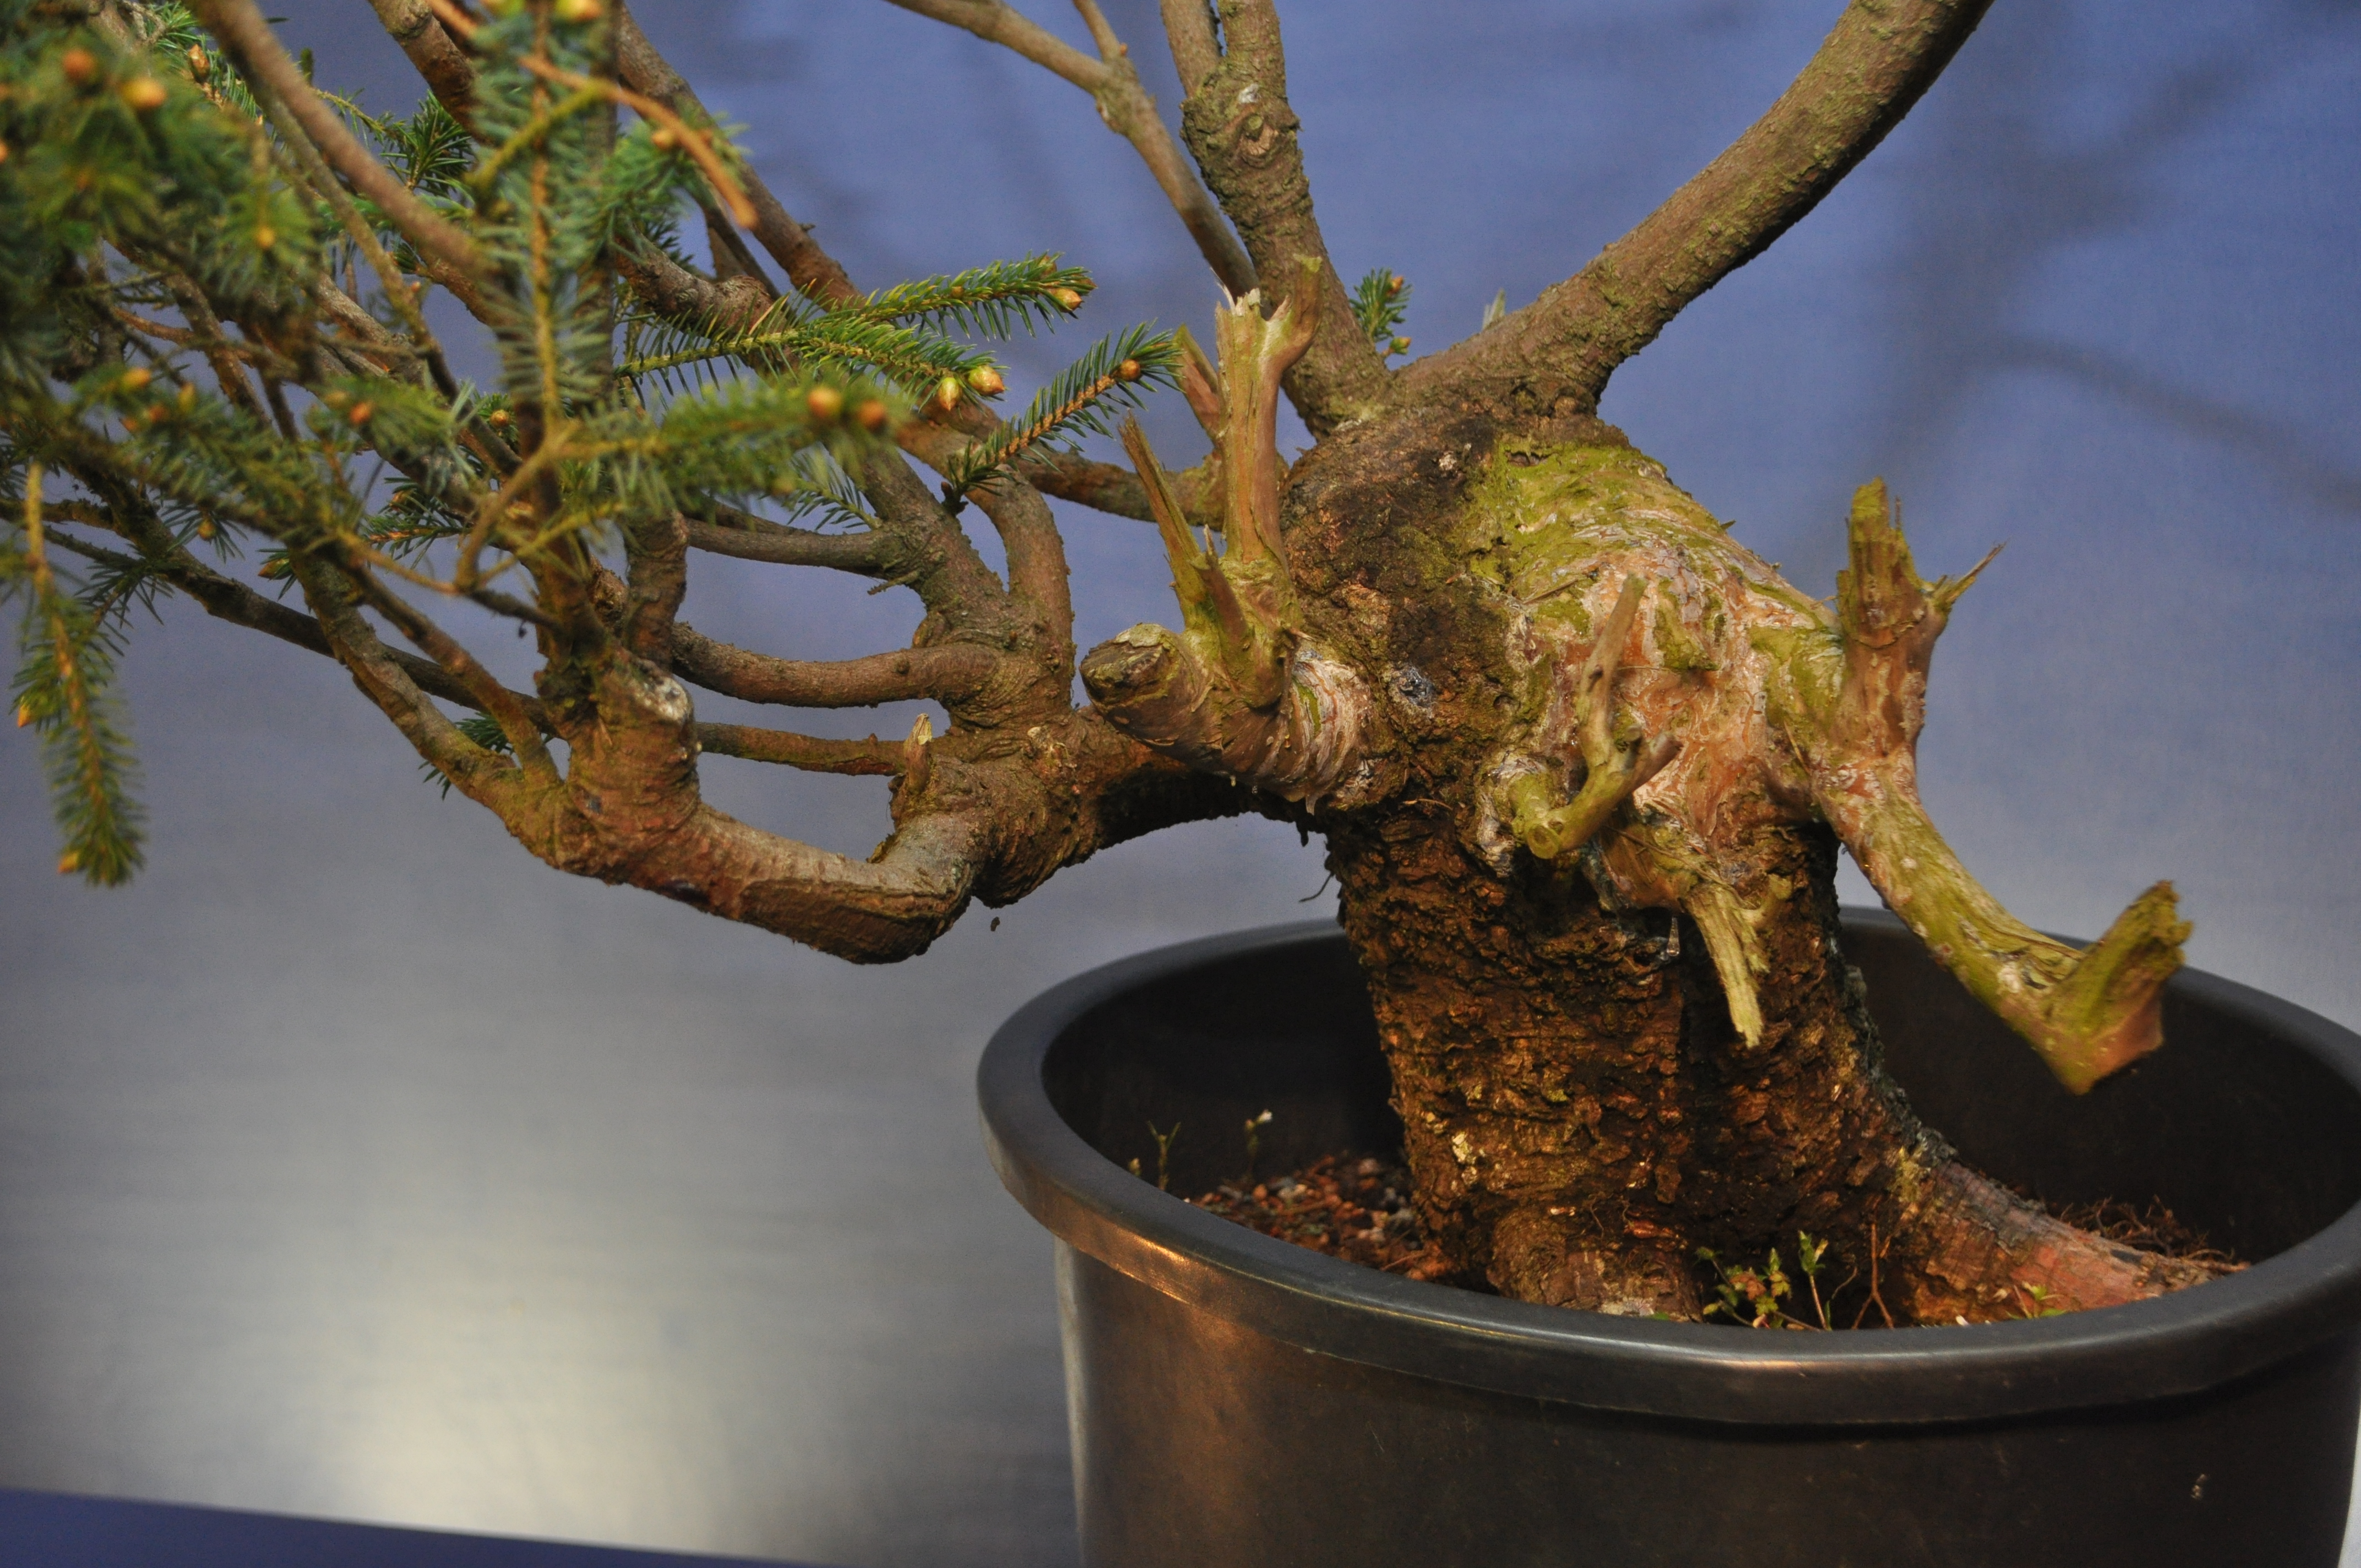
This is it after the branches had been placed. The two remaining branches are starting to back bud a few inches up which is just where I need growth, therefore these will be left for a year until there is enough growth there to chop back too. This can be seen below as can the back budding from last year on the branch to the left. A long term project but material worth the effort I think.

DSC_0140

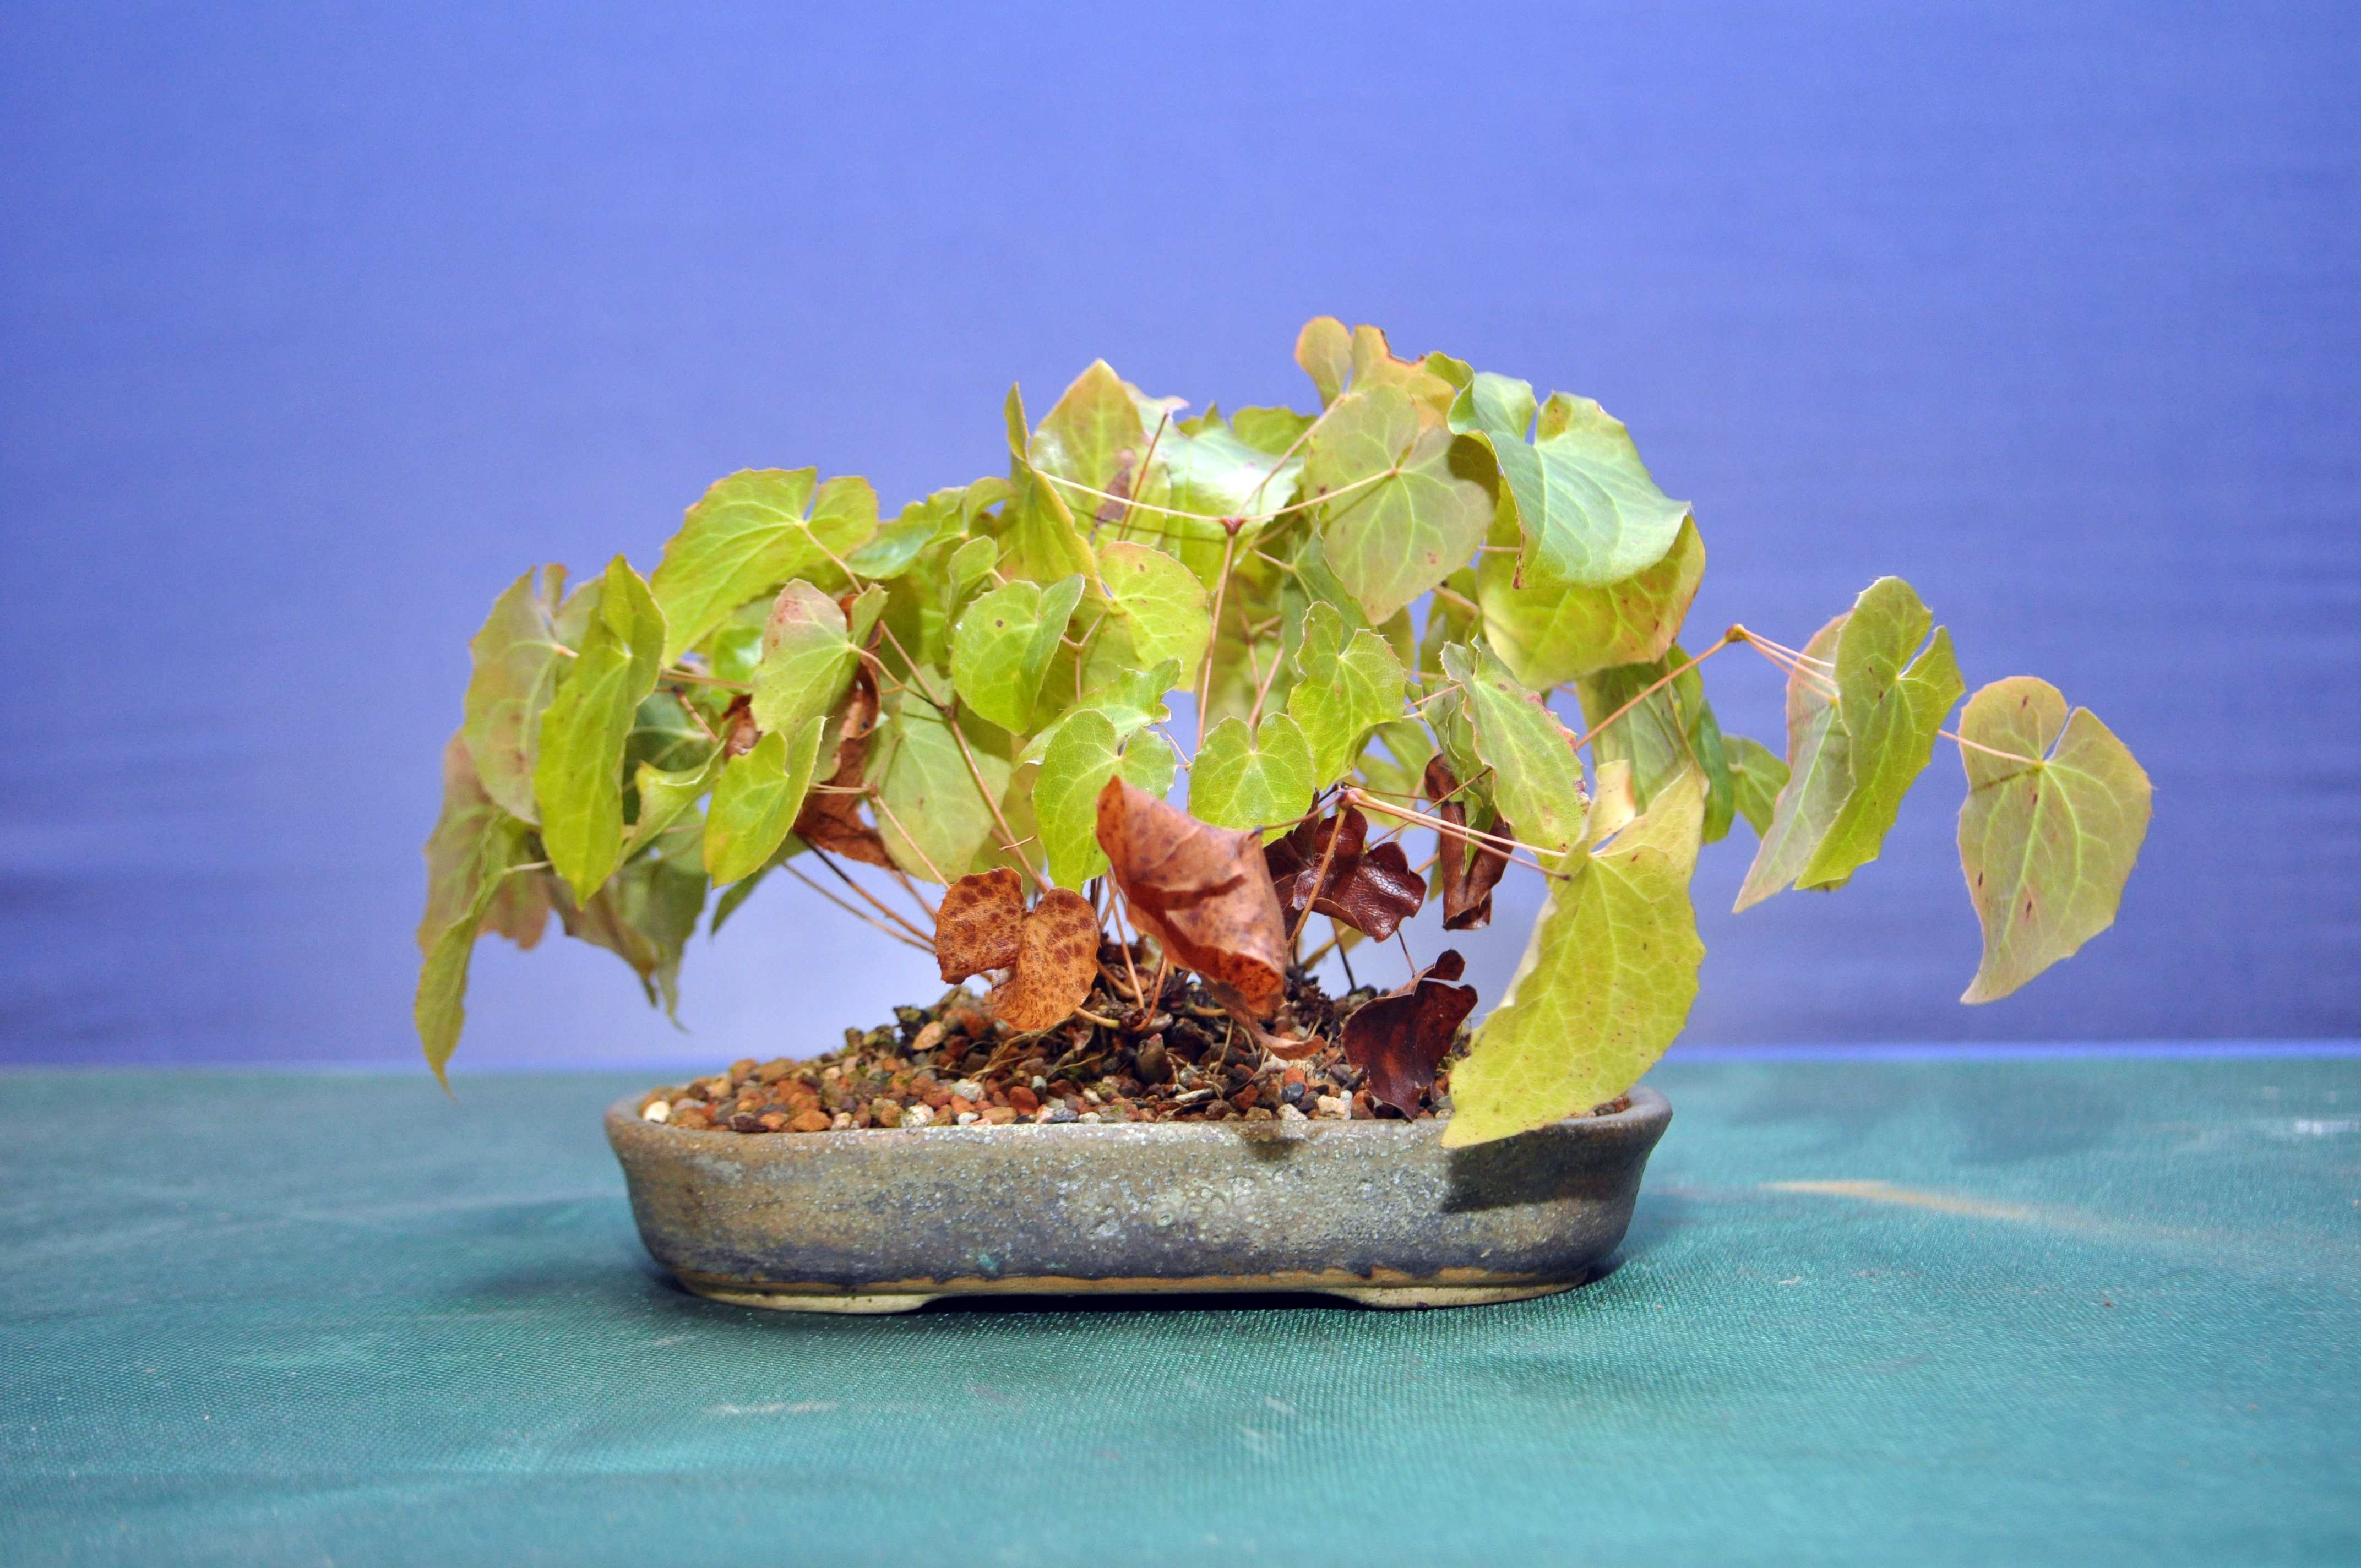
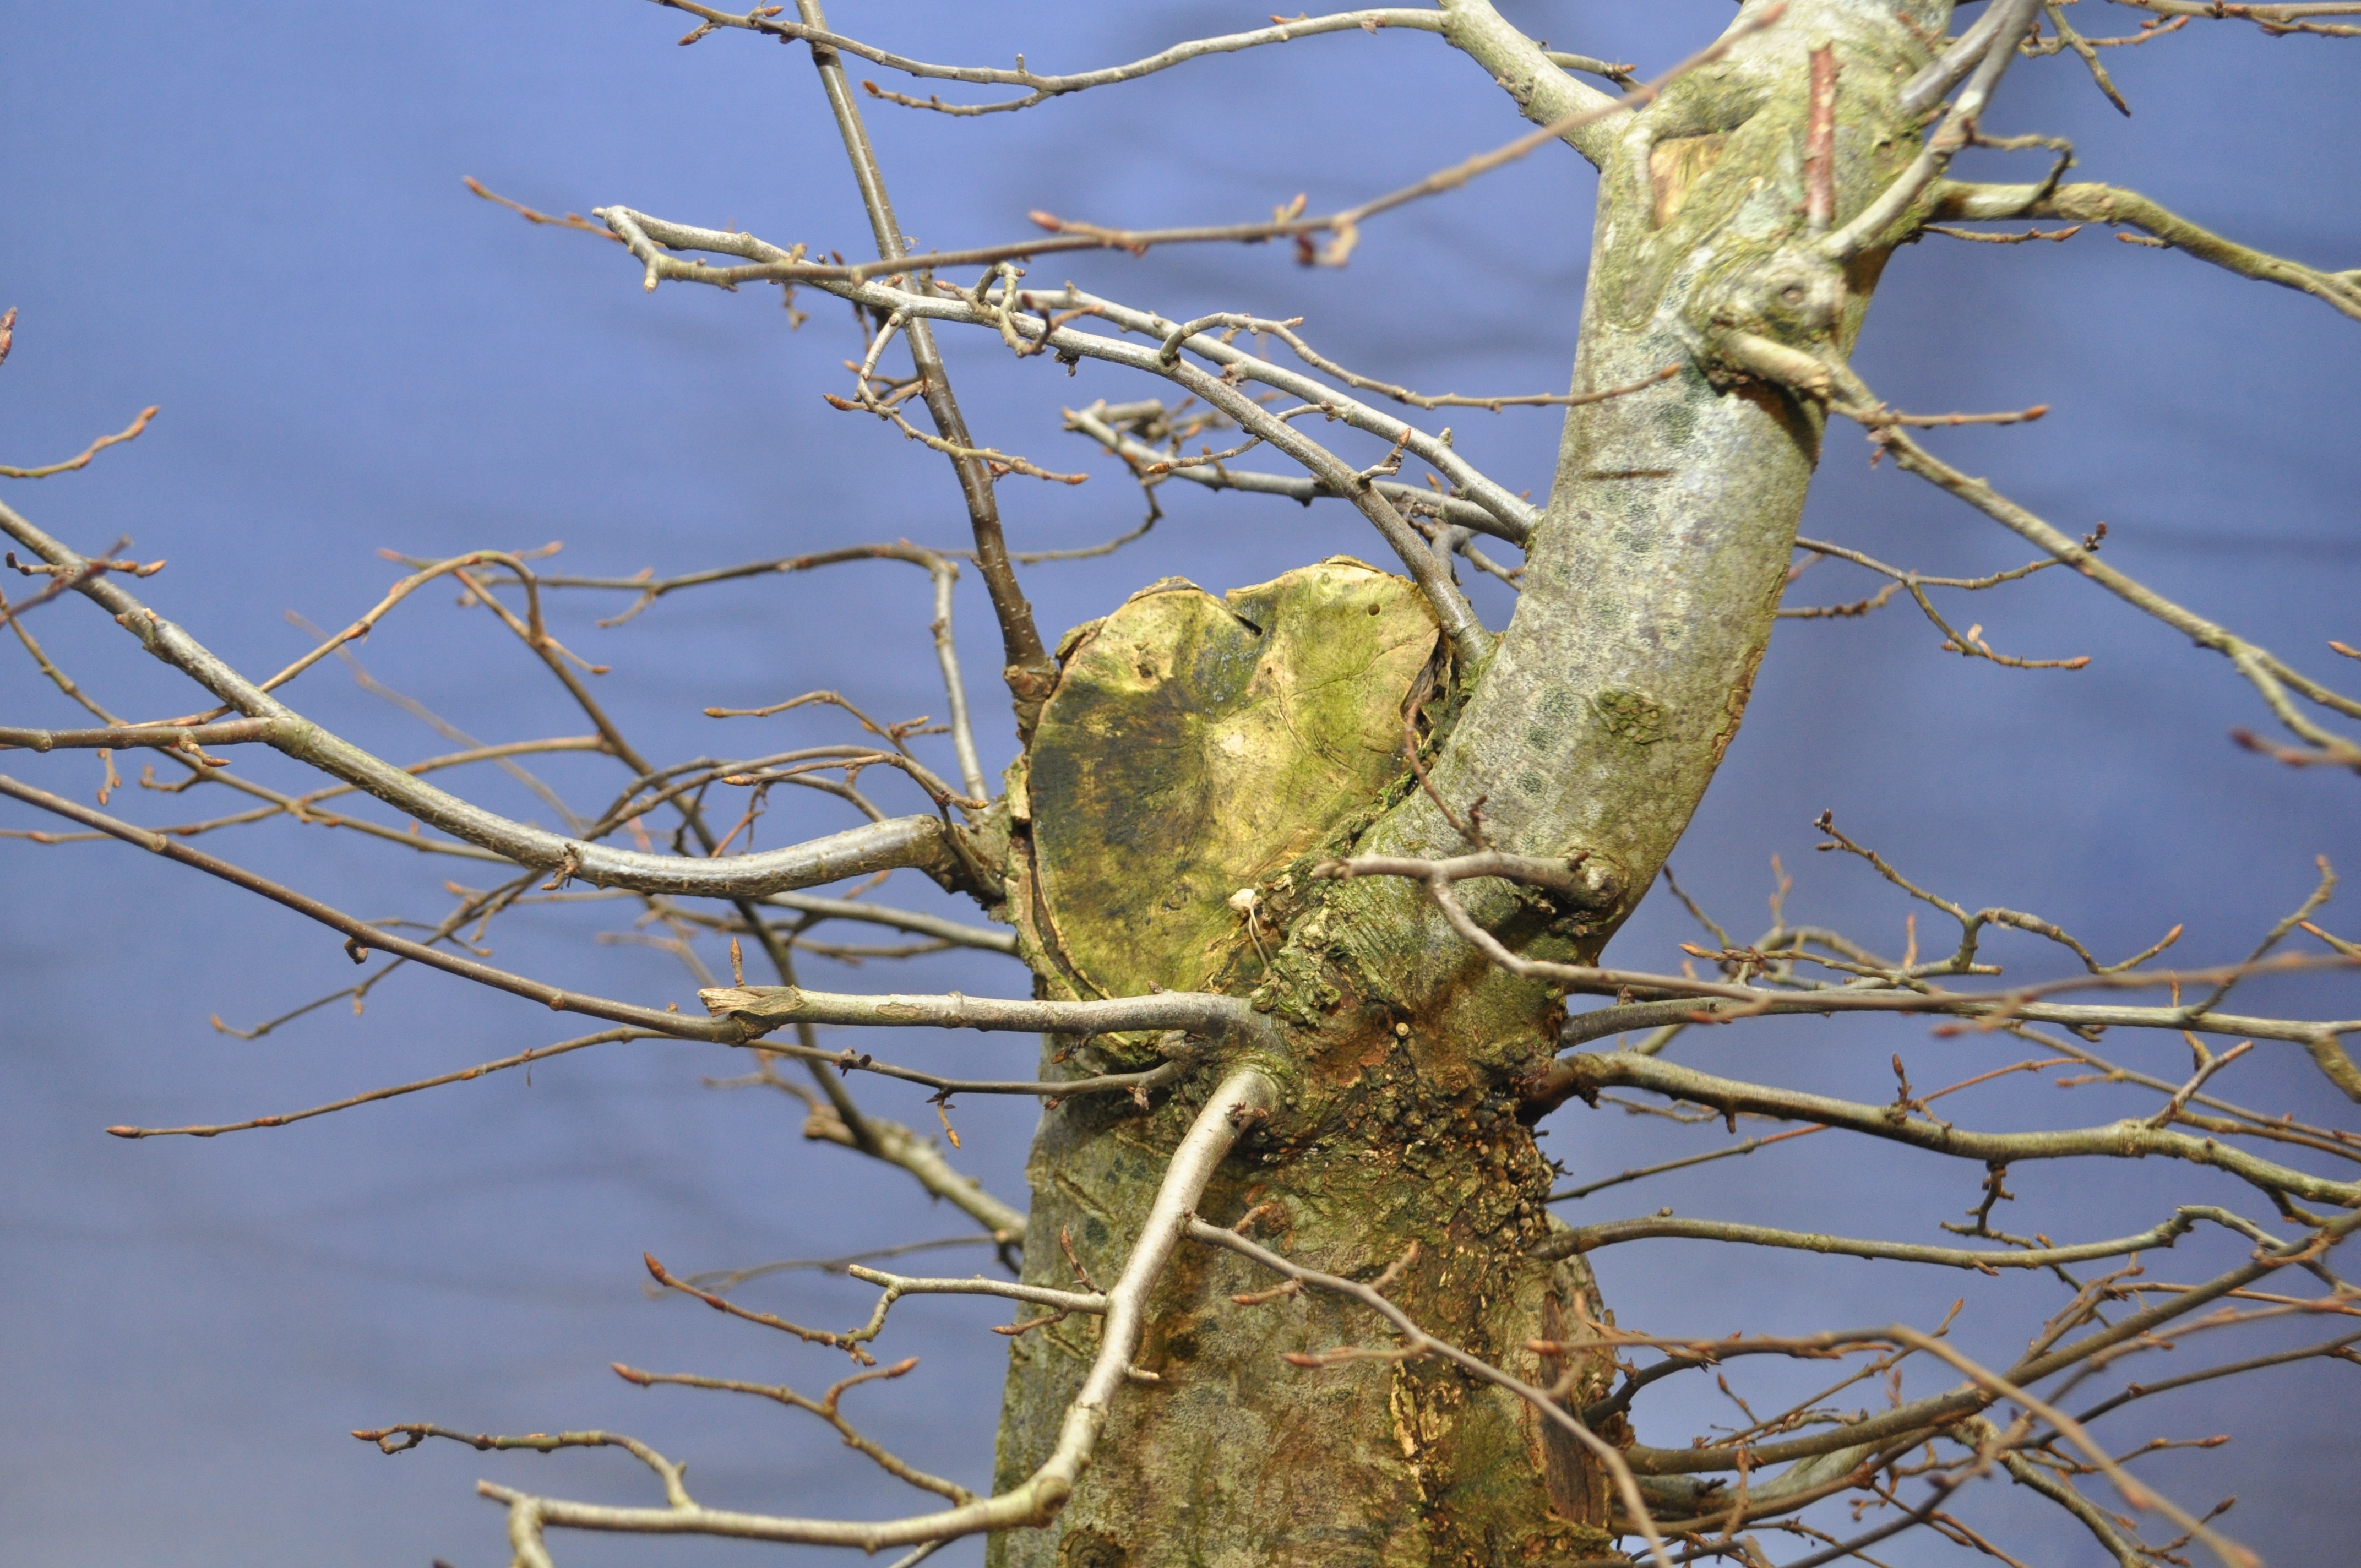
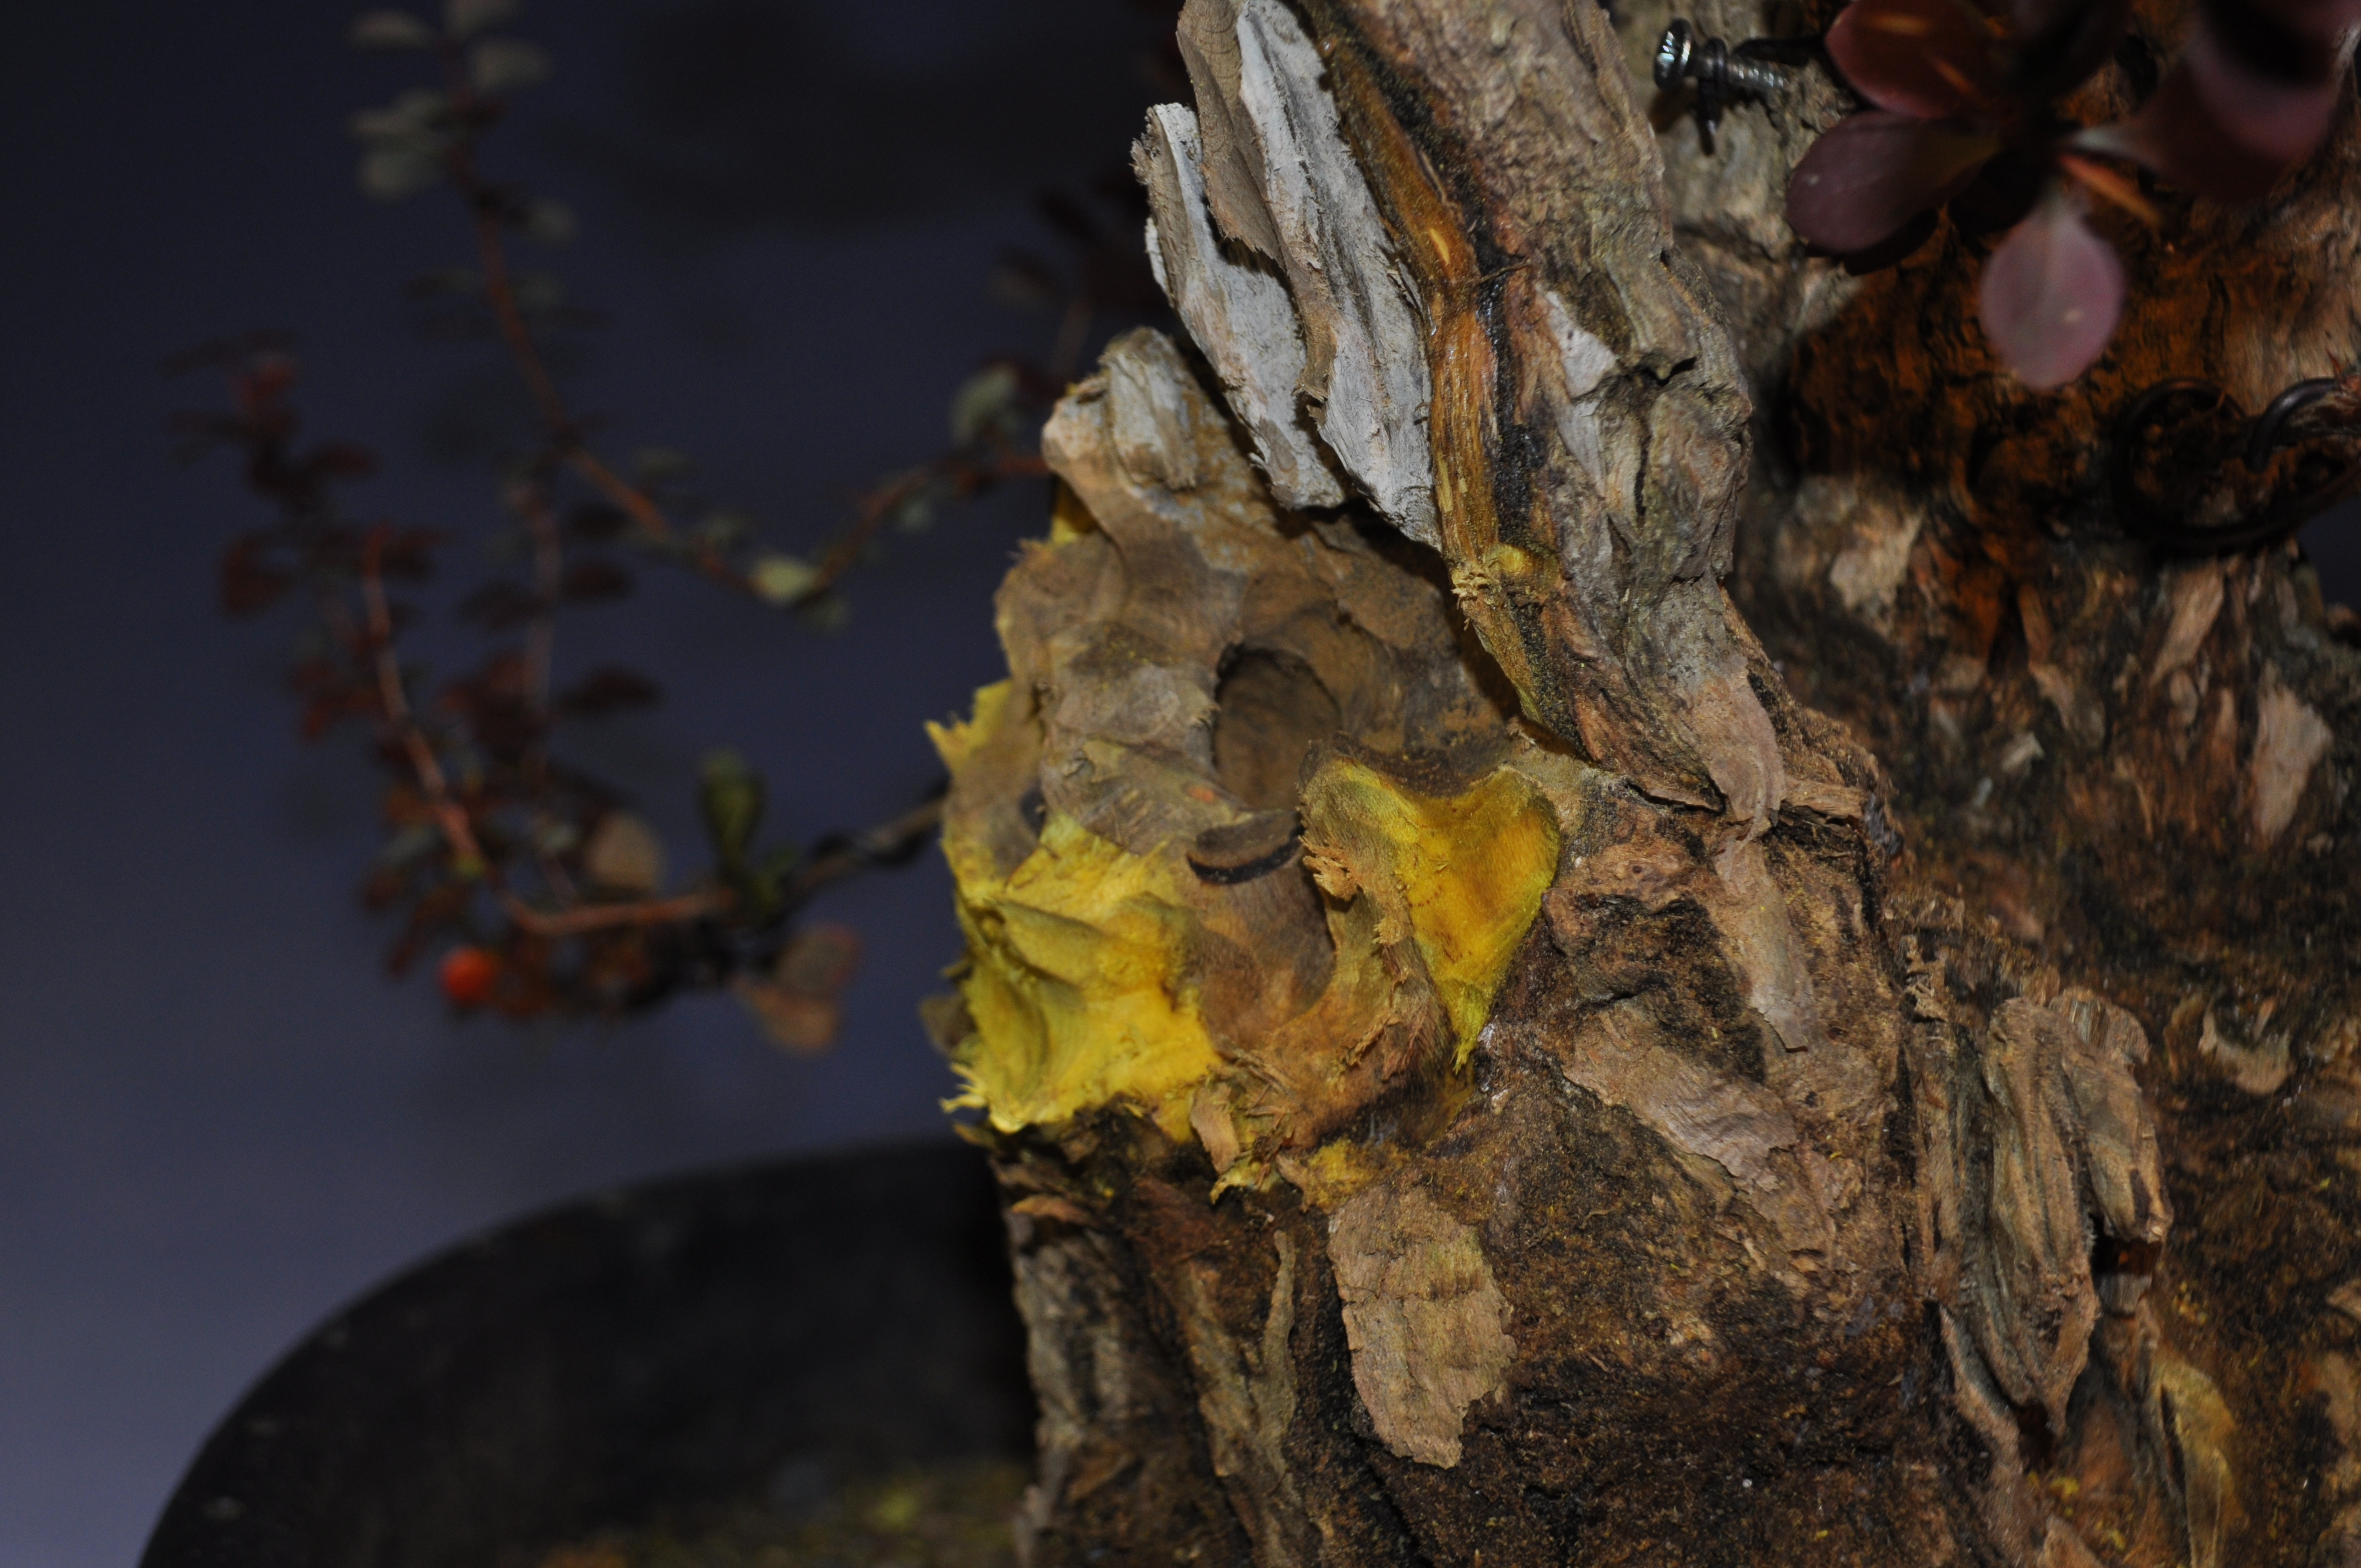
Last years back budding

DSC_0144

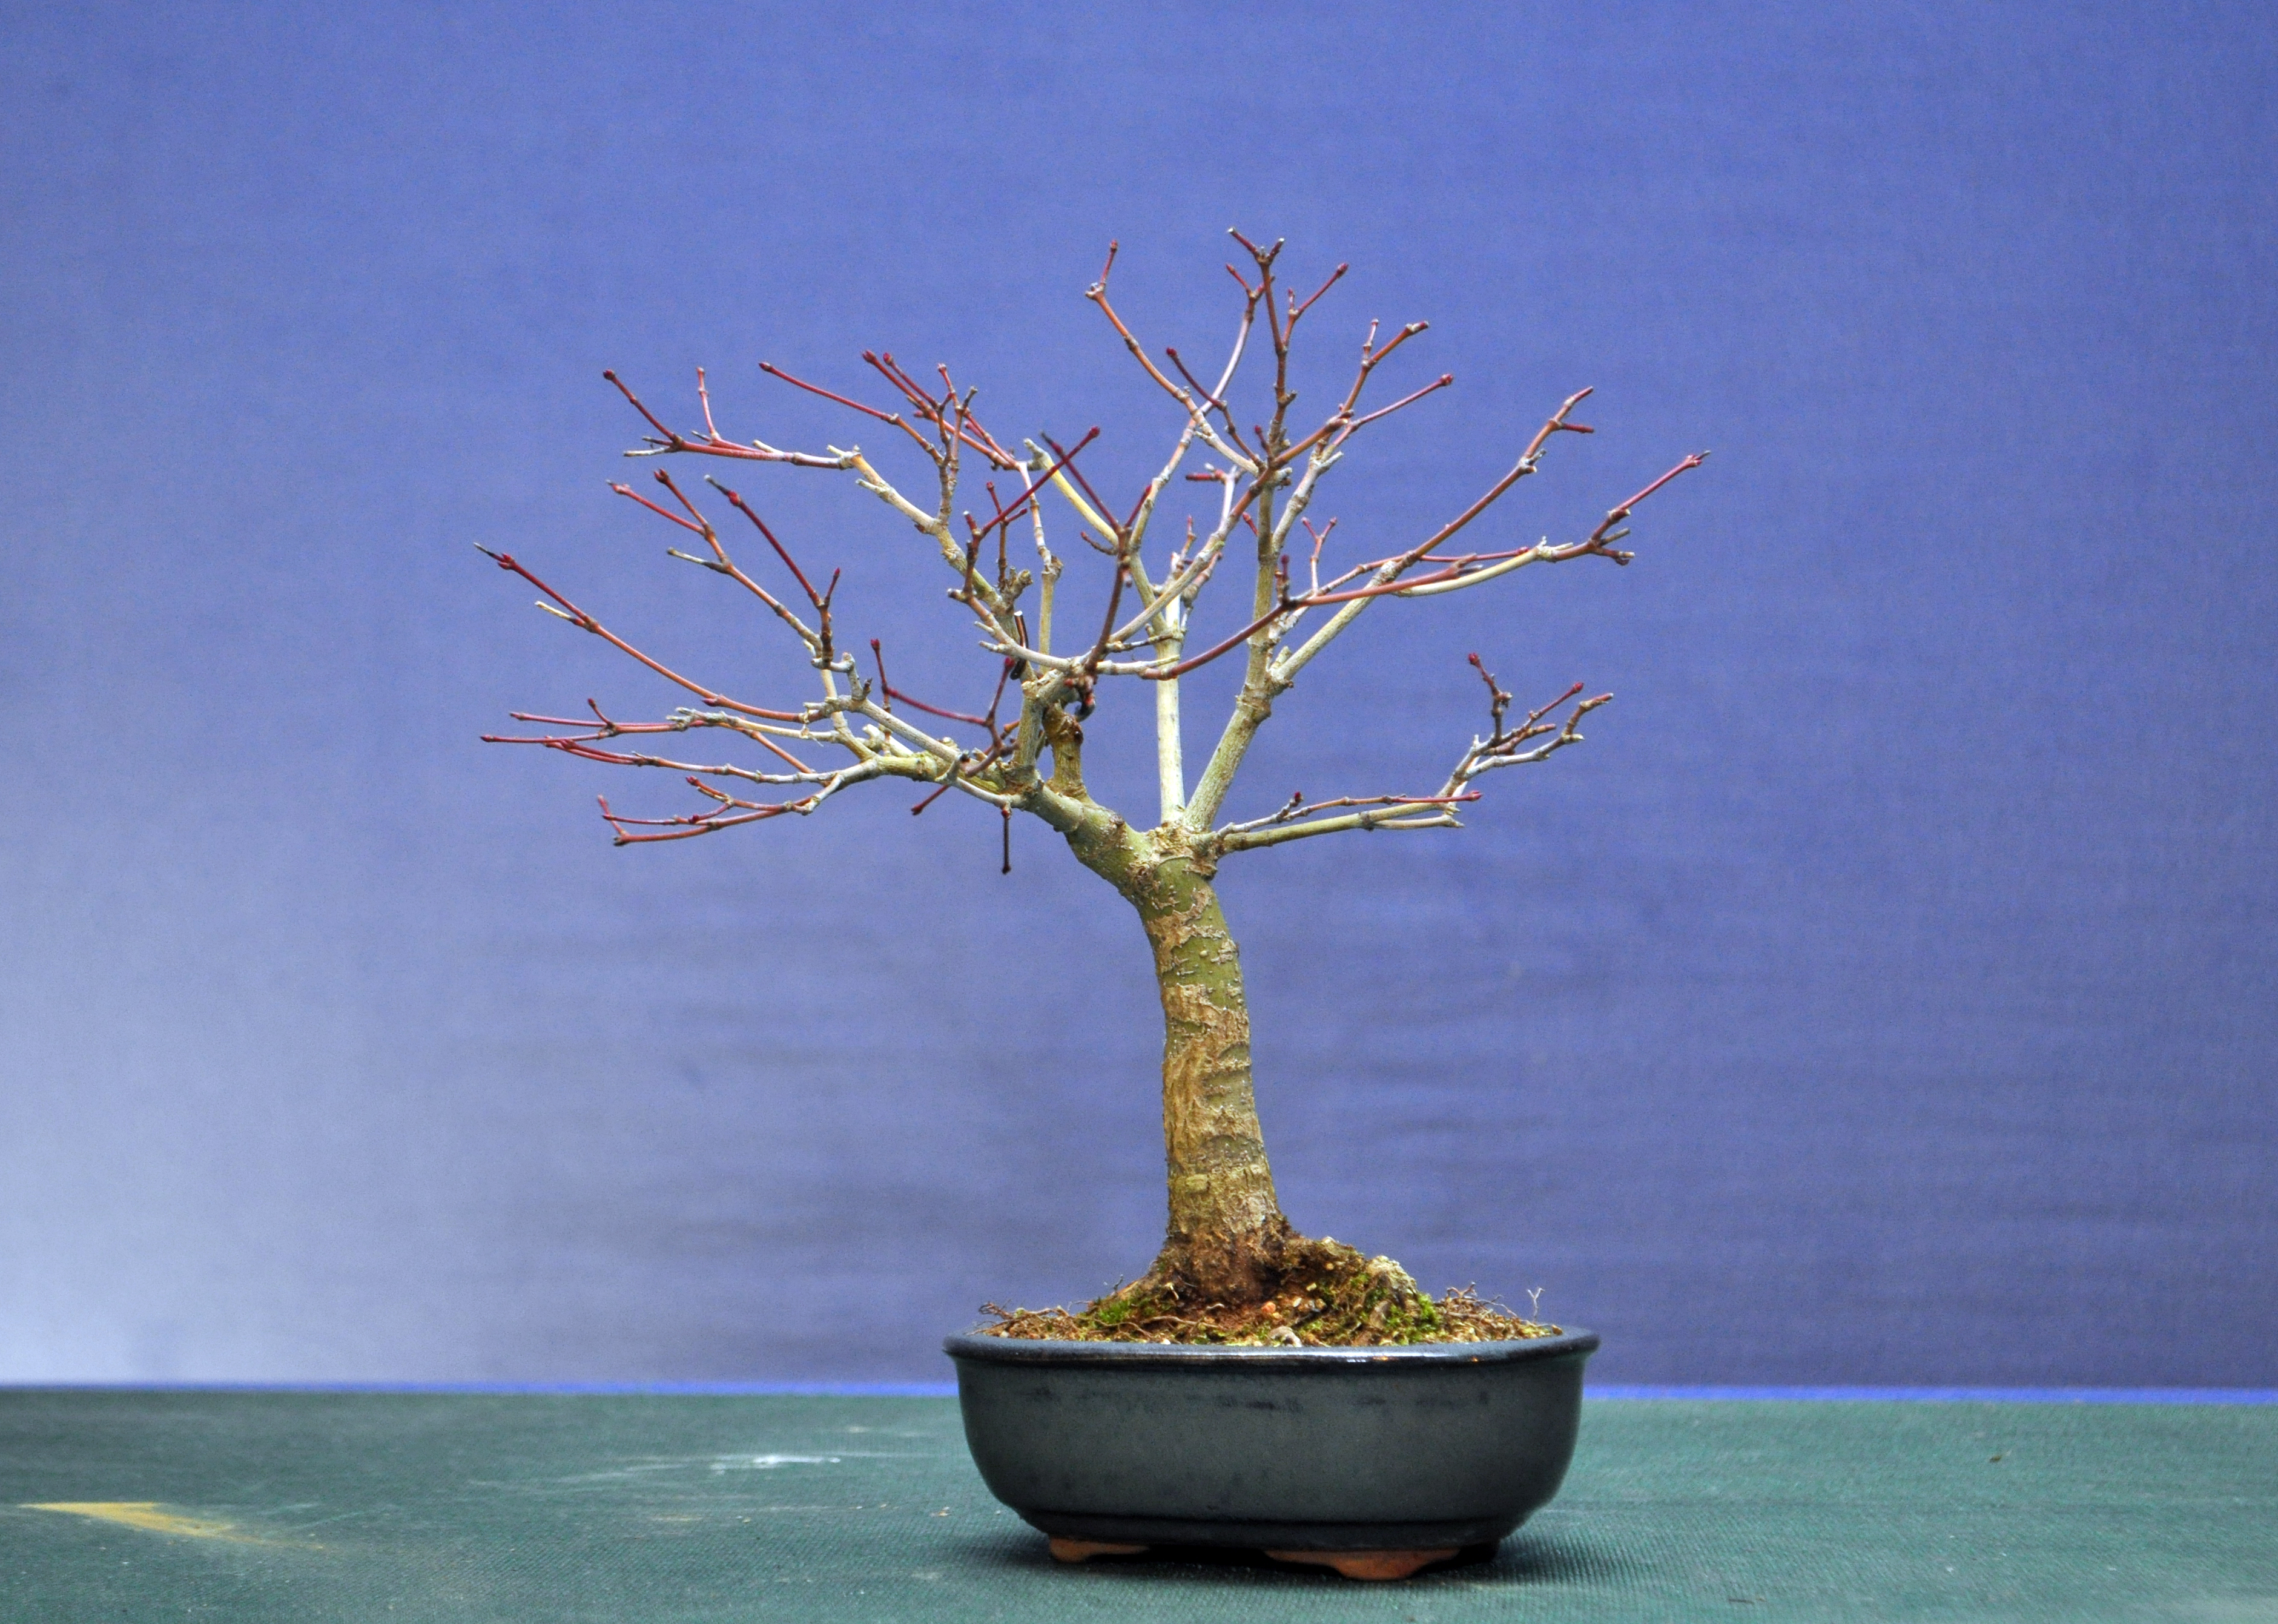
Buds sitting ready to swellDSC_0145

DSC_0148

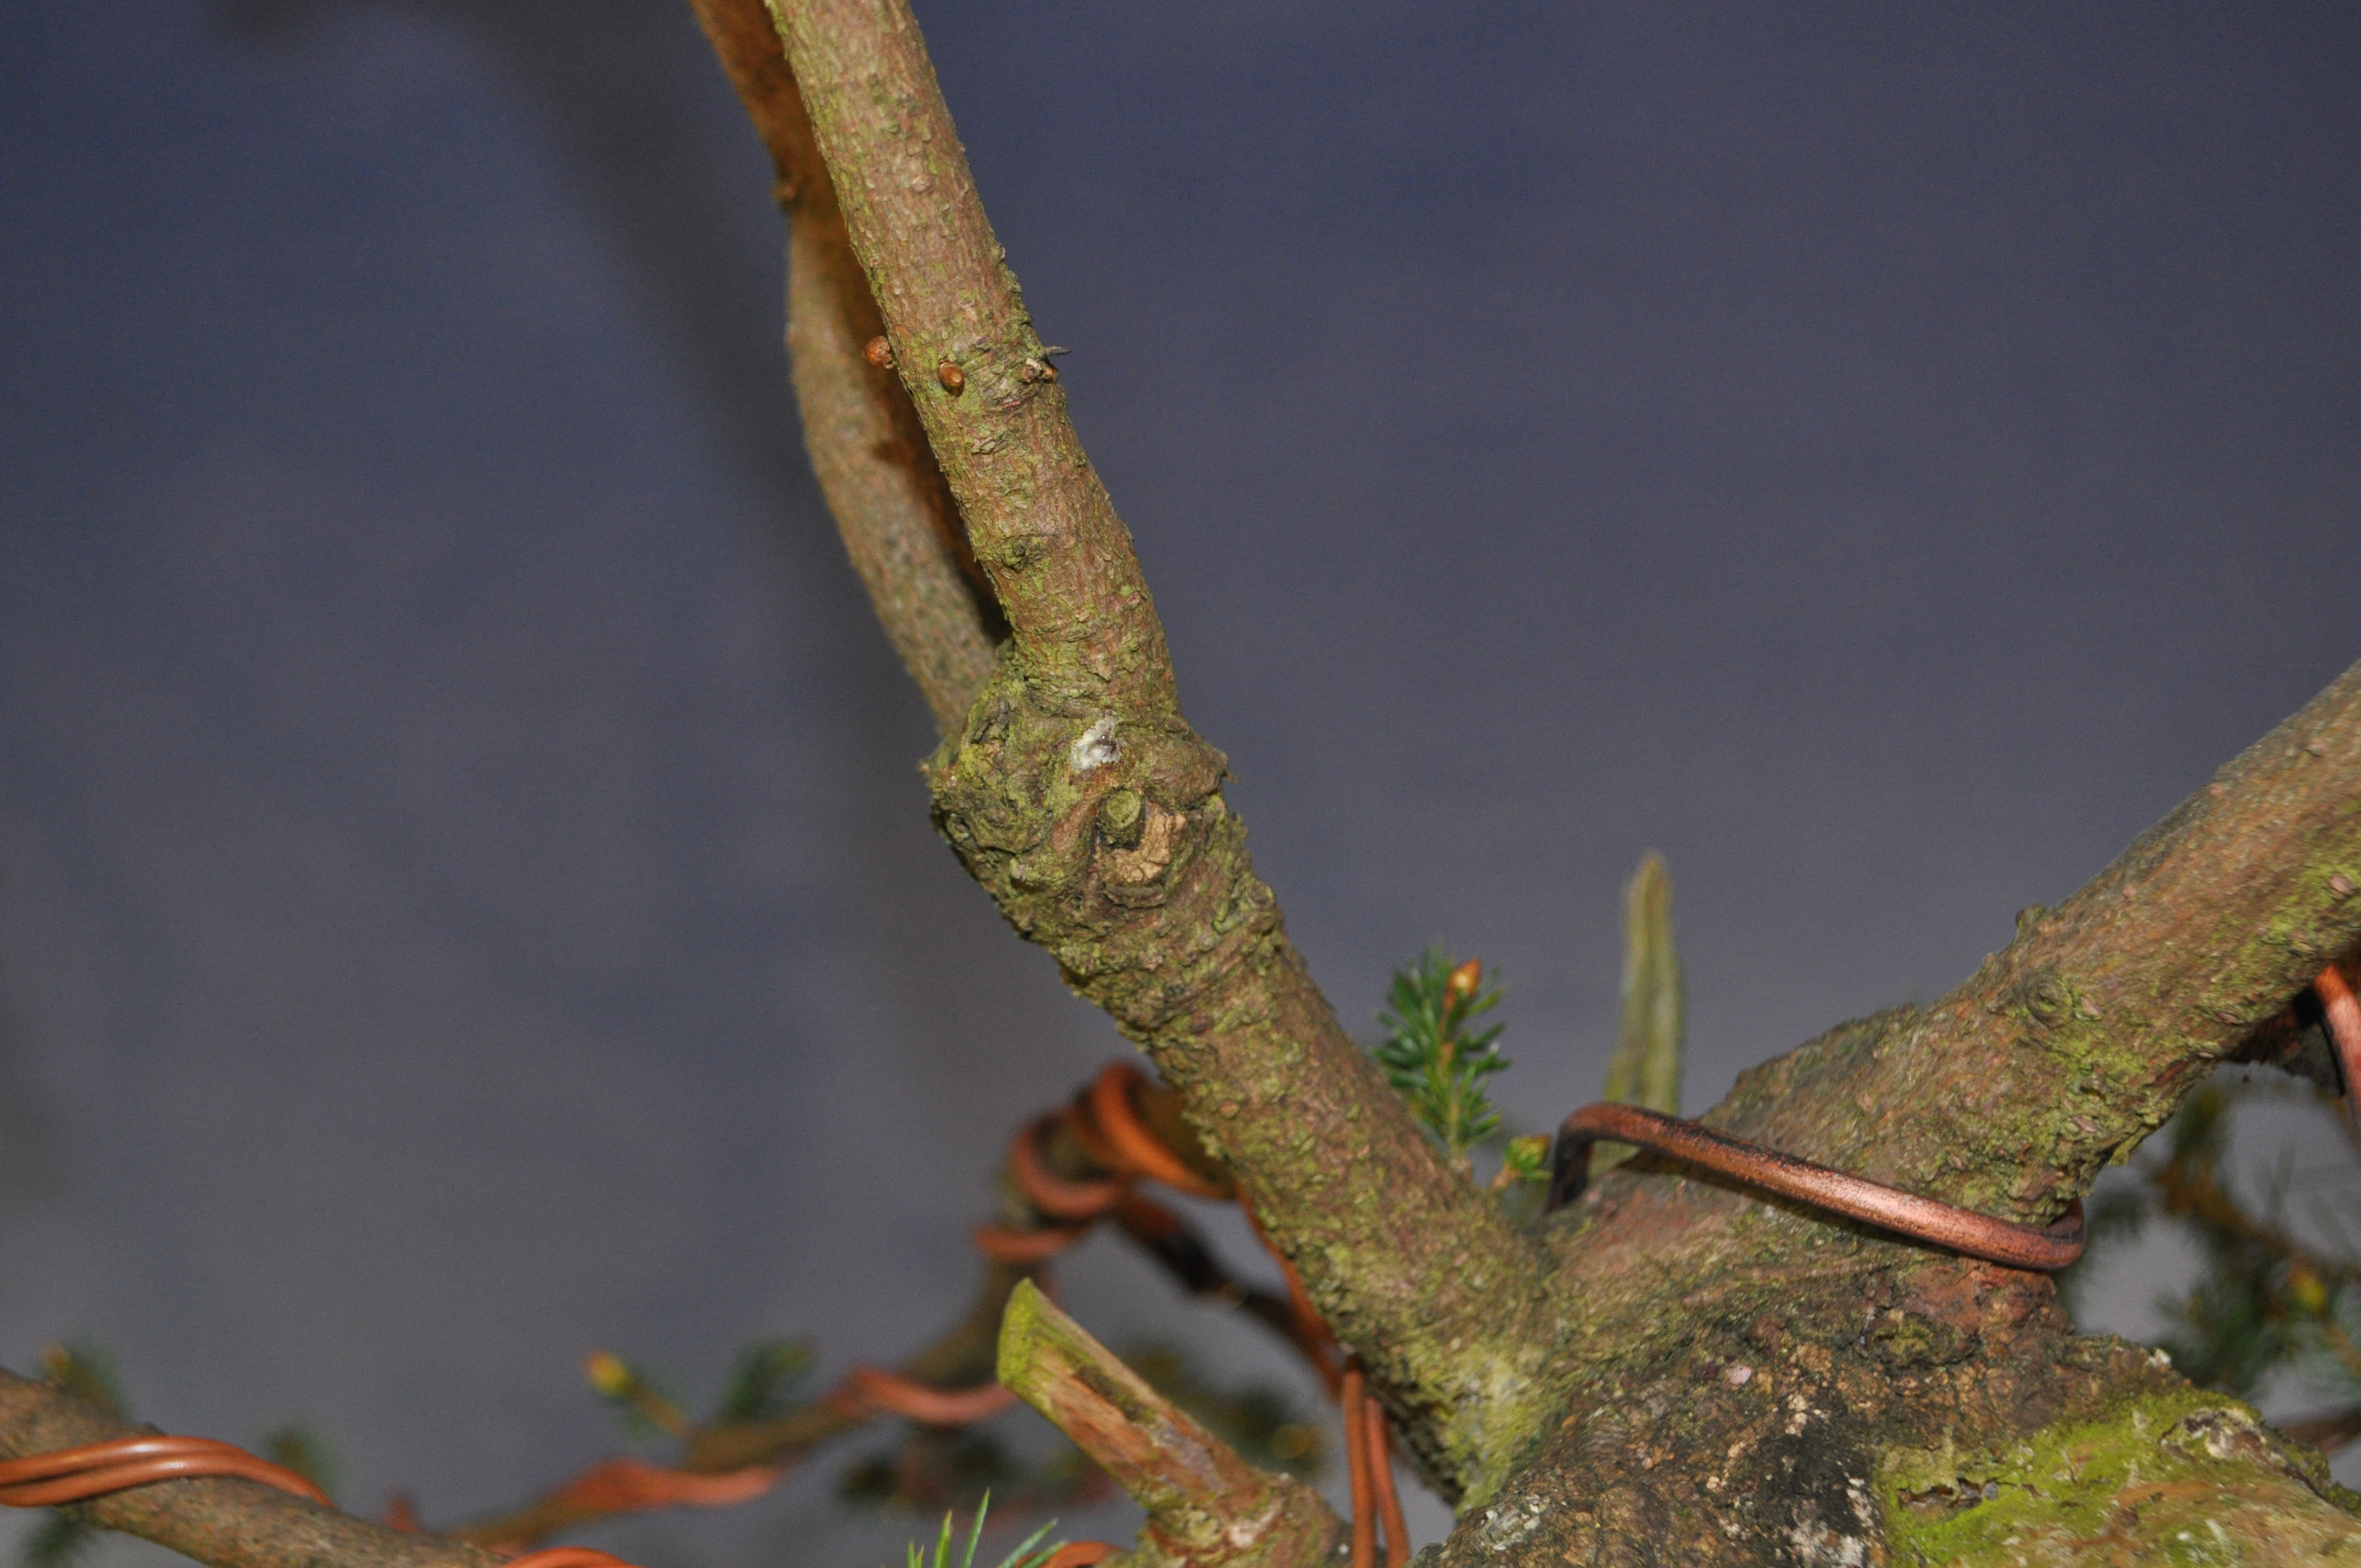
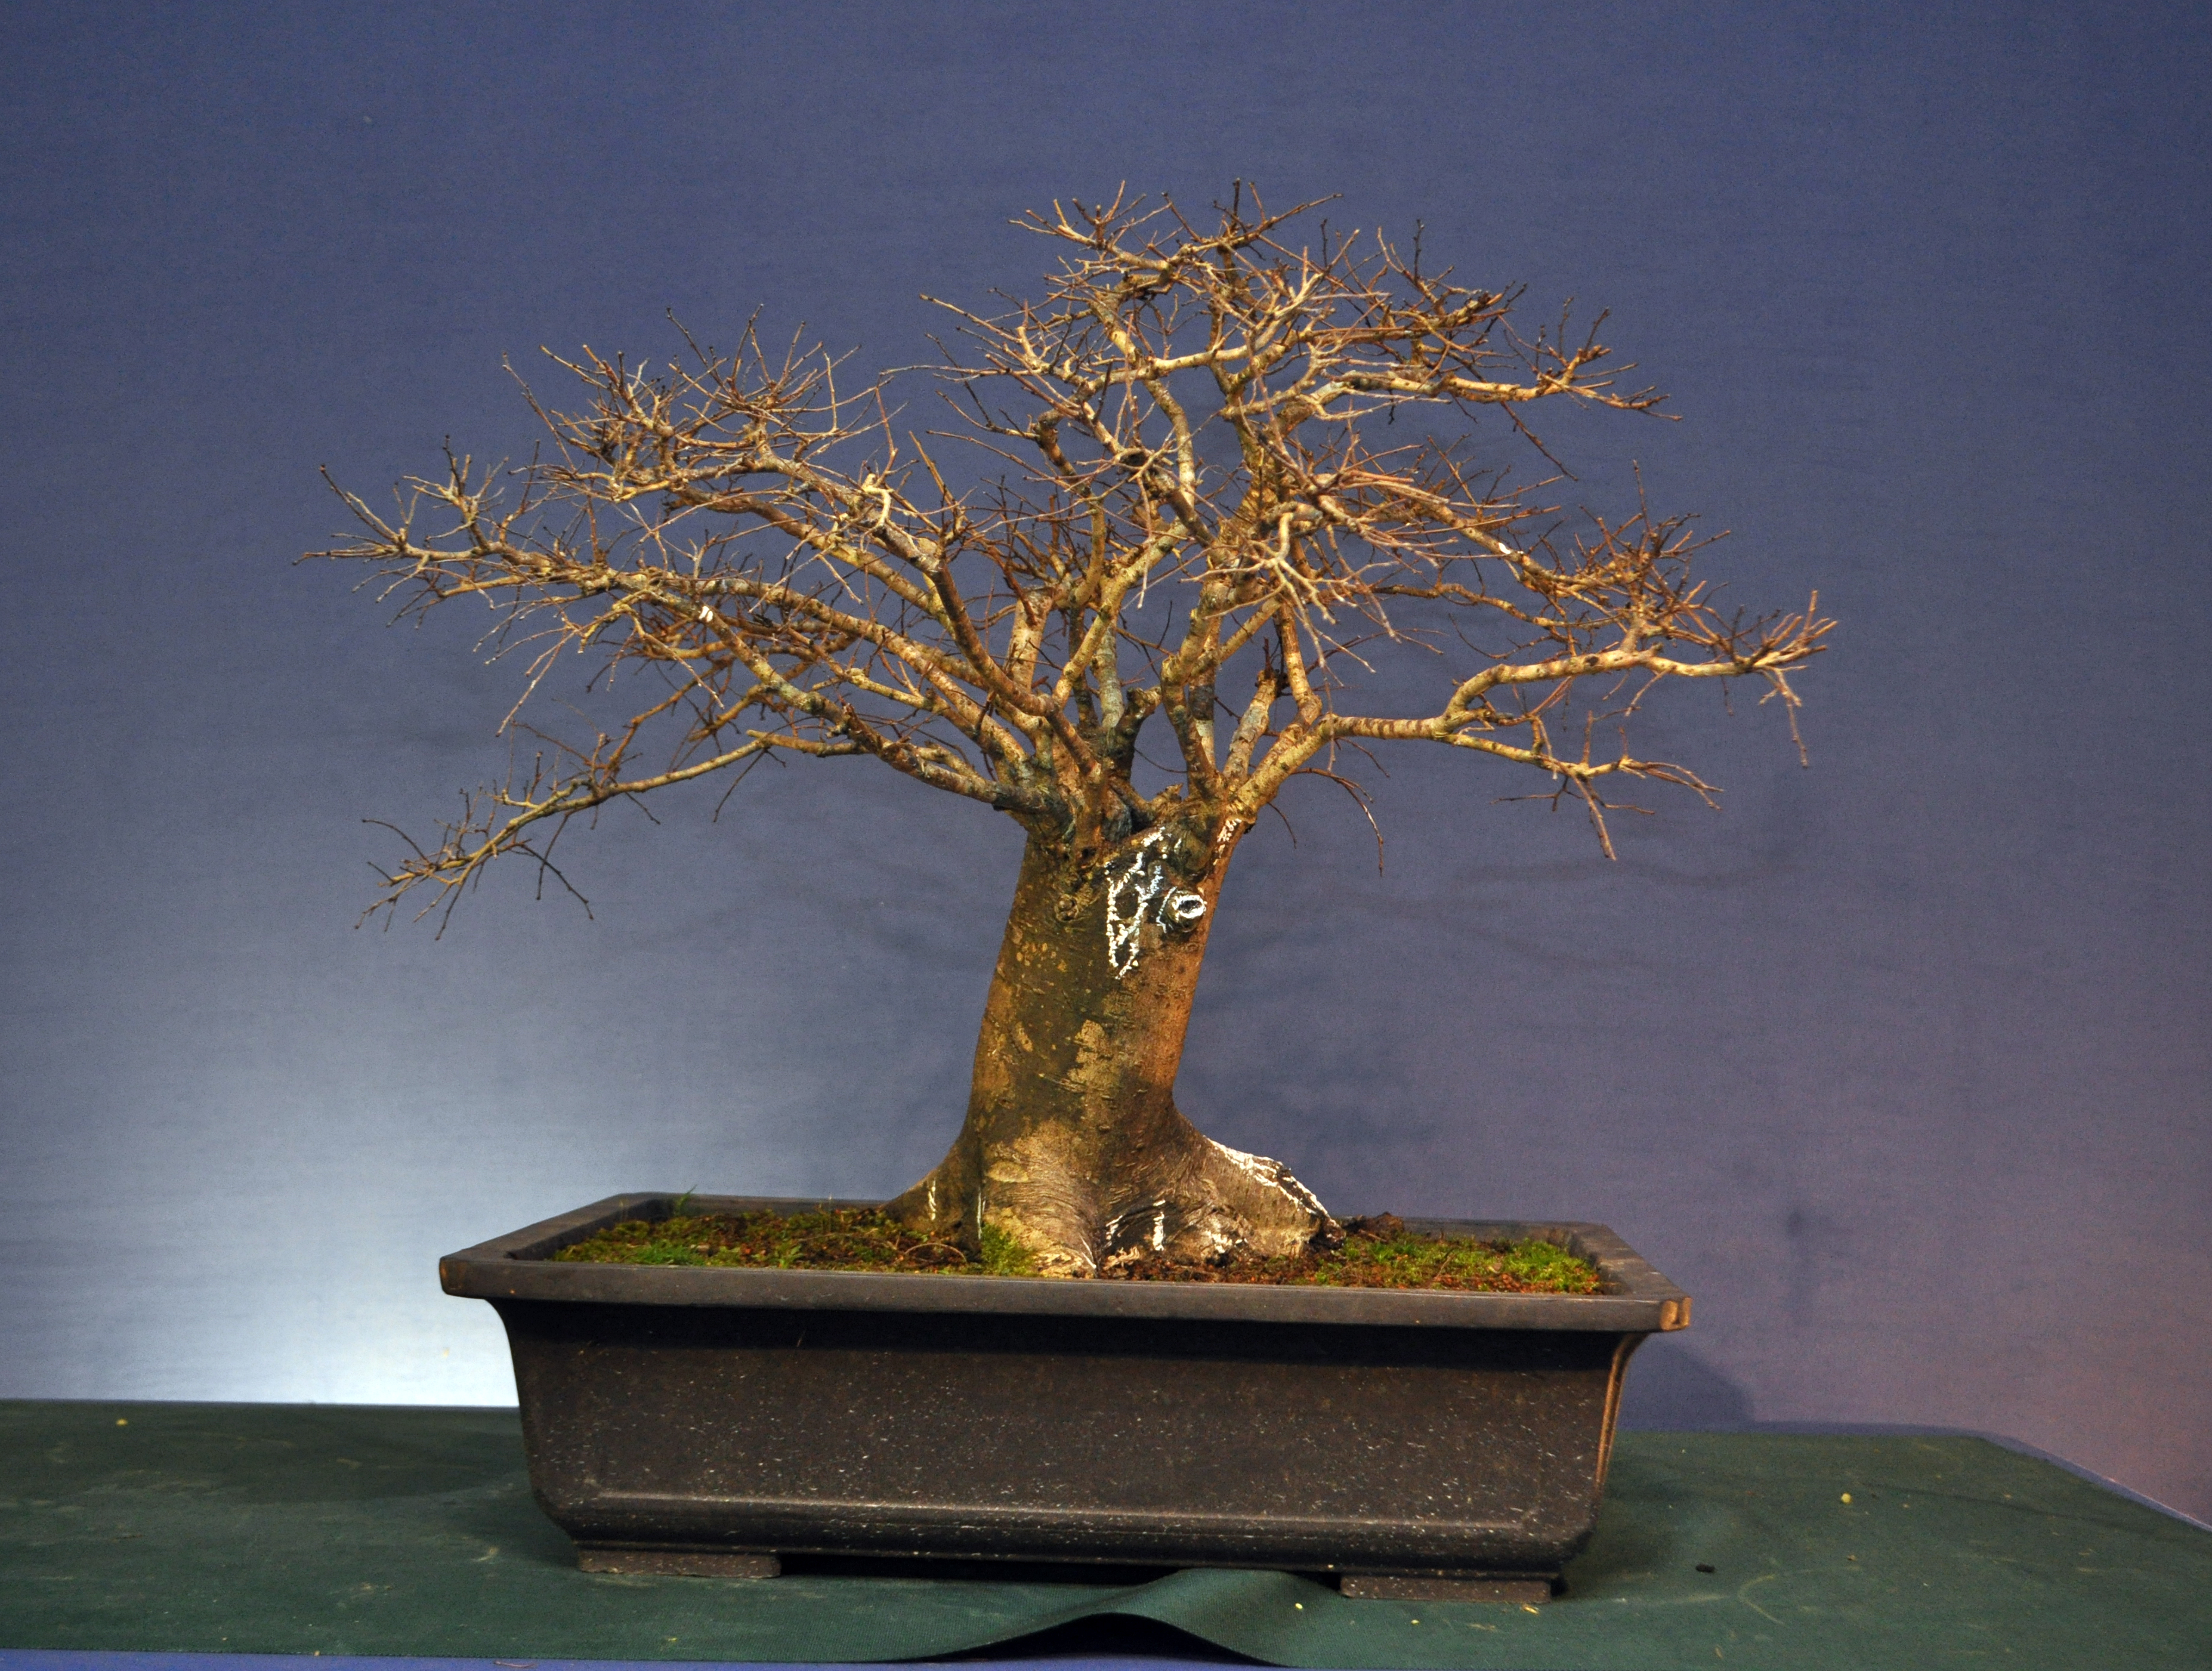
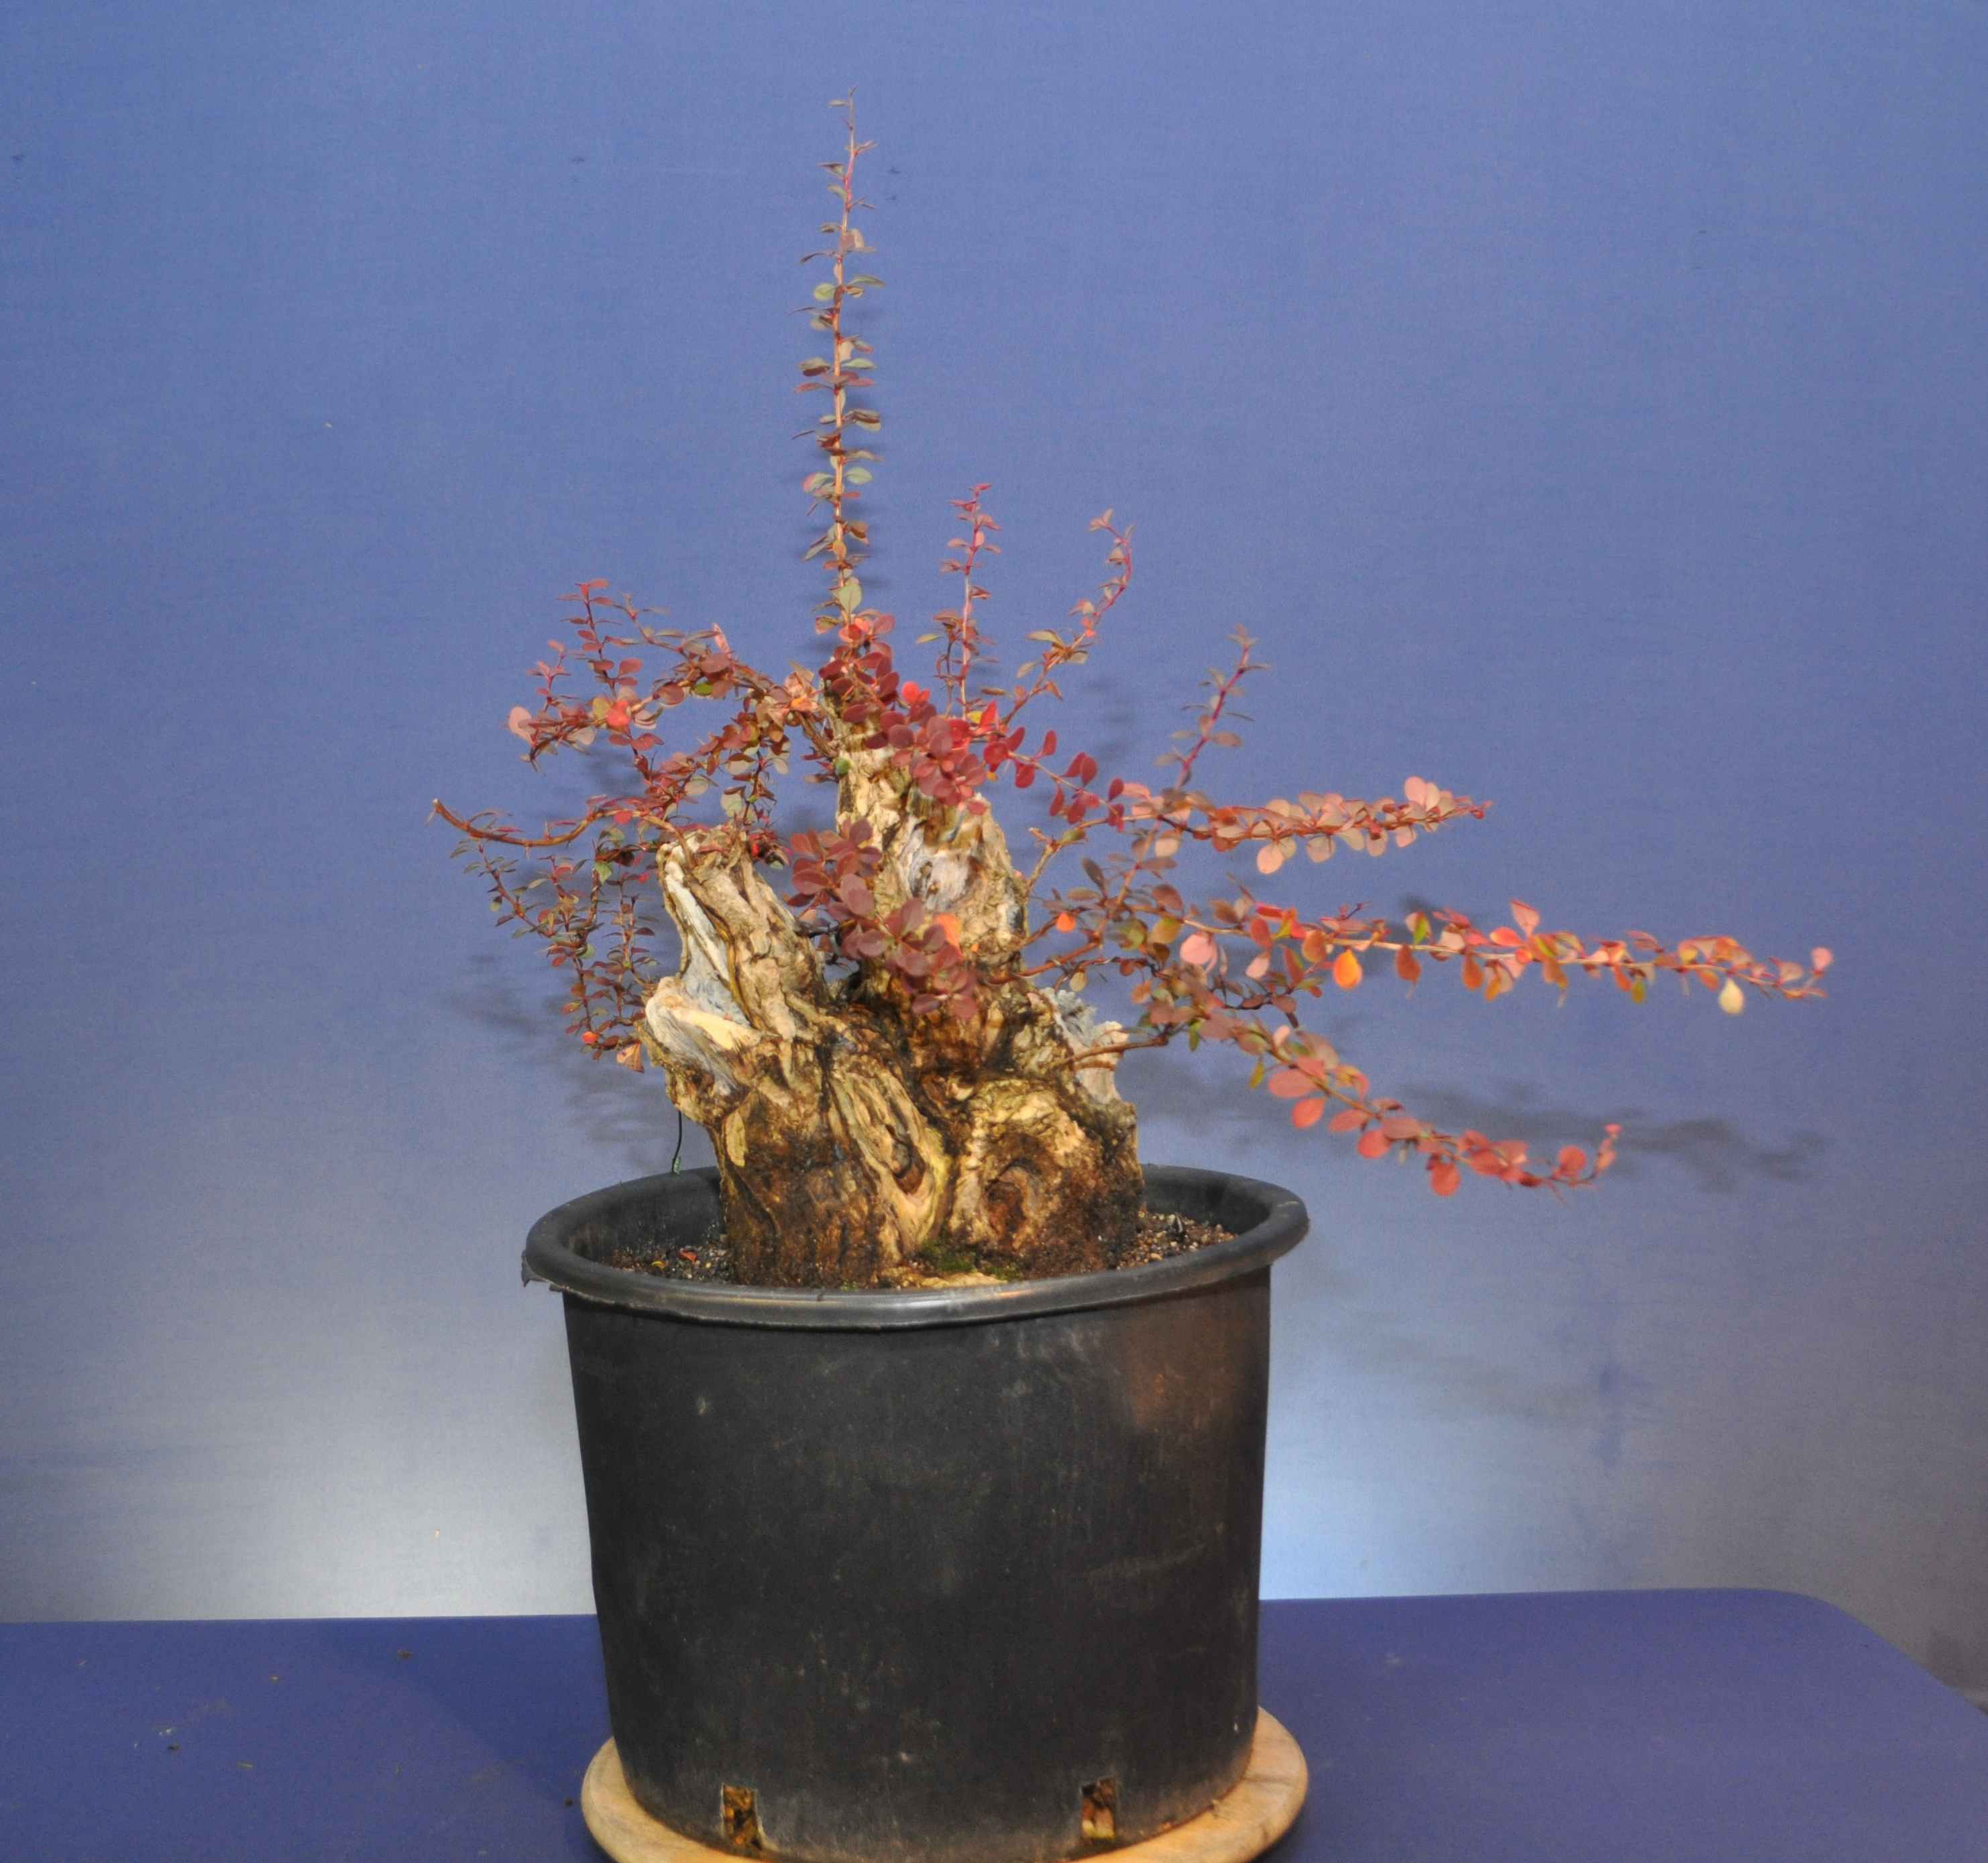
I also got Peter to look through a few other trees for me with suggestions for their future. This was every bit as important as actually working on trees and has left me with some tasks to preform.

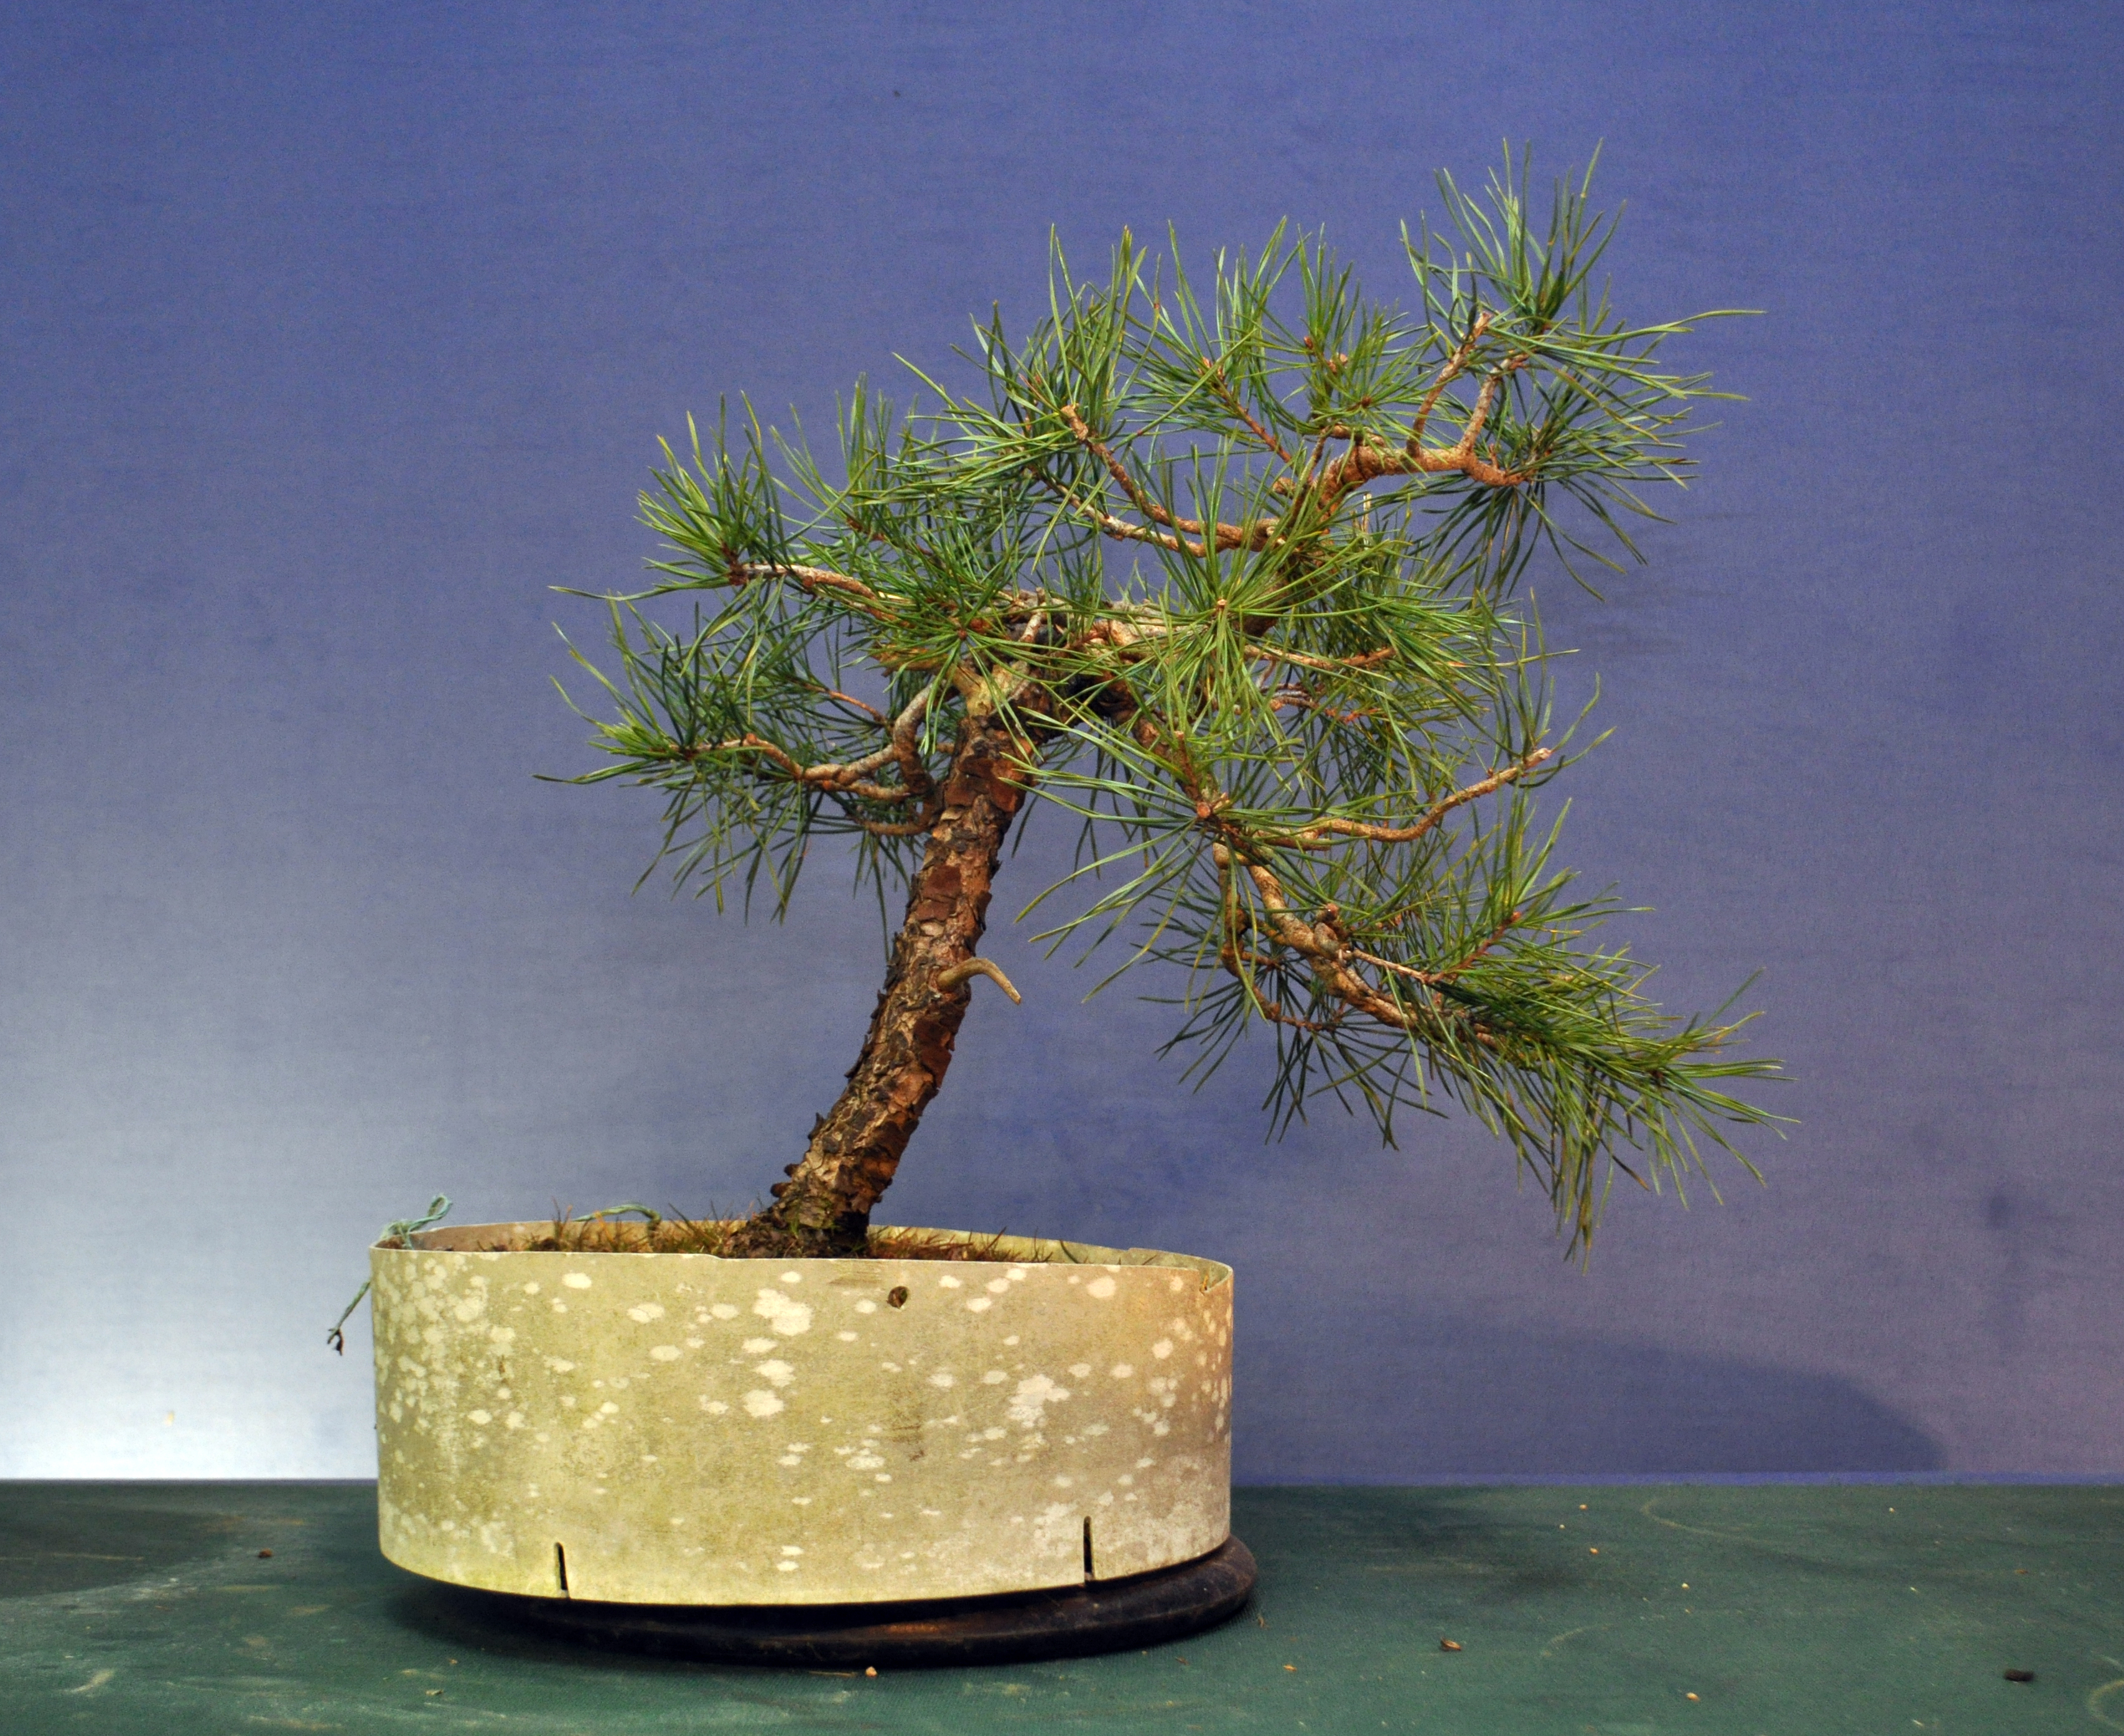
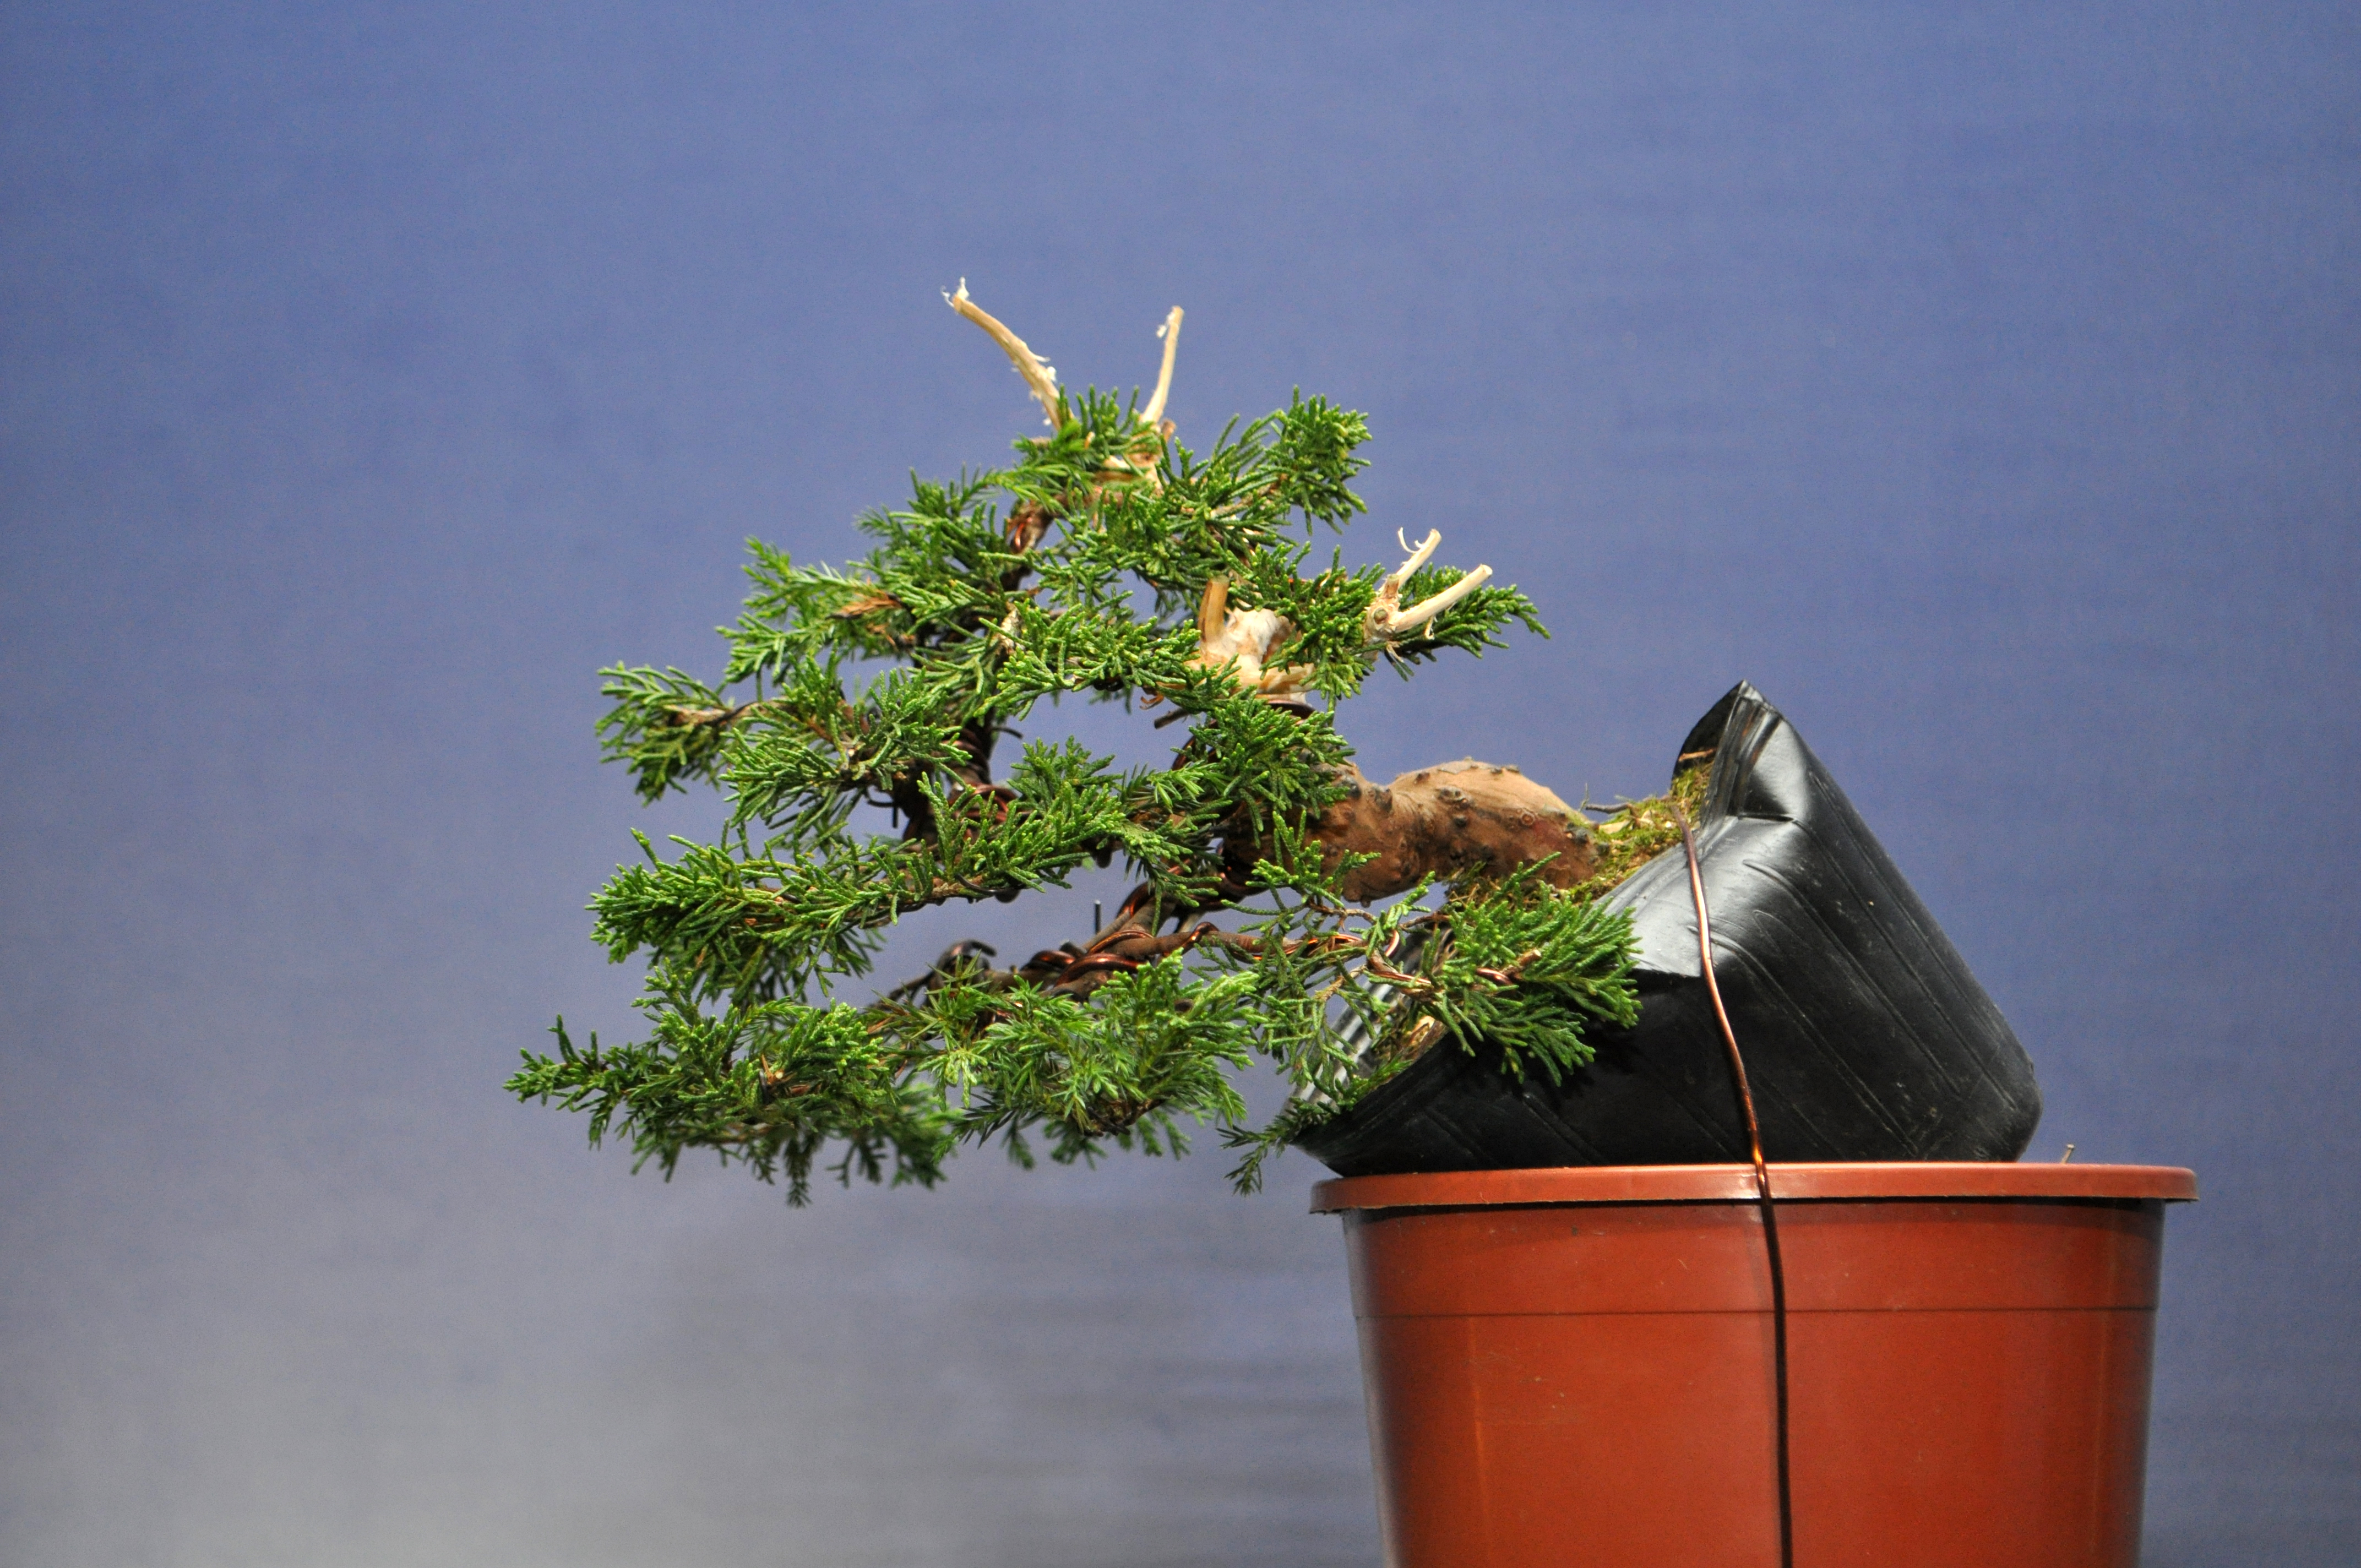
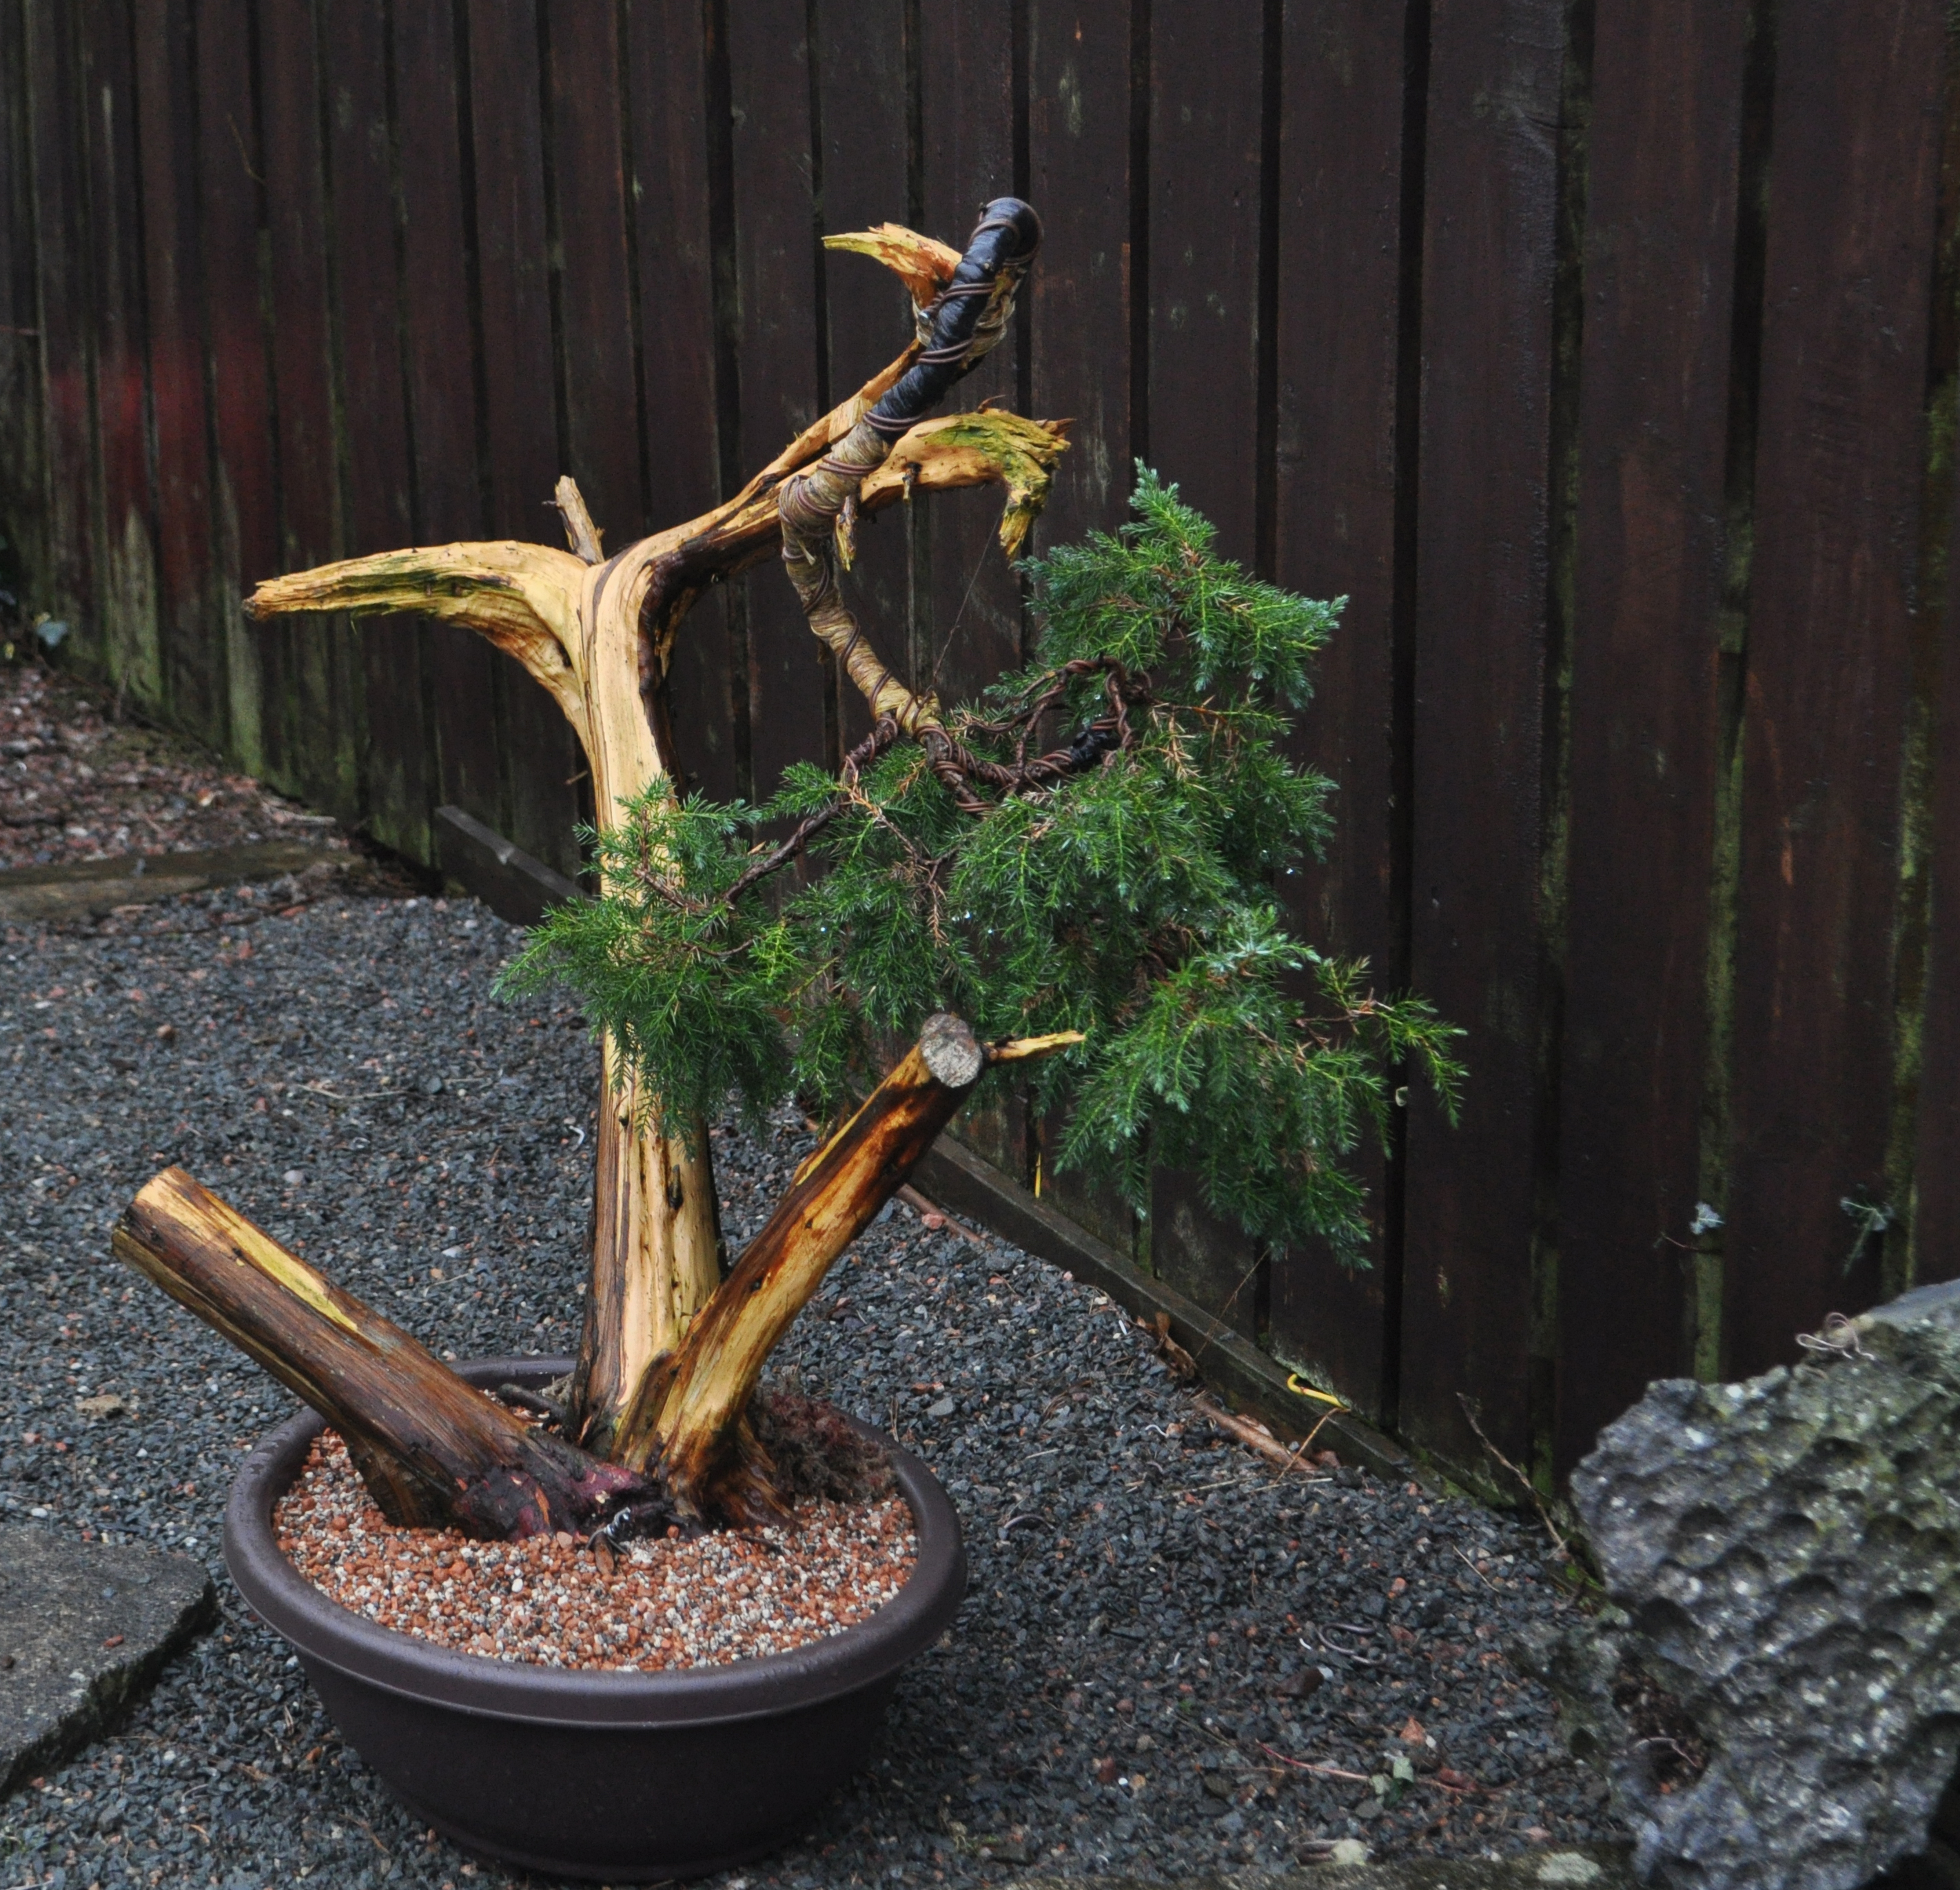
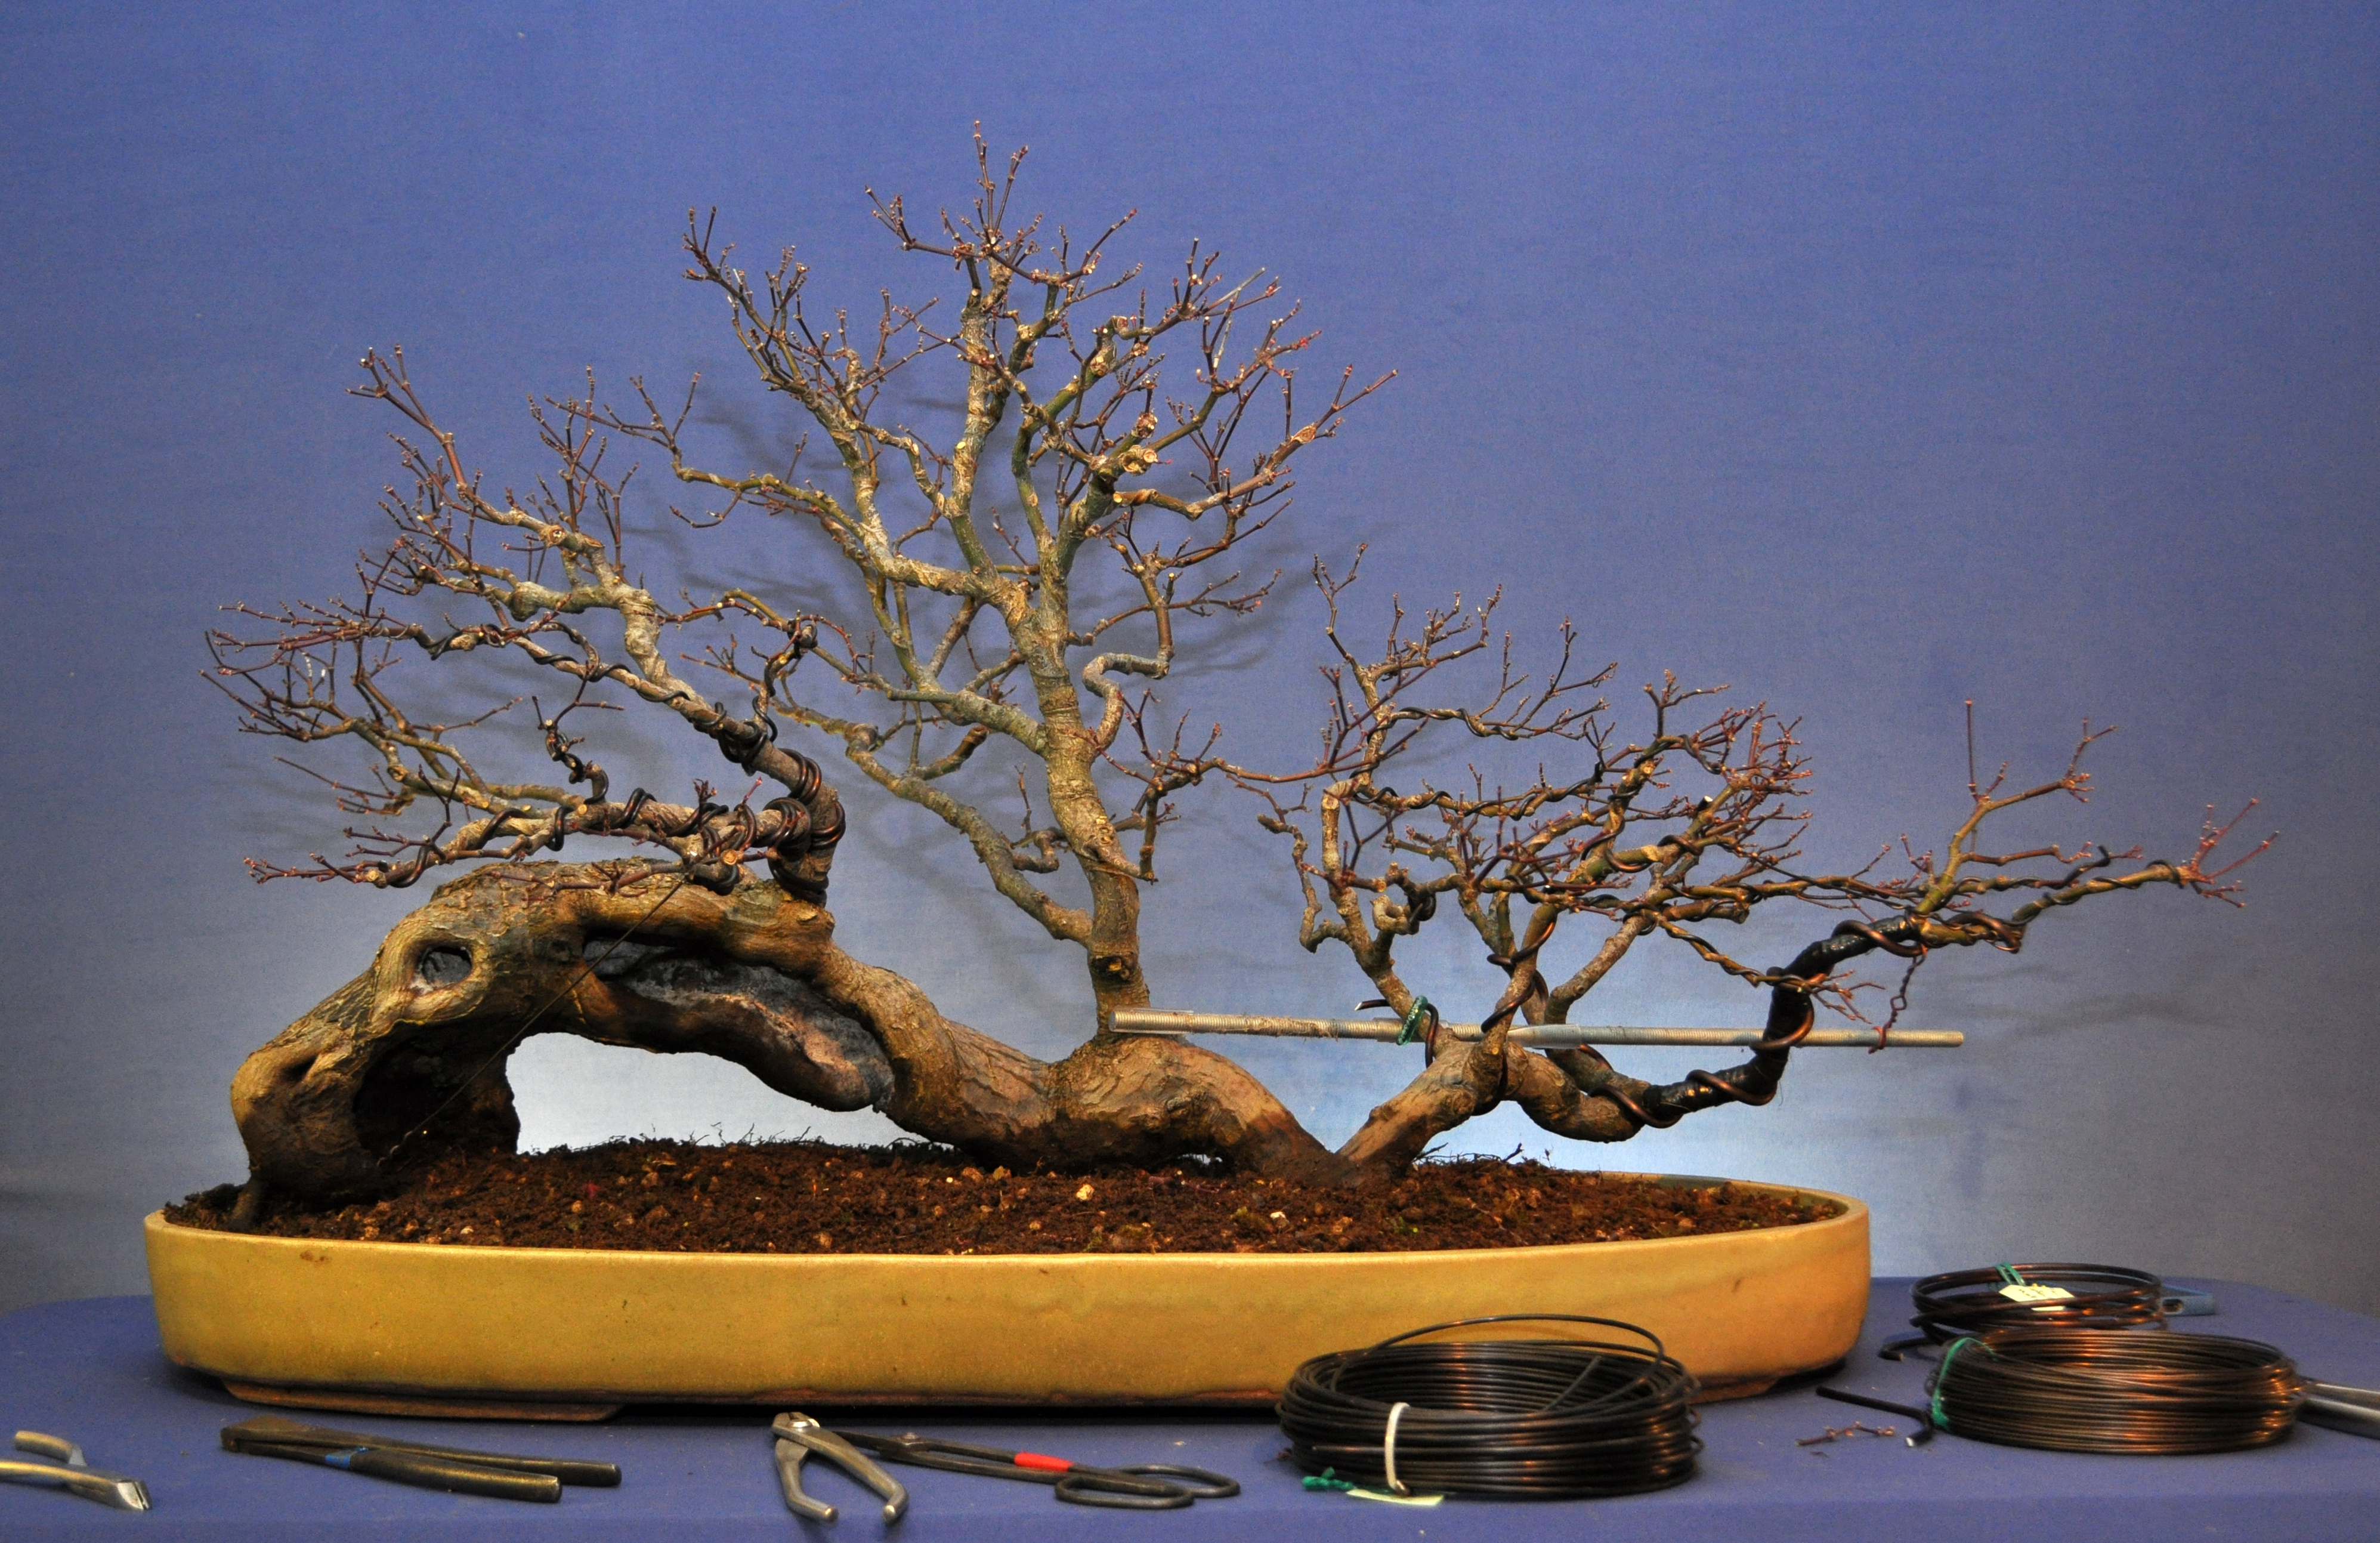
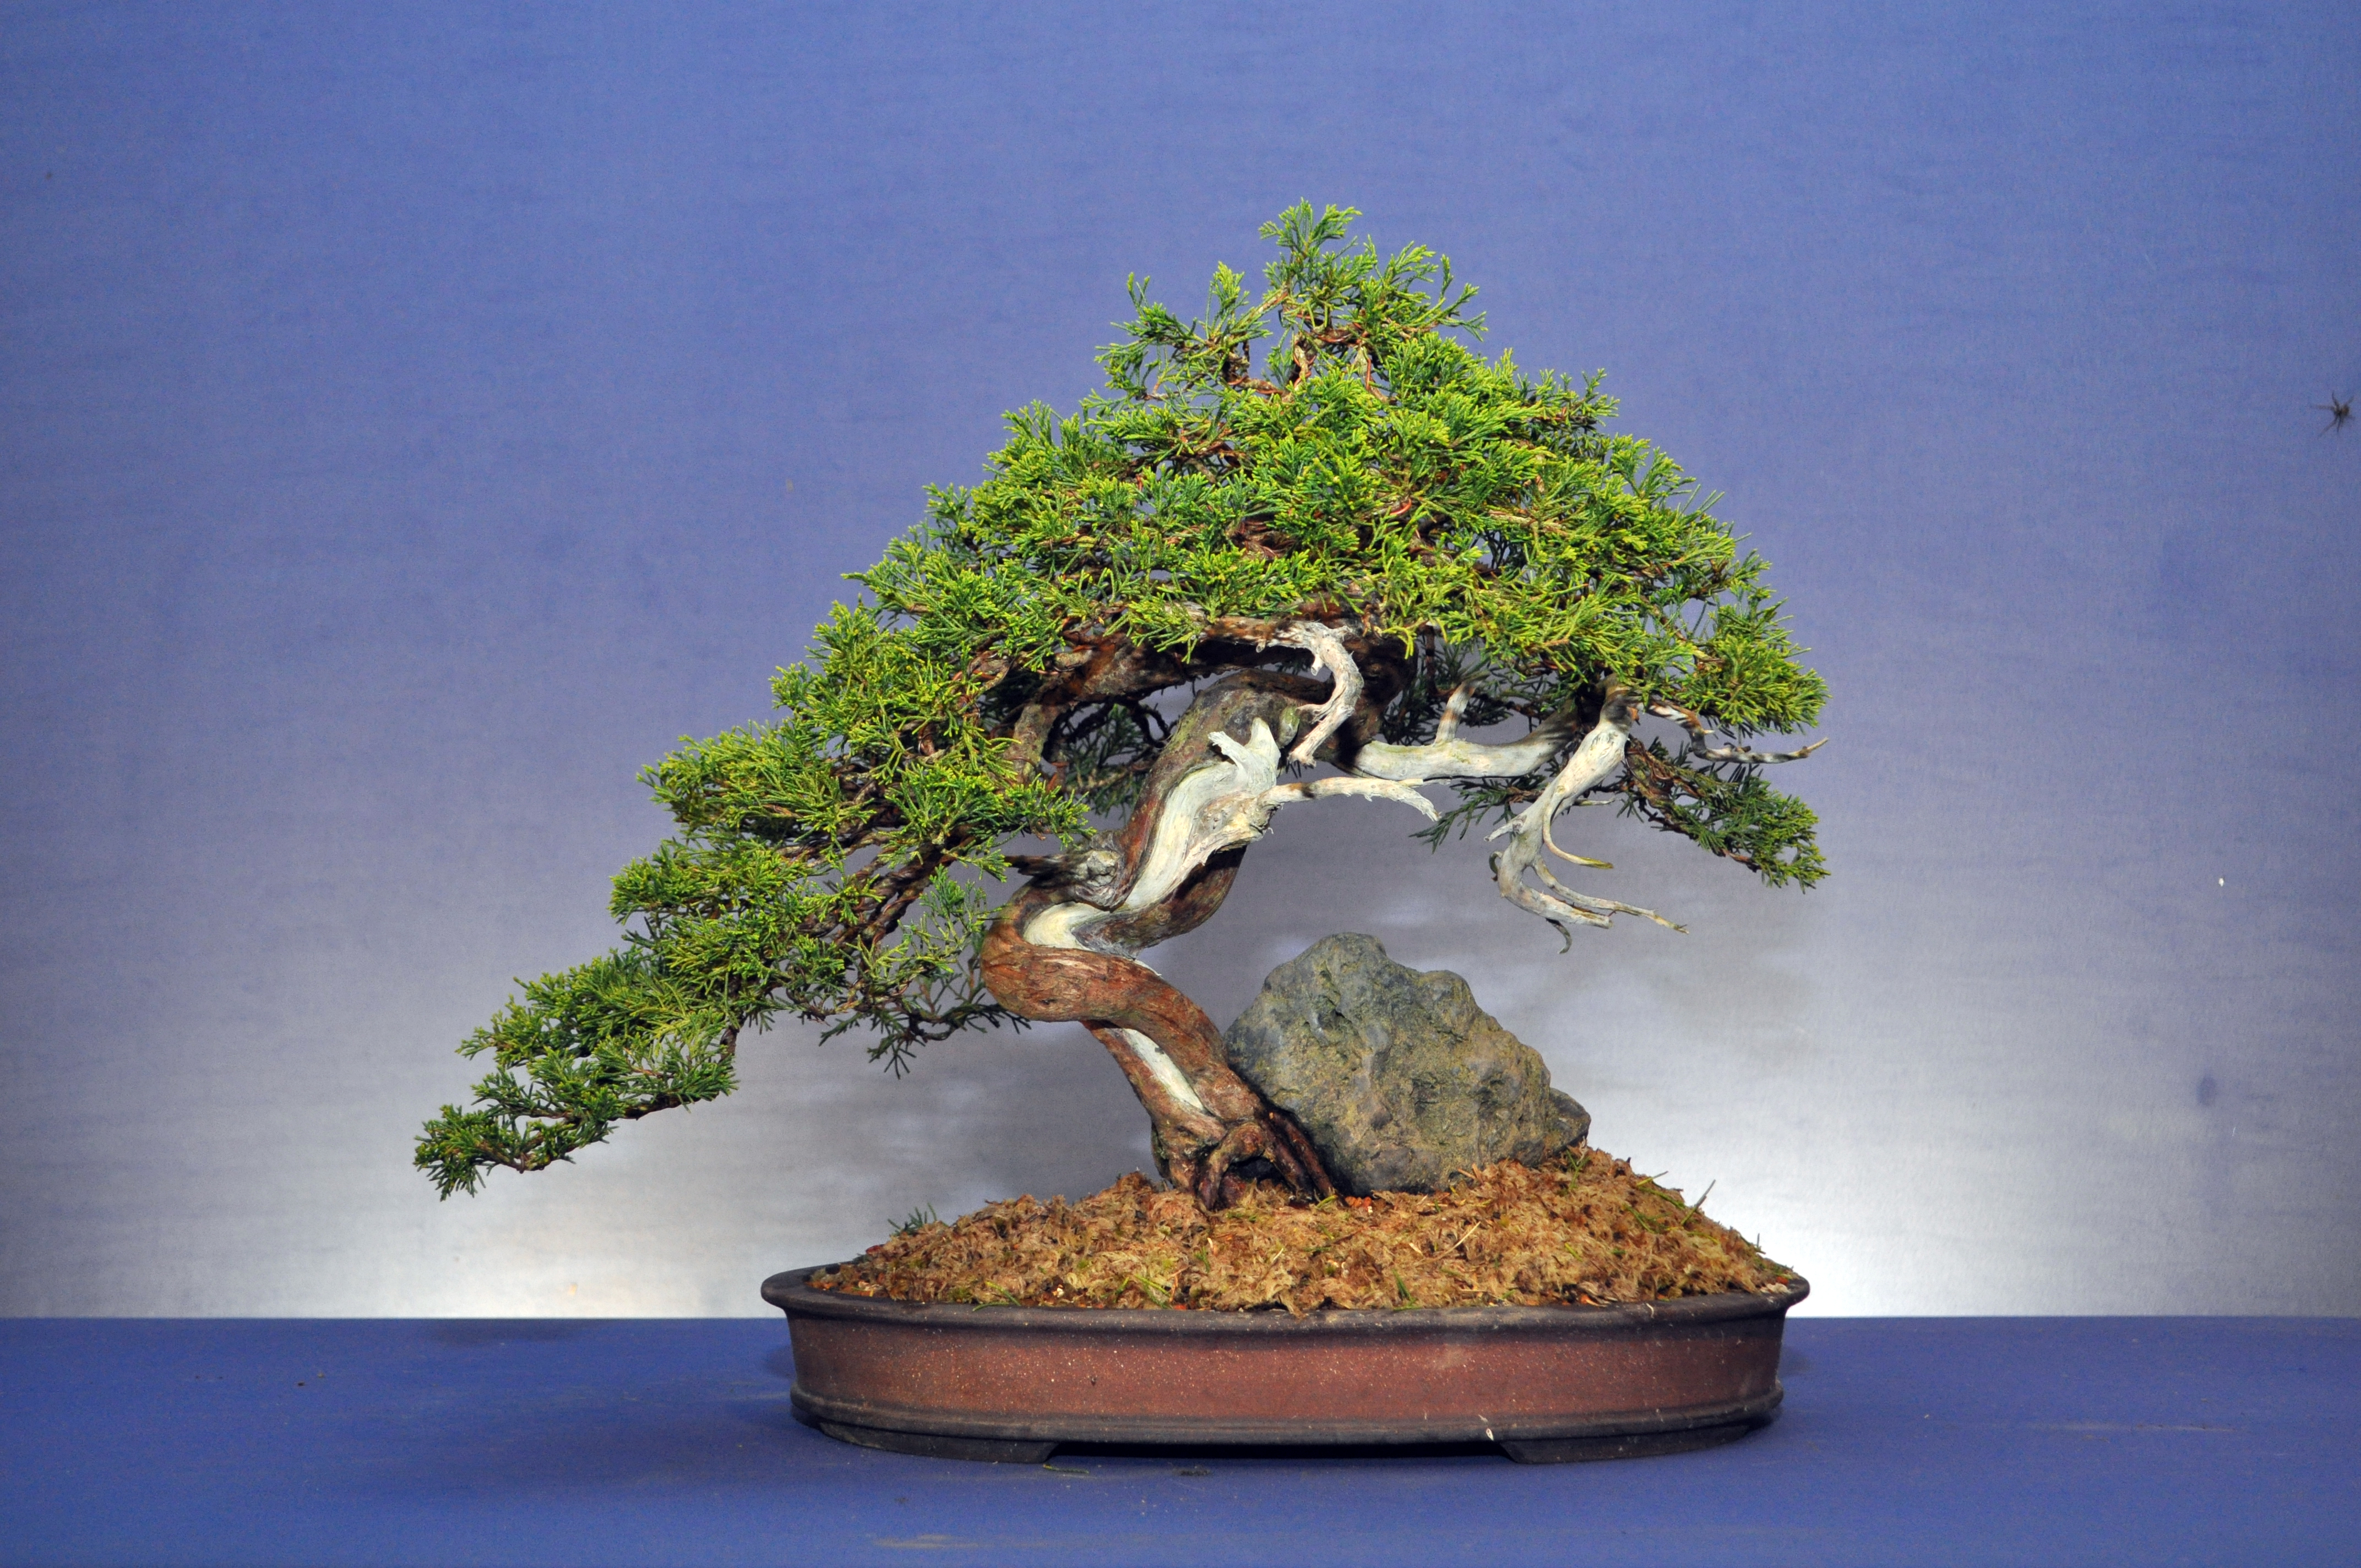
I had recently wired and styled the pine and juniper below to refine the images further. I asked Peter to tweak them to see what changes he made. Nothing major but it’s amazing the difference those few alterations can make. Again this is a great way to learn how to improve your own skills and of course, the tree.

DSC_0169

DSC_0172

DSC_0178

Thank you Peter for a great weekend. You are probably the easiest house guest I’ve ever had, all you need is a comfy sofa and a bottle of red 😉

IMAG0415

Workshop County Clare

In efforts to spread the bonsai word to all of Ireland, we now venture to Bunratty in County Clare. This time we add a new partnership to the mix with the newly opened Bud Garden Centre. The Munster Bonsai Club guys, as usual, are pushing to spread the art of bonsai and this time around we move from County Cork, right up to Clare. This gives a great opportunity to any bonsai interested folk in the west to take part. On the edge of Connaught, we open up a new portion of Ireland to wee trees. If you are reading this and are thinking of taking the plunge, be assured that none of us take ourselves to seriously, and that the main aim of the day will be to play with wee trees, make new friends and learn in an enjoyable friendly atmosphere. As a wise woman once said, “Go on, ya will, ya will, ya will” 😉

bud bonsai flyer


ScreenHunter_102 Apr. 24 14.38

Group Workshop

Saturday was a group workshop hosted by myself and Phil. Eight people signed up for the day and you can see one is hiding his identity for employment reasons 🙂

The usual talk though of workshop trees at the start of the session.

DSC_0125


DSC_0129

Jamie’s Scots Pine before.

DSC_0131

Ian B’s Scots Pine before, sadly no after shot.

DSC_0132

Mark’s chunky Elm before.

DSC_0134

Everyone getting busy.

DSC_0142

Maciej’s Larch before.

DSC_0144

Alan’s White Pine Before.

DSC_0145

and After

DSC_0151

Maciej’s Larch Afterwards.

DSC_0158

DSC_0160

Jamie’s Juniper there for advice and a cut back. This is now going to be a squat heavy trunked tree as we opted to removed the straight section which lacked taper.

DSC_0166

Ian B’s Larch after some detailed wiring.

DSC_0172

A possible new front.DSC_0178

Piotr’s Juniper afterwards. Should have taken a back shot as I think that’s a better option showing off more of the deadwood.

Owen’s Juniper before

DSC_0141

Piotr’s Juniper before.

ScreenHunter_97 Mar. 22 09.21

DSC_0182

Mark’s Elm after some branch placement and a repot.

DSC_0185

No where near enough photos taken, but in our defence, we were busy! Apologies to those whose trees missed out on photos especially the after shots.

Everyone seemed to enjoy their day with some great work carried out by all.

One to One: Repotting Session

Saturday was another one to one session for me this time helping to repot some tricky trees.

This Hawthorn collected from a garden by Ben a few years back was one of the first trees tackled. A decision had to be made about a heavy long root that would dictate what pot it would fit into.

DSC_0291

First this tree moss covering the lower trunk had to be removed. I hate this stuff. It gets in under rough bark and can cause it to lift off.

DSC_0292

We then had to wash out the old mix and any original field soil. This allowed us to see exactly what had to be reduced and allowed us to see that the heavy root could be removed without putting too much stress on the tree. It had done well under Ben’s care and plenty of fine root was in evidence.

DSC_0297

My handy root washing system 🙂

DSC_0301

And this is the tree potted up at it’s new angle.

DSC_0314

Next is a Shohin Cotoneaster. The current pot is too heavy and clunky for the tree.

DSC_0302

Ben has this little Epimedium accent in a nice Erin pot and he thought it was a better option for the Cotoneaster.

DSC_0305

I think he was right, works for me, especially as the tree fills out further. DSC_0308

This little pine was moved from a flower pot over into this new home. Early days but interesting project.DSC_0315

This Larch from a previous one to one styling was brought along to be repotted at it’s new angle.

DSC_0320

DSC_0323

DSC_0326

DSC_0348

This big Juniper was actually first one repotted. It’s a real odd ball of a tree but has been fun to play around with.

DSC_0338

DSC_0344

DSC_0329

This literati Pine also got a move from a flower pot. Early days again for it but going to be really nice in a few years.

DSC_0334

A busy but very productive session.

One to One: Zelkova

I helped out with the development of this Zelkova on Friday night. The owner has just bought the tree and wanted to get it moving in the right direction. I know this tree well and have seen it pass through the hands of 2 other club members over the years. It originally came into Northern Ireland from Japan back in 2002 I think. Below is it when it can in and also sitting on the bench in the background in the nursery in Japan.

Dscf0111

zelkova 2


This is the tree now. It’s had an up and down life here. After some great work early on it went through a period of neglect due to the owners personal circumstances. At one point near death, it was bought by another friend of mine who did a great job of getting it back to full health. Many of the original branches had died and in some places new branches have started to develope.

DSC_0260

It has a great nebari, probably the best feature of the tree, and some very old bark on the trunk showing the age of the tree.

DSC_0264

Although the image as it sits now looked good from a distance, there was a lot of issues with heavy branches high up the tree, new thin branches lower down that need to be grown on to fatten, and some ugly pruning wounds that need reduced now. We picked a slightly different front that the last owner to improve the trunk line and taper.

DSC_0265

This is it after pruning and reduction of wounds, Some branches have been left uncut to allow extension and thickening.

DSC_0270

And this it it after some wiring to reposition branches. Still a way to go with this one but give it 5 years of good care and it will be a very nice tree.

DSC_0275

Also done in the same session was this little Shohin Japanese Maple. It needed a repot and into something a little larger to allow for development.

DSC_0279

DSC_0283

This Shohin Korean Hornbeam also got a repot and a serious thinning out of the foliage too. Sorry no before photo. Typical of mass produced imported material but with some effort I think it can make a nice image.

DSC_0287

For anyone interested in a one to one, click on the tab at the top.

One to One – San Jose Juniper

This little San Jose Juniper got a refining on Saturday at a one to one session. A few more issues to address next year but it’s coming along nicely for it’s owner.

Before

DSC_0012

After

DSC_0026

Sunday’s Two to One

Sunday saw another workshop session, this time a Two to One with two of the guys from the Leinster Bonsai Club. It was a busy day with a lot of trees examined and a lot of time spend looking at what makes a good bonsai.

When we got down to work this heavy-trunked raw material Hornbeam got some carving to remove dead stumps and some problem branches. What’s left will make the basic structure of a nice tree. The final trunk line at the apex will be reduced further next year. Left for new to allow buds to pop to see when the best chop point should be.

The material

DSC_0904

Some major chop points to be worked.

DSC_0906

More pruning wounds.

DSC_0907

Some chopped roots also needing work.

DSC_0908

Owen at work. Think this was his first time with a makita and he loved it 🙂

DSC_0921

DSC_0925

and the new front after removed of unwanted branches etc. Tree will be a little shorter, just below those top branches, however after the chop just below that pointed I opted to keep it a little taller to draw sap in the Spring. As more adventurous buds appear it will be reduced by about 3-4 inches.DSC_0933

Rear view of the chops after basic carving.

DSC_0936

Owen also brought this little Blue Spruce, picked up for 10 euros and bought for practice. He got some wiring practice out of it at any rate.

DSC_0915

As the tree fills out a few more branches will be removed.

DSC_0929

Another tree worked on was this beast stump of Berberis stump, a two man lift.  Some adjustments were made to the deadwood and then the young branches were placed at the right angles and movement added. This has to be done at this stage before they harden further,berberis are brittle when they thicken. We were only concerned with the first few inches, after that the tips were pointed upwards to give vigour.

Before work.

DSC_0910

We opted for a twink trunk image but to make it convincing we had to removed a significant portion of the second trunk to make it look thinner that the main trunk line.DSC_0914

DSC_0938

Some block carving carried out  on the sencond trunk. No point doing any refinement at this stage of the trees journey.

DSC_0944

It was a busy day but the guys seemed to enjoy it as can be seen on Owen’s blog HERE.

Saturday’s One to One

I had a one to one workshop on Saturday and as part of the session we carried out a little work on this Maple Raft. This is the front before we started.

DSC_0872

End on view

DSC_0879

Back view

DSC_0881

and from the other end

DSC_0882

Over the Winter and into next Spring we planned to reposition the last branch on the right of the tree. In it’s current position it stopped the flow. The branch when viewed end on, or even in the back view above, turns almost 90 degrees towards the front and brings the flow to an abrupt end. We raffia’d the branch and wired it to allow us to bring it around into a more suitable position. This was done in stages during the afternoon. We opted to use a bar to act as an anchor point to give us more control of the branch. The tree had a few other branches wired at the same time. The wire will need close monitoring in the Spring as this tree is a vigorous grower. Hopefully the wire can stay in place until the tree is defoliated in late May early June at which point it can be removed.

DSC_0884

DSC_0887

Some work was also carried out on a deadwood hollow in the main trunk. Some wood was rotting and in a few places deadwood was stopping the rolling in of the cambium layer. The hollow will be darken down to catch the eye less when viewing.

DSC_0891

The tree after work.

DSC_0898